


- Protect the sky first with slight negative exposure compensation and histogram checks.
- Use ISO 100–200, f/8–f/11, and bracket when sunset light shifts fast.
- Soften faces with a reflector or fill flash to tame squinting shadows.
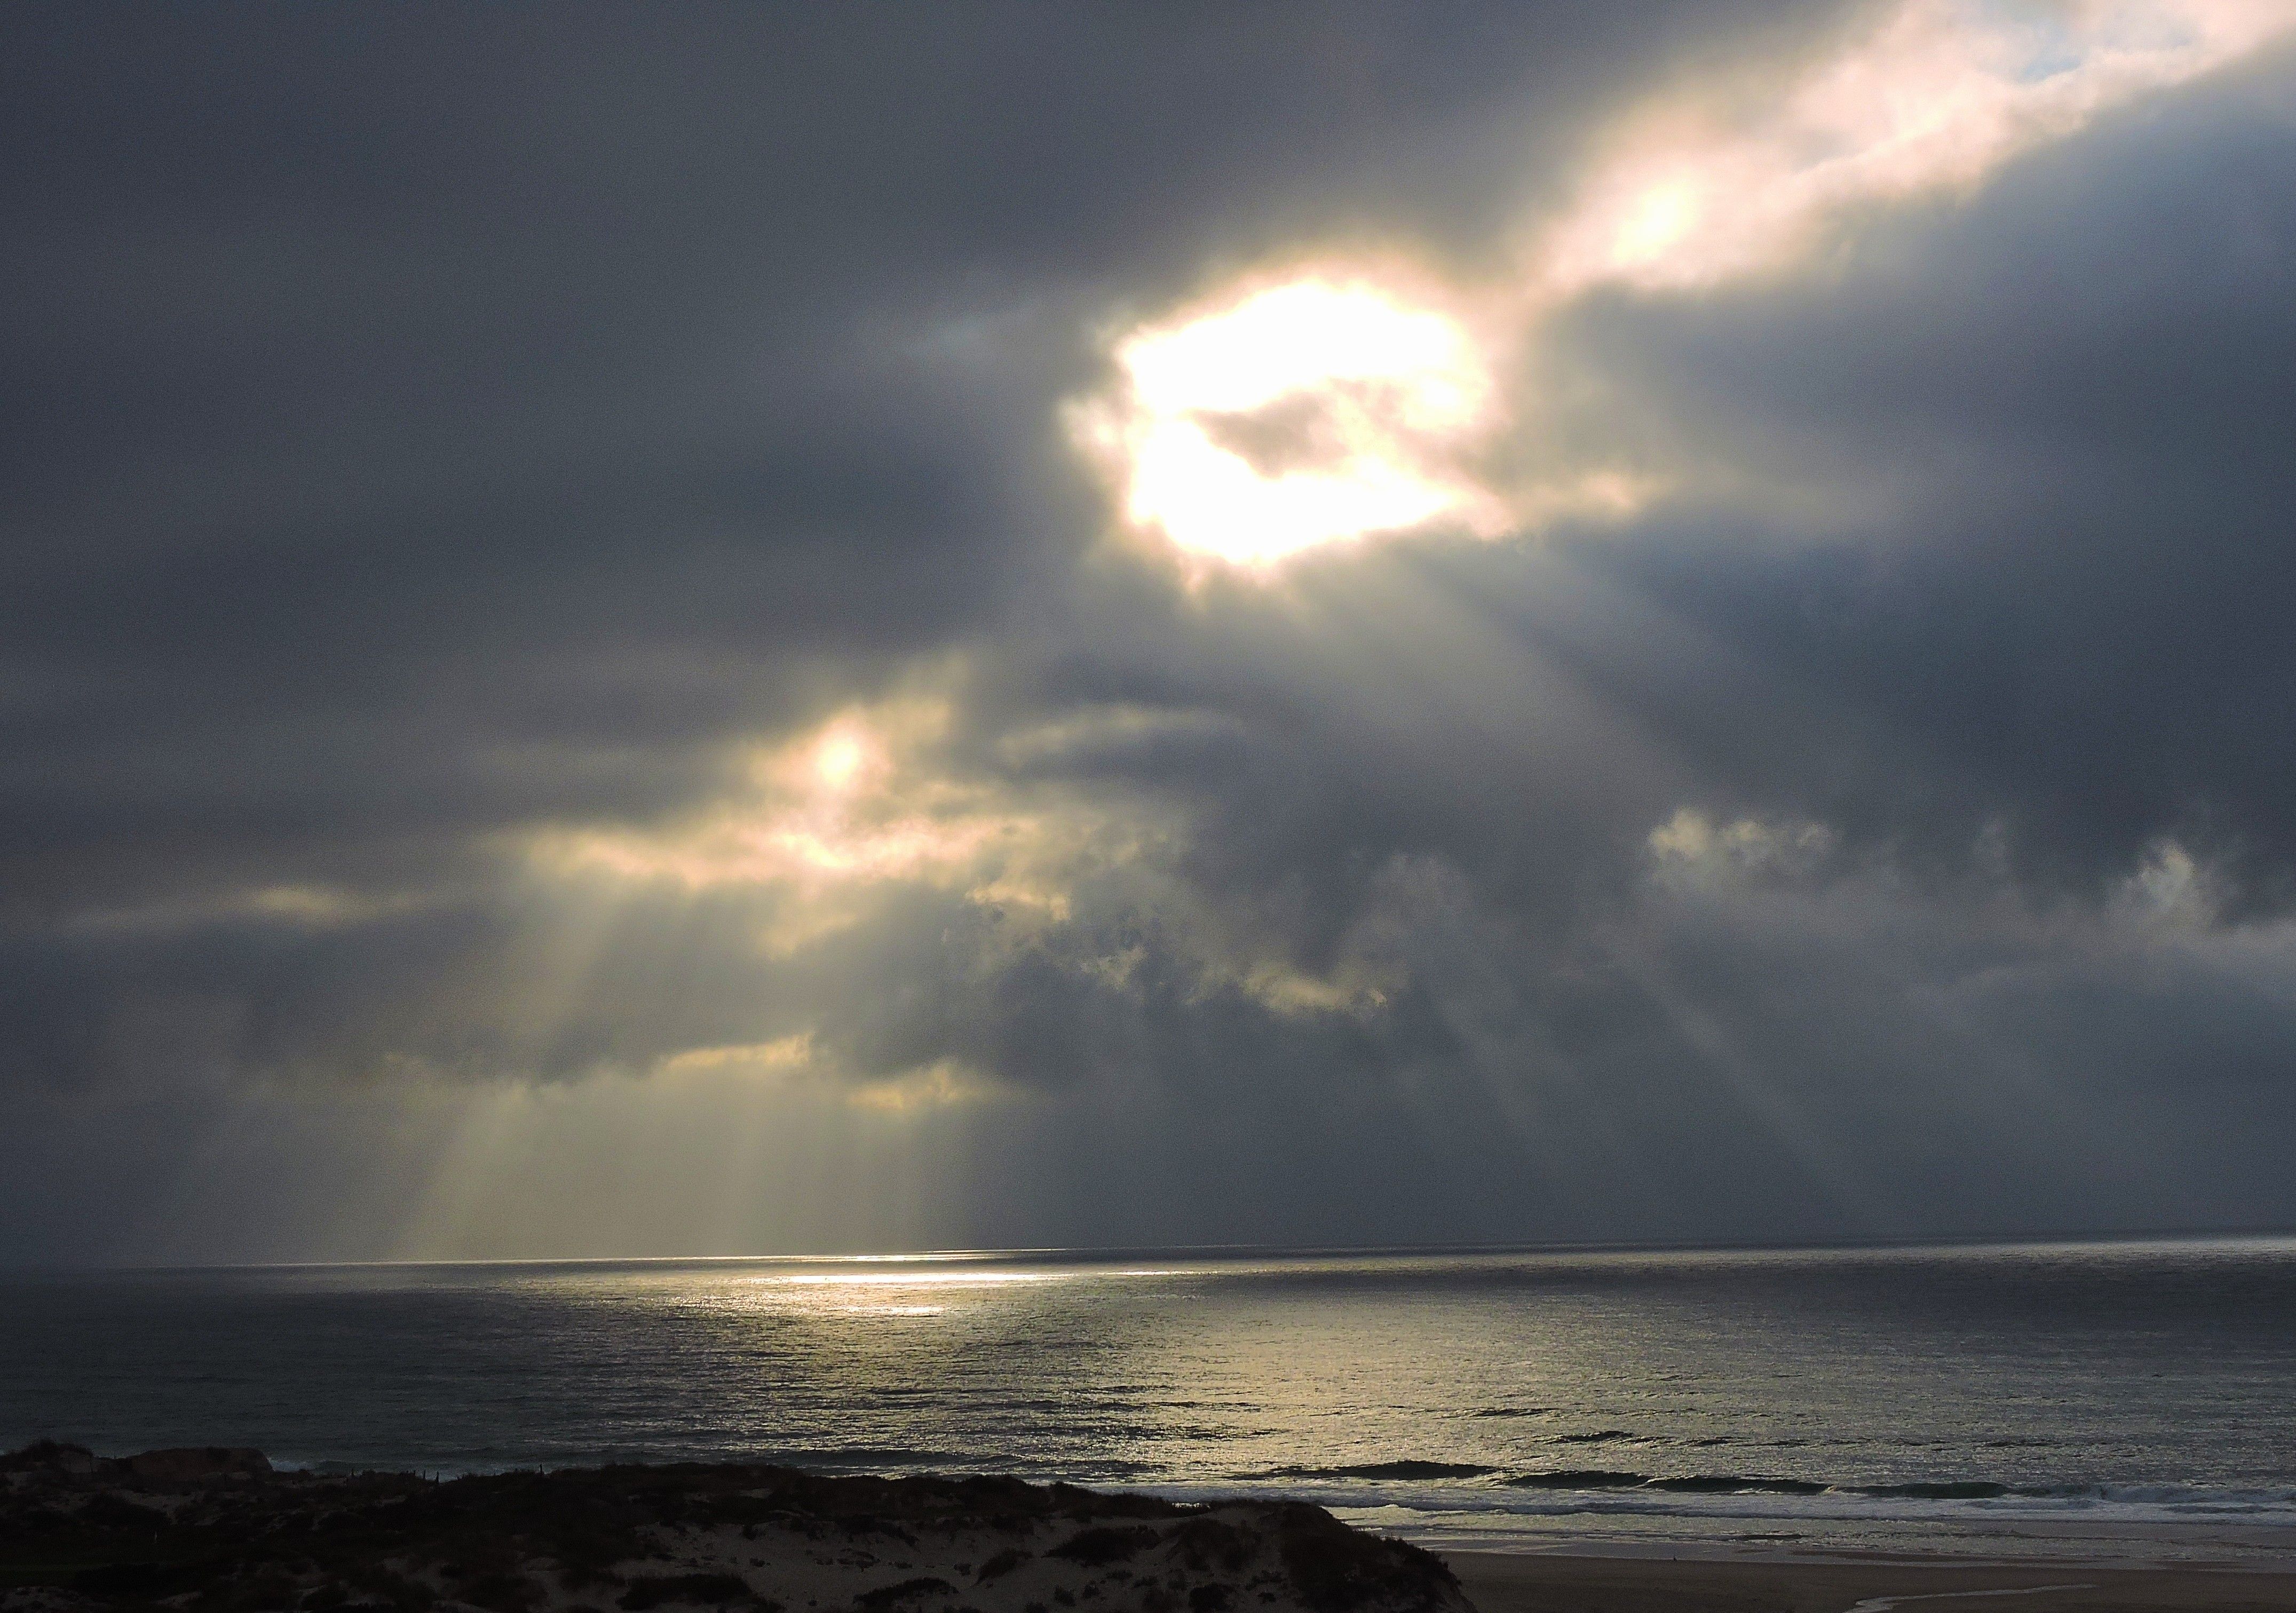
Sunset beach photos capture warm, low light, where sky, water, and people all need careful exposure. The aim of how to take beach photos at sunset is simple: hold onto color in the sky while keeping faces, sand, and waves readable. The beach makes that tricky because the meter sees several bright surfaces at once. Shiny water, pale sand, and a glowing horizon push exposure in different directions.
Translation missing: en.blog_cta.bundle_heading

- Regular price
-
€42 - Regular price
-
€44 - Sale price
-
€42
By choosing the Camstrap strap, you are opting for a high-quality product designed to meet the needs of the most demanding photographers.
- Developed by a physiotherapist to relieve neck and back pain.
- Fast delivery with tracking by the Post Office 🚚
- Can be used as a shoulder strap or hands-free harness

- Regular price
-
€36 - Regular price
-
€42 - Sale price
-
€36
Translation missing: en.blog_cta.free_shipping_included
Why beach light shifts so quickly
Sunset light falls in small steps, and the scene keeps reshaping itself. One minute a cloud hides the sun, and the next it opens a brighter patch of sky.
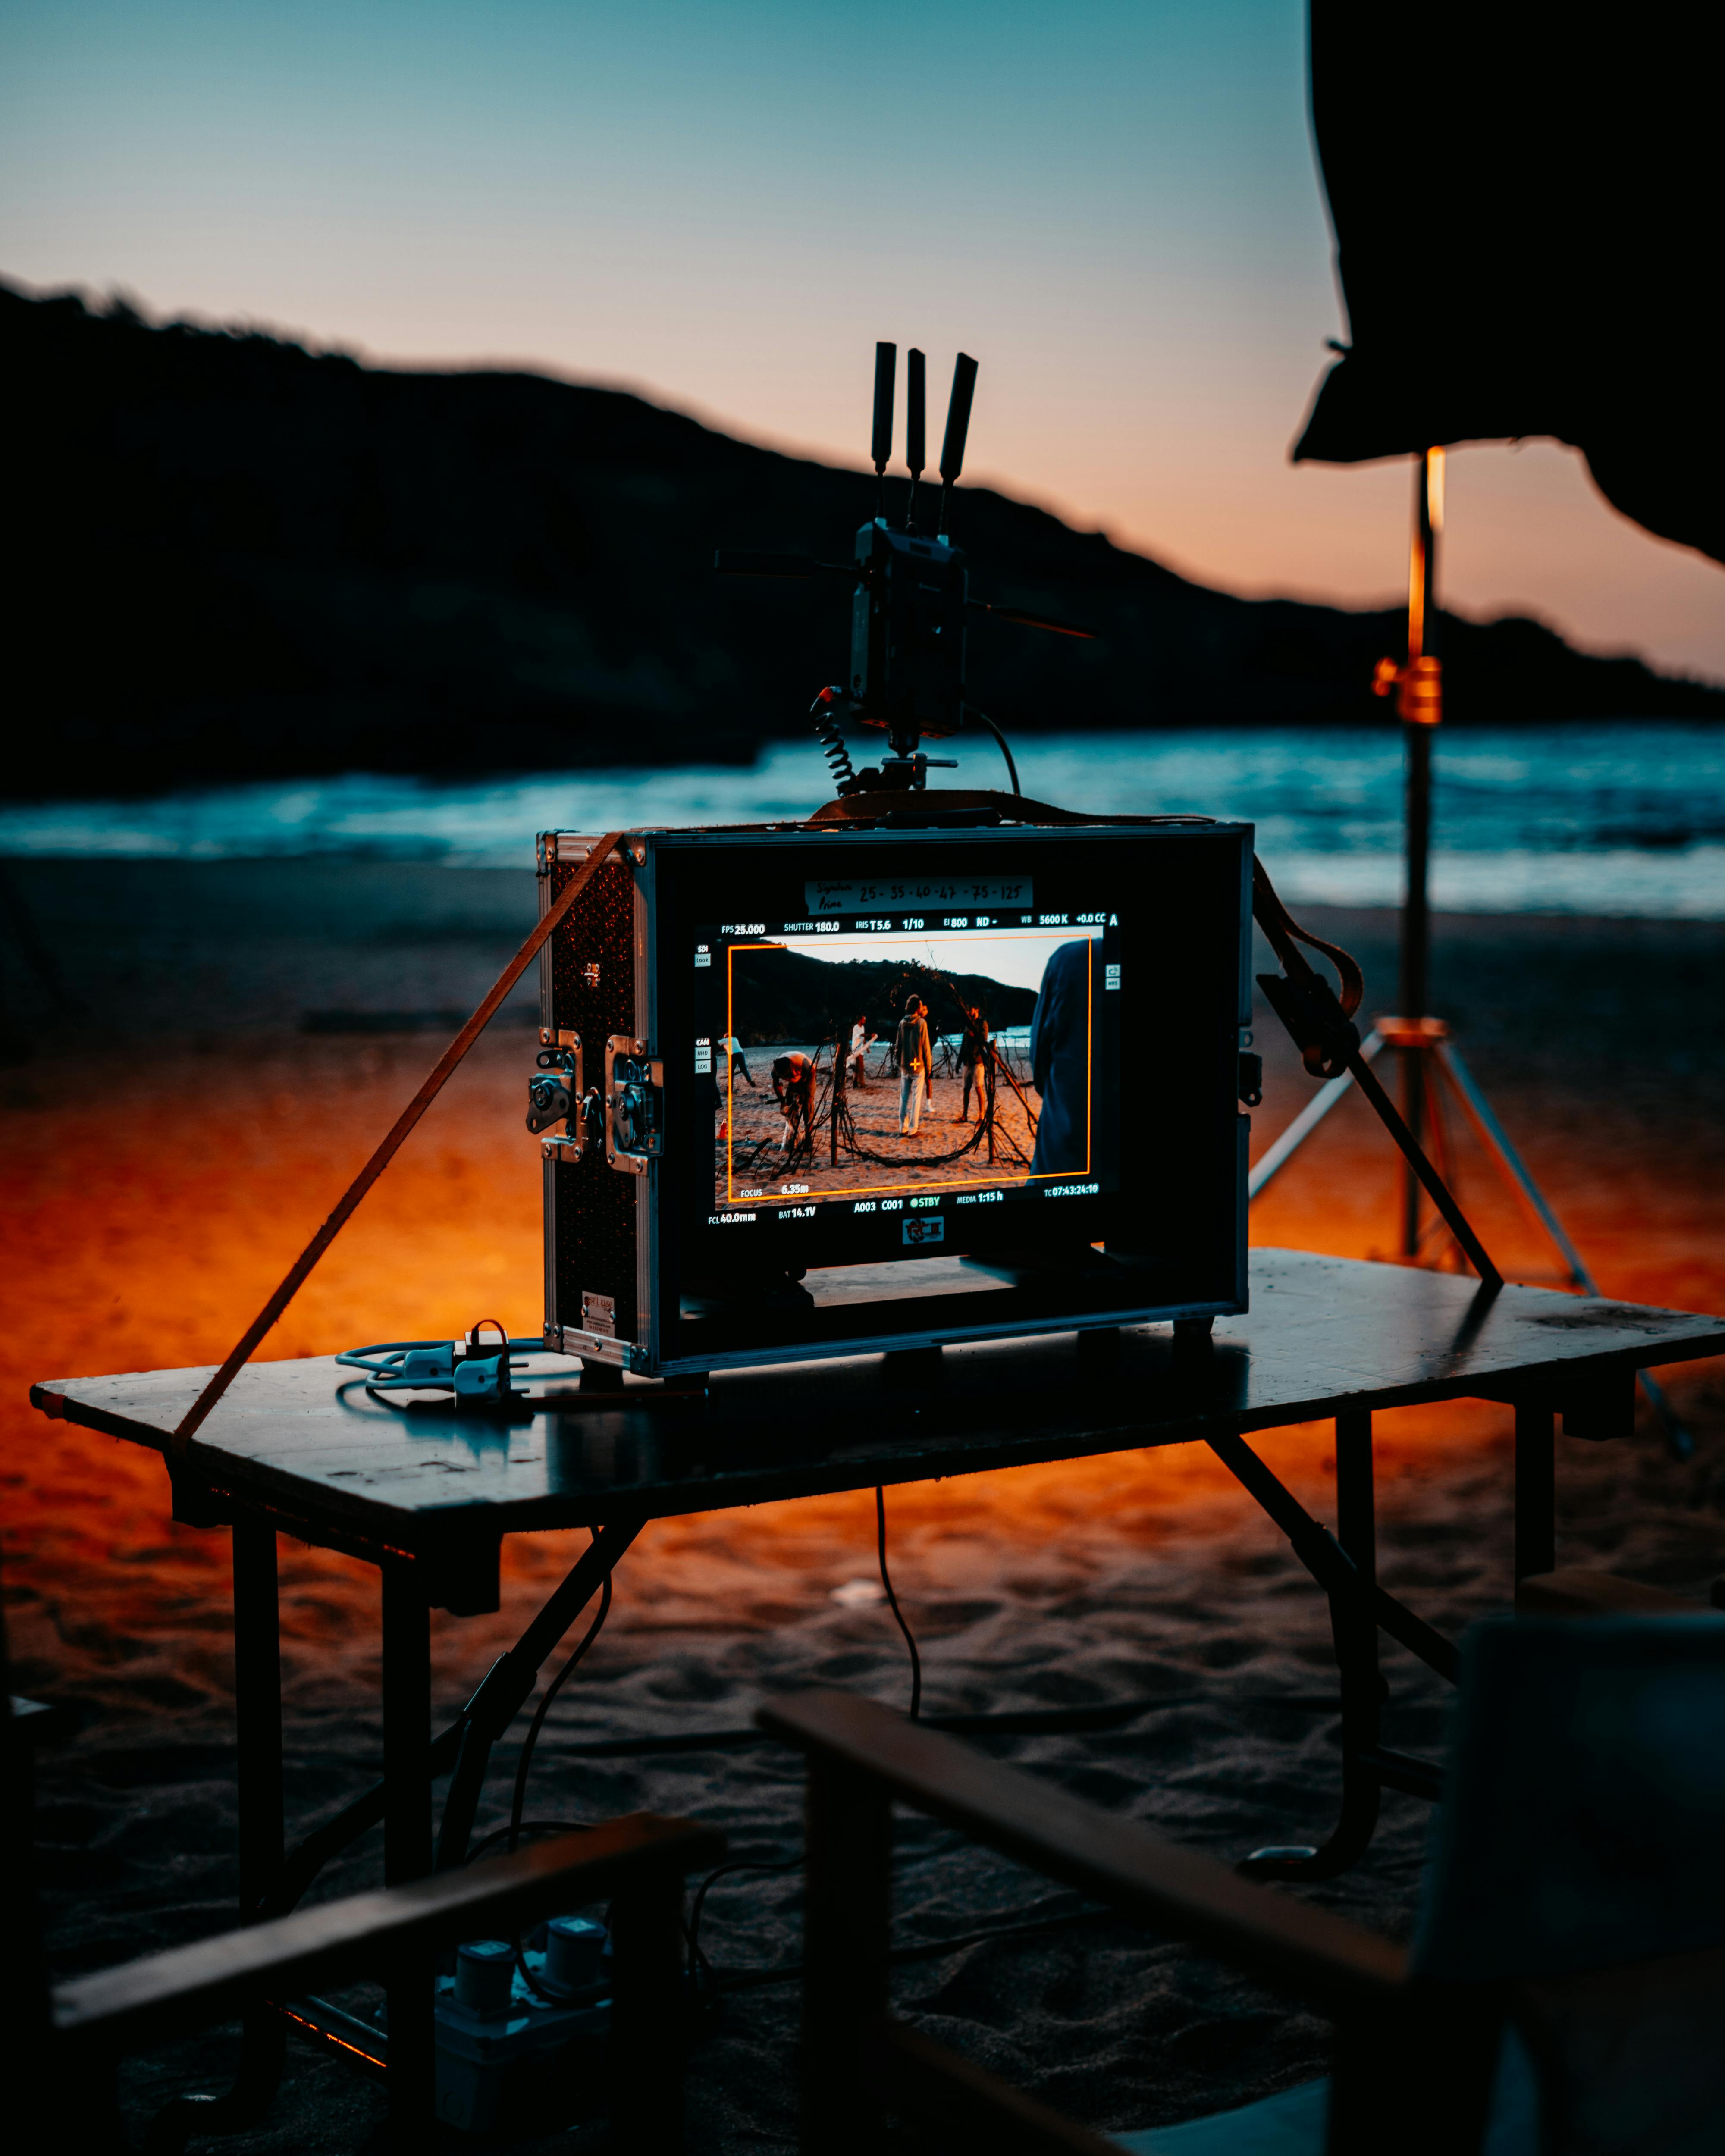
Sand adds to the problem by bouncing light back into faces, while the sky may still be several stops brighter.
What pushes highlights over the edge
Highlights clip when the camera tries to lift the darker areas too far. Once that happens, the sky goes flat and the warm rim around clouds can disappear. For beach scenes, I protect the bright areas first. A slight underexposure or negative exposure compensation, often around -1/3 to -2/3 EV, usually does the job.
Why shadows turn harsh
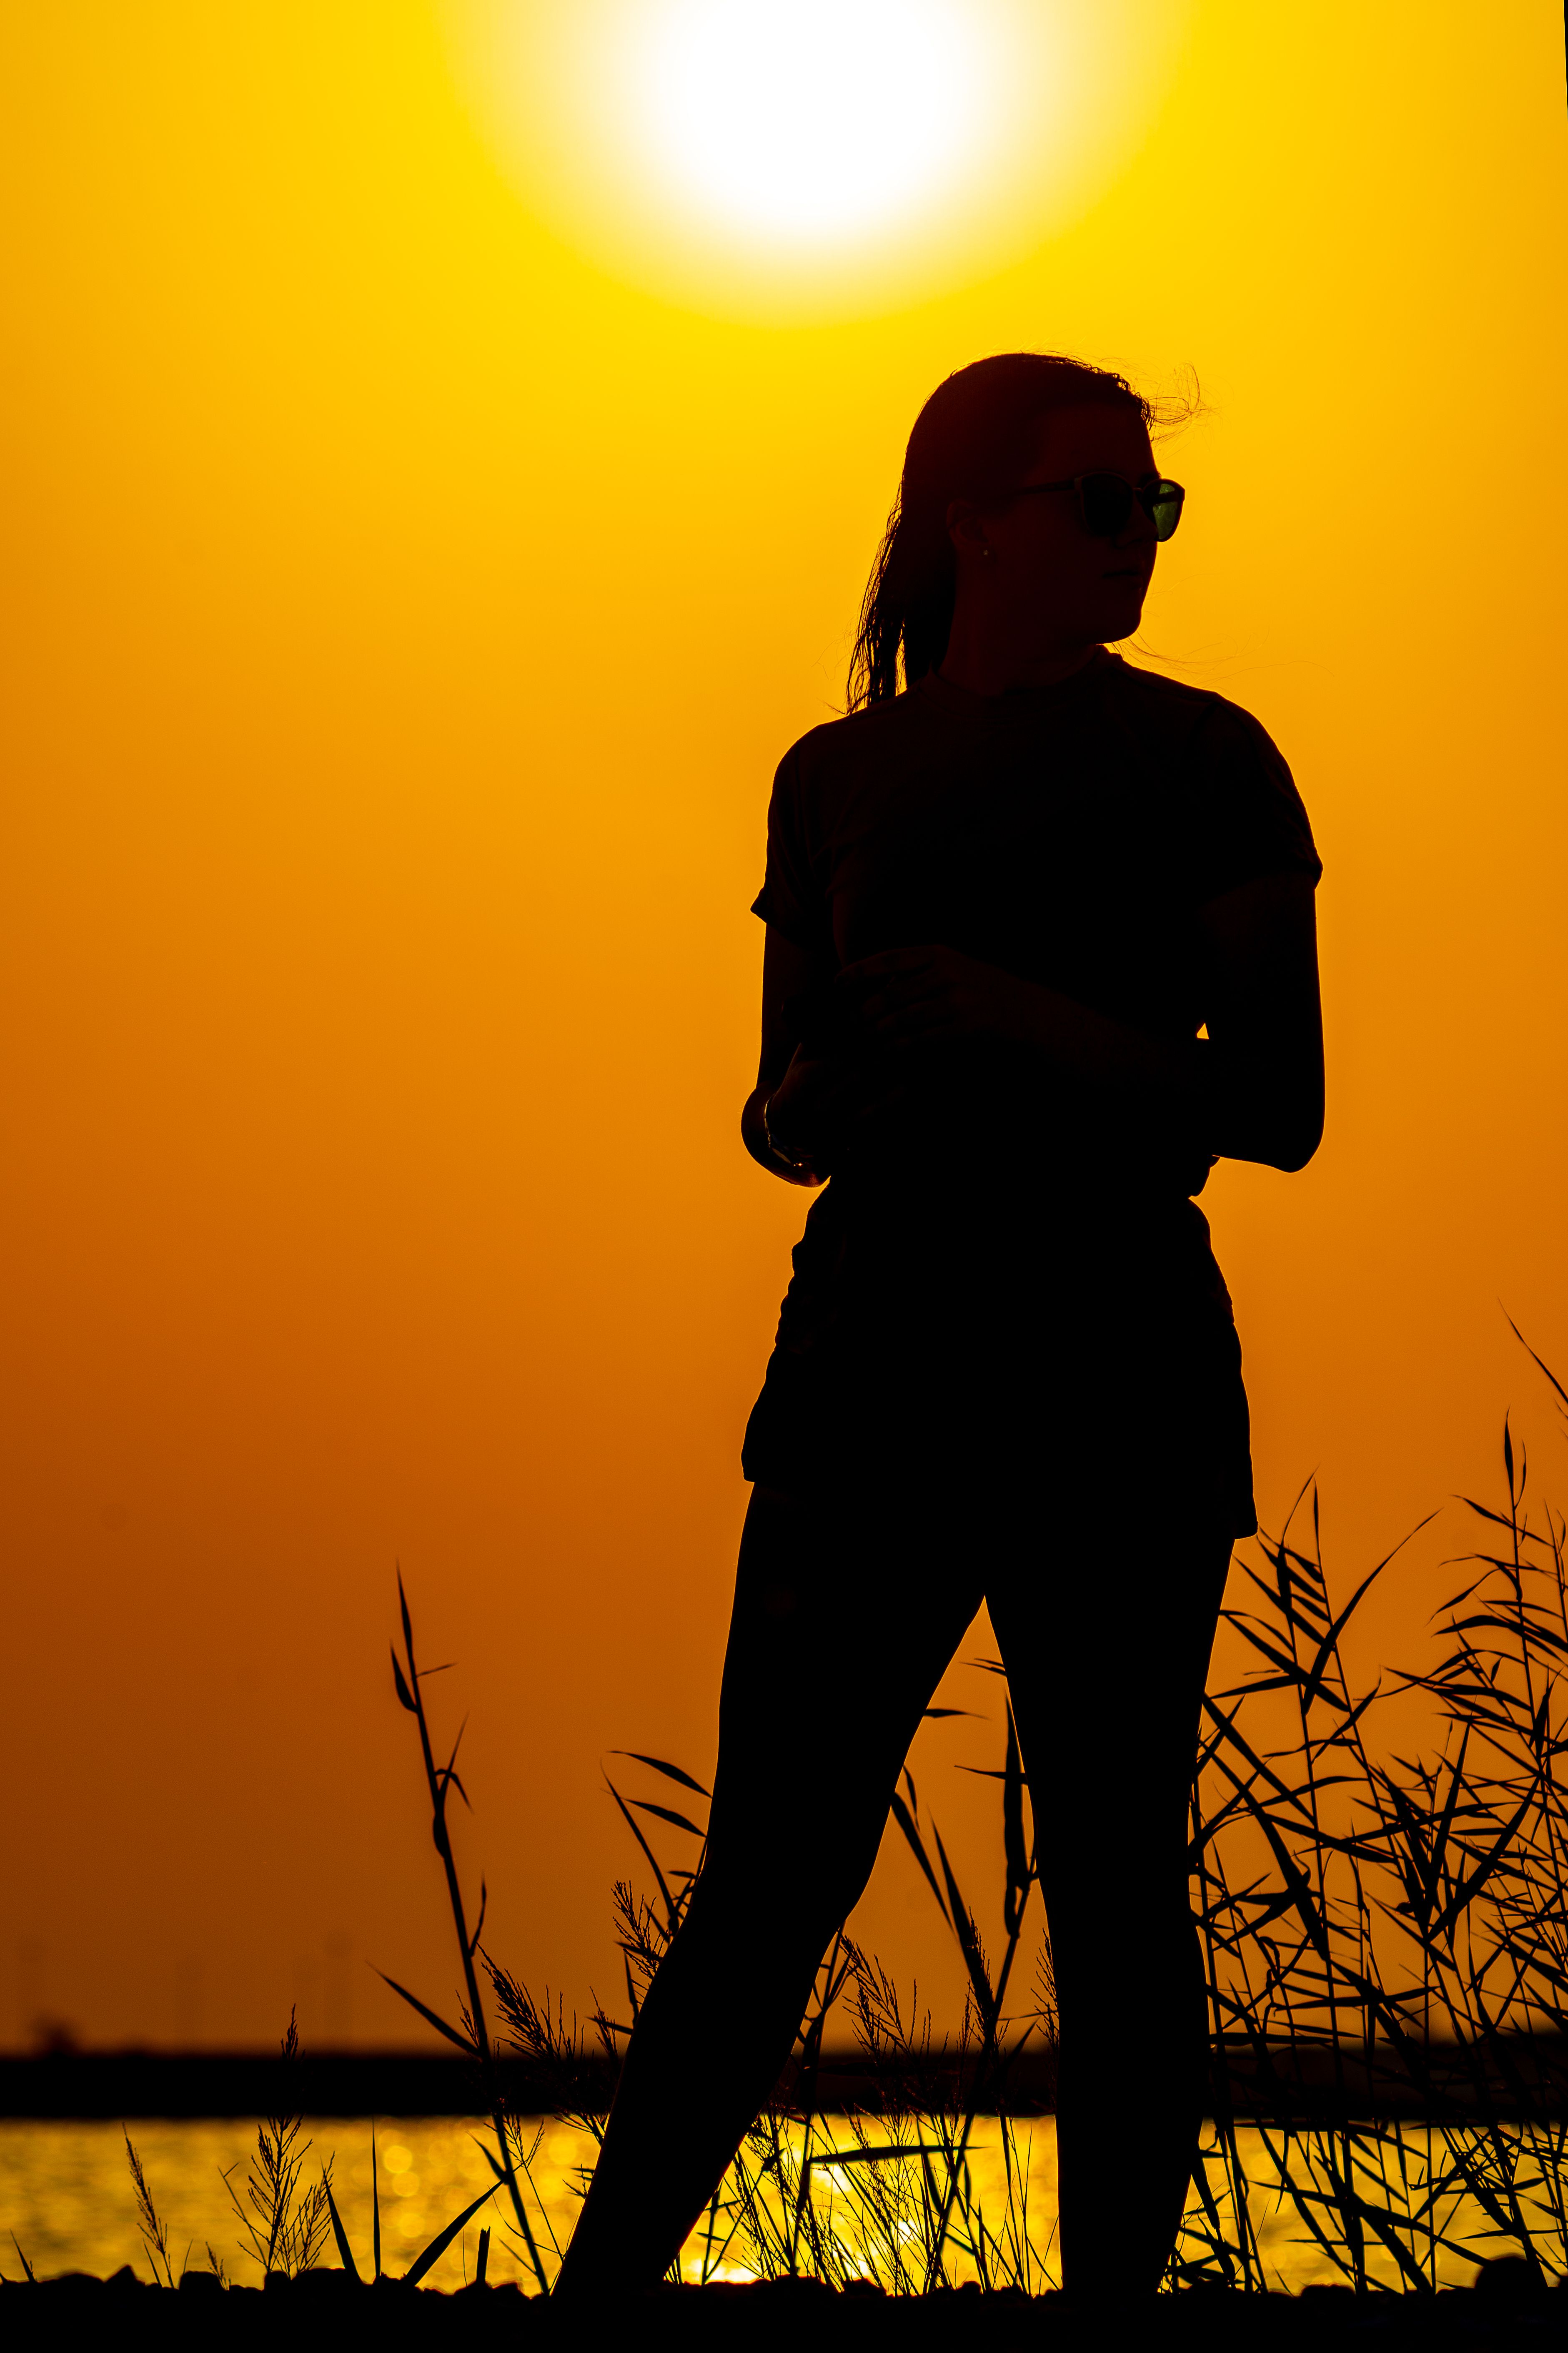
A low sun still throws strong directional light, which carves deep shadows under brows, noses, and chins.
A reflector or low-power flash can soften those shadows without killing the sunset mood.
How do I expose for bright beach scenes?
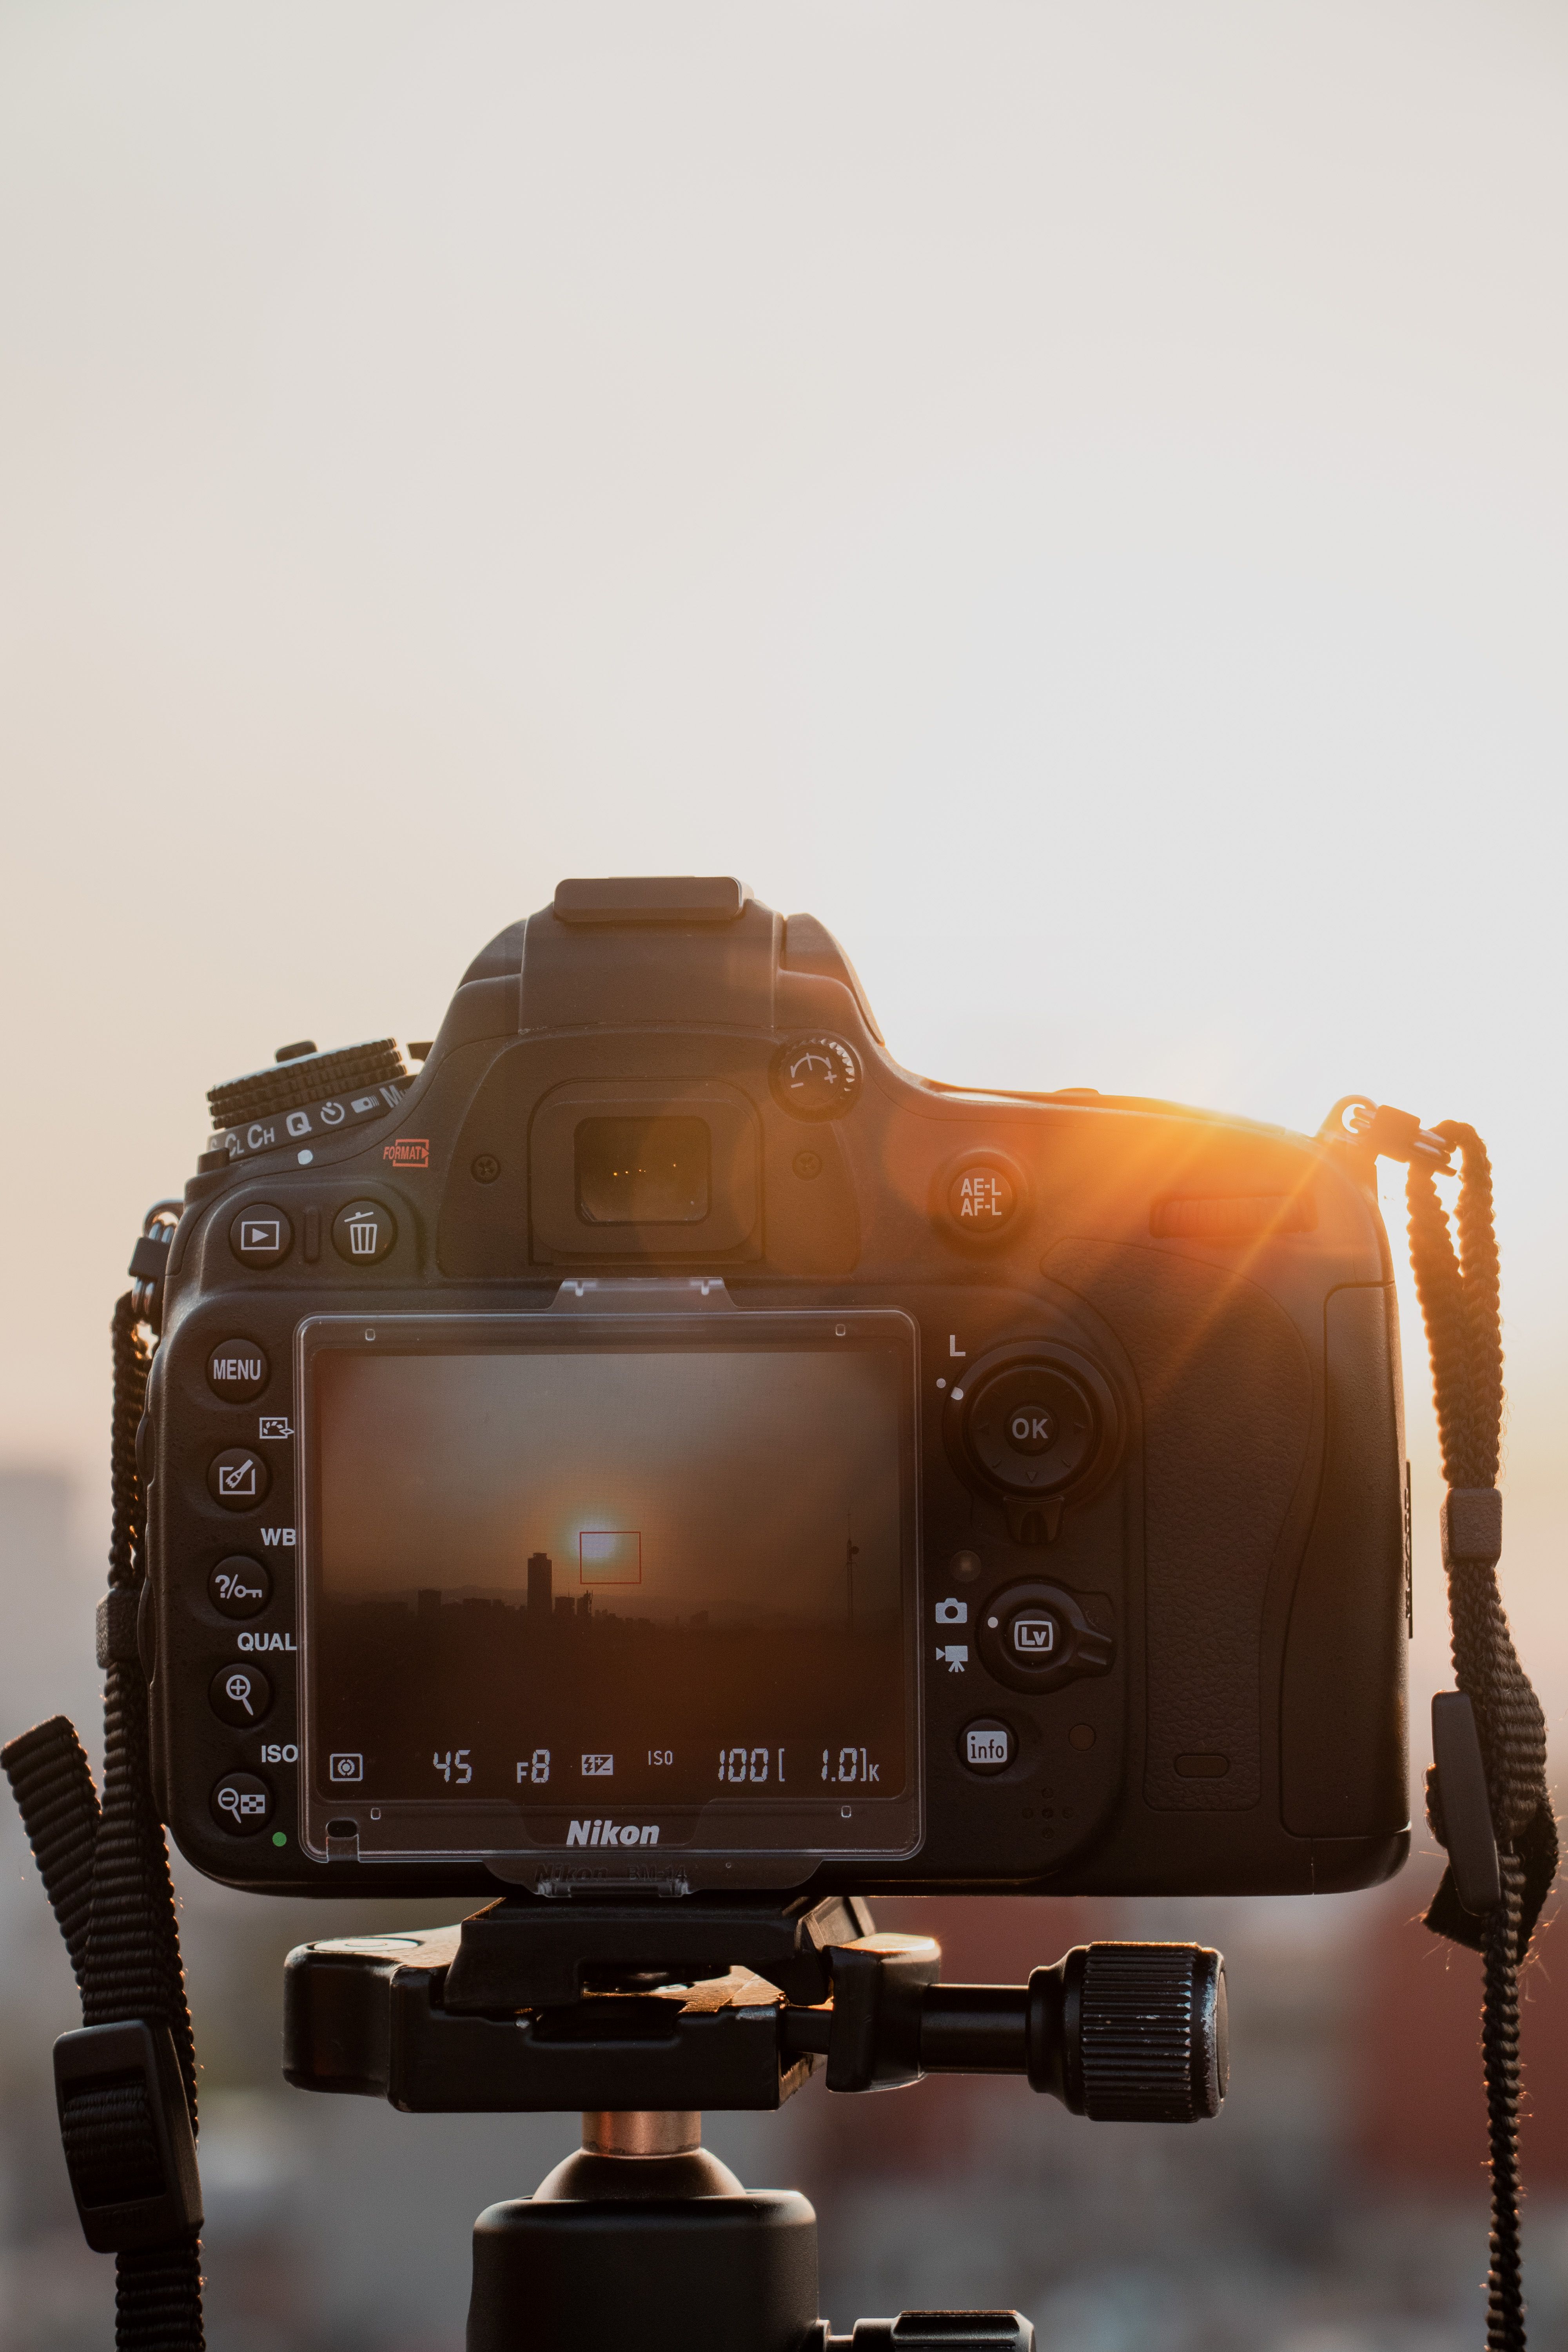
Expose for the highlights and let the shadows sit a little dark. The sky is the part most likely to fail first in sunset beach work. Use spot metering or highlight-weighted metering if your camera offers it. Then check the histogram and blinkies, because white clouds and wet sand can clip fast.
- Start with ISO 100 or ISO 200.
- Set aperture near f/8 to f/11 for most wide beach scenes.
- Use exposure compensation at -1/3 EV, then adjust after a test frame.
- Watch the right side of the histogram for clipped highlights.
RAW gives more room to recover tone later. JPEG files leave less margin, so the sky can break apart sooner.
Metering that handles mixed light
Spot metering on a bright cloud edge can keep it soft. Matrix metering works too, though it may overreact to a dark subject on pale sand.
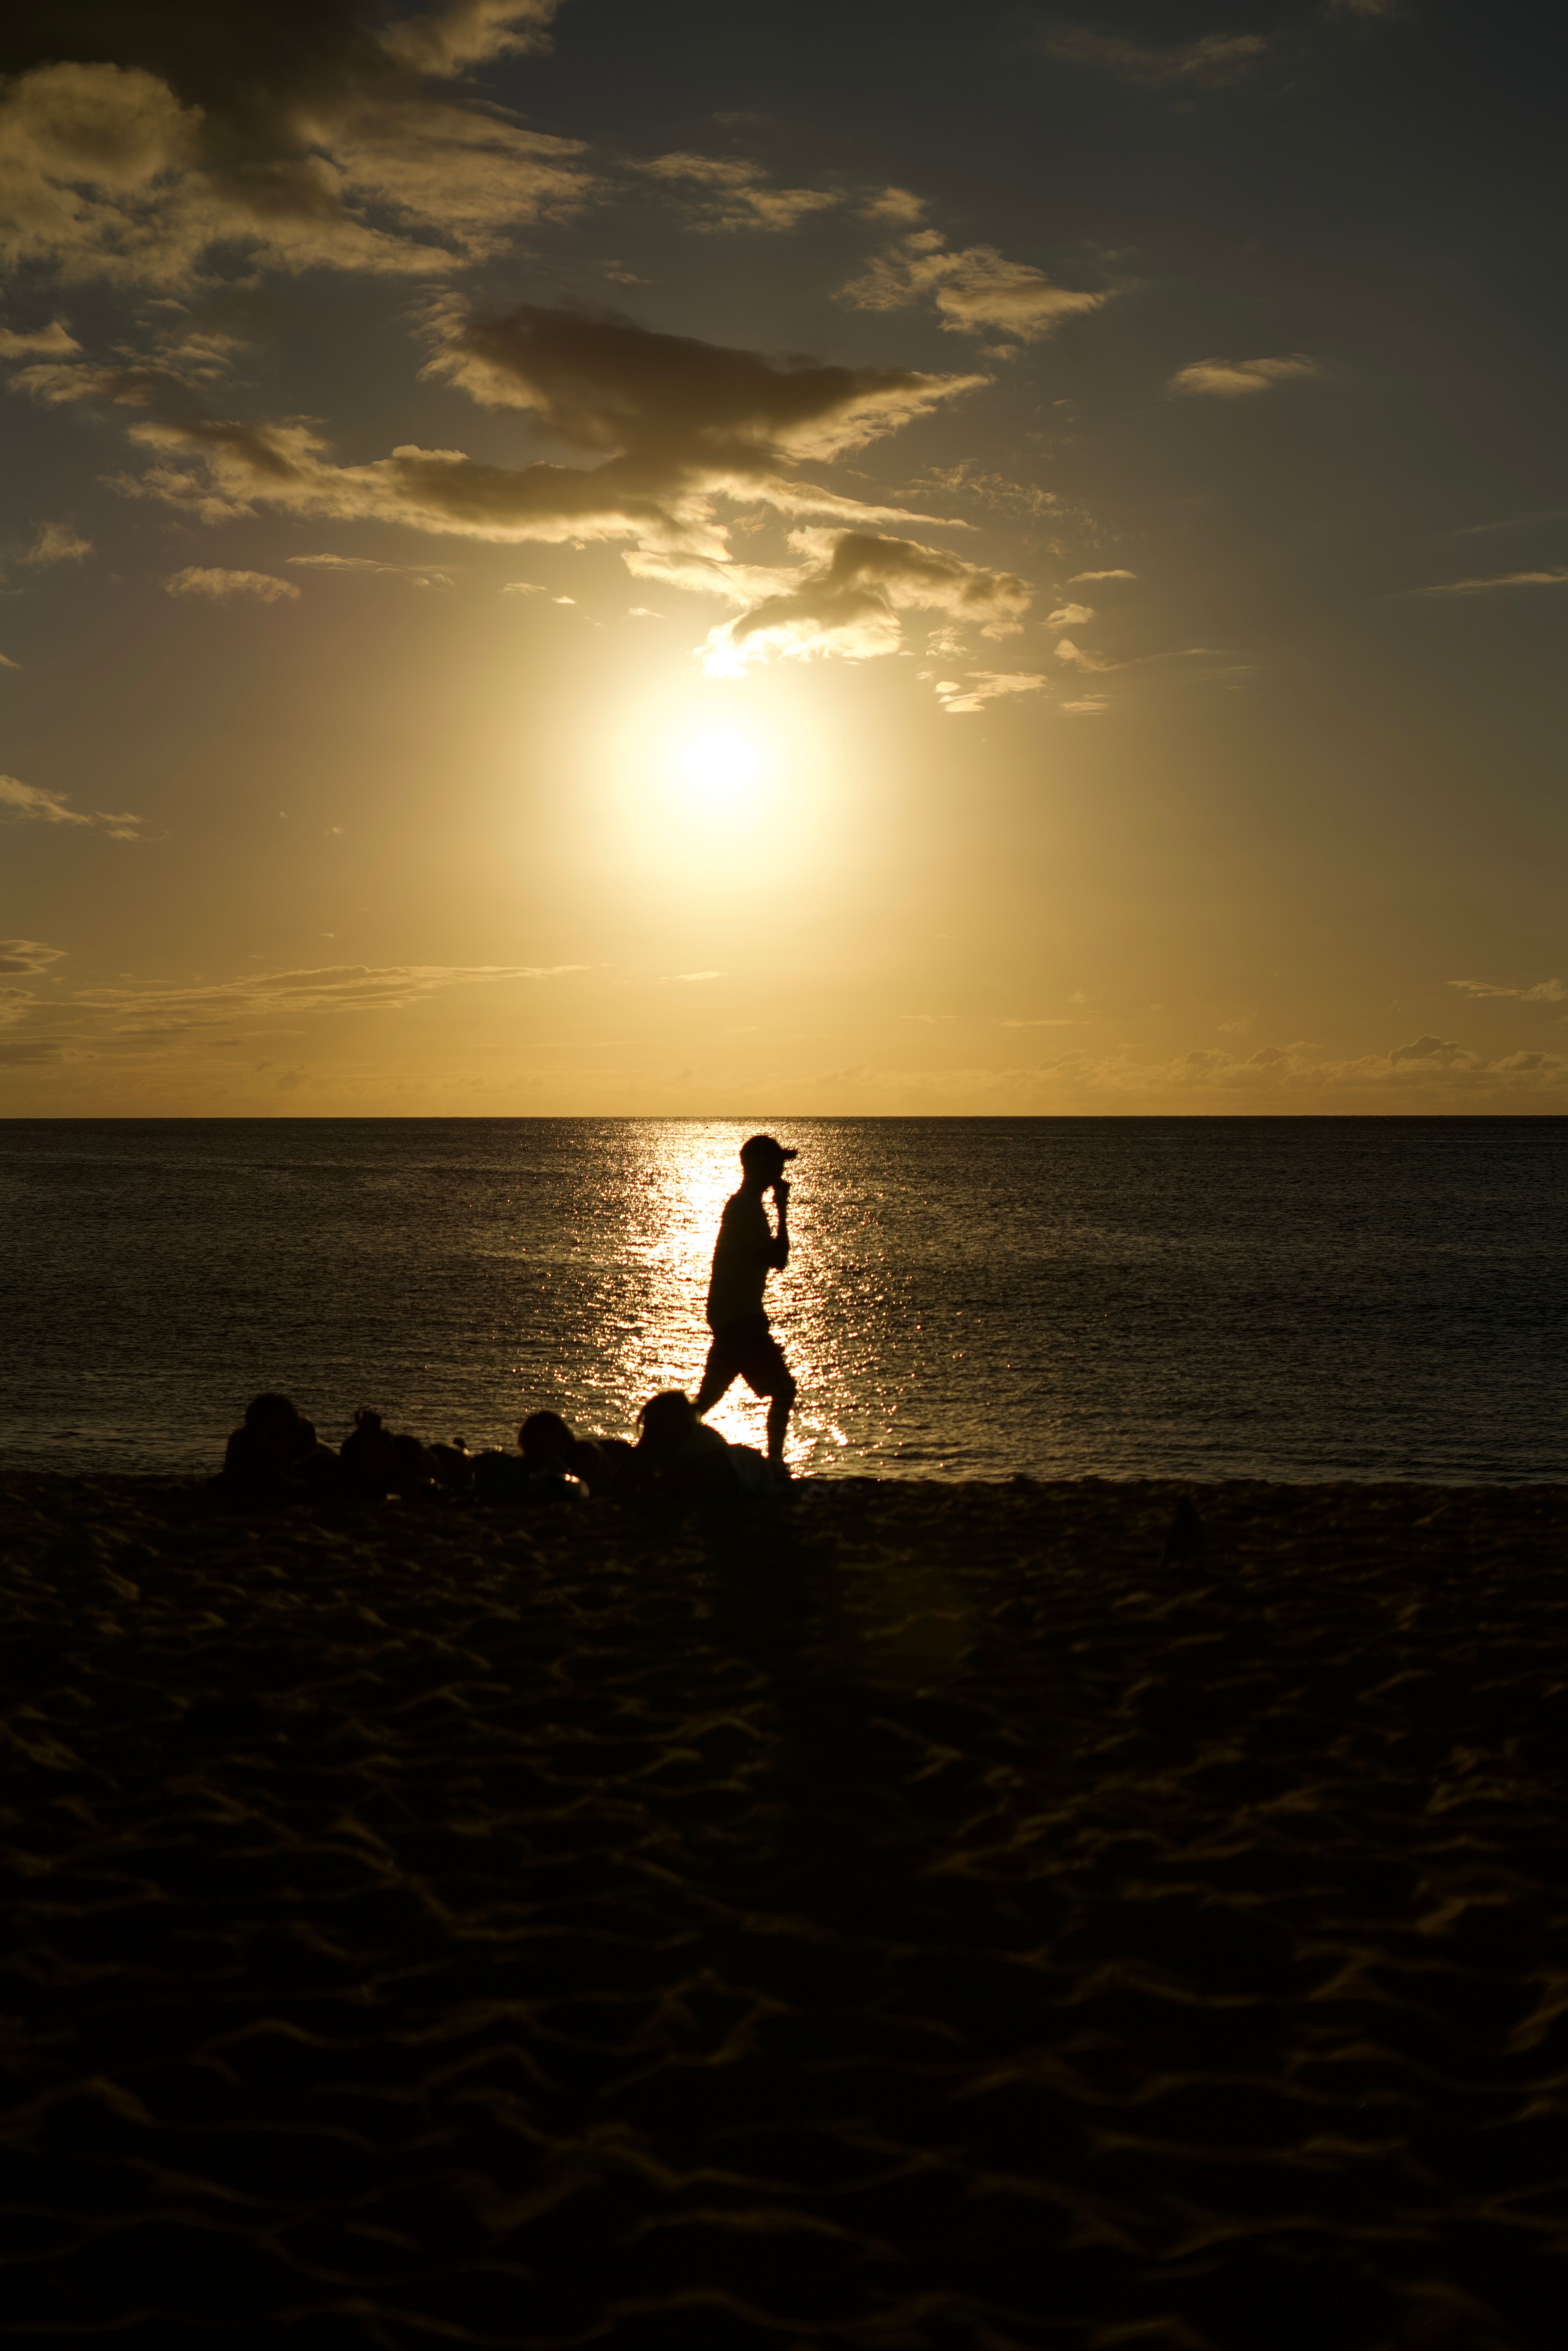
Bracket two or three frames if the light is moving fast. A spread of -2/3, 0, and +2/3 EV usually gives one safe file and one flexible backup.
What settings work best at sunset?
A low ISO, a midrange aperture, and a shutter speed matched to the light give the cleanest starting point. For many sunset beach scenes, ISO 100 to 200 is the natural baseline. Choose f/8 to f/16 when you want the foreground and clouds sharp. f/11 is a strong starting point for landscape-style frames.
Useful starting points by scene
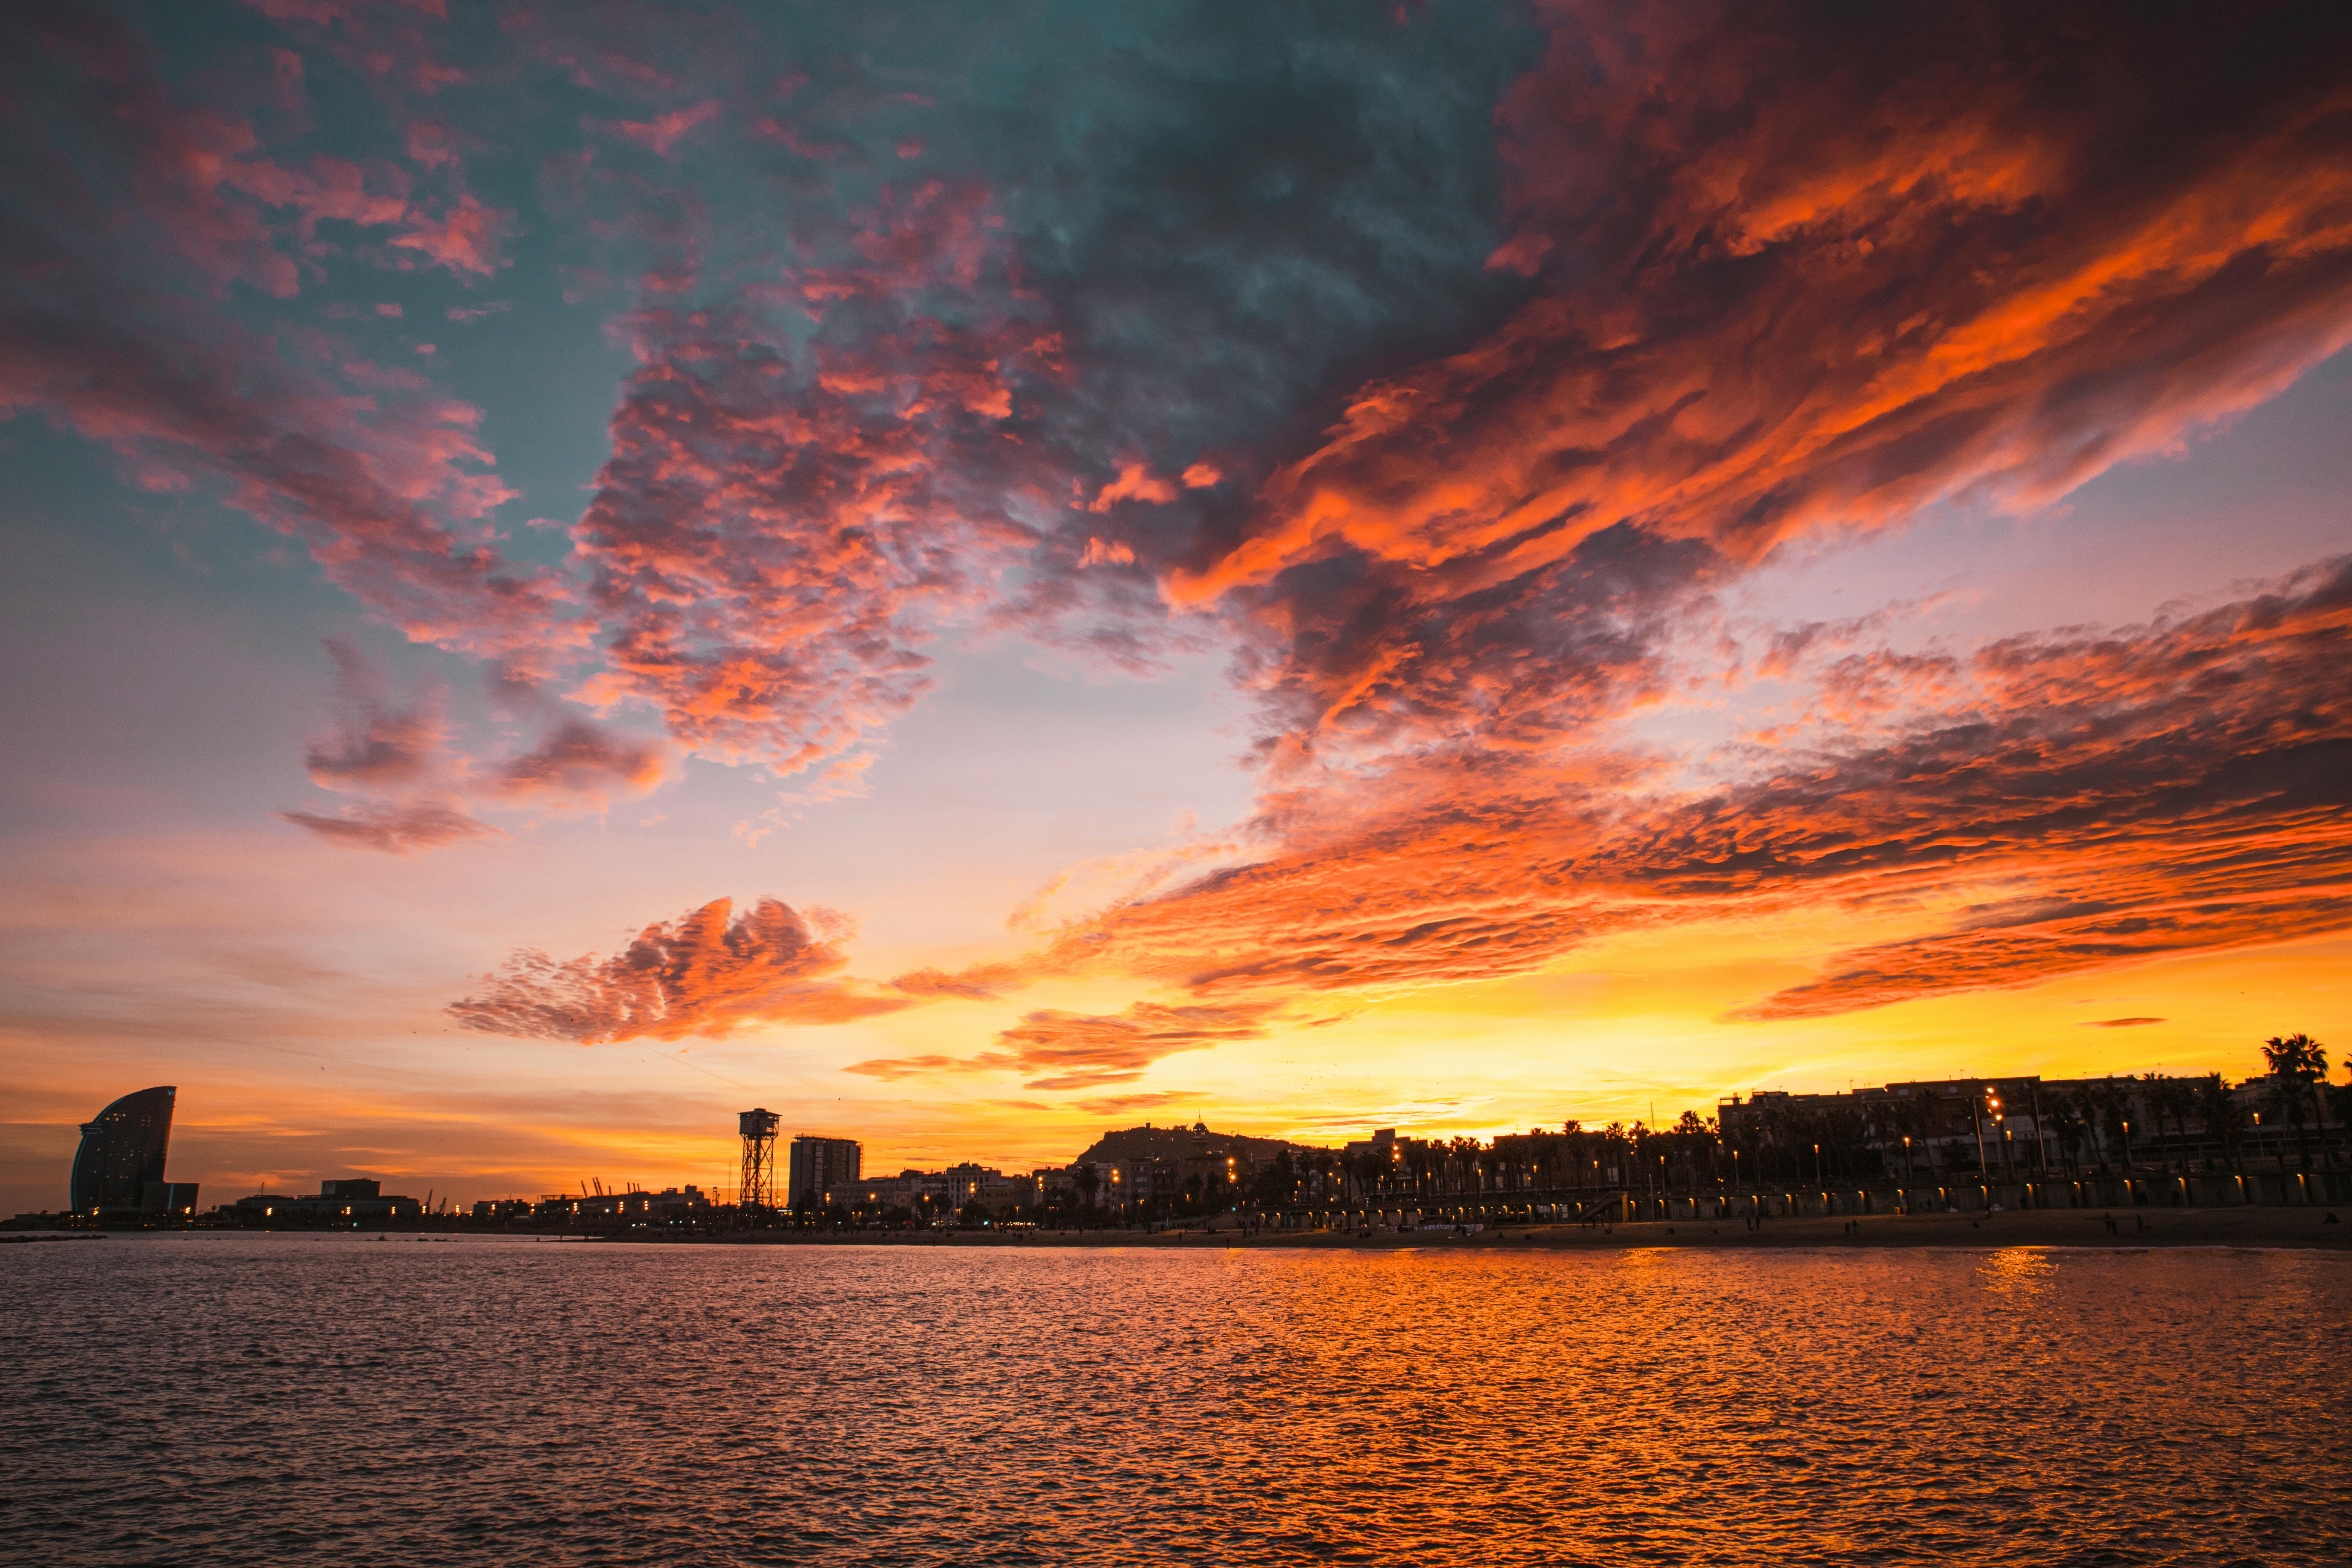
- Tripod landscape: ISO 100, f/11, 1/30s or longer.
- Handheld scene: ISO 100–200, f/8, about 1/50s to 1/125s.
- Moving people or surf: raise shutter speed to 1/400s to 1/1250s.
Use aperture priority when the light changes fast and you want to keep depth of field steady. Manual mode works well too, especially if the sky stays close to the same brightness for ten minutes.
A 24mm to 35mm lens suits most shore scenes, while 50mm to 85mm works well for tighter portraits. Longer focal lengths also compress the sun and clouds a bit, which can look great near the horizon.
Focus and burst choices
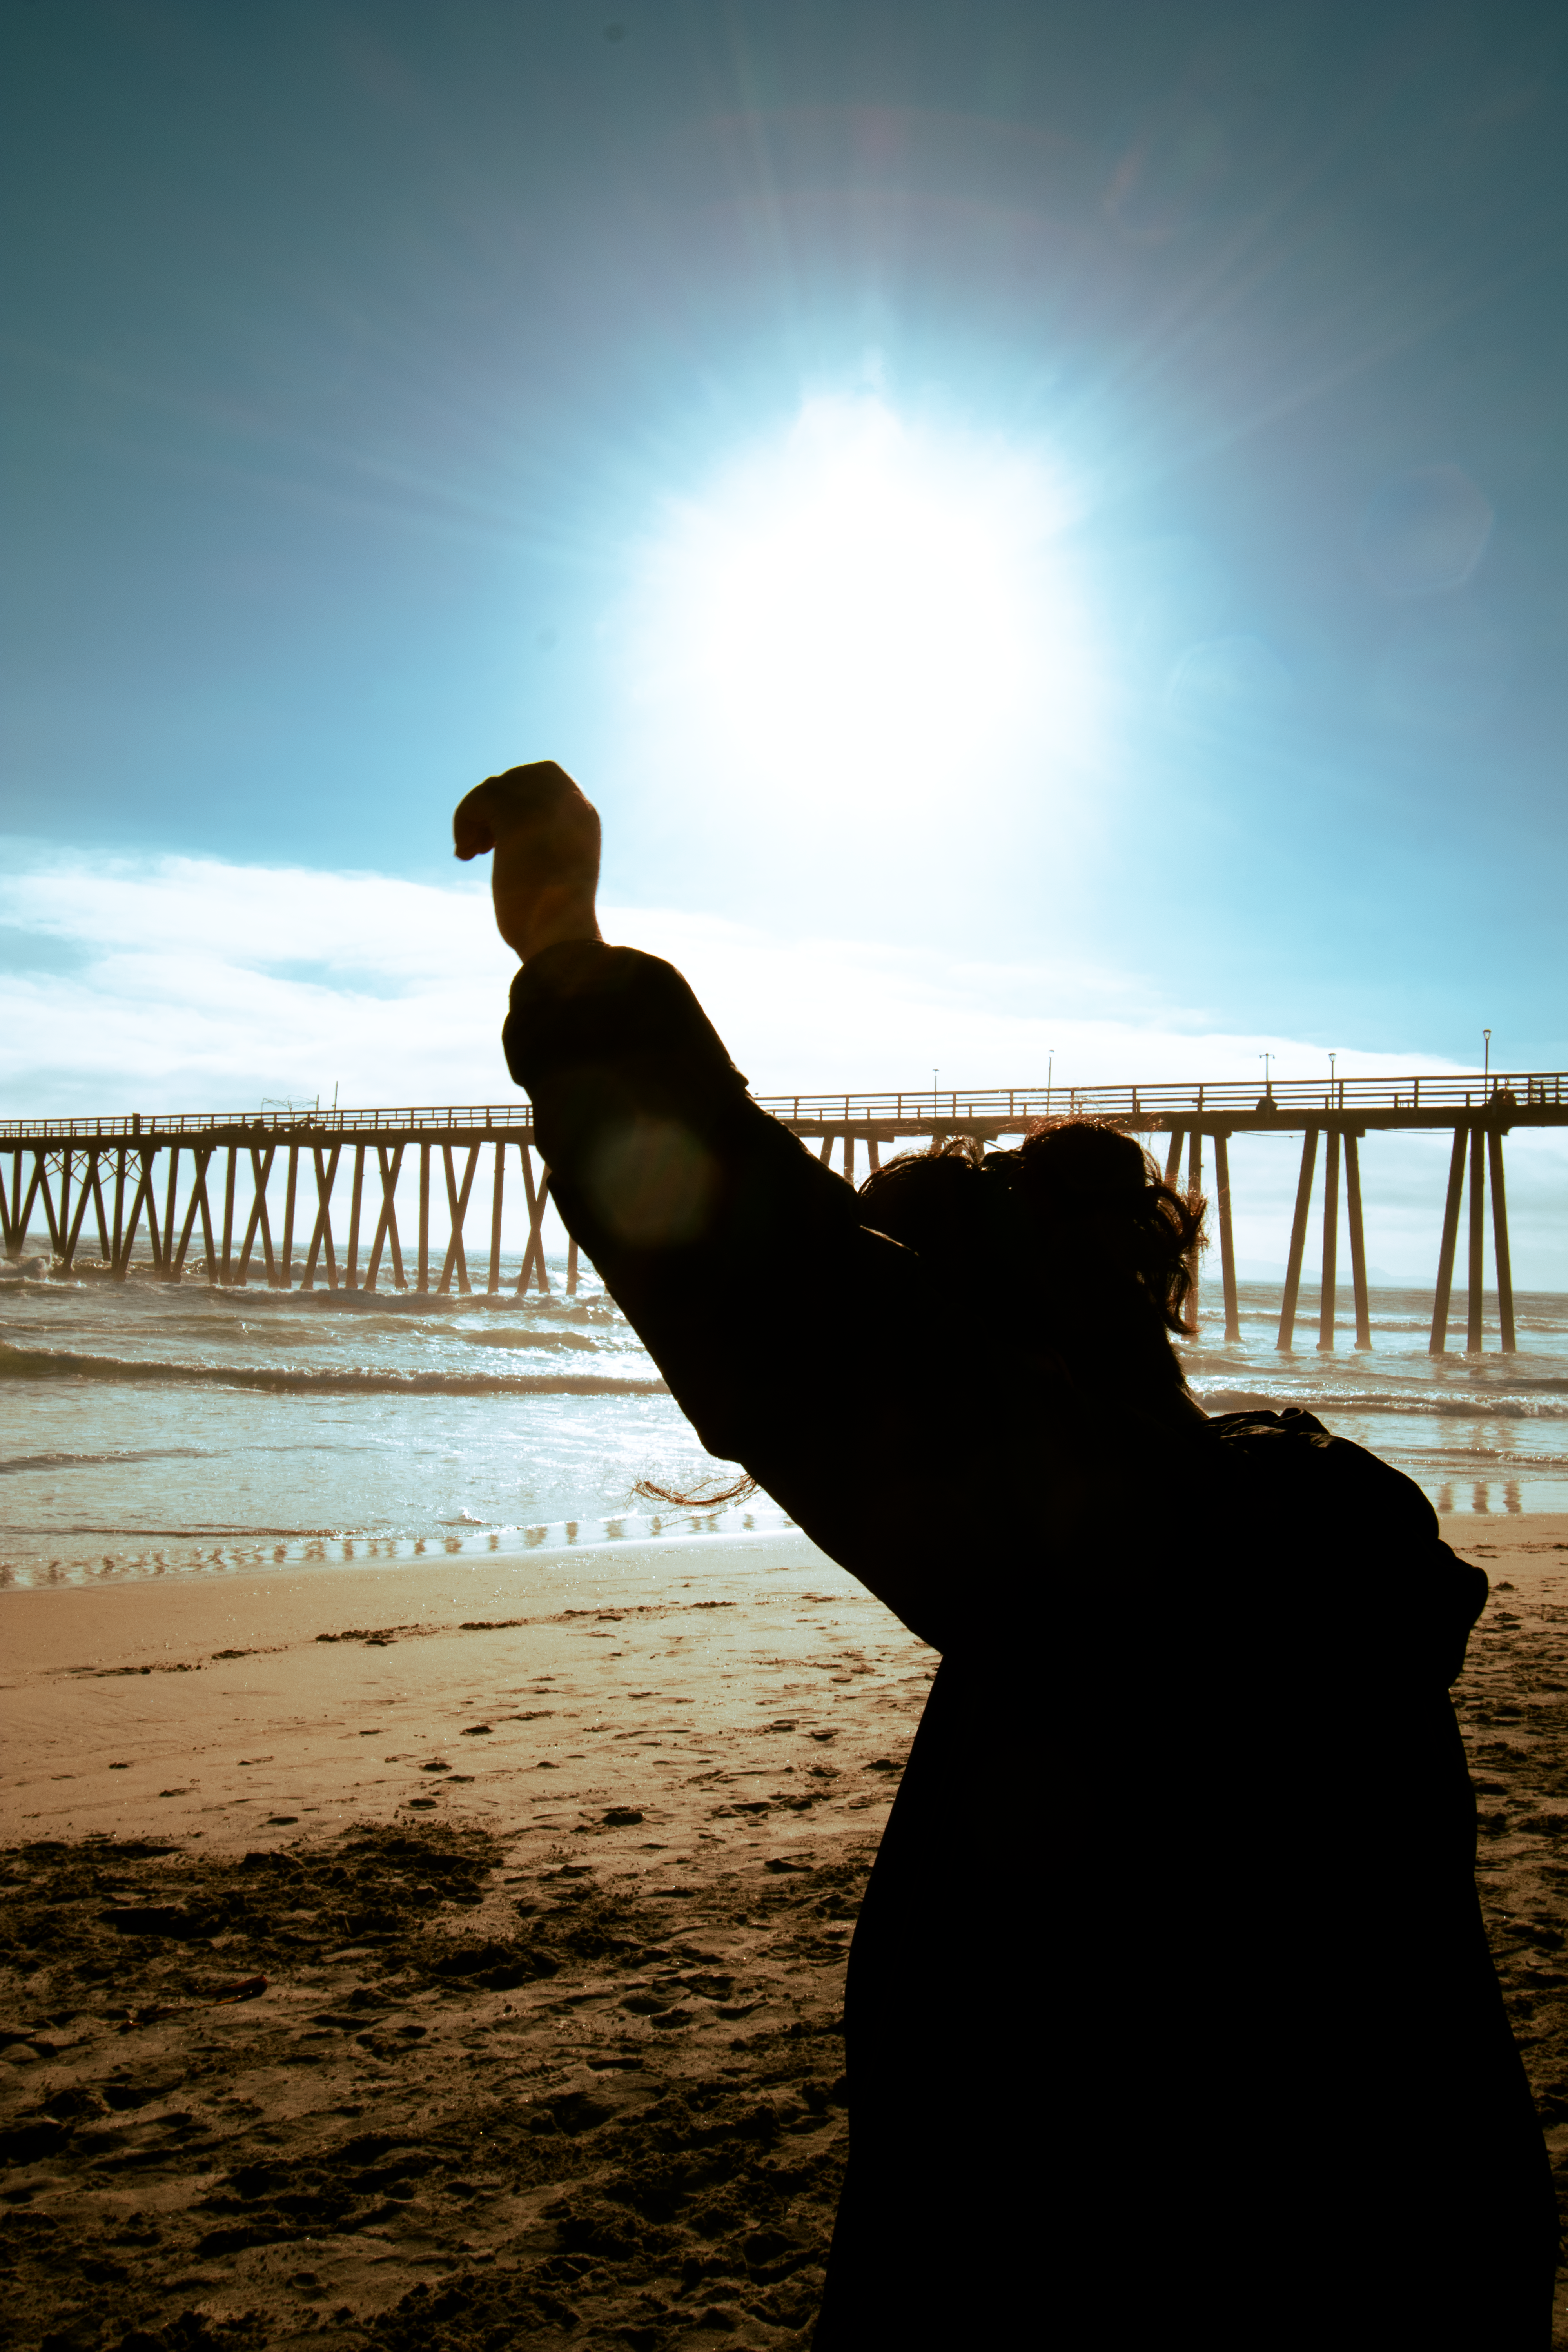
Use continuous AF, or AF-C / AI Servo, with eye or subject detection for people on the beach. Back-button focus keeps focus steady while you reframe as the light drops. If your camera offers pre-capture or pre-burst, turn it on for kids, waves, or sudden poses. A mid-tier mirrorless body often slows after roughly 15 to 25 RAW frames, so short bursts stay smart and controlled.
How can I avoid squinting subjects in harsh light?
Place the subject with the sun just behind them or high to the side. Direct glare drops, and the face gets a softer edge.
Ask for a slight turn of the chin and eyes toward open shade if the sun is still strong. A small change in angle can remove the worst squint.

Fill that keeps the sunset look
A reflector on the sand can bounce warm light back into the face. A low-power fill flash can do the same job when the sun drops lower and the face goes too dark. Keep the flash subtle. The point is to lift the eyes and cheeks, not flatten the whole scene into daylight.
- Use a gold or white reflector for a soft lift.
- Set flash around -1 to -2 stops below ambient.
- Move the subject a few feet until the shadow line looks clean.
Shading the subject with your own body helps for a quick portrait. It is a small move, but it can save a frame when the sun is still high enough to sting.

Field habits that keep the shot steady
Walk the shoreline with your camera ready, because sunset light changes by the minute. A comfortable strap earns its place here, since you may move from one spot to the next without putting the camera away.
A Camstrap Voyager makes sense in that role because it spreads the load well and keeps the camera easy to grab with one hand. That helps when a clean wave, a passing cloud, or a quick smile shows up for only a few seconds.
Small checks before you press the shutter
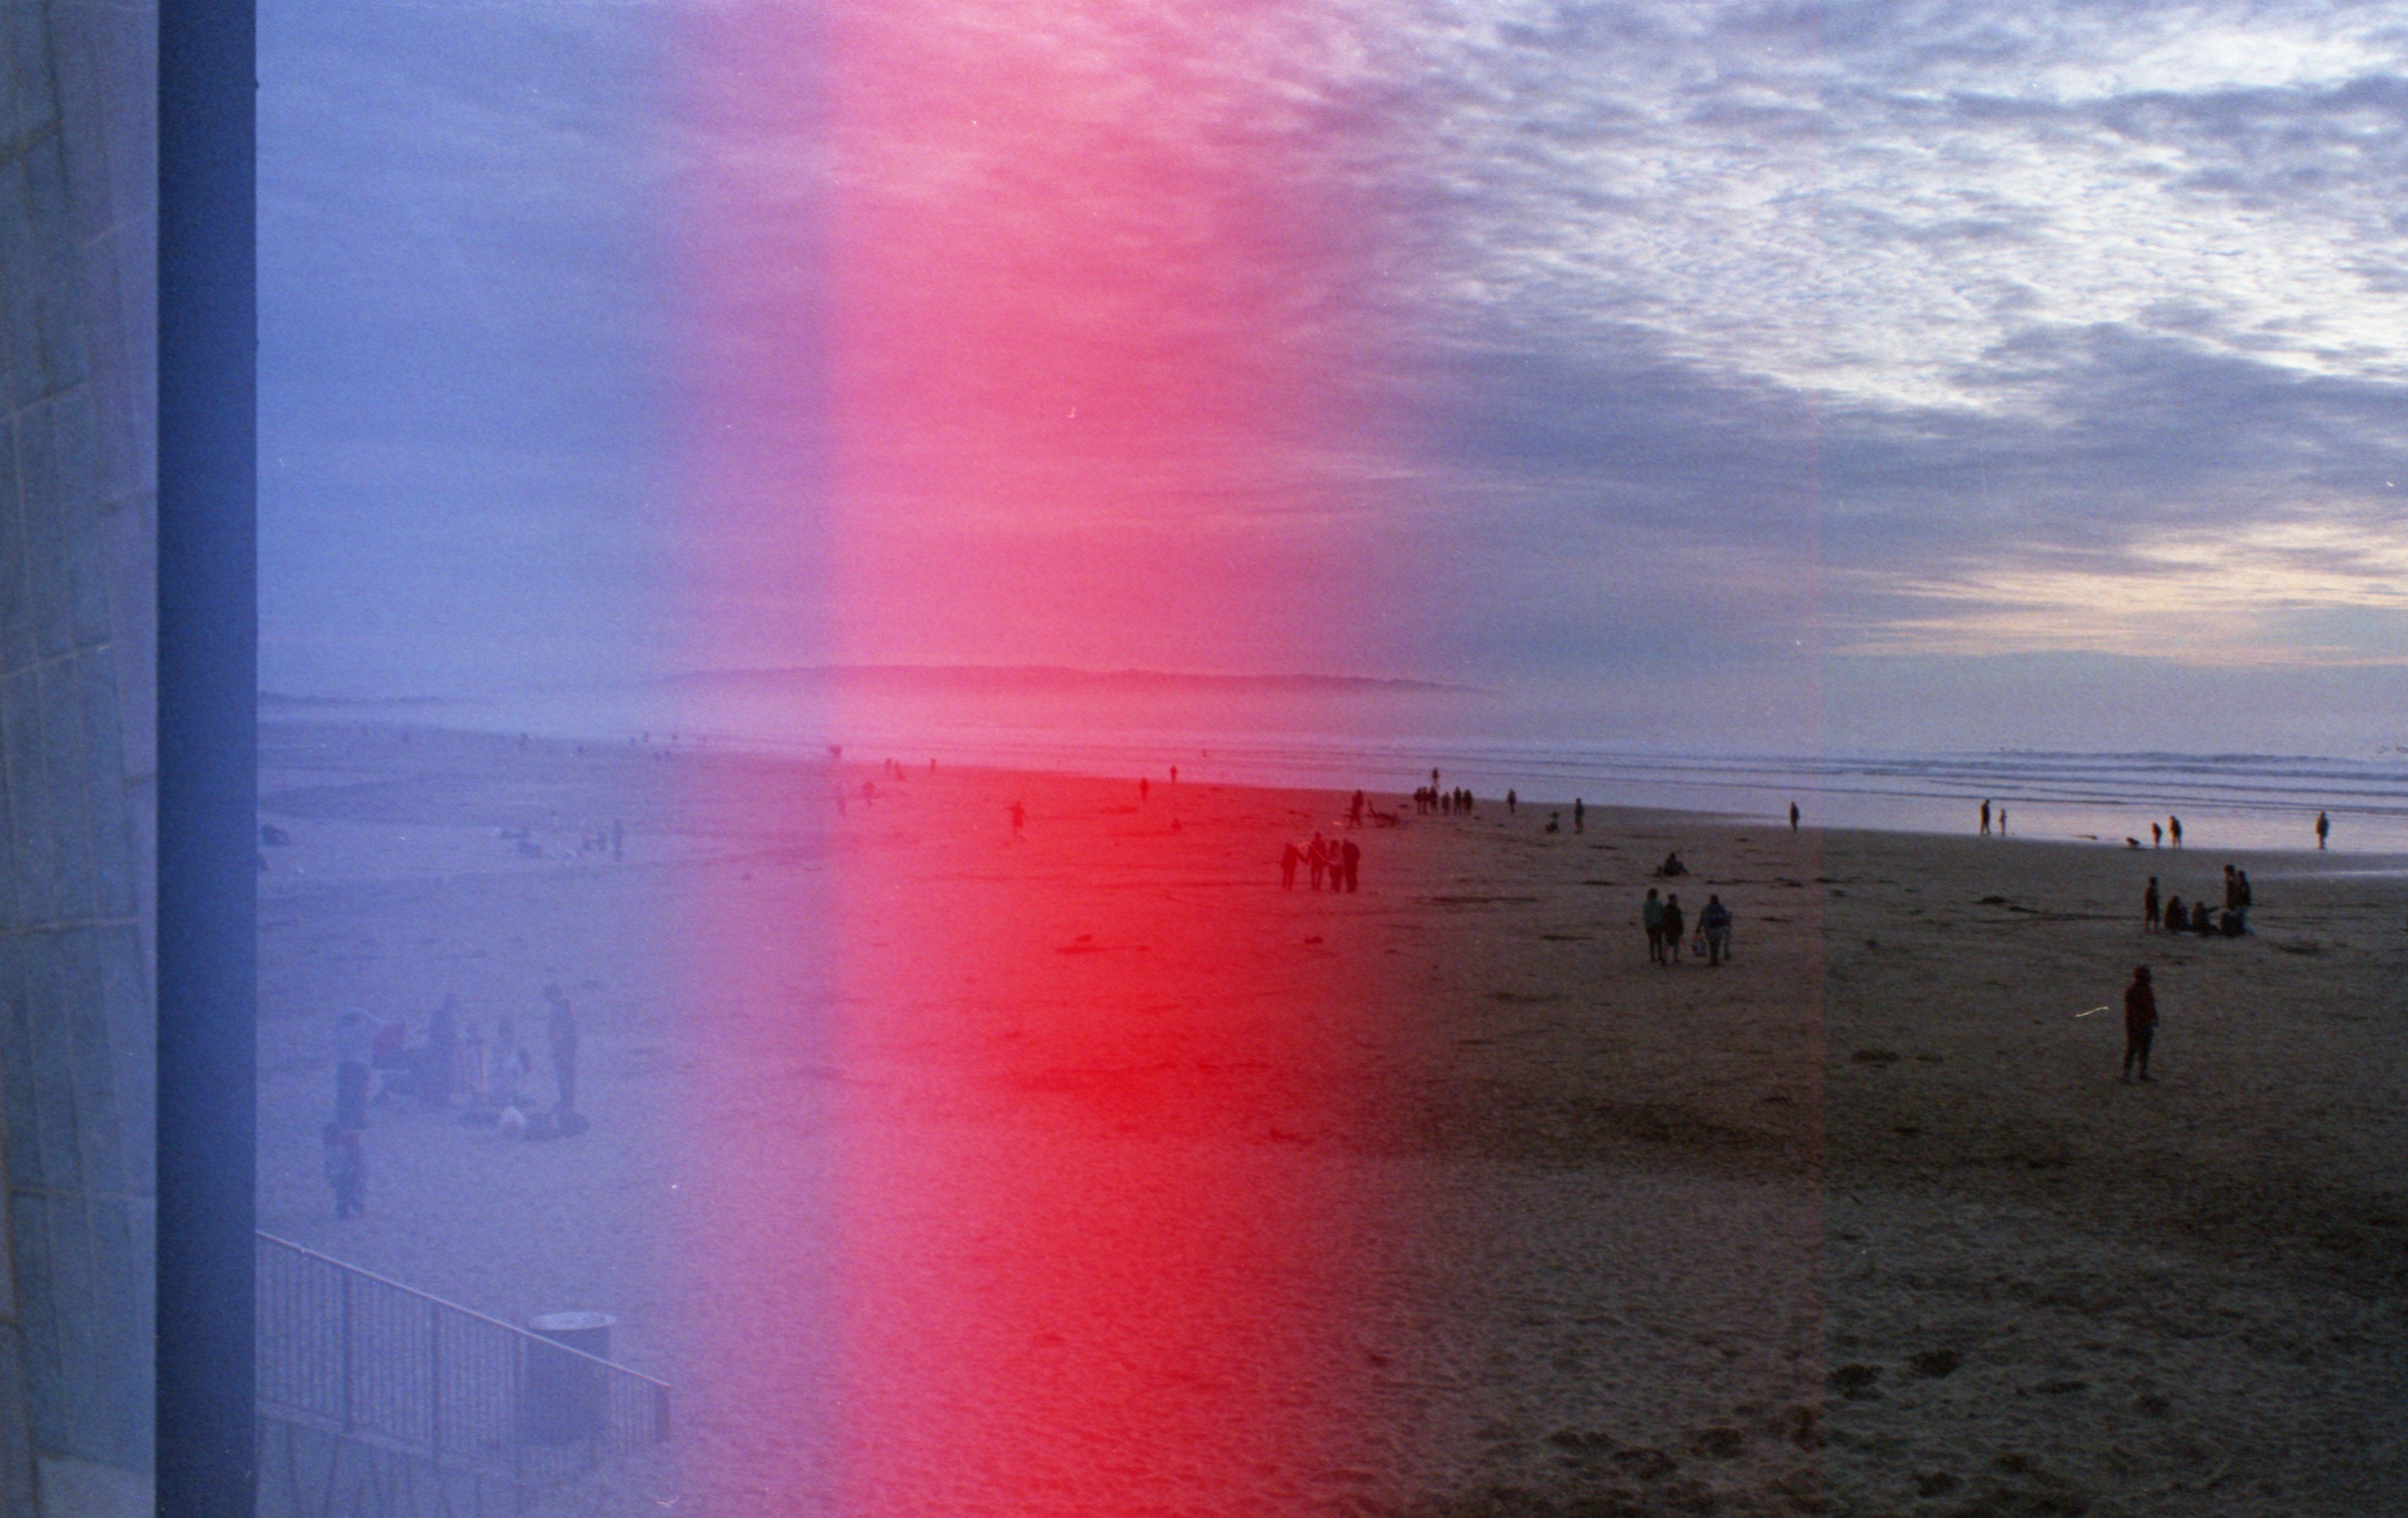
- Clean the front element and check for salt spray.
- Set ISO before the sky gets too dark.
- Switch to the right drive mode for the subject speed.
- Check the histogram after the first frame.
- Reframe once, then shoot again if the cloud shape changed.
Card speed matters when you shoot bursts or RAW files. UHS-II cards with V60 or V90 ratings clear the buffer much faster than UHS-I cards, especially on high-res bodies. Mirrorless cameras also drain battery faster when the EVF stays bright, the LCD stays on, and you review many frames. One spare battery can be the difference between catching the last orange band and missing it.
Editing the frame without losing the glow
In post, keep the sky warm but not orange. Pull back highlights first, then lift shadows only enough to show shape.

Use a gentle S-curve or a small contrast bump if the image looks flat. If the water looks too cool, add a touch of warmth instead of pushing saturation hard.
A simple raw edit path
- Lower highlights until cloud detail returns.
- Raise shadows a little on faces and dark rocks.
- Set white balance by eye, then nudge it warmer if needed.
- Use local masks on faces instead of brightening the whole frame.
Tools like Lightroom or Photo Mechanic help you cull fast and mark the strongest frames. Pick the one image where the sky, face, and surf line up, then keep your edit clean. Sunset beach photos work best when you protect the sky first, keep the camera ready, and add just enough fill for the face. On the next shoot, start at ISO 100, f/11, and a slight -1/3 EV bias, then check the histogram after the first frame before the light slips away.

Frequently Asked Questions
How do I expose for bright beach scenes?
Expose for the highlights and let the shadows run a little dark, because the sky is usually the first part to clip at sunset. Use spot metering or highlight-weighted metering, start with slight underexposure around -1/3 to -2/3 EV, and check the histogram and highlight warnings for clipped clouds or wet sand.
What camera settings work best at sunset?

A low ISO, midrange aperture, and a shutter speed matched to the available light give a strong sunset starting point. ISO 100 to 200, f/8 to f/16, and about f/11 for landscape-style beach scenes are solid defaults, with faster shutter speeds needed for moving people or surf.
How can I avoid squinting subjects in harsh light?
Use a reflector or low-power flash to soften the strong directional light that creates deep shadows and uncomfortable brightness on faces. Positioning subjects so the sun is less direct, such as with the light coming from the side or behind them, also reduces squinting and harsh facial shadows.


