


- Use the 20-60-20 rule to stay low, pause often, and scan ahead quietly.
- Set ISO as low as possible while keeping shutter speed fast enough to freeze movement.
- Start in Aperture Priority, use continuous autofocus, and keep a telephoto ready at your chest.
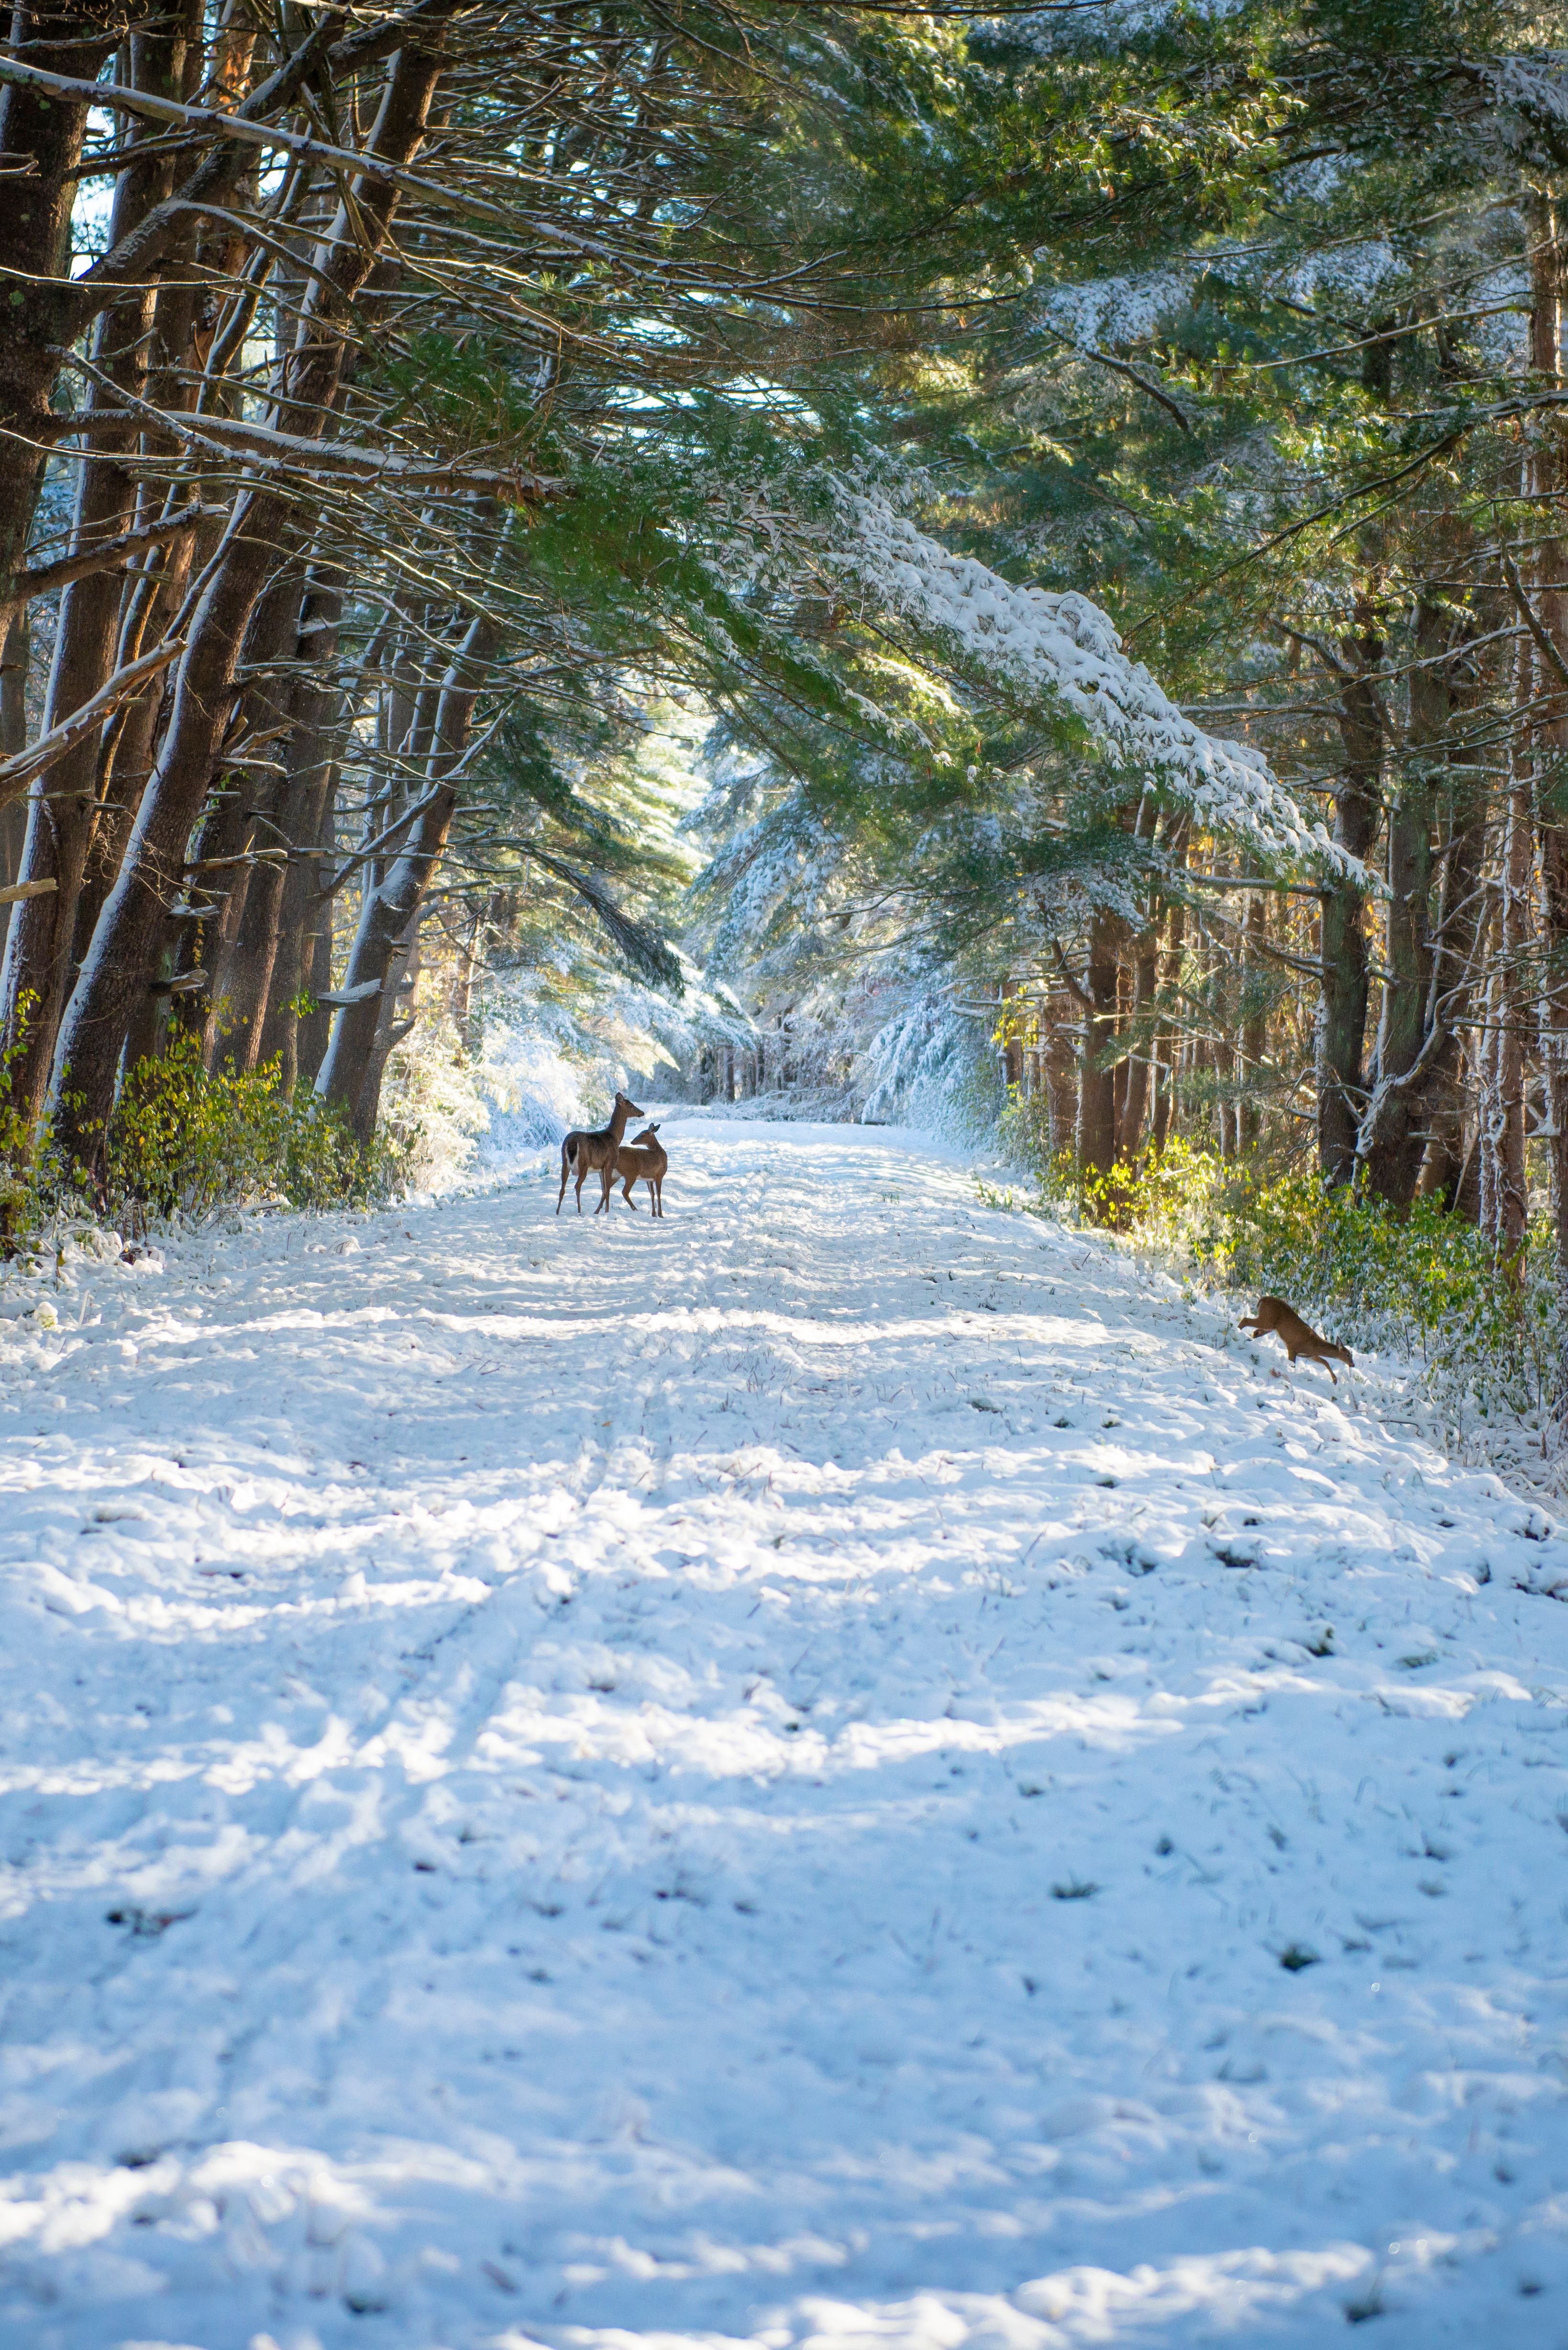
Wildlife photography camera settings are the choices that help you freeze animals, hold detail, and work quickly in the field. On a quiet trail, they matter even more because deer can disappear in a few steps. The strongest frames come from steady movement, the right lens, and a fast setup. Spot the deer early, lift the camera without fuss, and make one clean shot before it reacts.
Translation missing: en.blog_cta.bundle_heading

- Regular price
-
€42 - Regular price
-
€44 - Sale price
-
€42
By choosing the Camstrap strap, you are opting for a high-quality product designed to meet the needs of the most demanding photographers.
- Developed by a physiotherapist to relieve neck and back pain.
- Fast delivery with tracking by the Post Office 🚚
- Can be used as a shoulder strap or hands-free harness

- Regular price
-
€36 - Regular price
-
€42 - Sale price
-
€36
Translation missing: en.blog_cta.free_shipping_included
Move quietly and keep a long view
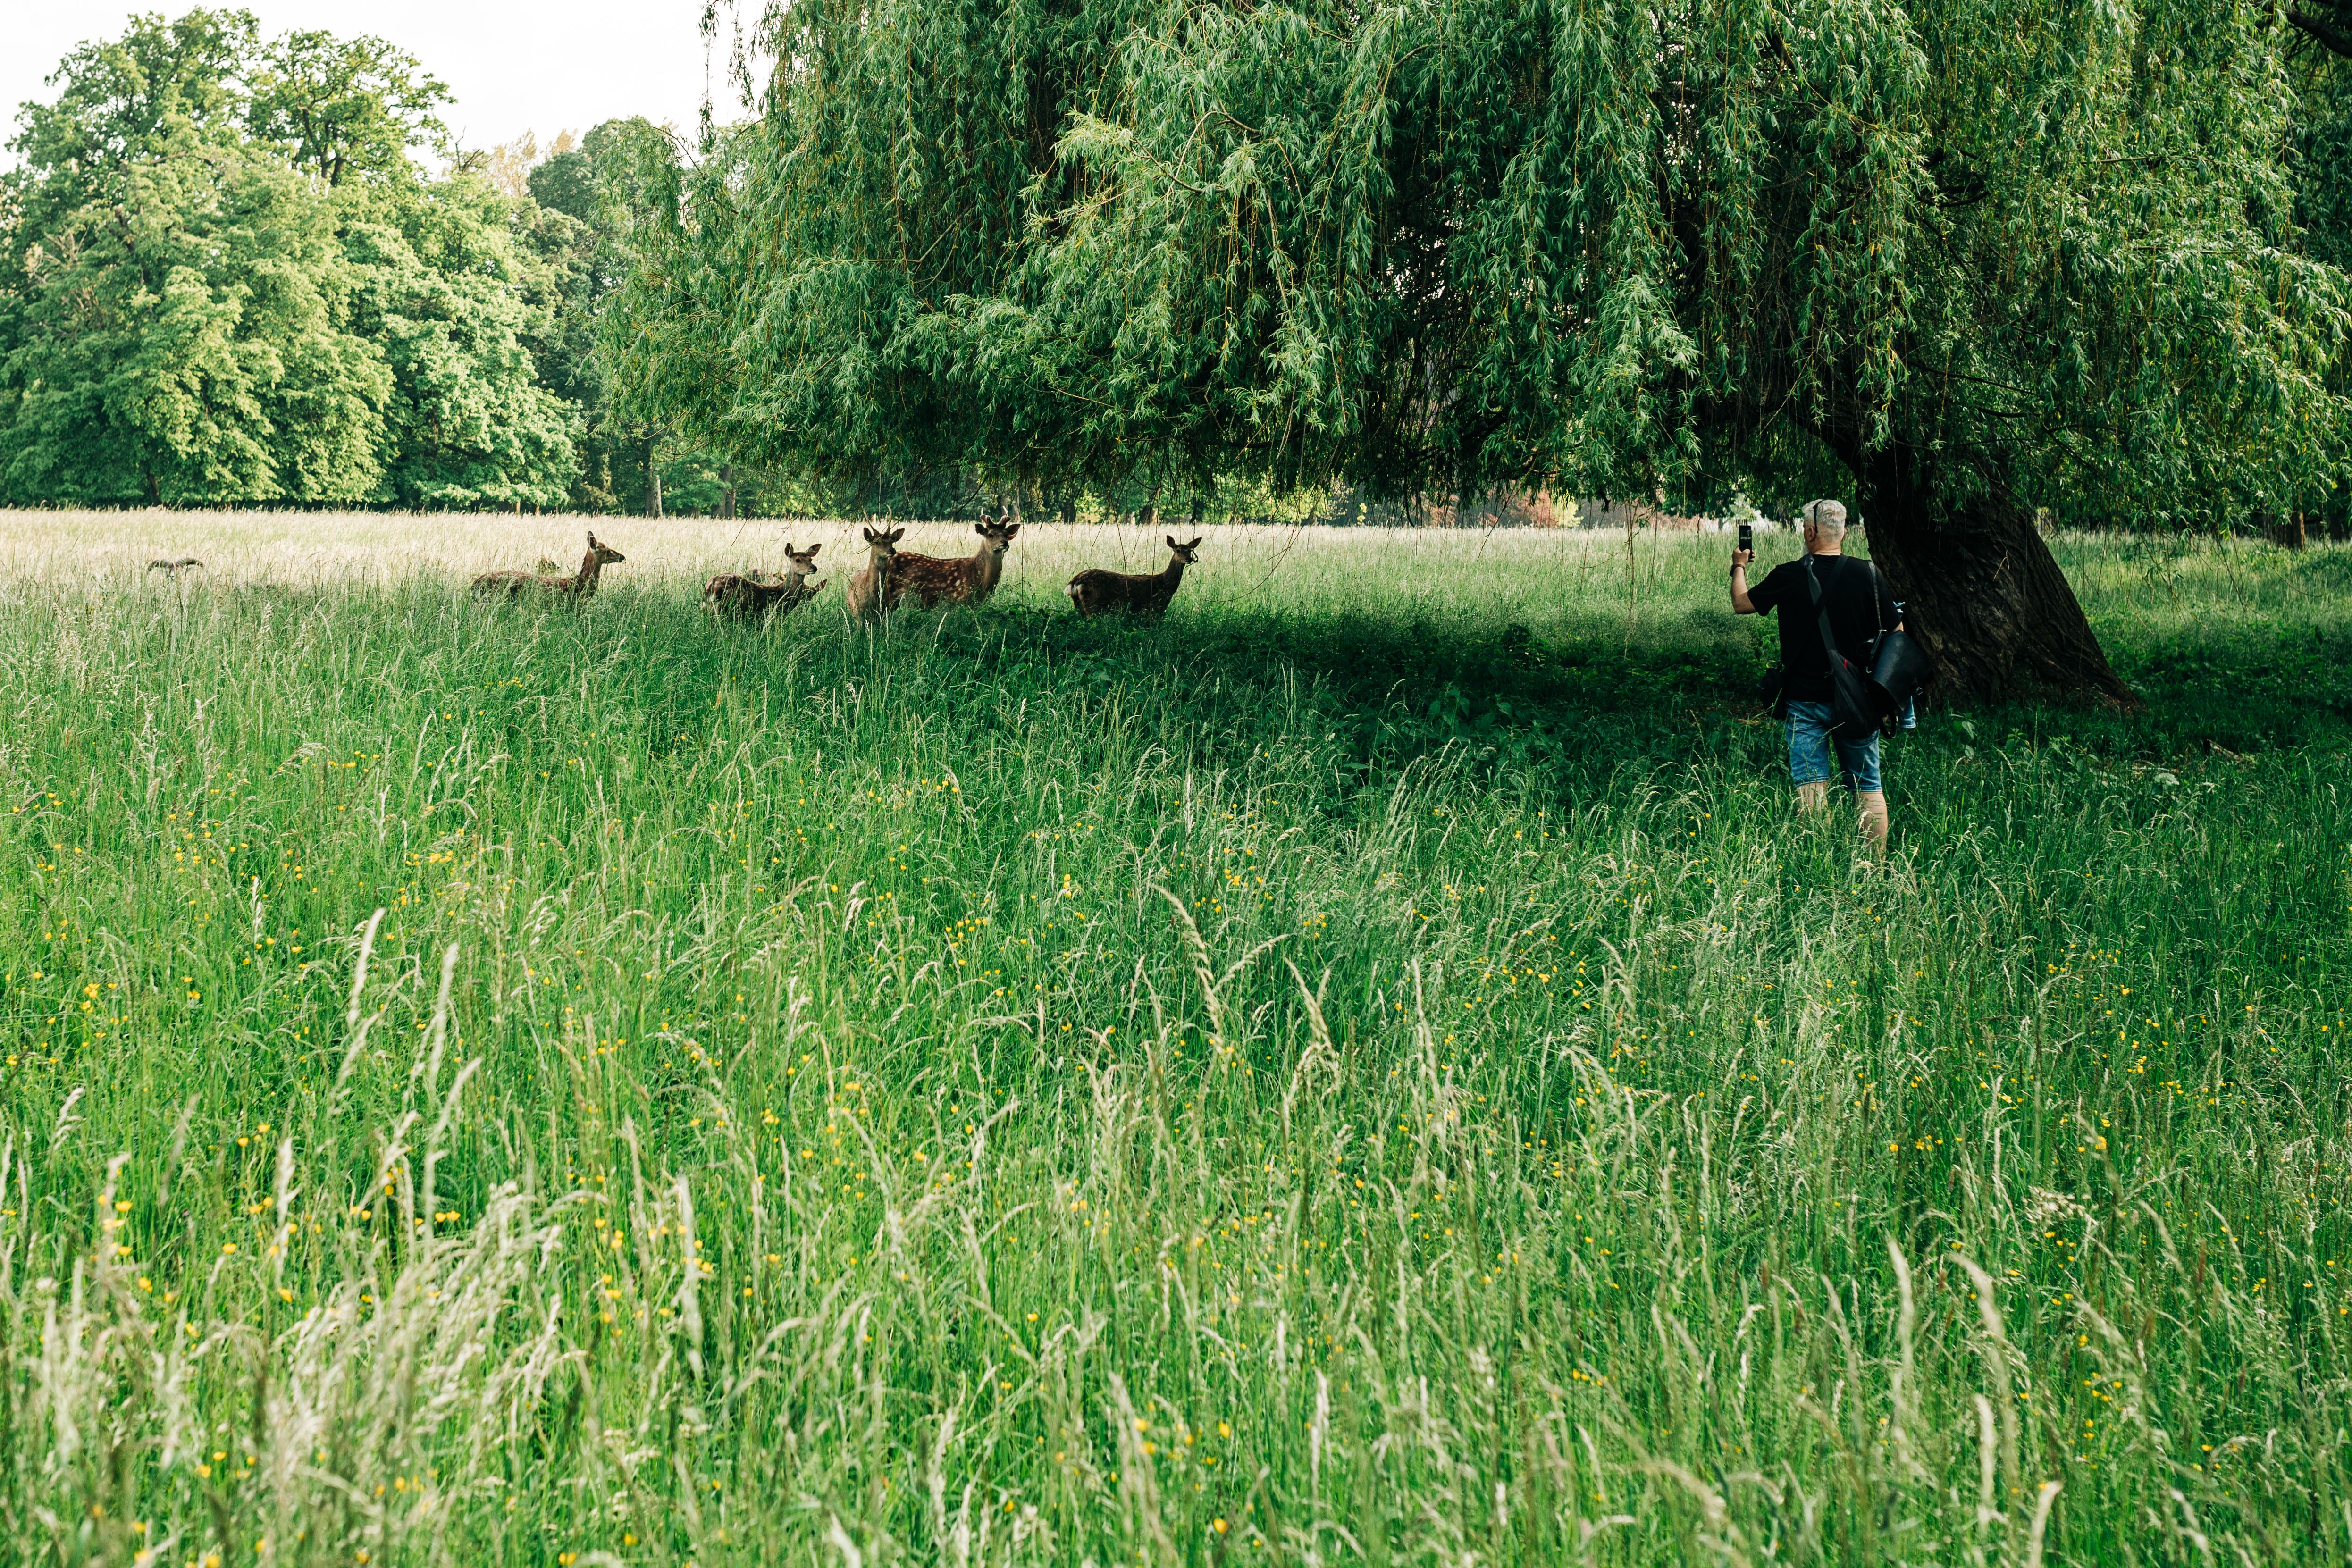
Deer often notice motion before they notice shape, so the first job is simple: move like part of the trail, not like a threat.
A telephoto lens lets you stay back while still filling the frame. One wildlife guide recommends 70–200mm or 300mm lenses for deer photography, with slow movement if you have to close the distance.
Read the trail before you lift the camera
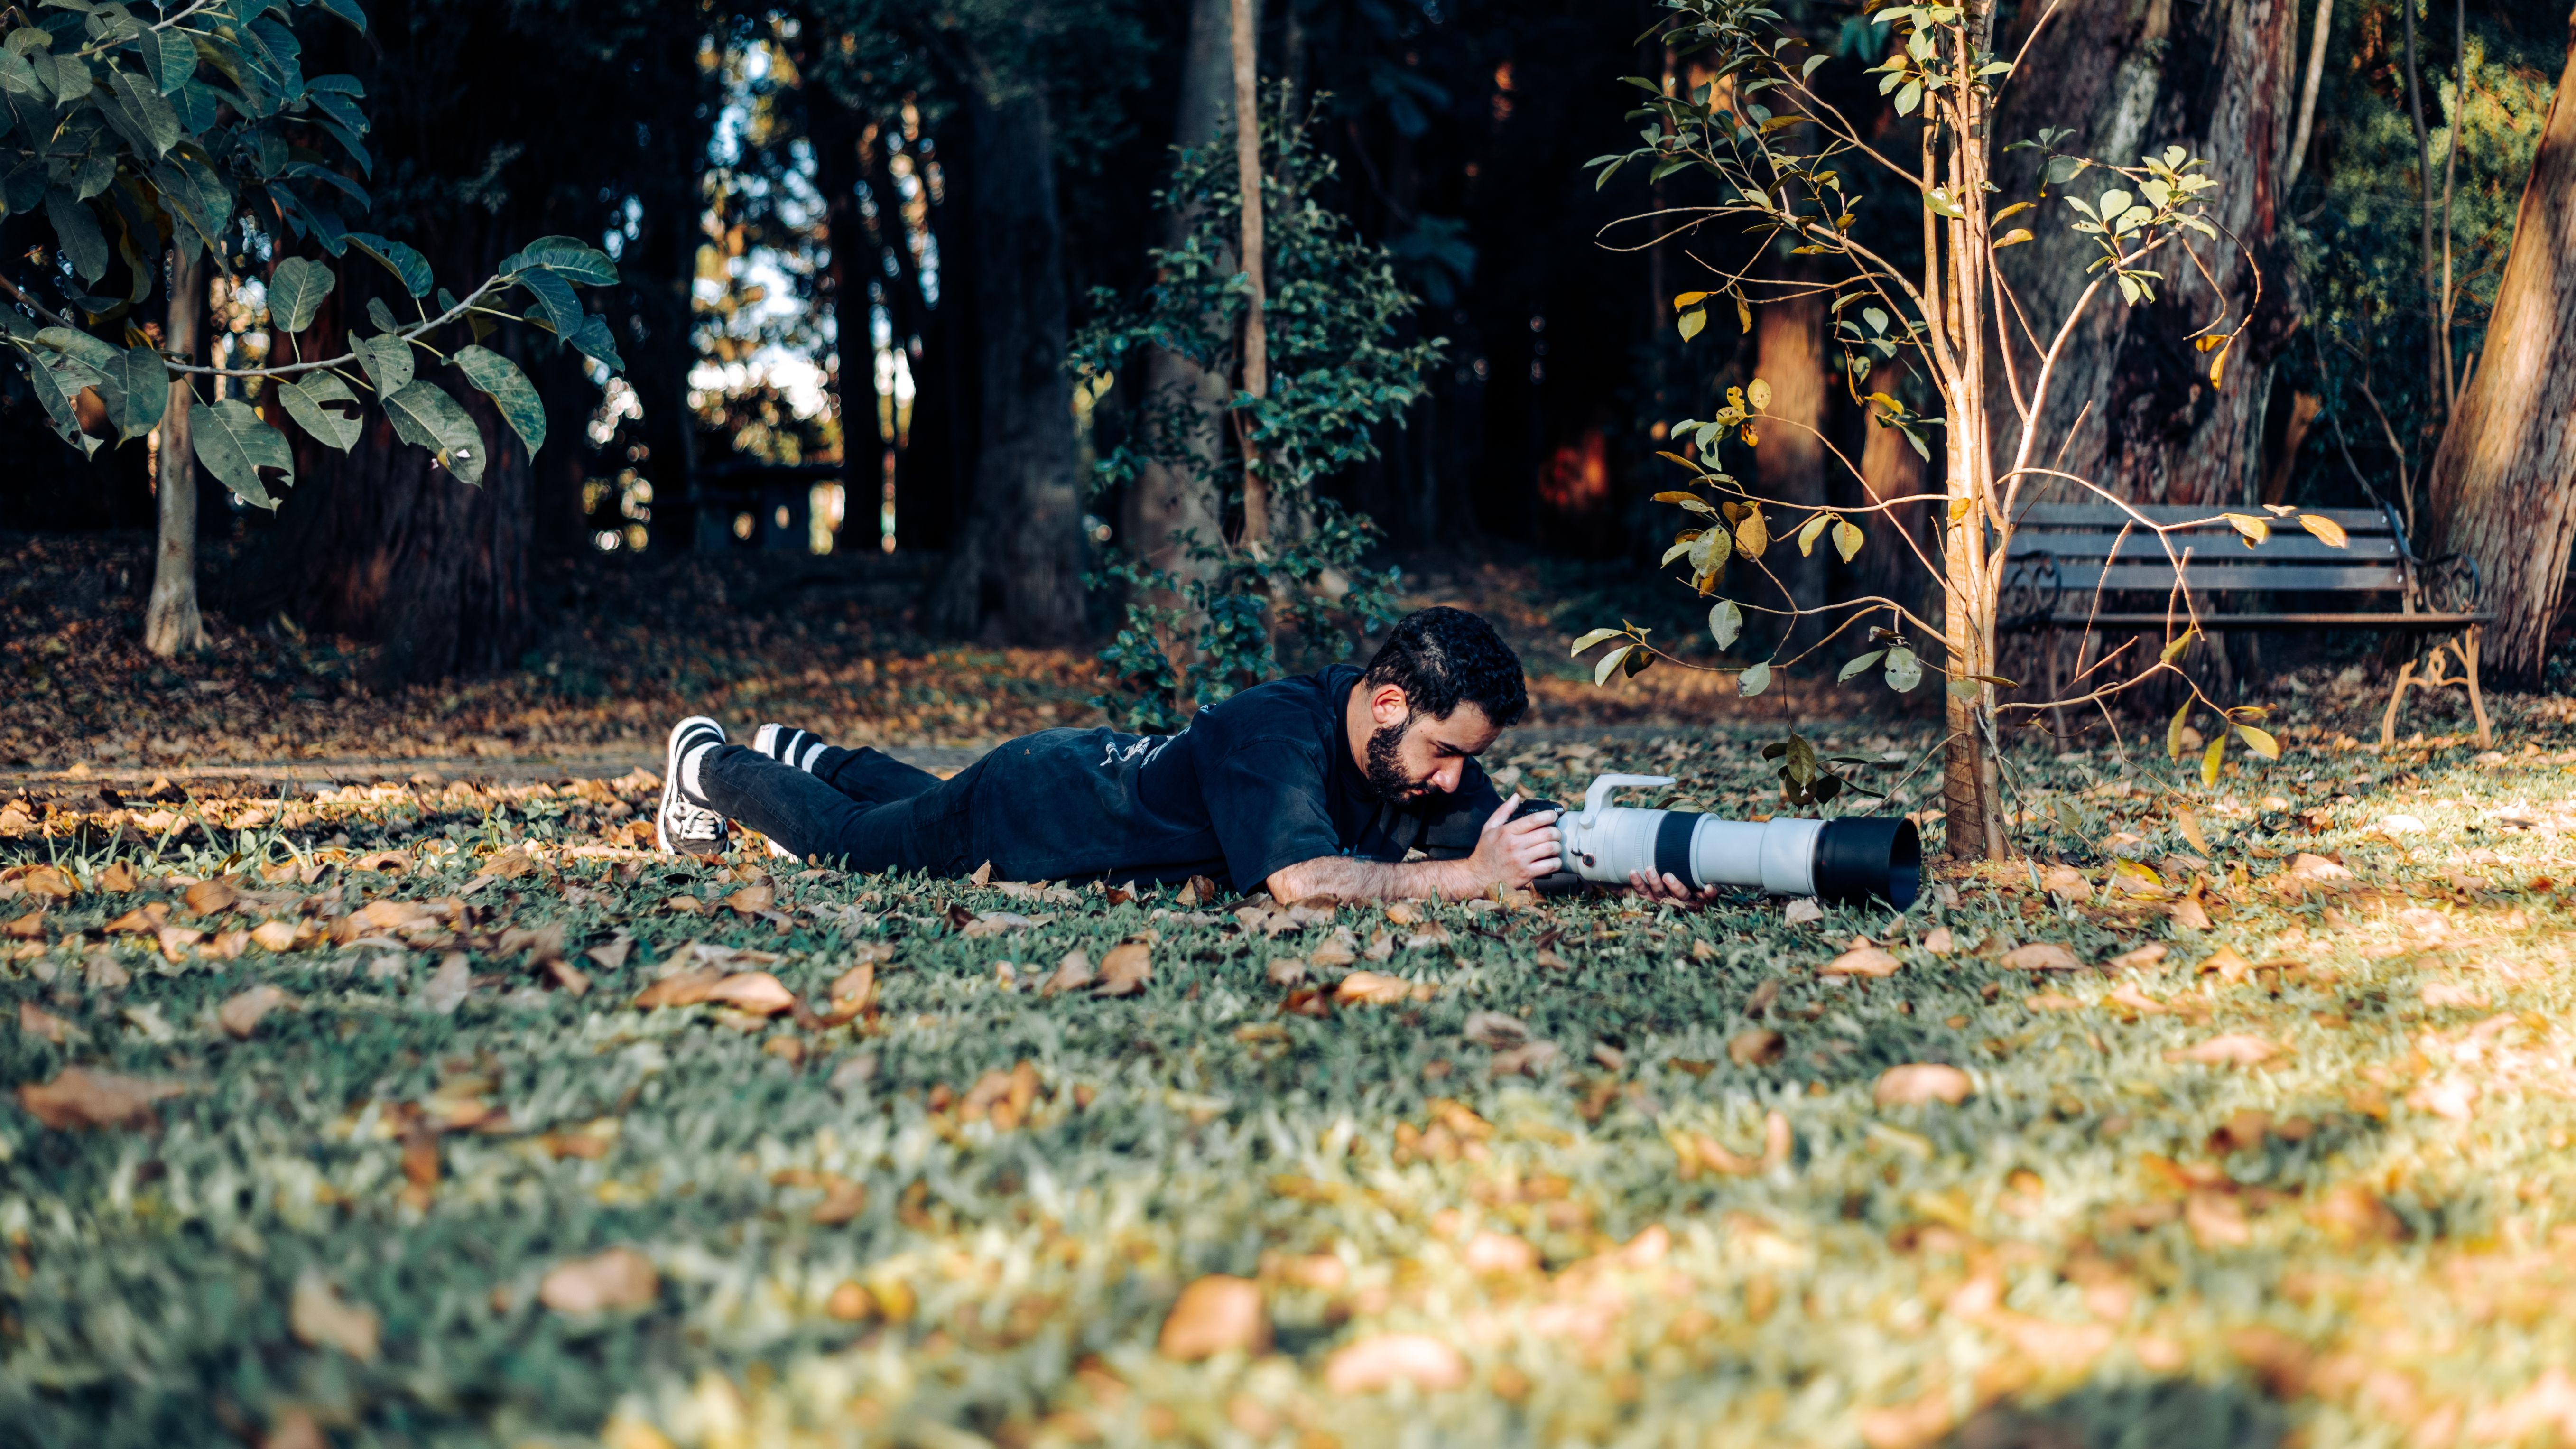
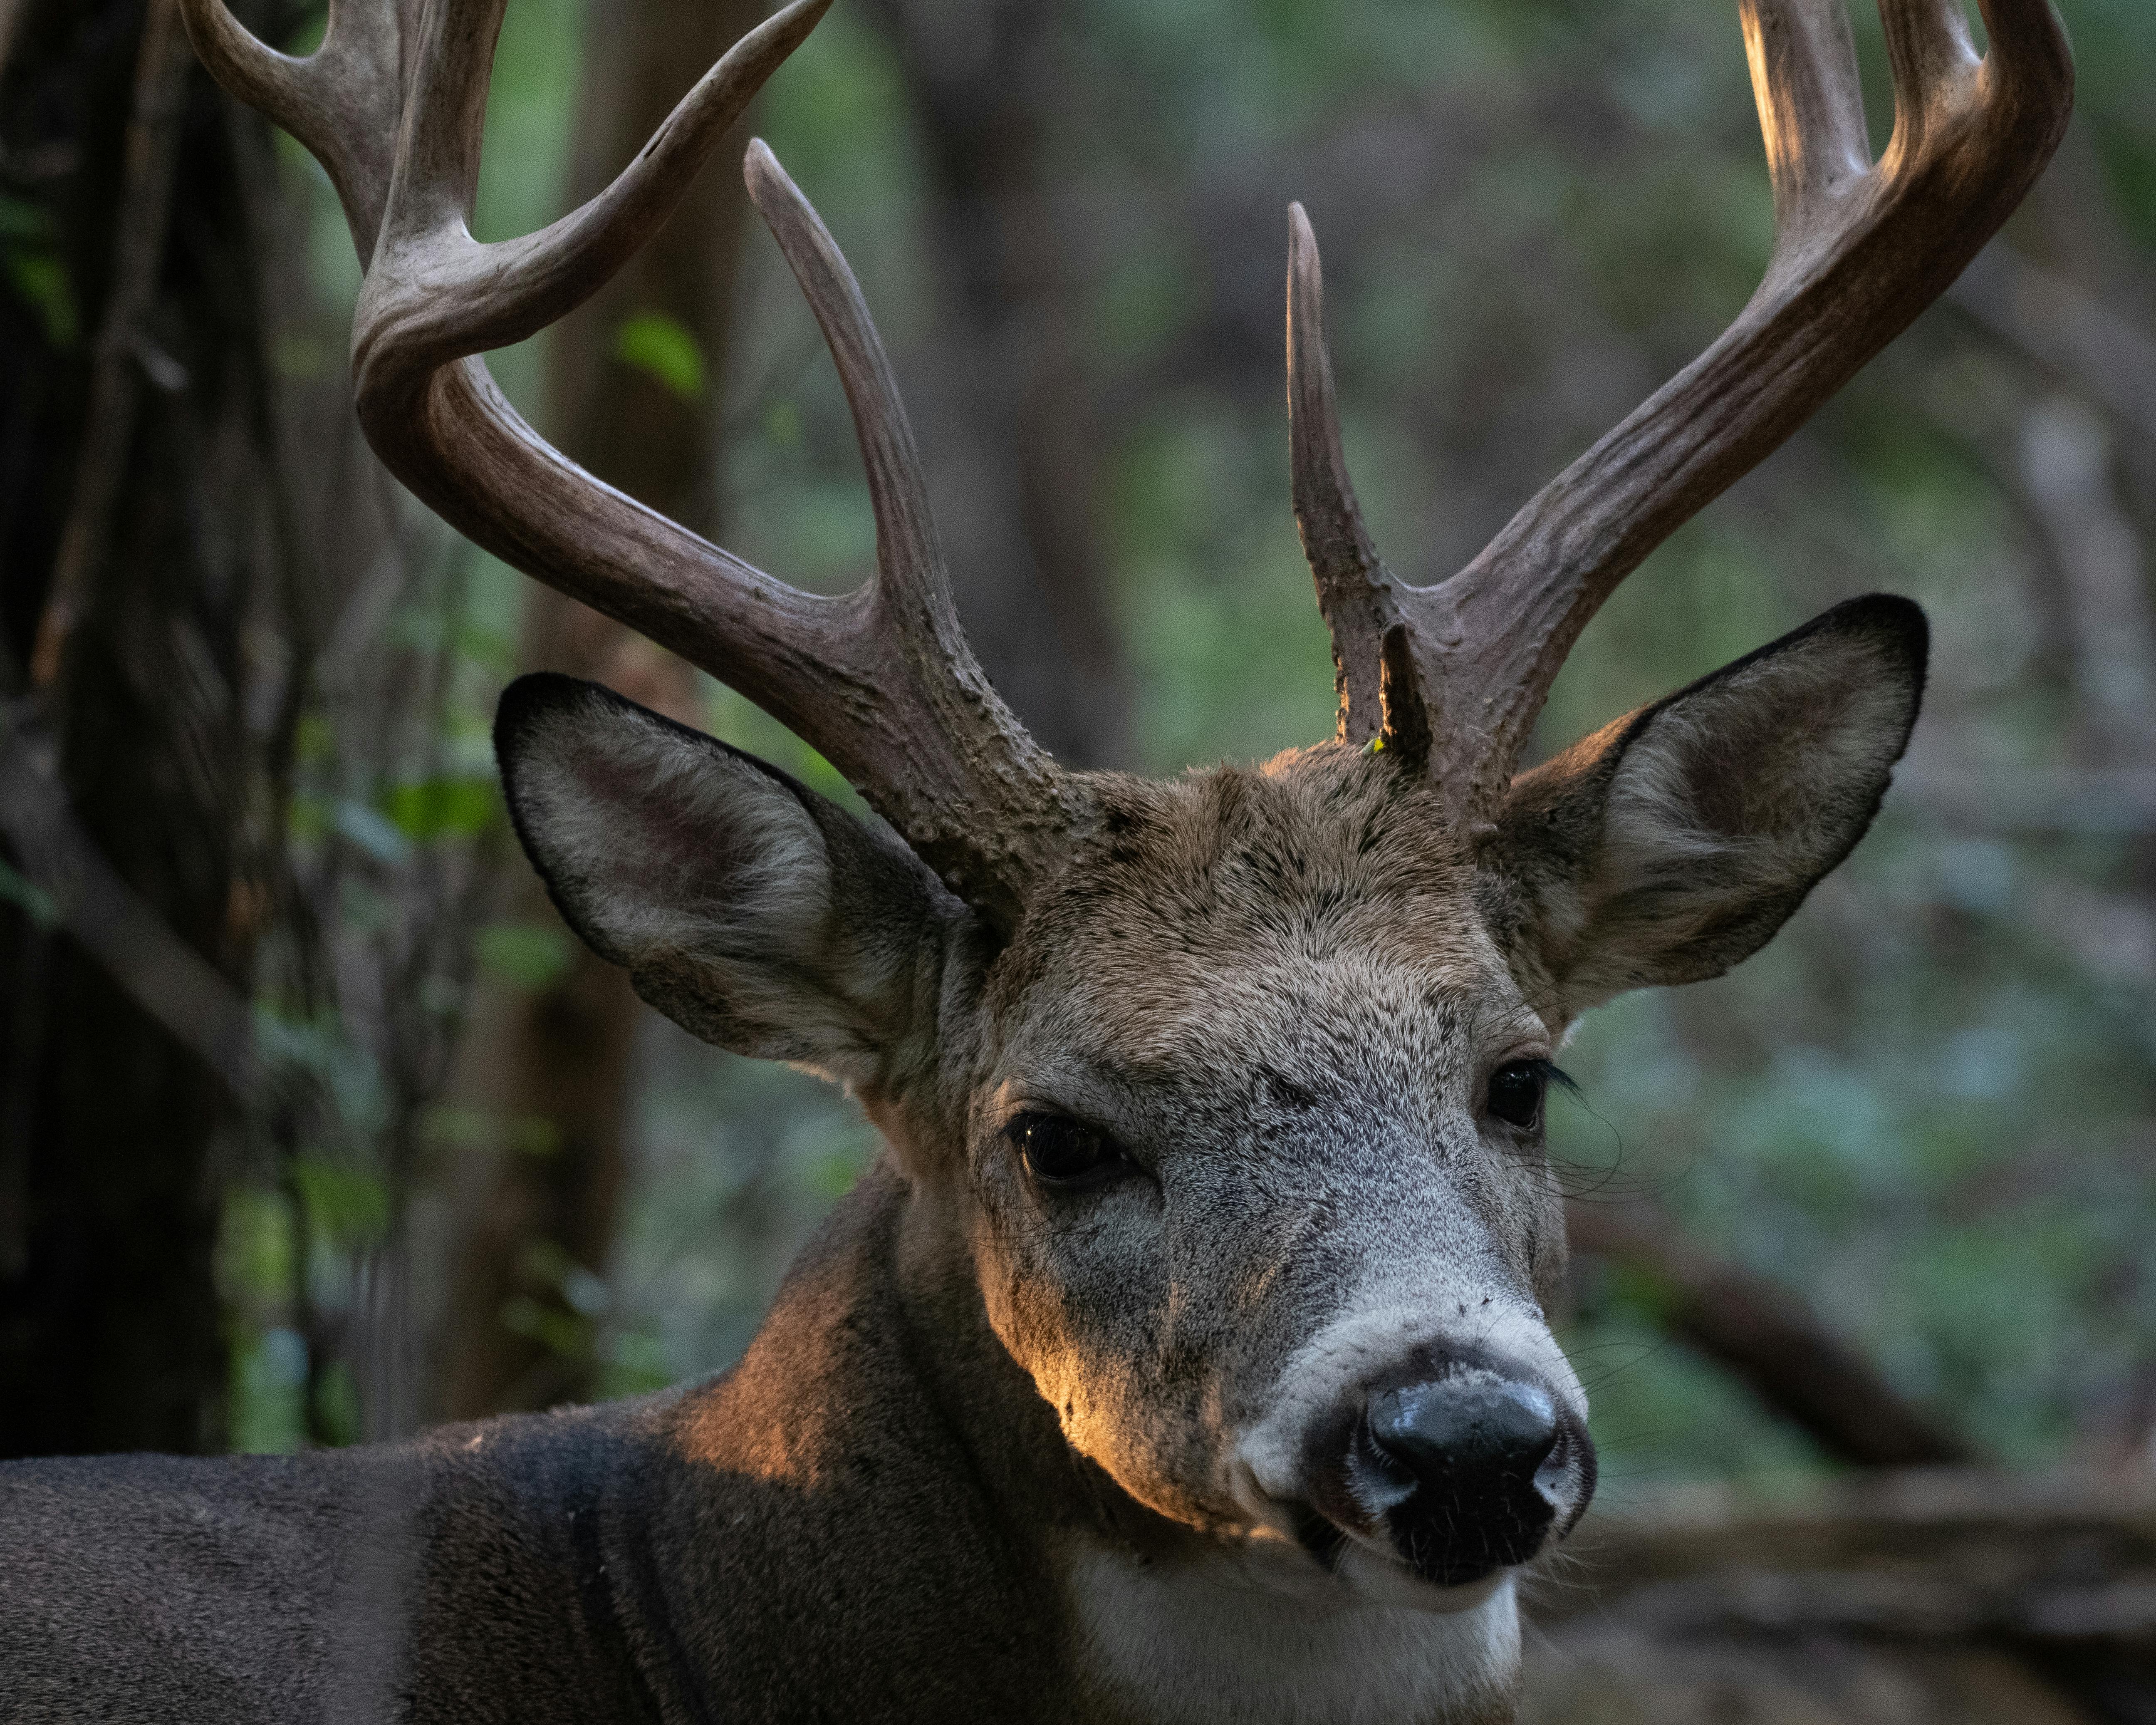
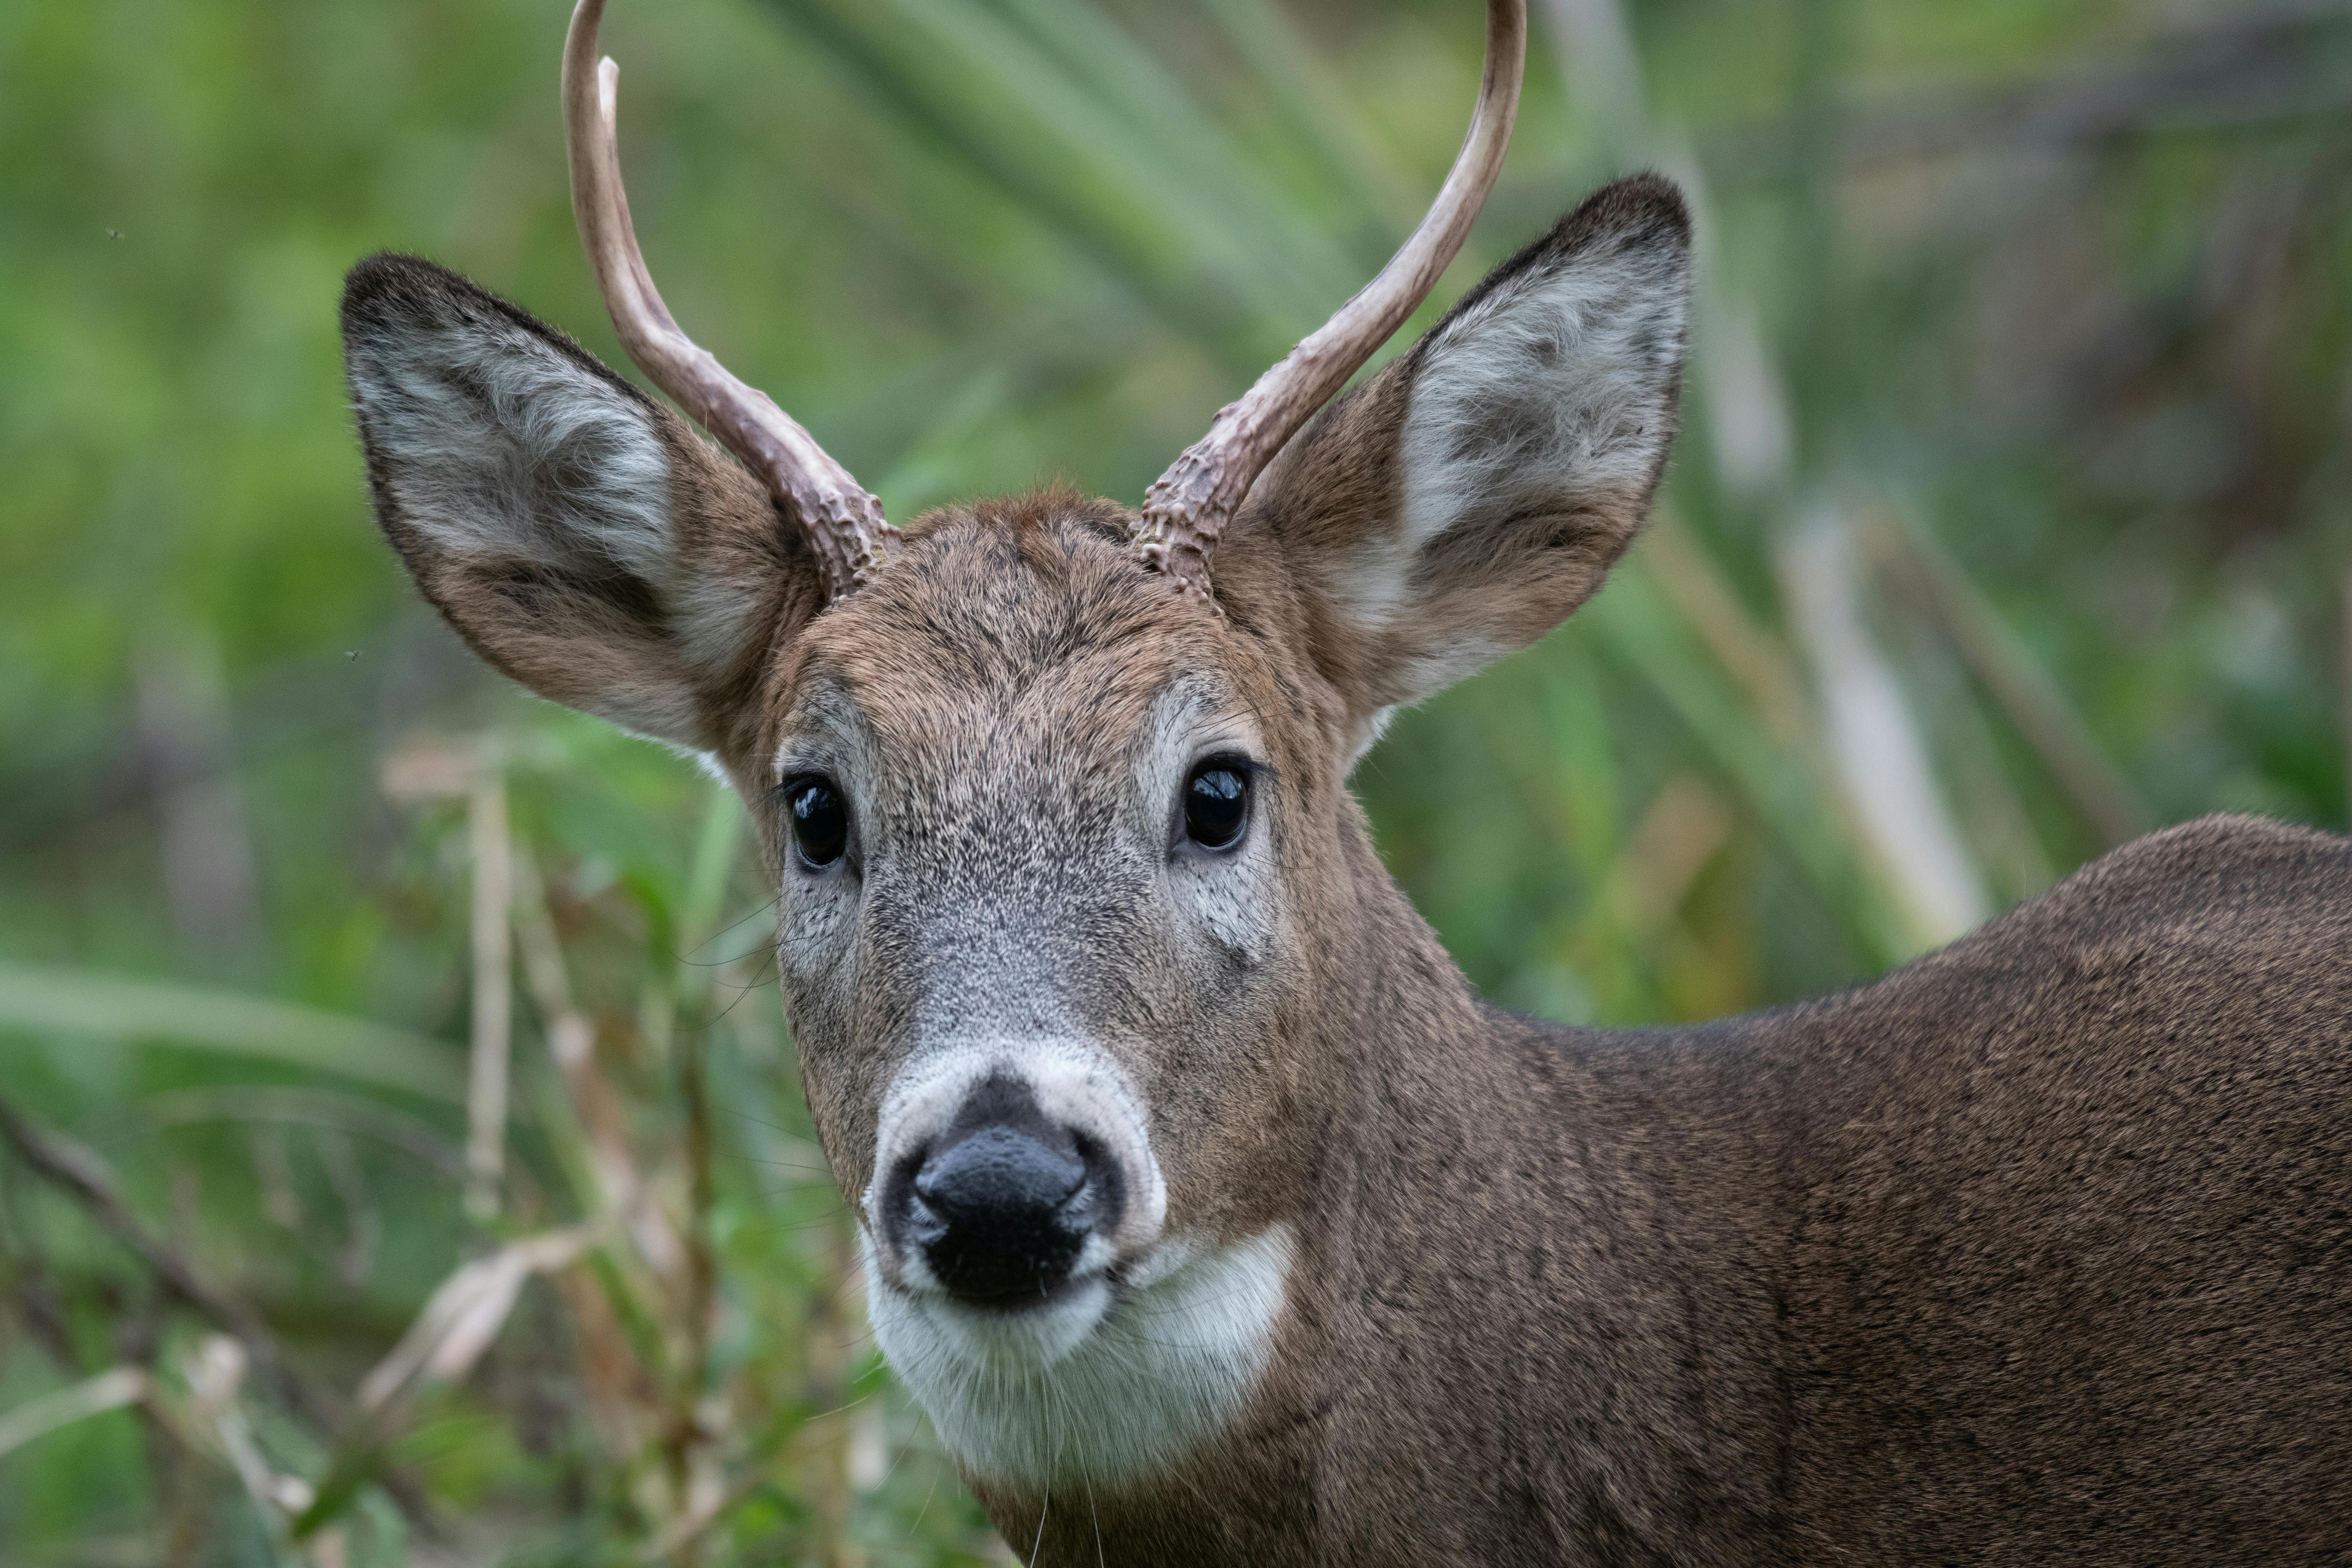
Watch the edges, not the center of the path. Deer often step out near bends, thin gaps in the trees, and open patches beside brush. Look for ears, eye shine, and a brown shape breaking the leaf line. A deer’s head may appear first, giving you just enough time to lock focus.
Keep the camera ready, but avoid letting it swing around. A hands-free strap helps here, since the camera stays close and quiet while you hike between viewpoints. A design like the Camstrap voyager works for that reason.
Use distance as part of the shot
Longer focal lengths do more than crop the scene. They flatten the background a bit, which helps the deer stand out from trees and grass.
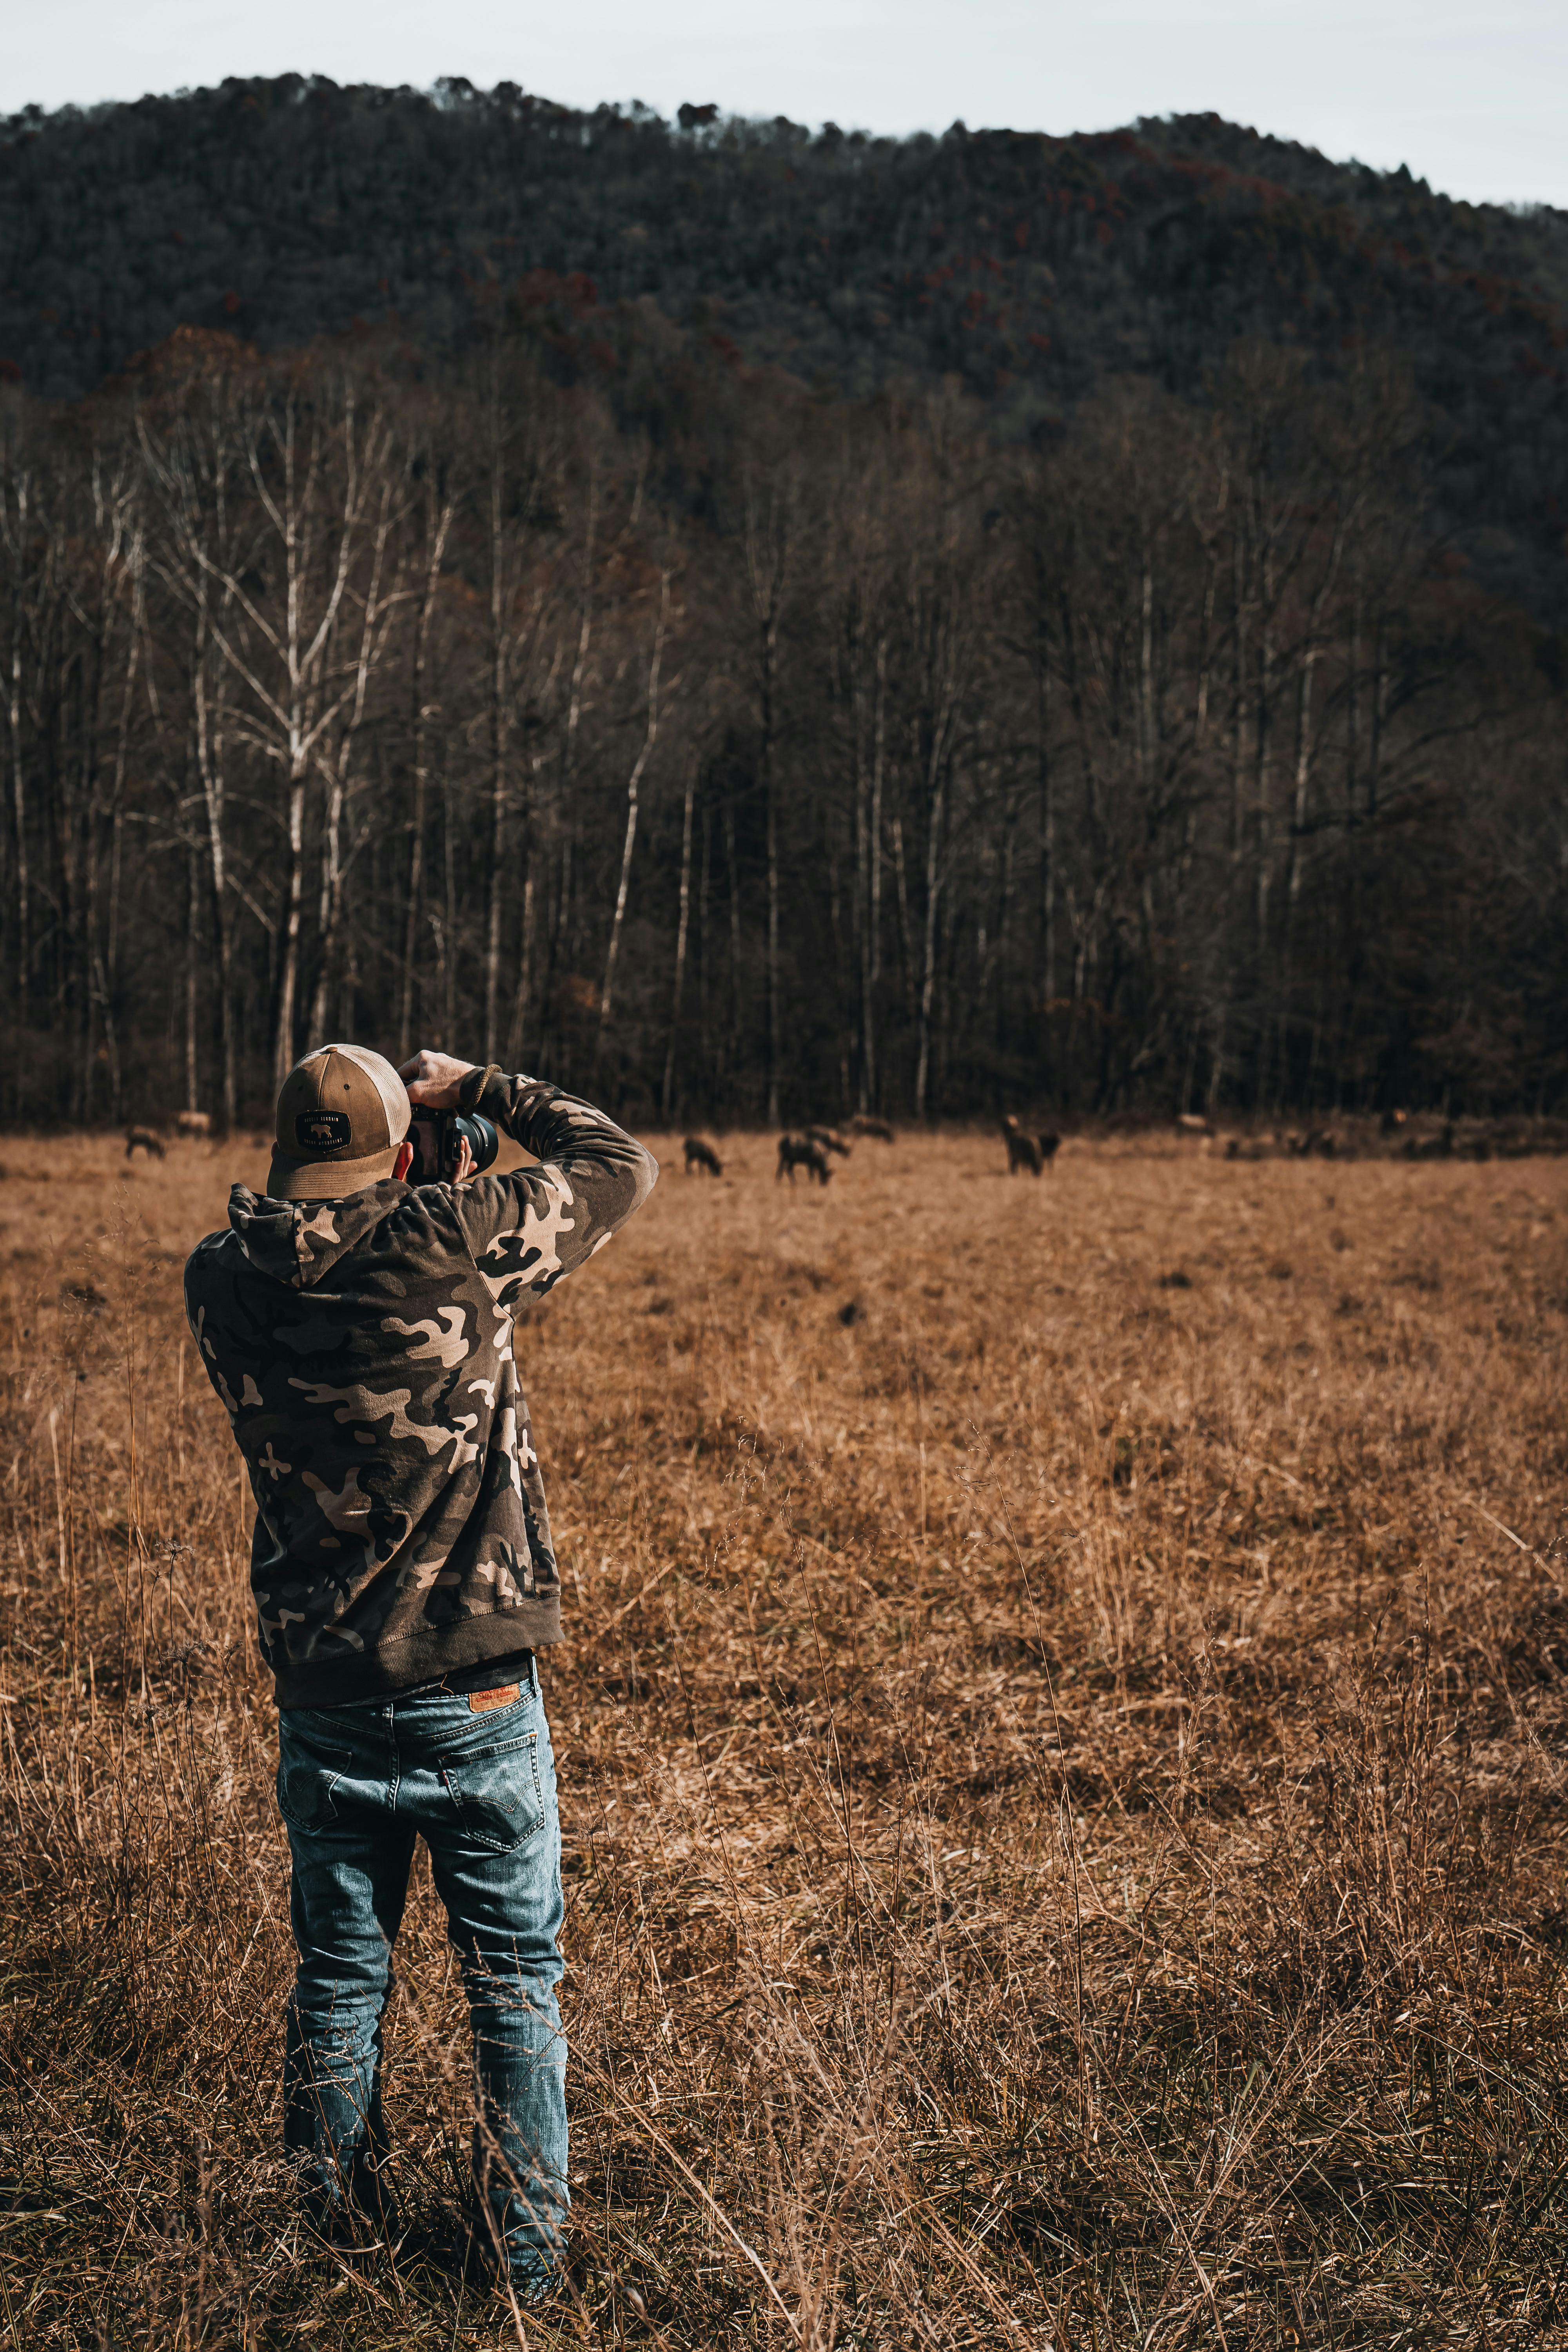
On a trail, that separation helps a lot. Dense woods can swallow a deer’s outline, while a cleaner frame makes the animal easy to read.
Dial in settings for a quick deer frame
Aperture Priority mode is the most practical starting point for wildlife because it lets you control depth of field while the camera handles exposure. OM SYSTEM recommends this approach for animals on the move. For shutter speed, aim for at least 1/500s for most wildlife. Walking deer can often work at 1/500–1/1000s, while running deer may need 1/1600s or faster.
Shutter speed, aperture, and focus in one plan
Set continuous AF, then use a single focus area or subject detect when your camera tracks well. Back-button focus helps too, because it separates focusing from the shutter press.
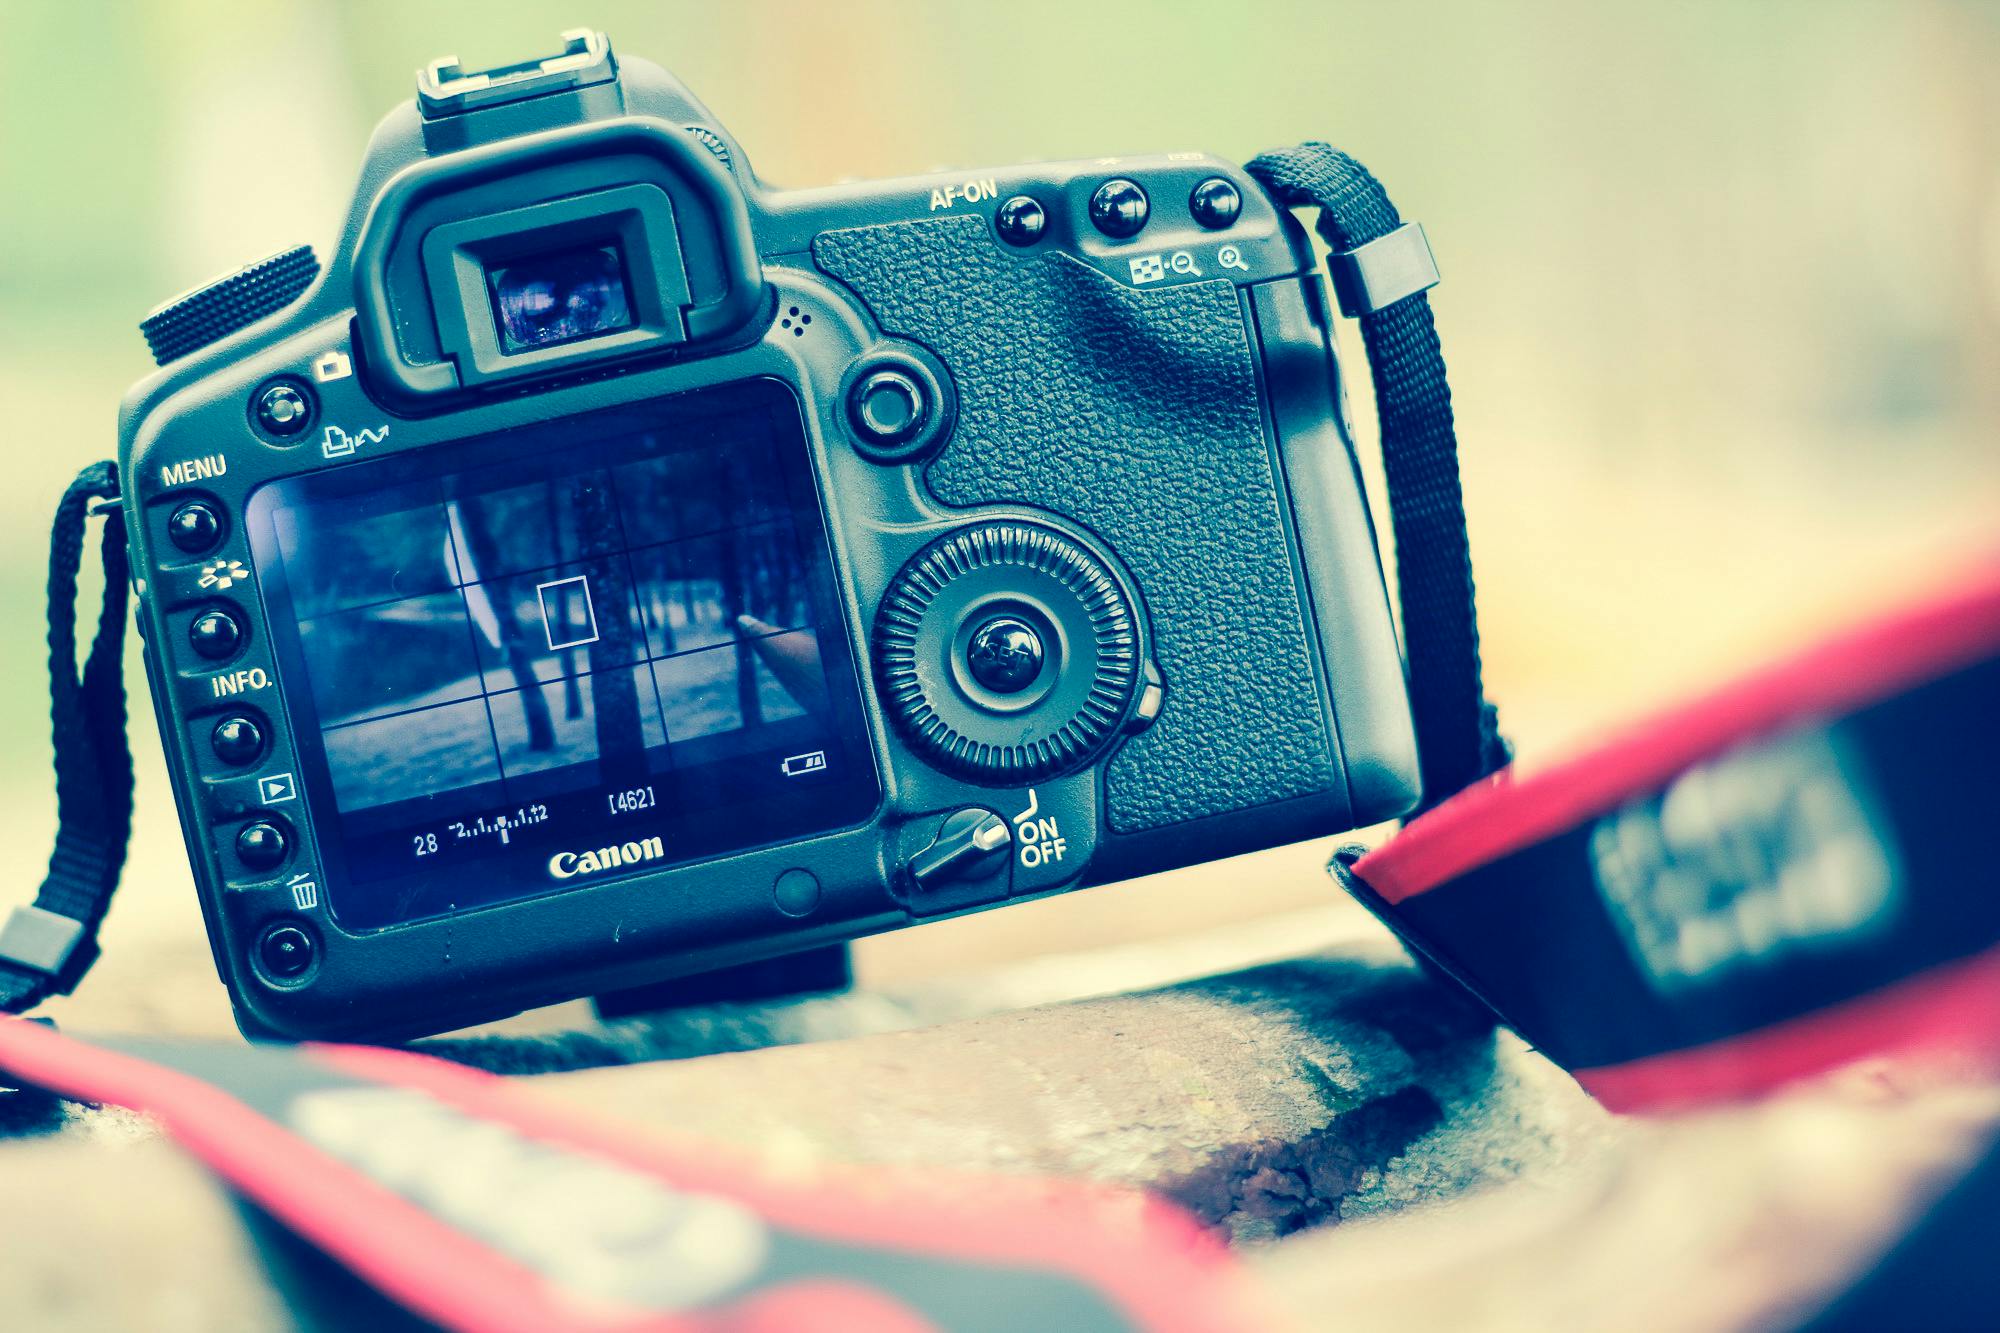
For aperture, f/2.8 to f/4 is a strong range when you want the deer to pop from the background. OM SYSTEM also notes f/5.6 when you need more of the animal in focus.
The tradeoff is straightforward. Wider apertures blur the background more, and they also make the focus plane thinner. If a deer turns its head, a very shallow field can miss the eye.
ISO settings that keep detail without killing speed
ISO should rise only as much as the light demands. One wildlife guide suggests Auto ISO with a range of 100–3200, while another keeps entry-level cameras around ISO 100–800. Start low in strong light. Then let ISO climb when the shutter needs help, because a sharp frame beats a dark one with less noise.
At dusk, lens choice becomes even more important. A 300mm lens at f/4 will push ISO higher than a lens at f/2.8, so choose your compromise early.
What is the 20 60 20 rule in photography?
The 20 60 20 rule in photography splits your attention across a scene. Spend about 20% on the first look, 60% on the main subject and frame, and 20% on the final check before you shoot.
For deer on a quiet trail, that means you scan quickly, build the frame with care, and check for one last problem. The rule keeps you from rushing the shot or fixating on only one part of the scene.
How it helps in the field
Use the first 20% to find the deer and judge its path. Use the middle 60% to place the animal away from busy branches and bright gaps. Use the final 20% to check the eyes, the legs, and the edge of the frame. A small twig across the face can sink a strong wildlife image.
Clean composition comes in here too. If the deer is near a trunk or a bright patch, shift a step or two and wait for a better angle.
Which ISO should I use for wildlife photography?
The right ISO is the lowest value that still lets you hold your shutter speed. For most deer work, that often means ISO 100 to 800 in good light, and Auto ISO up to 3200 when the trail gets dark.
Noise climbs as ISO climbs, but motion blur is usually the bigger problem with deer. A slightly grainy image is often easier to fix than a soft one.
Pick ISO by light, not habit
Bright morning light can keep you near ISO 100 or 200. Forest shade may push you to 800, 1600, or more if the deer keeps moving. If your camera handles noise well, let Auto ISO do more work. Set a floor you trust, then cap the top end so the file still looks clean.
One useful habit is to watch the shutter first. If the camera drops below 1/500s, raise ISO before changing anything else.
How do I set up a camera for wildlife photography?
A good deer setup starts before the animal appears. You want the camera ready for fast focus, a safe shutter speed, and a card that can keep up.
Use continuous AF with eye or subject detection if your body tracks it well. Set the drive mode to high continuous, then test how long your camera holds RAW before slowing down; many mid-tier bodies manage about 10–20 RAW frames, while RAW plus JPEG fills sooner.
A field-ready setup that saves time
- Set mode to Aperture Priority.
- Choose f/2.8 to f/4 for most trail encounters.
- Lock a minimum shutter speed near 1/500s.
- Turn on Auto ISO with a cap that fits your camera.
- Use AF-C or AI Servo with subject detection.
- Set back-button focus if your camera supports it.
- Format a UHS-II V60 or V90 card, or CFexpress if your body uses it.
- Check pre-capture or pre-burst, since it can save frames just before full press.
Each step removes a delay. On a mirrorless body, the biggest drain is often the always-on EVF or LCD, plus image review, so keep screen review short if battery life matters. A fast card helps in long bursts. UHS-I can bottleneck, while UHS-II V60 or V90 gives the camera room to clear the buffer faster.
For trail cameras, placement changes the result too. Virginia DWR suggests mounting deer cameras a little lower than waist height, and Texas A&M notes 3–4 feet above ground is ideal for deer.
How to read the trail before a deer appears
Deer rarely appear at random. They follow edges, feed near cover, and pause where the ground opens for a second.
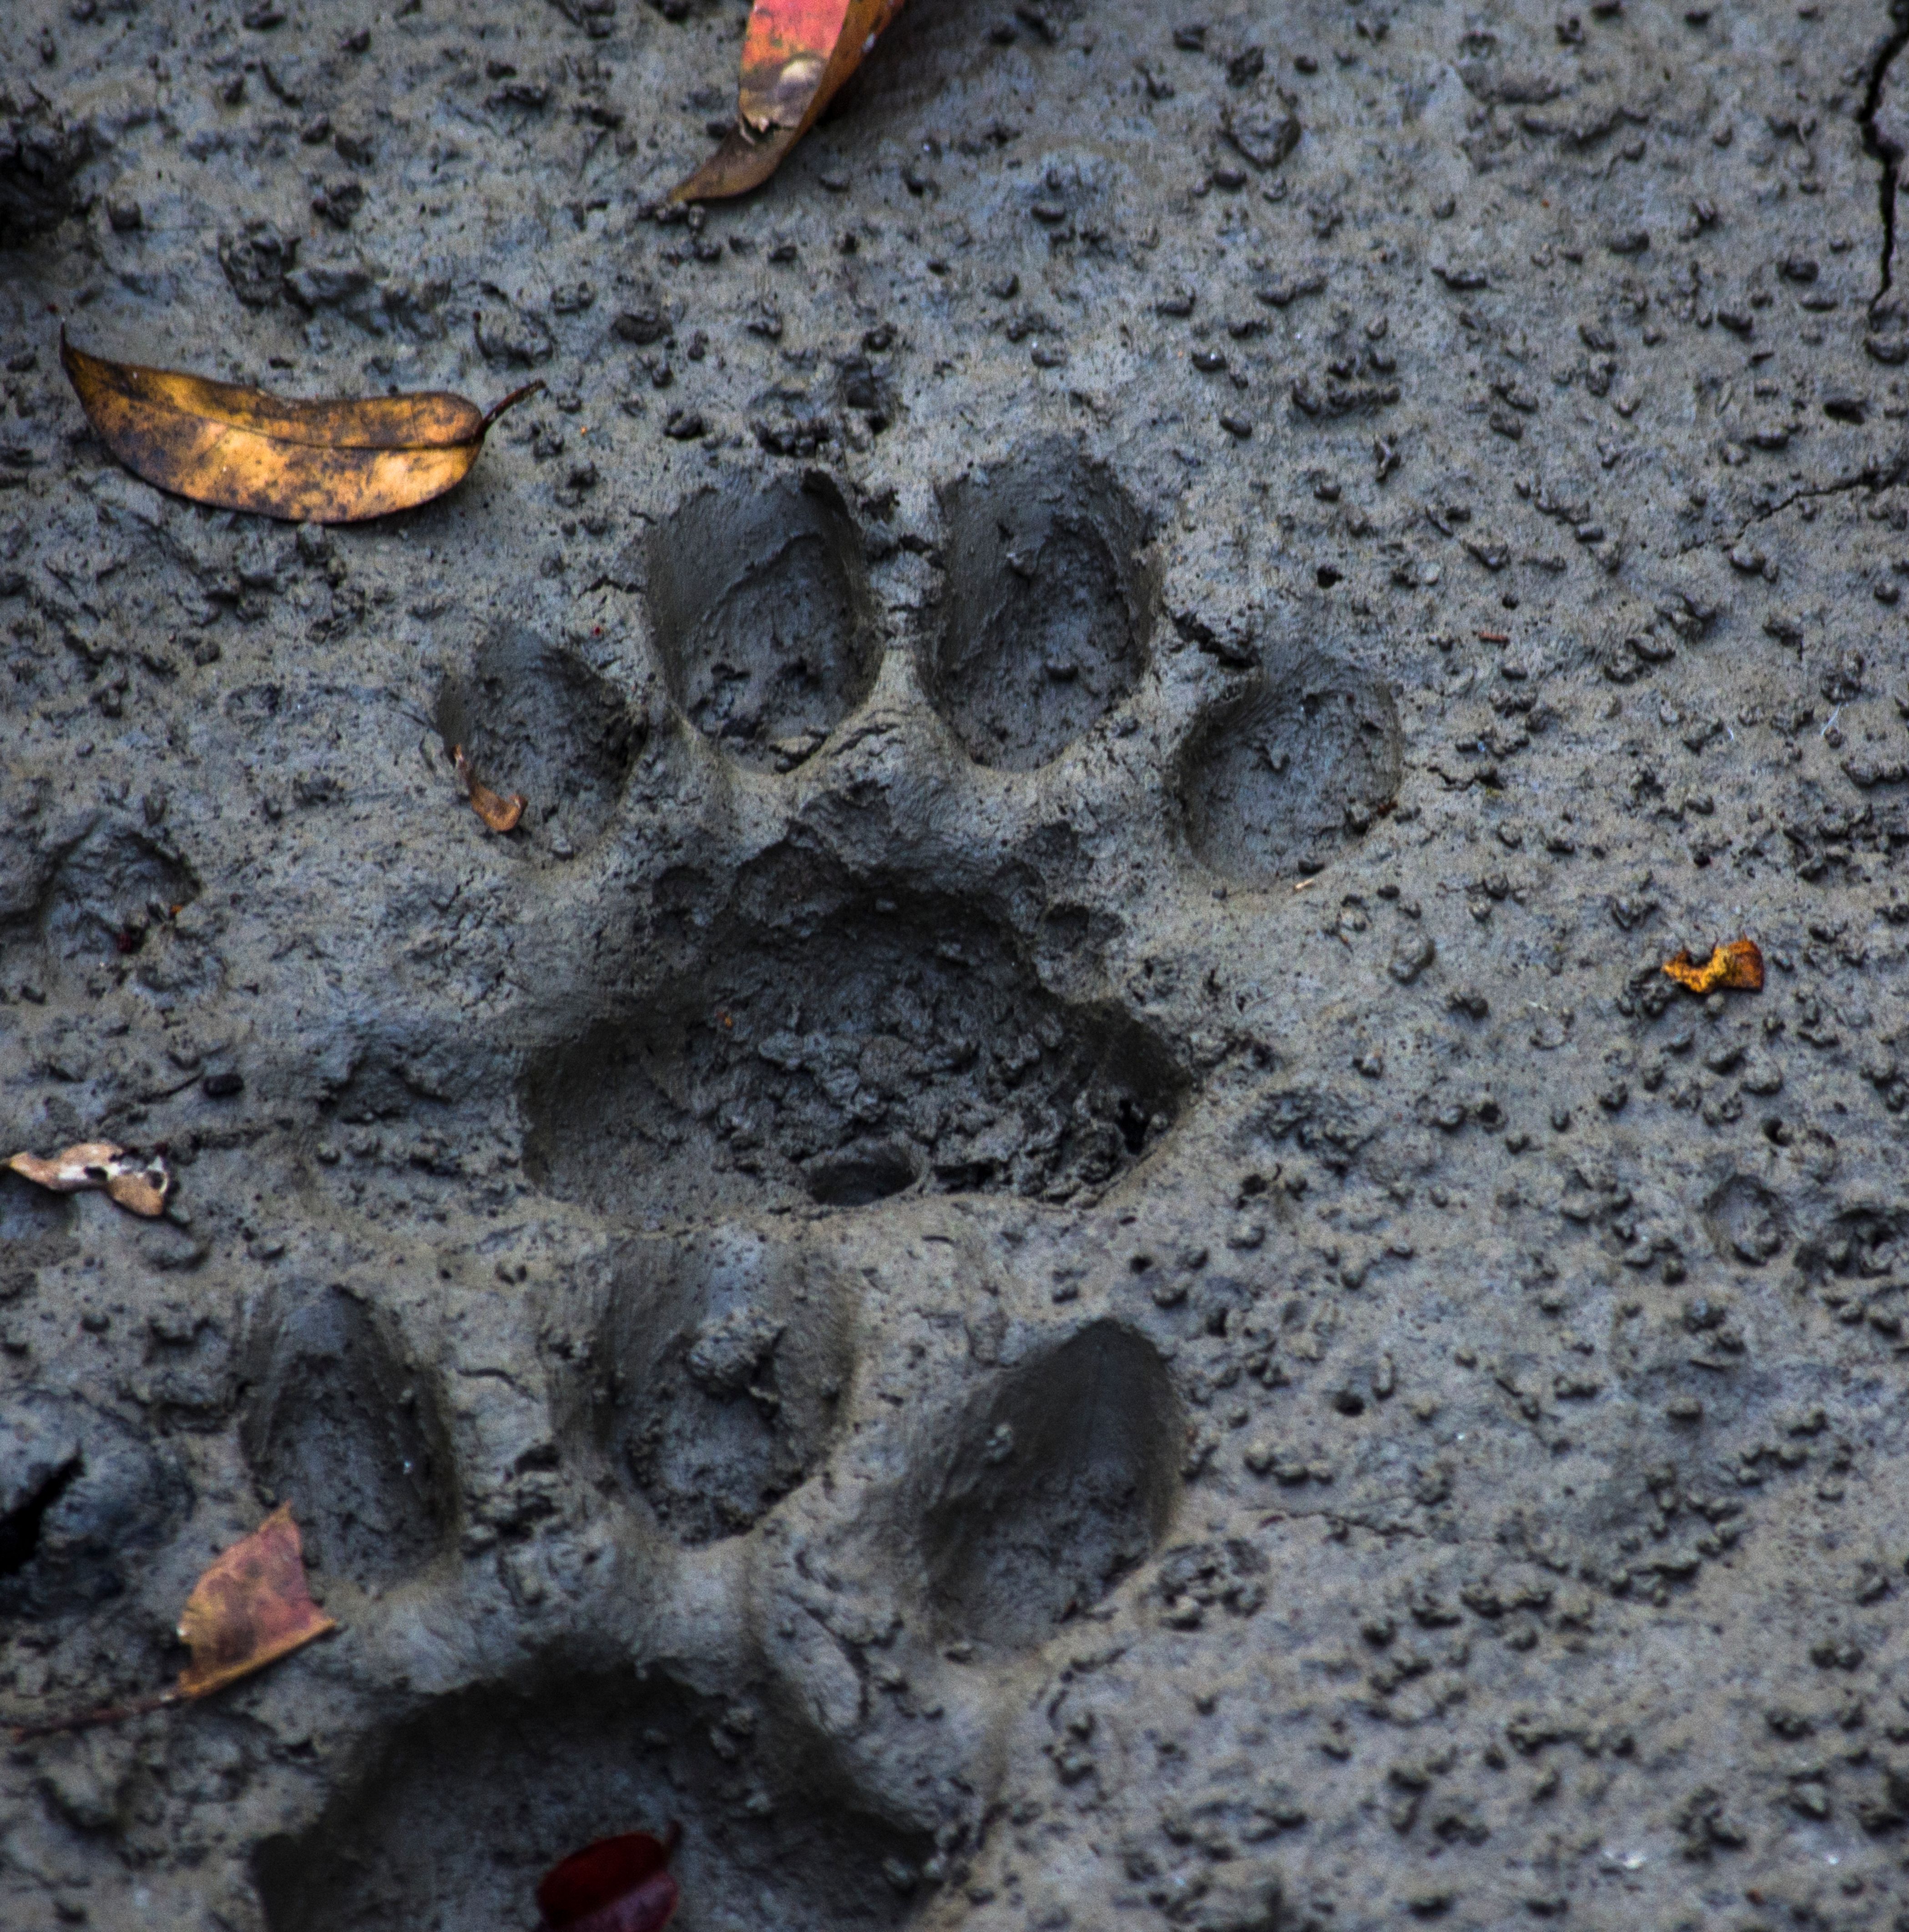
Look for repeated marks in mud, snapped grass, or a narrow opening between shrubs. Those are the spots where you can pre-focus and wait.
Small signs that give you time
- Fresh tracks that point toward water or a clearing.
- Rubbed bark on saplings near trail edges.
- Feeding signs in low brush or young growth.
- Sudden bird silence, which can mean a larger animal moved in.
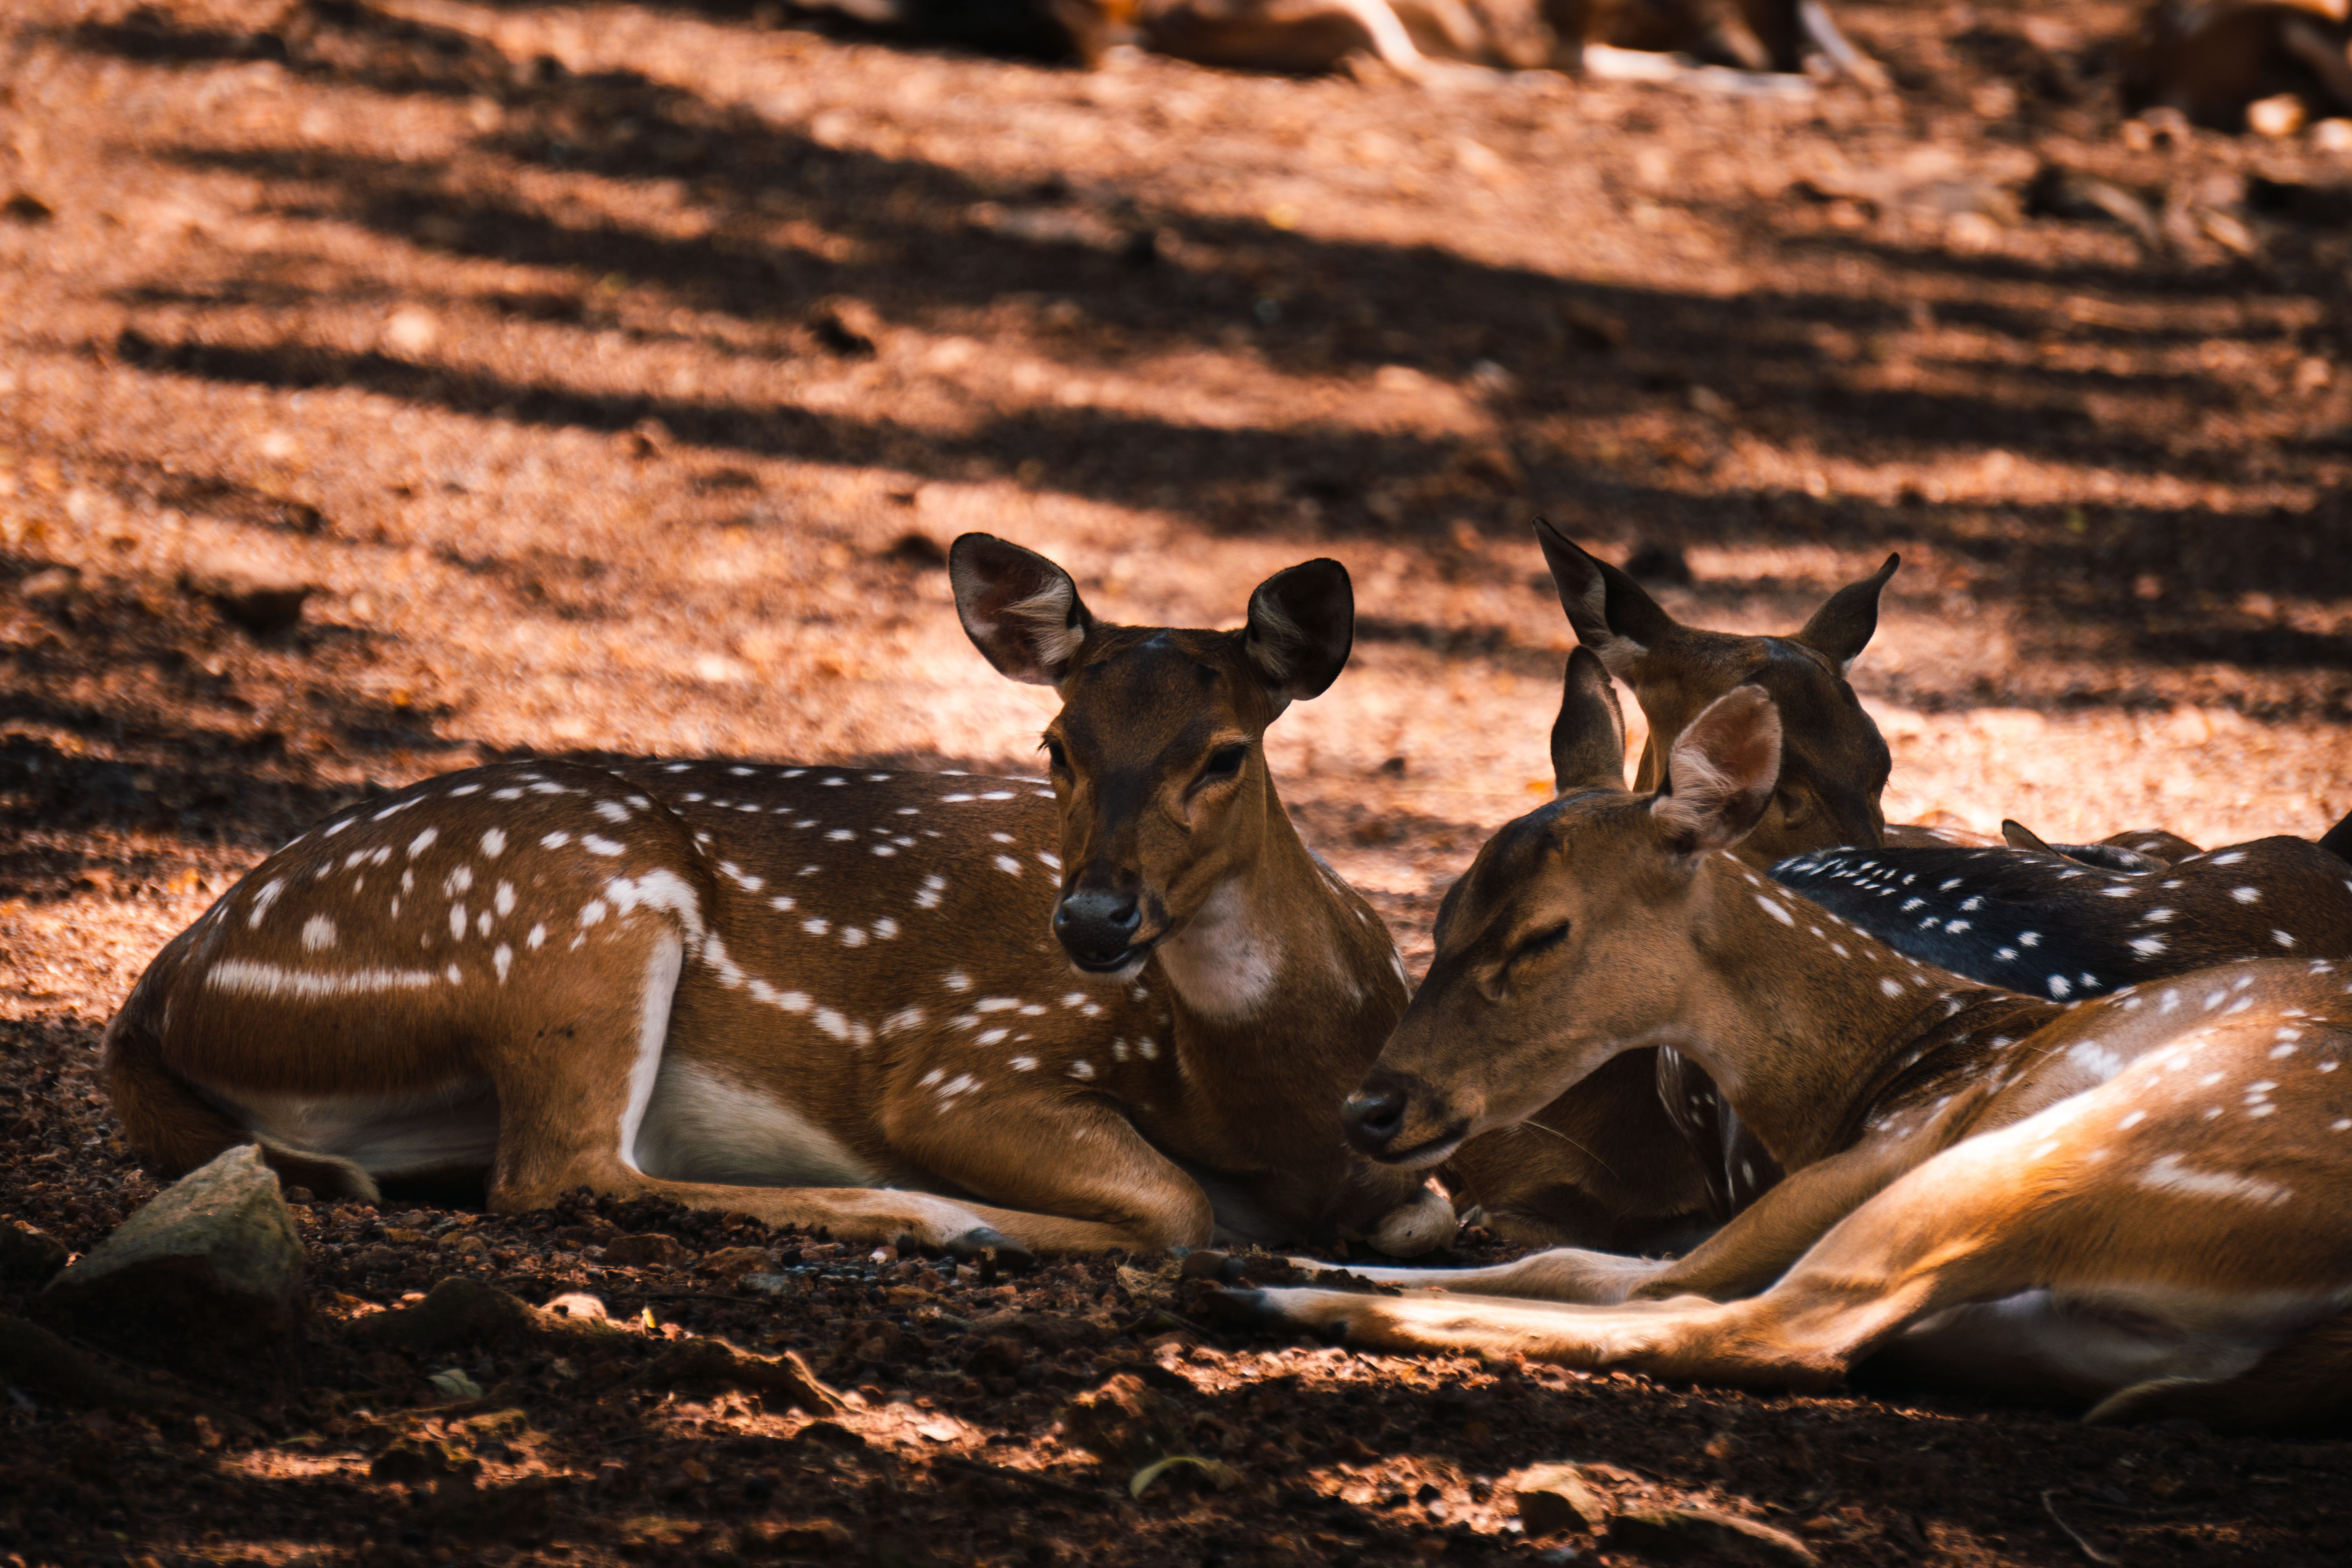
Once you spot one clue, slow down even more. Your goal is not to chase the deer into frame, but to let it walk into a clean frame. Patience pays off here. A deer that feels safe often gives you one or two calm steps, and that is enough for a strong image.
Conclusion: make the first frame count
Spotting deer fast on a quiet trail comes down to three things: distance, speed, and calm hands. A 70–200mm or 300mm lens, 1/500s or faster, and Aperture Priority mode give you a strong base.
From there, let the trail guide you. Watch edges, keep your camera close, and use settings that let you react before the deer does.
The best shot often comes in the first few seconds after you see movement. If your setup is ready, you will spend less time fumbling and more time making a clean frame of a deer standing in soft morning light.
Frequently Asked Questions

What is the 20 60 20 rule in photography?
The 20 60 20 rule in photography is a composition guideline that places the main subject in the middle 60% of the frame, with about 20% of the frame left as foreground and 20% as background. It is often used to create balanced wildlife images with space around the animal.
What ISO should I use for wildlife photography?
Wildlife photography ISO should start as low as the light allows, often around ISO 100 in bright conditions. Auto ISO with a range of about 100–3200 is a practical choice, while lower-end cameras may stay around ISO 100–800 to preserve detail.
How to set up a camera for wildlife photography?

To set up a camera for wildlife photography, use Aperture Priority mode, continuous autofocus, and a single focus point or subject detect if tracking is reliable. Set a shutter speed of at least 1/500s, use a telephoto lens, and enable Auto ISO so the camera can keep the exposure usable as light changes.
What is the best f stop for wildlife photography?
For wildlife photography, f/2.8 to f/4 is a strong aperture range for separating the animal from the background. When more of the deer or other subject needs to stay sharp, f/5.6 is a better choice.
Sources


