


- Aim every leading line at one vanishing point and keep the camera level.
- Avoid tilted horizons, cluttered edges, and blocked sightlines that break the geometry.
- Start with one clear route through the frame, then let contrast and shadow simplify the scene.

One-point perspective photography frames a scene so parallel lines meet at a single vanishing point. On city streets, roads, rails, walls, and windows become a clear guide for the eye. Black-and-white city work suits that structure because light and shape do the heavy lifting. A hands-free strap, such as the Camstrap voyager, keeps the camera ready while you walk and watch for clean lines.
Shop the setup

- Regular price
-
€42 - Regular price
-
€44 - Sale price
-
€42
By choosing the Camstrap strap, you are opting for a high-quality product designed to meet the needs of the most demanding photographers.
- Developed by a physiotherapist to relieve neck and back pain.
- Fast delivery with tracking by the Post Office 🚚
- Can be used as a shoulder strap or hands-free harness

- Regular price
-
€36 - Regular price
-
€42 - Sale price
-
€36
Free shipping included
Why this city style lands so well
Soft shadows, bold contrast, and cleaner city scenes all come from the same move: directing the viewer’s path. One-point setups handle that neatly because the frame feels ordered instead of crowded.
Street scenes change fast, so simple compositions hold up best. Long walls, train tracks, hallways, bridges, and narrow lanes all pull the eye straight ahead.
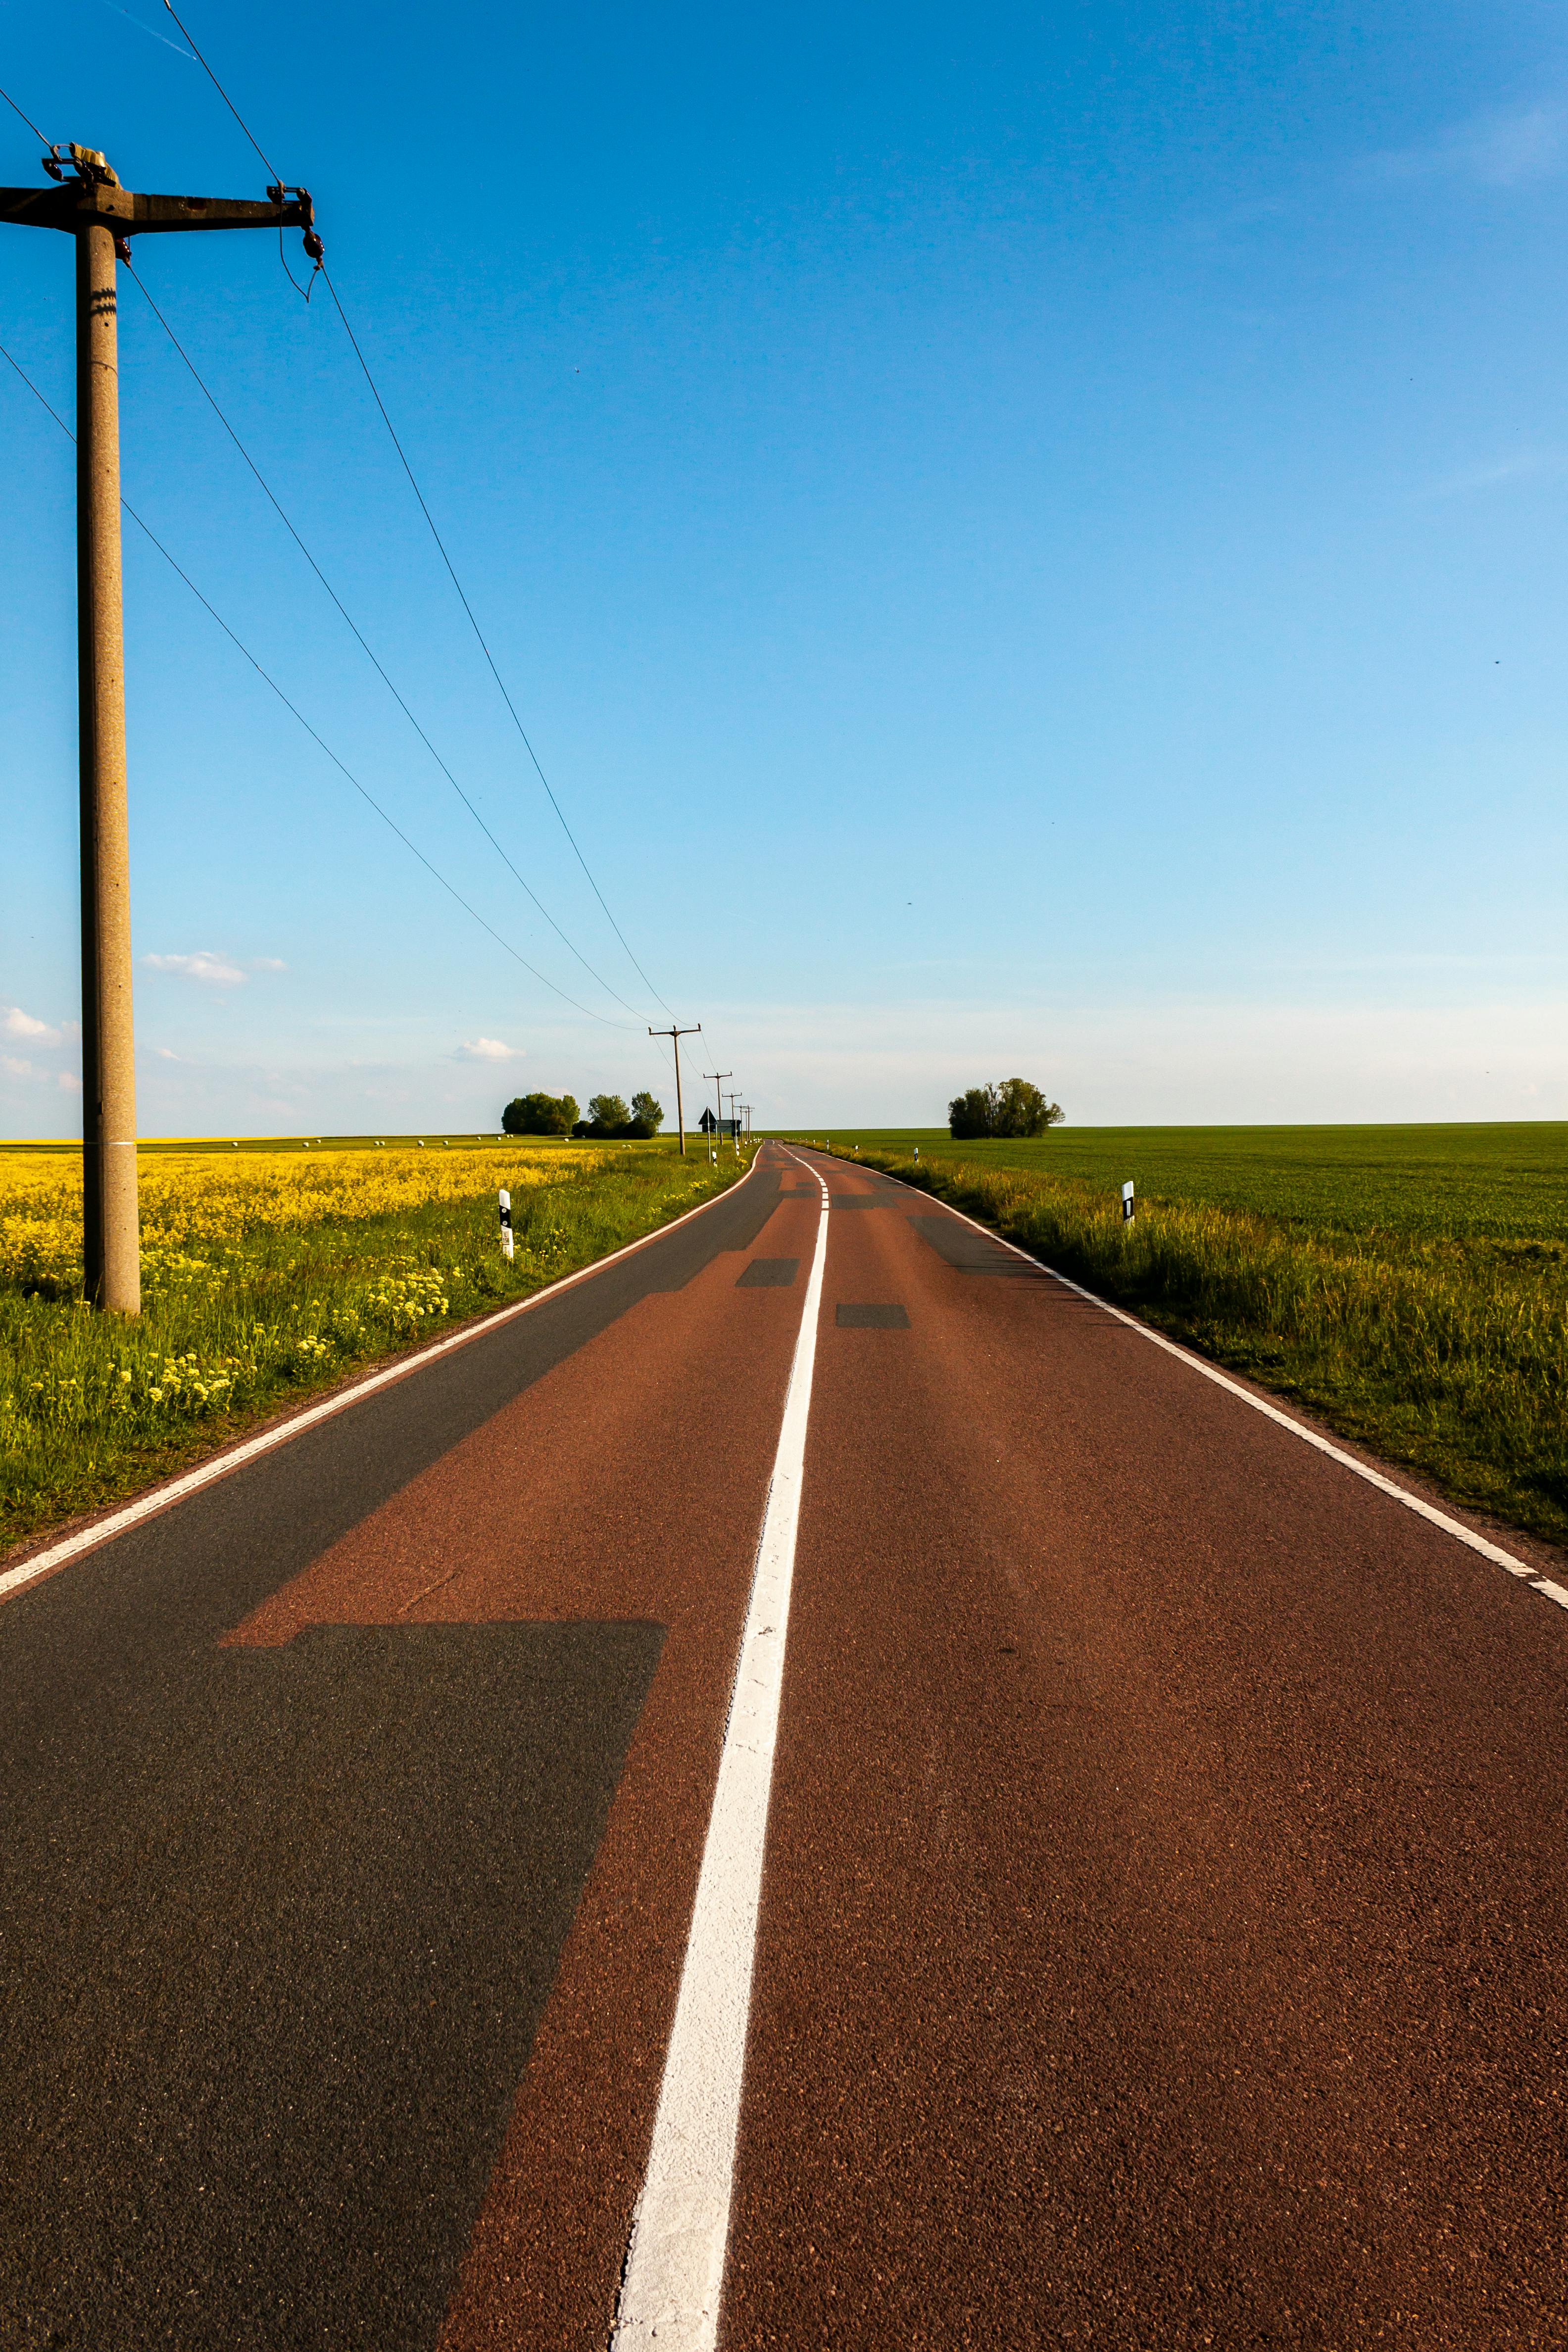
What the light is doing
Urban light is often harsh near the camera and softer in the distance. Research on perspective and scene depth shows contrast usually drops farther away, while shadows and highlights become less extreme. That shift gives a city frame a cleaner read. Near objects can hold strong black-and-white contrast, while distant buildings fade into smoother tones.
Three rules that keep the frame clean
Keep the three basics in mind: aim parallel lines at one vanishing point, hold the camera level, and leave the main route through the scene unobstructed. Those habits keep the image from bending or drifting.
Streets, alleys, and transit spaces show the difference immediately. A slight tilt can throw off the whole look.
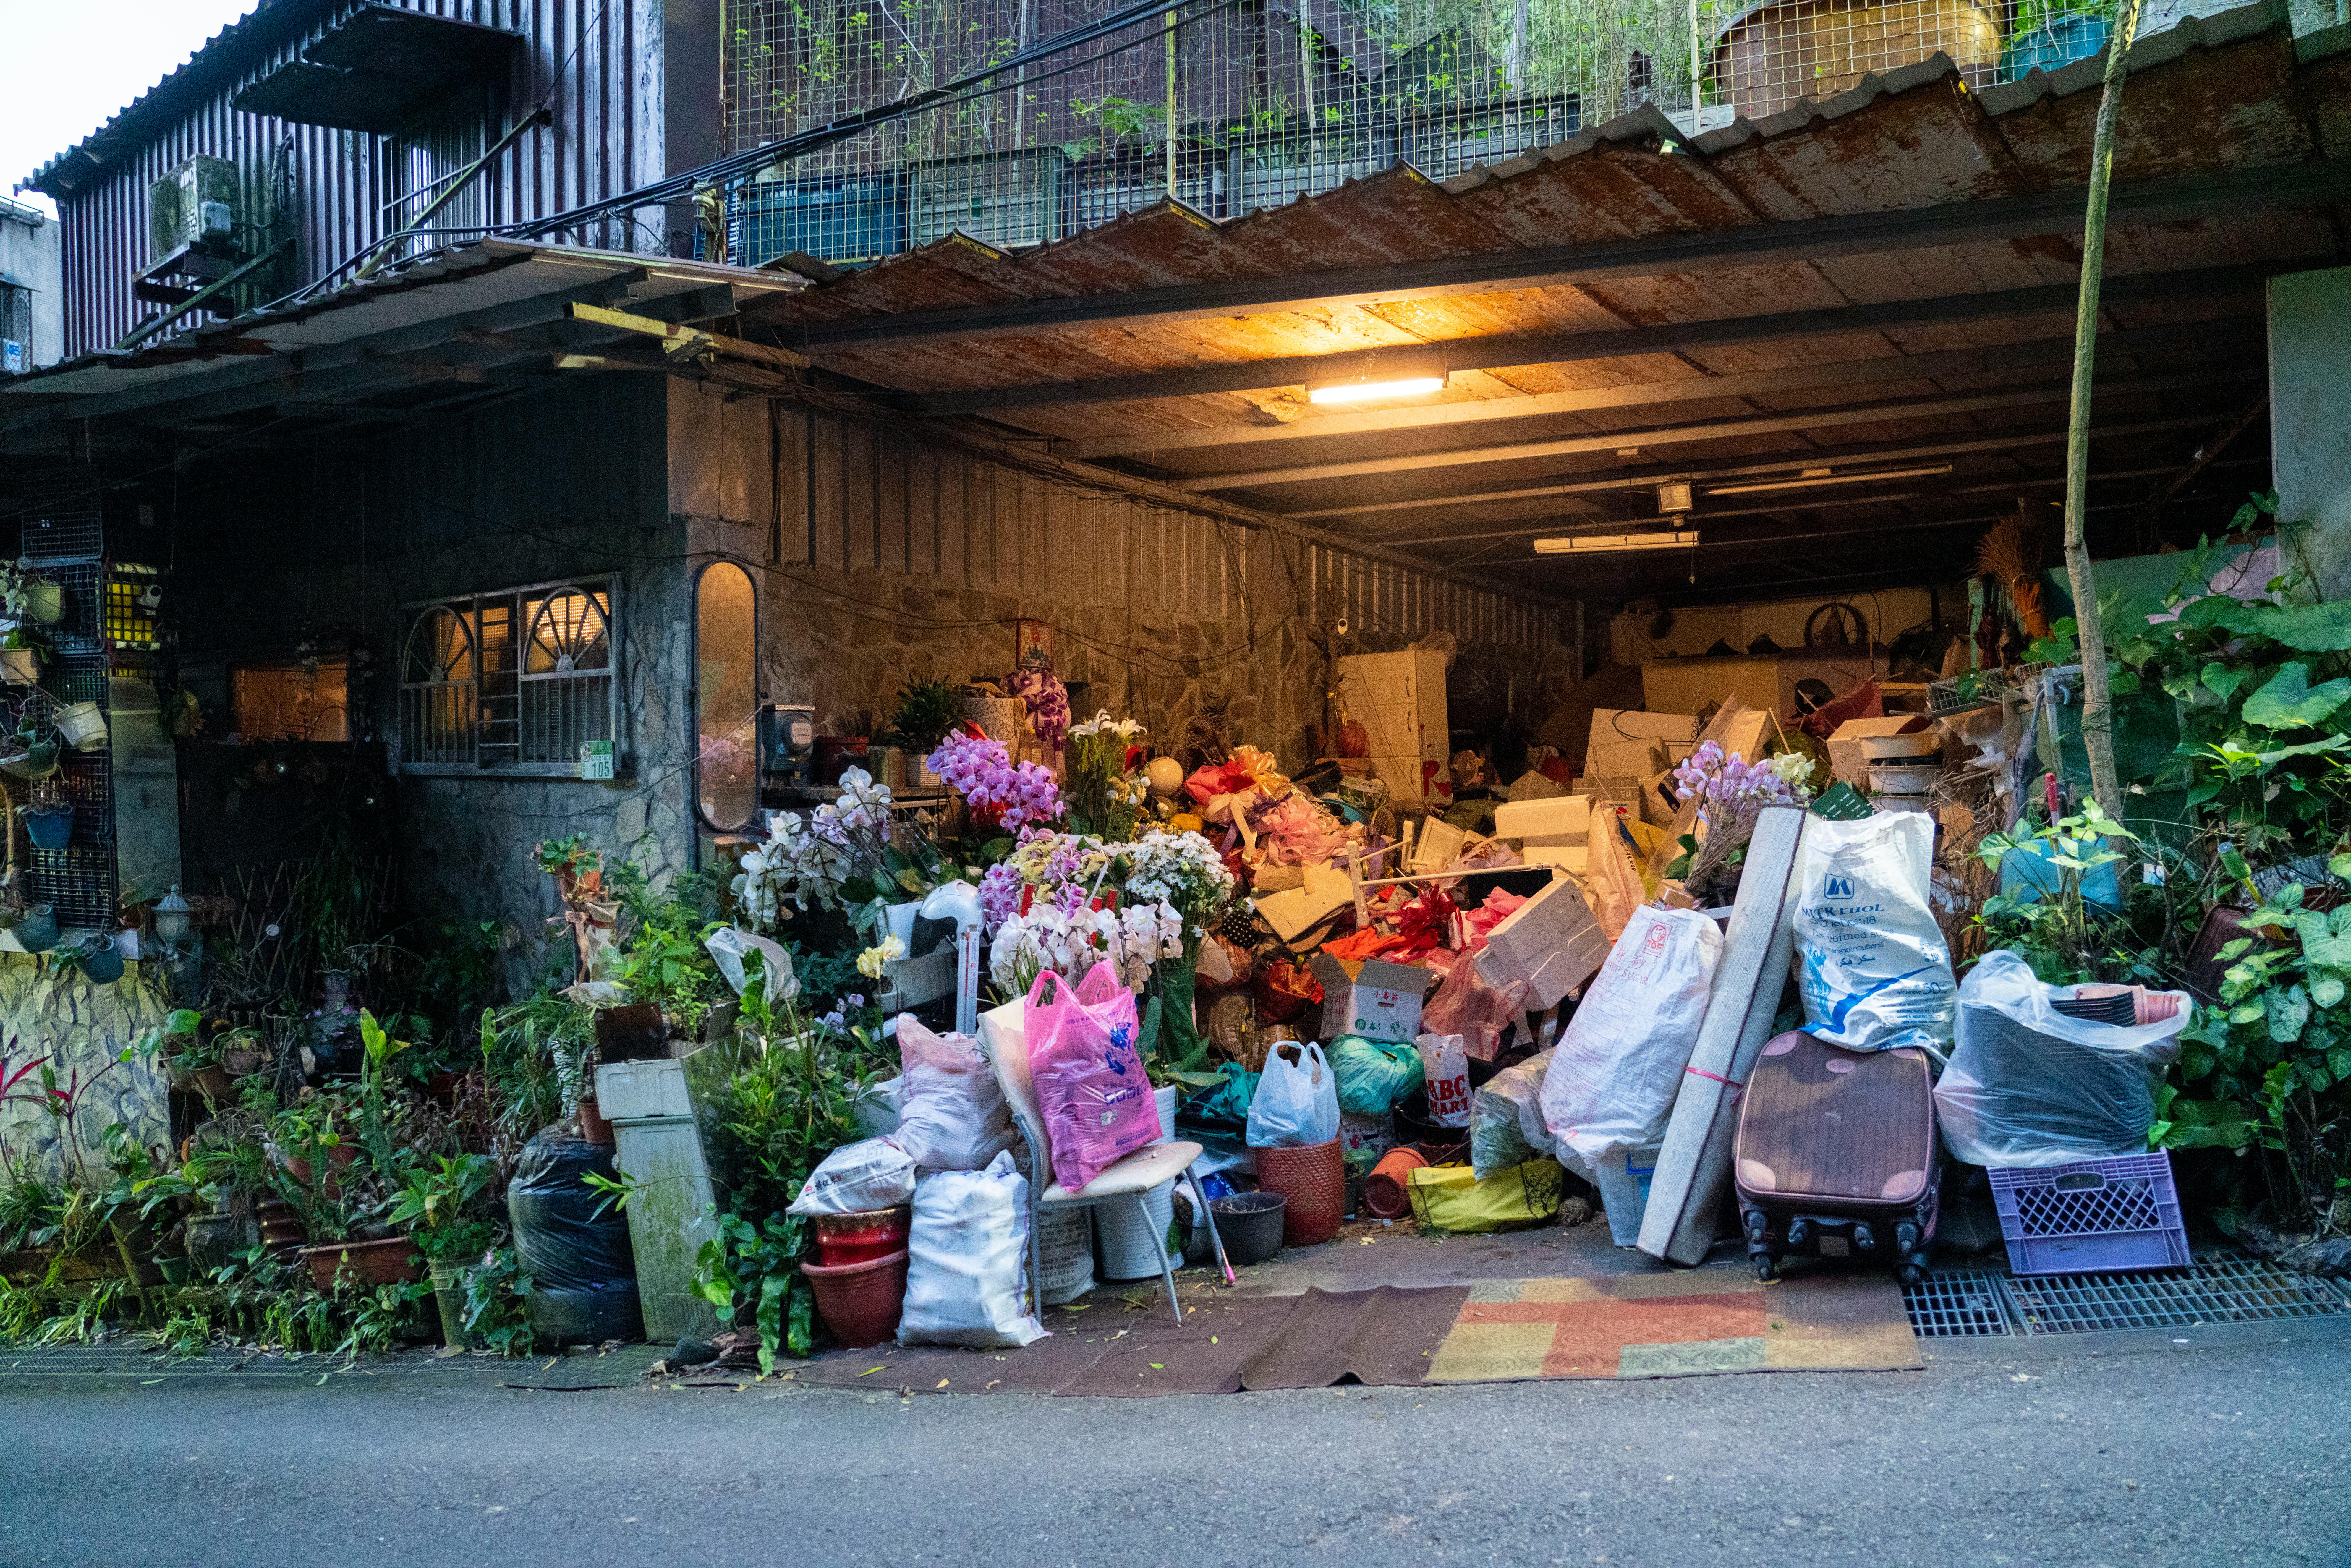
Rule one: guide every line to one point
Pick a clear center for the lines to meet. Roads, rails, ceiling lines, and curb edges already point the eye there. Keep the camera level unless you want a deliberate effect.
Leave the vanishing point visible, and don’t cover it with people, signs, or bright clutter.
- Use one strong path through the frame.
- Keep the camera straight and level.
- Protect the vanishing point from visual noise.
Where the method falls apart
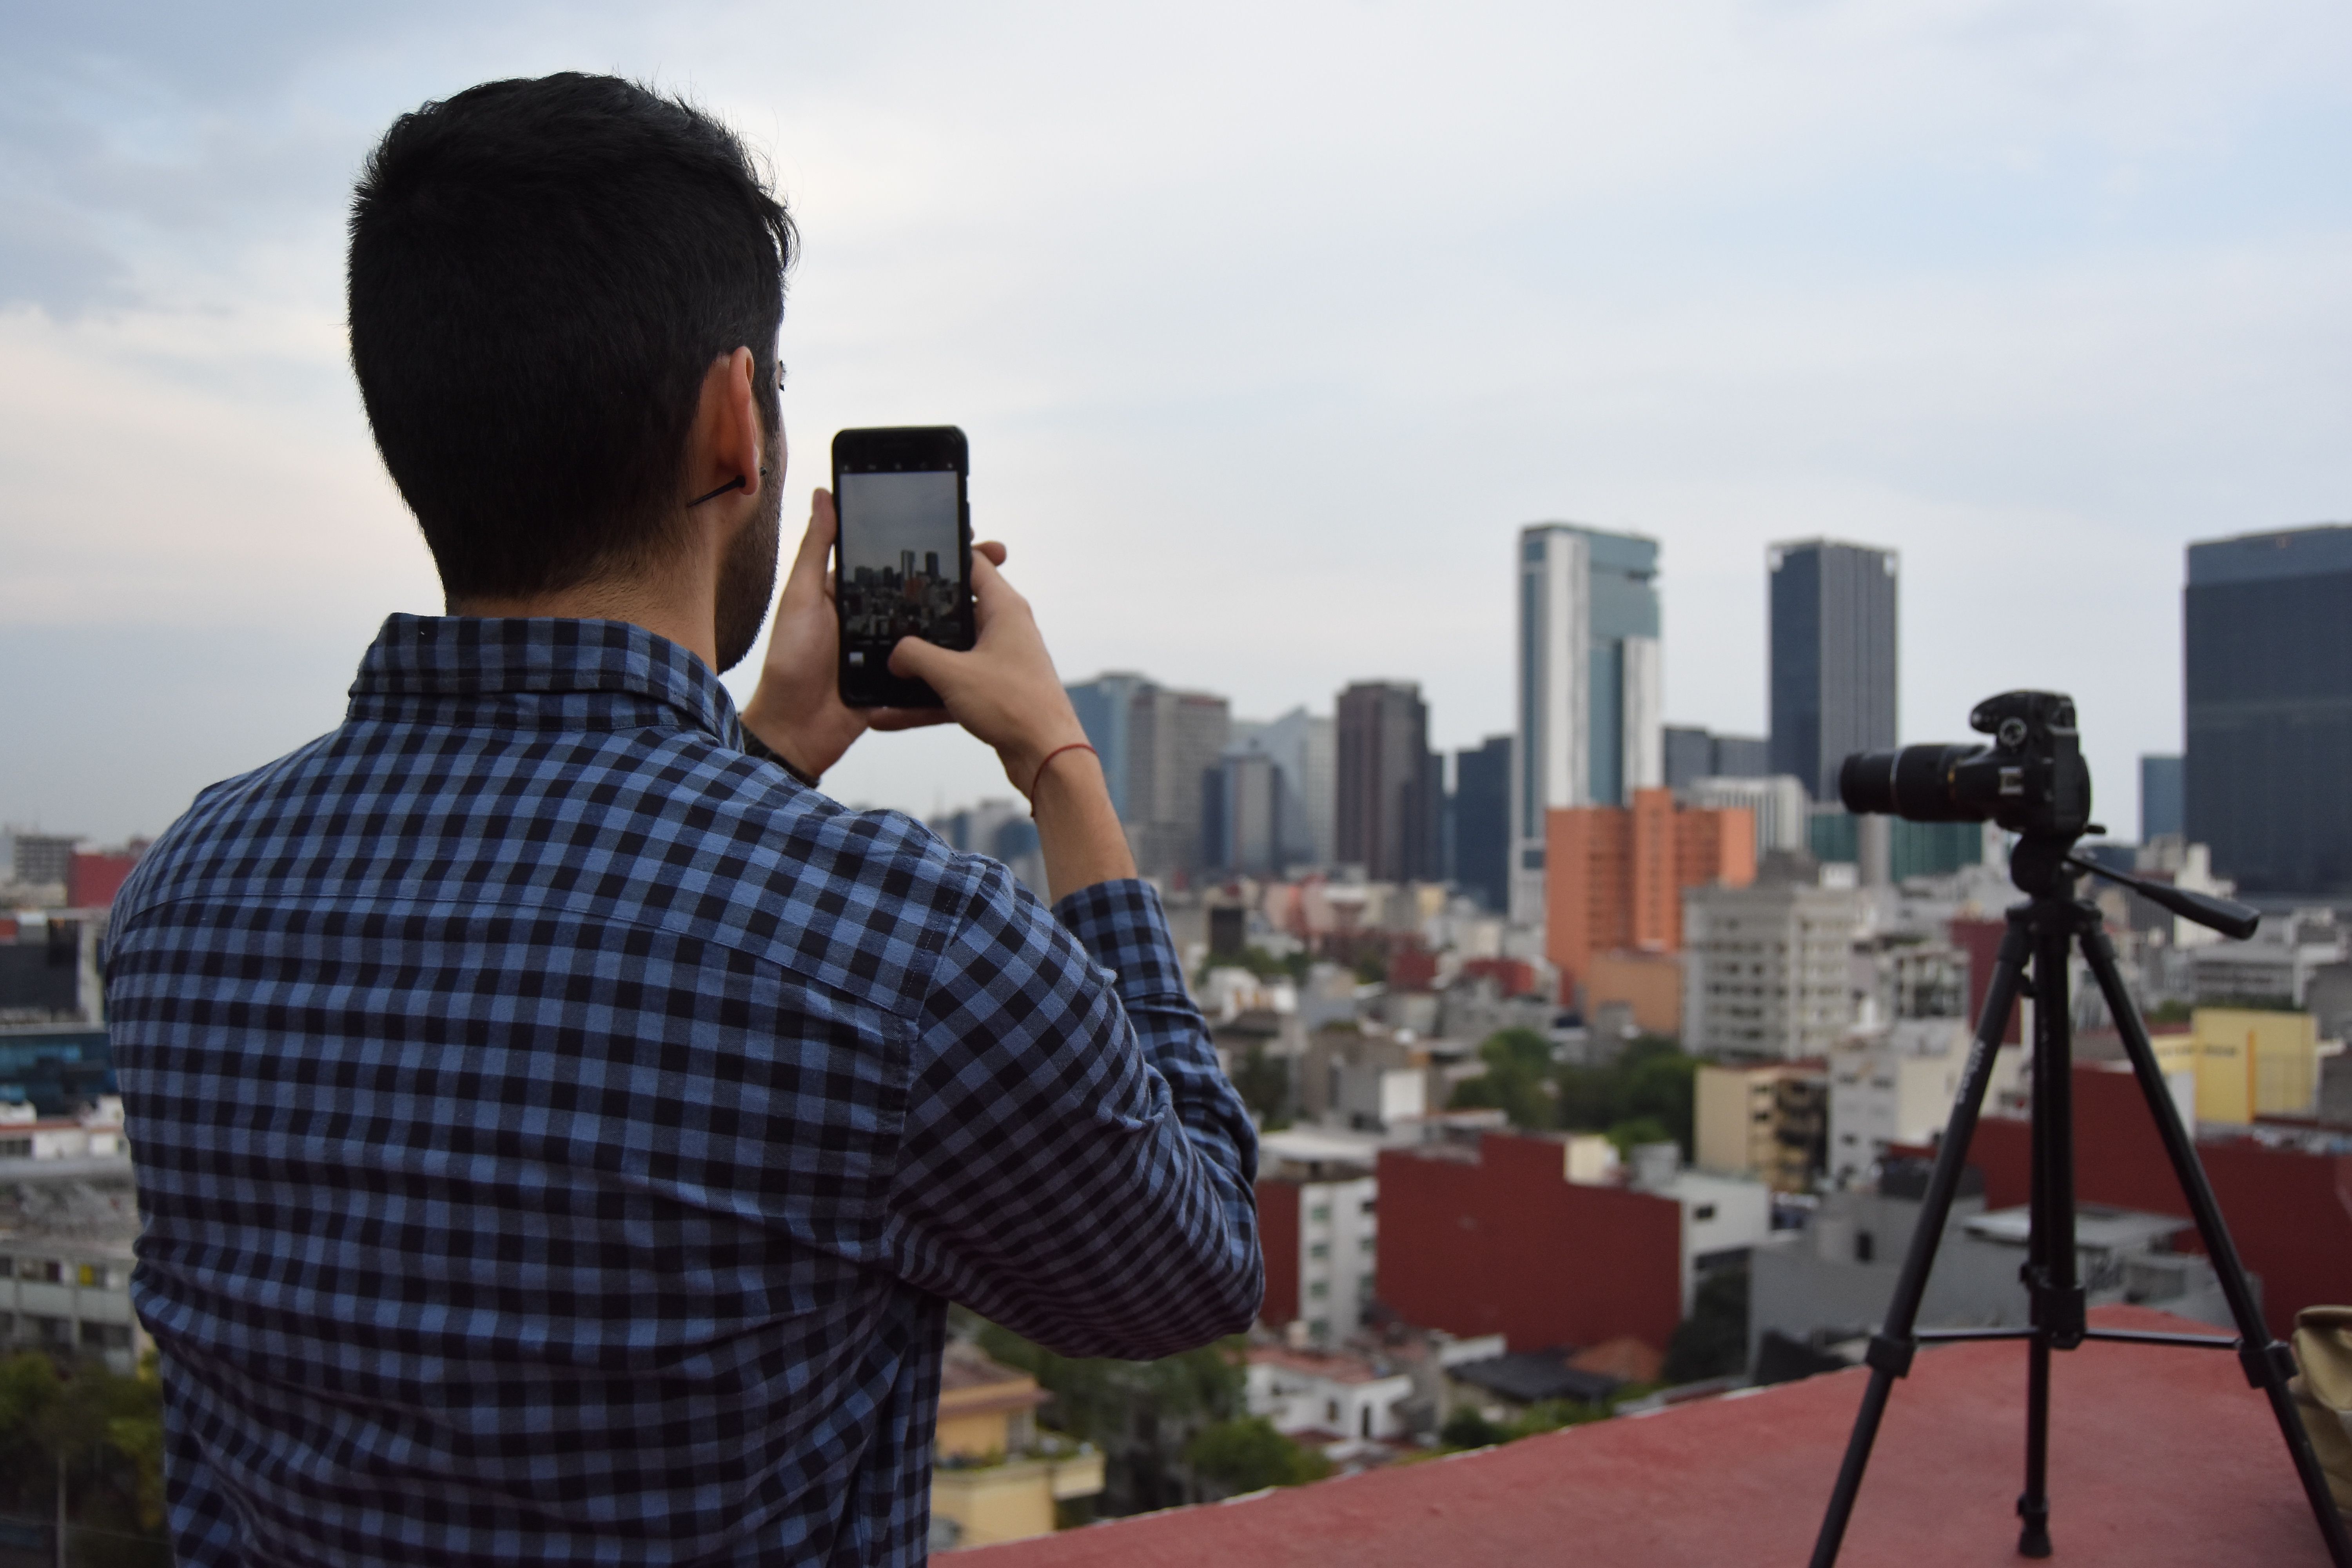
Tilt, clutter, and weak line control cause most problems. Even a good location can look messy if the edges fight each other.
Overloading the frame creates another issue. Too many bright signs, cars, or pedestrians can hide the clean line structure that makes the image work.
Frequent errors to watch for
Horizon drift is one of the biggest issues. It makes walls lean and weakens the sense of depth. Busy edges are another trap. If a light pole or parked car cuts across your main line, the eye stops early.
Focus can wander too. Put a clear focal point near the vanishing point, or the frame may feel empty instead of calm.
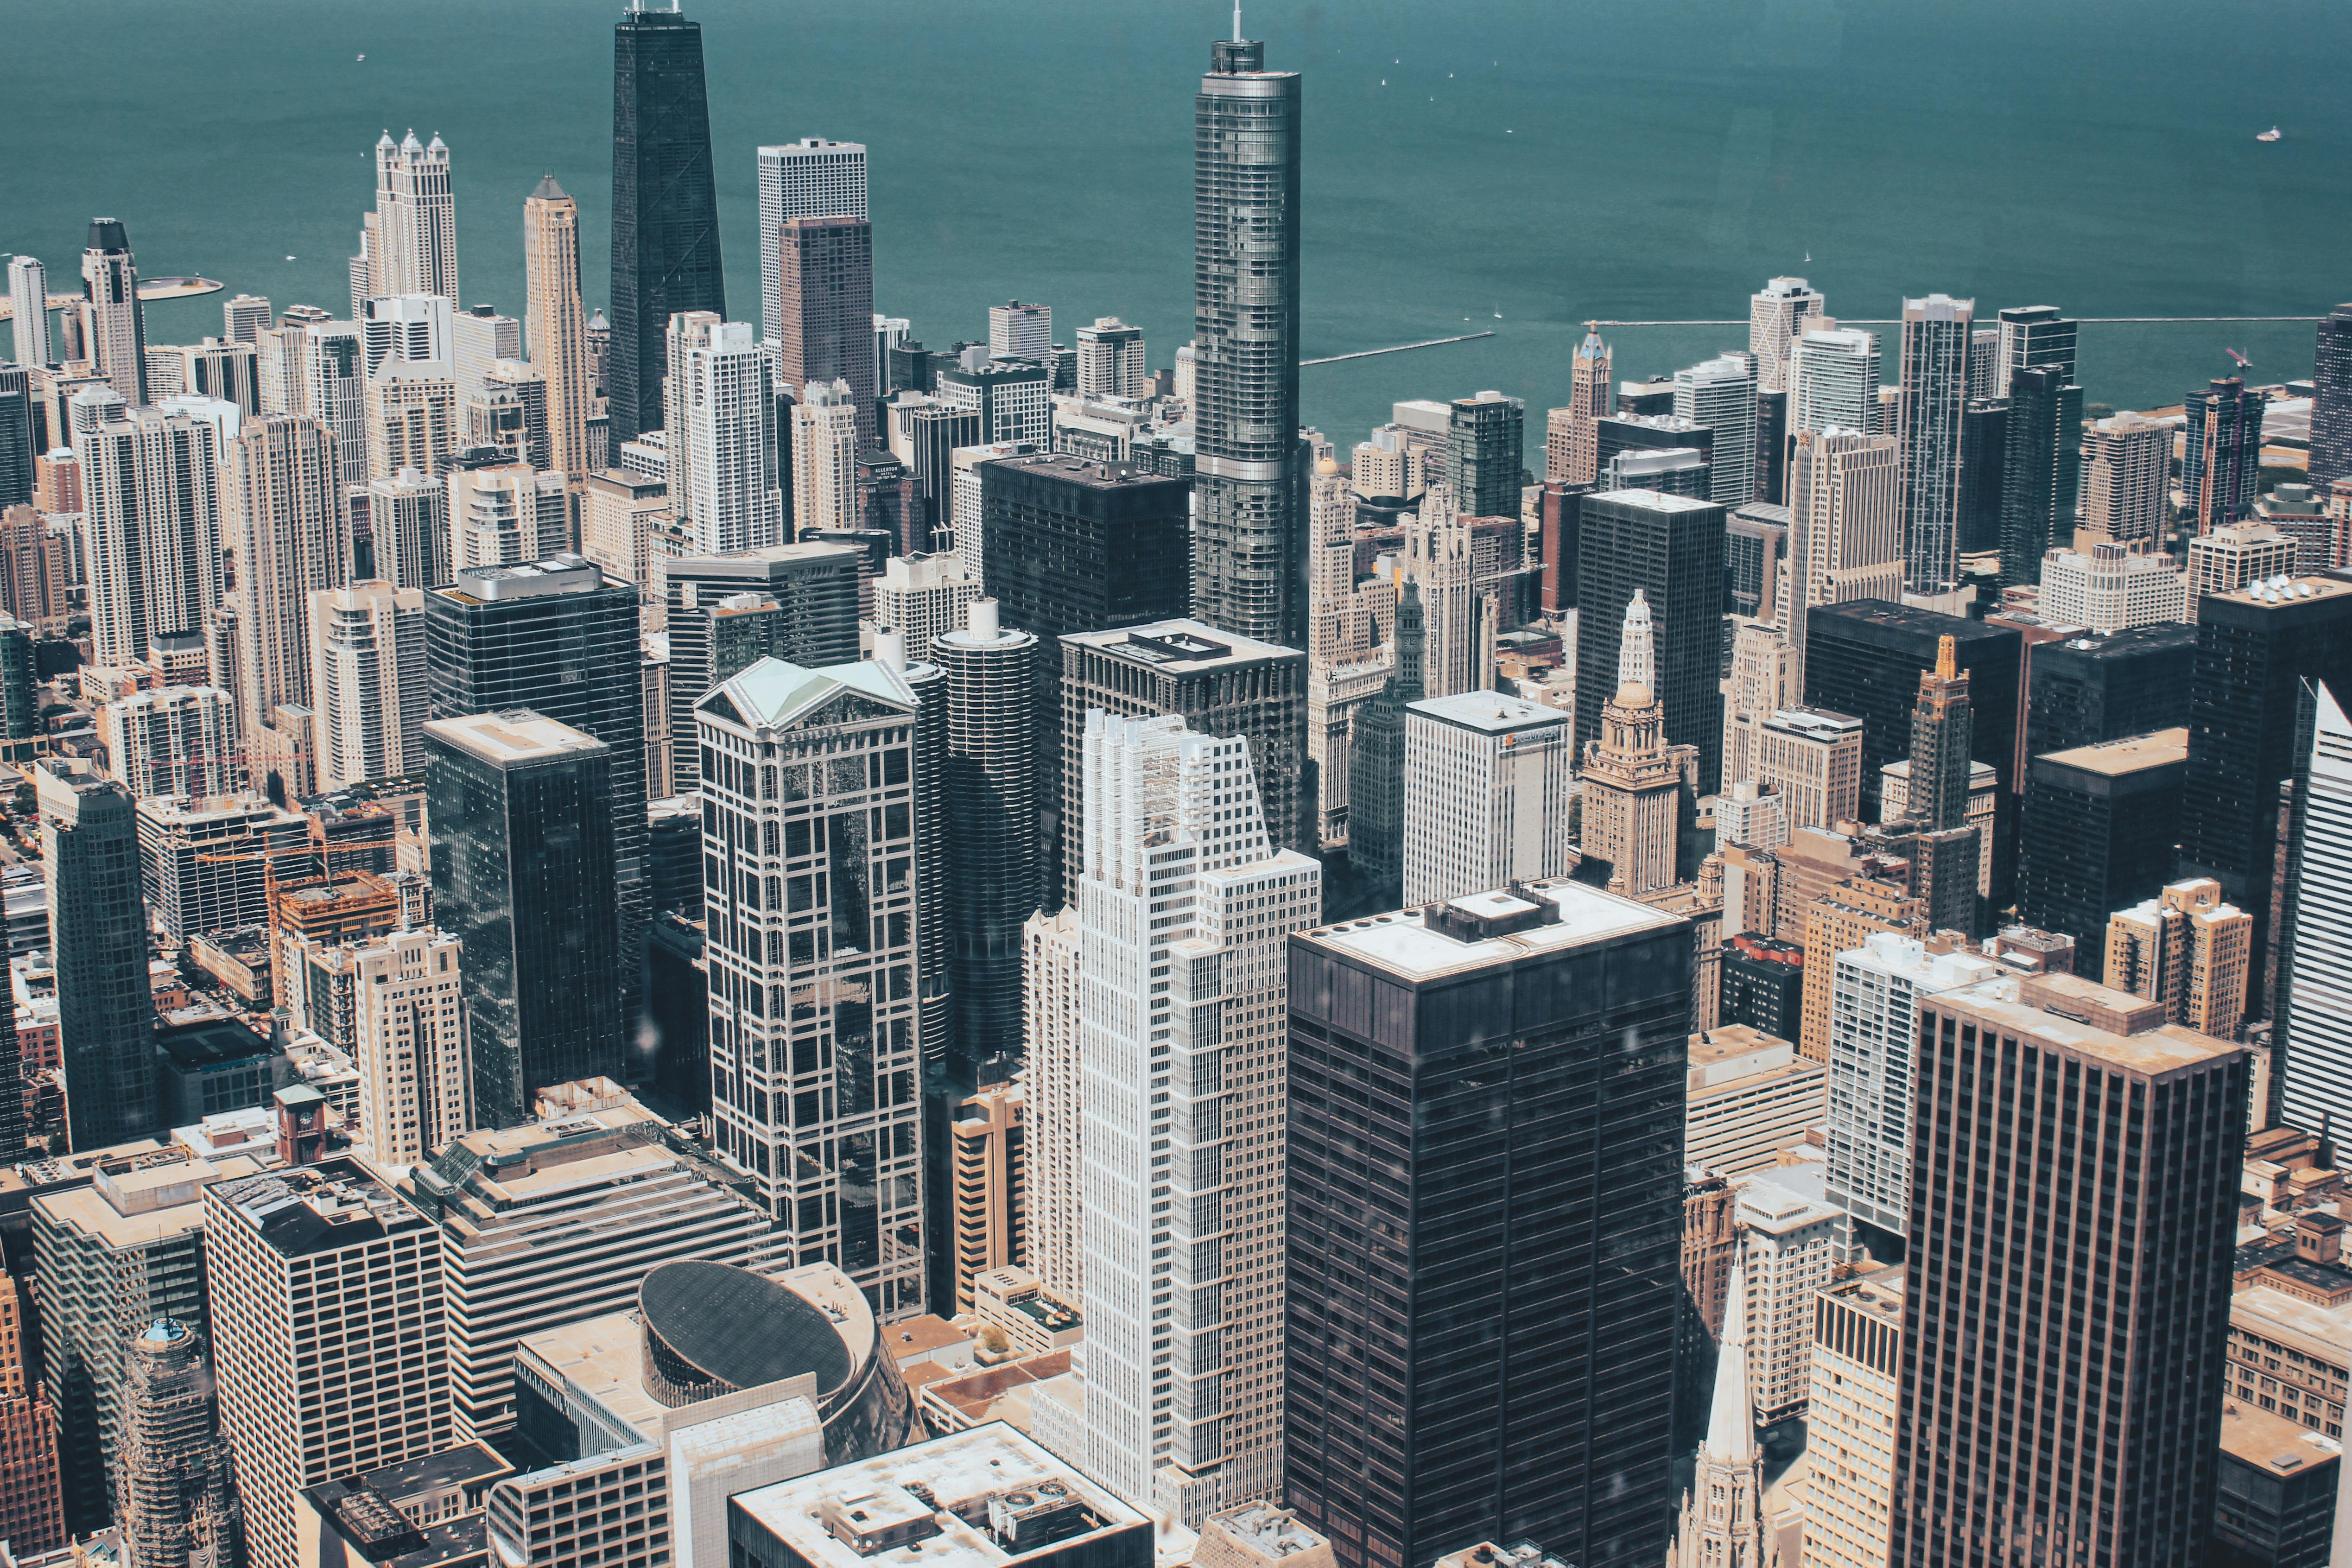
How to explain the idea to a beginner
One-point perspective makes a flat photo feel deep by sending lines to one spot. Picture standing in the middle of a long street and looking straight ahead.
For a beginner setup, start with a simple scene and one obvious path. A hallway, bridge, or empty road can teach the idea in minutes.
Try a 35mm or 50mm lens first. A 50mm view gives a natural look, while 35mm gives a bit more room without losing the line flow.
A simple first practice

- Find a street, corridor, or walkway with strong edges.
- Stand in the center and keep the camera level.
- Look for one point where the lines meet.
- Set exposure, then wait for a clean moment.
Use aperture priority if you want fast control in the field. For street and travel work, f/5.6 to f/11 keeps much of the scene sharp. Lower ISO helps city frames look cleaner. In bright light, start near ISO 100 or ISO 200 and raise it only when the shutter gets too slow.
Which perspective types show up in urban work?
The seven main types are one-point, two-point, three-point, aerial, forced, reverse, and curvilinear perspective. Each one changes how space feels, and each one can shape a city scene differently.
One-point suits streets and transit spaces best. Two-point fits corner views, while three-point works well when you point the camera up at tall buildings.
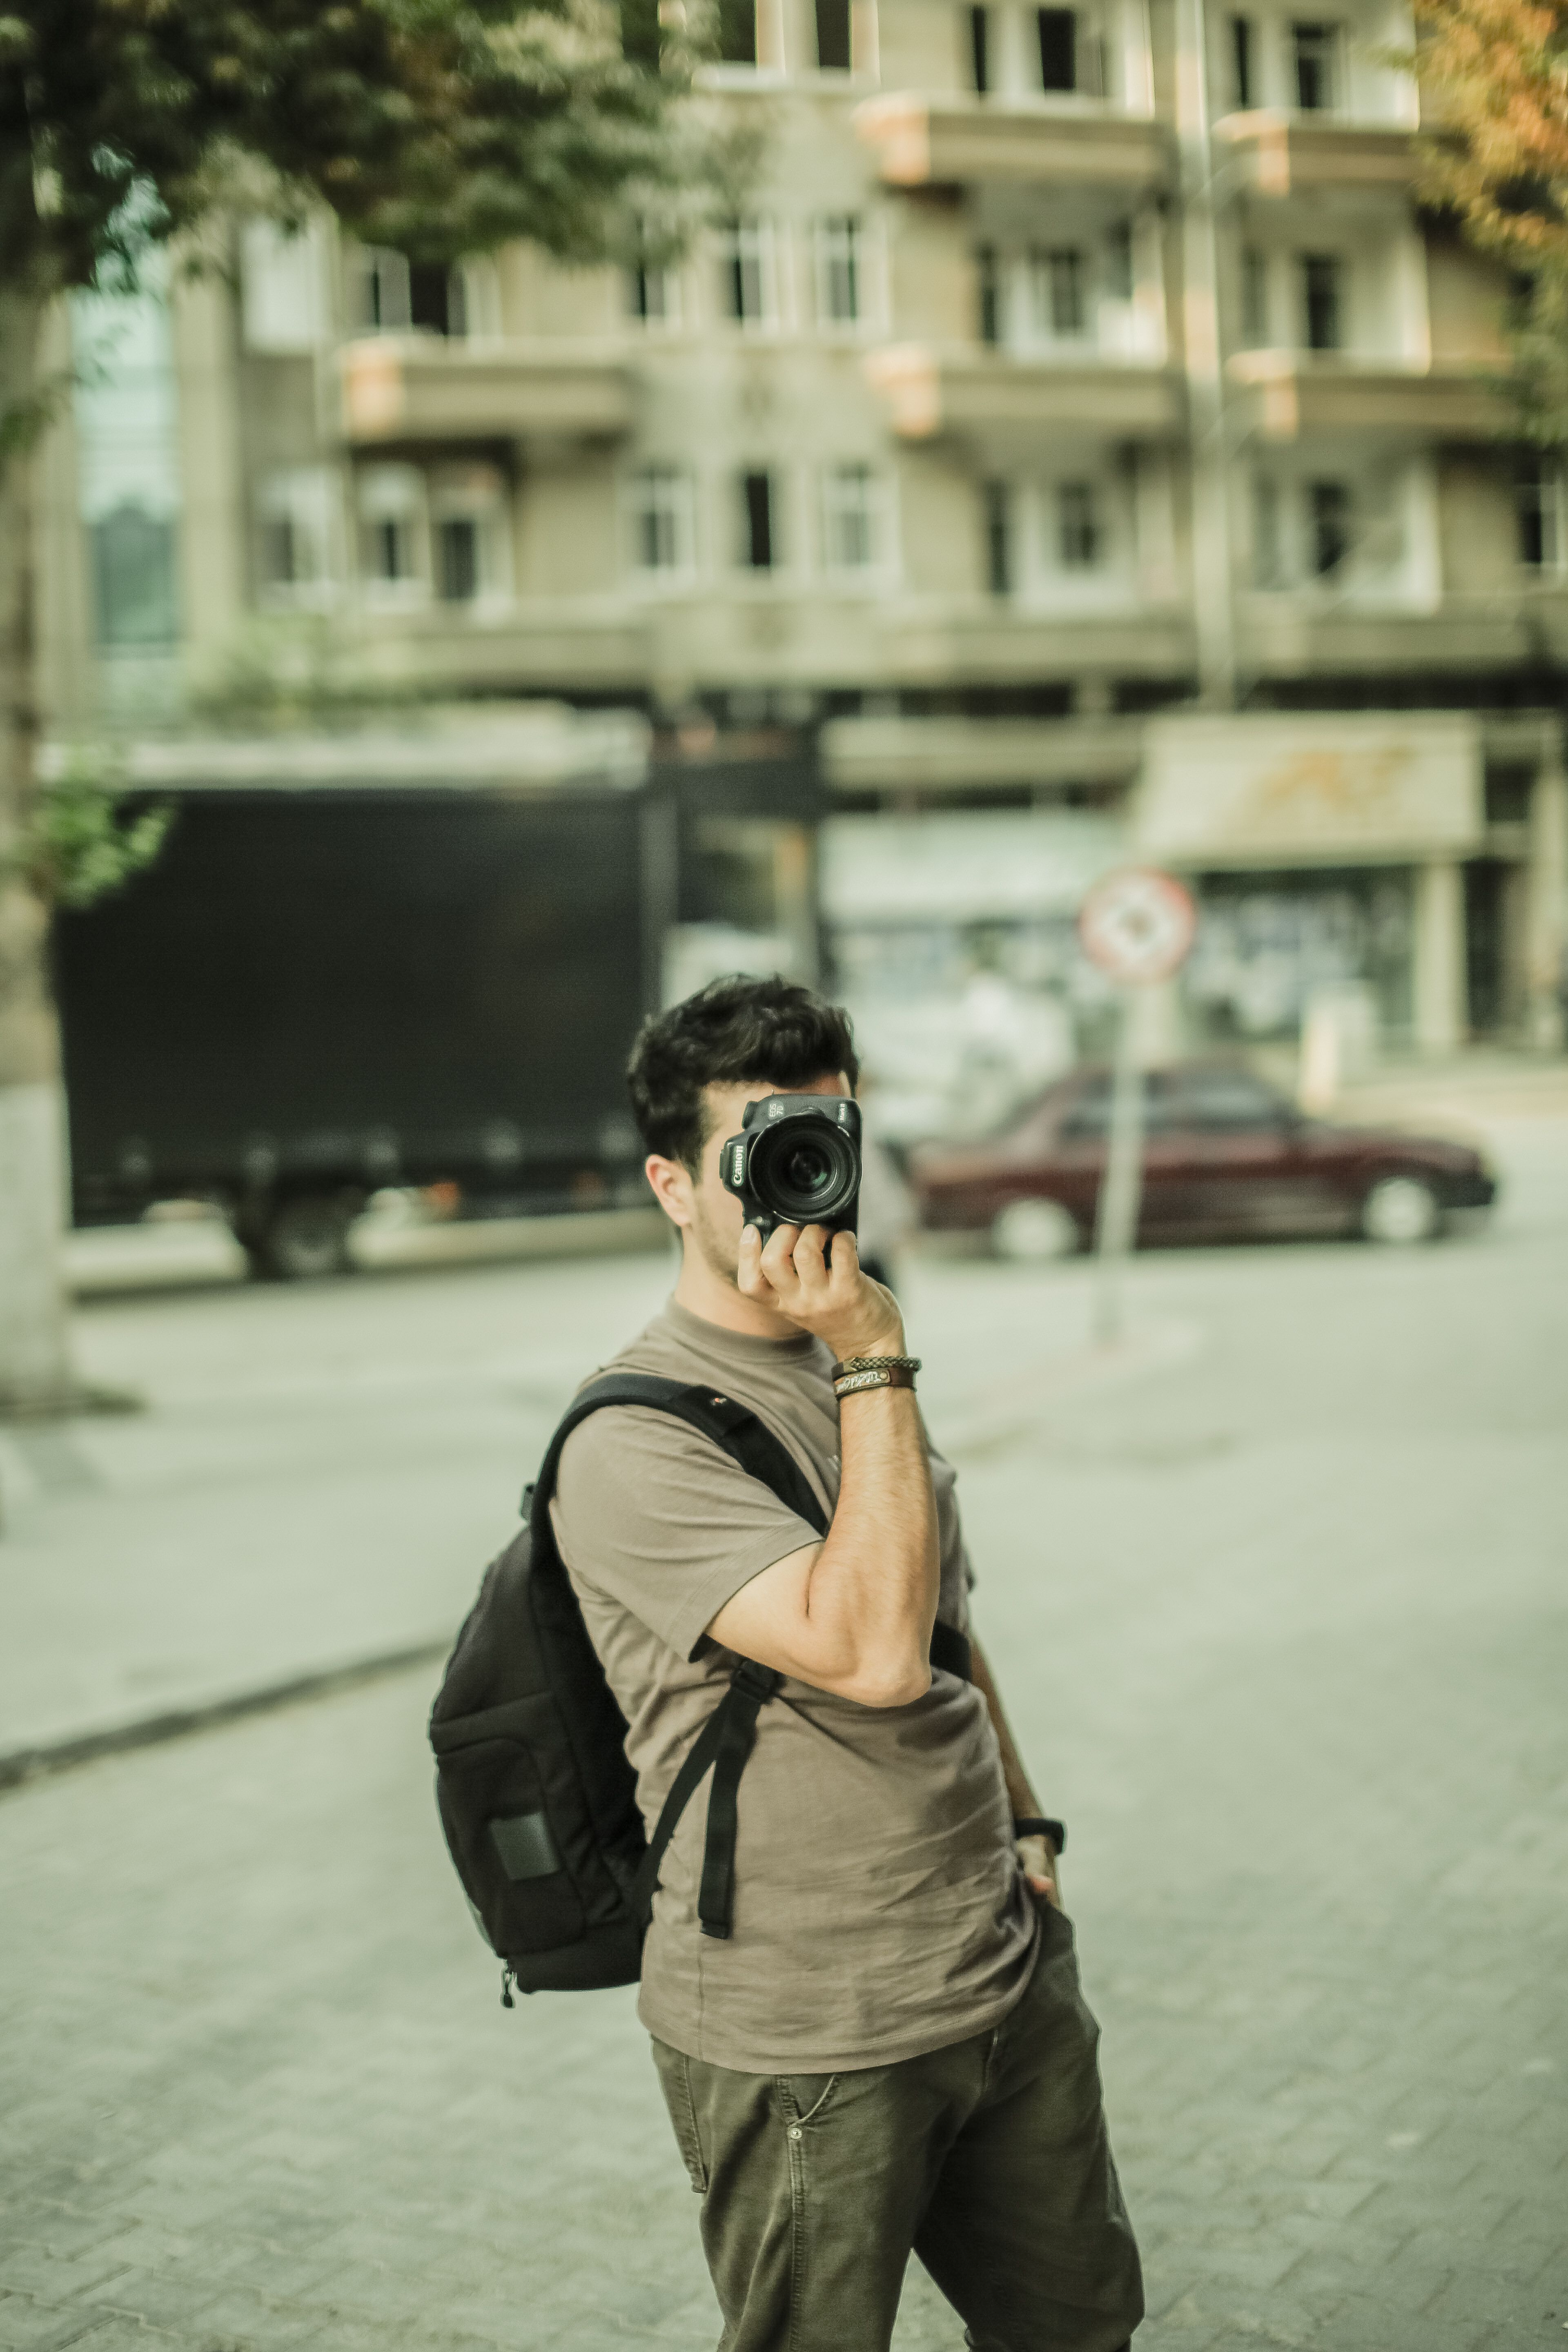
How the others differ
- Two-point: two vanishing points, often used for corners.
- Three-point: adds height or drop for dramatic city views.
- Aerial: uses haze and tone to show depth.
- Forced: plays with size to change scale.
- Reverse: makes lines seem to open toward the viewer.
- Curvilinear: bends lines across a wide view.
The cleanest city frames usually come from the first type, because the eye knows where to go. It works especially well for quiet black-and-white scenes.
Tools and camera settings that support the look
Street photography is often easiest with aperture priority, continuous AF-C or AI Servo, and subject detection when your body has it. Those settings keep the camera responsive while you watch the scene. A practical hand-held shutter speed is around 1/100s for sharp frames, though many street shooters set a floor near 1/250s. If you want motion blur on people, 1/15s to 1/30s can give a useful streak.

Lens choice and exposure balance
Common focal lengths for street and travel work are 24mm, 28mm, 35mm, and 50mm. A 28mm to 50mm setup gives a strong range for clean city lines and easy framing.
A 50mm view makes the perspective feel more natural. Wider lenses bring in more context, but they also make edge clutter easier to see.
One practical tradeoff matters here. A wider aperture can blur backgrounds, but this topic needs structure more than blur, so f/5.6 to f/8 often fits better outdoors.
What helps on a walk through the city?
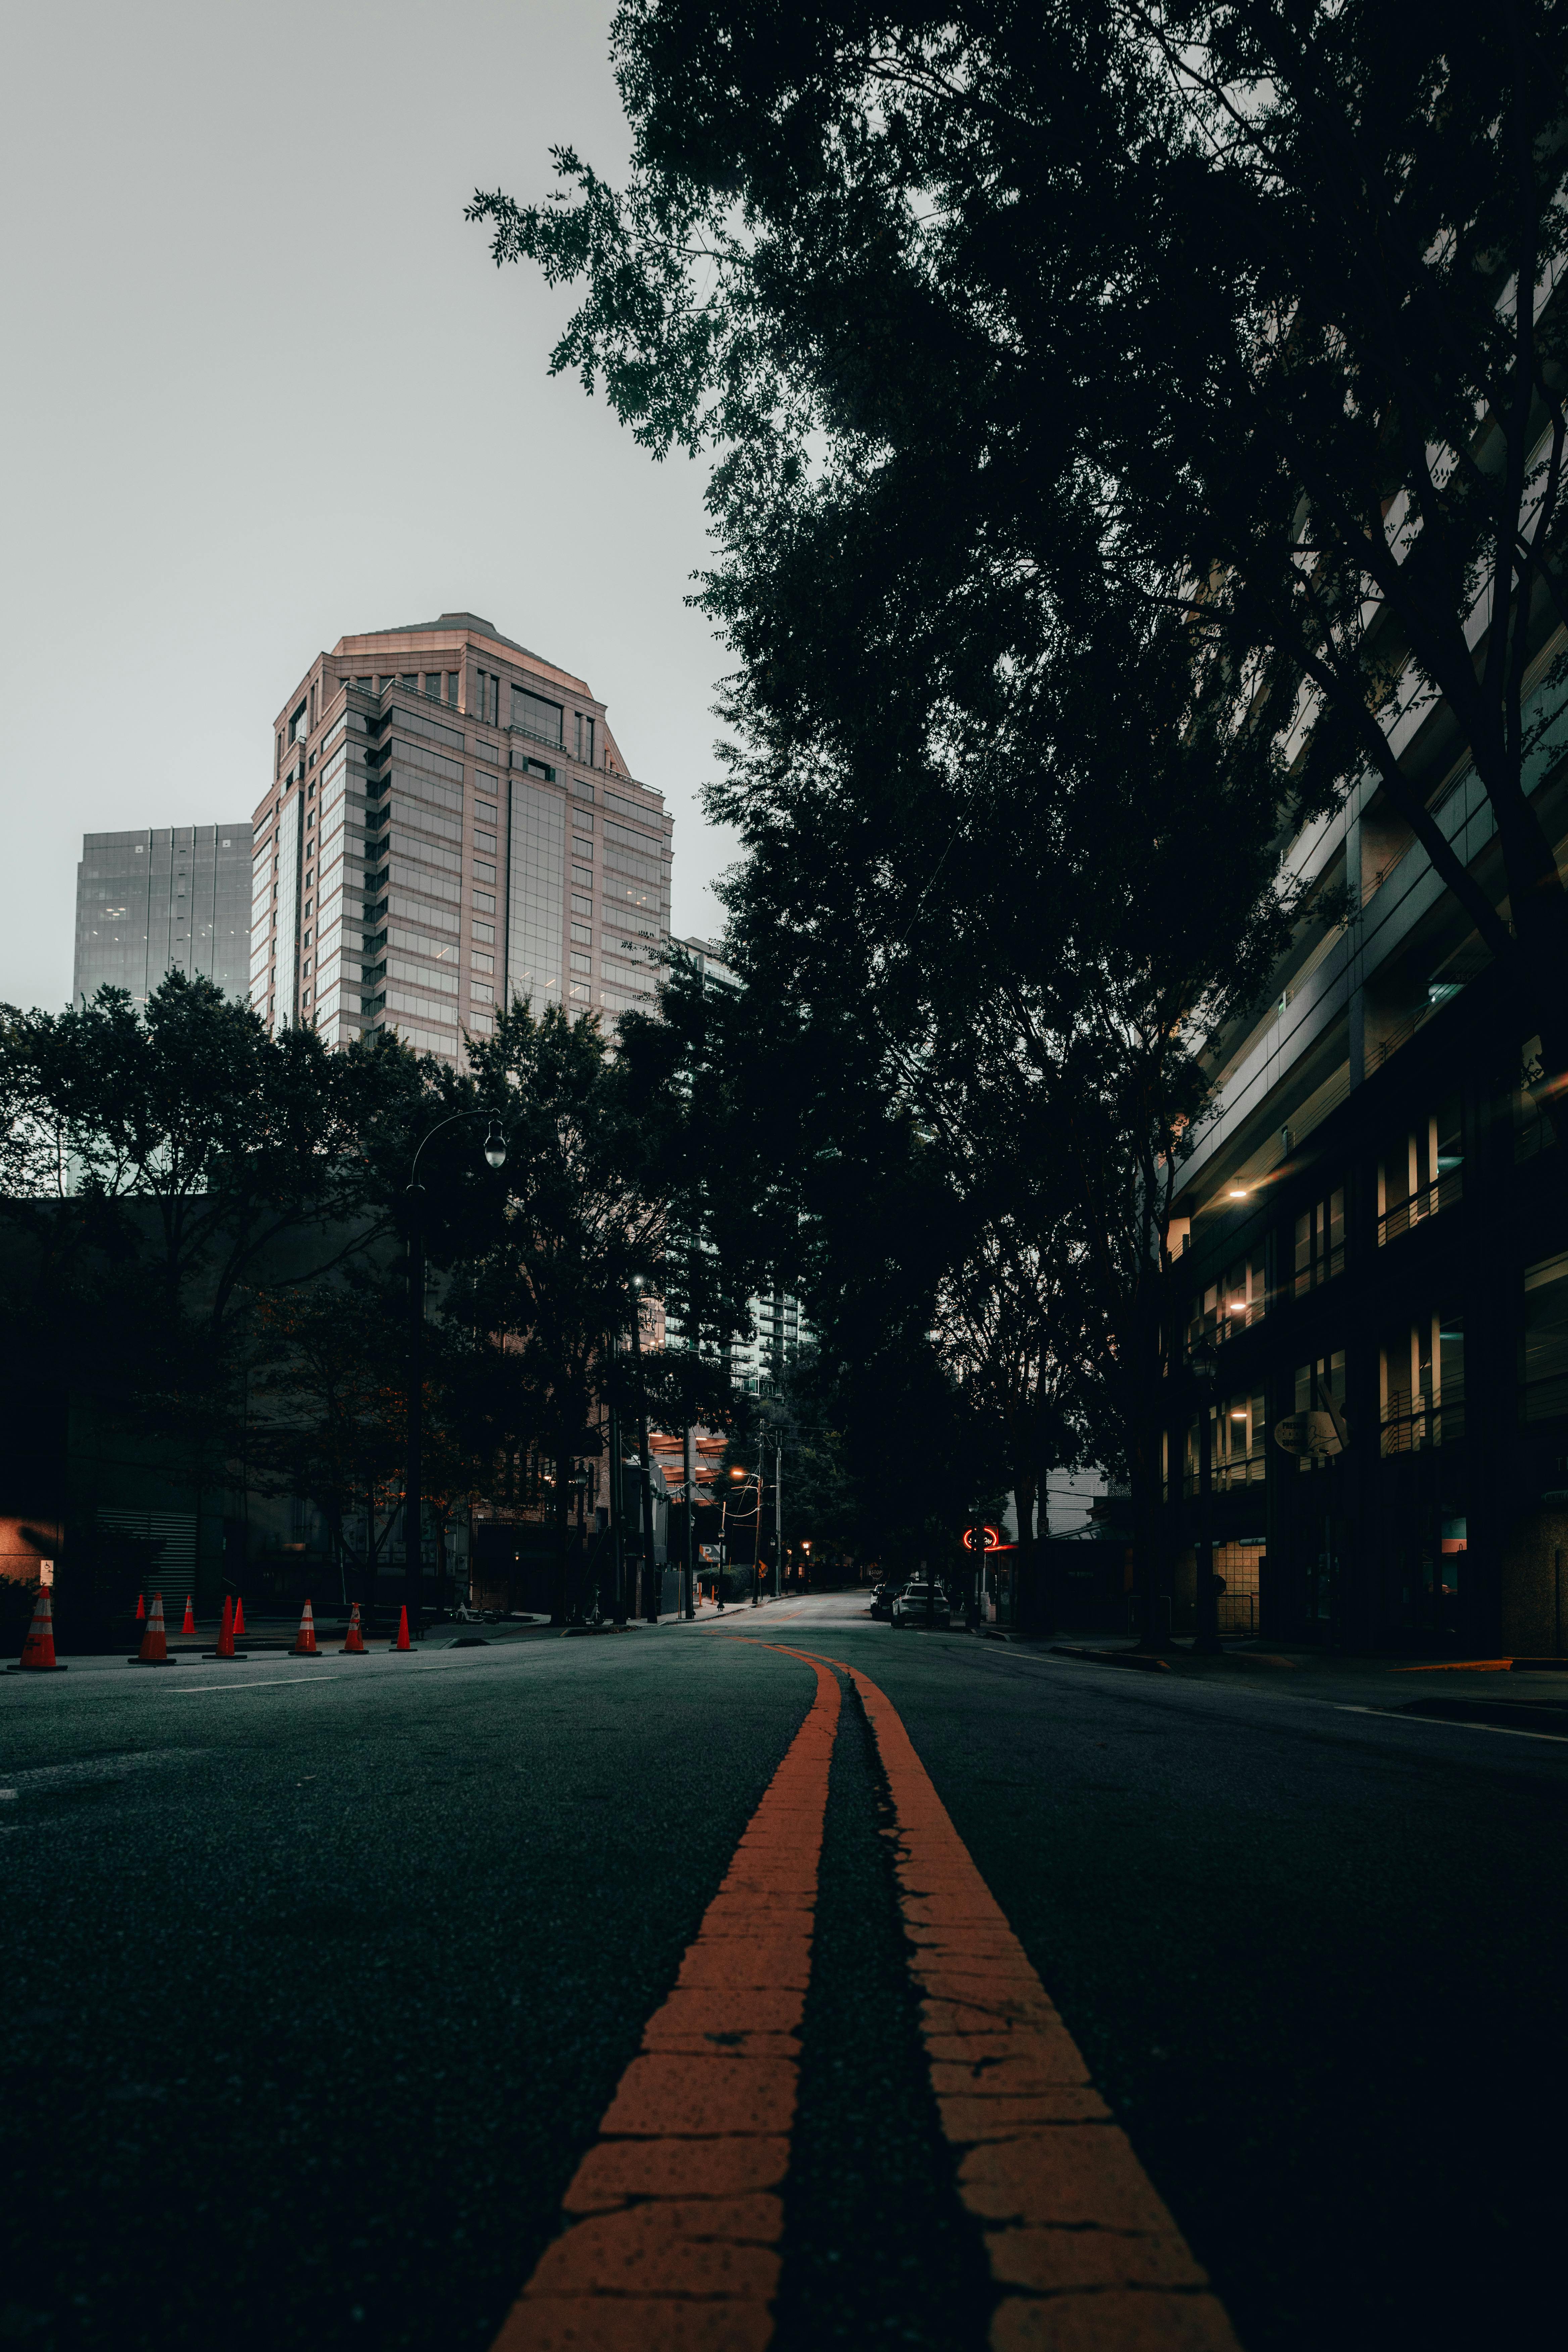
A walk-through shoot works best when the camera stays ready. A hands-free strap lets you move, frame, and react without digging through a bag each time. In city scenes, the best line often lasts only a few seconds. A secure strap also helps when you raise the camera fast at a crosswalk or under a station roof.
Field habits that save time
- Set a shutter floor before you start walking.
- Check the horizon often on buildings and rail lines.
- Use back-button focus if you want cleaner timing.
- Review less on the rear screen so your eyes stay on the scene.
Mirrorless bodies drain more battery when the EVF or LCD stays on, so limit extra review. That small habit can matter more than a tiny change in shutter mode.
Quick answers for common questions

The best answers for this topic stay short and useful. They point straight to the structure that makes the image work.
One-point perspective pairs well with black-and-white shooting because tone and line matter more than color noise. In a clean city frame, shape wins fast.
What are the three rules for one-point perspective?
Keep lines aimed at one vanishing point, keep the camera level, and leave the path of travel clear. A scene with strong rails or a long sidewalk makes each rule easier to hold.
What are common mistakes in one-point perspective?

The most common mistakes are a tilted camera, clutter at the edges, and a weak center point. A quick grid check and a simpler background can fix most of them.
Can you explain one-point perspective to a beginner?
One-point perspective creates depth by sending straight lines toward one spot in the frame. Start with a road, hallway, or bridge, then place the camera so the lines feel even.
What are the 7 types of perspective?
The seven types are one-point, two-point, three-point, aerial, forced, reverse, and curvilinear perspective. In city work, the first three show up most often, while the others add special effects.

Bringing the scene together
Soft shadows, bold contrast, and cleaner city scenes come from strong line control and simple framing. One-point perspective photography gives you that structure, especially in streets, stations, and long walkways. Use a 35mm or 50mm lens, keep ISO low in bright light, and watch your horizon. Then move slowly, stay ready, and wait for one clear path to open in front of you.
On the next walk, pick one street with a single vanishing point and shoot three frames before you move on.
Frequently Asked Questions
What are the three rules for one-point perspective?

The three rules for one-point perspective are to aim parallel lines toward a single vanishing point, keep the camera level, and leave the main route through the scene unobstructed. These habits prevent the image from bending, drifting, or feeling cluttered.
What are common mistakes in one-point perspective?
Common mistakes in one-point perspective include horizon drift, which makes walls lean and weakens depth, and cluttered edges that interrupt the main lines. Busy signs, parked cars, pedestrians, or other objects can also hide the vanishing point and make the frame feel messy.
Can you explain one-point perspective to a beginner?
One-point perspective is a way to make a flat photo feel deep by having parallel lines meet at one spot. A simple example is standing in the middle of a long street and looking straight ahead, where the road, walls, or rails seem to converge in the distance.
What are the 7 types of perspective?
The seven types of perspective are one-point perspective, two-point perspective, three-point perspective, atmospheric perspective, aerial perspective, linear perspective, and forced perspective. One-point perspective uses a single vanishing point, while the others change how depth, distance, or scale is shown.


