


- Anchor every receding line to one vanishing point for clean depth.
- Avoid tilted framing, stray angles, and clutter that break the geometry.
- Use one-point perspective as a beginner-friendly way to make scenes orderly.
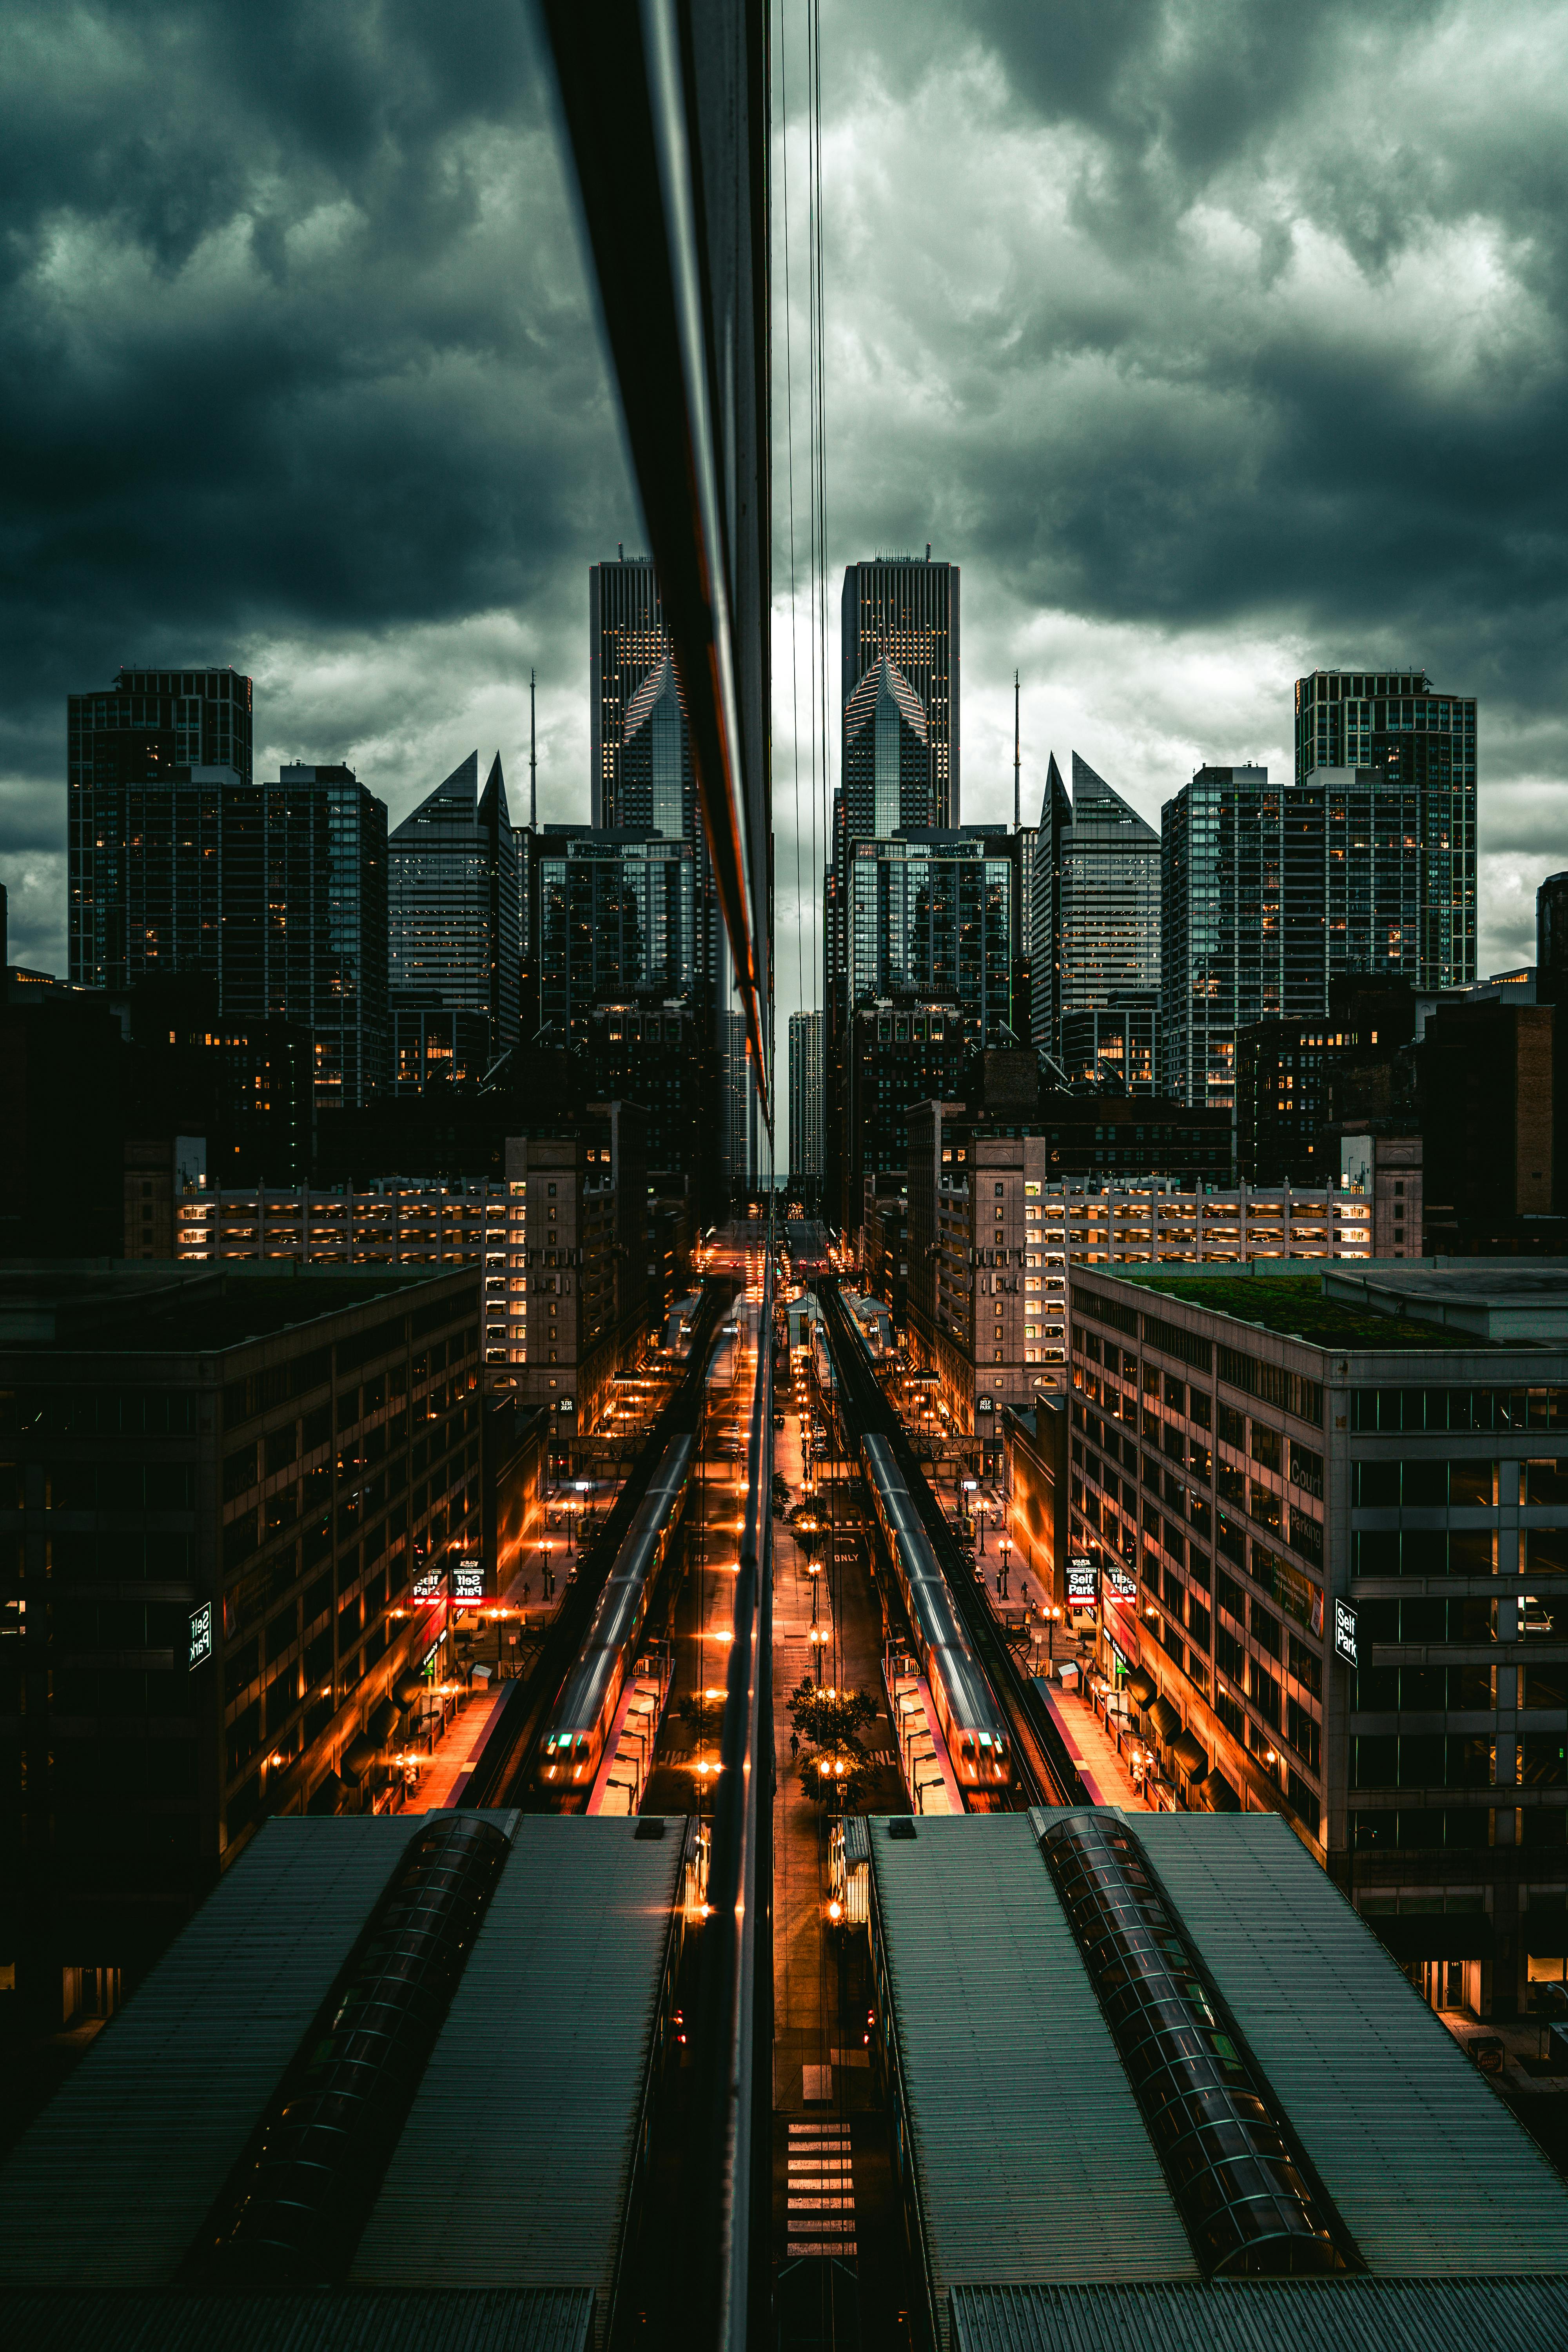
One-point perspective photography shows depth by pushing lines toward a single vanishing point. I use it to turn city blocks, hallways, and bridges into sharp, orderly scenes. Glass, steel, and shadows make the style vivid. Hard edges, repeating lines, and long shapes pull the eye straight into the frame.
Reading the city as a line map
Urban scenes work well because buildings already carry strong structure. Windows, railings, road markings, and roof edges all drive the eye forward.
A glass tower can double those lines through reflection. In a steel station, beams and pipes frame the whole shot, while shadows add another layer that shifts with the light minute by minute.
Why the vanishing point matters
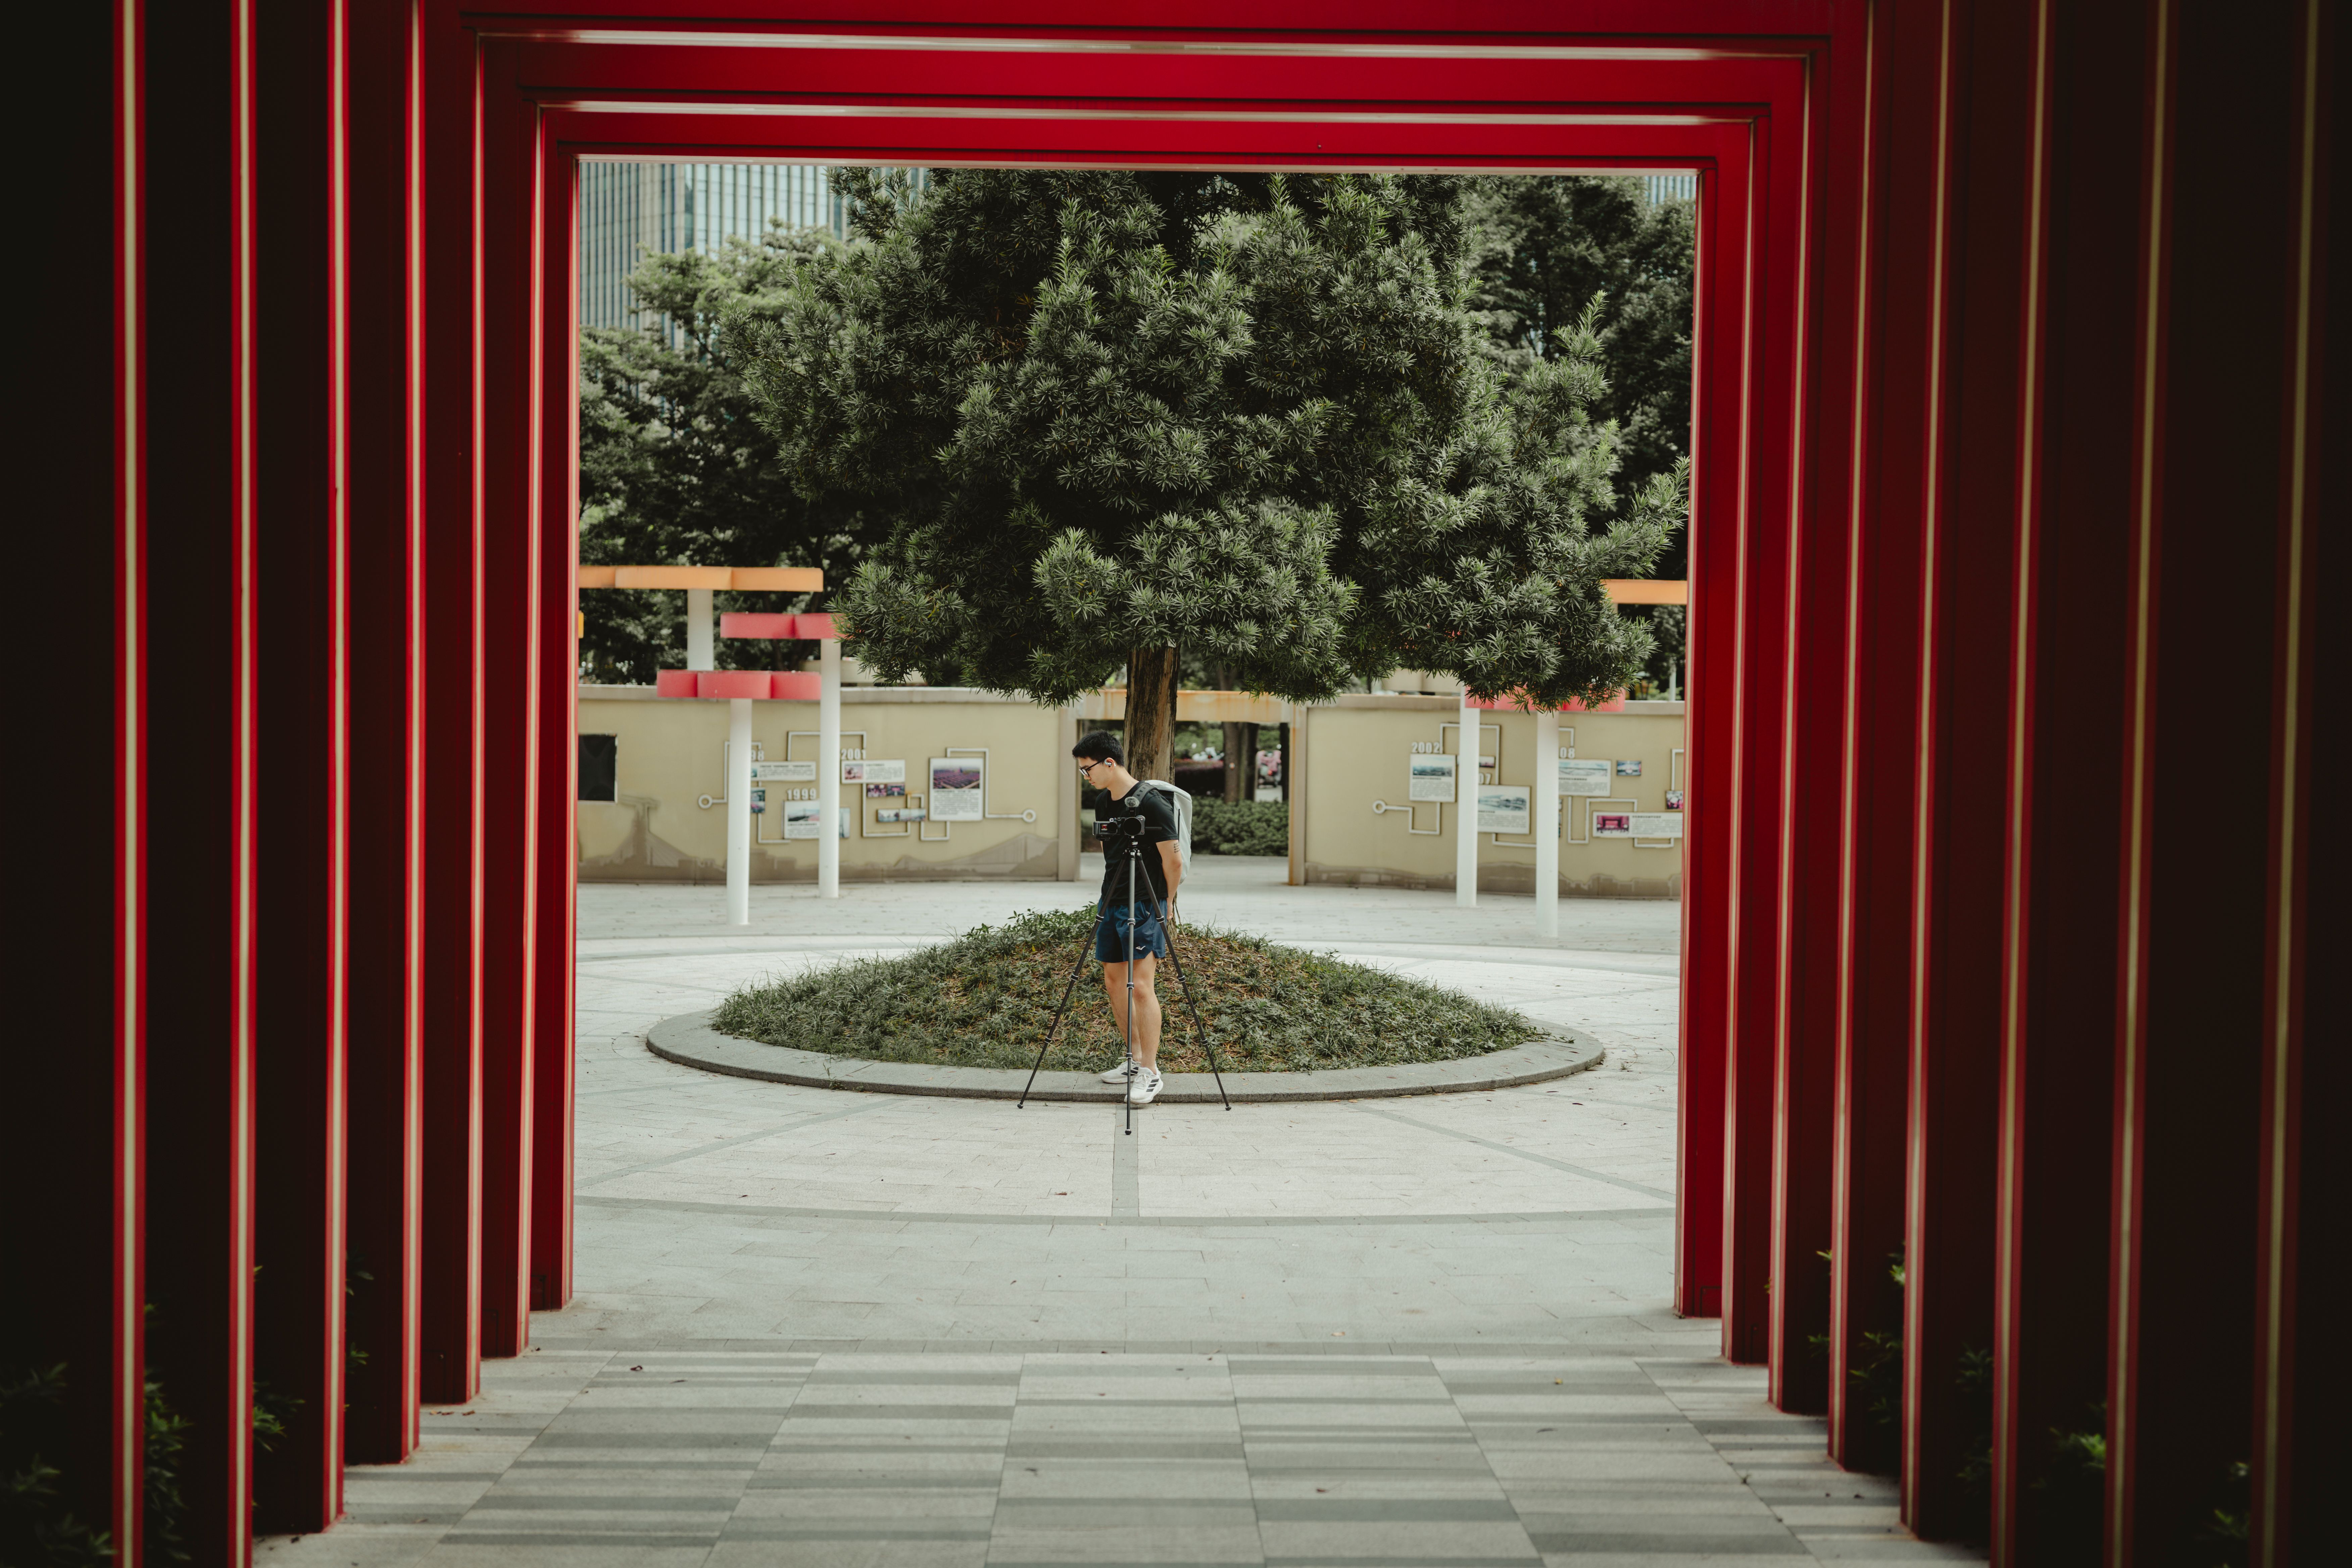
One-point scenes rely on a single vanishing point. Parallel lines that run away from the camera seem to meet there, often near the center of the frame. The result brings order and depth together. A street feels longer, a corridor feels deeper, and a plaza feels more deliberate.
How glass changes the feel
Glass can make a scene feel open or layered. It may show the street behind you while also revealing the world ahead.
That mix adds tension. A person, a sign, or a bright patch of sky gives the eye a place to rest.

What holds the frame together
Strong one-point frames begin with camera position, not lens choice. Perspective comes from where you stand, while focal length mainly changes framing and image scale from that spot. A 50mm lens is a common full-frame choice because it gives a natural view. A wider or tighter lens can still work if the viewpoint stays fixed.
Keep the camera level
A level camera helps straight walls stay straight. A bubble level makes that easier, and many cameras show a digital level in the viewfinder.
When the sensor plane stays parallel to flat surfaces, the frame looks calm and balanced. Tilt the camera up, and vertical lines can lean away from the center.

Use shadows as guides
Shadows work like quiet arrows. A long shadow from a railing or pole can lead the viewer to the subject without feeling forced. Look for hard midday light, late sun, or bright windows. These sources often create crisp shadow edges that suit steel and stone.
What are the three rules for one-point perspective?
The three rules are simple: keep one vanishing point, aim receding parallel lines at it, and keep the camera level when you want clean geometry. Those rules give the frame depth and keep the scene from looking messy.
A good test is to look for at least three strong line groups, such as floor edges, ceiling beams, or wall seams. If they all move toward the same point, the composition is working.
A practical shooting setup
- Set the camera to Aperture Priority or Manual mode.
- Use f/5.6 to f/8 for sharp edges across the frame.
- Start at ISO 100 to 400 in bright city light.
- Use continuous AF-C or AI Servo if people may cross the scene.
- Check the grid display or bubble level before you shoot.
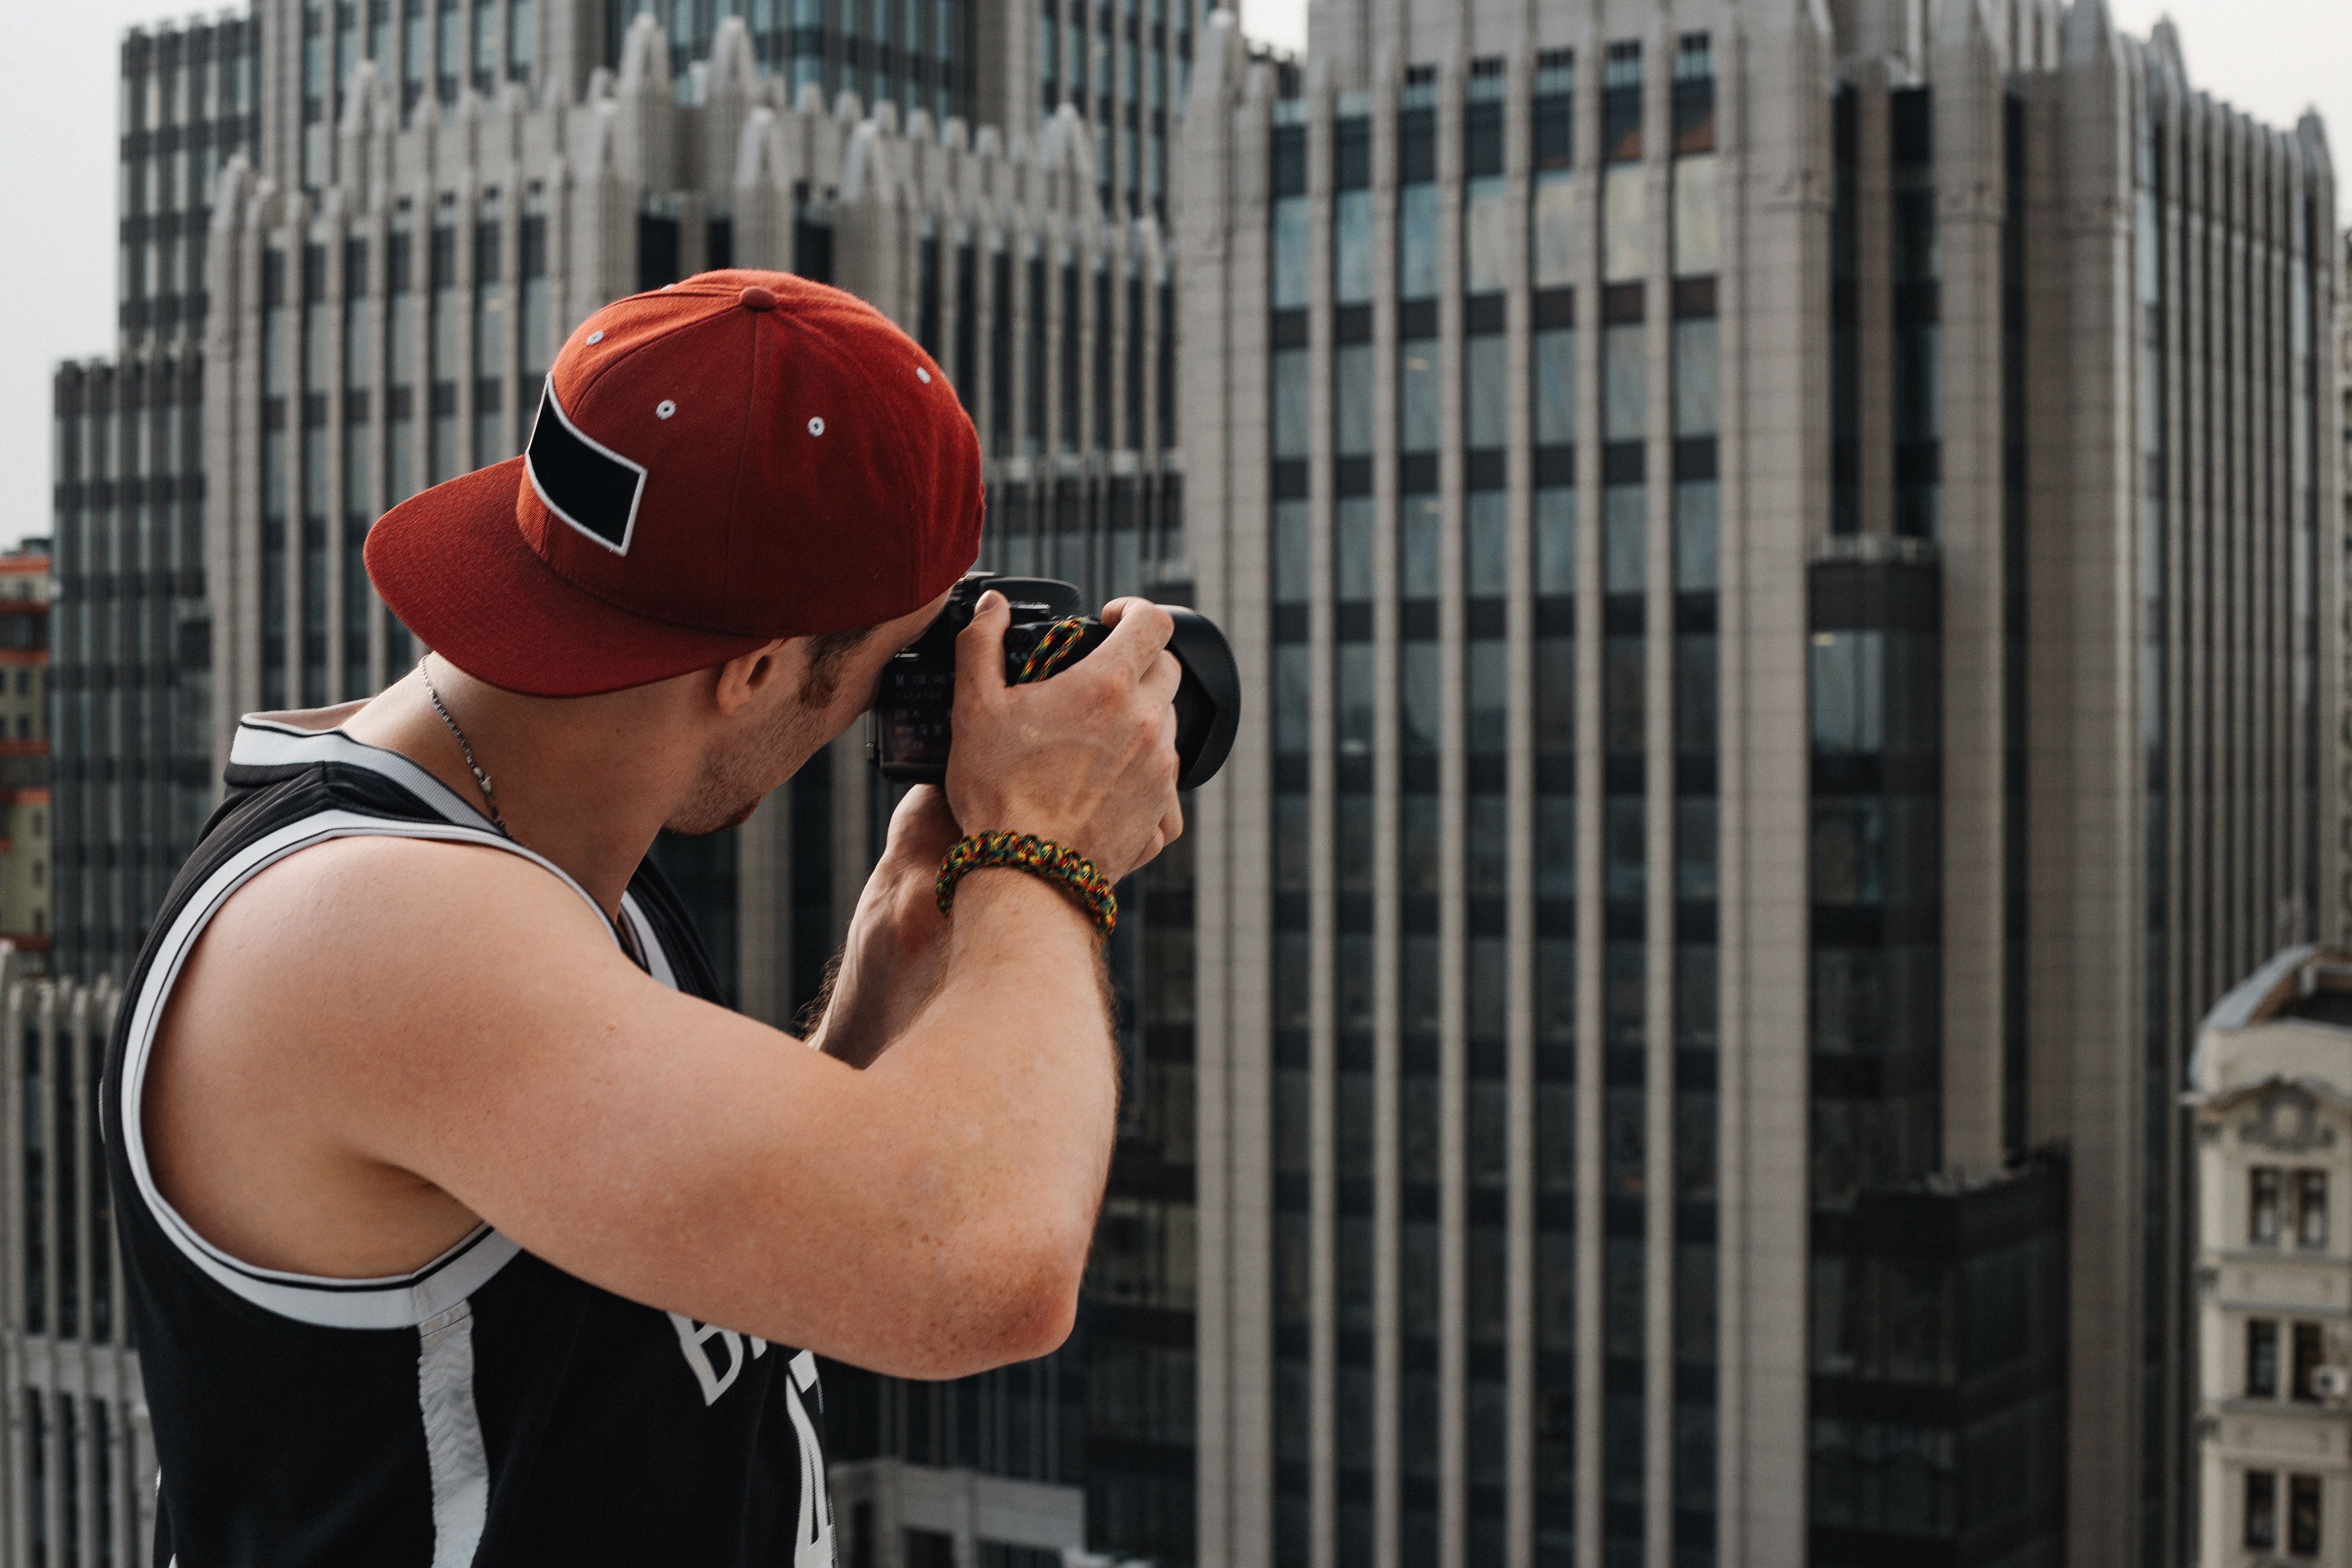
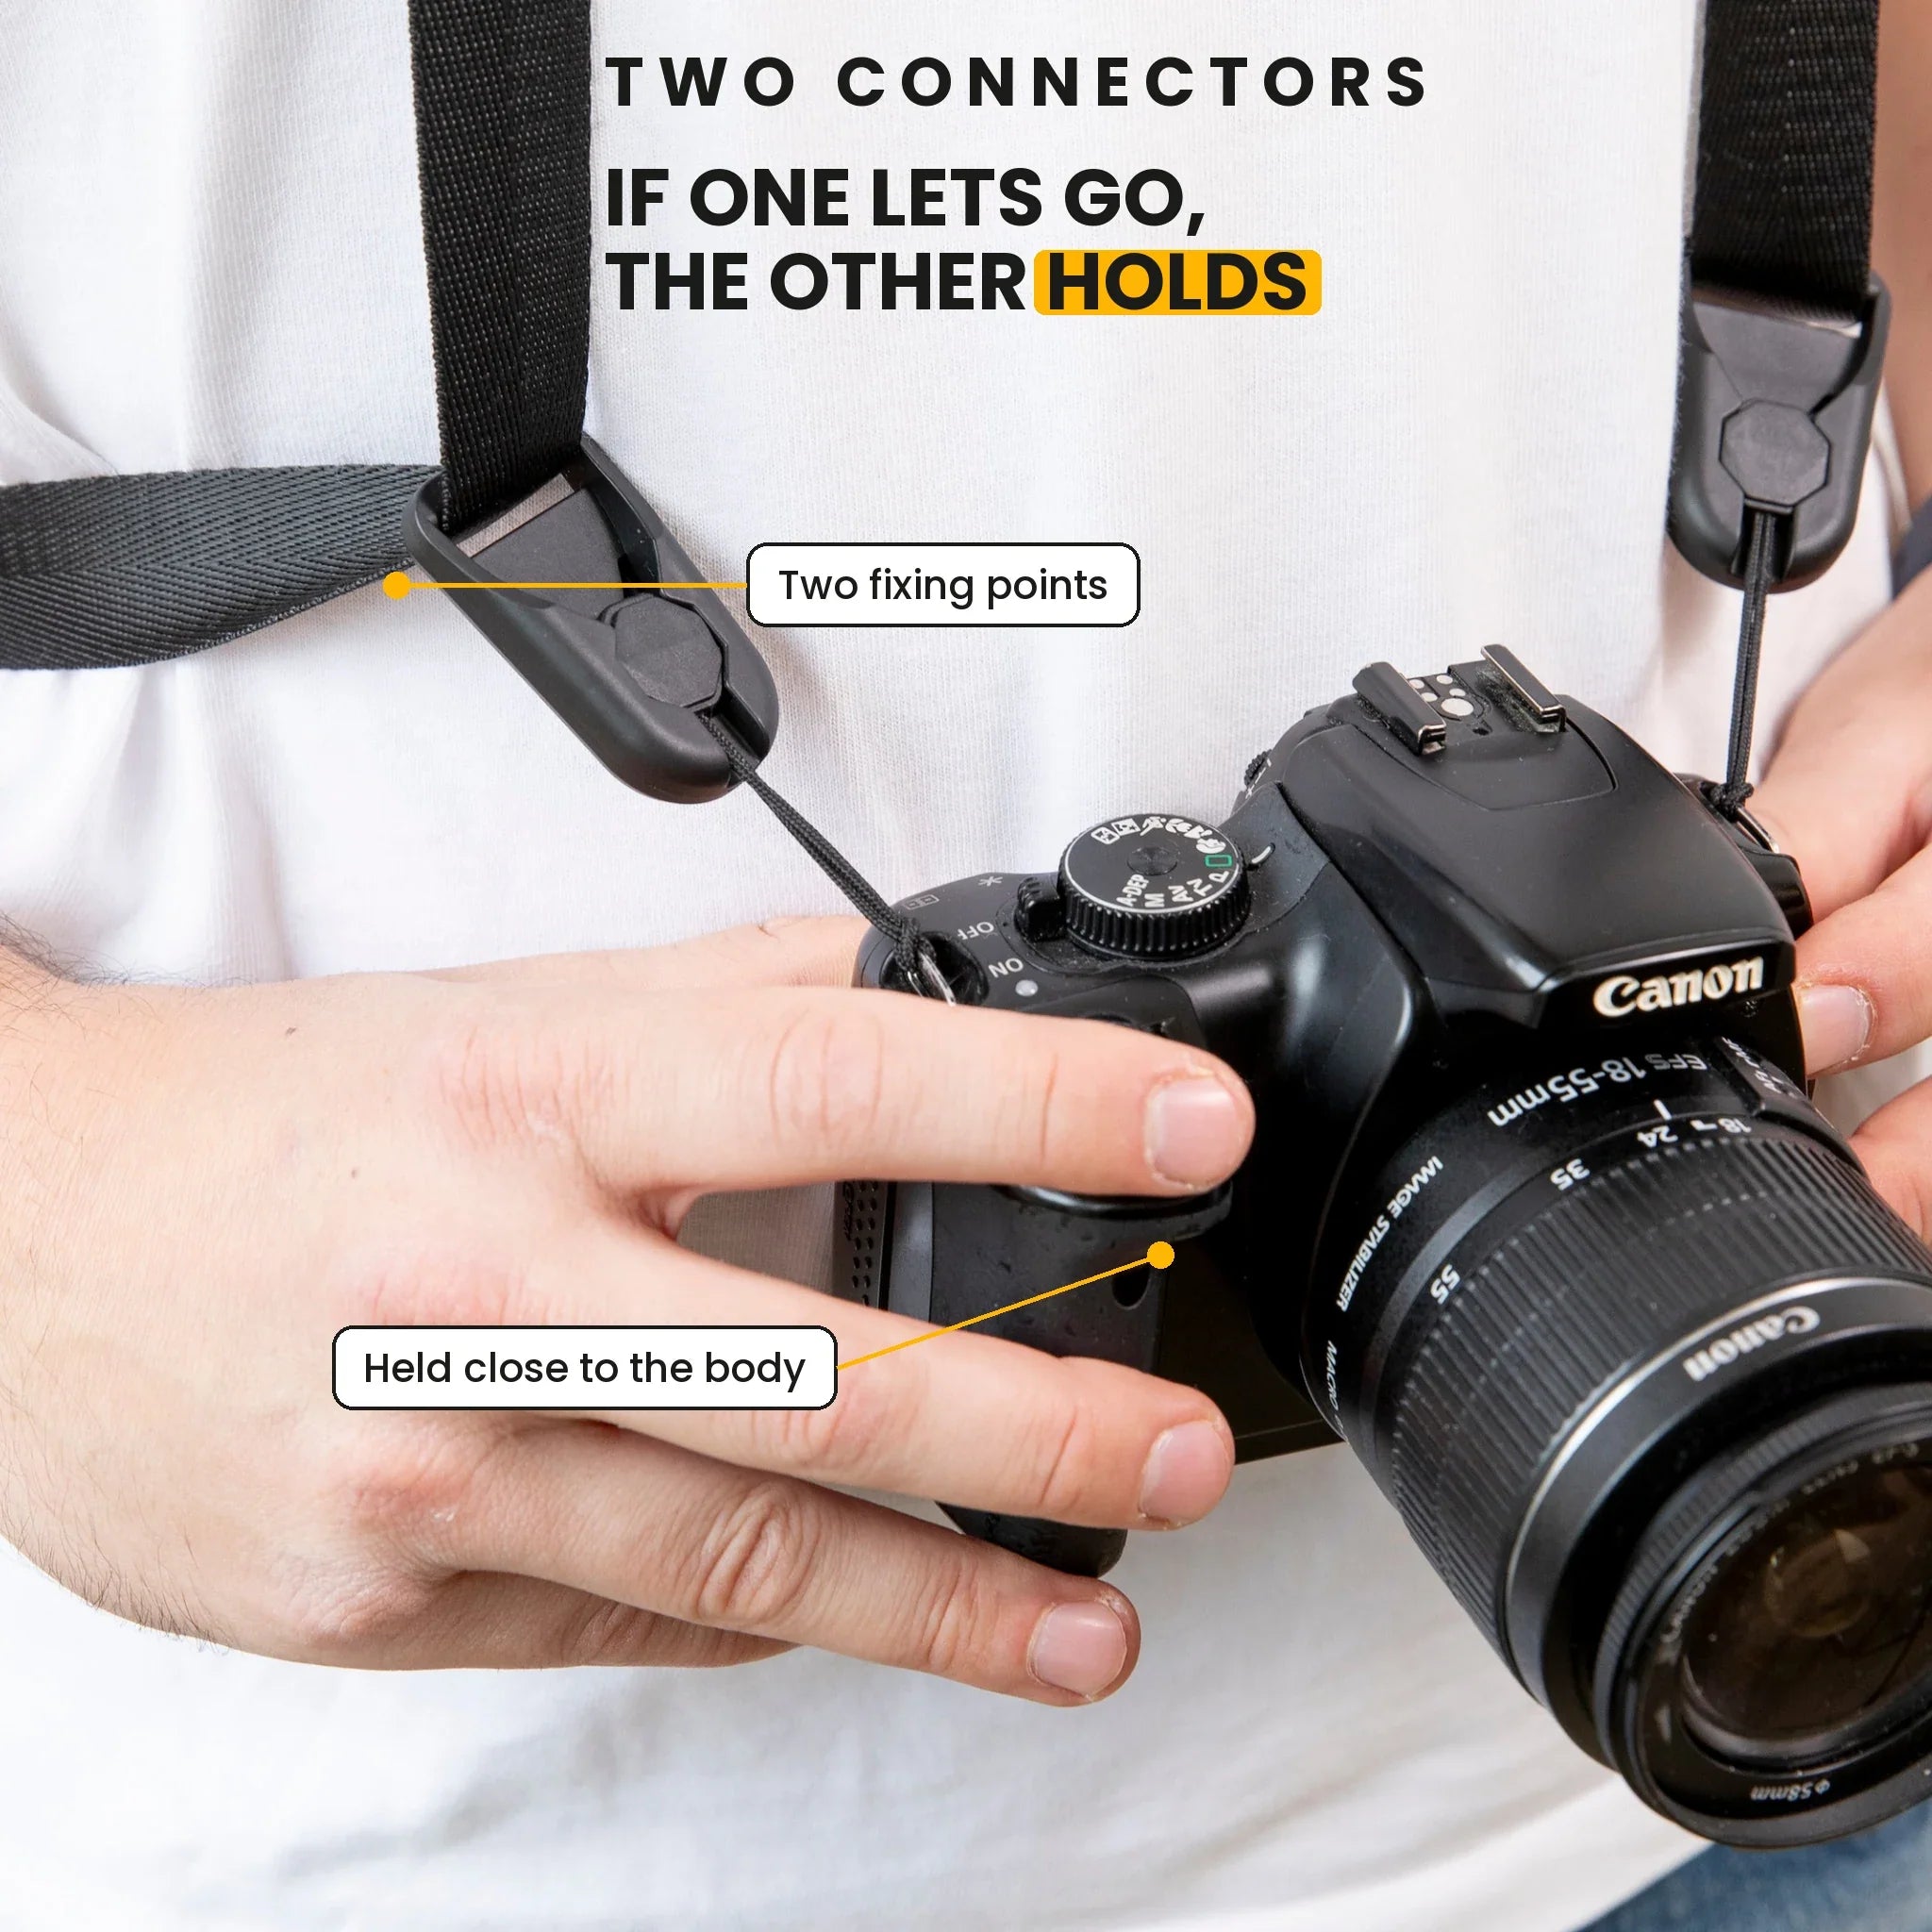
This setup gives you room to move fast without losing shape. A hands-free strap helps here, and I like a Camstrap Voyager when I need the camera ready while I walk and hunt for lines.
What are common mistakes in one-point perspective?
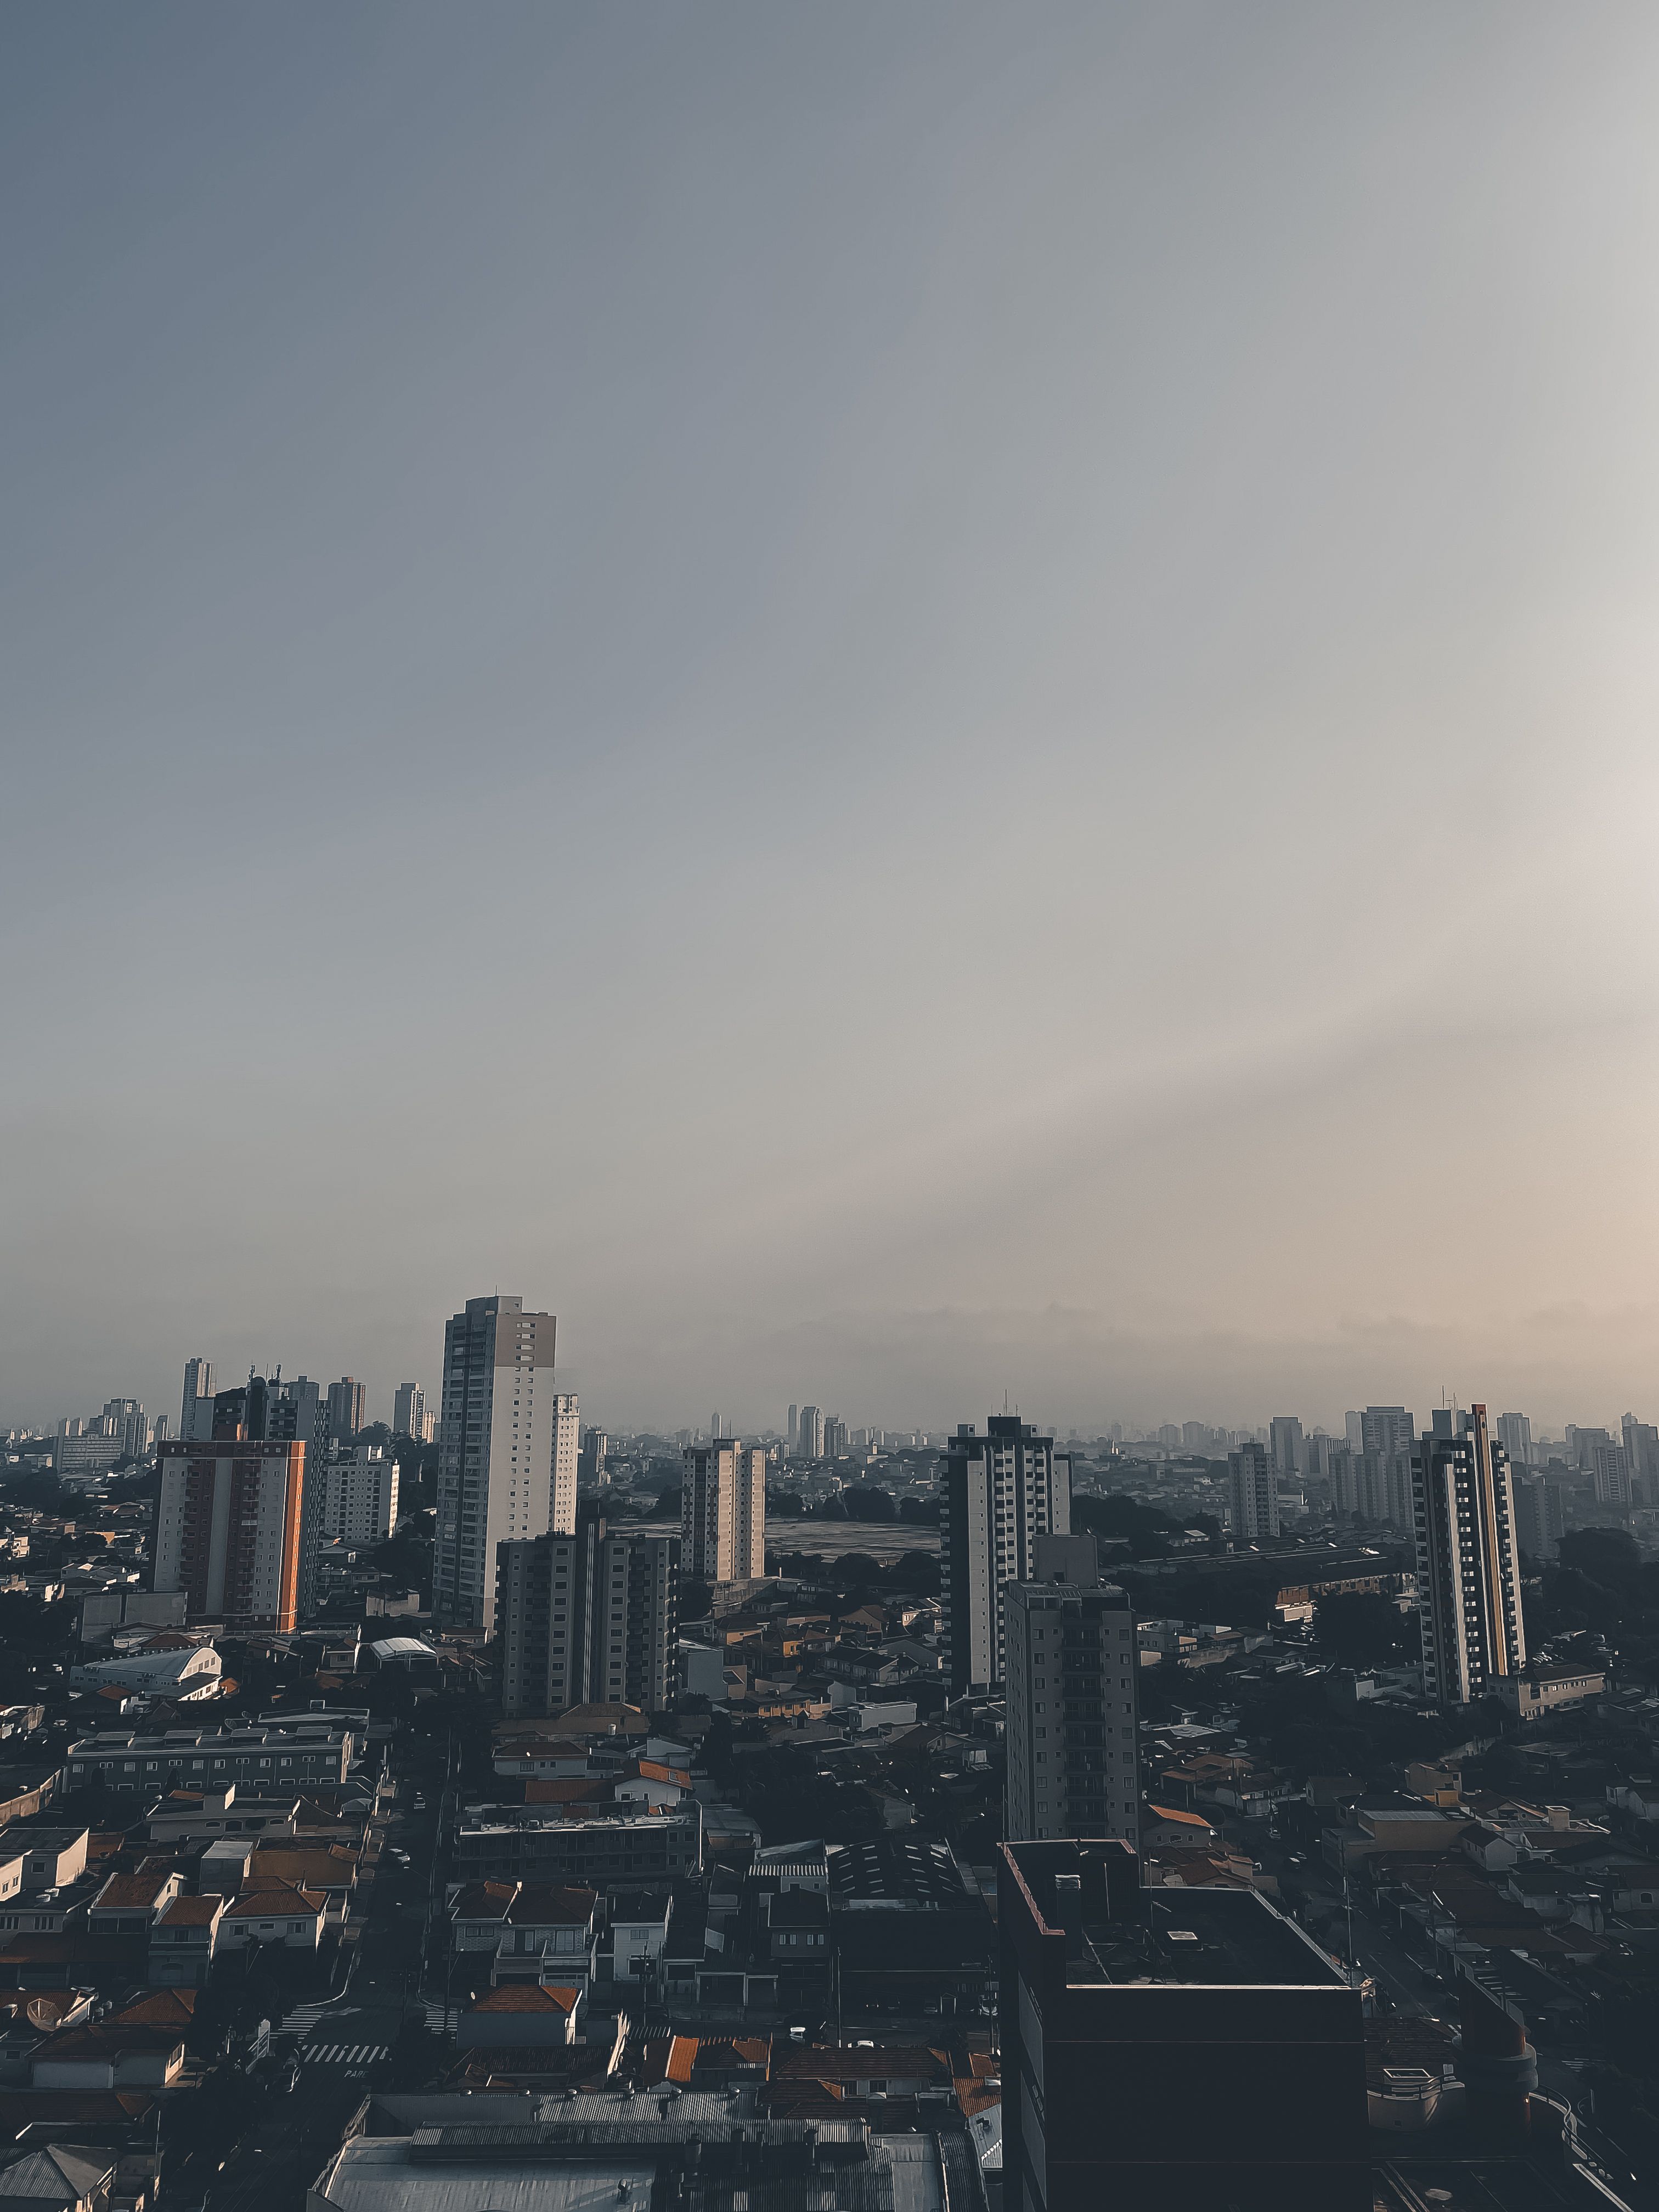
The most common mistakes are a crooked camera, mixed line directions, and weak edge control. Those problems break the clean path that makes the style work. Another issue is a random subject with no clear anchor. The eye then wanders, and the vanishing point stops feeling like the main event.
What usually goes wrong
- Tilted horizons or leaning walls that distort the frame.
- Too many line directions that fight the main vanishing point.
- Busy foreground clutter that blocks the path inward.
- Flat light that hides edges and kills shadow lines.
- Wrong camera height, which can push the vanishing point too high or too low.
Shoot closer to the ground, and the vanishing point rises in the frame. Stand higher, and it drops lower.
Is 1 point perspective good for beginners?
One-point perspective works well for beginners because it teaches framing, balance, and line control in a clear way. It gives you one main target, so you can learn without juggling too many variables at once.
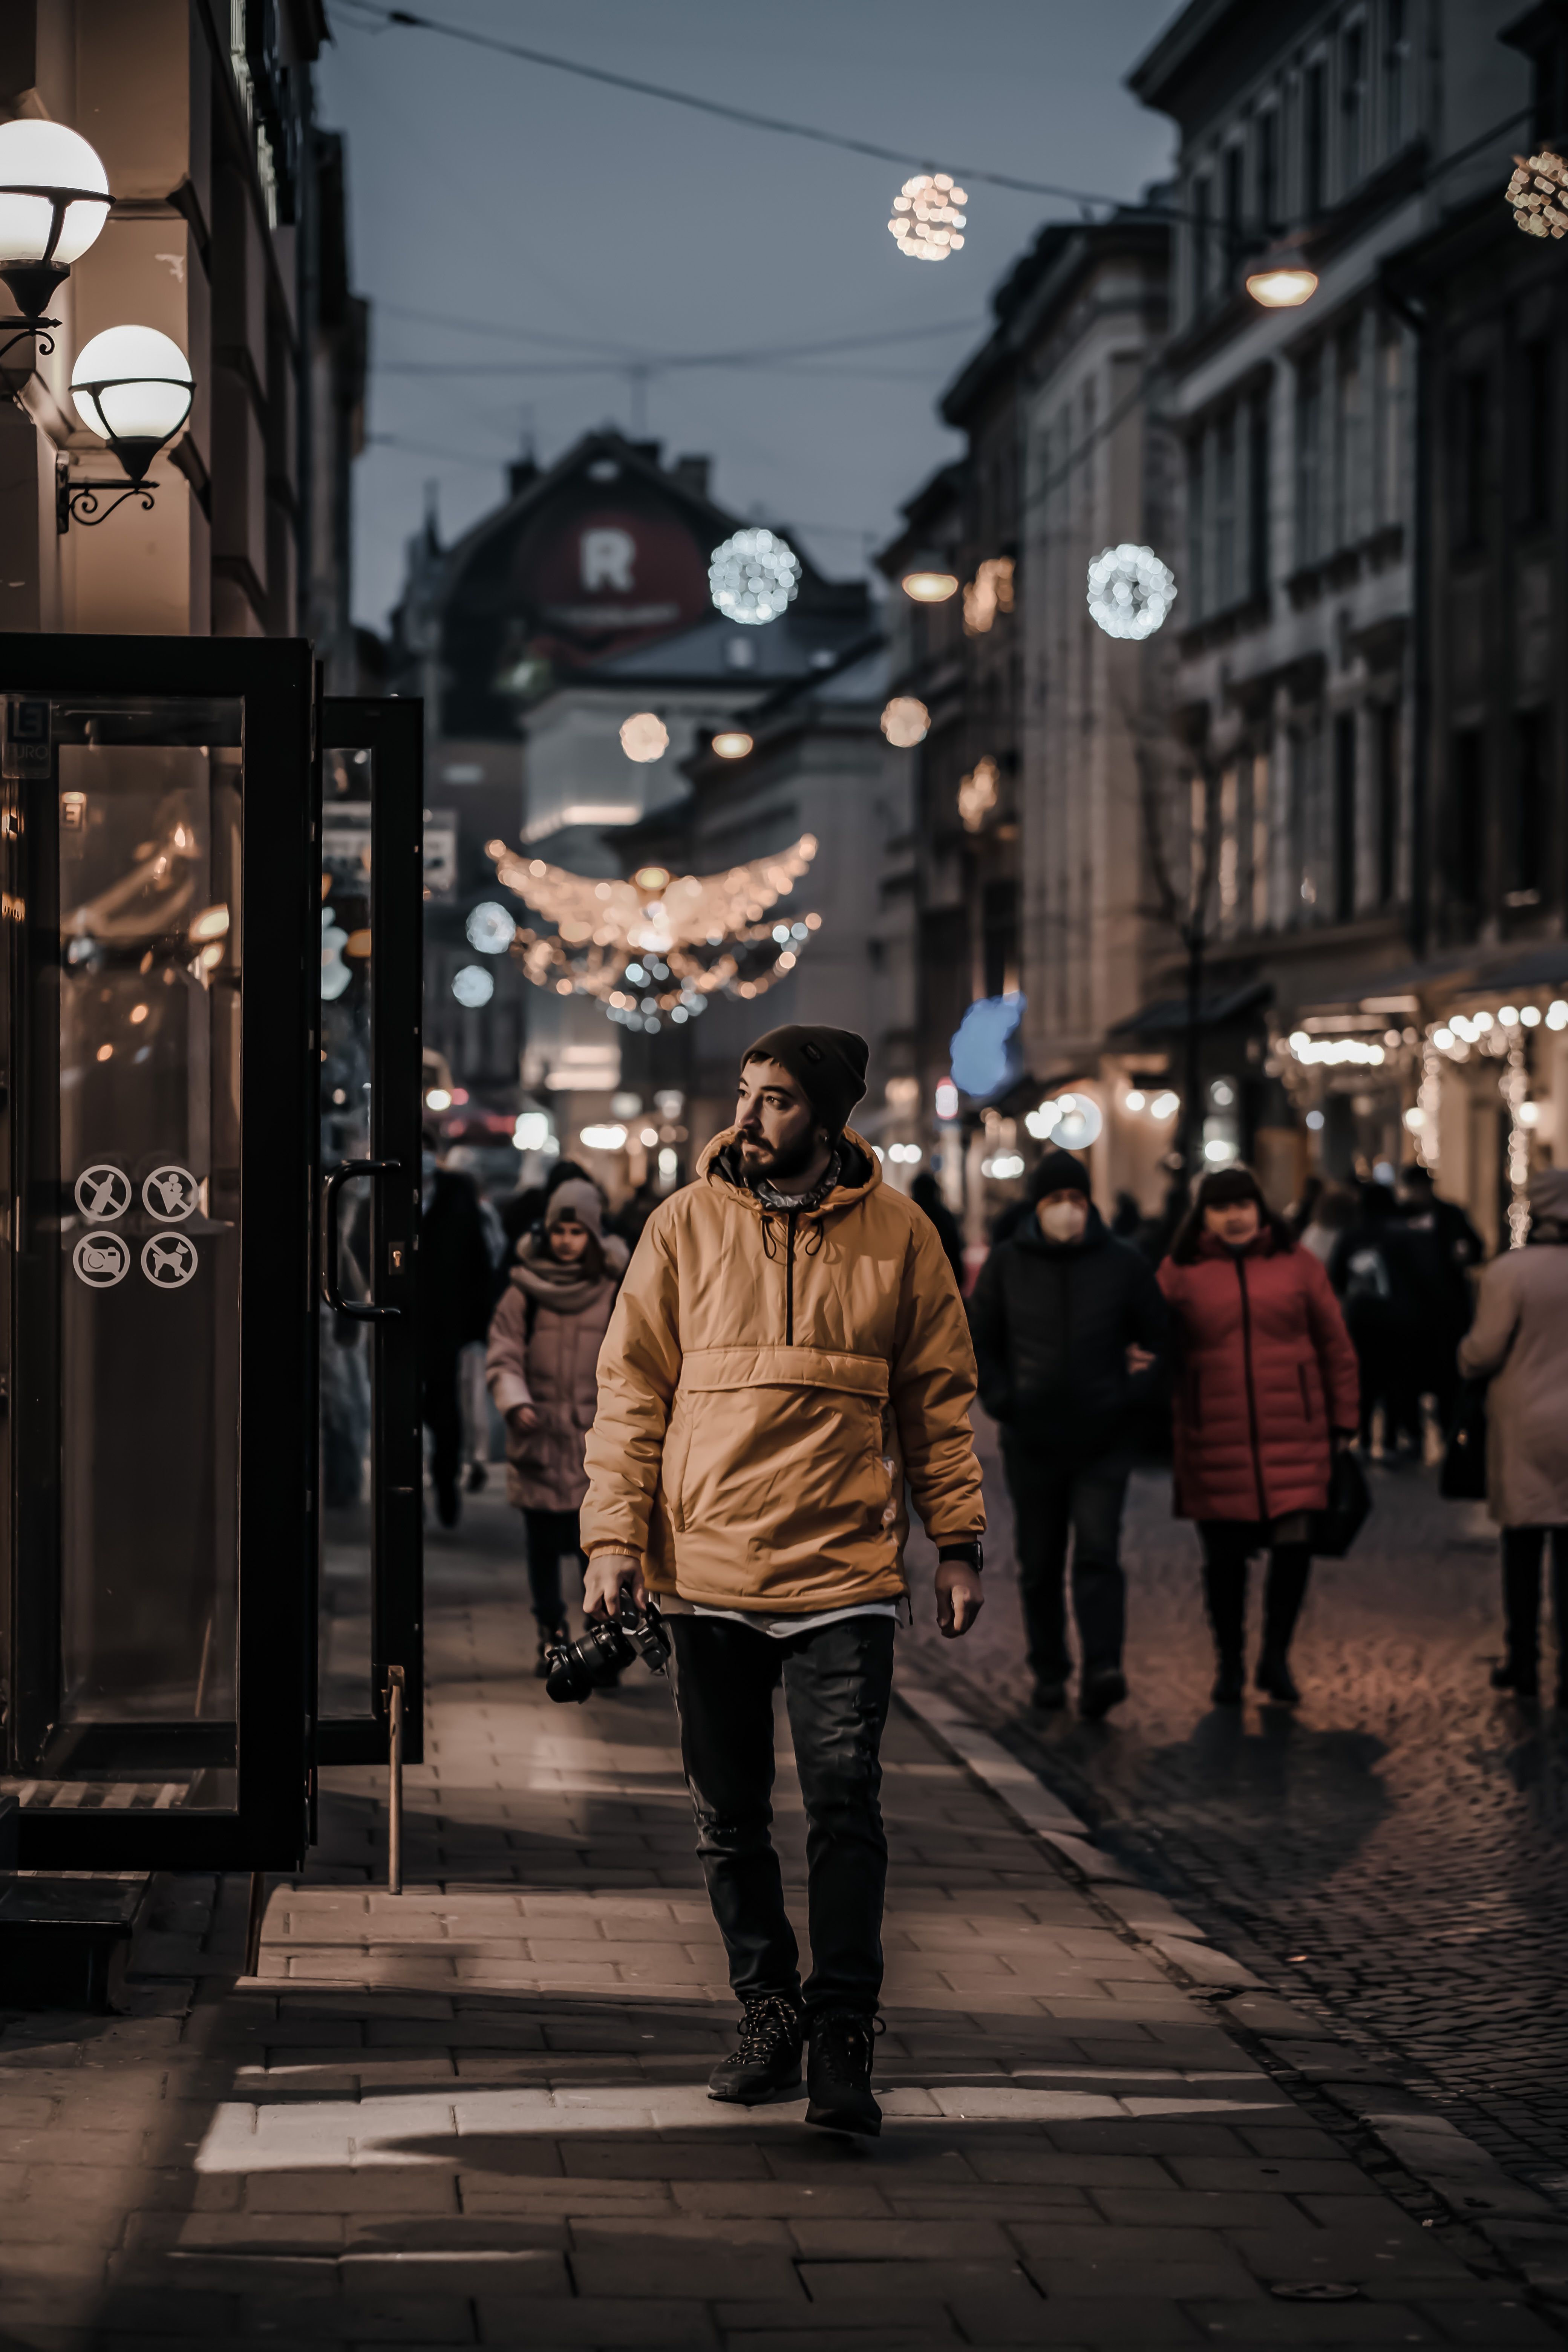
Patience still pays off. Move a little, look again, and make sure the lines meet where you want them to.
Why it builds strong habits
Beginners learn to read a scene instead of just pointing the camera at it. Edges, spacing, and symmetry start showing up in places that once seemed ordinary. Small shifts can change the whole shot. A step left, right, up, or down can move the vanishing point enough to improve the frame.
How I would practice it
- Pick a hallway, bridge, station platform, or street tunnel.
- Make five frames from one spot before moving.
- Then change your height by about one foot and repeat.
- Review which frame has the cleanest line flow.
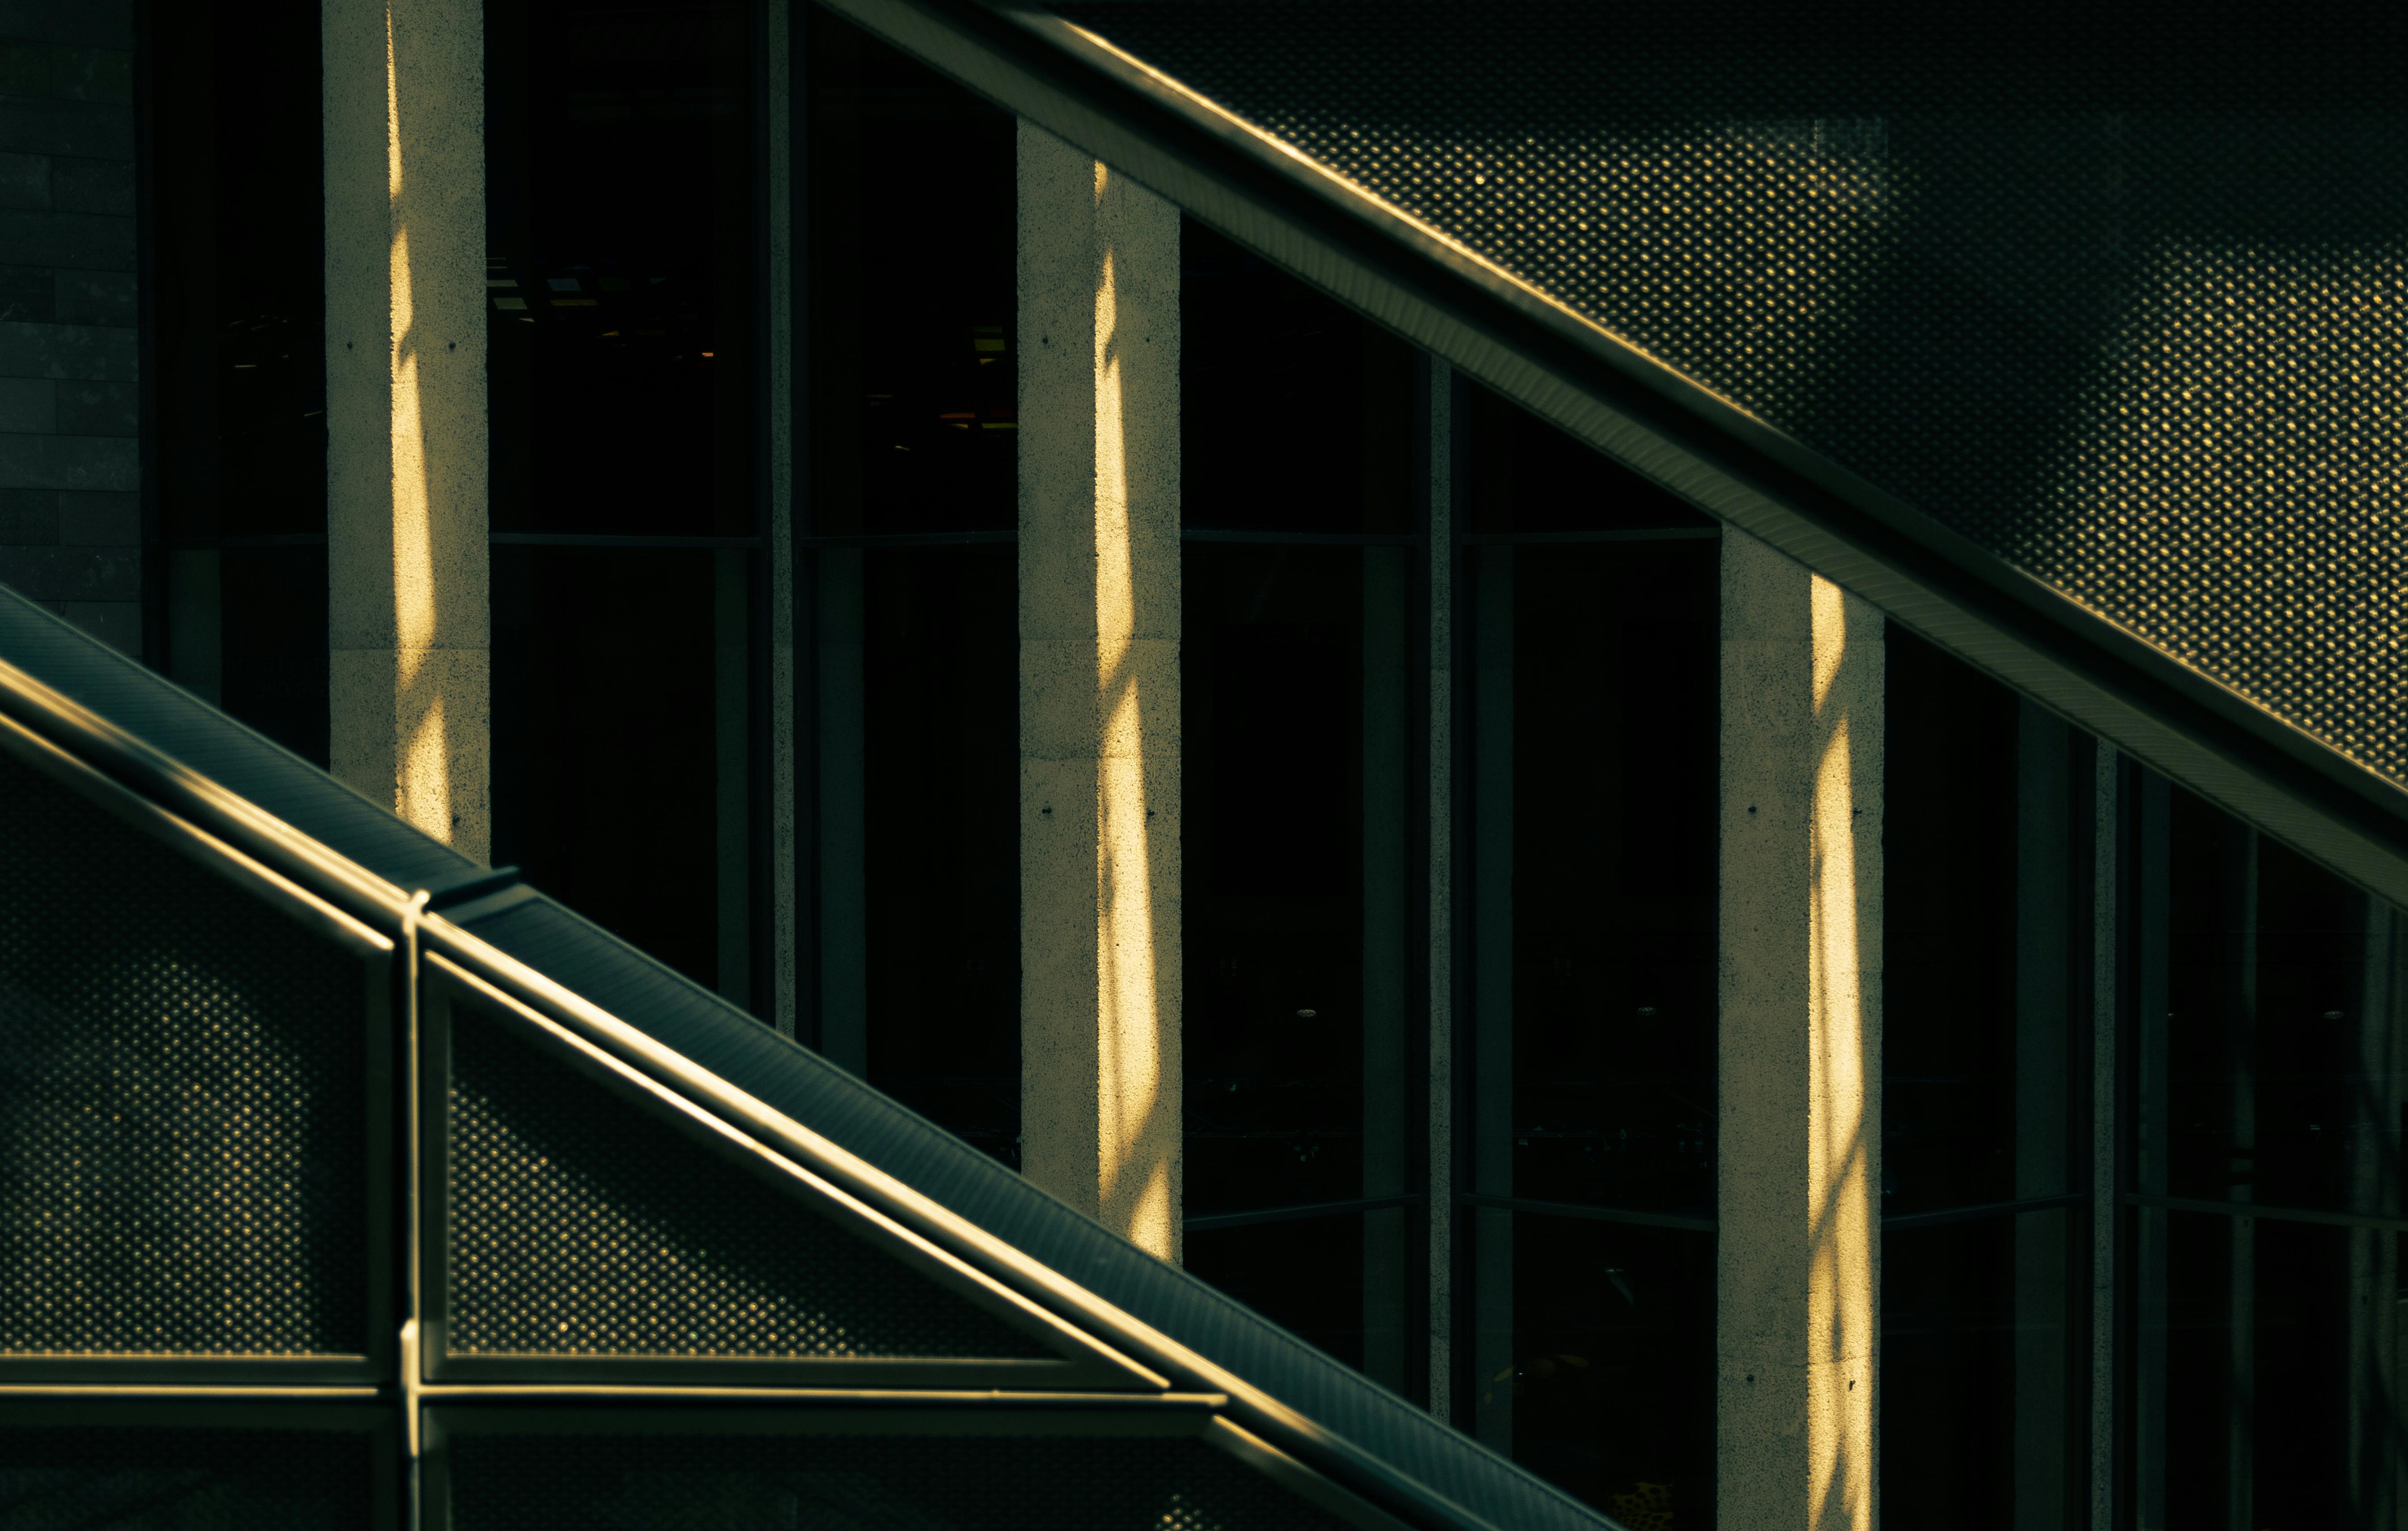
This exercise teaches more than a long gear list does. It shows how the city changes with your position.
What are the 7 types of perspective?
The seven common types are one-point, two-point, three-point, foreshortening, aerial, atmospheric, and forced perspective. Each one changes how space feels, but one-point is the most direct for city line work.
Some lists group a few of these differently, but the main idea stays the same. They all shape depth in different ways, and each one changes how the viewer reads distance.
How they compare in practice
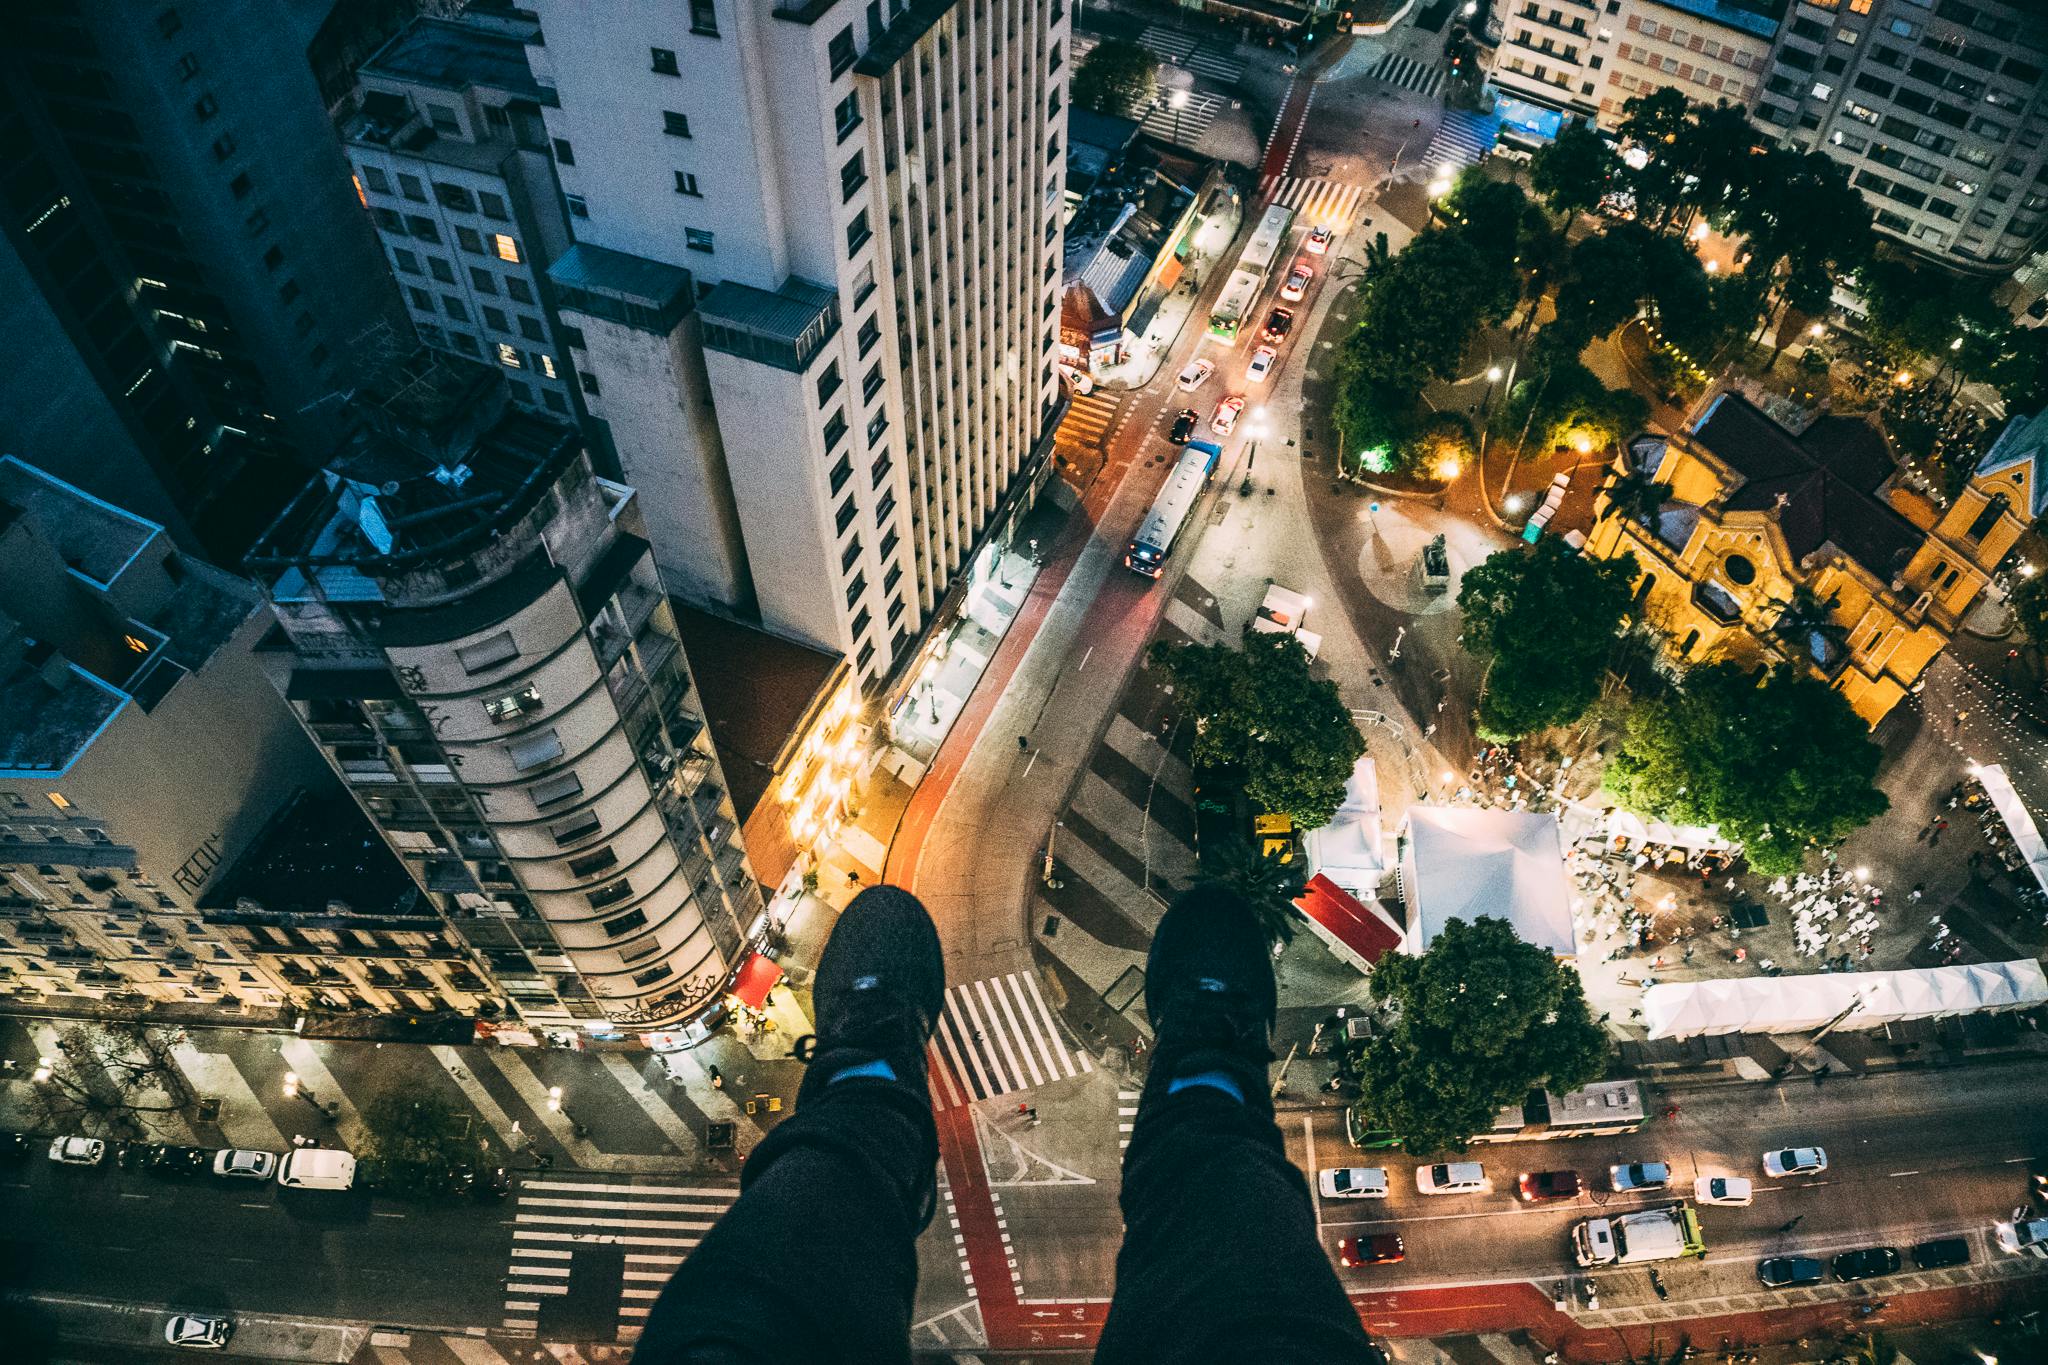
- One-point: lines meet at one vanishing point.
- Two-point: two vanishing points shape corner views.
- Three-point: tall buildings lean toward a third point.
- Foreshortening: near parts look larger than far parts.
- Aerial: distant areas lose detail and contrast.
- Atmospheric: haze softens far shapes and color.
- Forced: scale tricks make objects seem nearer or farther.
One-point is the cleanest fit for glass, steel, and shadows. It works best when the scene already gives the eye a strong path to follow.
Tools, settings, and timing in real city light
Fast city work needs settings that protect shape and detail. I usually start near 1/250s to freeze walking subjects, then adjust ISO as light drops.
An aperture around f/2.8 gives more light, but it can soften edge-to-edge sharpness. For architecture-heavy frames, f/5.6 to f/8 often gives a better balance. If the light is poor, ISO 800 to 1600 is a practical tradeoff.

Useful camera features for this kind of work
Continuous AF-C or AI Servo helps when a person enters the lines. Back-button focus keeps focus control separate from the shutter.
On mirrorless bodies, the EVF, LCD, and image review are often the biggest battery drains. A mid-tier camera may buffer about 20 to 40 RAW frames before slowing, while JPEG usually lasts longer. If your body supports pre-capture or pre-burst, it can save the moment just before you press fully.
Card speed matters once you shoot bursts or RAW files. UHS-II V60 or V90 cards clear files faster than UHS-I, and CFexpress goes faster still. A short burst does not fill a modern buffer right away, so the bigger limit is often how long you keep firing.
Simple field workflow

Set the level, frame the lines, and watch the edges. Shoot two or three frames, not a full spray, unless motion enters the scene. Later, cull with pick and reject flags in Lightroom or Photo Mechanic. That keeps the strongest frame, usually the one where the vanishing point, subject, and shadow line up.
The best city shots often come from slow walking and quick response. Read the block, stop for a second, and let the geometry do the rest.
Glass, steel, and shadow as one visual language
These three elements work best when they share the same direction. Glass can reflect lines, steel can frame them, and shadows can point along them.
The mix gives the photo depth without adding clutter. It also makes the city feel designed, even when the scene is busy and loud.
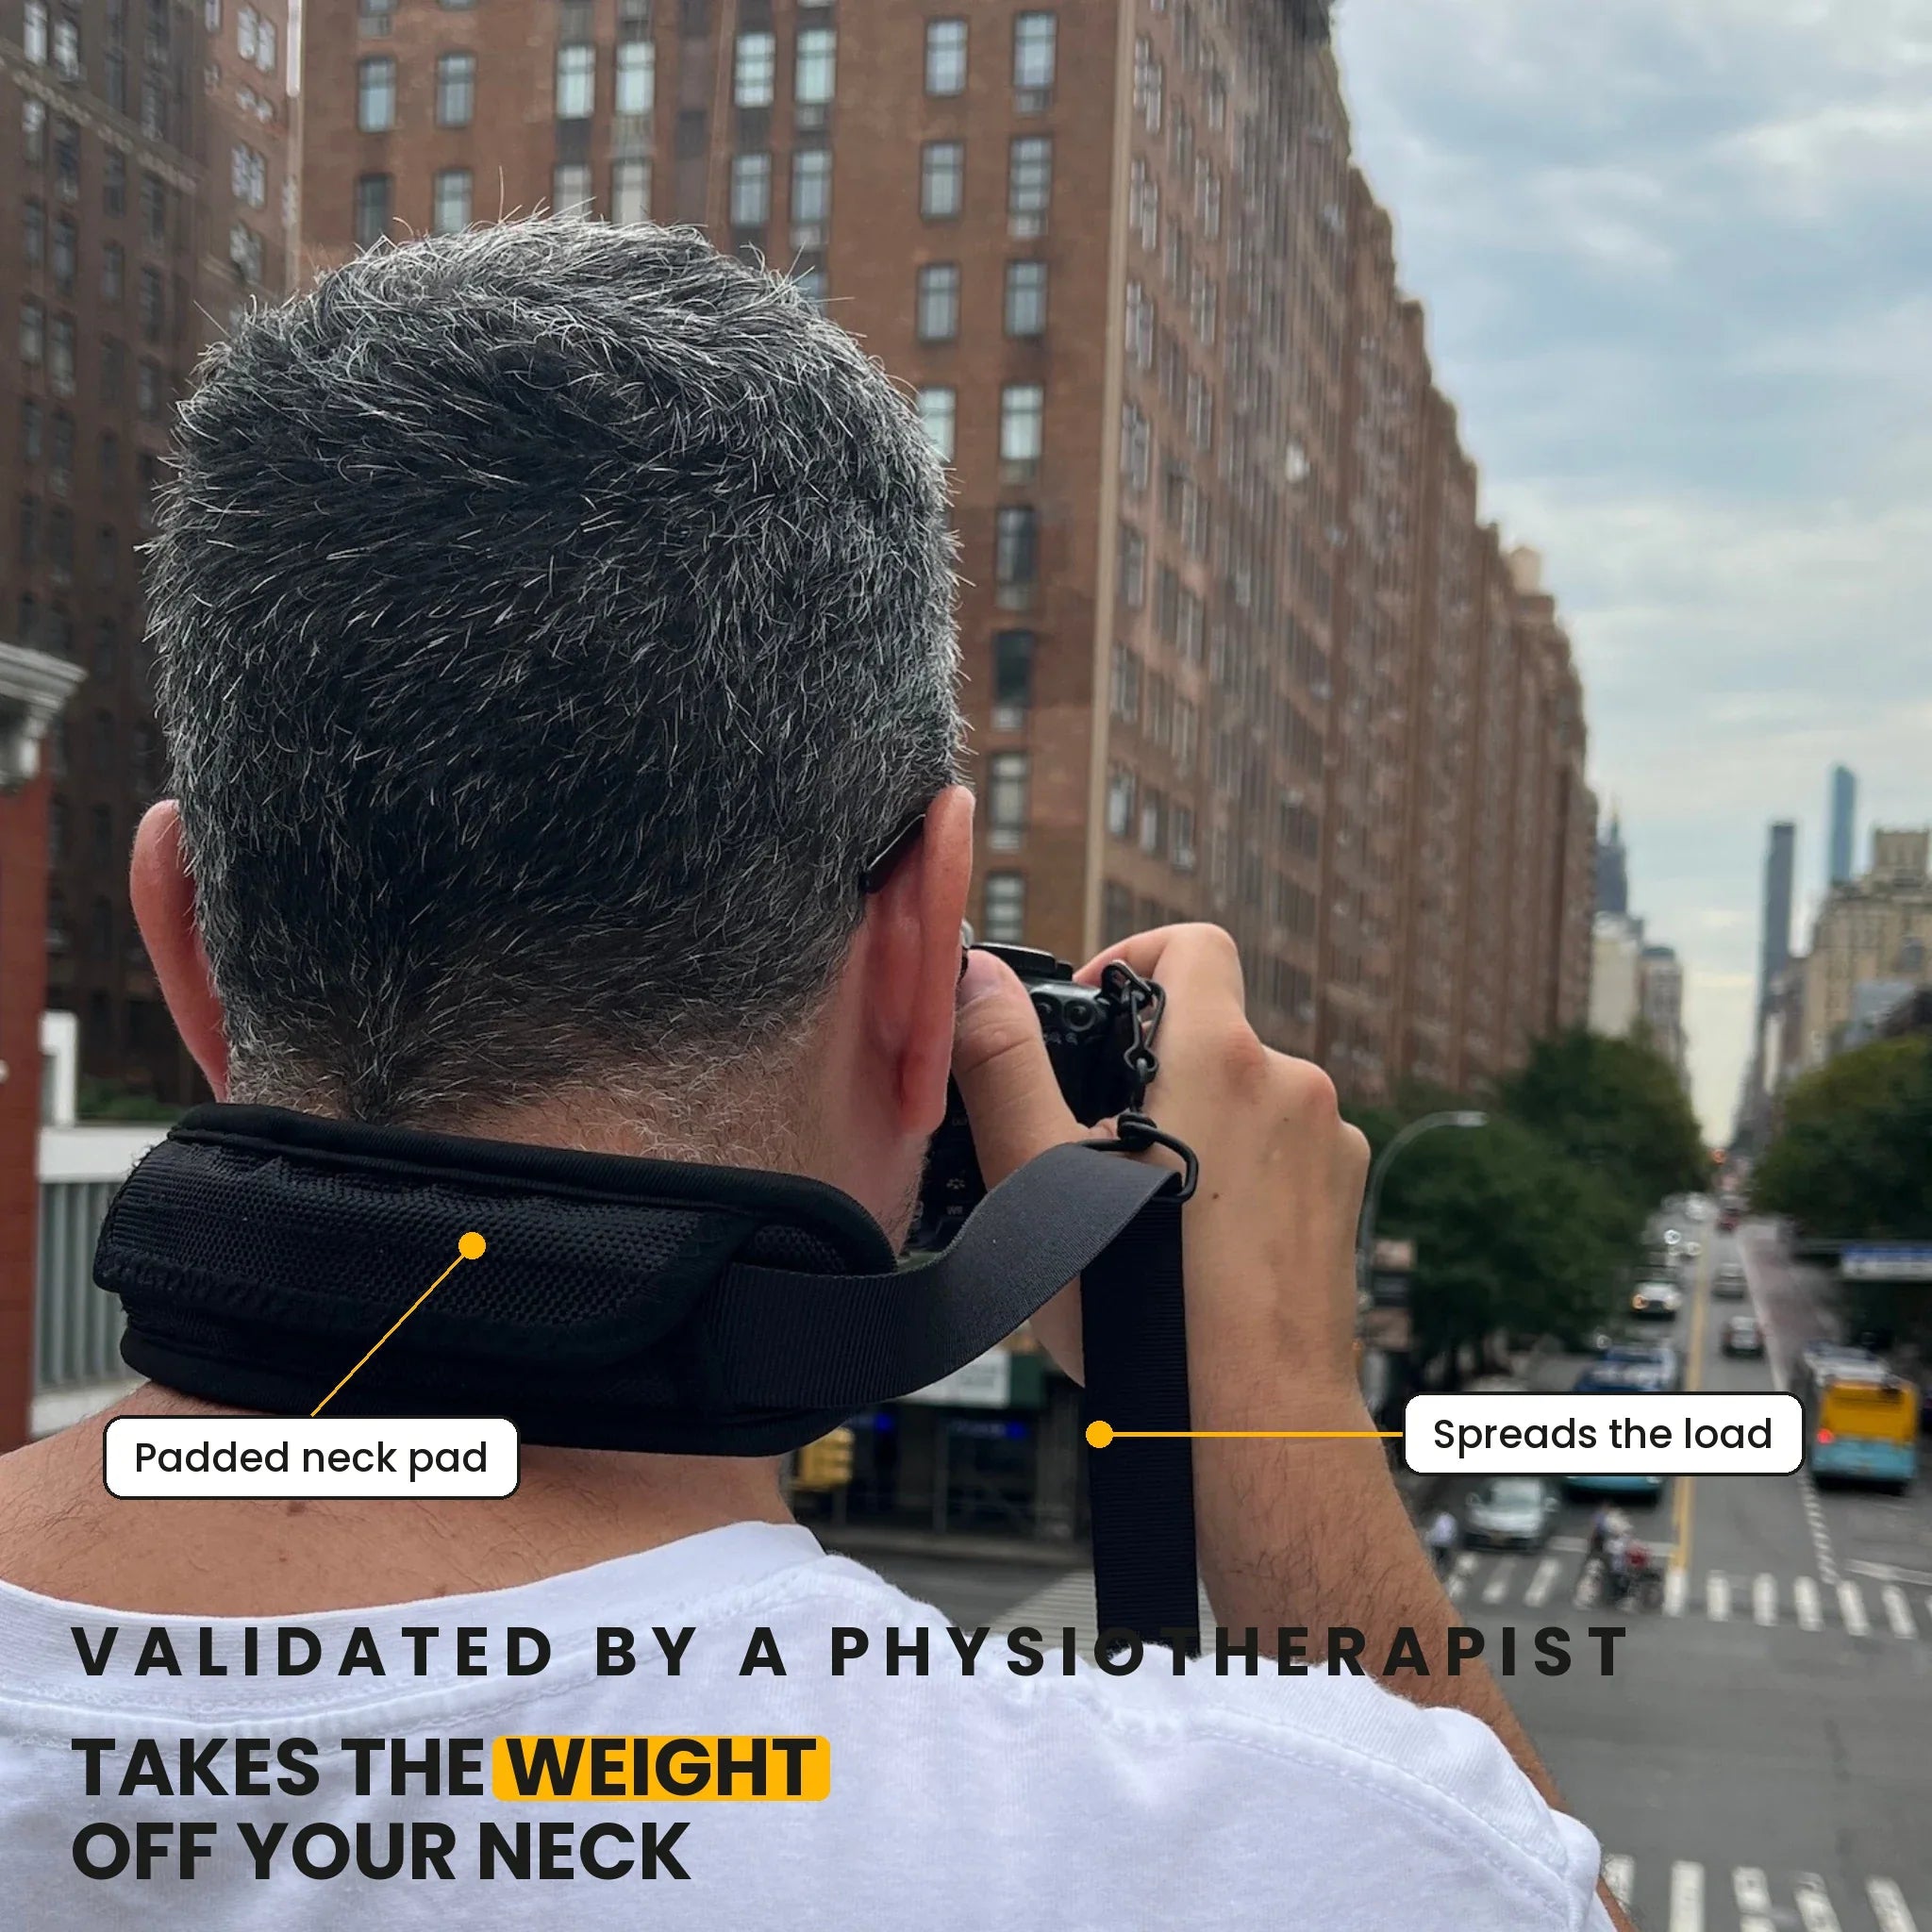
For me, the real skill is seeing a simple path inside a complex block, then waiting for the light to match it. On a long walk, a hands-free camera strap keeps that process smooth, because the camera stays close while I scan the street for the next vanishing point. Read the walls, watch the shadows, and trust the lines. In the best frame, they meet cleanly and stop the eye right where the story begins.
Frequently Asked Questions
What are the three rules for one-point perspective?
The three rules for one-point perspective are: use one vanishing point, direct receding parallel lines toward that point, and keep the camera level for clean geometry. Together, these rules create depth while keeping the scene orderly and easy to read.
What are common mistakes in one-point perspective?
Common mistakes in one-point perspective include tilting the camera so vertical lines lean, using multiple competing vanishing points, and failing to align strong line groups toward a single point. A composition can also look messy when the camera position is not chosen carefully or the frame lacks clear line structure.
Is 1 point perspective good for beginners?
Yes, one-point perspective is good for beginners because it is based on a simple structure: one vanishing point and lines that converge toward it. The article also notes that a level camera and strong urban lines make the style easier to control and understand.
What are the 7 types of perspective?
The seven types of perspective are one-point perspective, two-point perspective, three-point perspective, aerial perspective, forced perspective, curvilinear perspective, and multi-point perspective. These categories describe different ways depth, distance, and spatial distortion are shown in an image.


