


- Align parallel street lines so they converge cleanly at one vanishing point.
- Choose a corner where curbs, façades, and lane markings all lead inward.
- Avoid bent lines, cluttered framing, and a misplaced horizon that weakens depth.
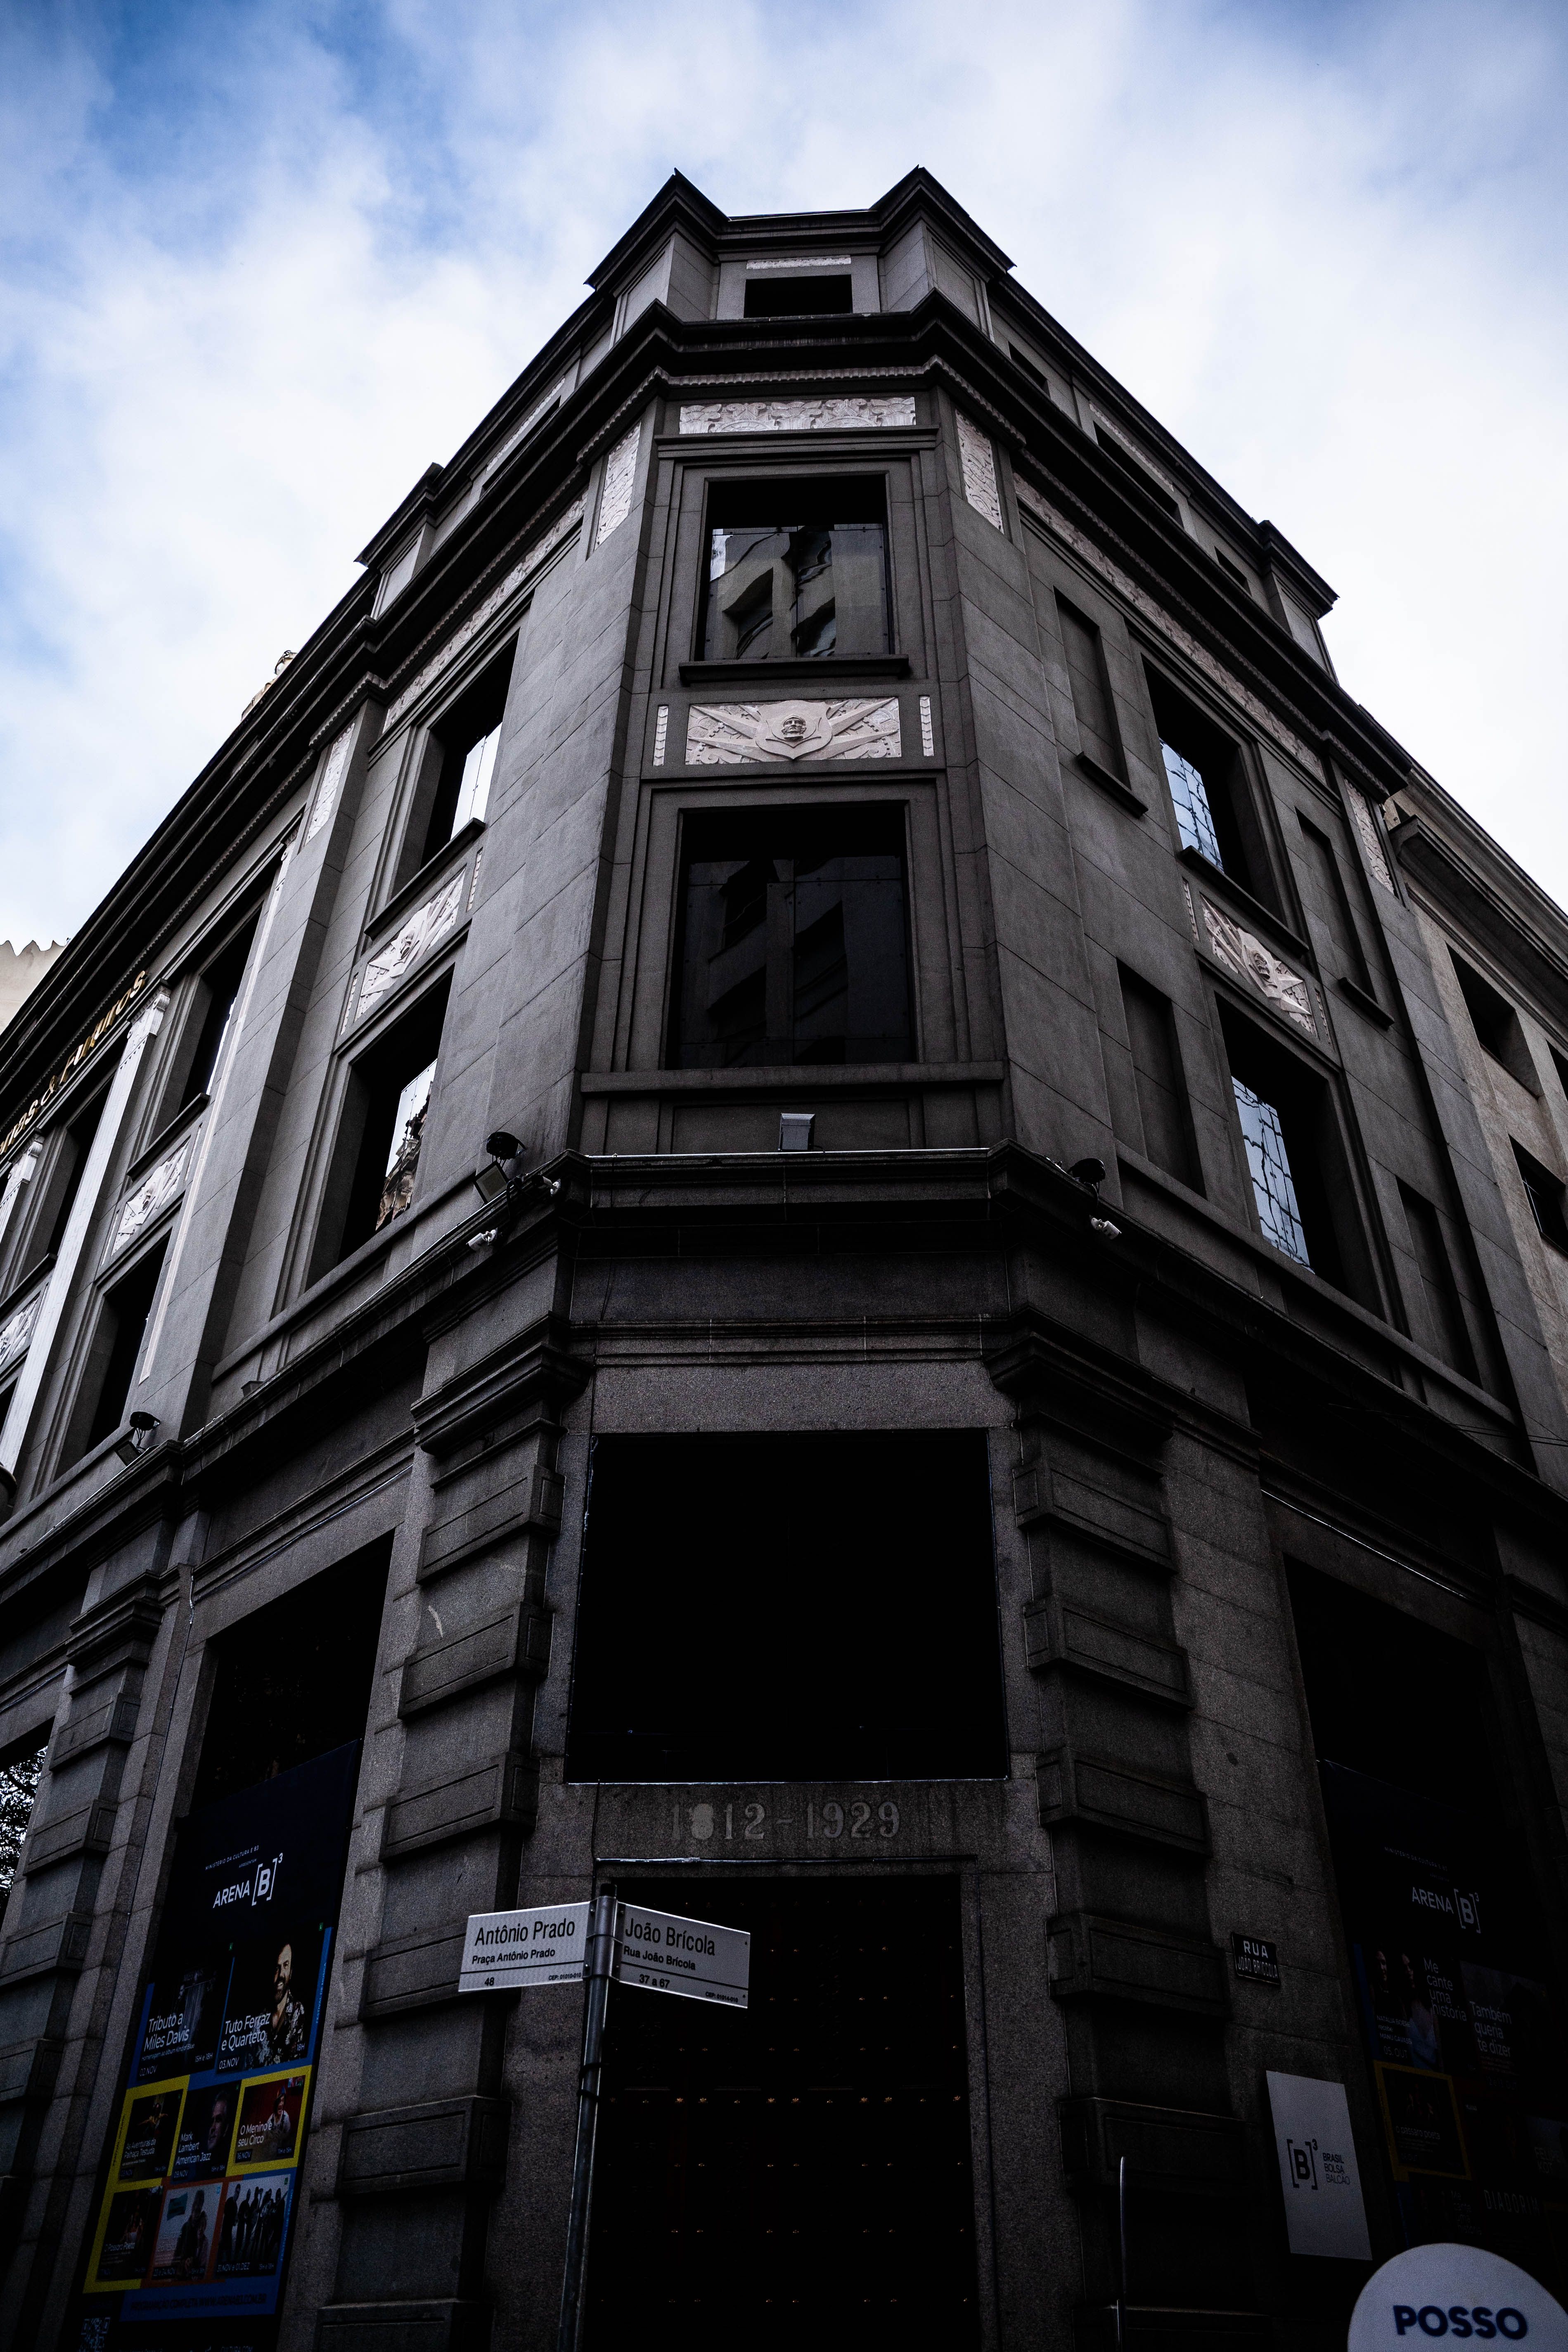
One-point perspective photography shows depth by sending lines to a single vanishing point. Street corners are made for it: curbs, building edges, and lane markings all pull the eye inward. This guide shows how to read a corner, shape the frame, and avoid the mistakes that flatten the view. It also covers lens choice, exposure settings, and the small setup decisions that make a scene easier to shoot.
Shop the setup

- Regular price
-
€42 - Regular price
-
€44 - Sale price
-
€42
By choosing the Camstrap strap, you are opting for a high-quality product designed to meet the needs of the most demanding photographers.
- Developed by a physiotherapist to relieve neck and back pain.
- Fast delivery with tracking by the Post Office 🚚
- Can be used as a shoulder strap or hands-free harness

- Regular price
-
€36 - Regular price
-
€42 - Sale price
-
€36
Free shipping included
How a corner becomes a strong frame
A street corner works best when repeated straight lines lead to one place. Curb lines, façades, awnings, window edges, and road paint can all point the eye to the same point.
That point does the heavy lifting, bringing order to the frame, adding depth, and making a simple block feel layered.
Start with the lines
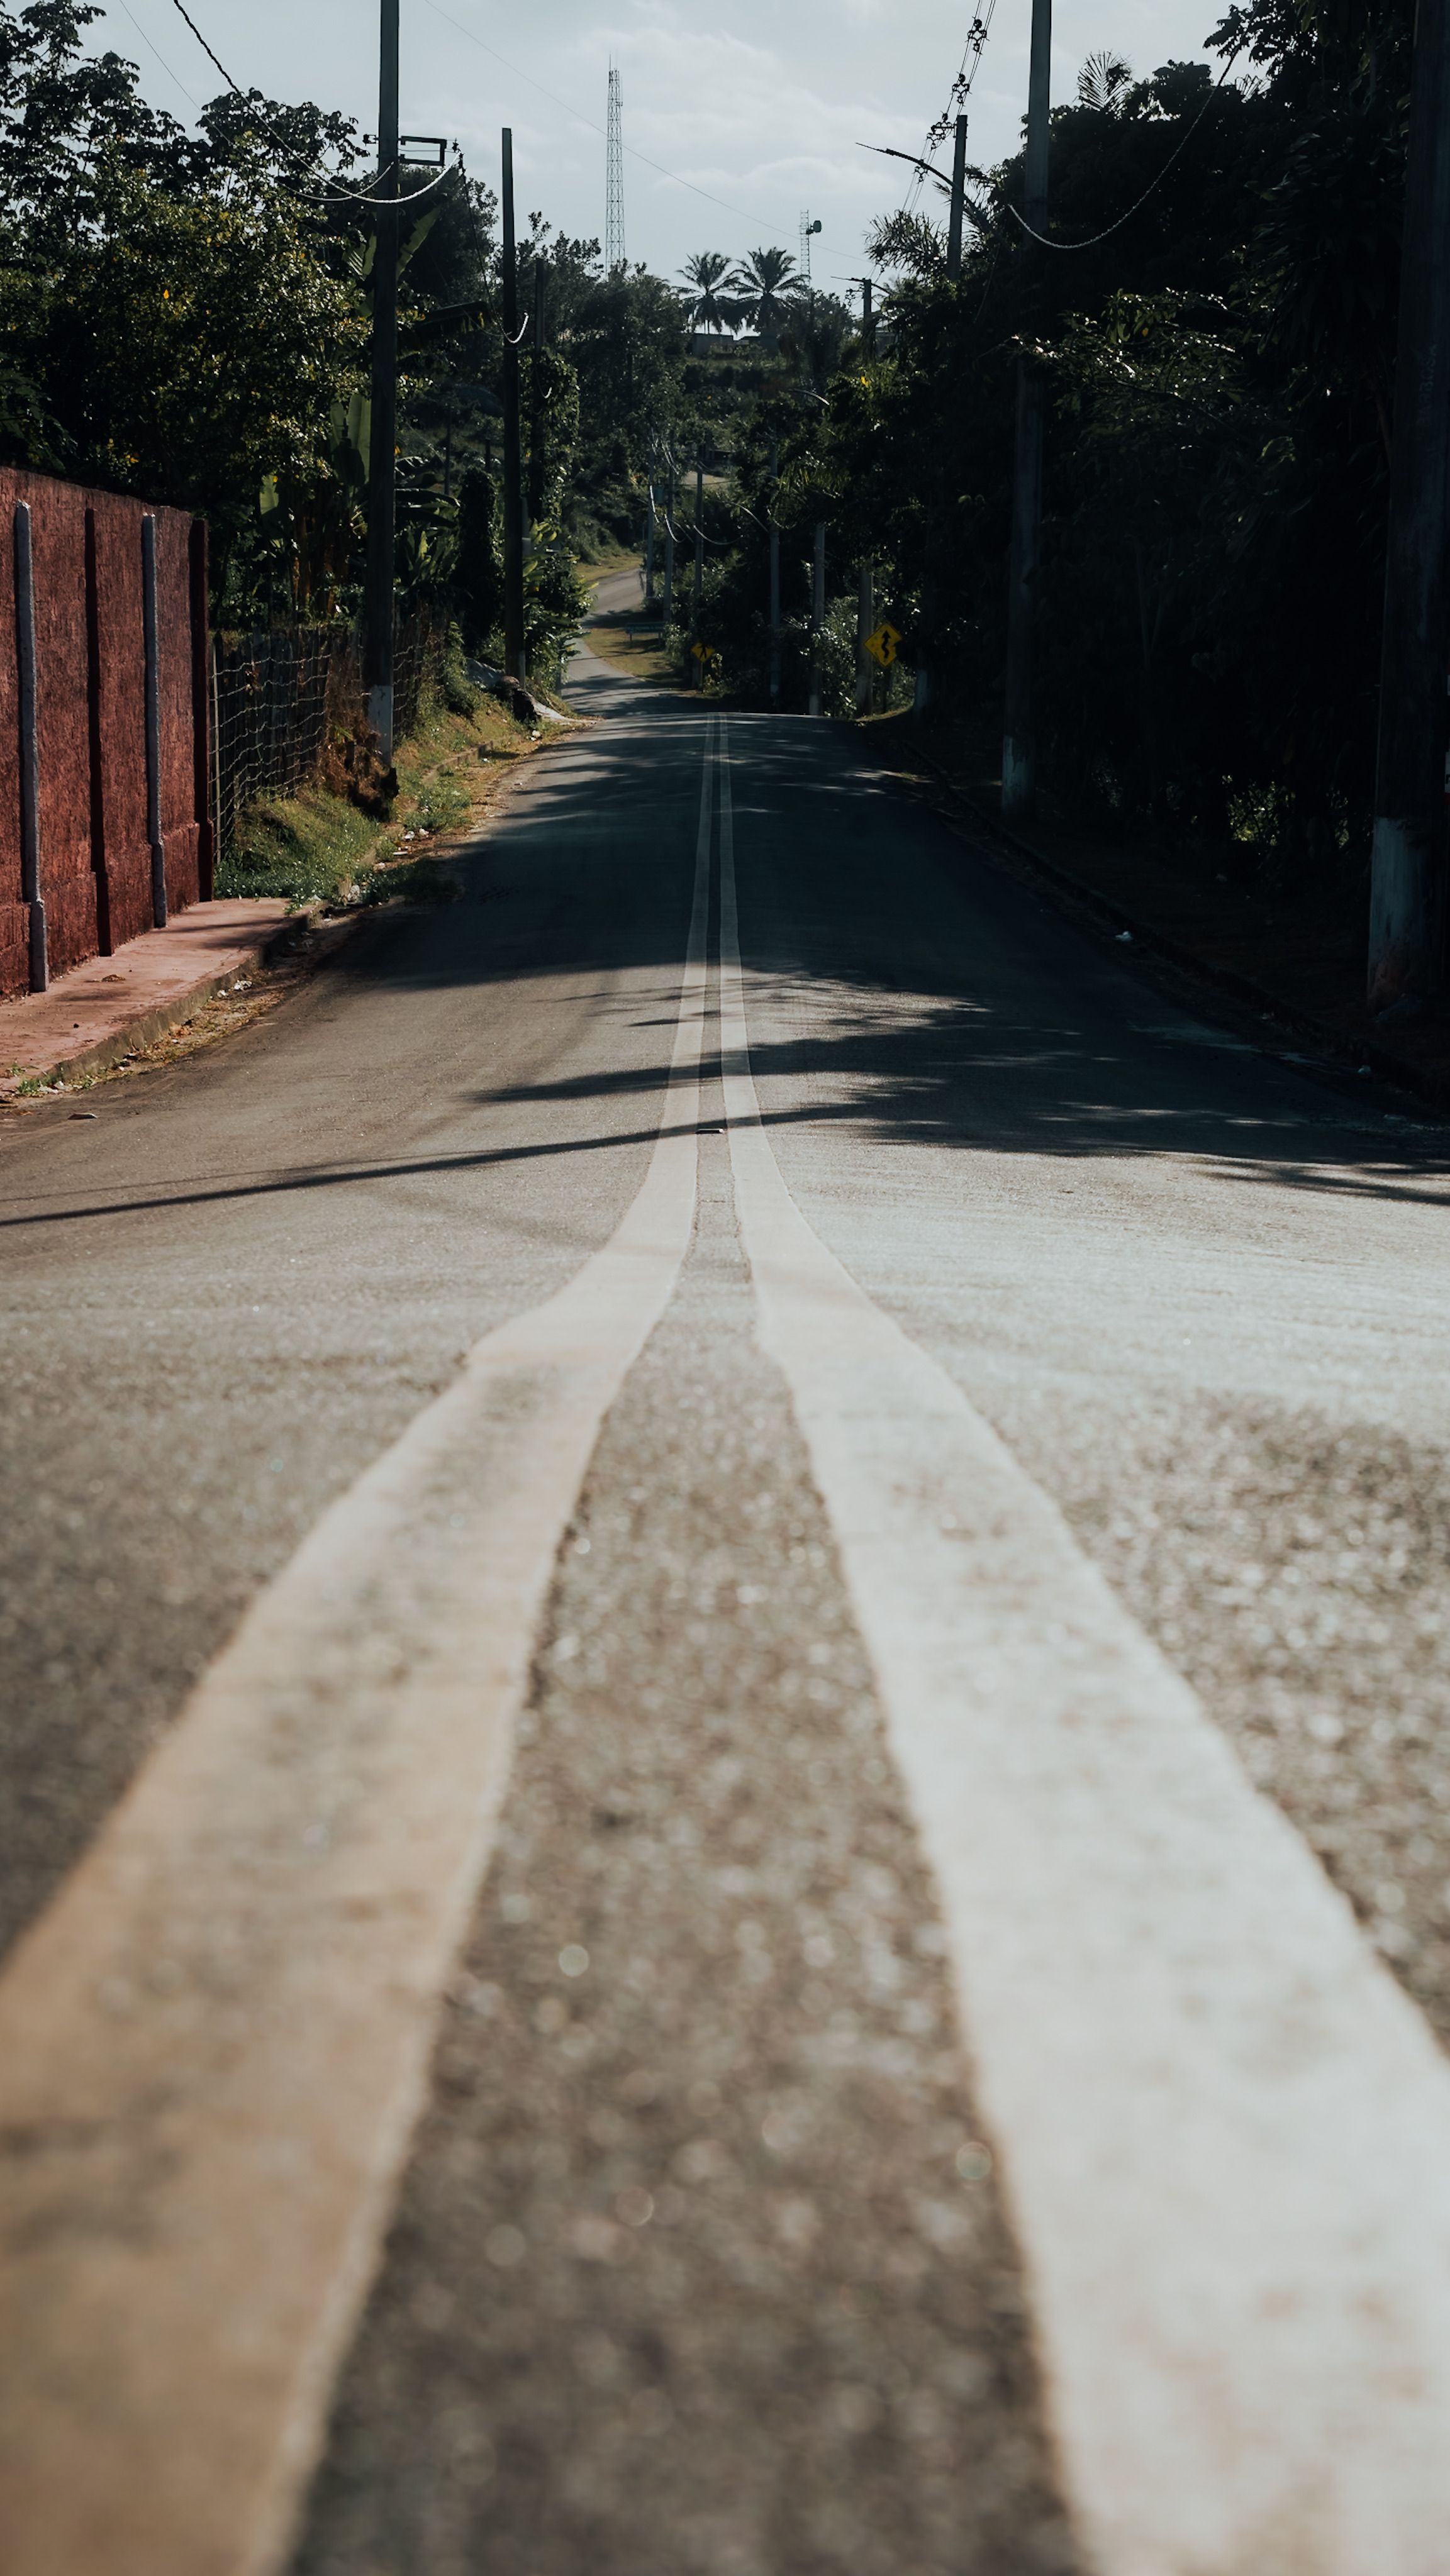
Begin by finding the strongest edges in the scene. Often, the clearest ones come from the curb, the roofline, and the side of the nearest building. Trace those lines with your eye before you raise the camera. If they all aim at one spot, the corner is ready for this kind of composition.
Set the vanishing point with purpose
The vanishing point does not need to sit in the center. Near the middle can work, and a slight shift often gives the frame more life.
On a street corner, placing it near the corner itself often helps. The roads and sidewalks stay organized, and there is still room for people, signs, or traffic.
Three rules behind one-point perspective
One-point perspective follows three simple rules: parallel lines receding from the camera appear to meet, the viewer reads depth through that meeting point, and the main lines stay straight rather than curved. Together, those rules create the clean, tunnel-like look that gives the scene its structure. The first rule is about direction. Straight lines moving away from you should seem to aim at one spot.
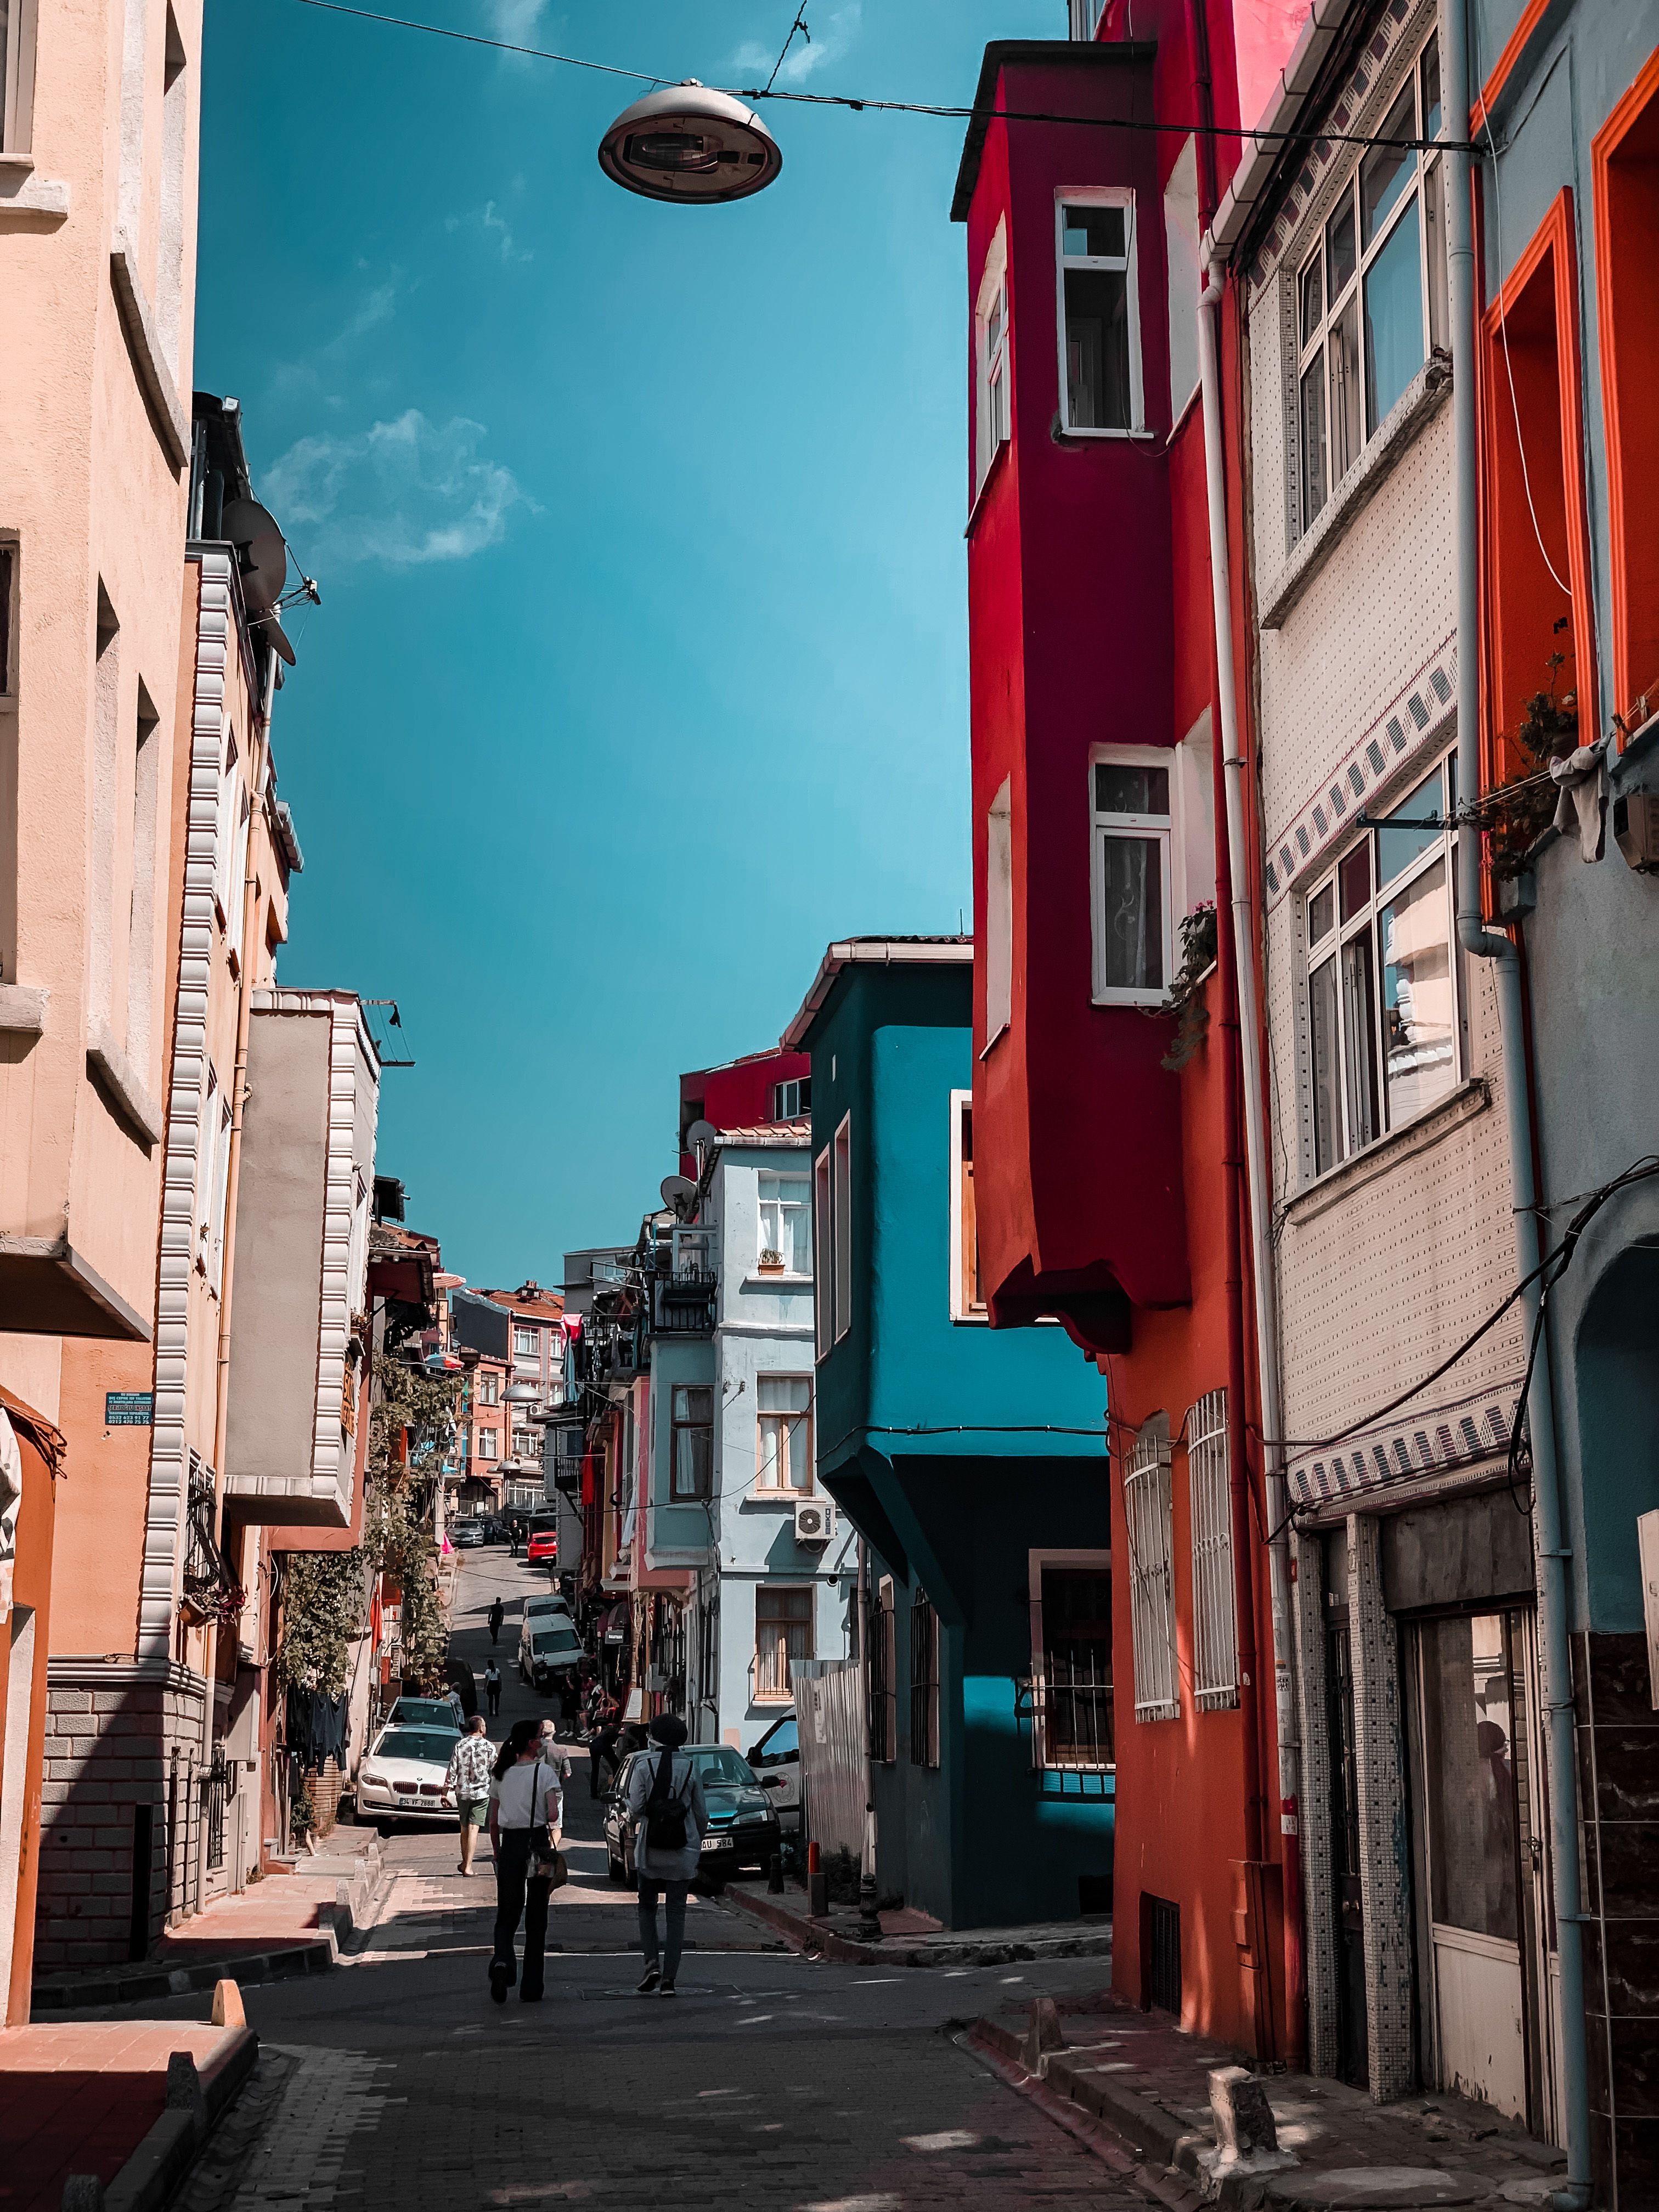
The second rule is about control. The clearer the lines converge, the easier the scene is to read.
The third rule is about clarity. When strong lines bend too much, the effect weakens and the corner loses its shape.
Put the rules to work on the street
Try to align the camera so the front edge of a road or sidewalk leads into the distance. Then check whether the building sides support that same flow. Stopping down to around f/8 keeps the foreground curb, the corner, and the far end of the block readable at once. The whole design depends on those lines staying clear.
What a one-point perspective photo looks like
A one-point perspective photo is built around lines that converge toward a single vanishing point. In a street scene, that point often sits at the end of a road, beside a crosswalk, or just past the corner you are photographing.
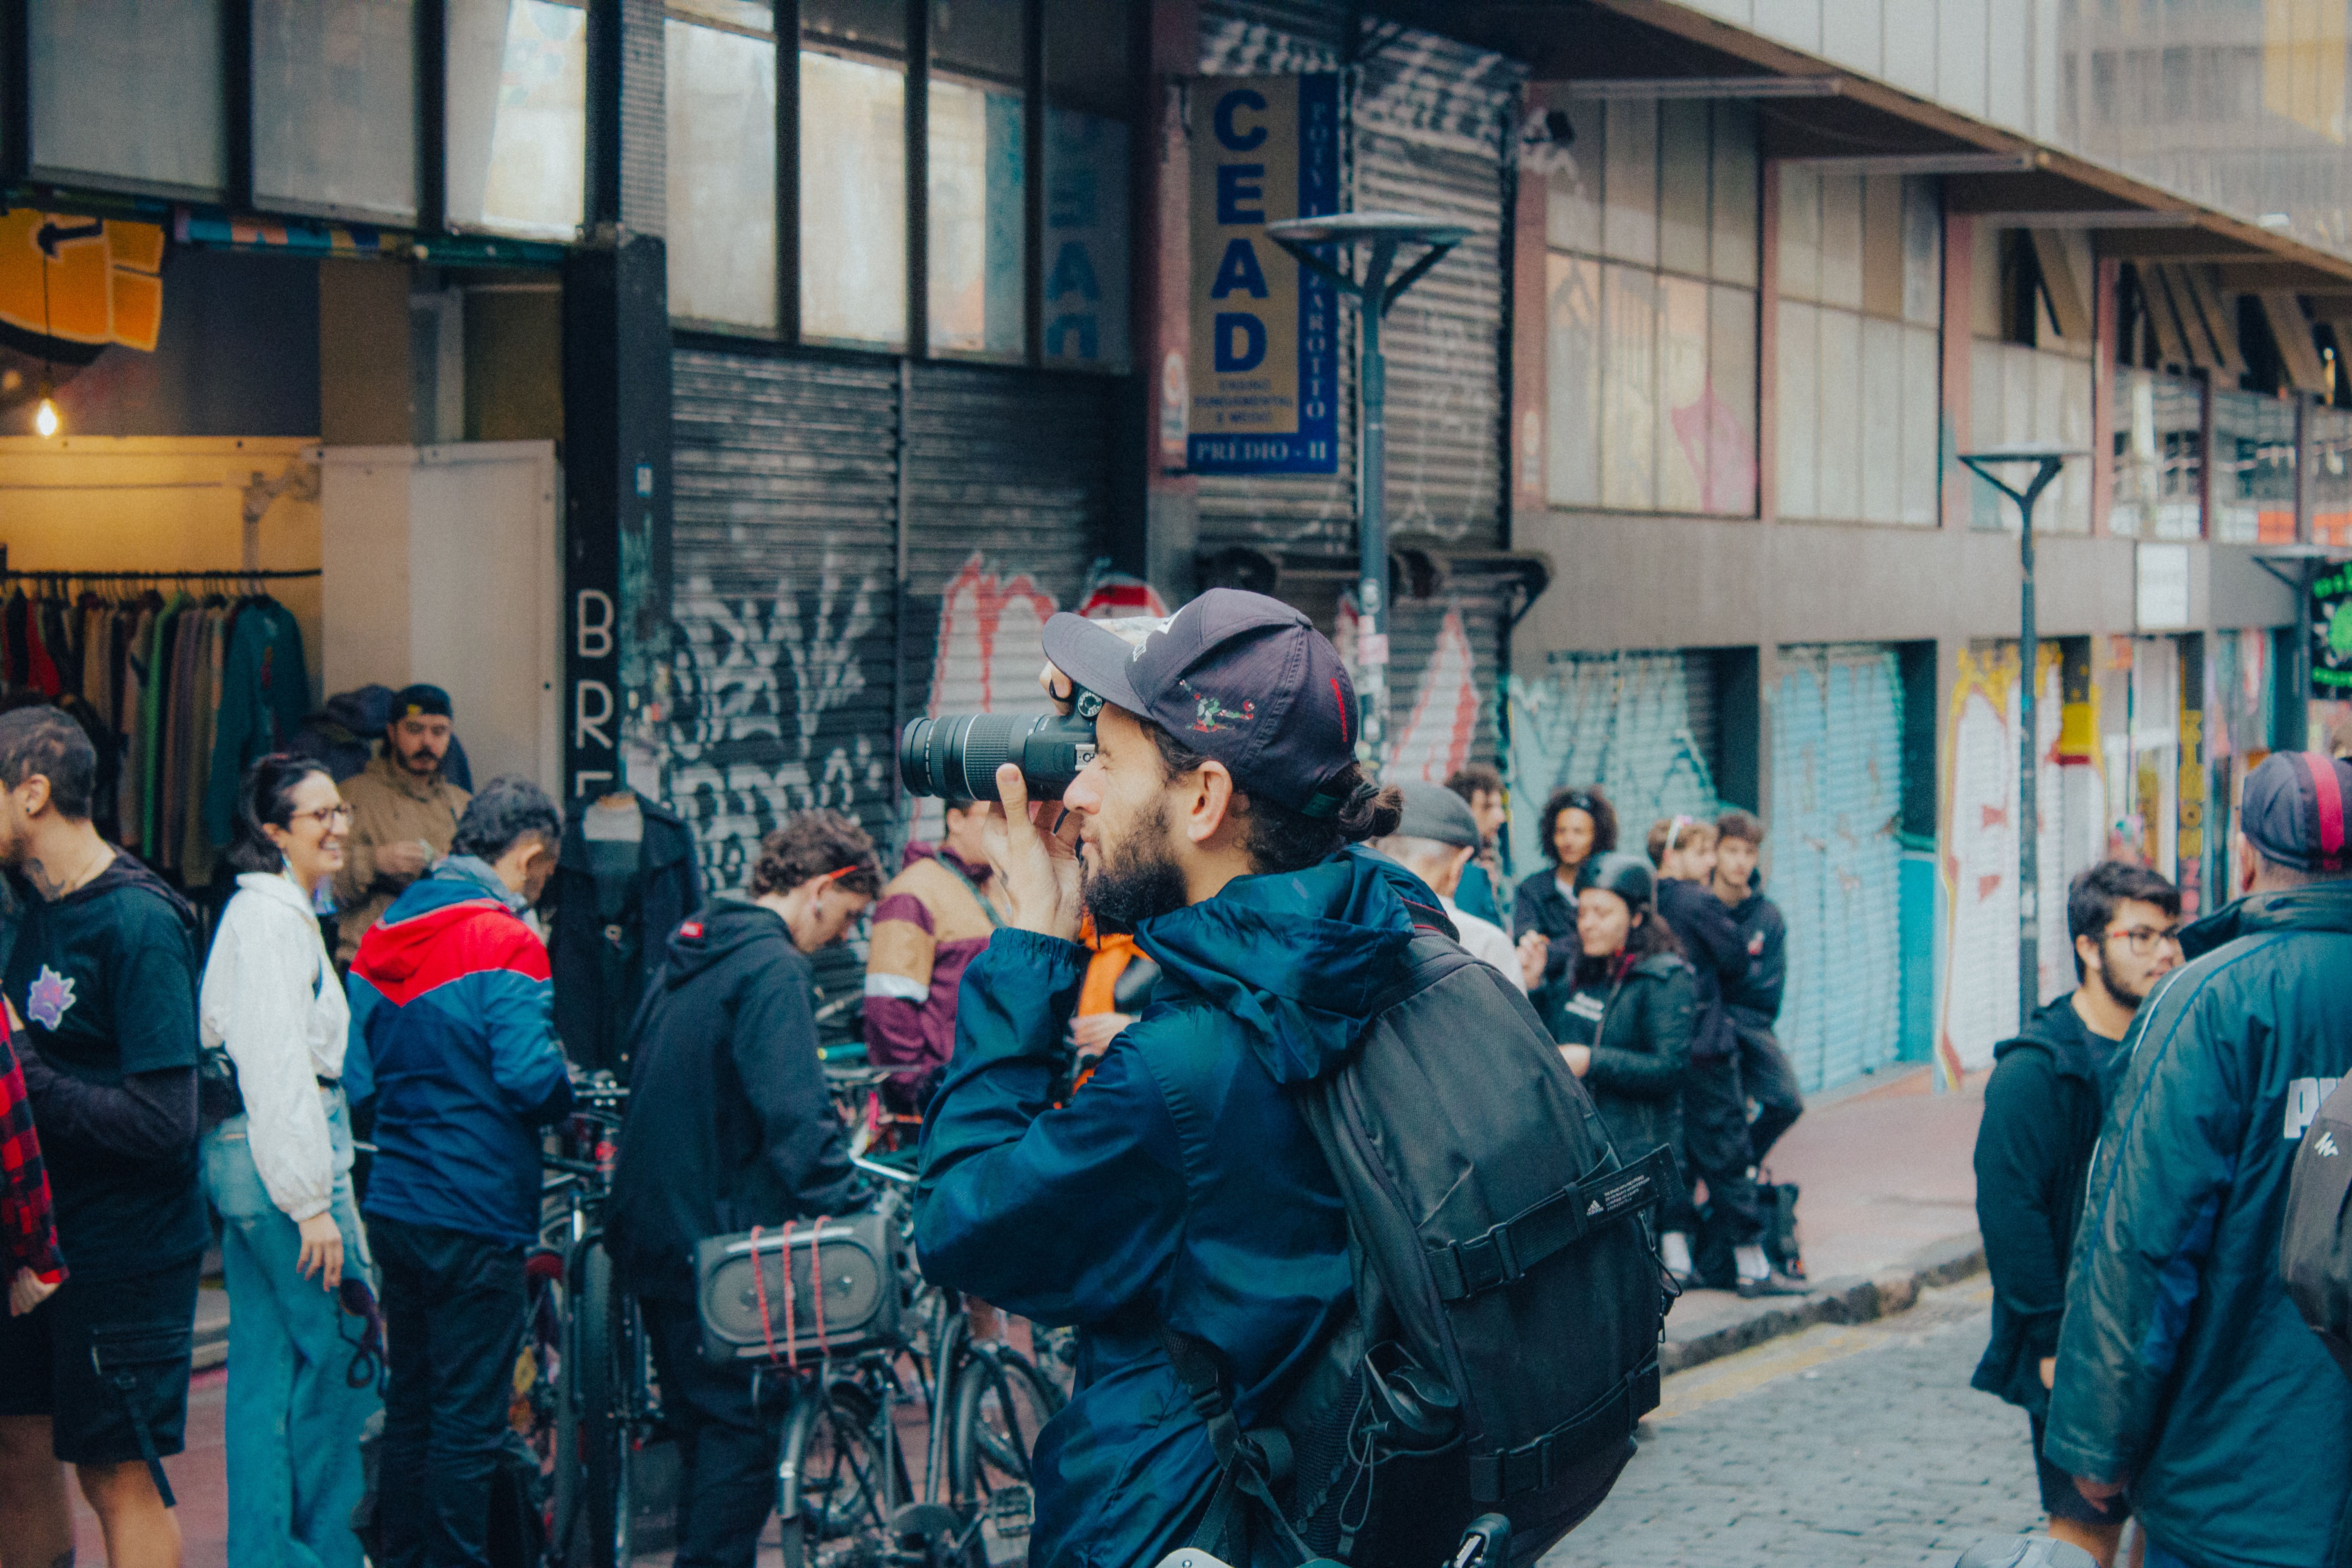
The image works because it feels logical to the eye. You can read where the street goes, where the walls turn, and how far the space extends.
This is different from a loose street snapshot. Here, structure matters as much as the moment.
A street example that works
Imagine standing on one side of a block and facing down the crossing road. The curb on each side, the lane markings, and the row of shops can all point to a single endpoint. If a person walks through that frame, the scene gains scale. The figure becomes a small anchor inside the larger geometry.
Read a street corner step by step
Reading a corner means checking which lines lead the eye and deciding what should sit near the vanishing point. A good corner is less about luck than quick visual sorting.
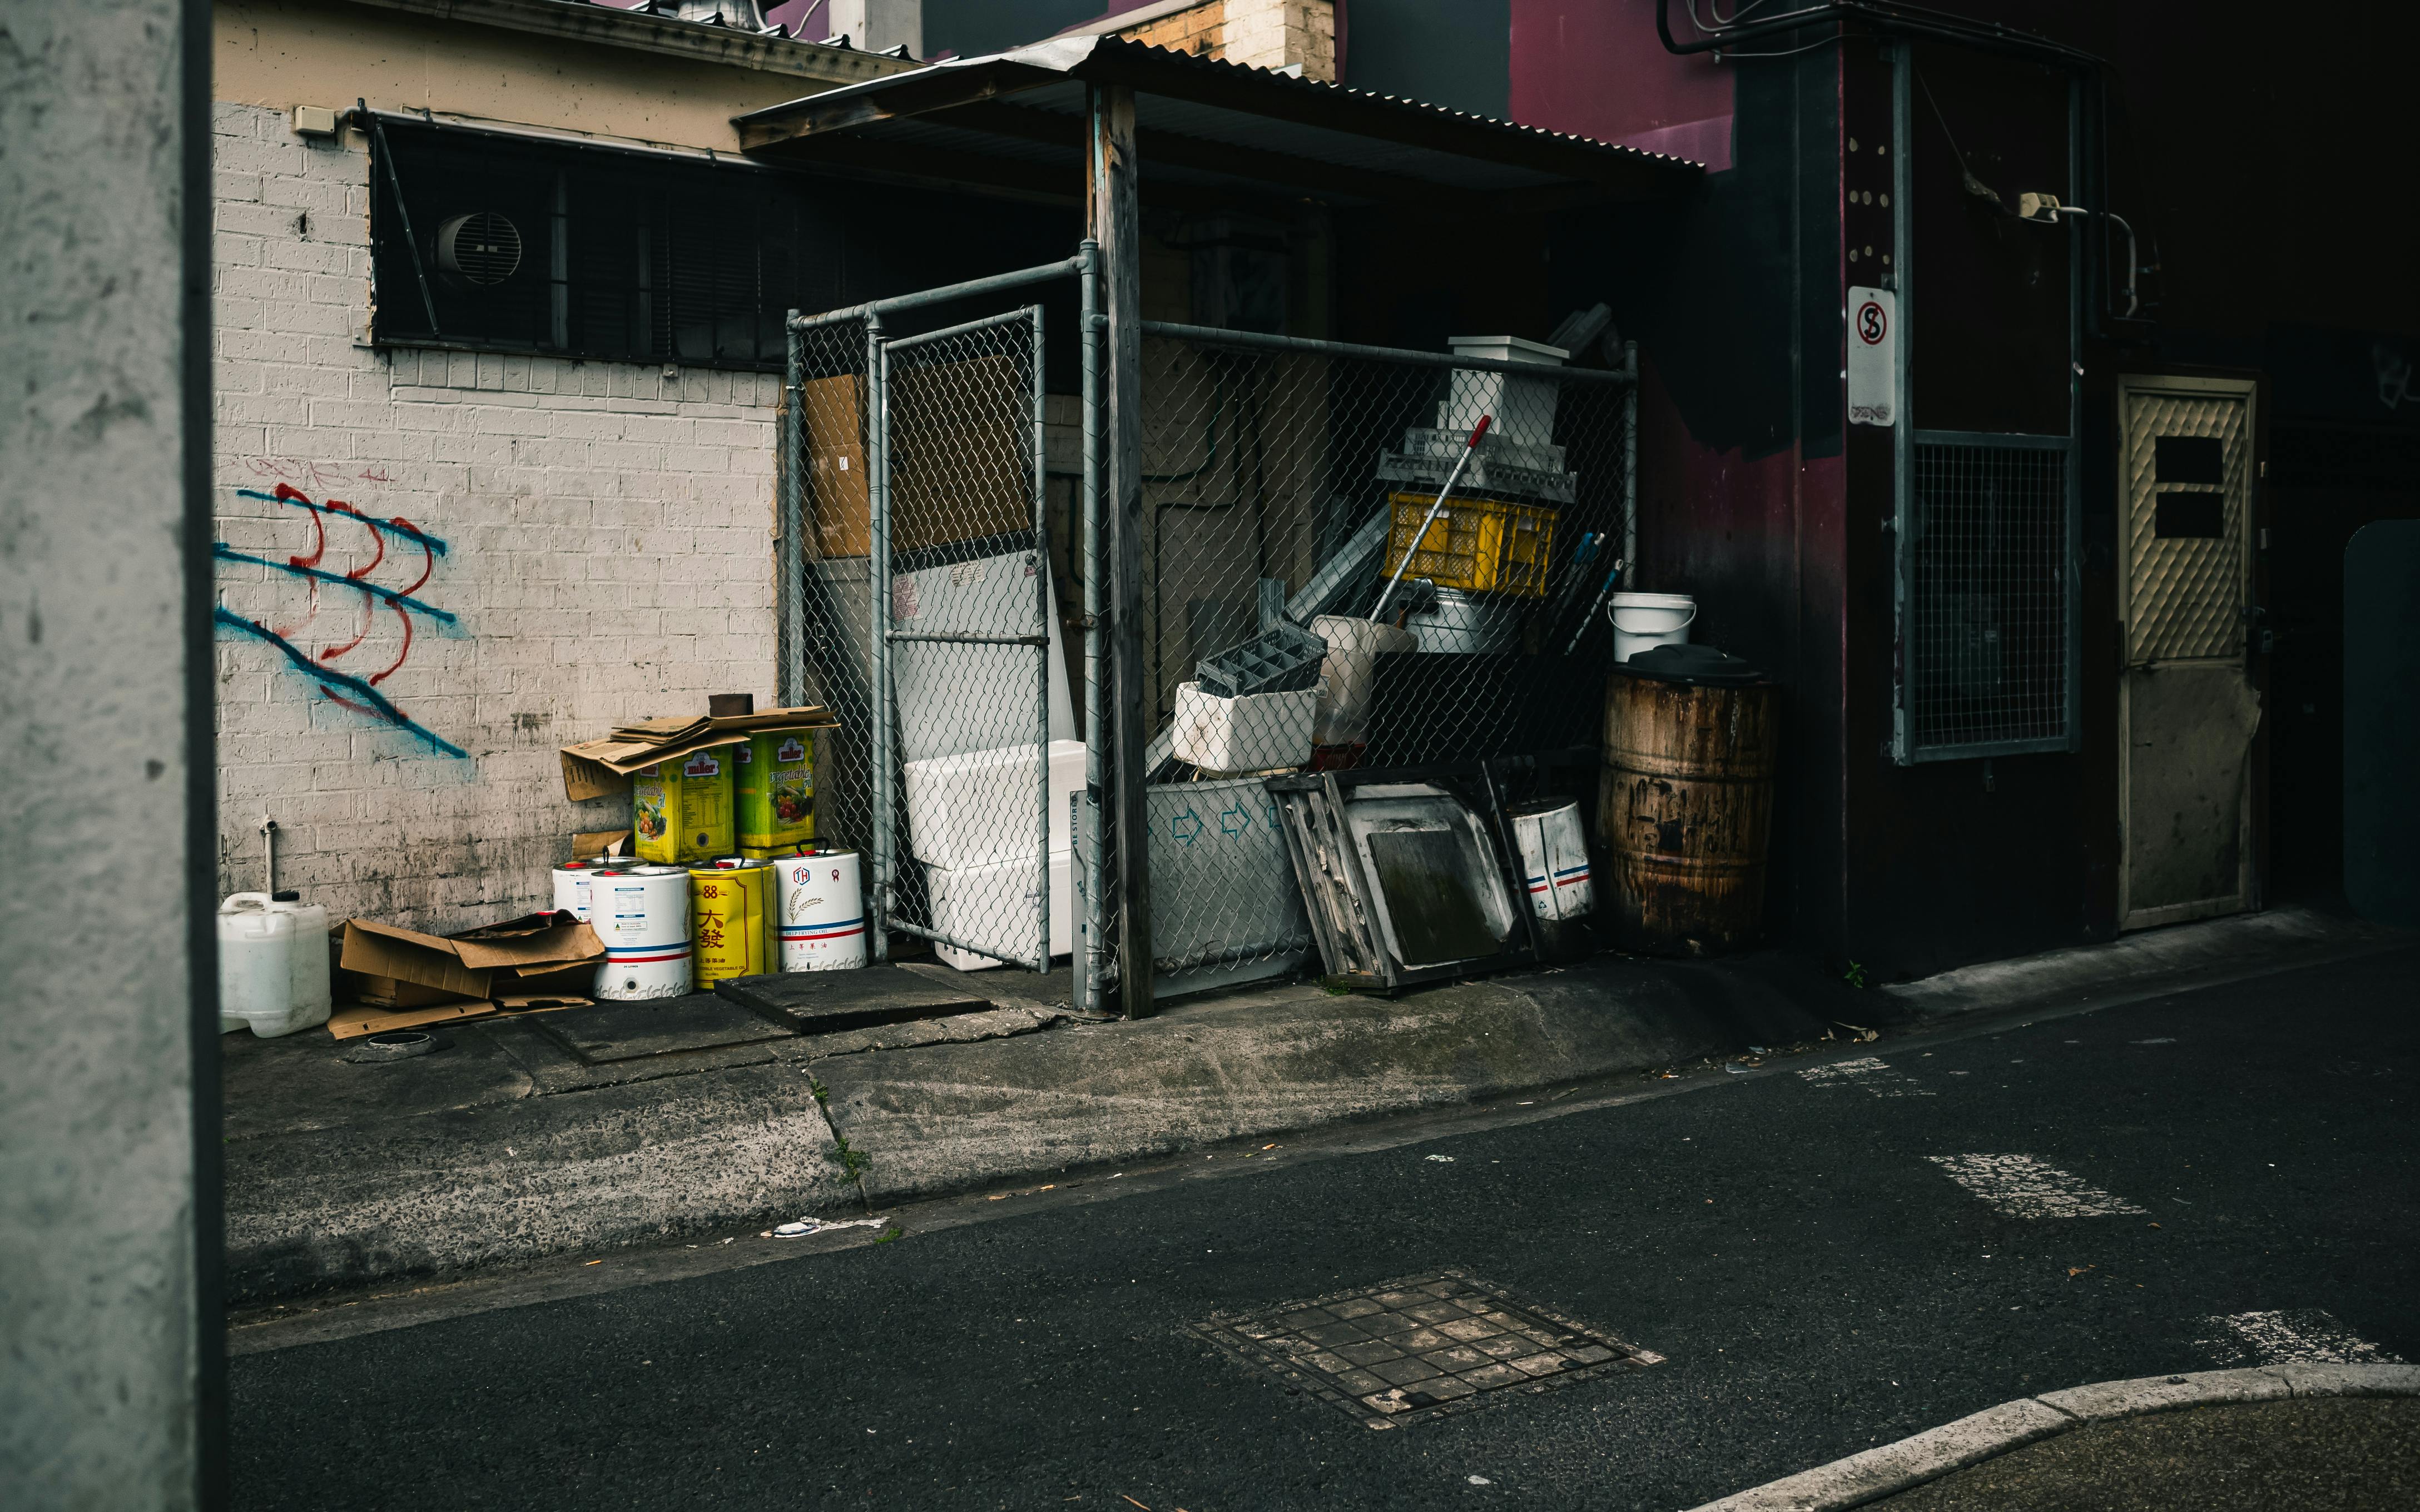
A 35mm-equivalent lens is a strong starting point for this work because it keeps enough of the scene in view without making the space feel crowded. A 50mm lens can tighten the frame when you want one strong subject or a more exact vanishing point.
- Stand where the two streets and the corner edge are both visible.
- Scan for curb lines, roof lines, and wall edges that point inward.
- Choose whether the vanishing point should sit near center or slightly off-center.
- Set your lens and camera height to keep the main lines clean.
- Wait for a person, bike, or car to add scale if the frame needs life.
This sequence keeps the scene simple and saves time when light and traffic keep changing.
Choose the lens and frame
For street work, the classic range is about 28mm to 50mm. A 35mm-equivalent lens often gives the best mix of context and working distance. A 50mm view narrows the scene and can make a single person or one line of buildings feel more focused. That tighter view can also push nearby edges harder toward the vanishing point.
Settings that preserve the shape
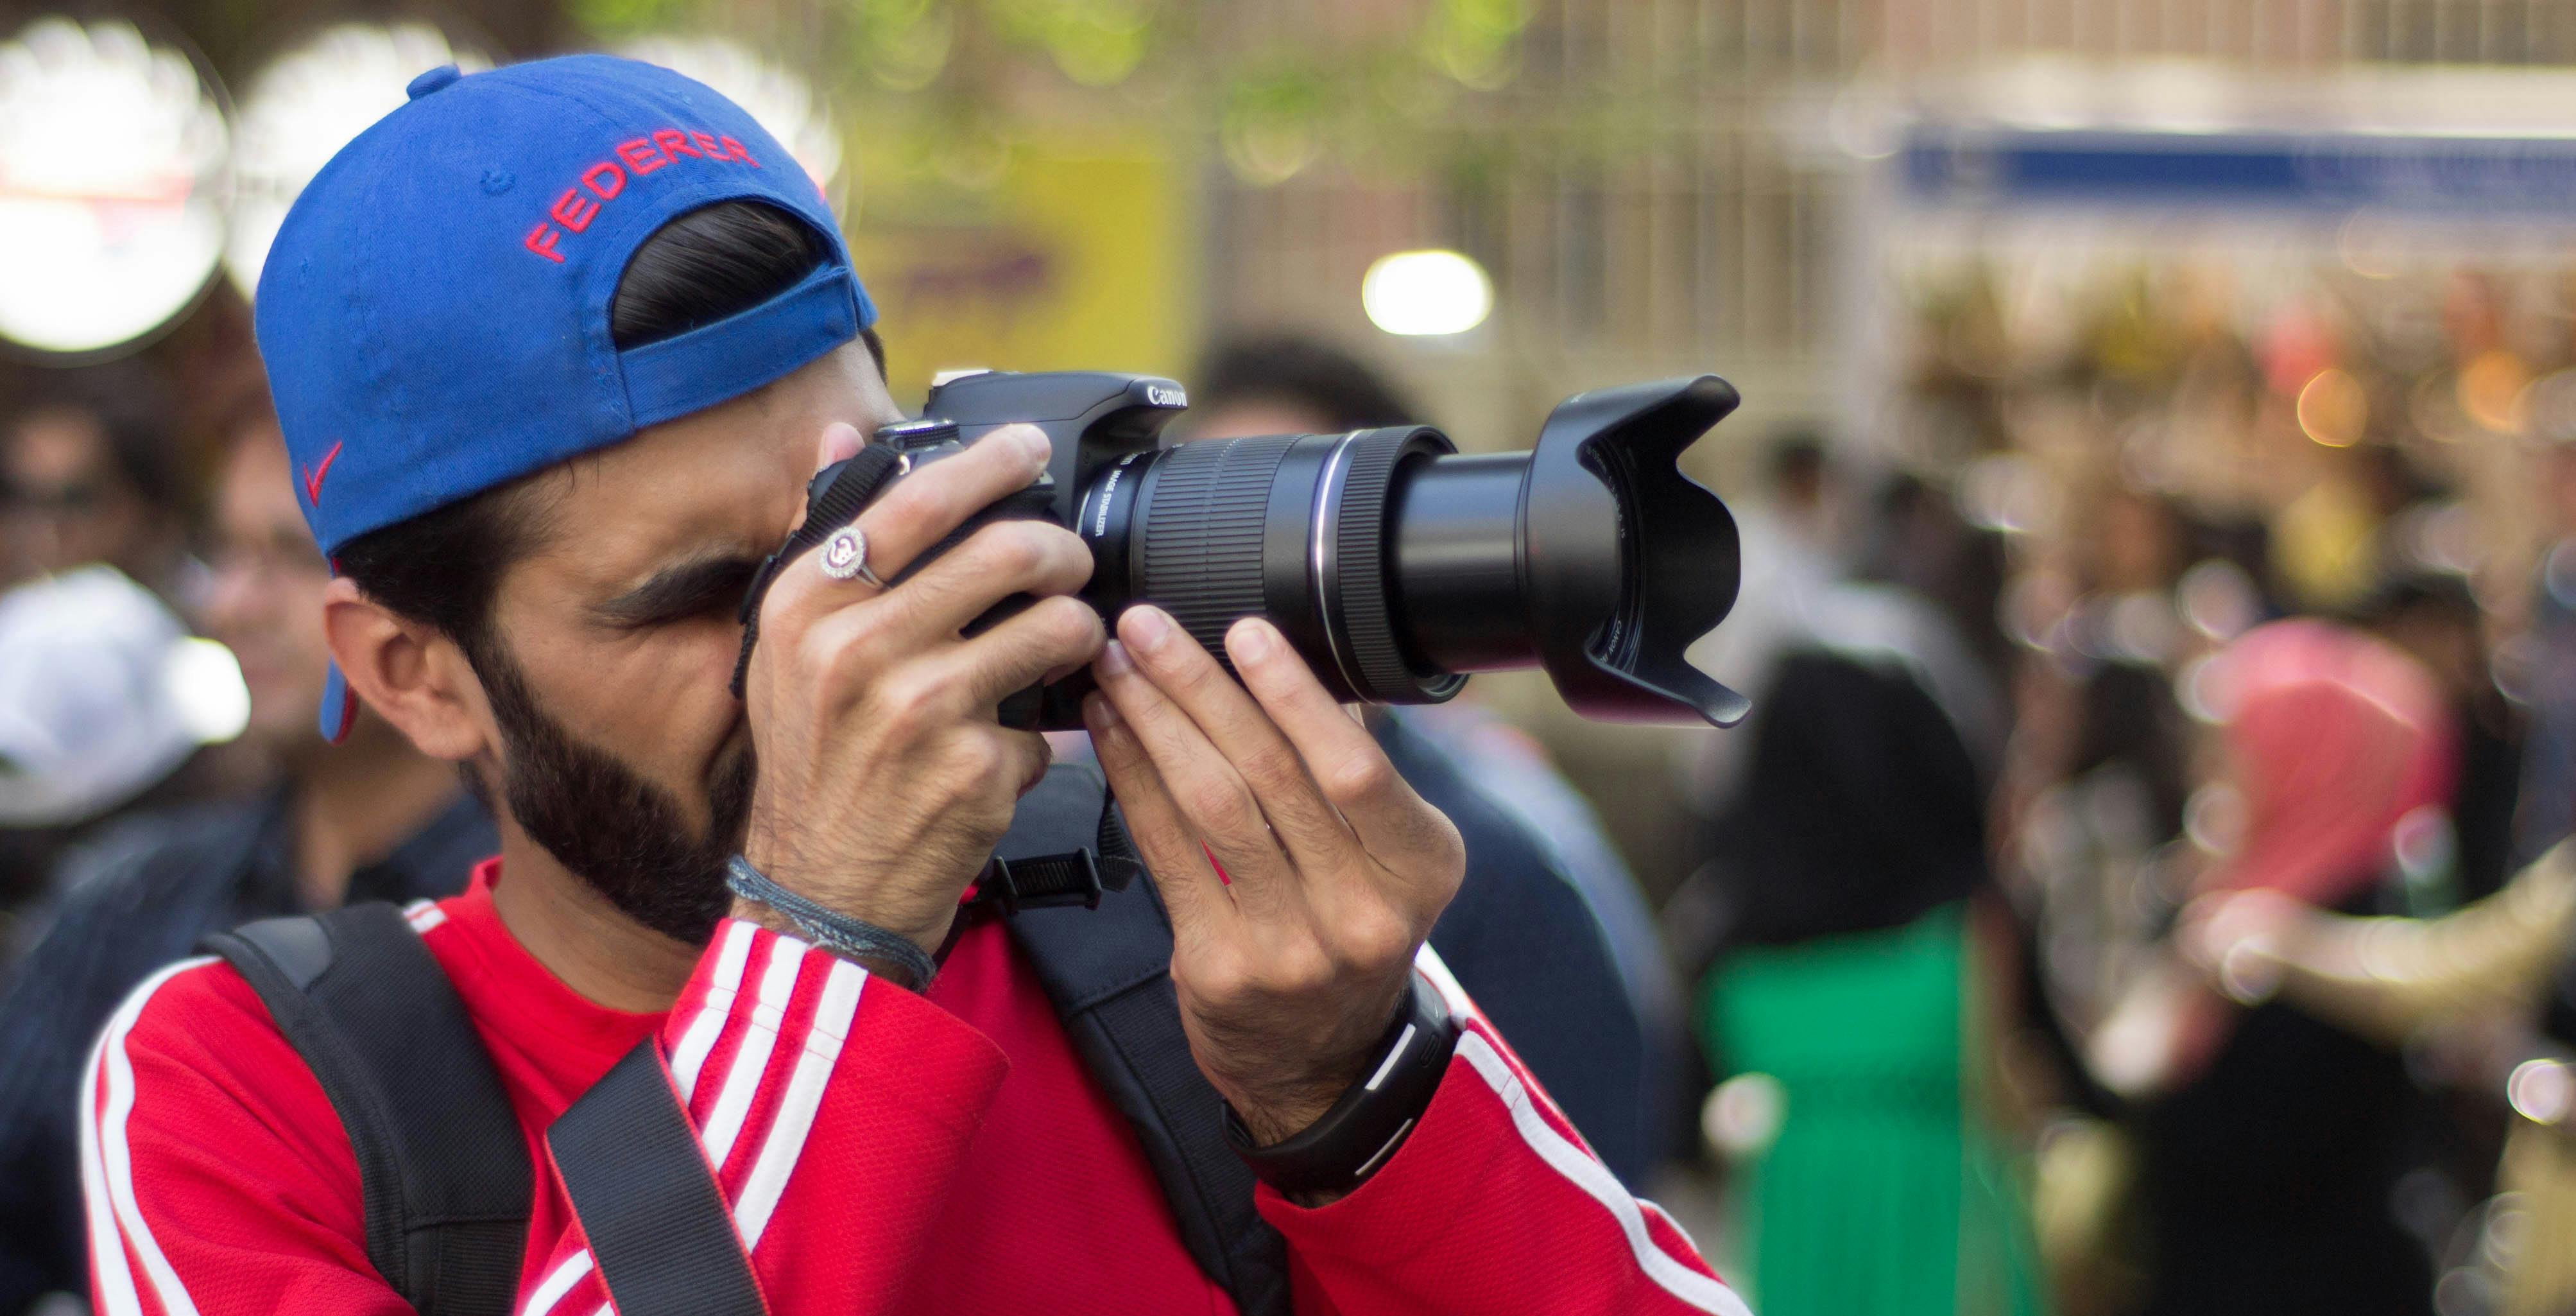
Daylight street shots often start well at f/8, 1/250s, and Auto ISO capped around 3200 to 6400. In direct sun, 1/400s to 1/500s is a practical base, while shade may call for about 1/250s.
ISO 100 to 400 works well in strong daylight. Overcast streets or deep shade may push you toward ISO 800 to 1600.
Those numbers matter because the lines need edge detail. If shutter speed drops too far, people blur and the corner loses its crisp shape.
Common mistakes in one-point perspective
Common mistakes include crooked verticals, weak line choice, and placing the vanishing point where nothing important happens. Clutter that fights the main direction of the frame causes trouble too. These errors make the scene feel flat or messy. The eye should move inward, not bounce around the frame.
Five traps to watch for
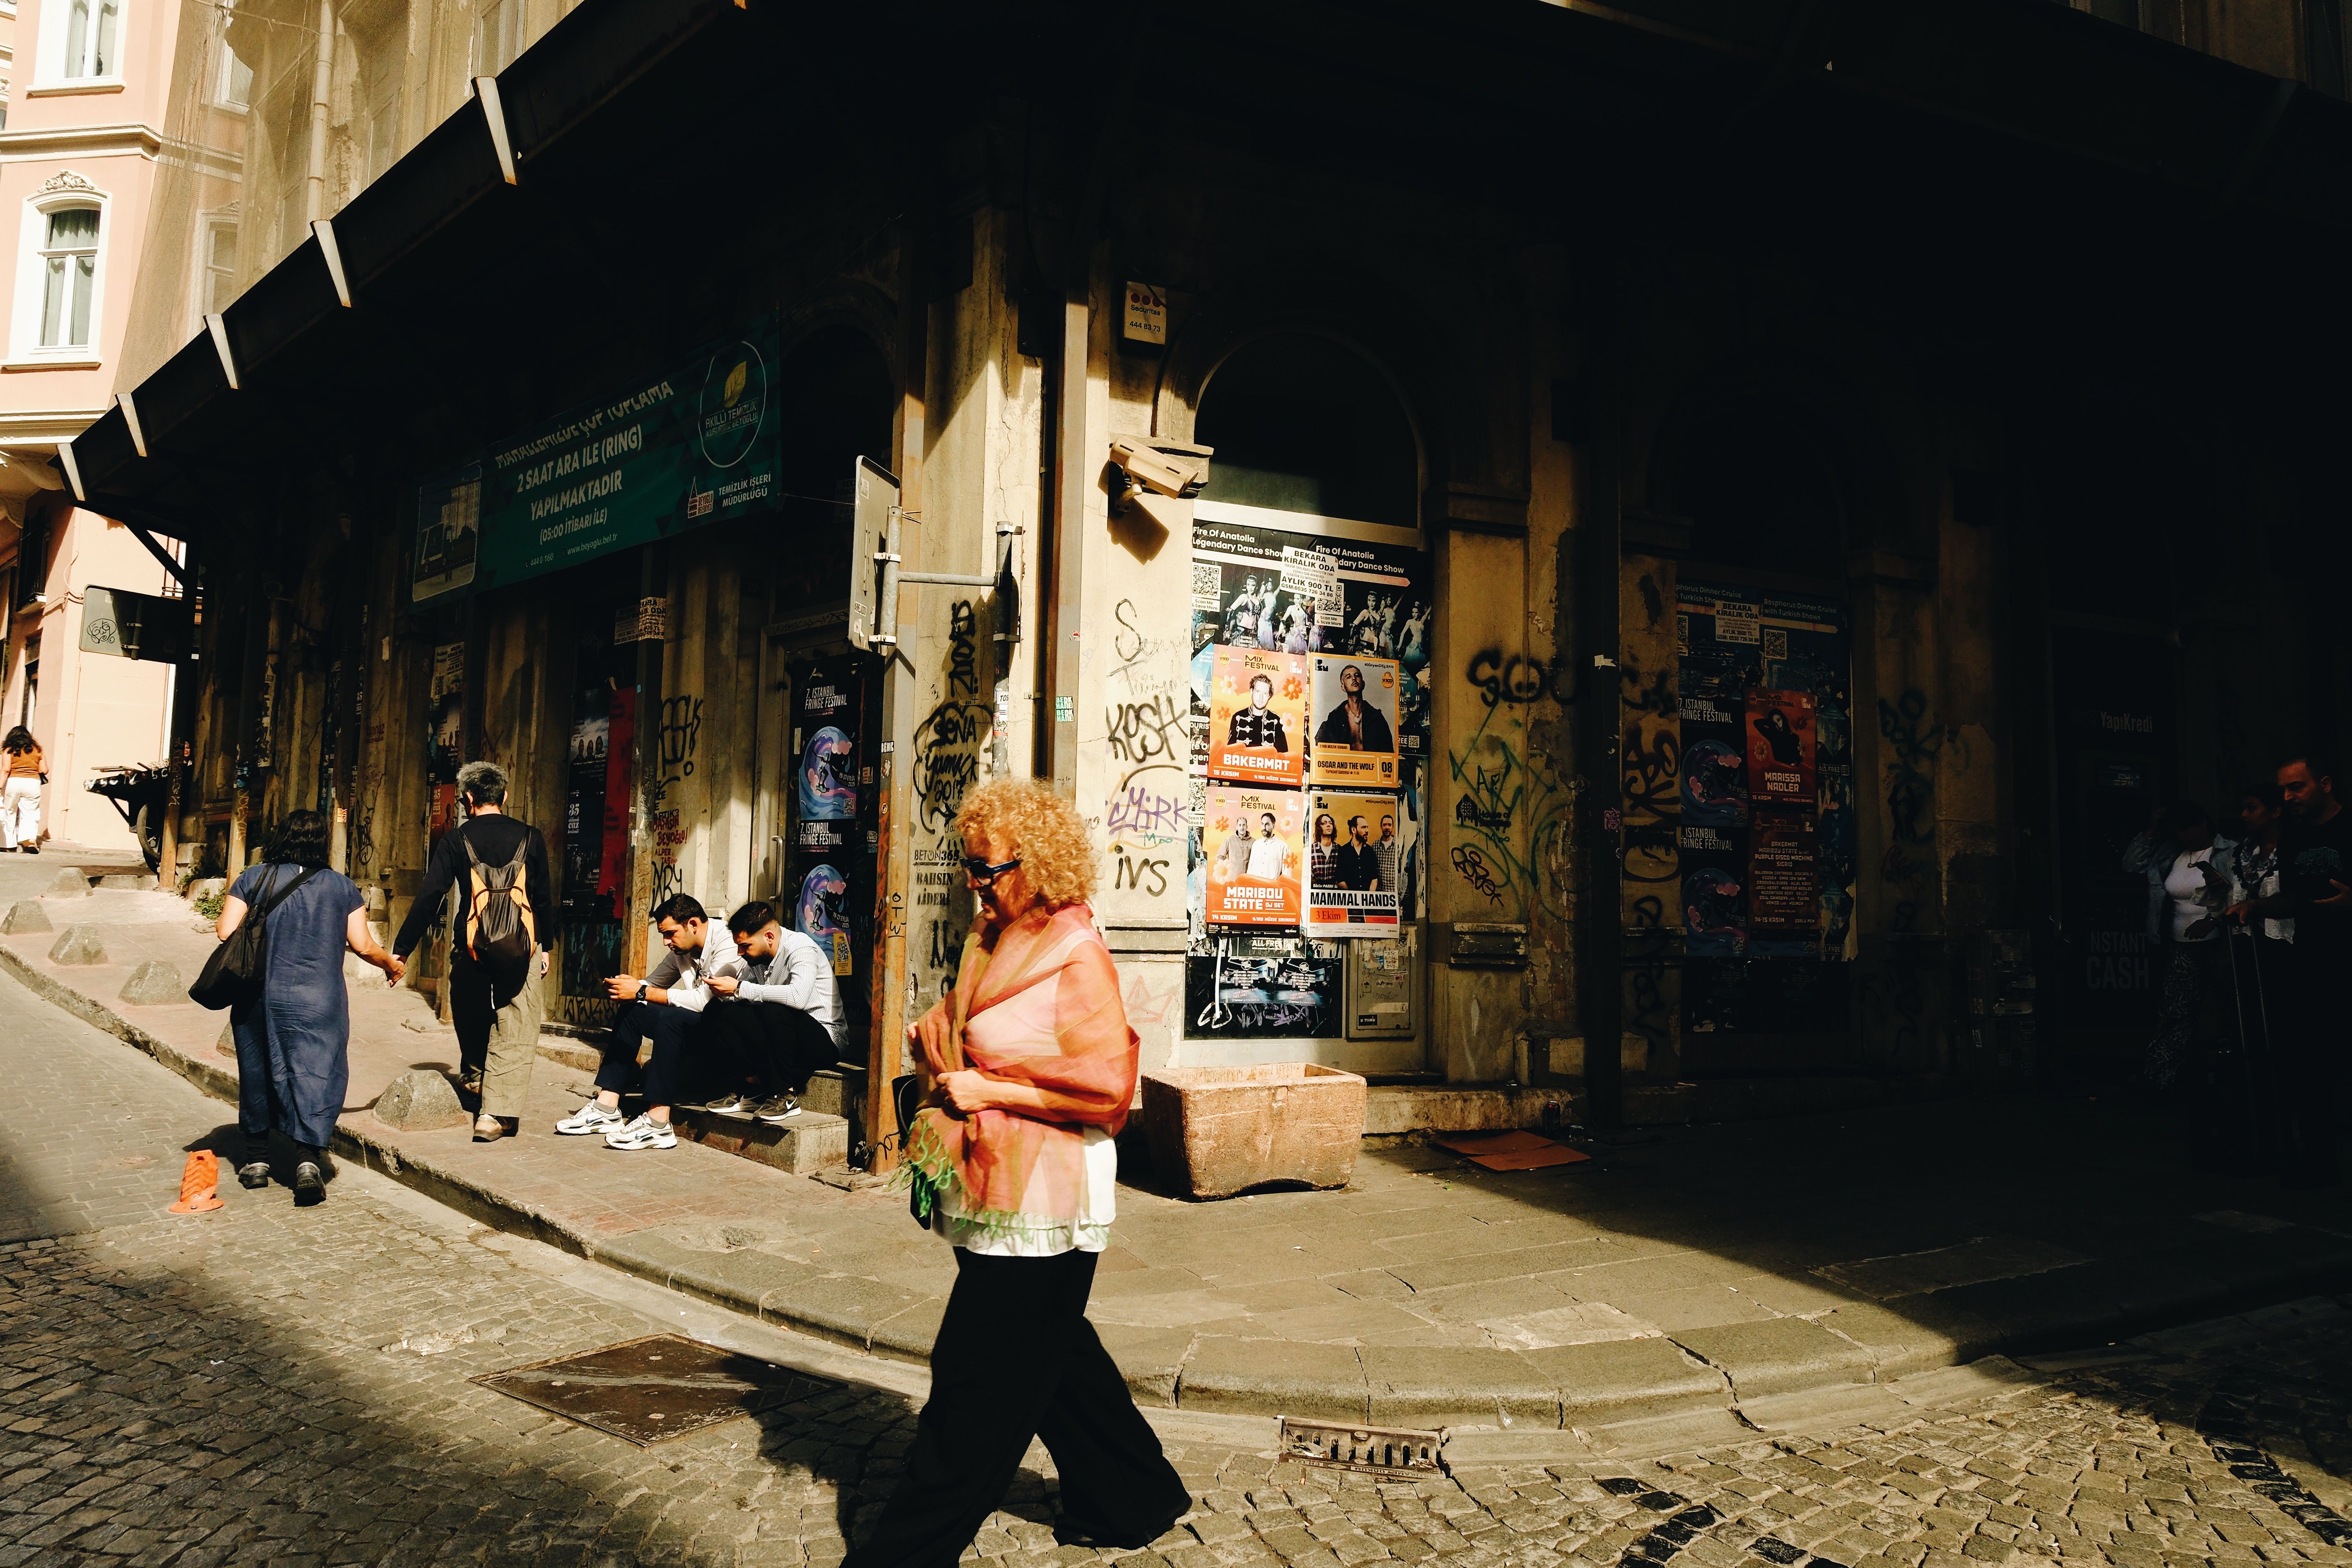
- Tilting the camera so building edges lean badly.
- Choosing a corner with no strong lines.
- Putting the vanishing point behind clutter or bright signs.
- Using too wide a view and stretching the scene too much.
- Leaving no subject in the frame when the space feels empty.
Perspective correction can clean up small mistakes, but it should not rescue a weak setup. It works best when the scene already has a clear structure.
Another common miss is ignoring depth of field. If the aperture is too wide, the near curb and distant buildings may not stay sharp together.
Fix the scene before you press the shutter
Use your feet first. Move a few steps left or right until the strongest lines align. Then check the camera height. A lower angle can make the lines feel longer and more dramatic, while a slightly higher view can show more of the corner shape.
A beginner’s way to explain one-point perspective

One-point perspective is a simple way to show depth by letting straight lines meet at one spot. For a beginner, the easiest way to think about it is this: if the road seems to go somewhere, the photo is doing the job.
Start with a corner, a hallway, or a road with strong straight edges. Then make those edges point toward one clear vanishing point.
Back-button focus helps if people move through the frame while you recompose. Continuous AF-C or AI Servo also works well when you want to keep the scene ready for a walker or cyclist.
A simple way to practice
Begin on a quiet block with good light. Set the camera to aperture priority, choose f/8, and keep your shutter above 1/250s if people are moving. Take a frame, then step sideways and try again. Small changes in position often change the whole read of the corner.
If you carry your camera for long walks, a hands-free strap can make this much easier. A balanced strap like the Camstrap Voyager keeps the camera ready while you move block to block, stop fast, and raise it without a fumble.
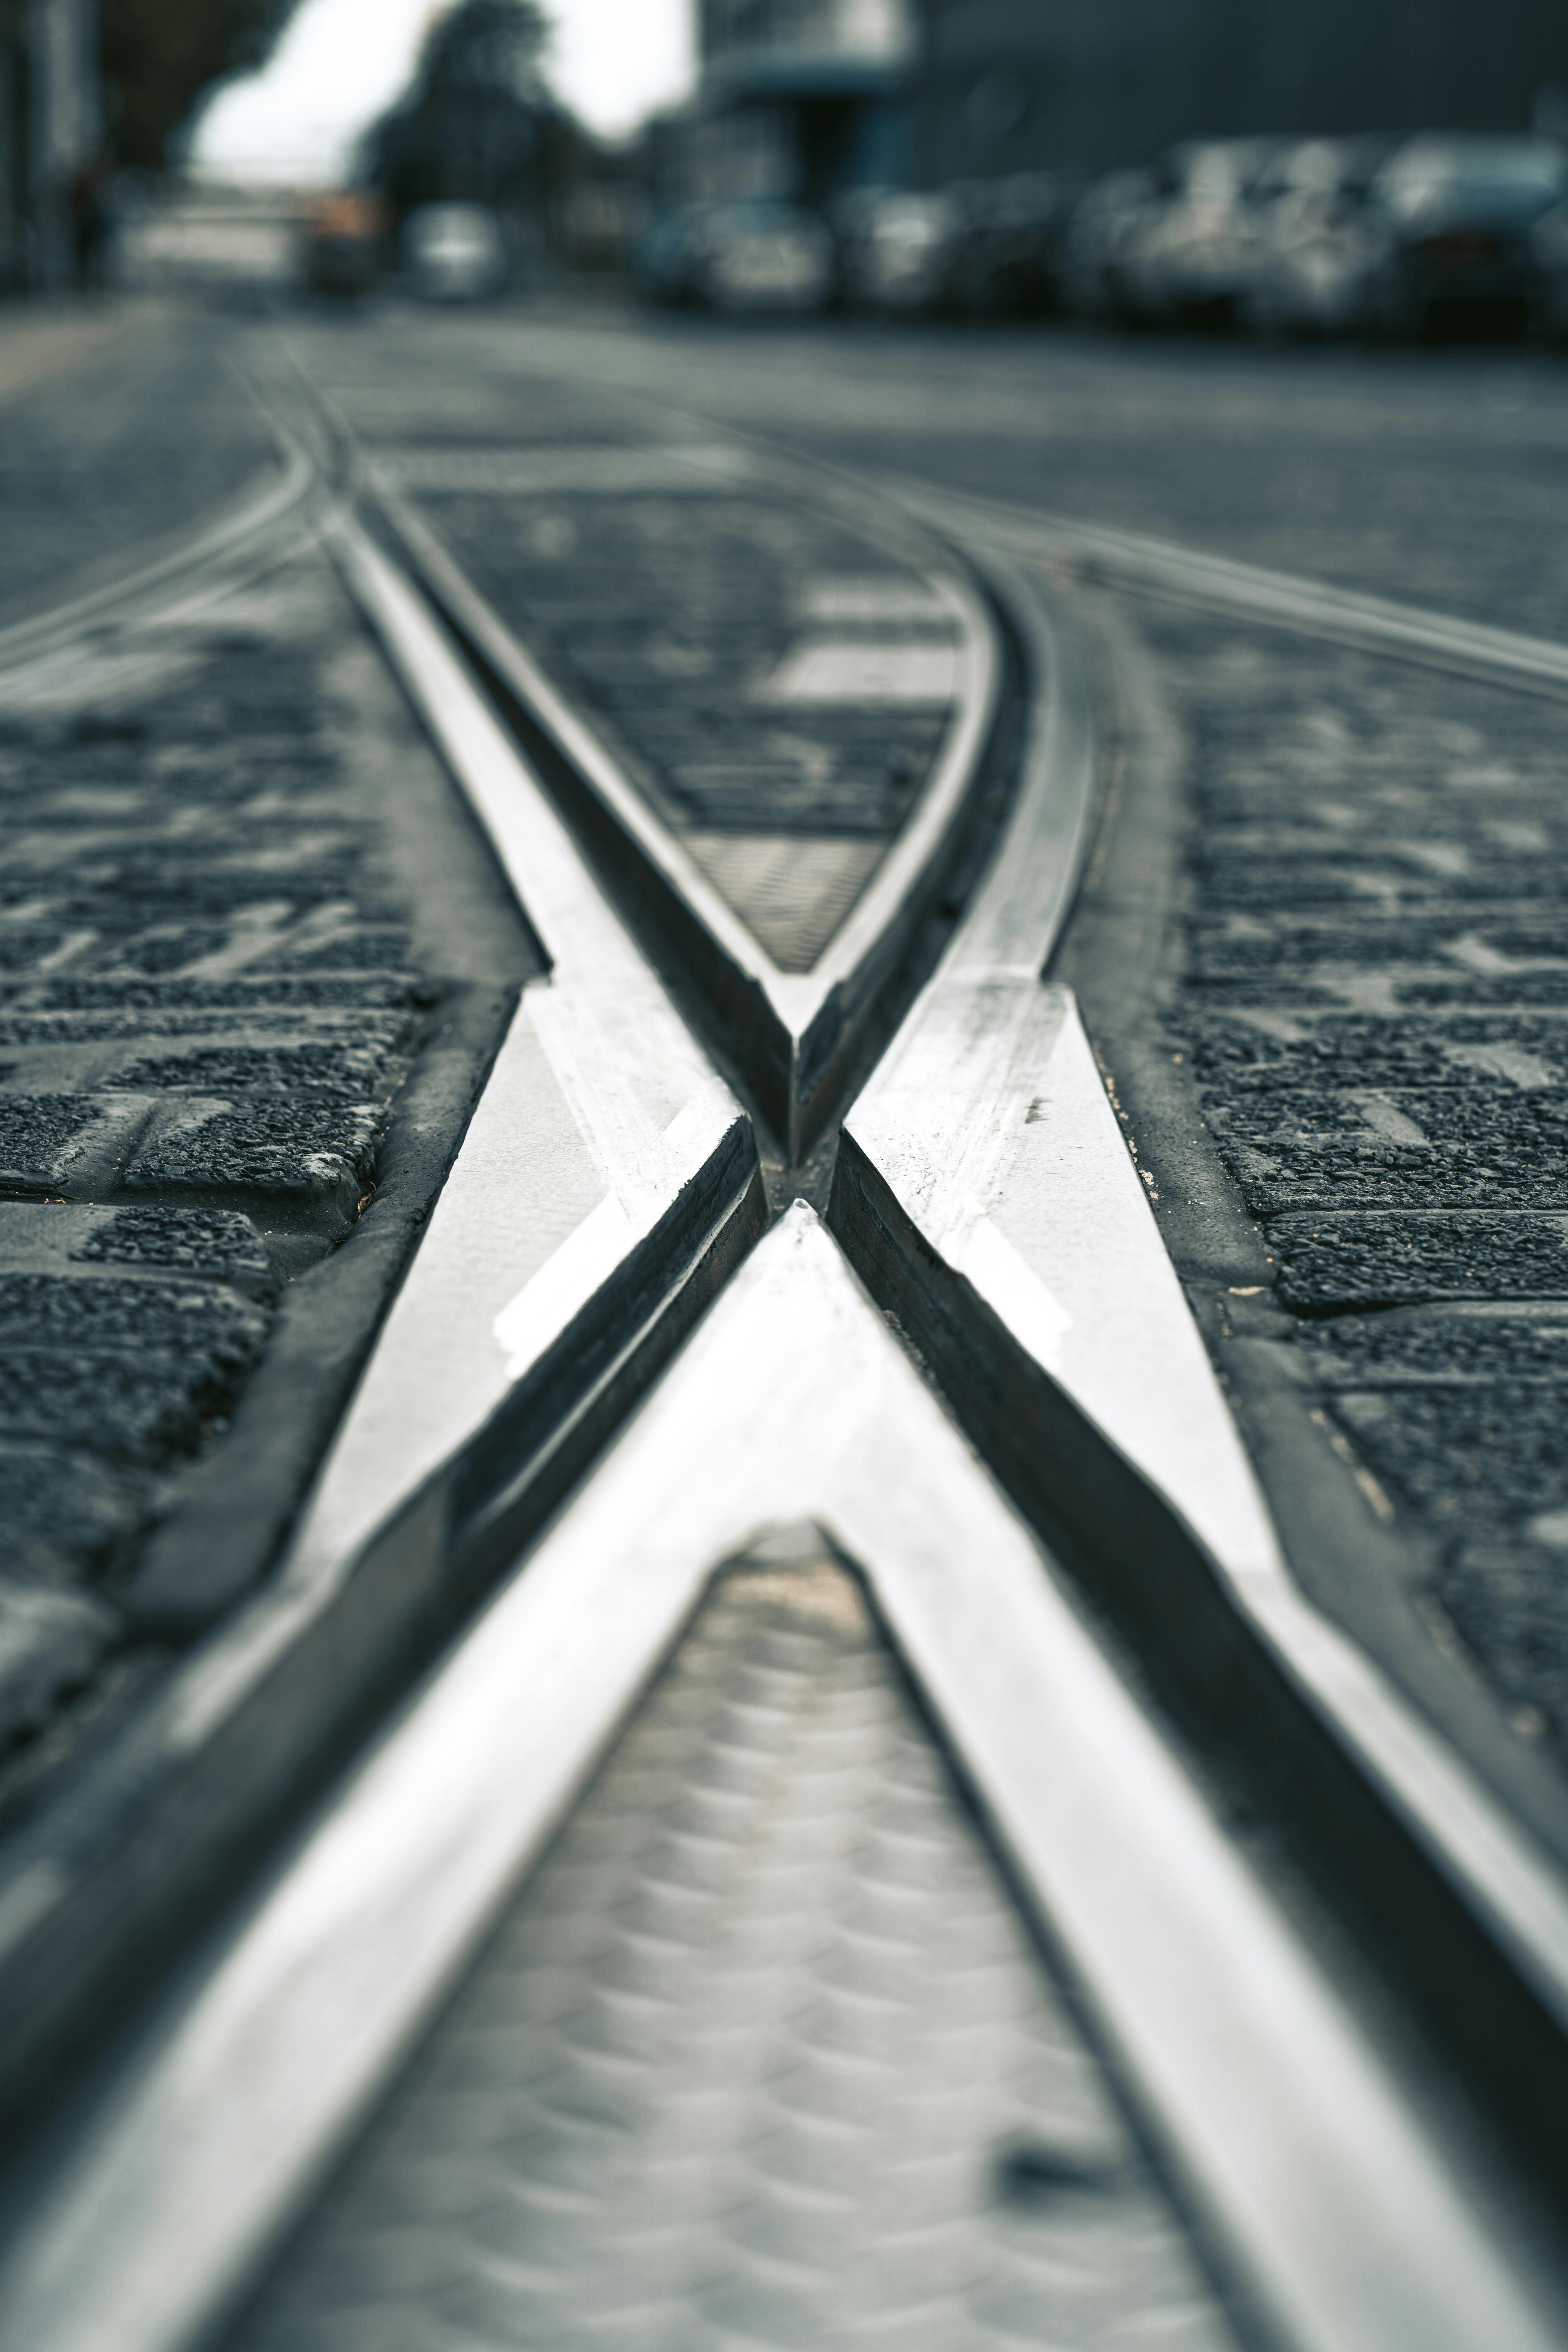
Field habits that keep the shot clean
Good street corner work depends on quick choices and steady attention. You are reading lines, timing people, and checking light at the same time.
A mirrorless body can be useful here, though screen and EVF use can drain power fast. The biggest draw is often the always-on display, not the shutter.
Use burst modes with purpose
Short bursts help when a person enters the frame at the right point. A mid-tier body may hold about 200 to 300 RAW frames before slowing, so 3 to 6 frame bursts are usually safe. Pre-capture or pre-burst modes can help too. They save frames from just before the full press, which is useful when a pedestrian crosses the corner at the right angle.
High burst rates are not always the answer here. Rolling-shutter skew and LED banding can show up in fast electronic modes, especially under mixed street lights.

Pick the file and focus setup
RAW gives you more room to recover shadow detail in deep urban scenes. JPEG is lighter and can be fine if you need quicker review, but RAW gives more control over tone and color.
Continuous AF-C with eye or subject detection works well when a person is part of the composition. If the frame is static, single AF is enough and keeps the shot simple.
For memory cards, UHS-II with V60 or V90 ratings makes more sense when you shoot longer bursts or large RAW files. That extra write speed helps the camera clear the buffer faster.
Bringing the corner together
The best street corners are easy to read at a glance. The lines lead inward, the vanishing point feels natural, and the frame still leaves room for life. Keep the setup simple, then watch how small changes alter the whole picture. A step left, a different lens, or a stop to f/8 can change the scene more than a long list of gear ever will.

Before you shoot, check the frame edges. Look for clean verticals, a clear line path, and one spot where the eye can rest before moving deeper into the street.
Reading a street corner well comes down to this: find the lines, shape the depth, and press the shutter when everything lines up cleanly.
Frequently Asked Questions
What are the three rules for one-point perspective?
One-point perspective has three rules: parallel lines receding from the camera appear to meet, depth is read through that meeting point, and the main lines stay straight rather than curved. Together, those rules create the clean, tunnel-like structure that defines the effect.
What is a one-point perspective photo?

A one-point perspective photo is an image built around lines that converge toward a single vanishing point. In a street scene, that point often sits at the end of a road, beside a crosswalk, or just past the corner being photographed.
What are common mistakes in one-point perspective?
Common mistakes in one-point perspective include letting strong lines bend too much, which weakens the effect and makes the corner lose its shape. Another mistake is failing to align the main street, curb, or building edges so they clearly lead to the same vanishing point.
Can you explain one-point perspective to a beginner?
One-point perspective is a way of showing depth by making straight lines appear to move toward one spot in the distance. A beginner can think of it as using roads, curbs, walls, and rooflines to guide the eye to a single vanishing point so a flat scene feels deep and organized.



