


- Plan three quick frames at every stop: wide, detail, and a person or car.
- Use aperture priority with auto ISO, AF-C, and 1/500s for motion.
- Carry your camera in a padded cross-body or sling for fast, safe access.
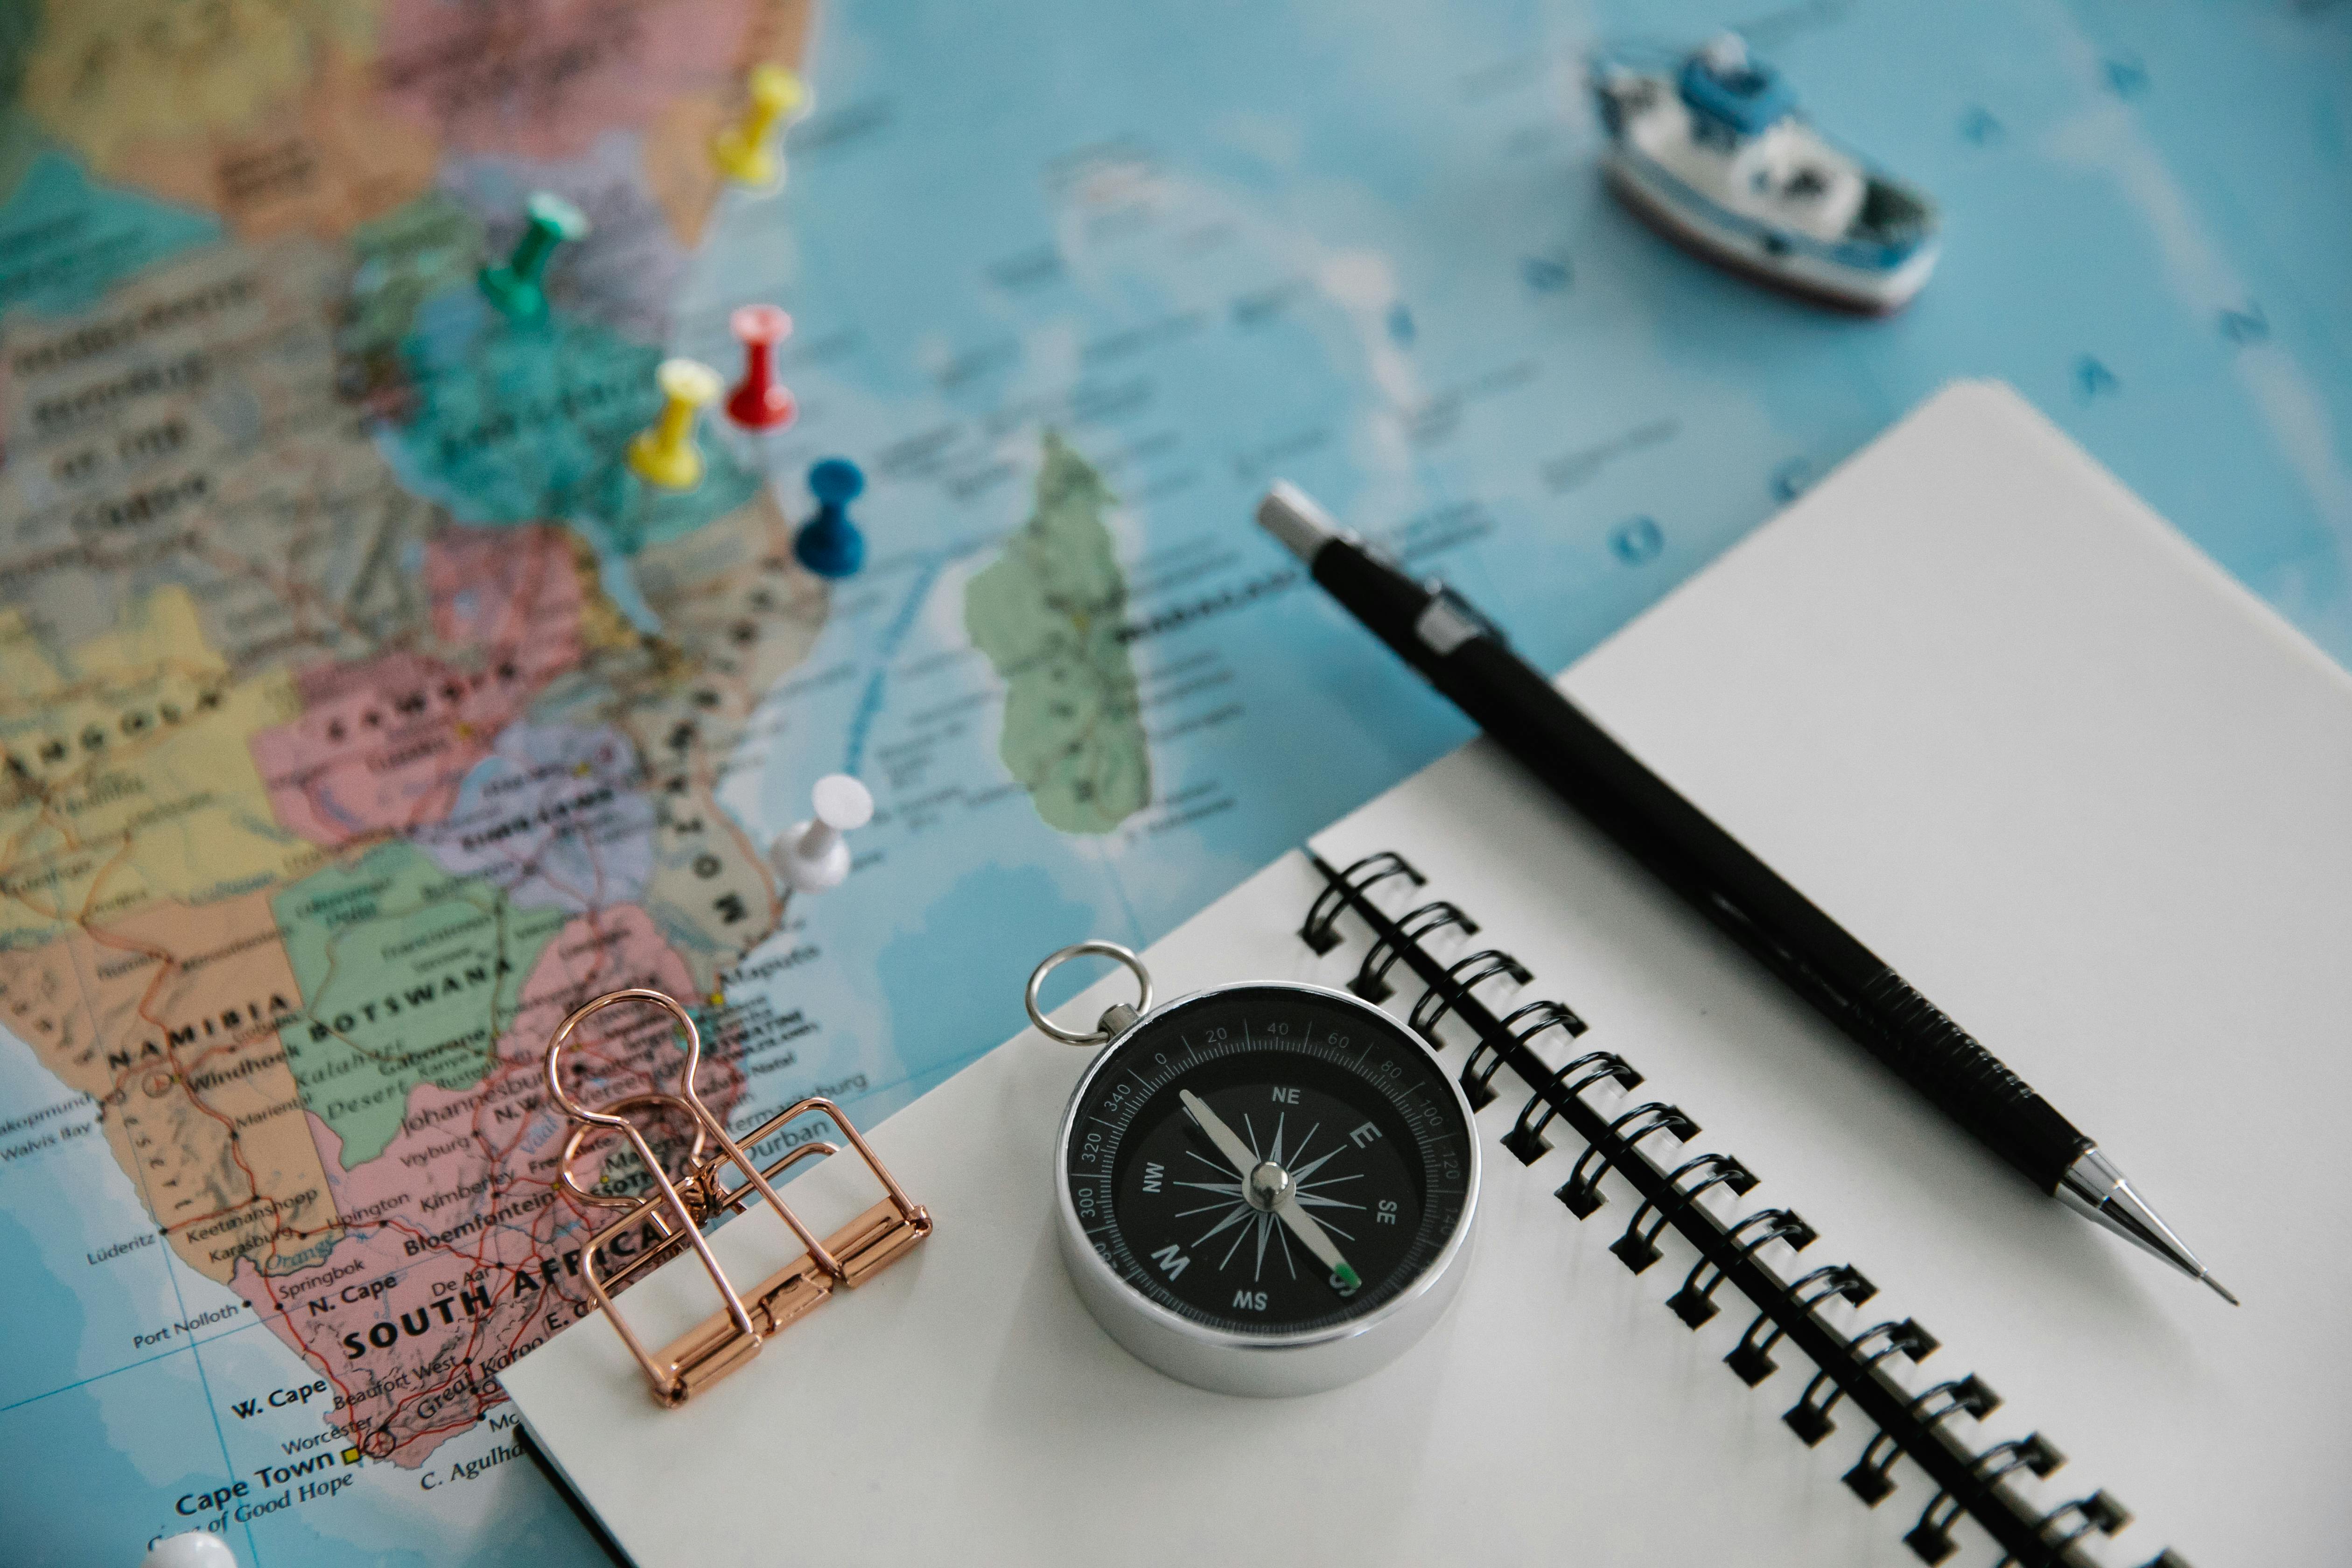
Photographing a road trip means making strong images from quick stops, shifting light, and scenes that never sit still for long. The job is to stay ready, frame quickly, and still enjoy the drive. Summer trips bring soft dawn light, hard noon sun, and deep sunset color in the same day. That range is a gift and a challenge, because timing becomes part of the work.
Shop the setup

- Regular price
-
€42 - Regular price
-
€44 - Sale price
-
€42
By choosing the Camstrap strap, you are opting for a high-quality product designed to meet the needs of the most demanding photographers.
- Developed by a physiotherapist to relieve neck and back pain.
- Fast delivery with tracking by the Post Office 🚚
- Can be used as a shoulder strap or hands-free harness

- Regular price
-
€36 - Regular price
-
€42 - Sale price
-
€36
Free shipping included
How do I take good photos on a road trip?
Strong road trip photos start with a plan for short stops and simple scenes. Build a small shot list before you leave, then keep an eye out for light, shape, and motion all day.
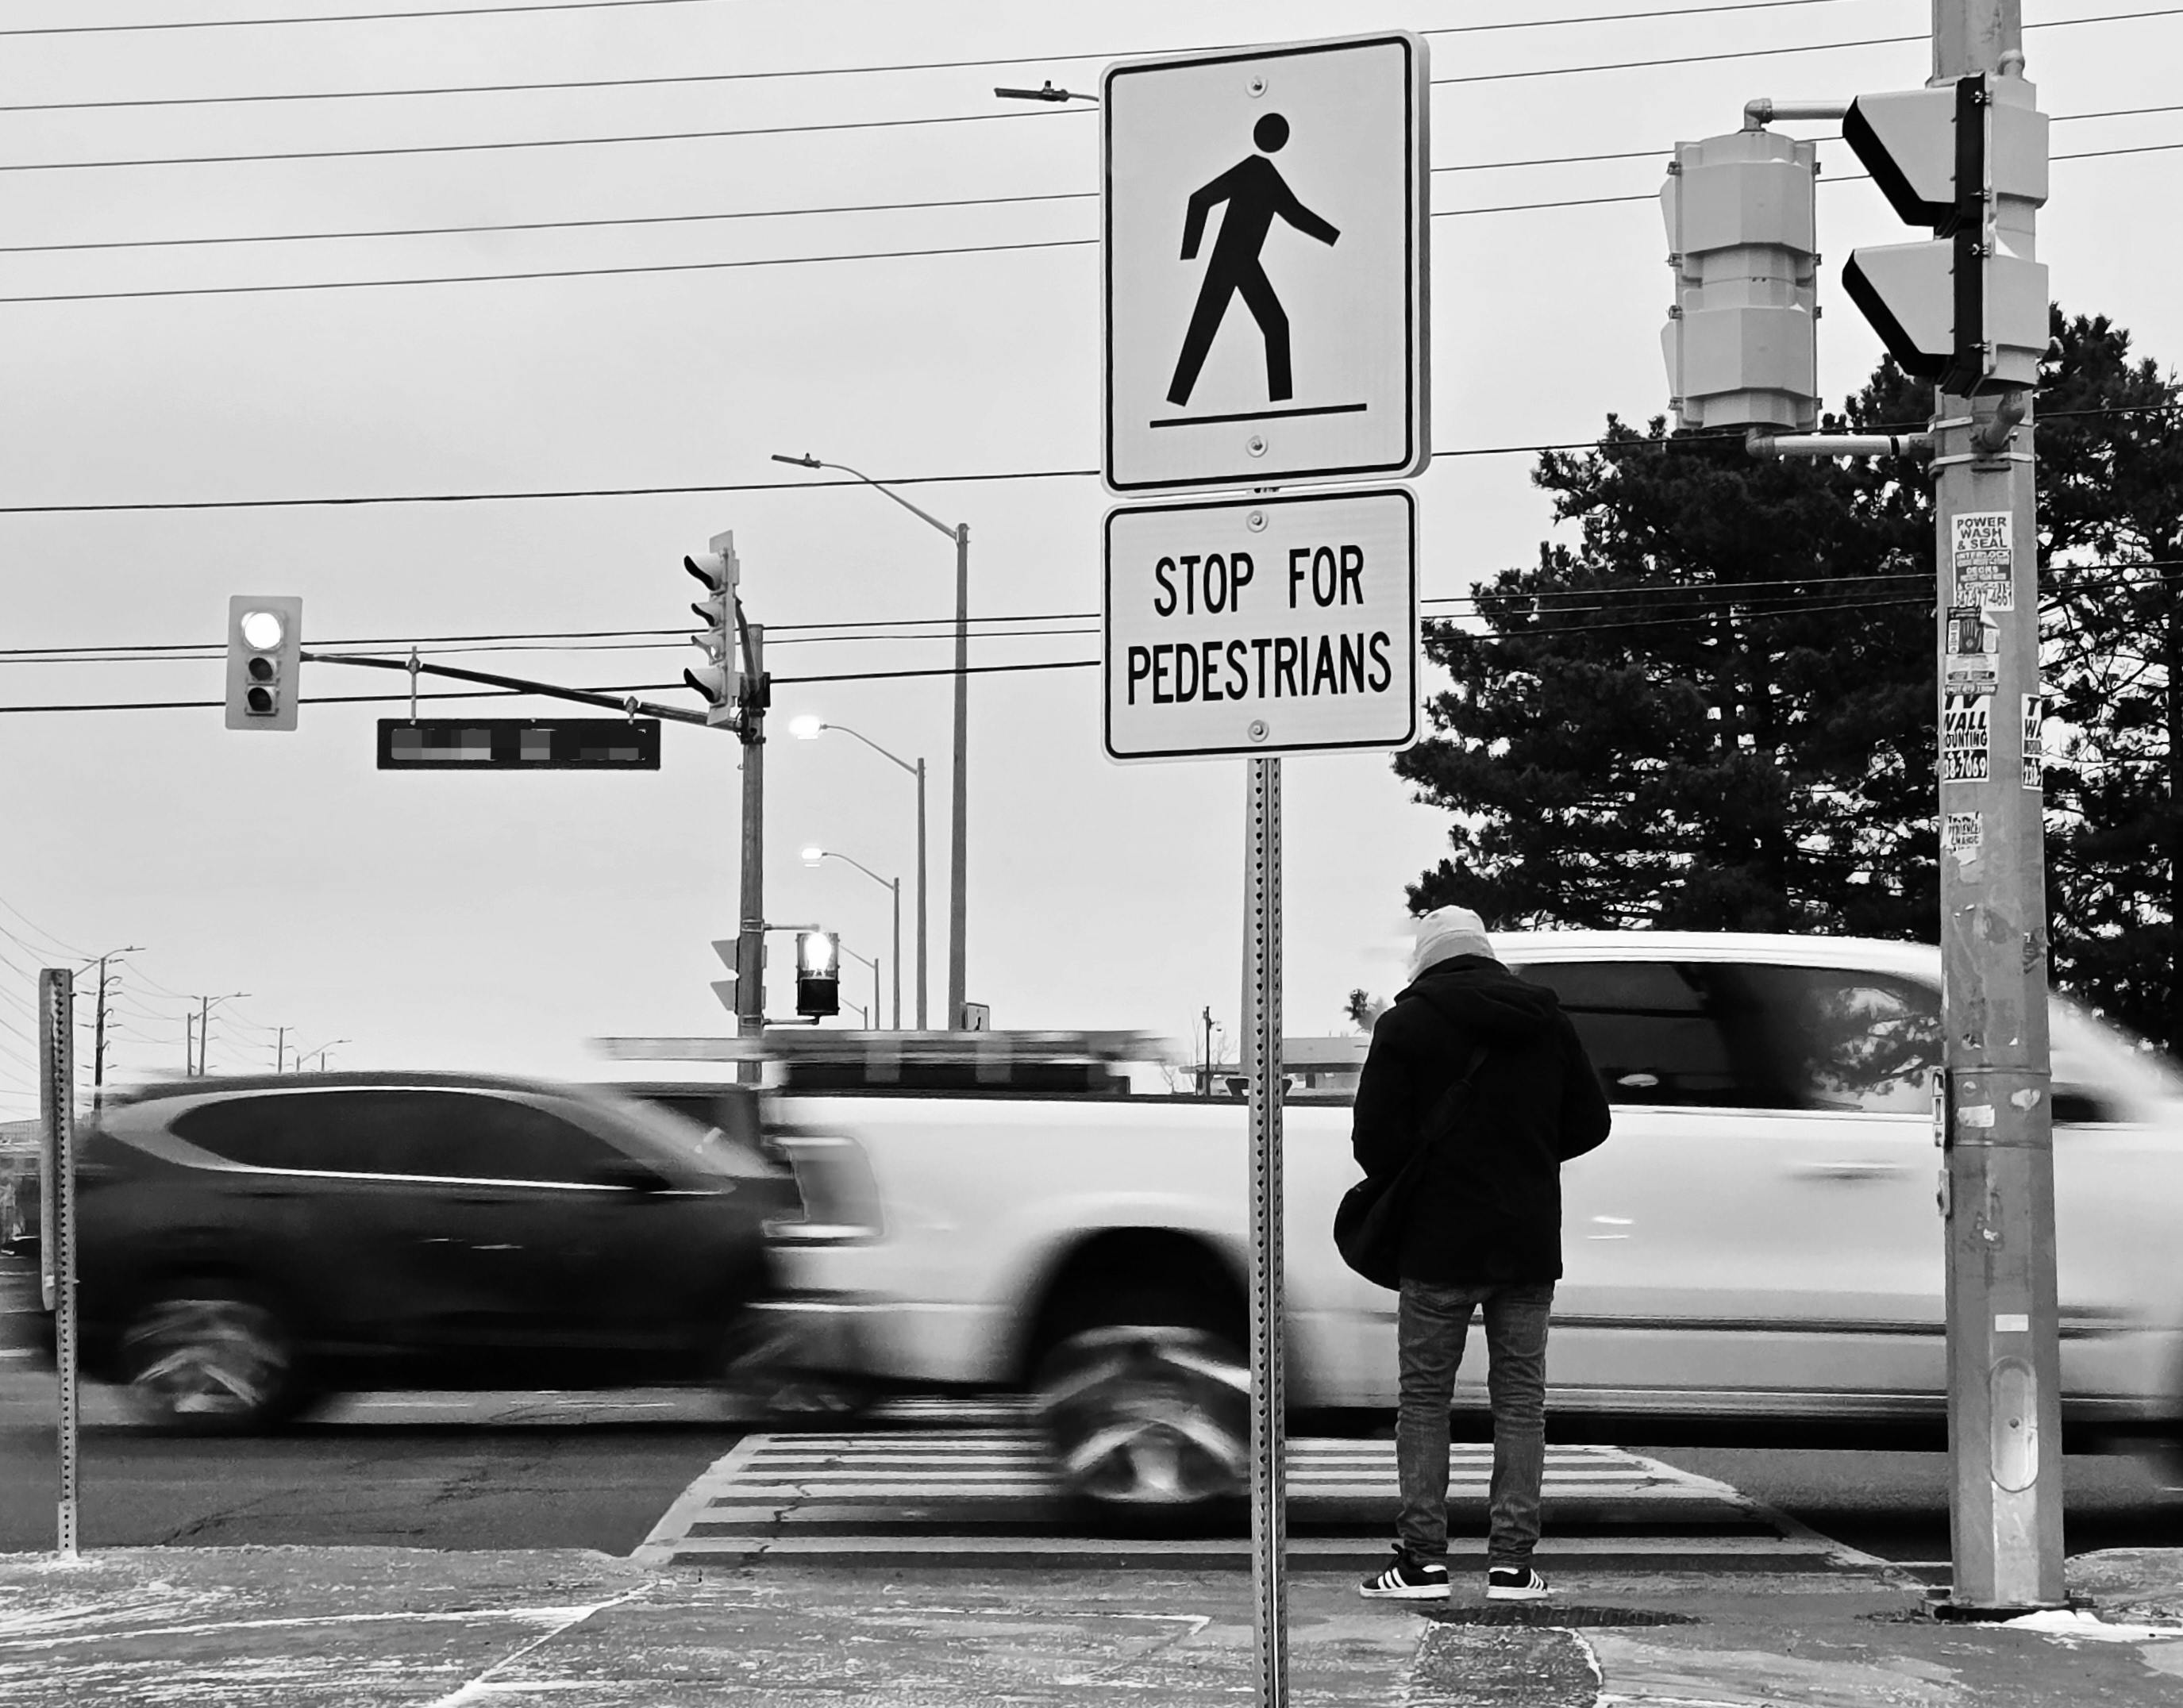
For each stop, aim for three frames: a wide view, a detail, and one shot with a person or car in it. That mix keeps the set varied without slowing the trip down.
Work from a simple shot plan
At each pull-off, move through the scene in a quick order. Start with the broad view. Then look for a mid-range frame with a road line, sign, or guardrail. End with a close detail such as a wheel, map, gas pump, or hand on the door.
- Make the wide shot first, while the light still feels fresh.
- Turn for a tighter frame with the road leading in.
- Finish with one detail shot before you pack up.
This order helps because road trip stops often last only a few minutes. Less time thinking leaves more time seeing.
Watch the light, not just the landmark
Morning and late afternoon bring the best side light for texture. Midday sun is tougher, but it still works for bold color, road signs, and hard shadows. Travel photography habits point to the same pattern: many of the strongest frames happen in short golden-hour windows. Be ready before the light turns.
What camera settings work for travel photos from a car stop?
For car stops, aperture priority or manual exposure with auto ISO works best, along with continuous AF-C or AI Servo. Start around f/5.6 to f/8 for most roadside scenes, keep shutter speed above 1/500s for people or moving cars, and let ISO rise as needed.
Those settings give you control without turning every stop into a setup. They also keep files clean enough for travel edits and prints.
Match settings to the scene
For wide views, f/8 usually gives enough depth of field across the frame. For portraits at a stop, f/2 to f/2.8 gives nicer subject separation, though shade may push ISO to 400 to 1600. For handheld shots beside the car, 1/250s can hold still subjects. If people are walking or a car is rolling into frame, move to 1/500s or 1/1000s.

- Set aperture priority if light changes fast.
- Use auto ISO with a ceiling you trust, such as ISO 3200.
- Pick AF-C or AI Servo for moving subjects.
- Use a single point for signs and details, or subject detection for people.
- Take a quick test frame and check the histogram once.
Modern mirrorless bodies can shoot 10 fps in mechanical mode, while electronic shutter may reach 20 to 40 fps. That speed helps with motion, though electronic shutter can cause rolling-shutter skew or banding under some LED or fluorescent lights.
Buffer depth matters too. A mid-tier body may hold about 20 to 40 RAW frames before it slows, while JPEG usually lasts longer. For a 3 to 6 frame burst, the buffer usually stays safe.
How do I carry a camera safely while traveling?
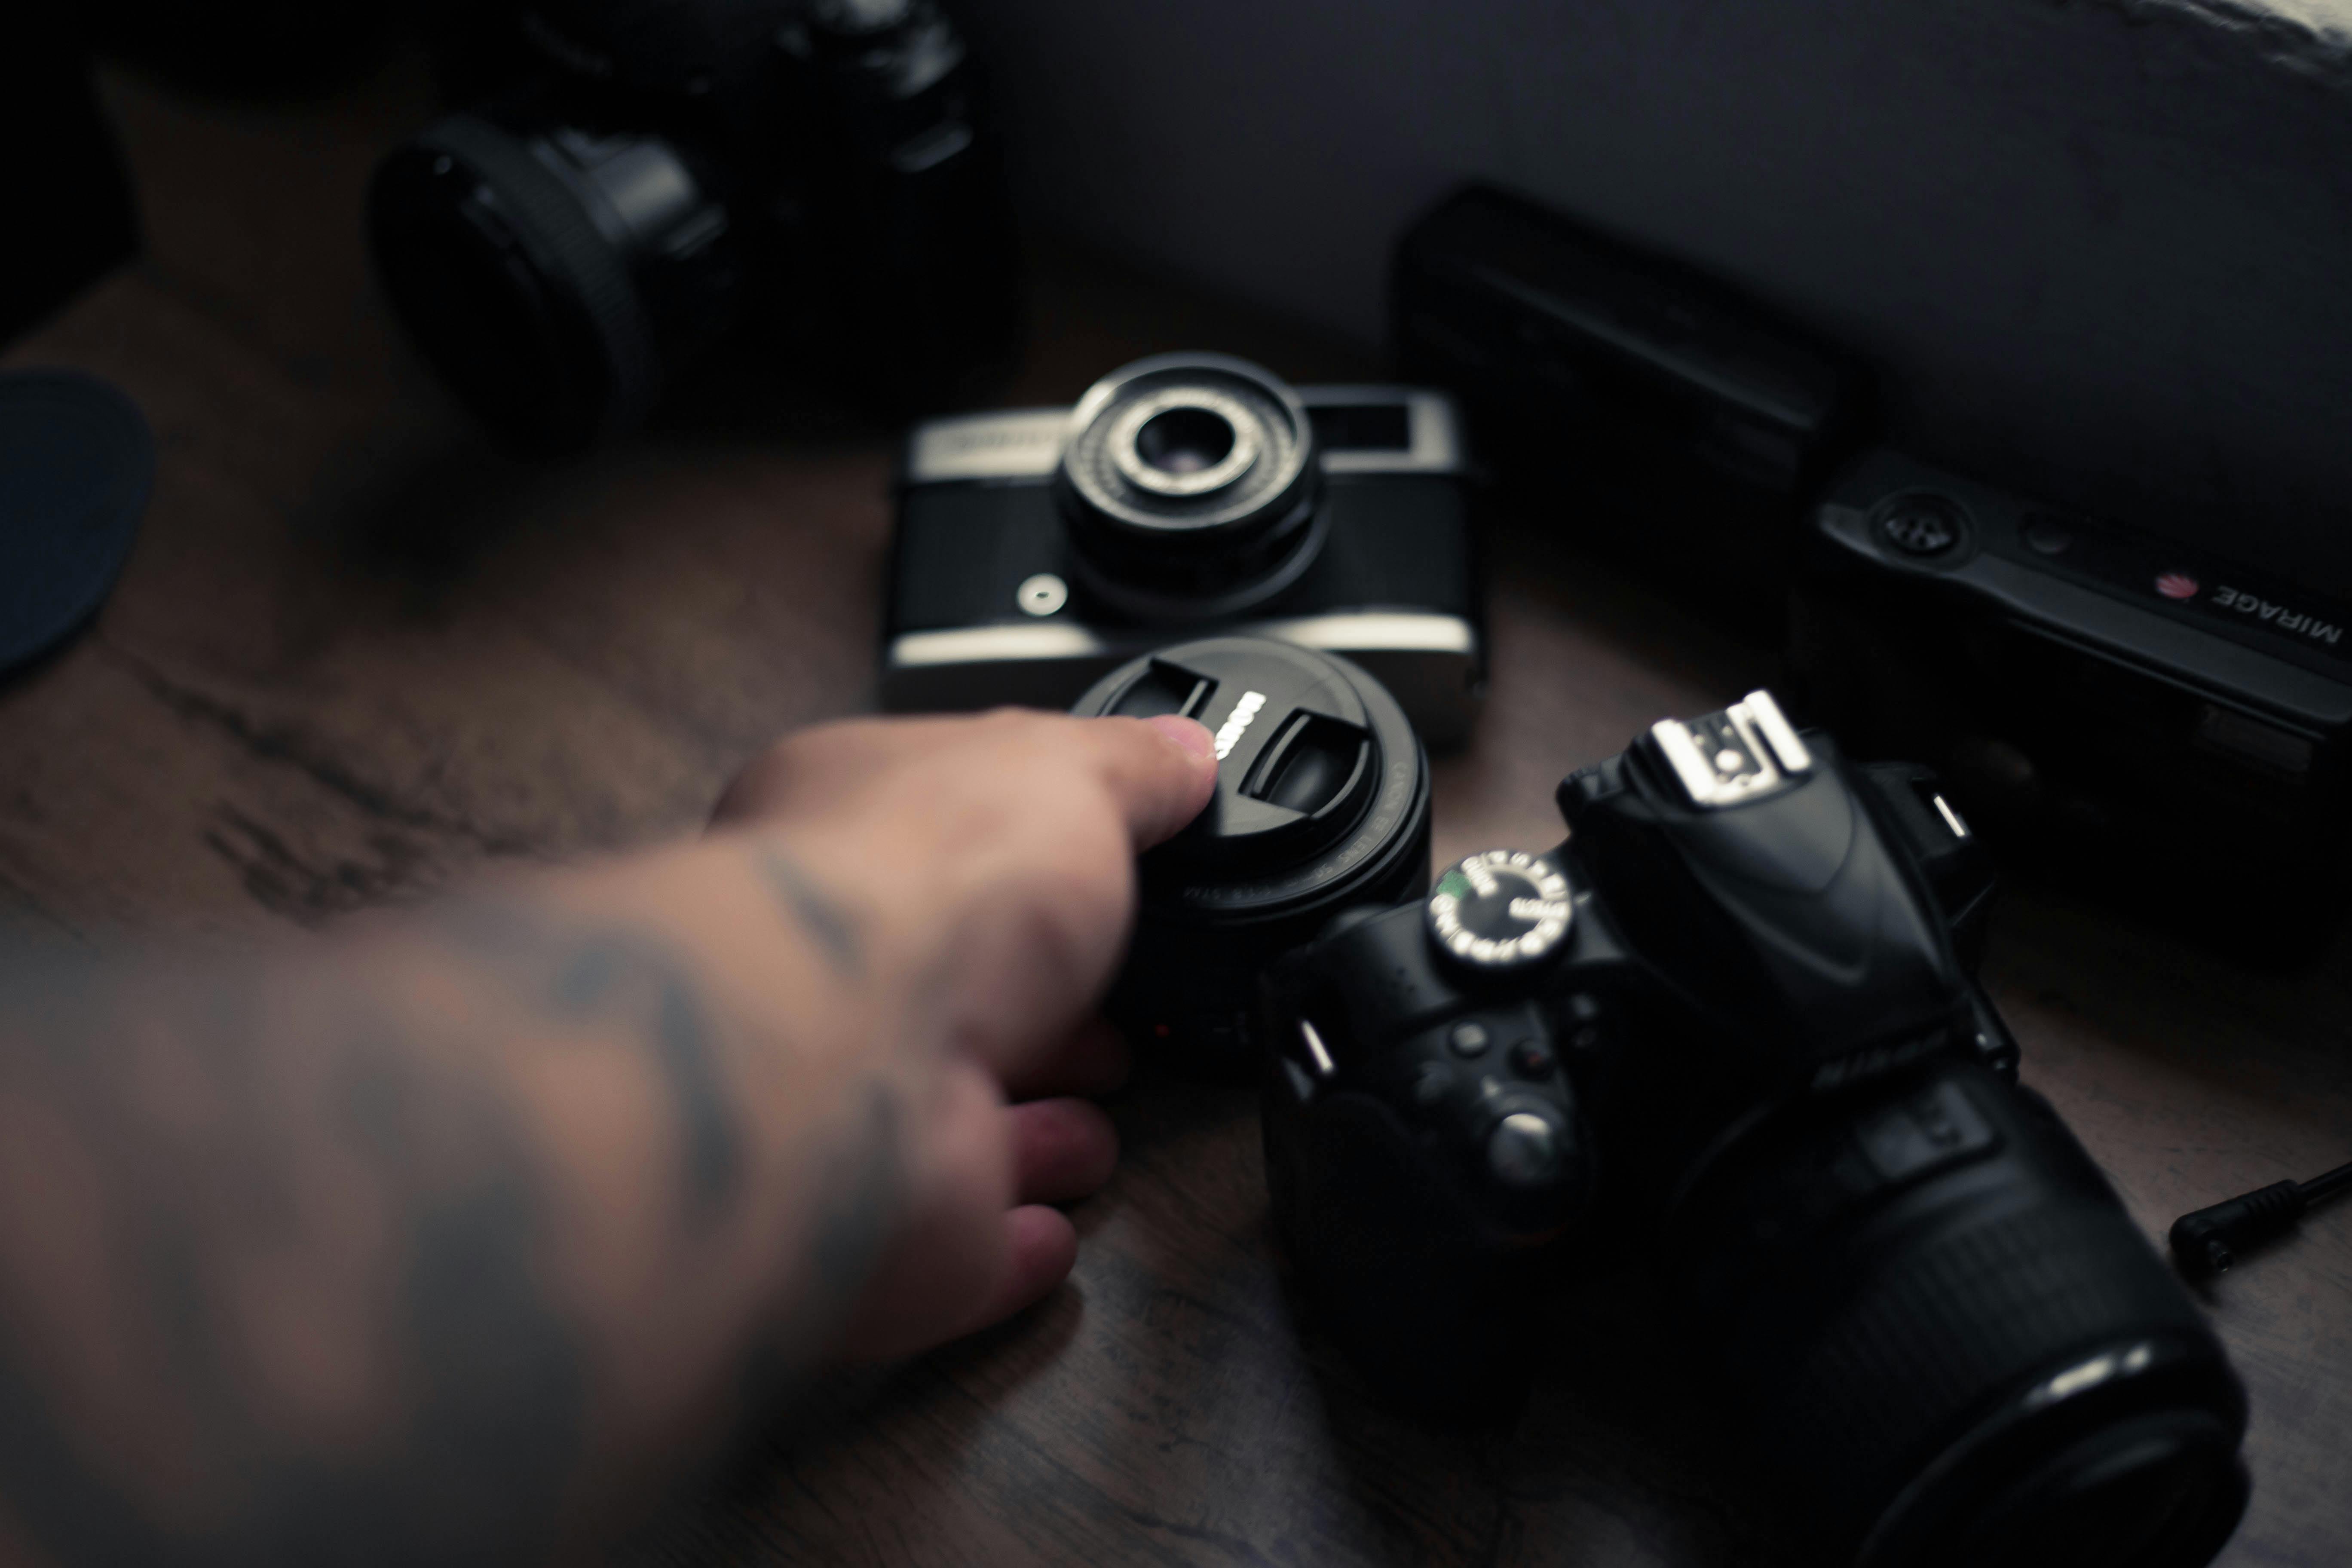
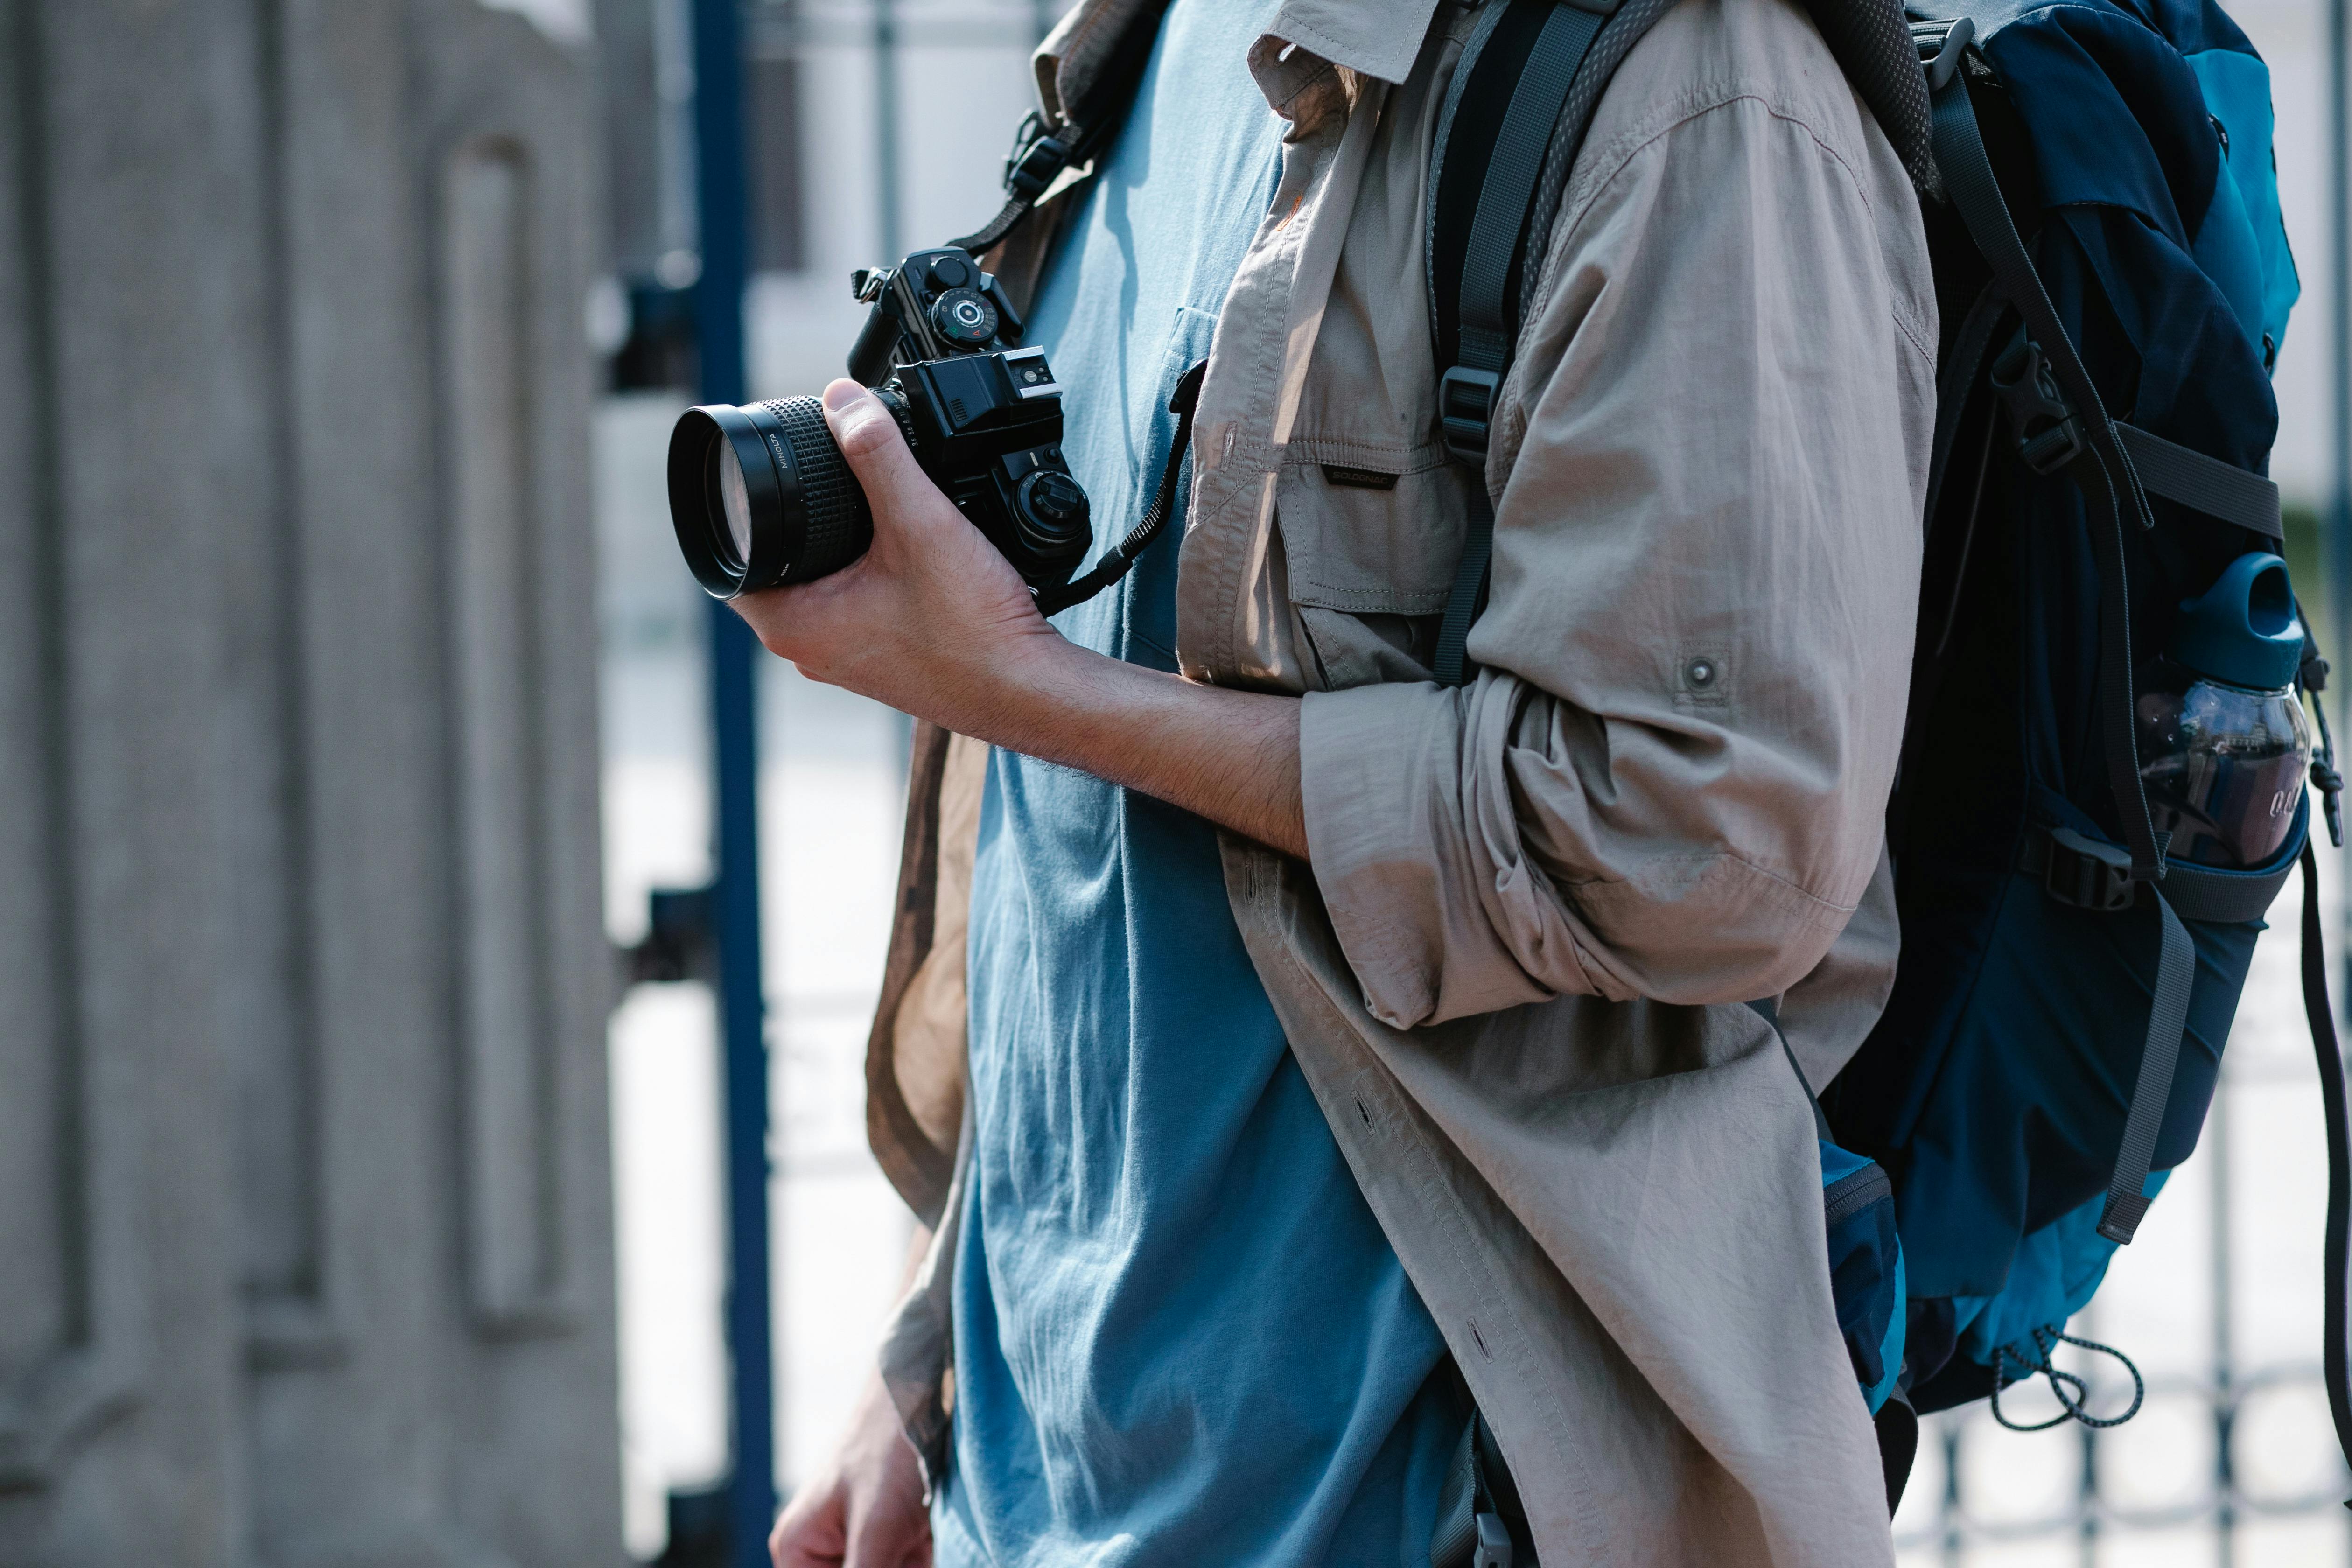
A safe travel carry keeps the camera close, stable, and easy to grab. A secure, comfortable strap makes it feel ready all day at pull-offs, viewpoints, and quick roadside stops.
On long summer drives, a cross-body setup cuts sway and keeps the camera from sliding into the seat or console. A padded strap with a quick one-hand release can save time when you jump out for a view.
Pack for quick exits
Keep the camera in the same place every time. If it rides on your chest or shoulder, you waste less time hunting for it when a scene appears.
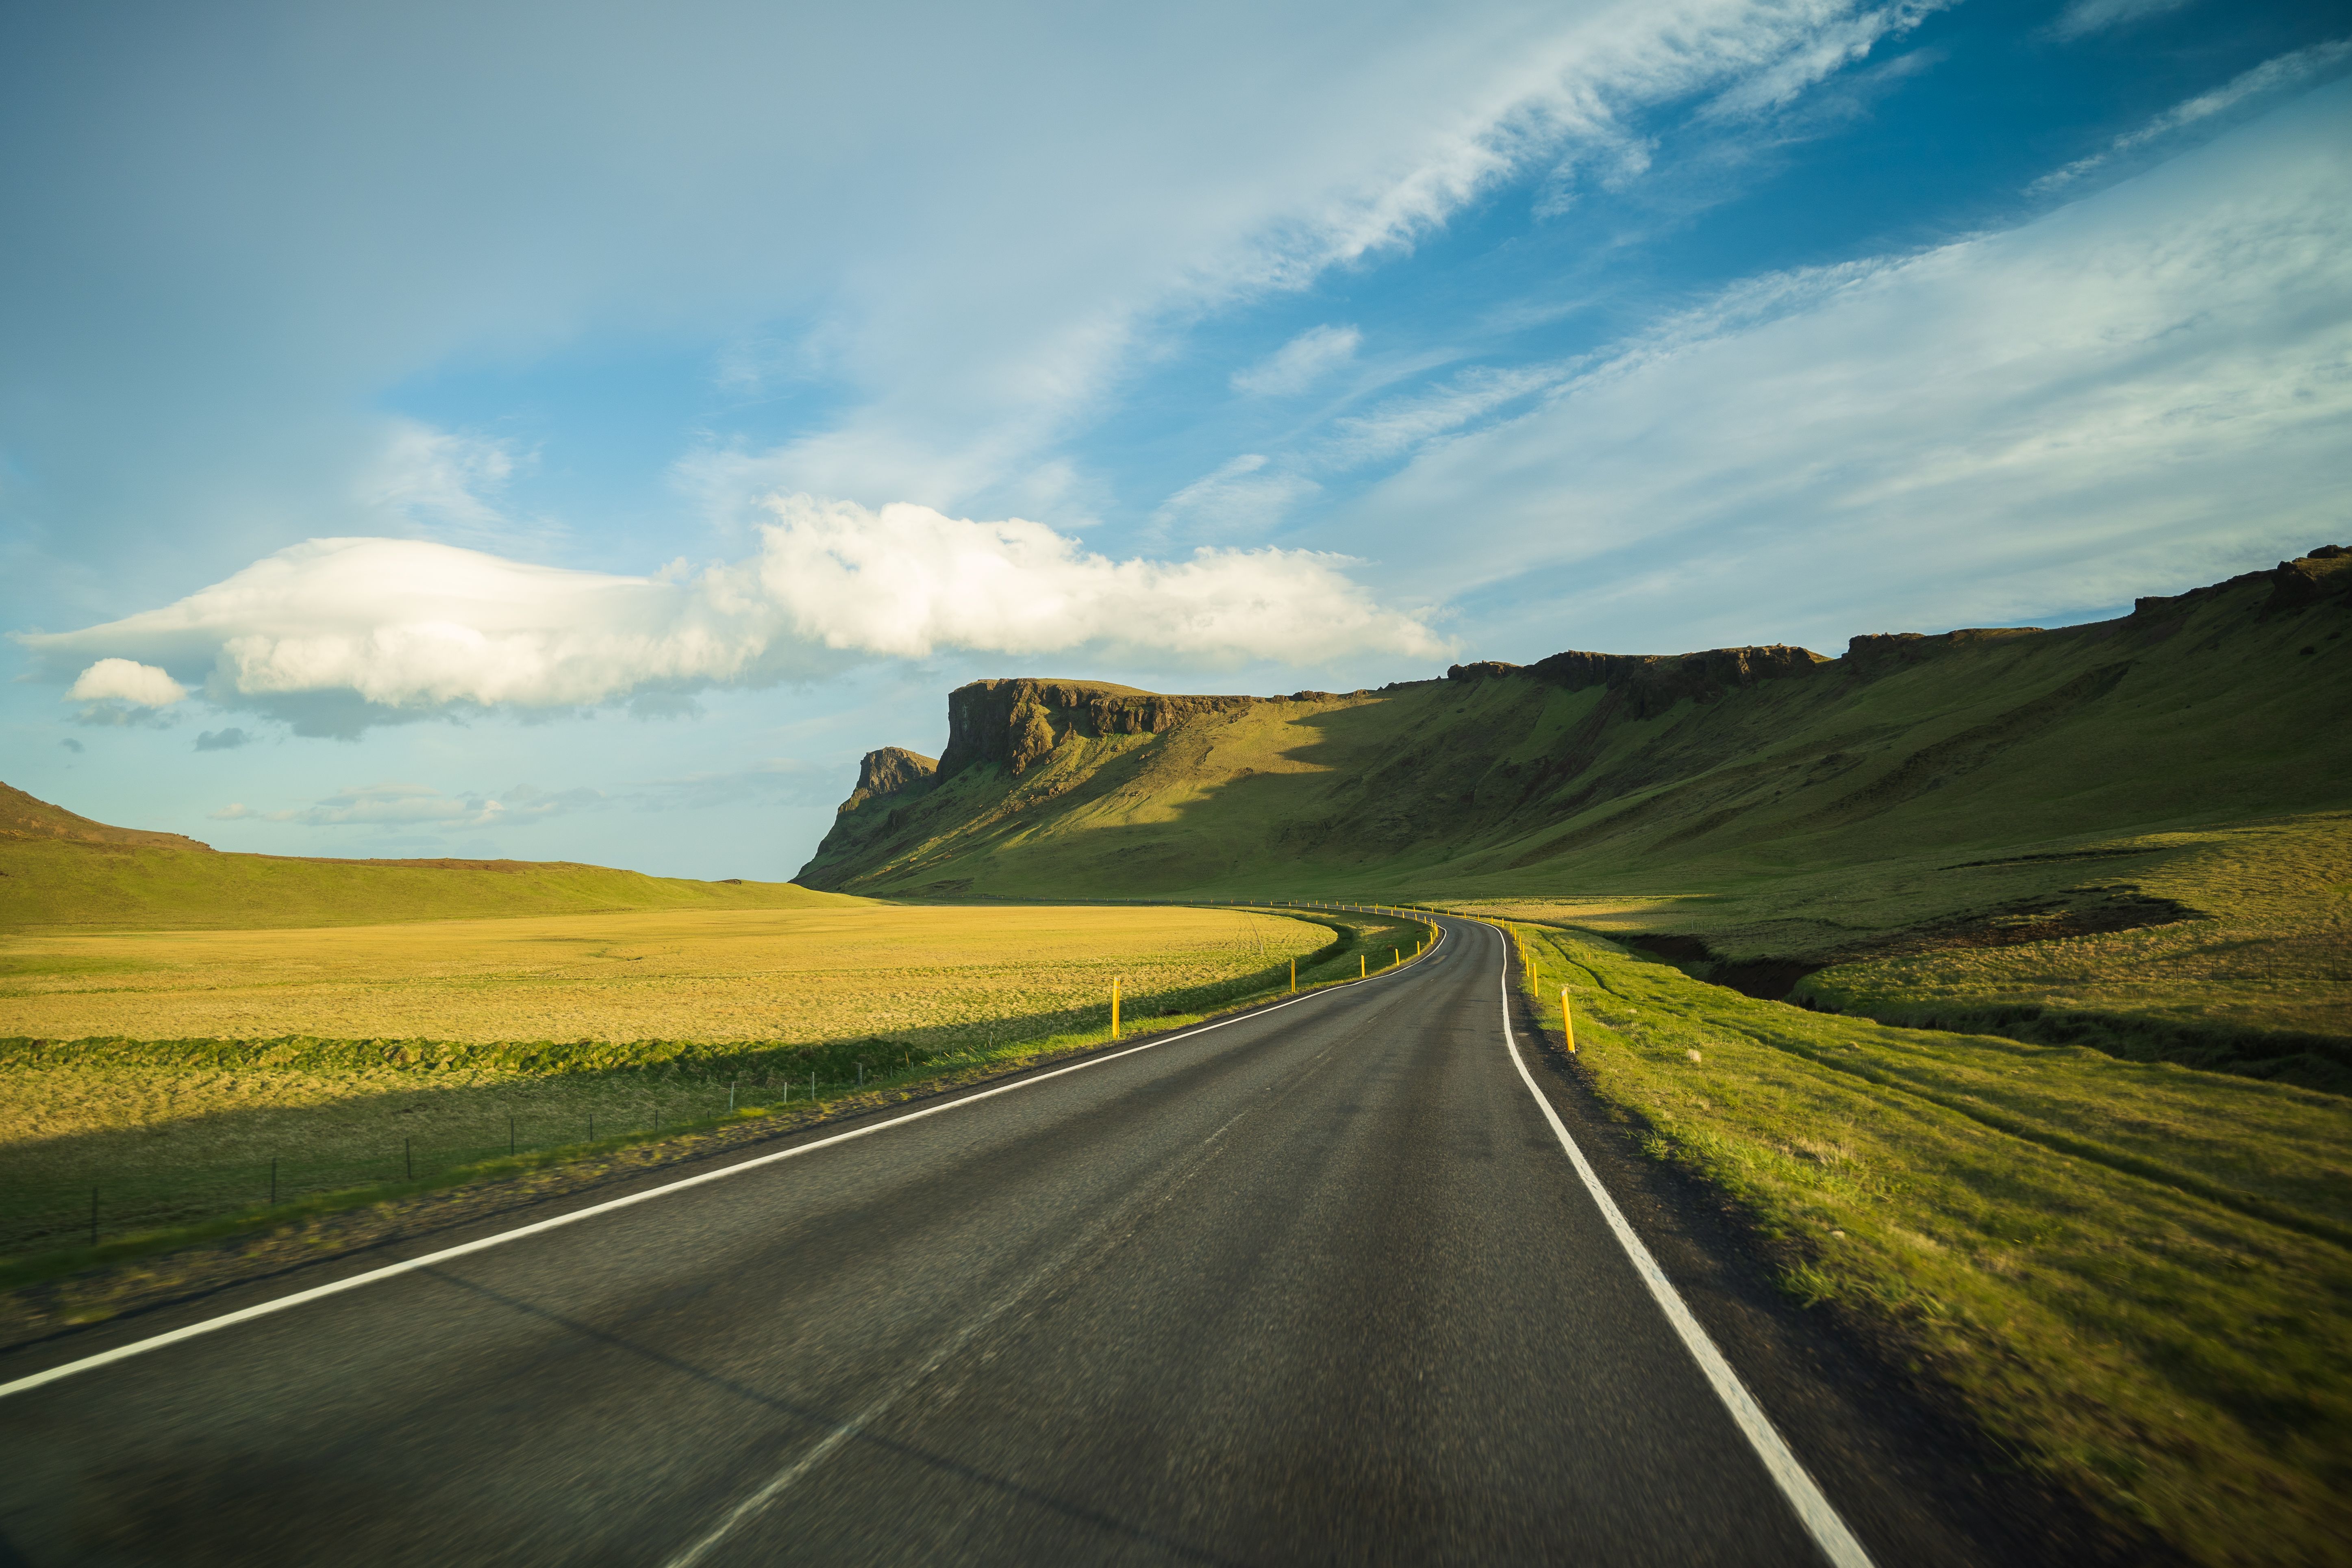
- Store the camera with a lens cap on, then remove it before the stop.
- Keep one lens or one zoom range ready for the whole leg.
- Use a strap that spreads weight across the neck or shoulder.
- Lock loose bag zips so nothing shifts when the car turns.
Camstrap voyager fits this kind of travel because it keeps the camera secure yet easy to swing up fast. On the roadside, that balance beats extra padding.
Battery life deserves attention too. Mirrorless bodies drain power quickly when the EVF or LCD stays on, and image review can use more than most shooters expect. Cut back on rear-screen review and one charge stretches much farther.
What should I photograph on a road trip besides landscapes?
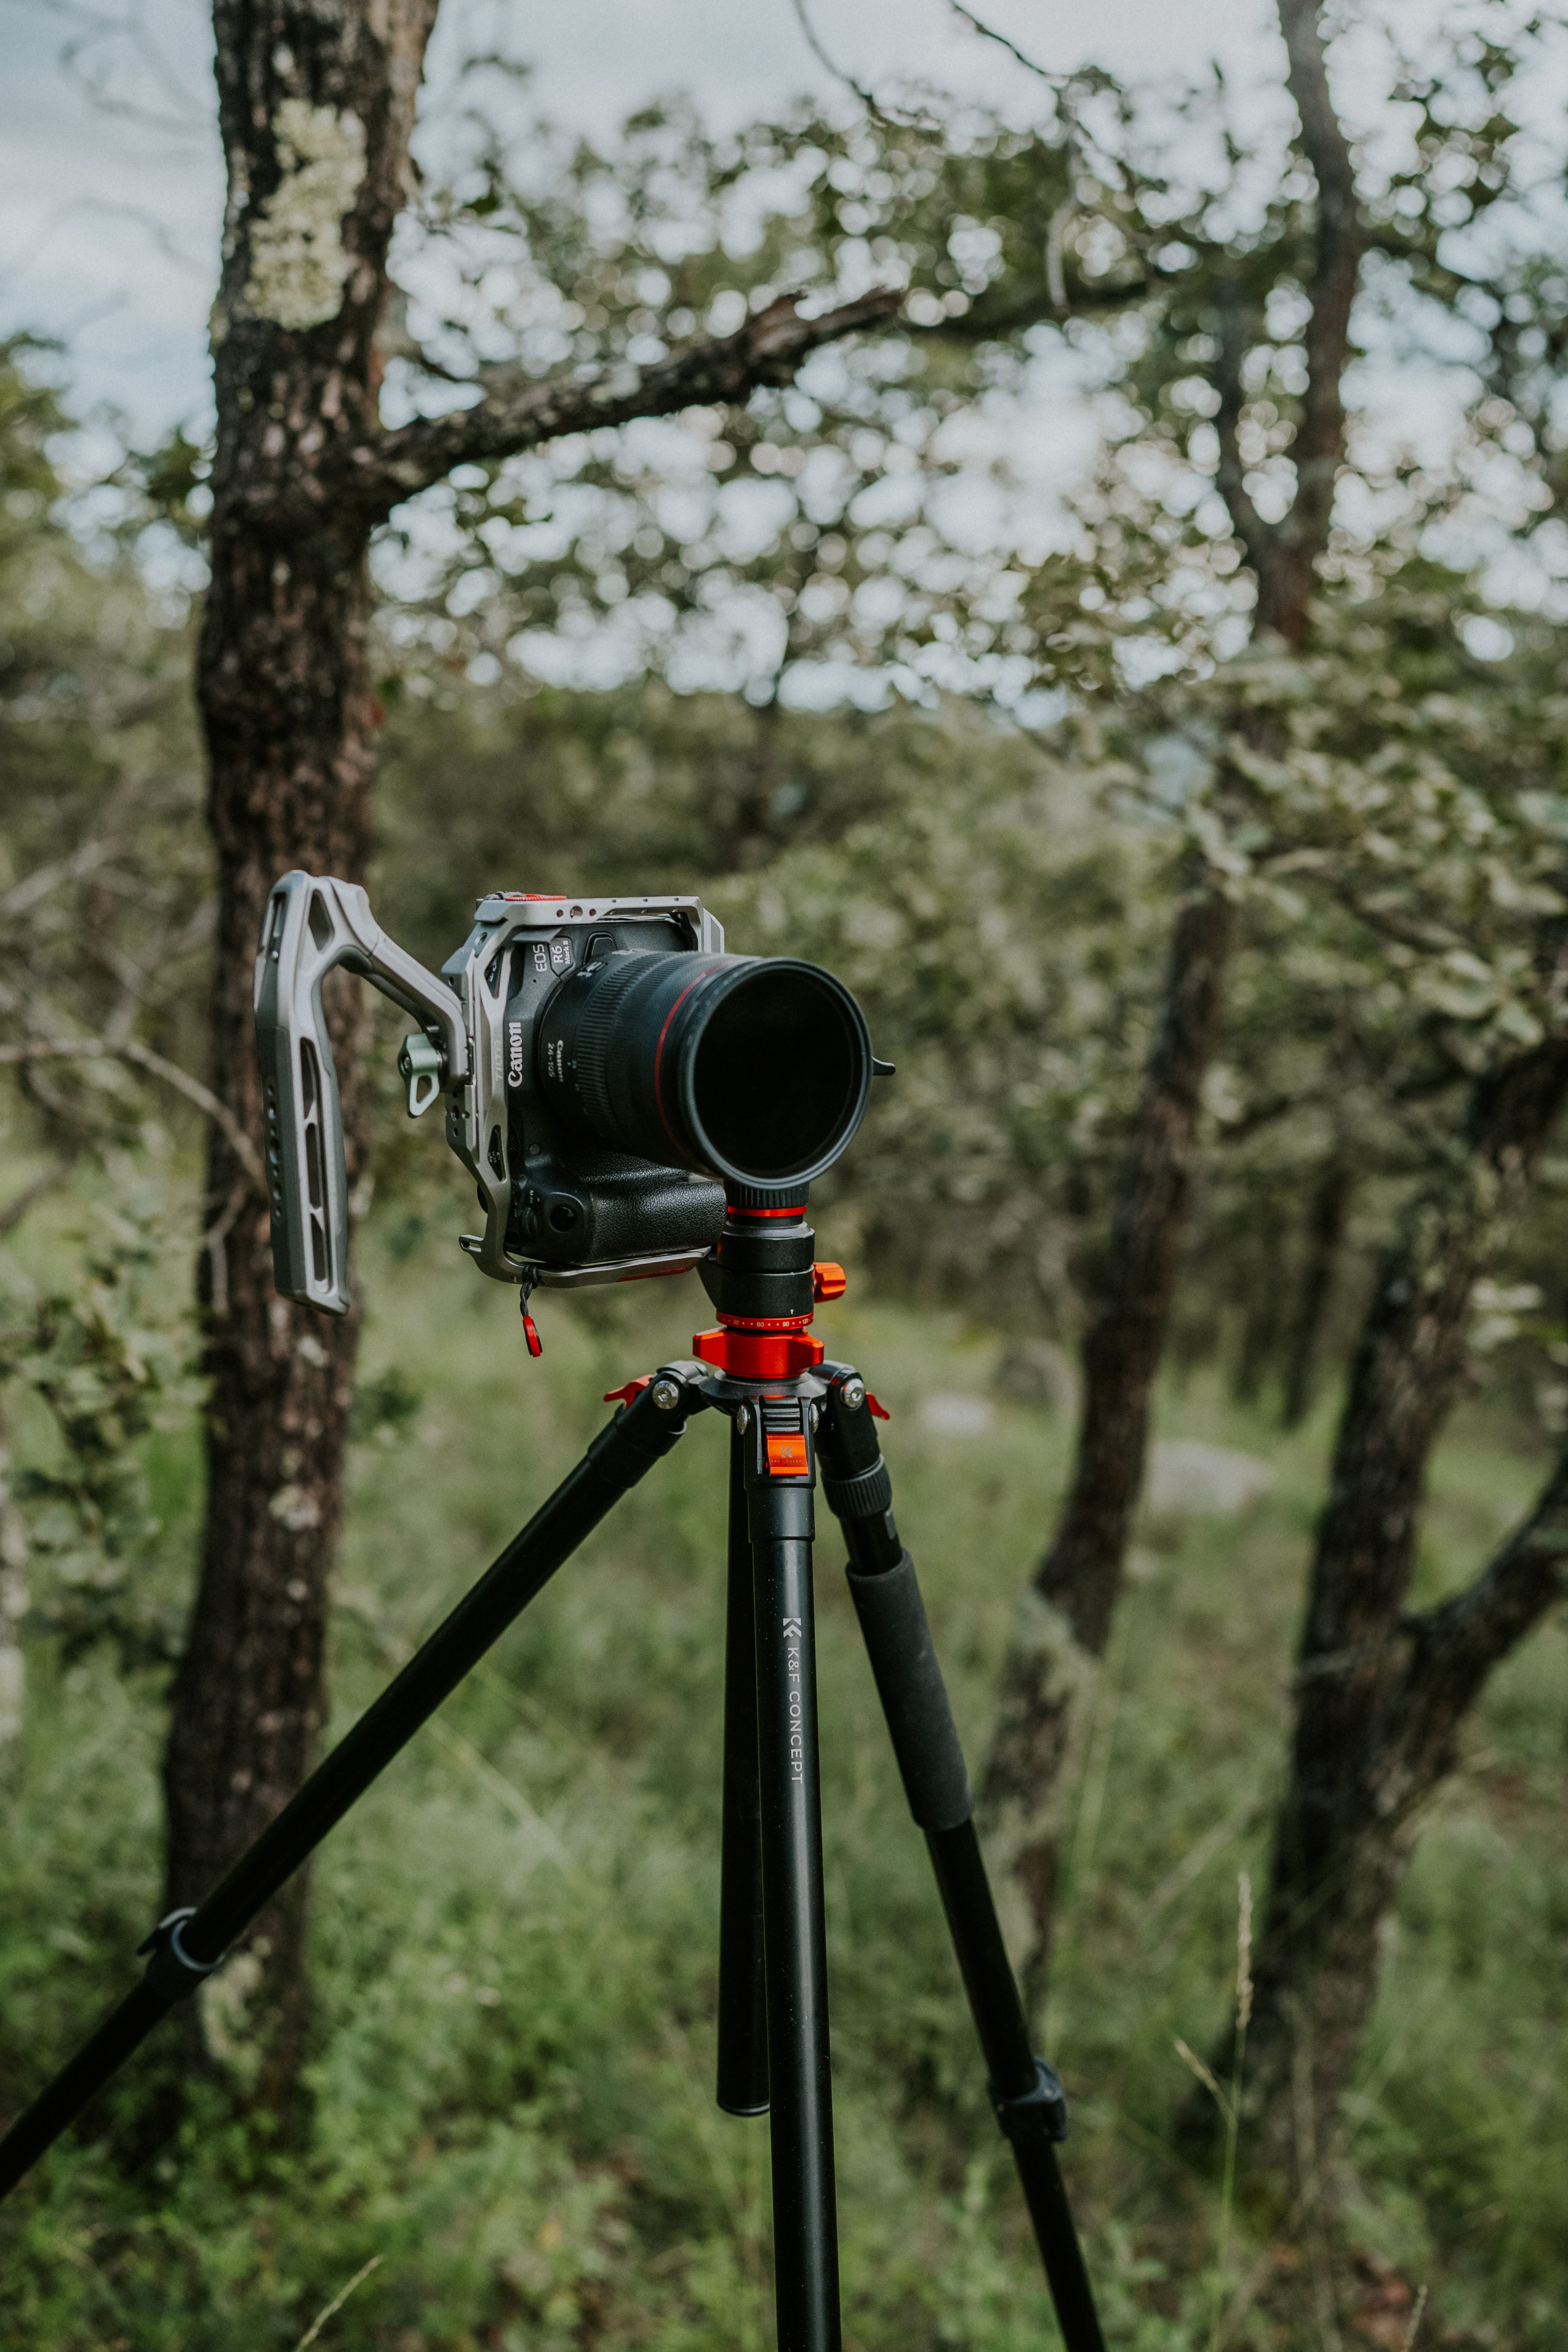
Road trips get stronger when you photograph the trip itself, not just the view. Details, people, signs, food, fuel stops, weather, and the car all help tell the story of the day. These frames break up a run of wide shots and make the trip feel lived in. They also help when the scenery is flat, crowded, or washed out by haze.
Look for the small story
Mix close and medium frames. A coffee cup on a dashboard, a map in a hand, or rain on glass can carry as much feeling as a mountain scene.
- Road signs with place names or mile markers
- Gas station light at dusk
- Hands, hats, shoes, or a steering wheel
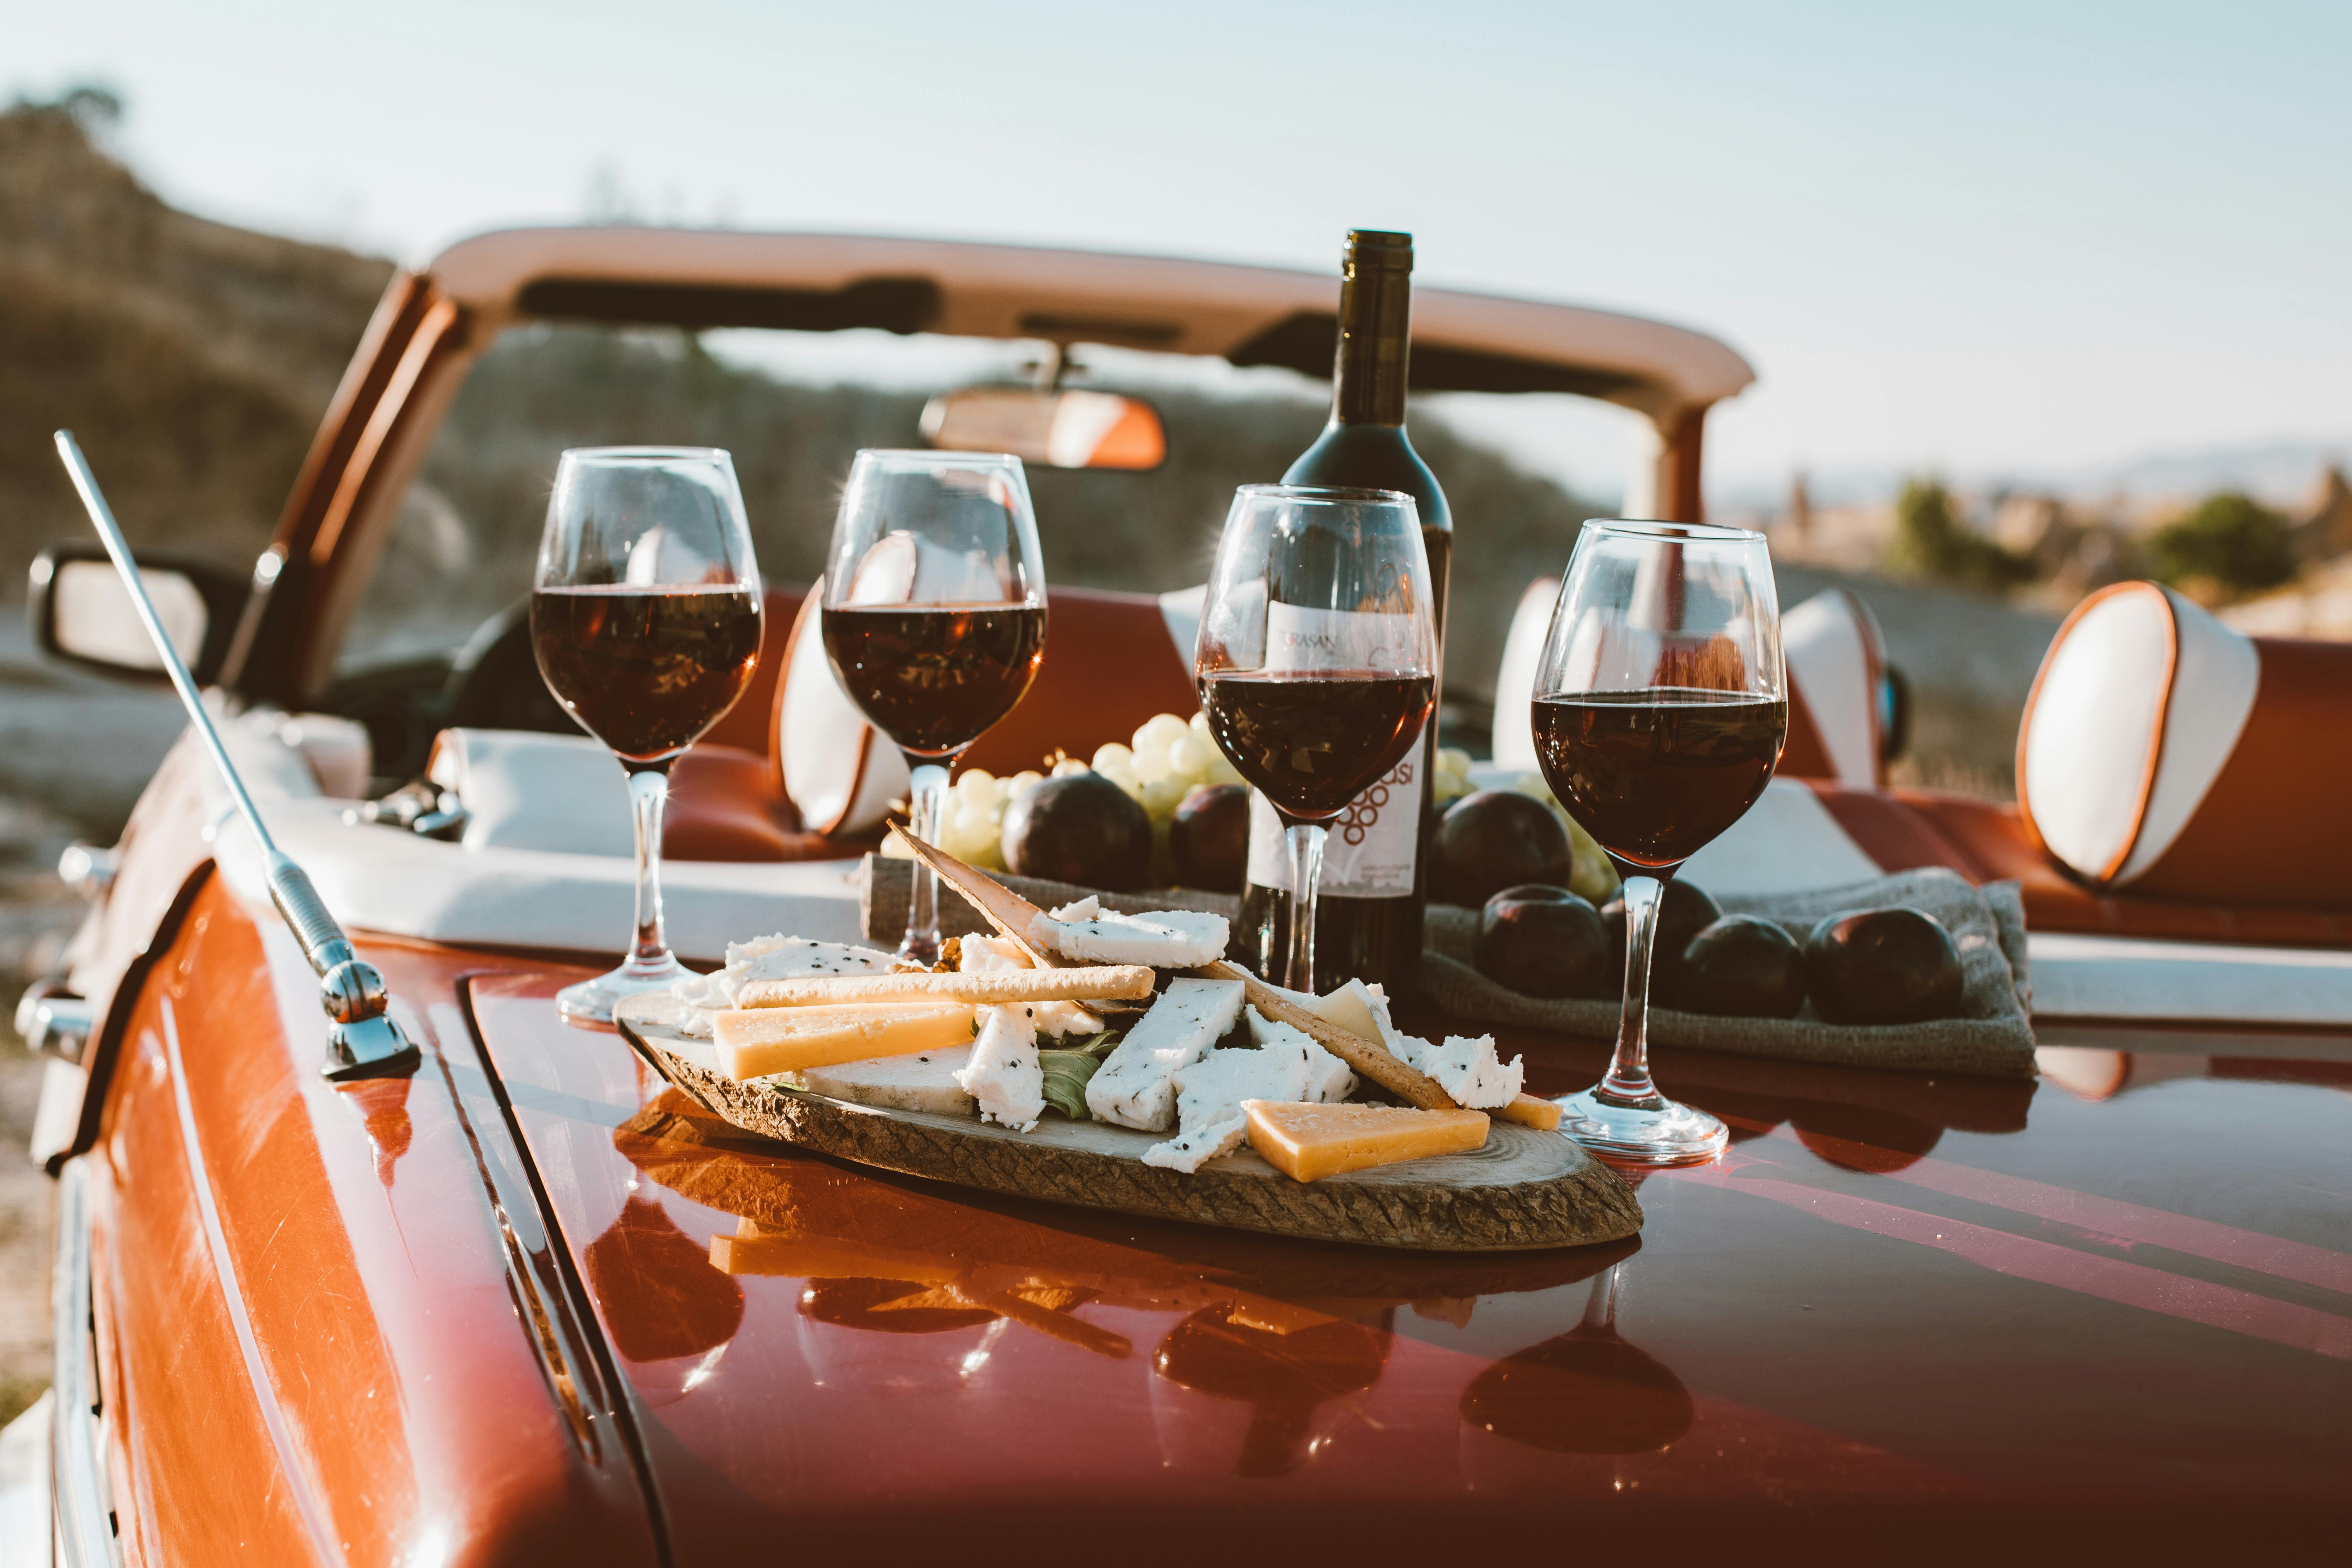
- Food stops and picnic tables
- Clouds, dust, rain, or heat shimmer
- Reflections in windows and mirrors
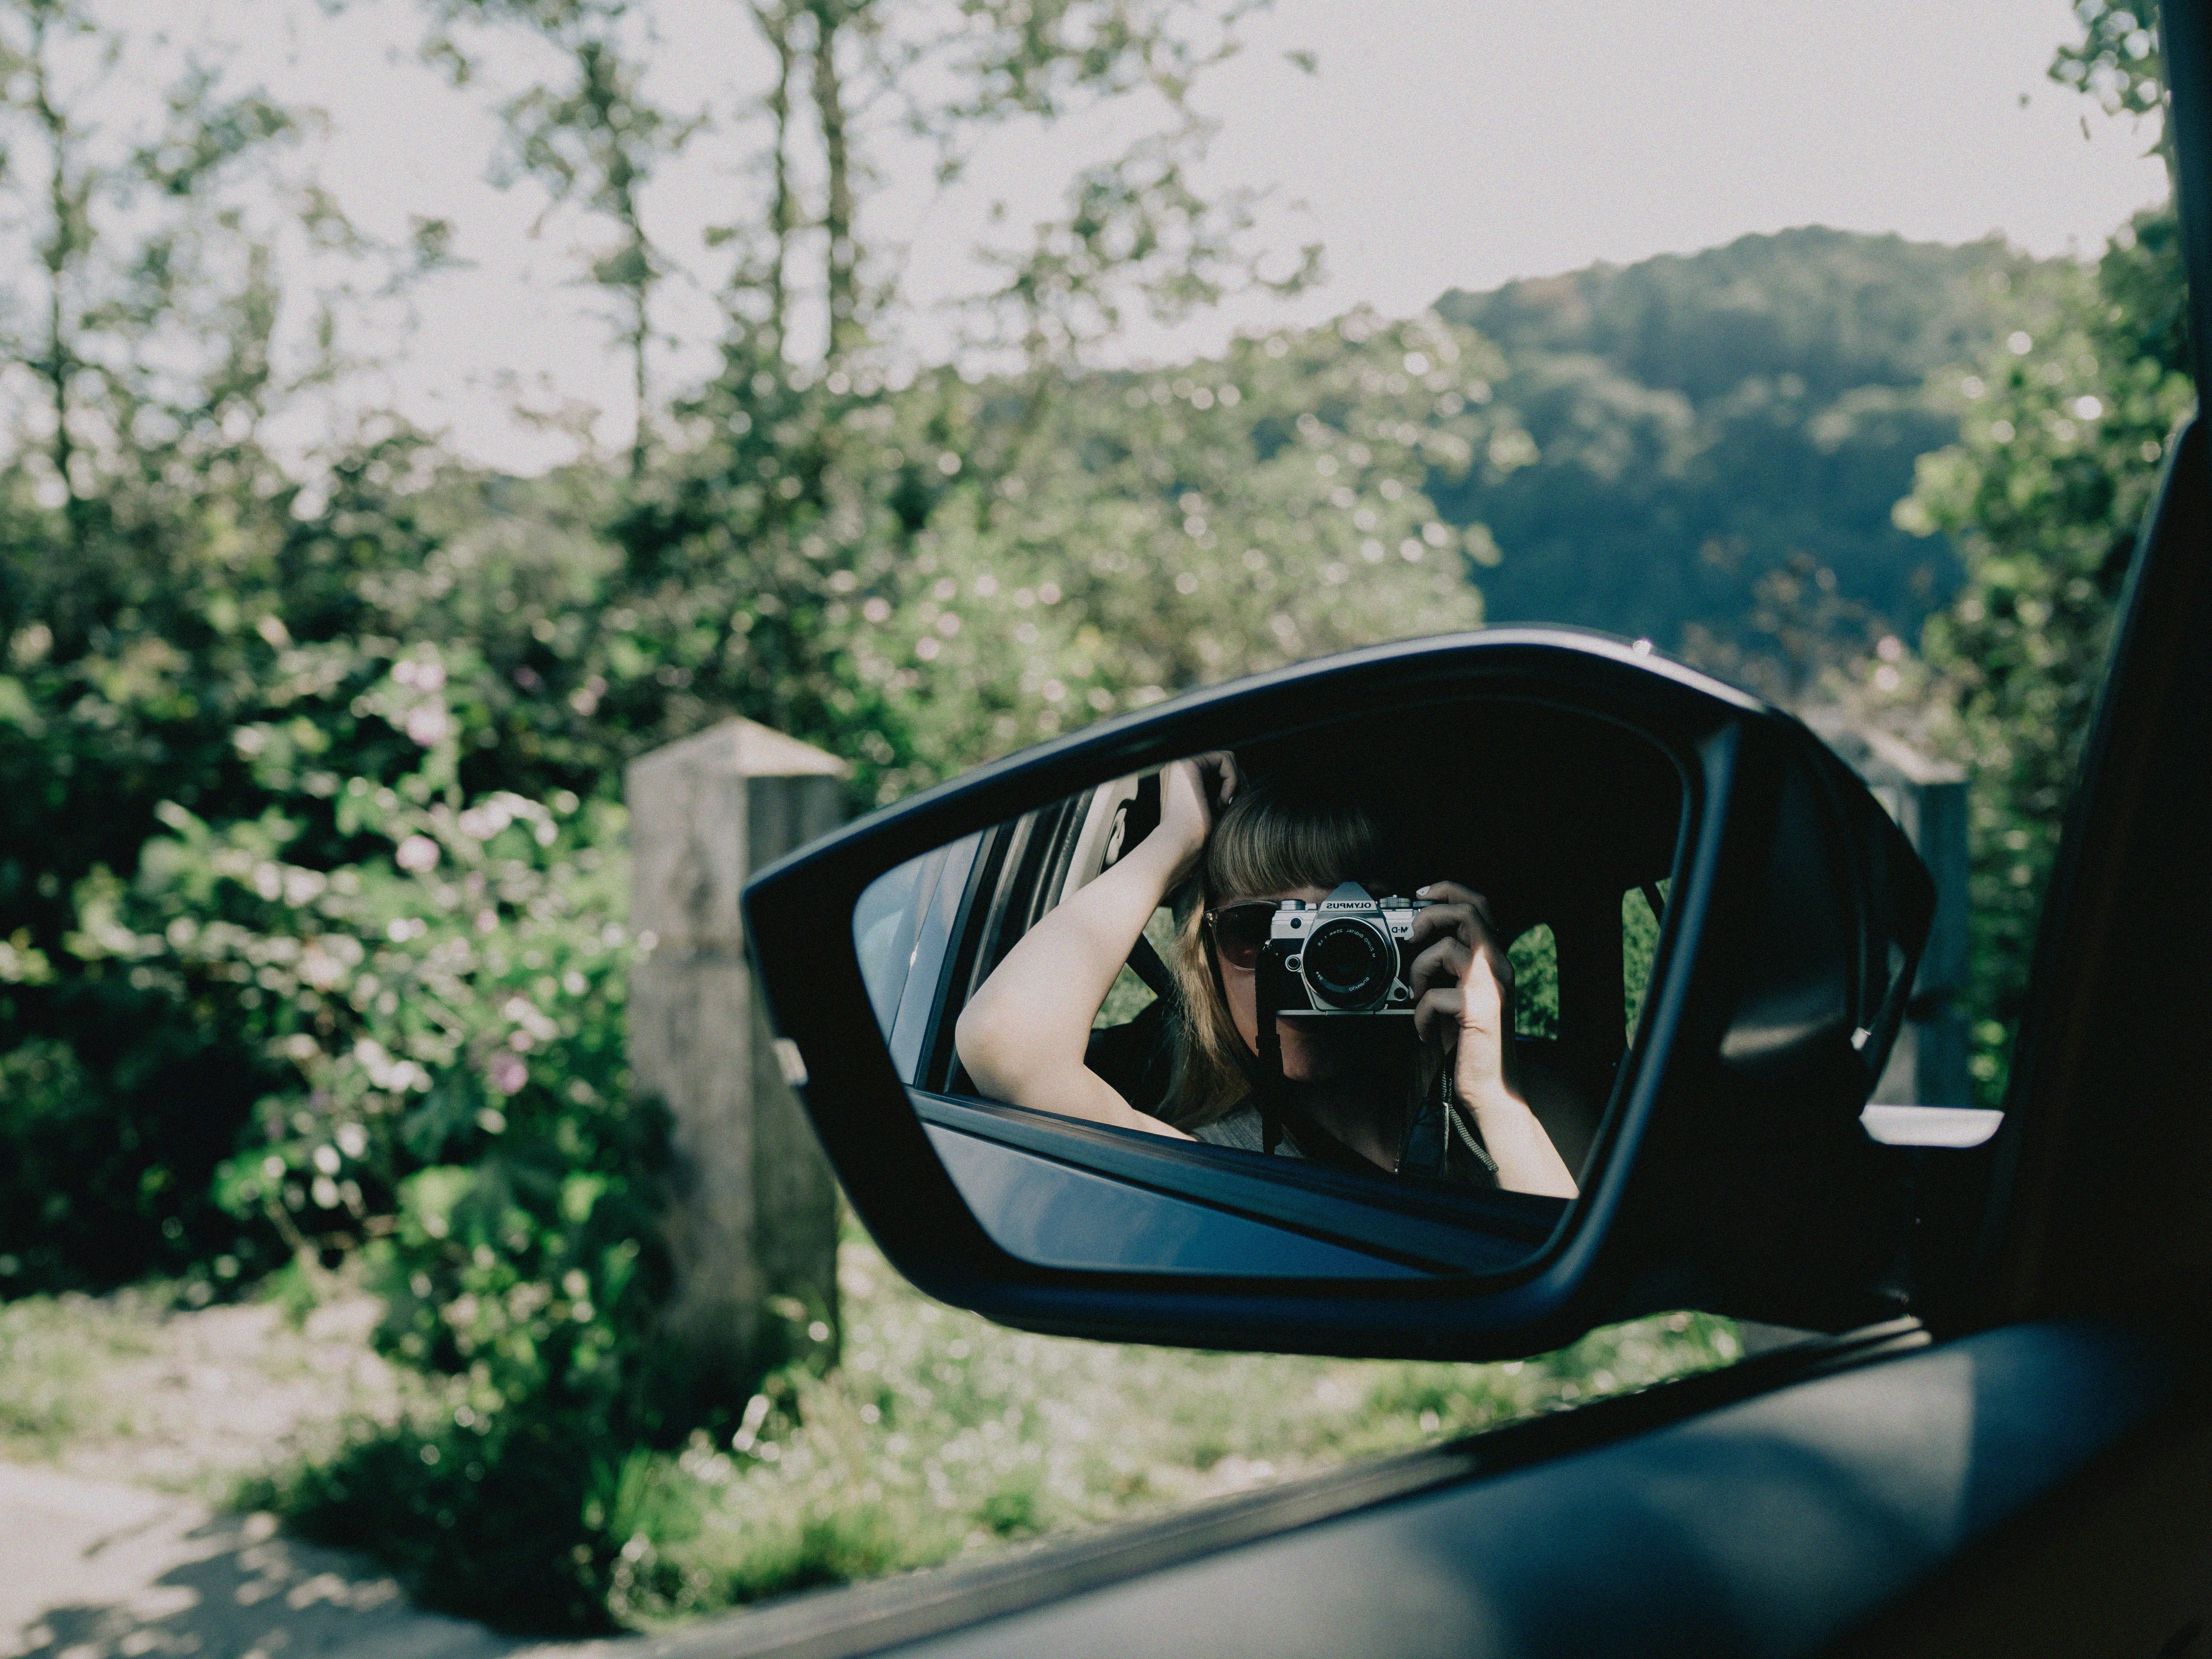
Use a 35mm or 50mm lens for these scenes if you want a natural look. An 85mm can also work well for tight details and clean background blur.
One useful habit is to shoot one arrival frame and one departure frame at each stop. Those two images often become the strongest story anchors in a full trip set.
How can I keep the view while still getting the shot?
The best road trip rhythm is to shoot fast, then put the camera down and look again. If you keep editing the frame on the screen, the scene changes and the trip slips by. Set a clear limit at each stop. I usually give myself five to ten minutes, then move on even if I want one more frame.

Use faster tools for faster stops
Back-button focus helps because it separates focus from the shutter press. That makes it easier to reframe a sign, a curve in the road, or a person stepping into view.
Pre-capture or pre-burst helps when a scene changes in a split second. The camera stores frames from just before the full press, which can save a blink, a bird, or a car entering the frame.
For review, keep culling simple. Mark picks and rejects in Lightroom or Photo Mechanic later, not at every stop. That keeps your eye on the real view, which is the whole point of the trip.

Putting the whole drive together
Road trip photography works best when your gear and your pace match the road. A ready camera, a stable strap, and a few clear settings let you move from seat to scene without stress. Work in short bursts, then spend longer stretches just looking. Make the stop, shoot three frames, and get back to the drive before the light shifts again.
If you want one final test, try this on your next summer route: shoot the first overlook, one fuel stop, and one dinner break with the same plan. By the last stop, your hands will move faster, and your eye will stay on the view instead of the camera screen.
Frequently Asked Questions

How do I take good photos on a road trip?
Good road trip photos start with a simple plan for short stops and a small shot list. At each stop, capture three frames: a wide view, a detail, and one image with a person or car to keep the set varied and quick.
What camera settings work for travel photos from a car stop?
For travel photos from a car stop, aperture priority or manual exposure with auto ISO works best, paired with AF-C or AI Servo. Start around f/5.6 to f/8, keep shutter speed above 1/500s for people or moving cars, and let ISO rise as needed.

How do I carry a camera safely while traveling?
To carry a camera safely while traveling, keep it ready but protected so it can be used quickly at short stops. Use a secure strap or bag, store the camera within easy reach, and keep it from shifting or getting banged around during the drive.
What should I photograph on a road trip besides landscapes?
Besides landscapes, road trip photography should include details and story elements such as wheels, maps, gas pumps, signs, guardrails, hands on the door, and people. A person or car in the frame adds scale and makes the images feel more complete.


