


- Shoot aperture priority at f/8–f/11, ISO 64–200, and 1/125s or faster.
- Wear a padded cross-body or sling strap to keep the camera close and hands free.
- Pack one versatile 24–70mm or 35mm-equivalent lens for the sharpest travel street coverage.
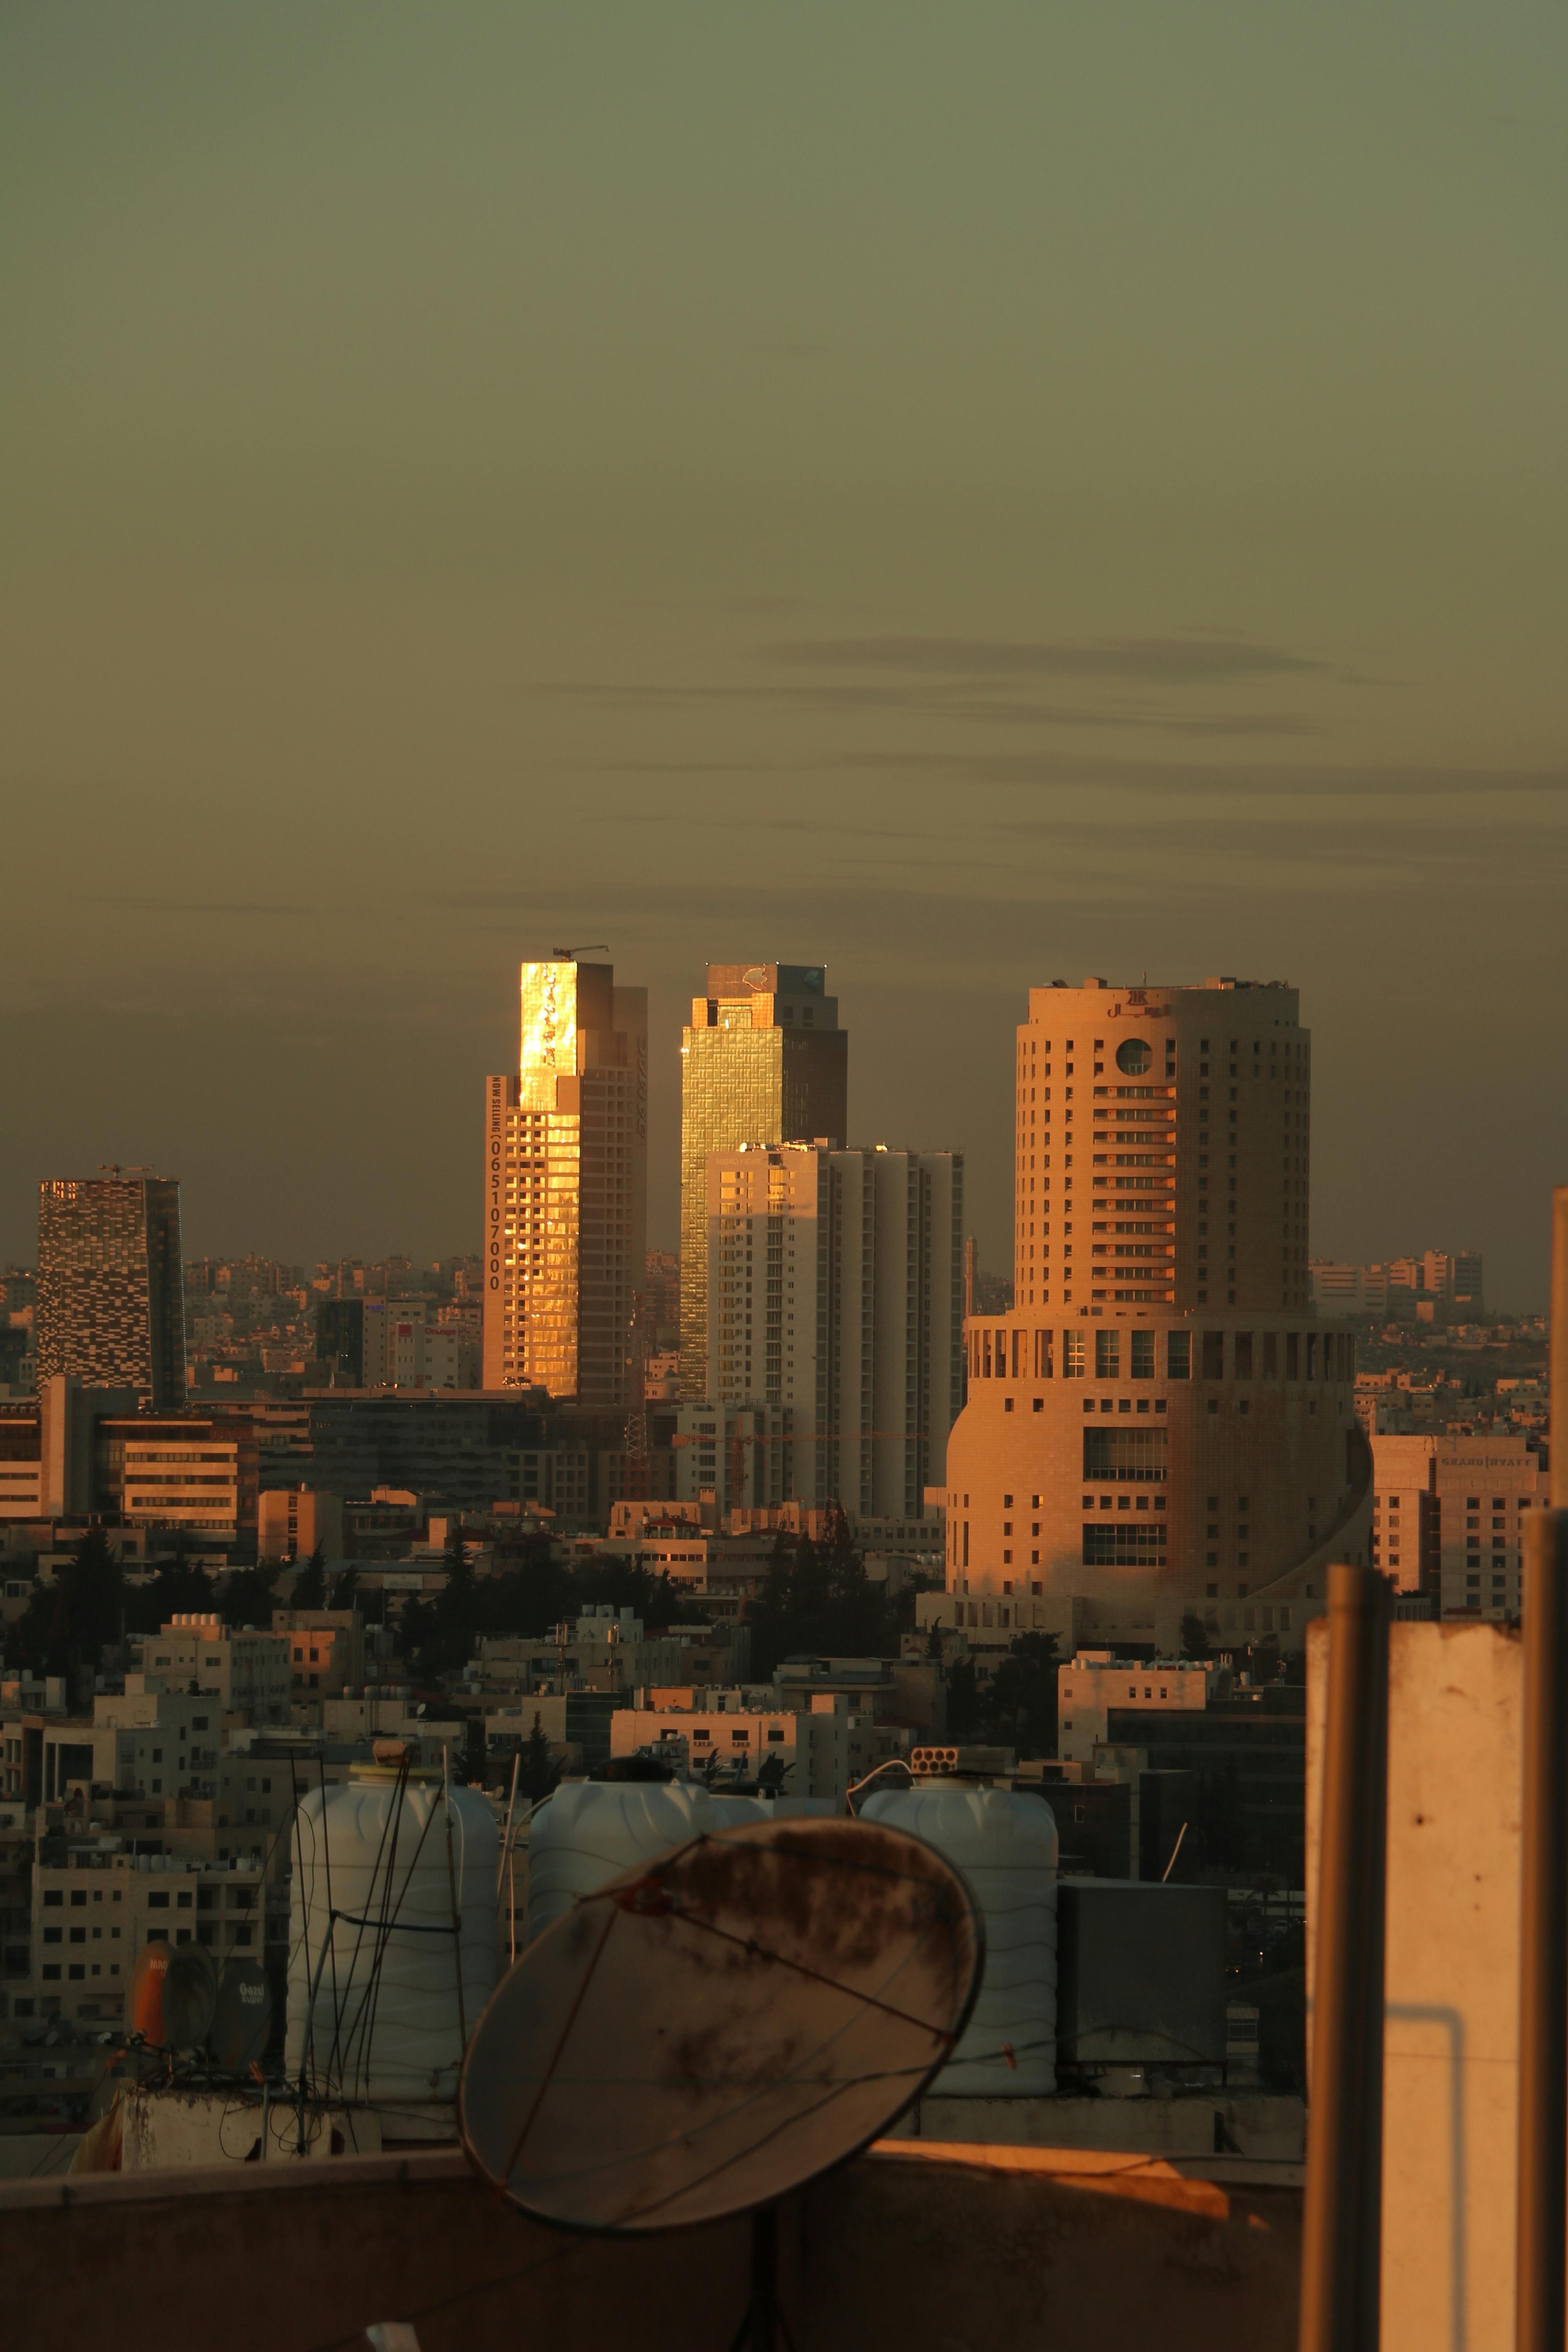
Taking photos on a city break means making strong travel images with little gear and little time. Golden hour gives streets, walls, and windows soft light, warm color, and long shadows that shape clean frames. On a short trip, the best camera is usually the one that stays with you all day. Smart packing, simple settings, and a light kit make walking easier.
Translation missing: en.blog_cta.bundle_heading

- Regular price
-
€42 - Regular price
-
€44 - Sale price
-
€42
By choosing the Camstrap strap, you are opting for a high-quality product designed to meet the needs of the most demanding photographers.
- Developed by a physiotherapist to relieve neck and back pain.
- Fast delivery with tracking by the Post Office 🚚
- Can be used as a shoulder strap or hands-free harness

- Regular price
-
€36 - Regular price
-
€42 - Sale price
-
€36
Translation missing: en.blog_cta.free_shipping_included
Why golden hour transforms a city scene
Golden hour is the brief stretch after sunrise and before sunset when light turns warm and soft. It usually lasts about an hour, though the exact timing shifts with season and location.
This light flatters stone, glass, brick, and metal, and the long shadows add depth to streets and buildings.
Work around the light, not the clock
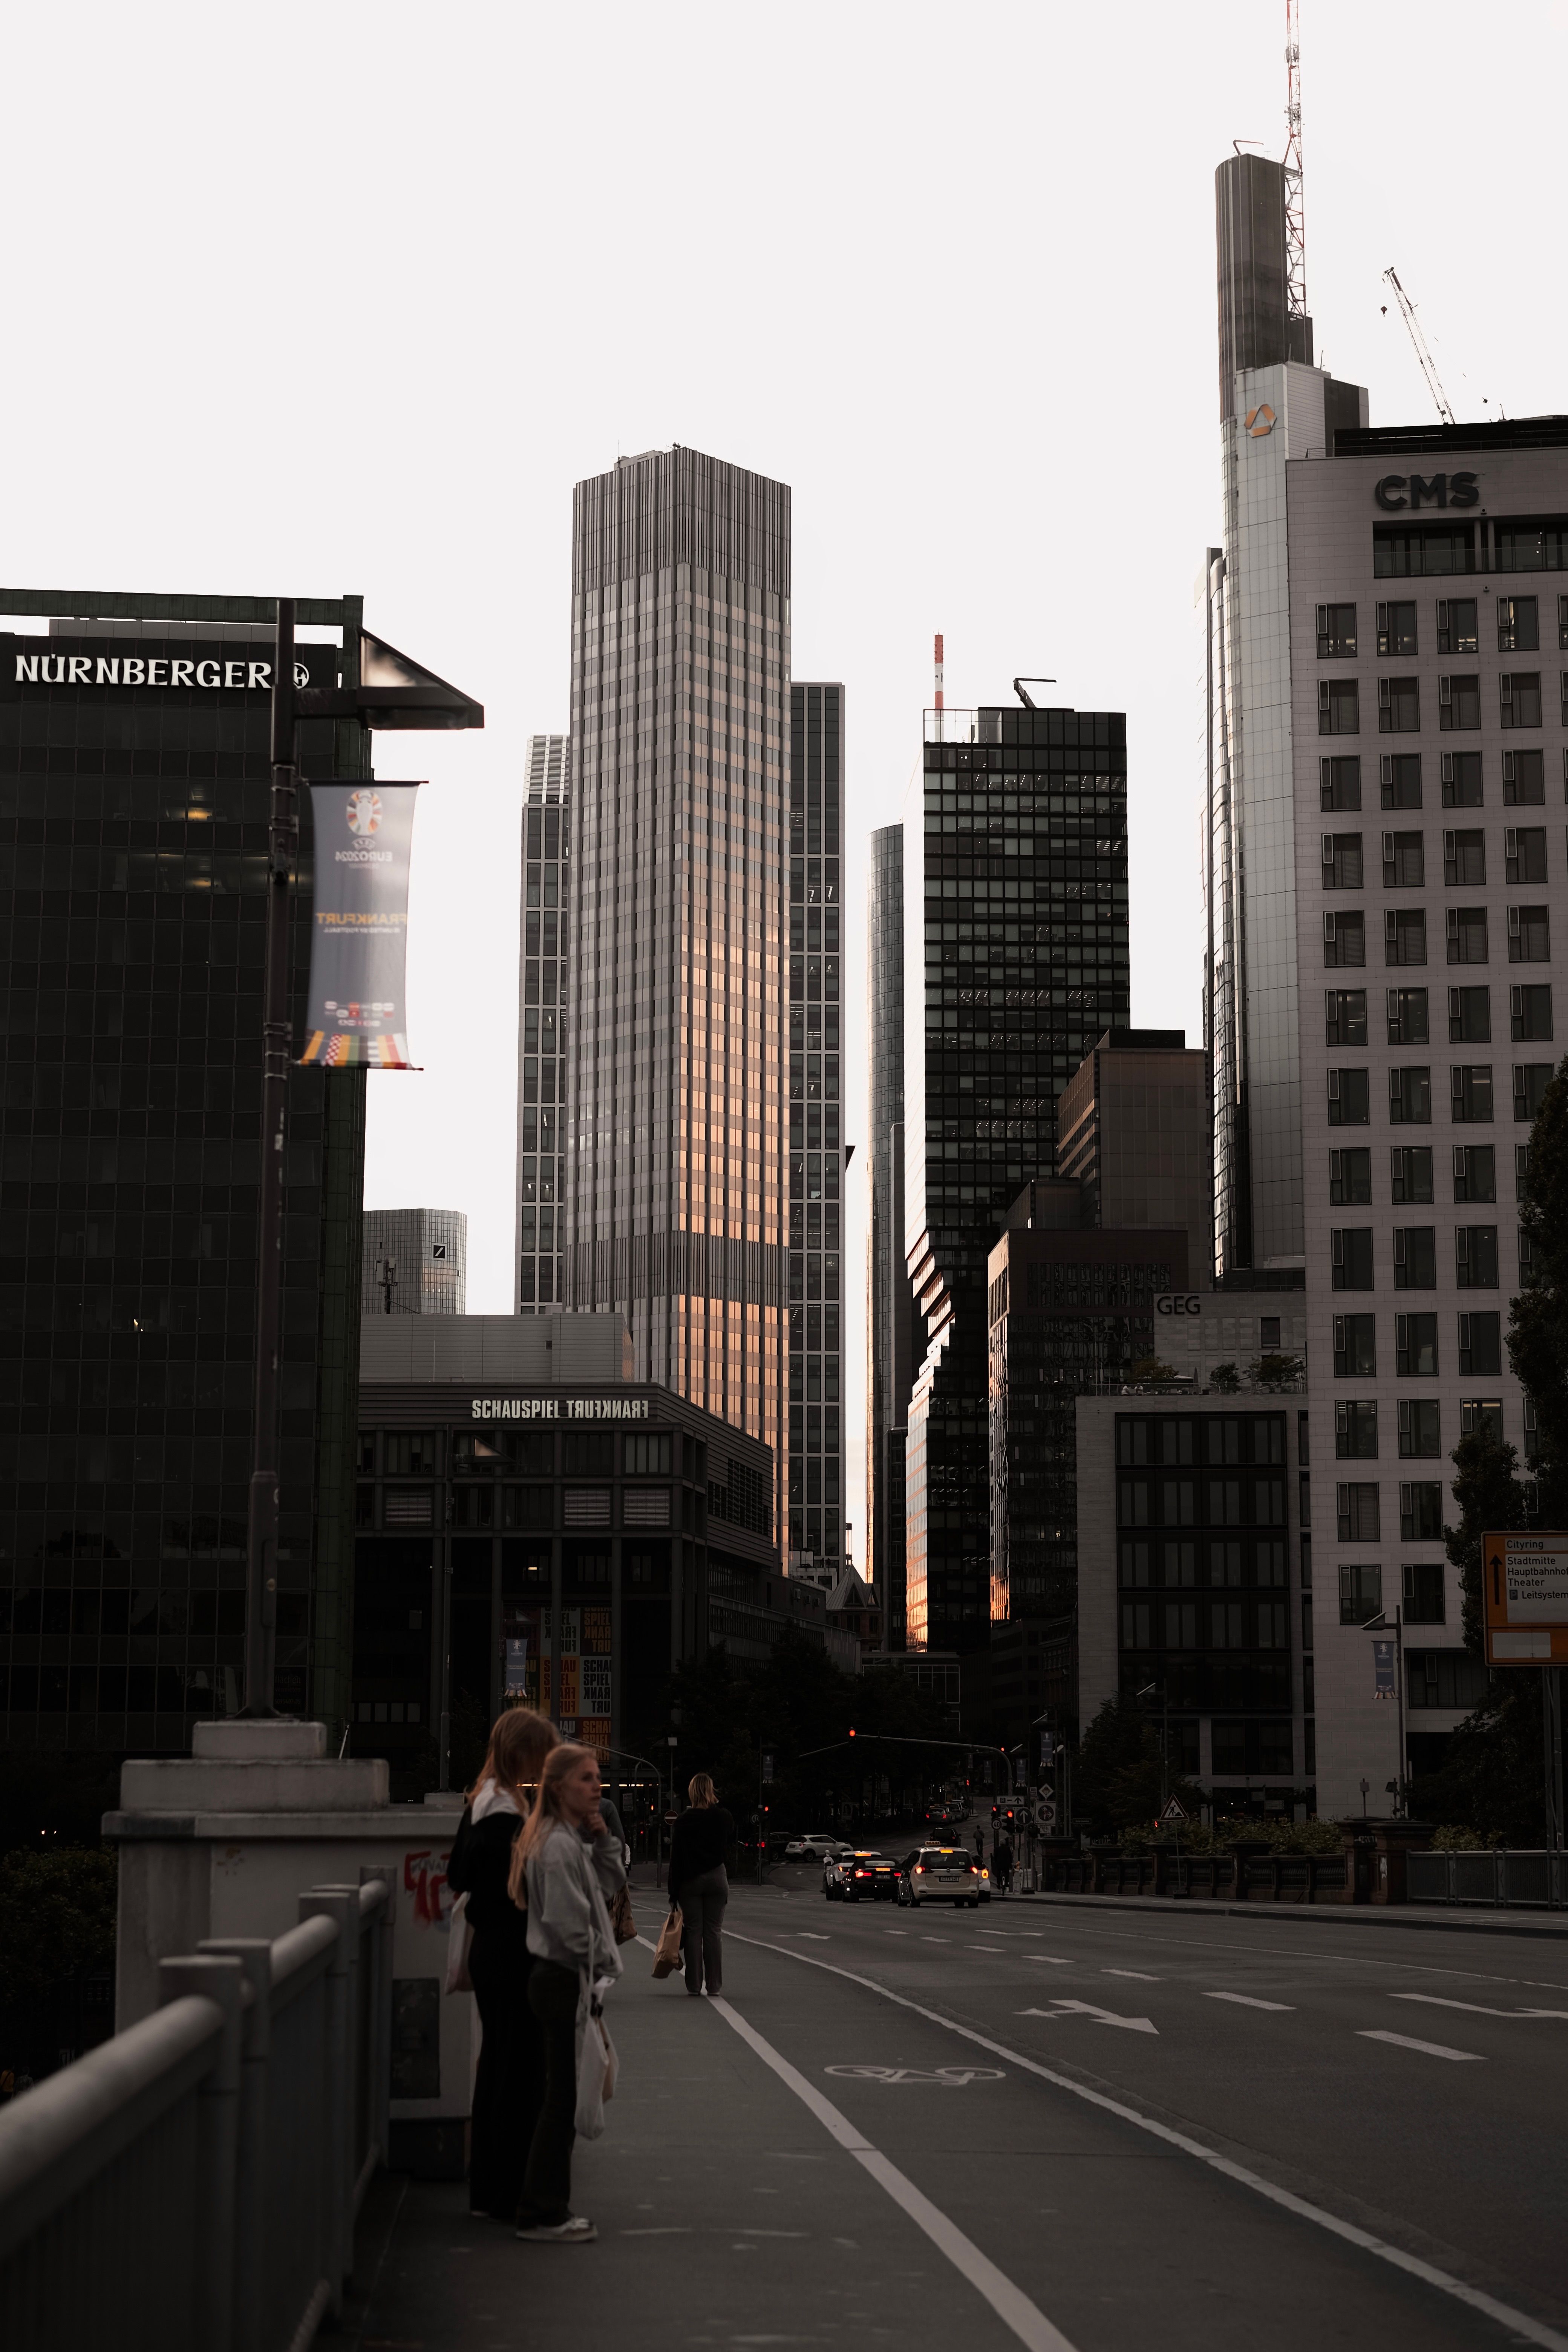
Arrive early. The best city photos often begin before golden hour, while the sun is still low and the streets are quiet. That early window gives space to scout corners, rooftops, bridges, and gaps between buildings, and it shows where the sun will land on walls, signs, and faces.
As sunset fades, keep shooting into blue hour. The sky darkens, city lights switch on, and the scene picks up a second layer of color.
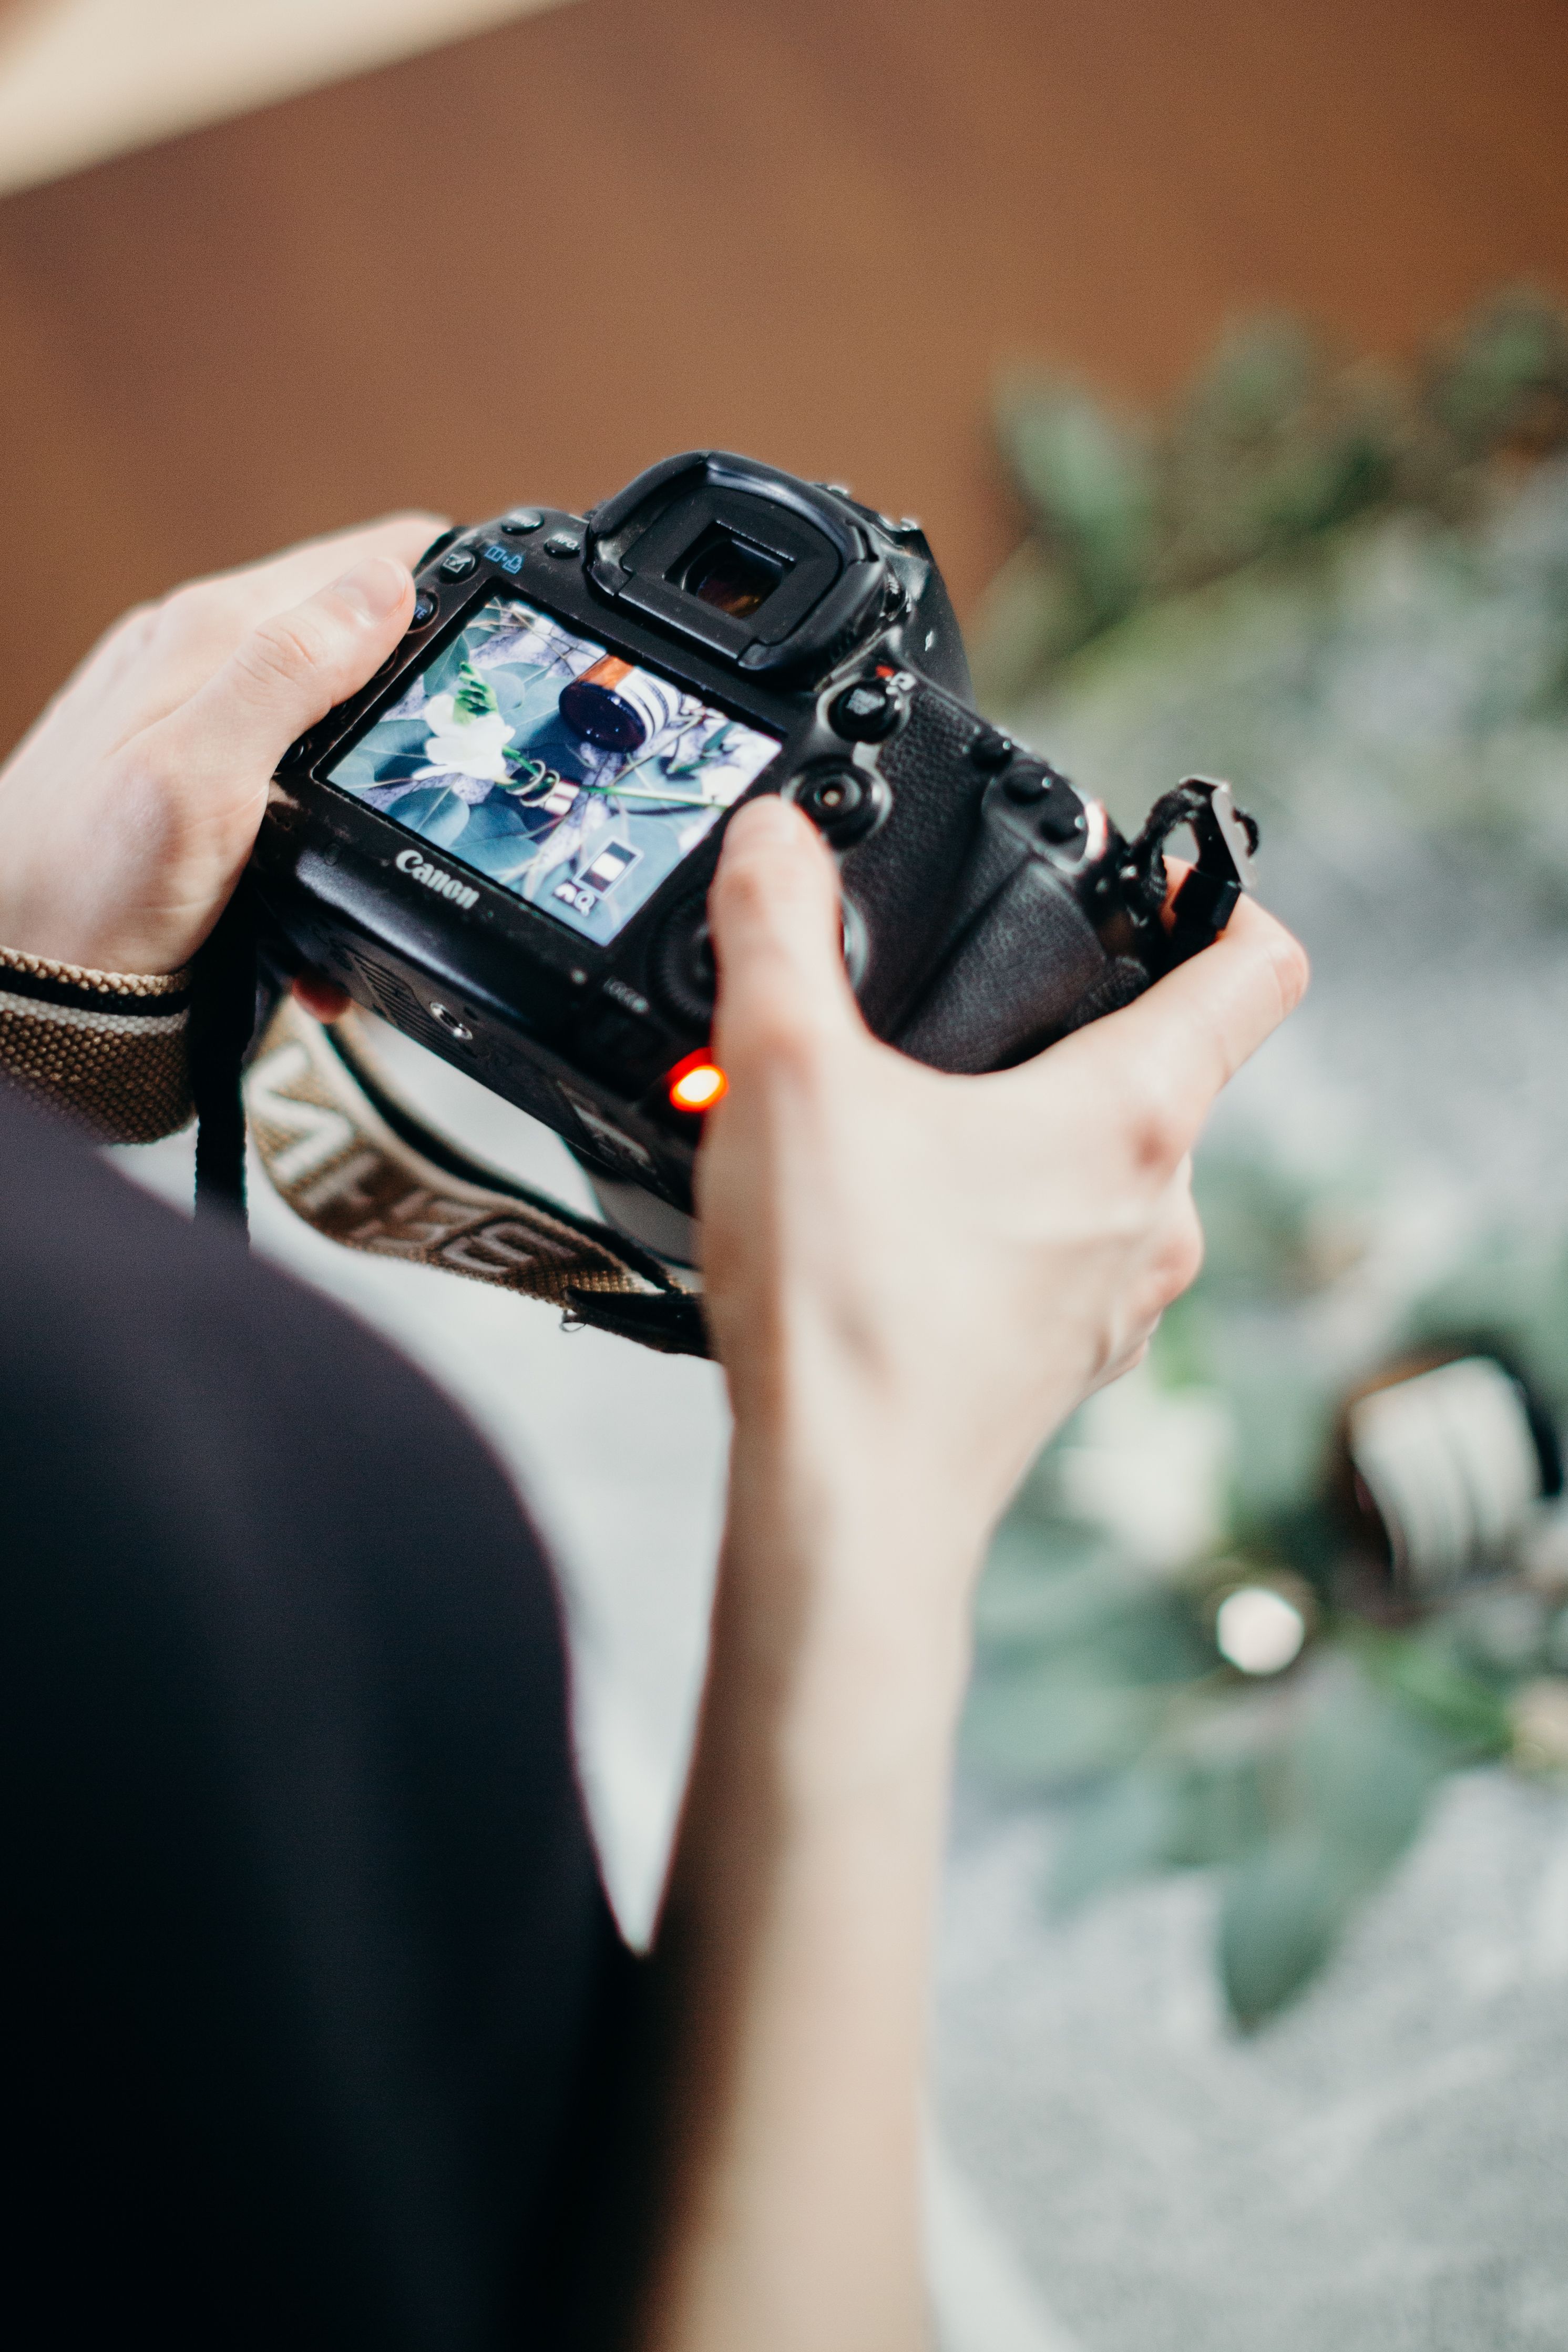
Which camera settings work best for golden hour city photos?
Use aperture priority or manual mode, set ISO 64–200, and start around f/8 to f/11. Those settings preserve detail and keep architecture sharp.
Keep shutter speed high enough to prevent shake. For handheld work, I start at 1/125s or faster, then raise ISO if the light drops.
A simple setup that holds up
- Mode: Aperture priority for quick changes, or Manual for full control.
- Aperture: f/8 for general city scenes, f/11 for stronger edge detail.
- ISO: 64–200 in bright golden hour, then 400–800 as the light fades.
- White balance: Daylight or Cloudy for warm tones, or Auto if you want faster edits later.
- Focus: Single-point AF for buildings, continuous AF-C or AI Servo for moving people.
Use exposure compensation when the sky looks bright. A setting of -0.3 to -1.0 EV often protects highlights on shiny windows and pale clouds. For moving street scenes, switch to 1/500s if people are walking fast or bikes pass by. Faster shutter speeds freeze motion and can push ISO higher.
How can I carry my camera comfortably while walking all day?
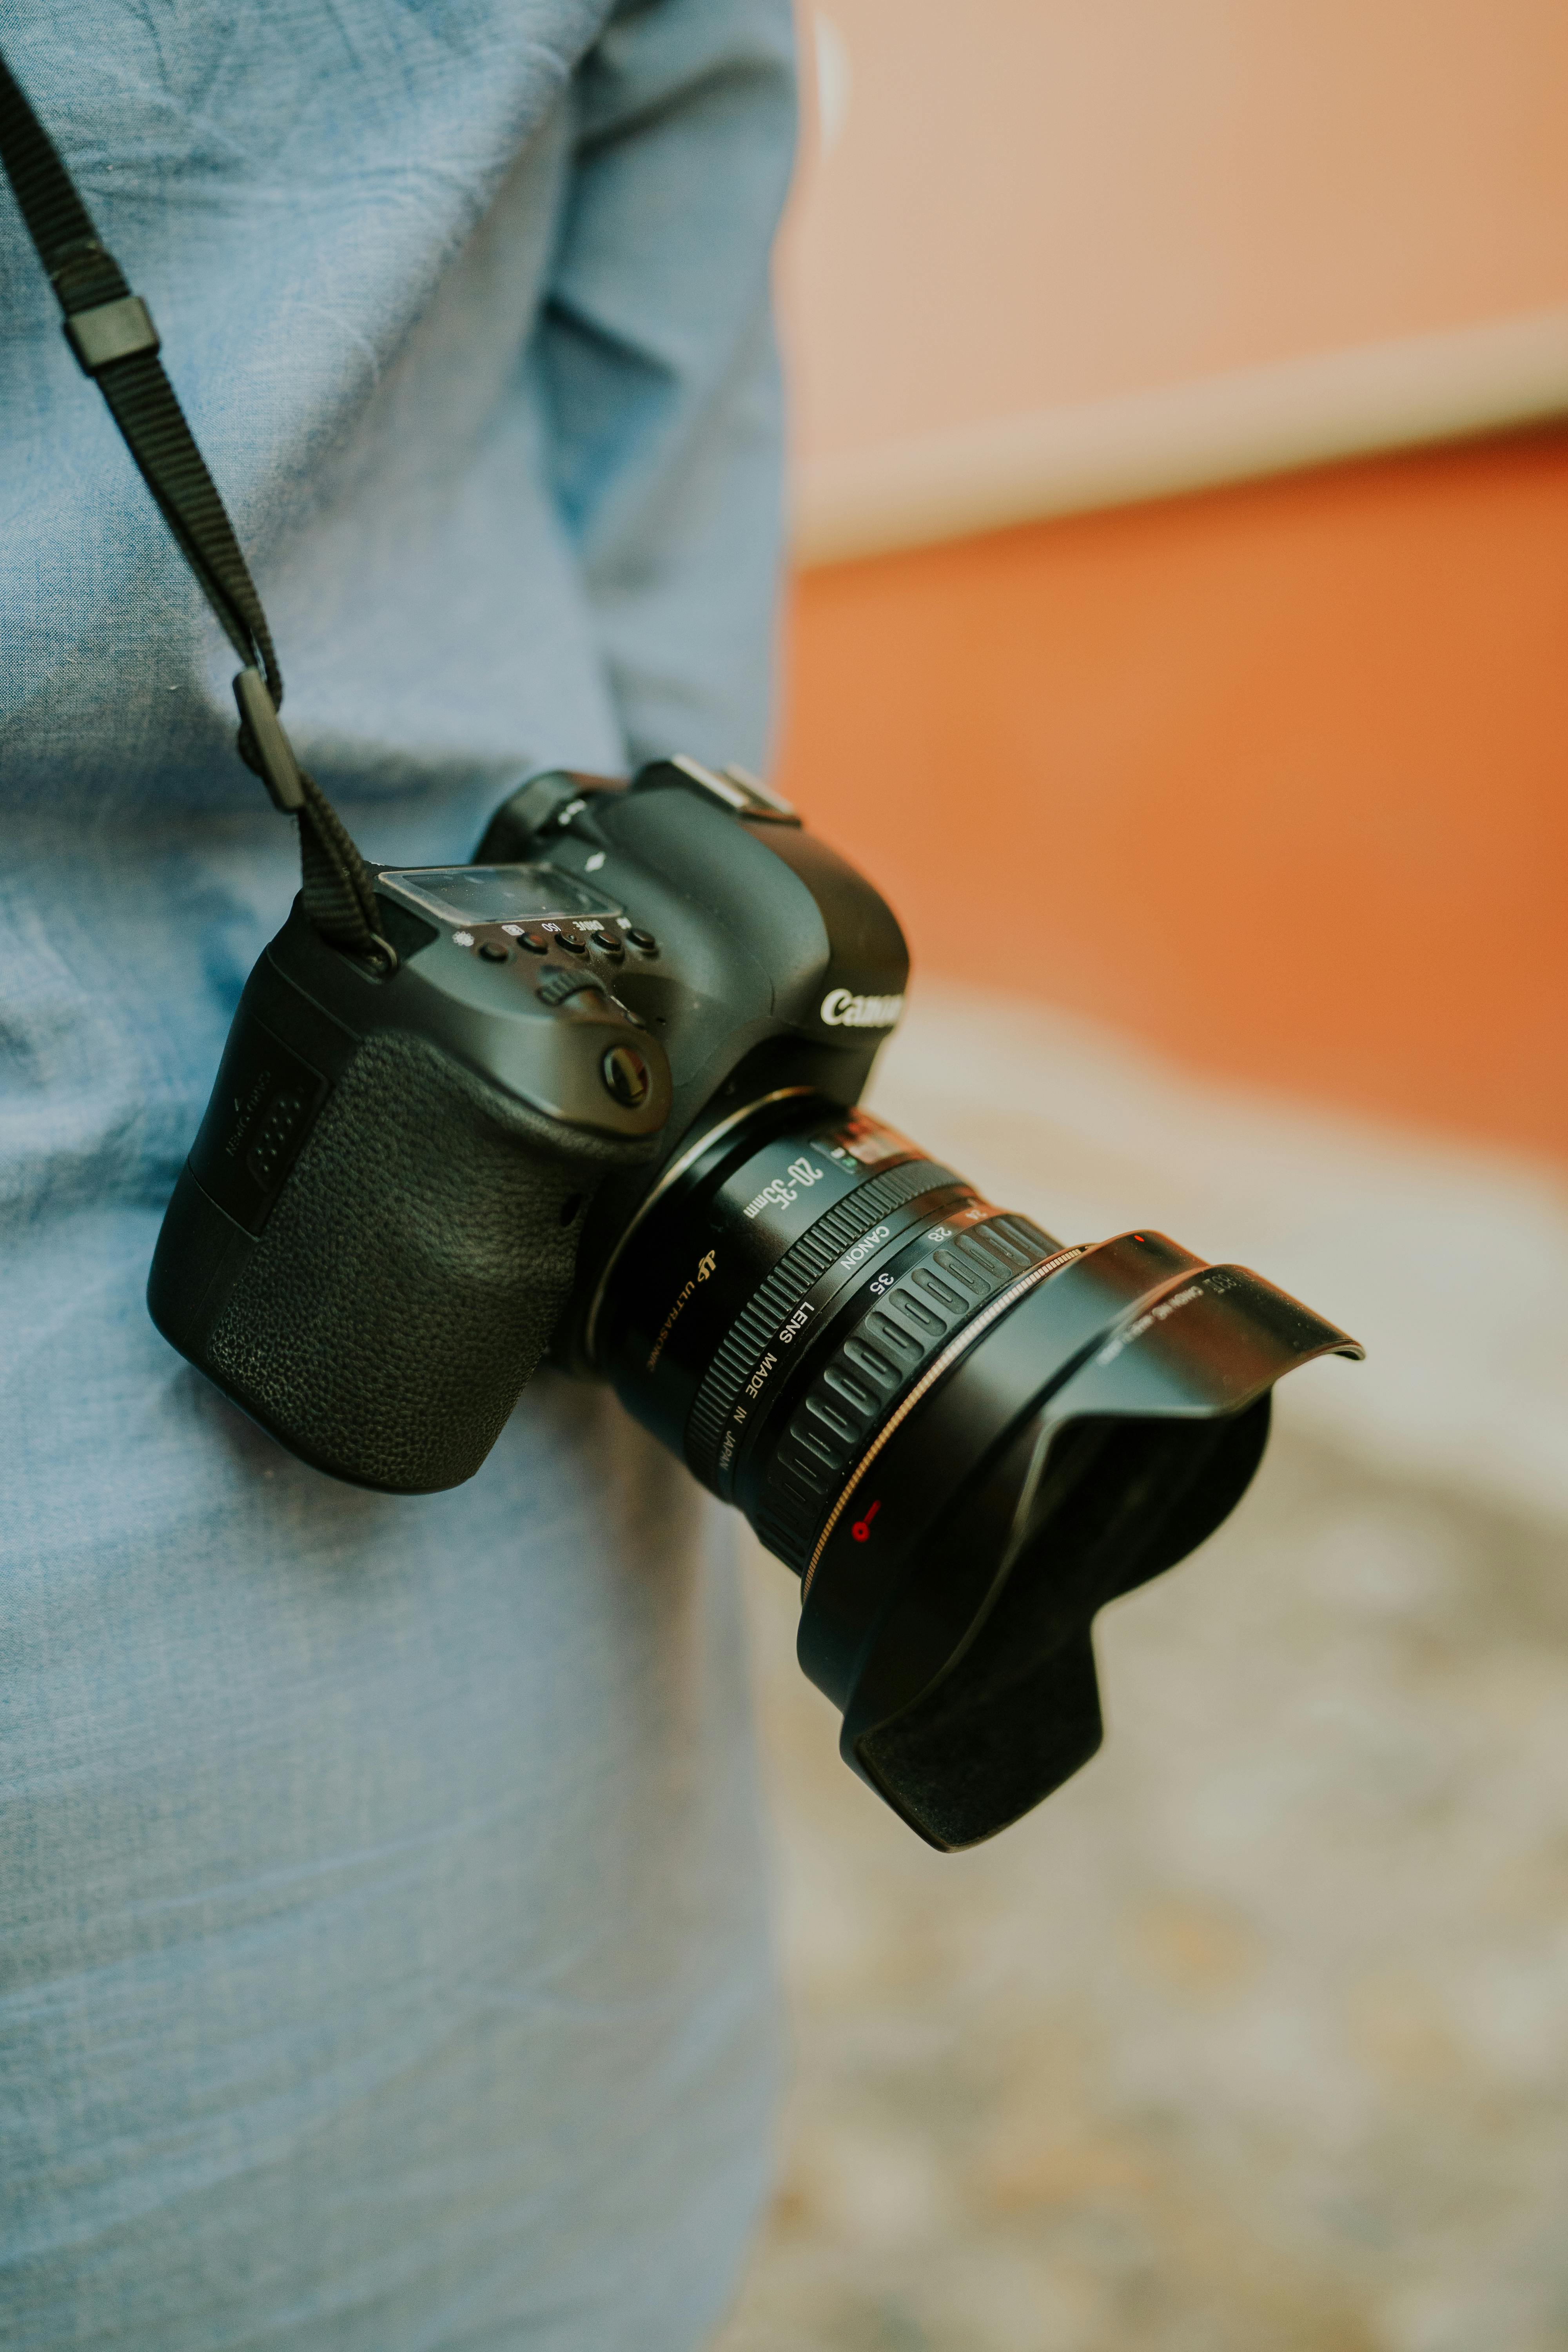
Use a strap that spreads weight and keeps the body close. A good strap lets you walk for hours without digging into your neck or shoulder.

For a small camera and one lens, a padded cross-body strap works well because it keeps the camera ready but out of the way. I like one that lies flat, moves with one hand, and stays steady with every step.
Set up the carry so you keep shooting
- Use one body and one lens for the whole walk.
- Attach the camera so it rests at hip level.
- Keep the lens hood on only if you need extra flare control.
- Store the spare battery and card in a small pocket.
- Adjust the strap so the camera lifts in one smooth move.
A strap like the Camstrap voyager can help here because it spreads load better than a thin neck cord. On a long city day, less pull means less fidgeting and fewer missed moments. Mirrorless bodies also drain power through the EVF, LCD, and image review. Turn down screen brightness and resist checking every frame.
Which lens works best for travel street photography?
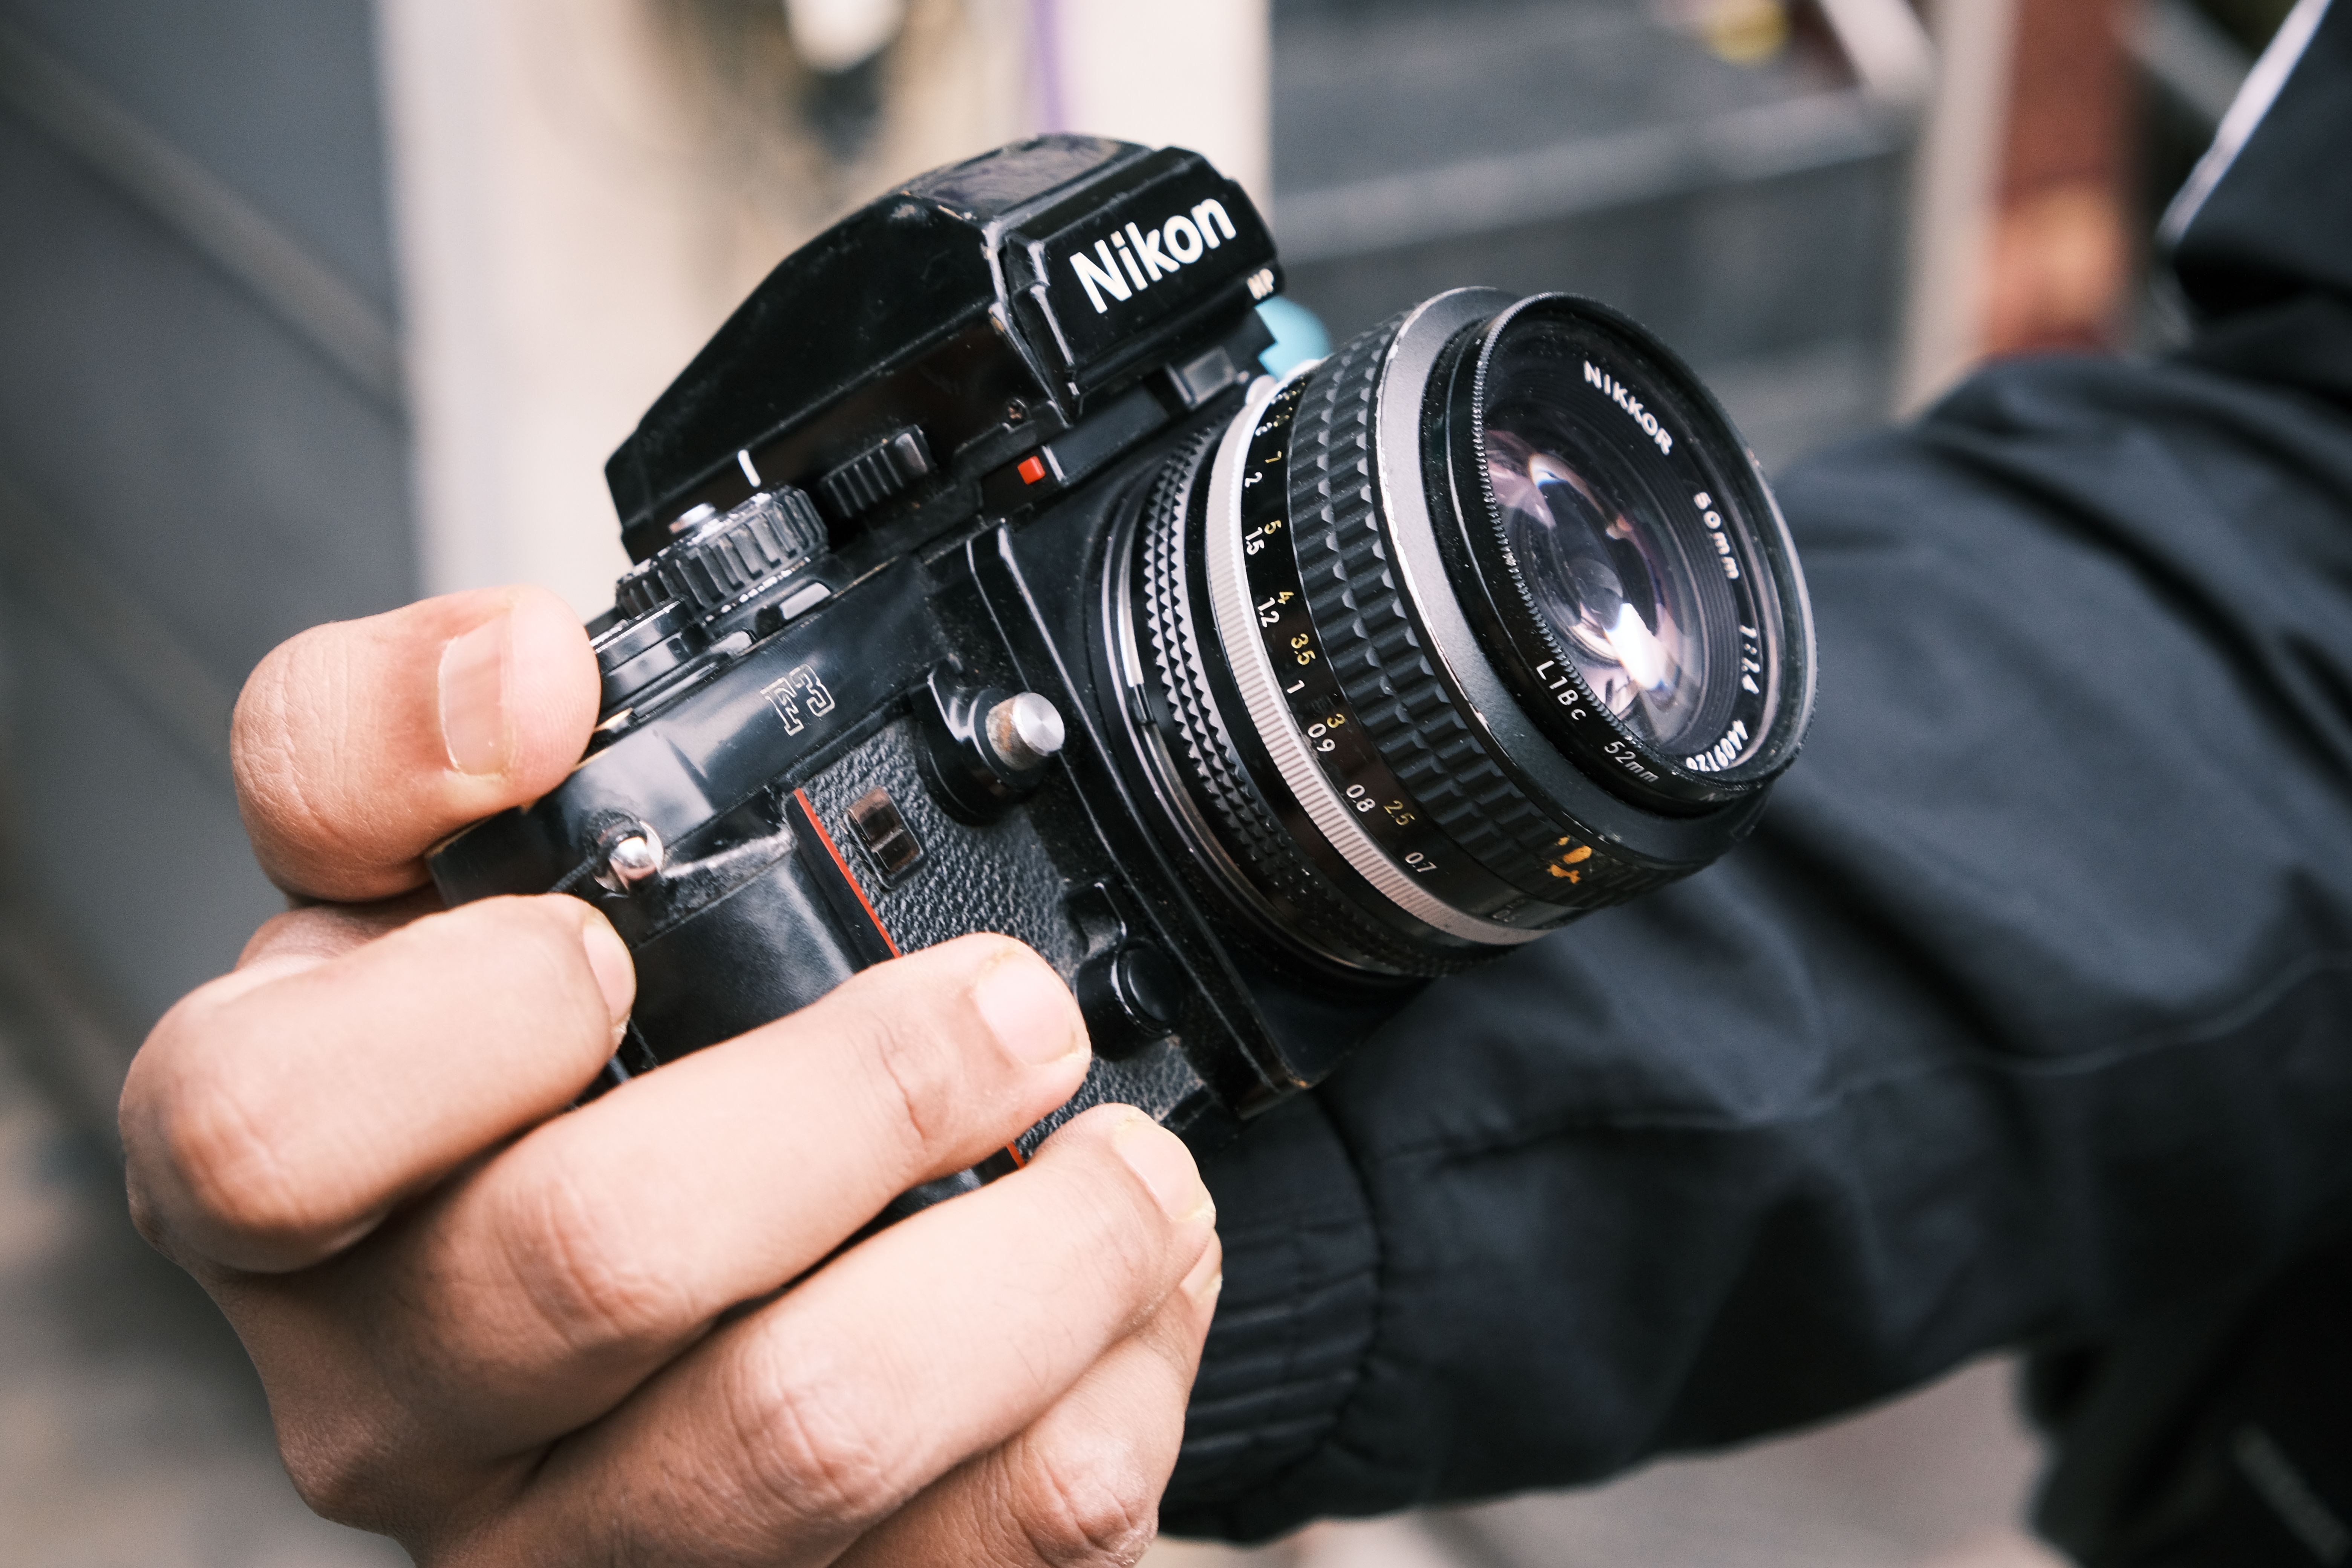
A 35mm or 50mm lens is the strongest starting point for travel street photography. Those focal lengths keep enough context in the frame while still isolating details.
A 35mm lens feels a touch wider and works well for scenes with people and place. A 50mm lens gives a cleaner look and suits portraits, signs, and tighter city layers.
Pick the lens based on the frame you want
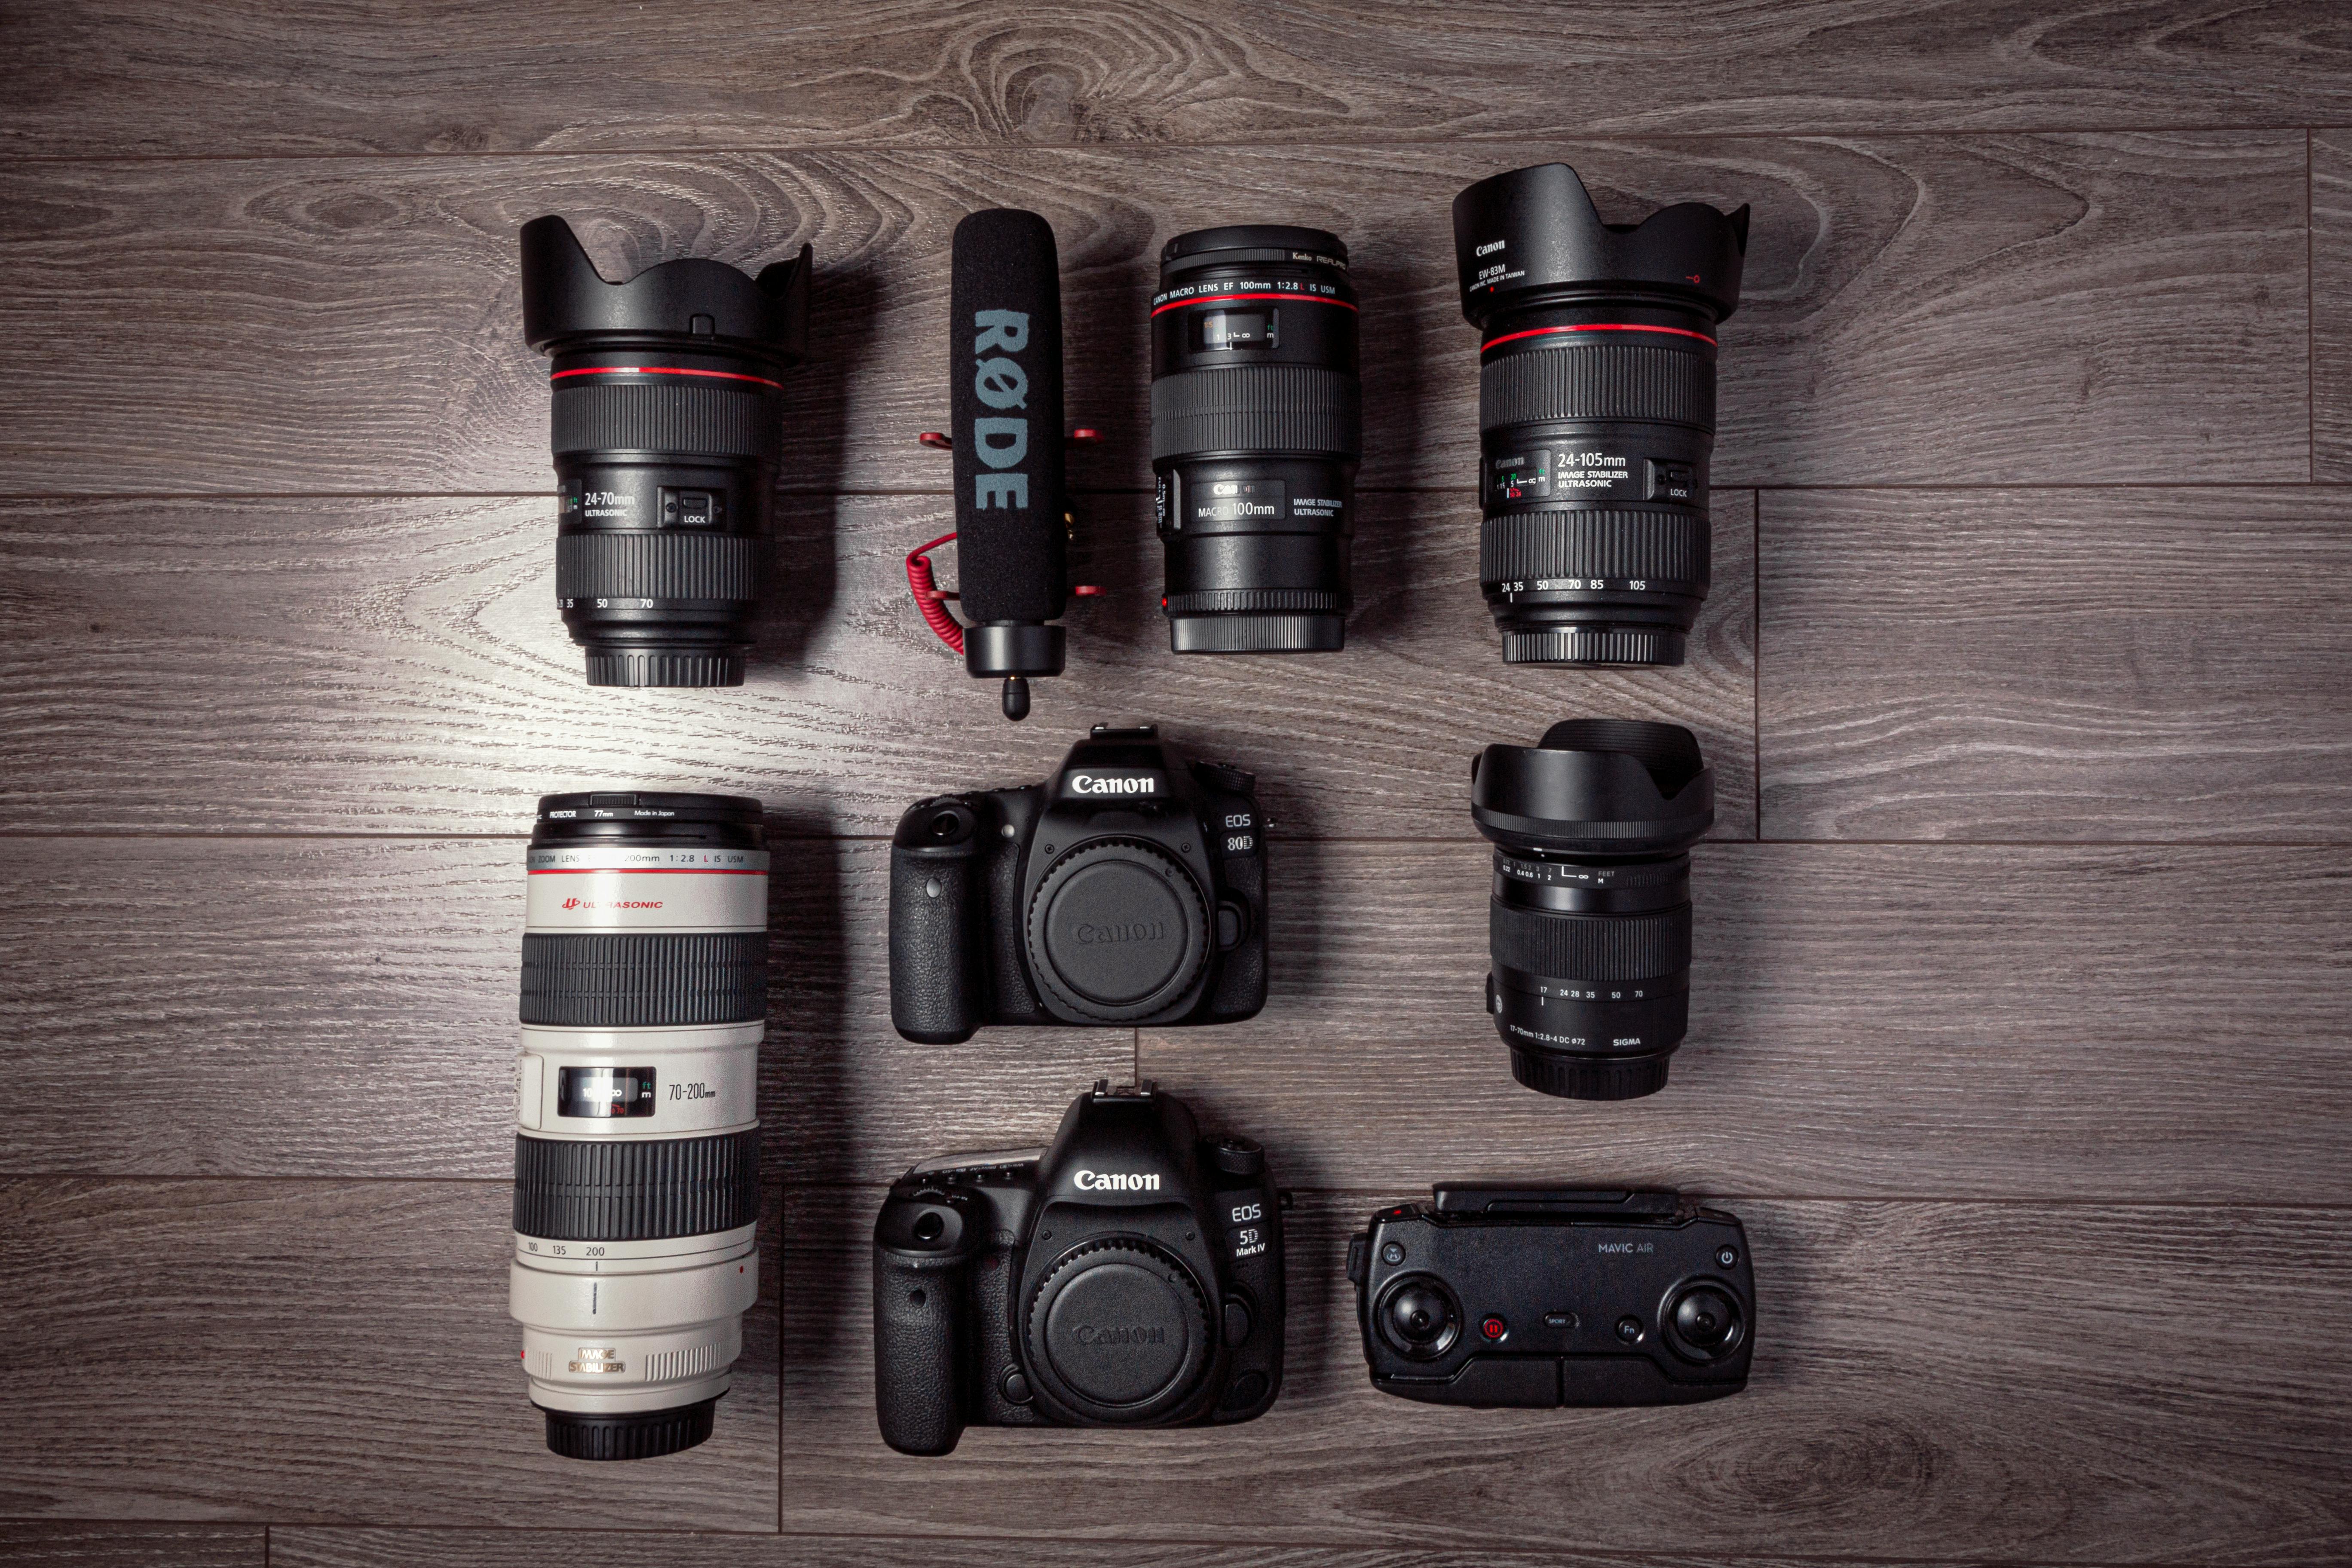
- 35mm: best for narrow streets, markets, and layered scenes.
- 50mm: best for details, people, and stronger subject separation.
- 24–28mm: useful for tall buildings, but it can make scenes feel crowded.
If you carry only one lens, a fast prime around f/1.8 or f/2.8 keeps the kit light. A zoom can help too, but it adds bulk and often changes how often you take the camera out. For this kind of trip, I prefer one small body and one lens over a full bag. Less gear leads to quicker decisions, and quicker decisions often catch better light.
How to pack light without missing the shot
Keep the kit simple enough to stay on your shoulder all day. A small body, one lens, one spare battery, one empty card, and a microfiber cloth cover most city-break needs.
Memory speed only matters if the camera writes fast enough to use it. For most still city work, an UHS-II V60 card is plenty, while heavier bursts or high-resolution RAW files benefit from V90 or CFexpress.
Use the camera features that save time
Back-button focus helps when you move between static buildings and moving people. It separates focus control, so you can lock onto a wall, then reframe without refocusing every time. For quick bursts, many mid-tier mirrorless bodies can hold roughly 20 to 40 RAW frames before slowing. That is enough for a short burst, though long bursts still fill the buffer and reduce frame rate.
Pre-capture or pre-burst modes help when a person steps into a sunlit corner. They save frames just before full press, which is useful for street moments that happen in a blink.

Making the frame work in the last light
Golden hour often runs straight into blue hour, and the shift is worth planning for. The warm sky and the first city lights can give one scene two moods in a single minute.
Use leading lines, reflections, and strong shapes as the sun drops lower. Windows, tram tracks, wet streets, and long shadows all work well in this light.
Check the histogram, not just the rear screen. Bright city skies can fool the eye, and a small highlight clip in the clouds can spoil an otherwise strong frame.
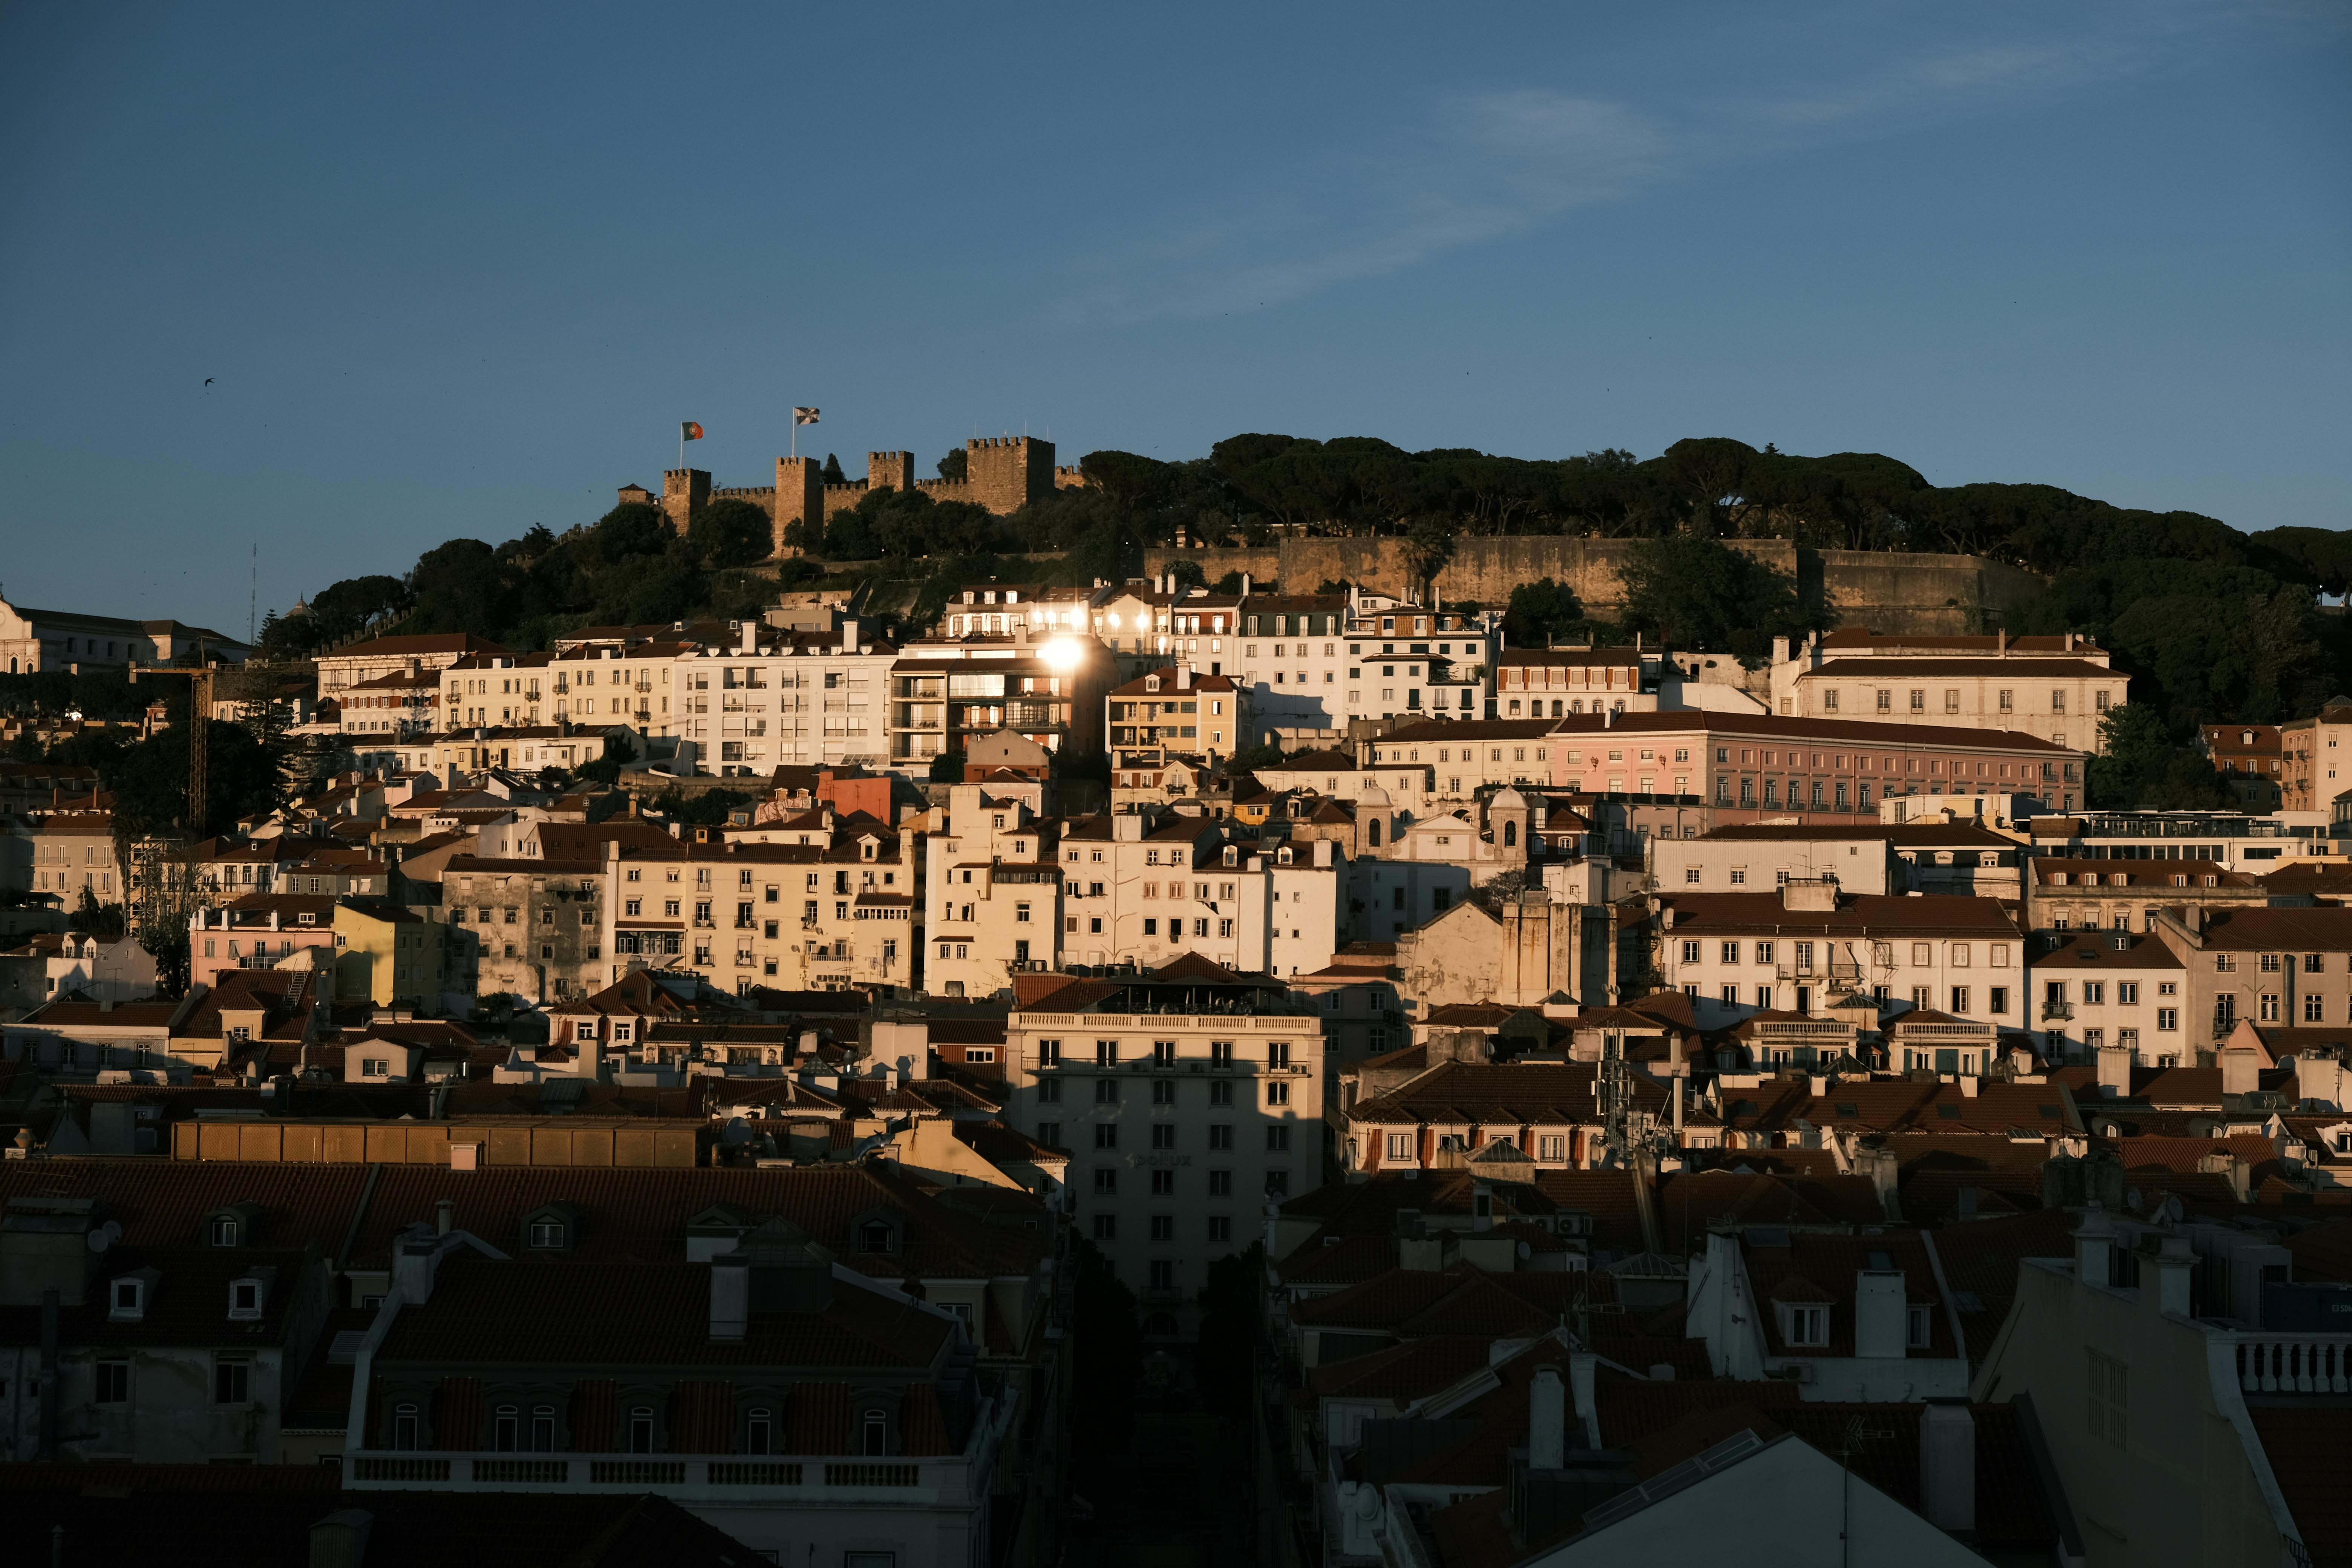
One useful habit is to shoot a scene two ways. First, frame the wide view with the sky and skyline. Then move closer for a tighter shot of a lit face, doorway, or sign.
That simple shift gives a fuller story without extra gear. It also keeps the walk light, which helps when the best view appears five blocks later.
A lean city-break setup that still covers the light
The cleanest setup is also the easiest to carry. Use one body, one 35mm or 50mm lens, a comfortable strap, and settings that stay close to f/8, ISO 64–200, and a shutter speed that matches the scene. That mix handles buildings, street scenes, and late light without turning the trip into a gear test. It also leaves room in the bag for water, a map, and the things that make walking fun.

In the end, the aim is simple: move fast, carry less, and stay ready when the light turns warm. If you are out just before sunset, keep the camera on your strap, watch for shadows on the next street, and be ready for the first city lights at blue hour.
Frequently Asked Questions
What camera settings should I use for city photos in golden hour?
For golden-hour city photos, use aperture priority or manual mode, set ISO 64–200, and start at f/8 to f/11 to keep architecture sharp. Keep handheld shutter speed at 1/125s or faster, use -0.3 to -1.0 EV when highlights are bright, and raise ISO to 400–800 as light fades.

How do I carry my camera comfortably while walking all day?
To carry a camera comfortably all day, use a padded cross-body strap or similar strap that spreads weight and keeps the camera close to your body. Keep the camera resting at hip level, with the strap adjusted so it lifts in one smooth move and stays steady while walking.
What lens is best for travel street photography?
A single versatile lens is best for travel street photography because it keeps the kit light and ready for long walks. A one-body, one-lens setup is ideal, with the lens hood used only when extra flare control is needed.



