


- Bring a mirrorless body with one fast, versatile lens for the whole weekend.
- Pack the camera mounted, batteries grouped, and only truly needed extras.
- Carry the bag close to your back in a 6L–10L sling or compact pack.
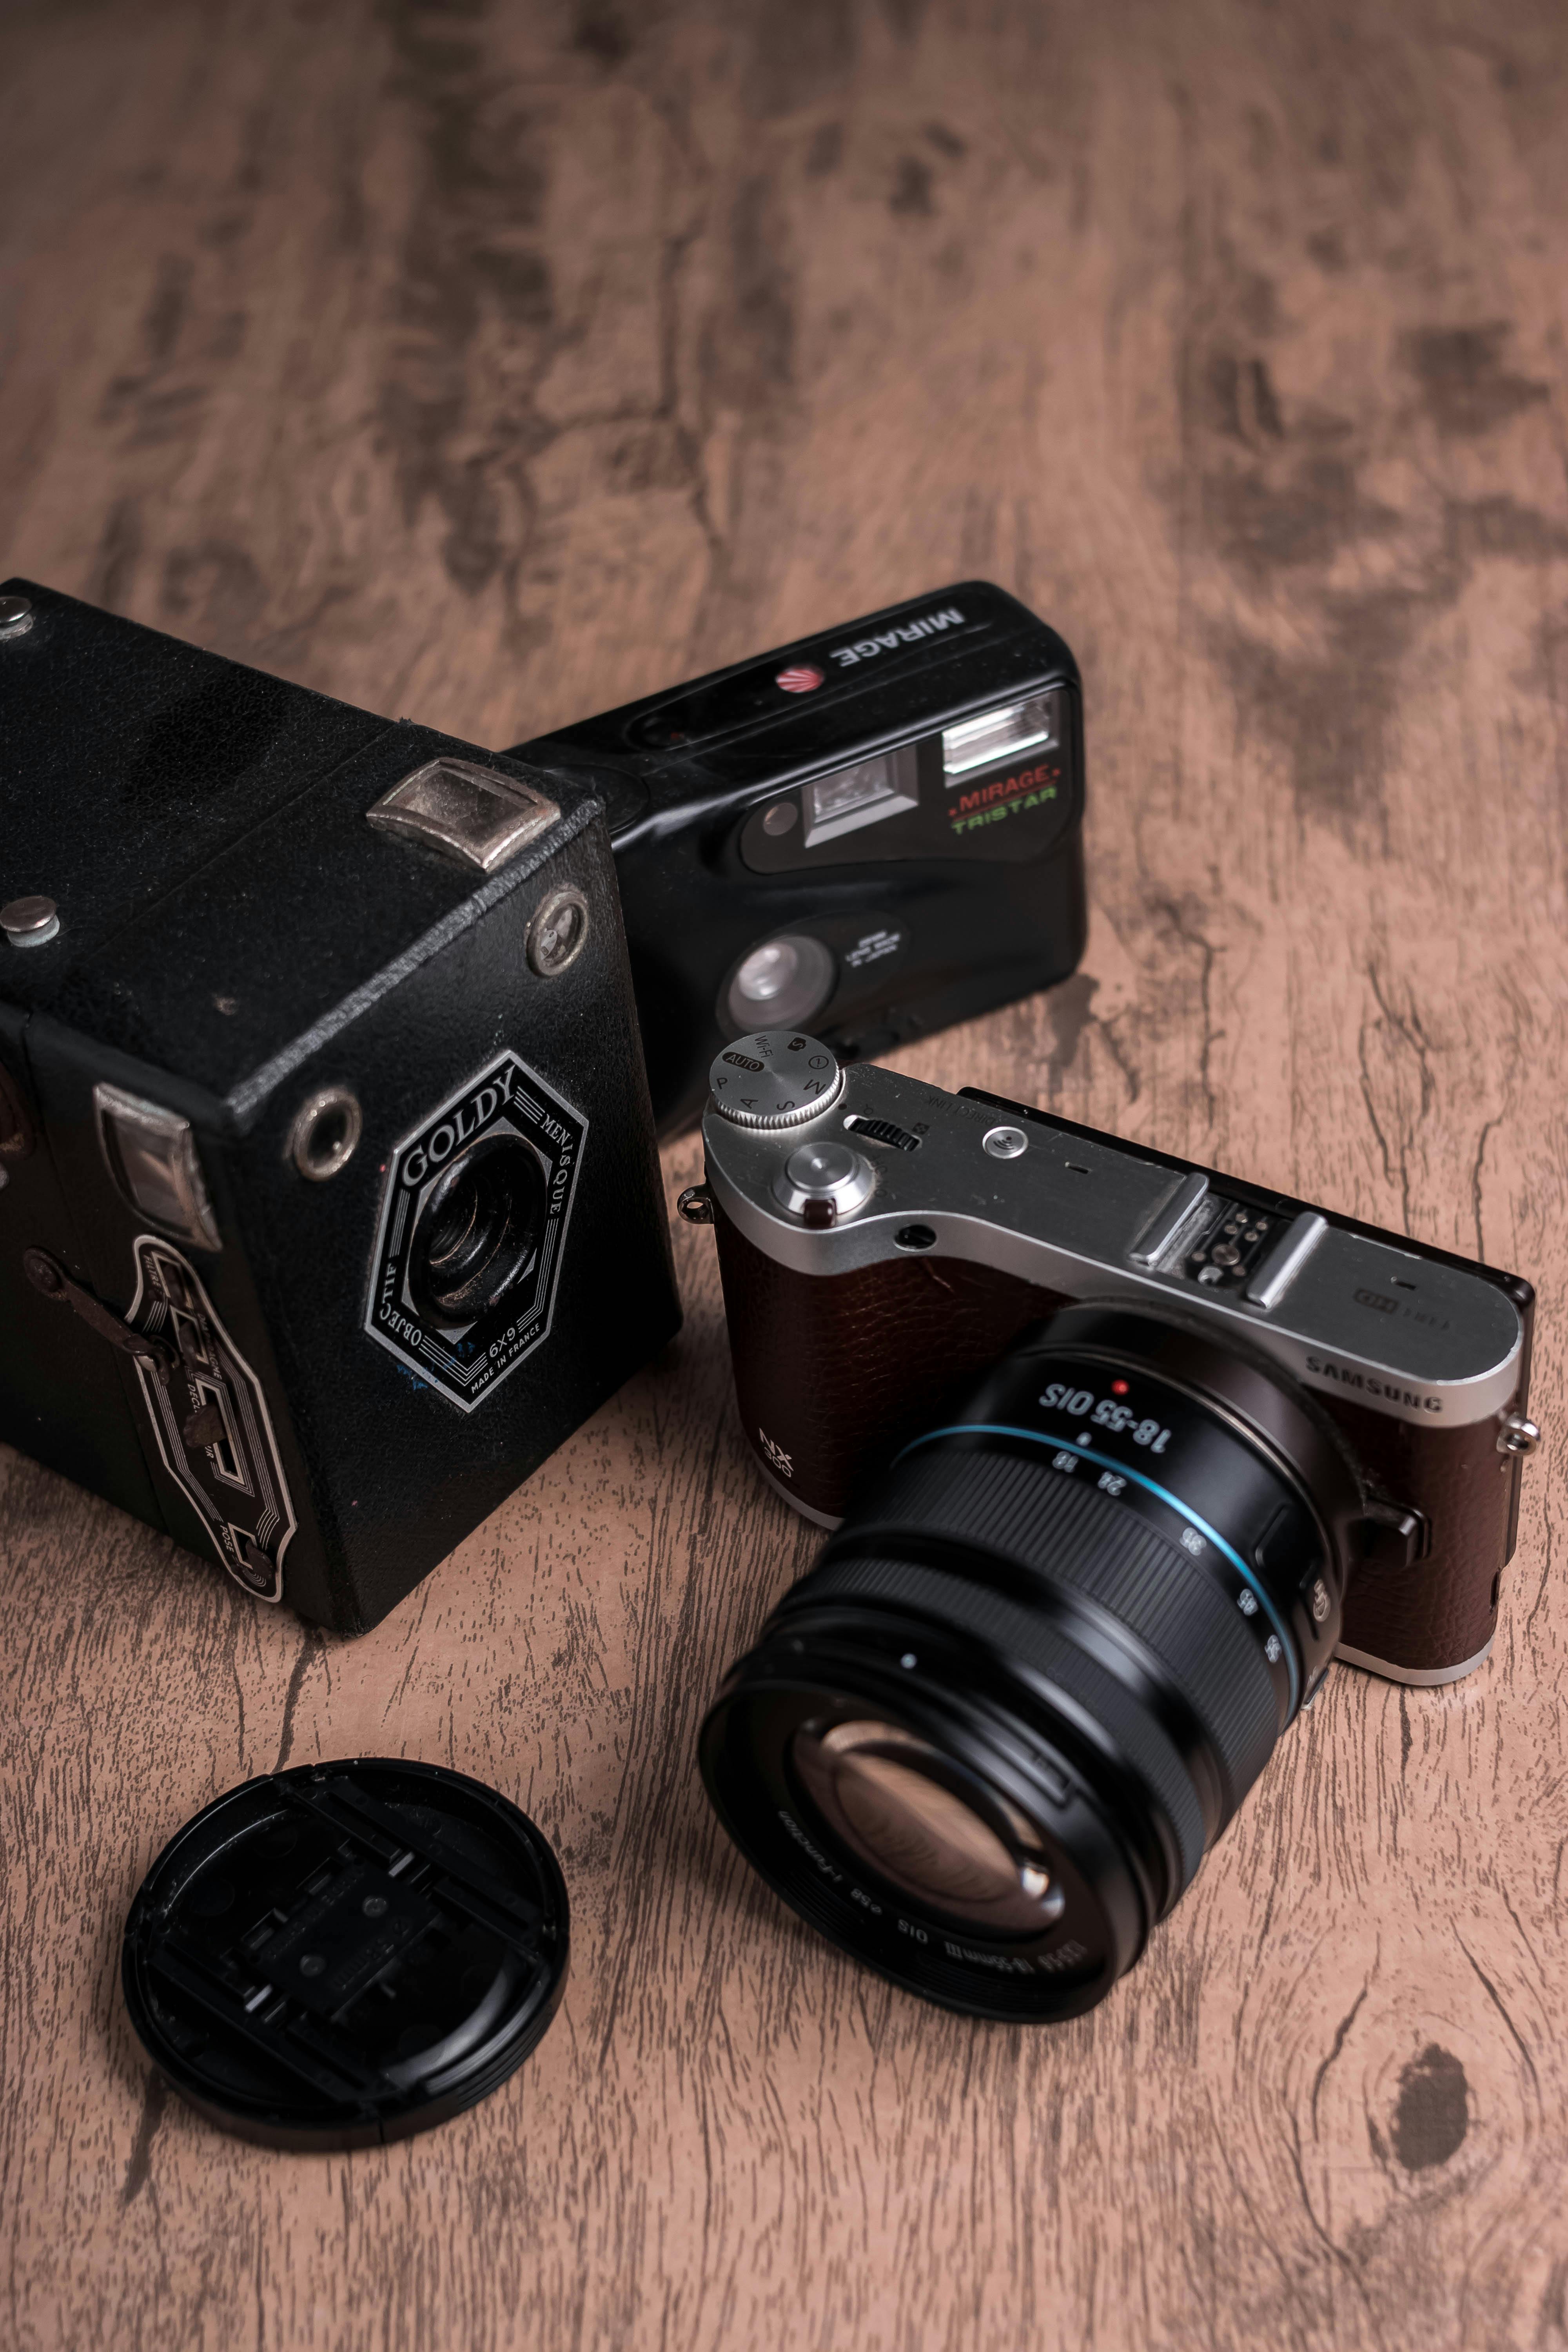
For a weekend trip, camera gear works best as a compact, deliberate set that keeps travel light and shooting simple. A lean kit helps you move quickly on trains, reach your camera in seconds, and still have enough power for a full day. Weekend rail trips are a solid test for any camera setup. Space is tight, you may stand for part of the ride, and your bag still has to lift easily into an overhead rack.
Translation missing: en.blog_cta.bundle_heading

- Regular price
-
€42 - Regular price
-
€44 - Sale price
-
€42
By choosing the Camstrap strap, you are opting for a high-quality product designed to meet the needs of the most demanding photographers.
- Developed by a physiotherapist to relieve neck and back pain.
- Fast delivery with tracking by the Post Office 🚚
- Can be used as a shoulder strap or hands-free harness

- Regular price
-
€36 - Regular price
-
€42 - Sale price
-
€36
Translation missing: en.blog_cta.free_shipping_included
What camera should I bring on a weekend trip?
A compact camera body with one versatile lens is the best choice for a weekend trip. It keeps the kit light, straightforward, and ready for both street scenes and station details.
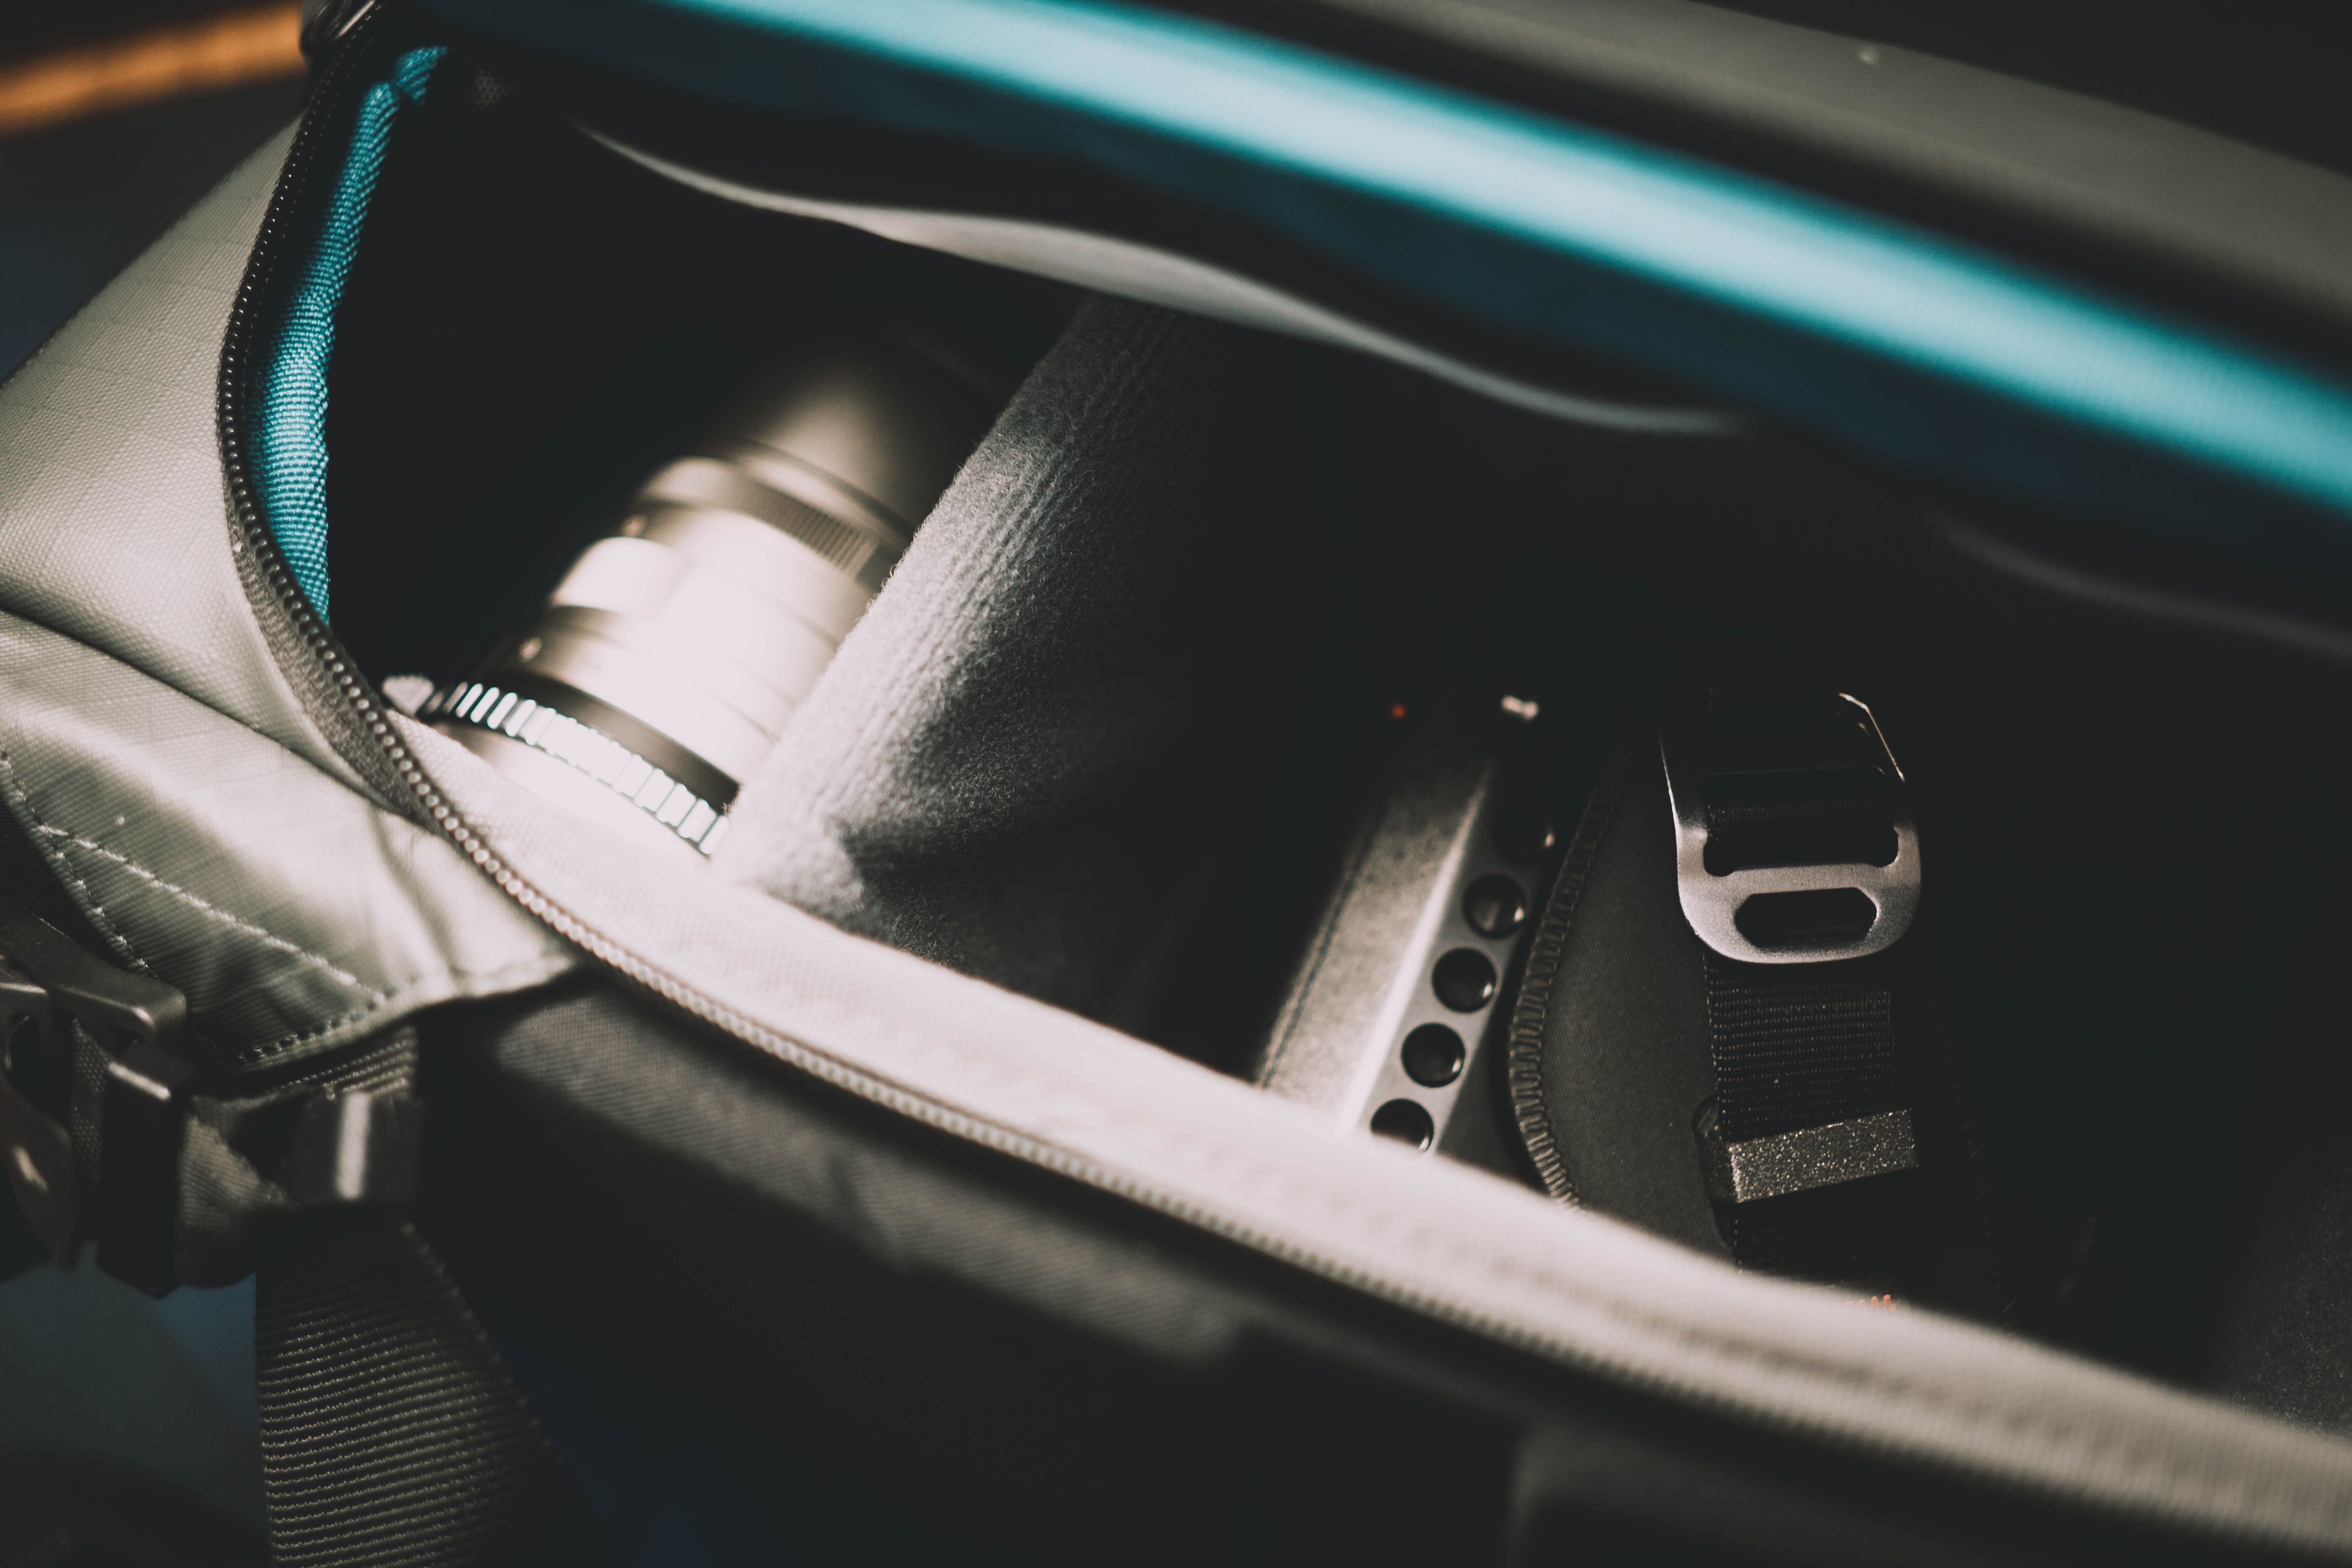
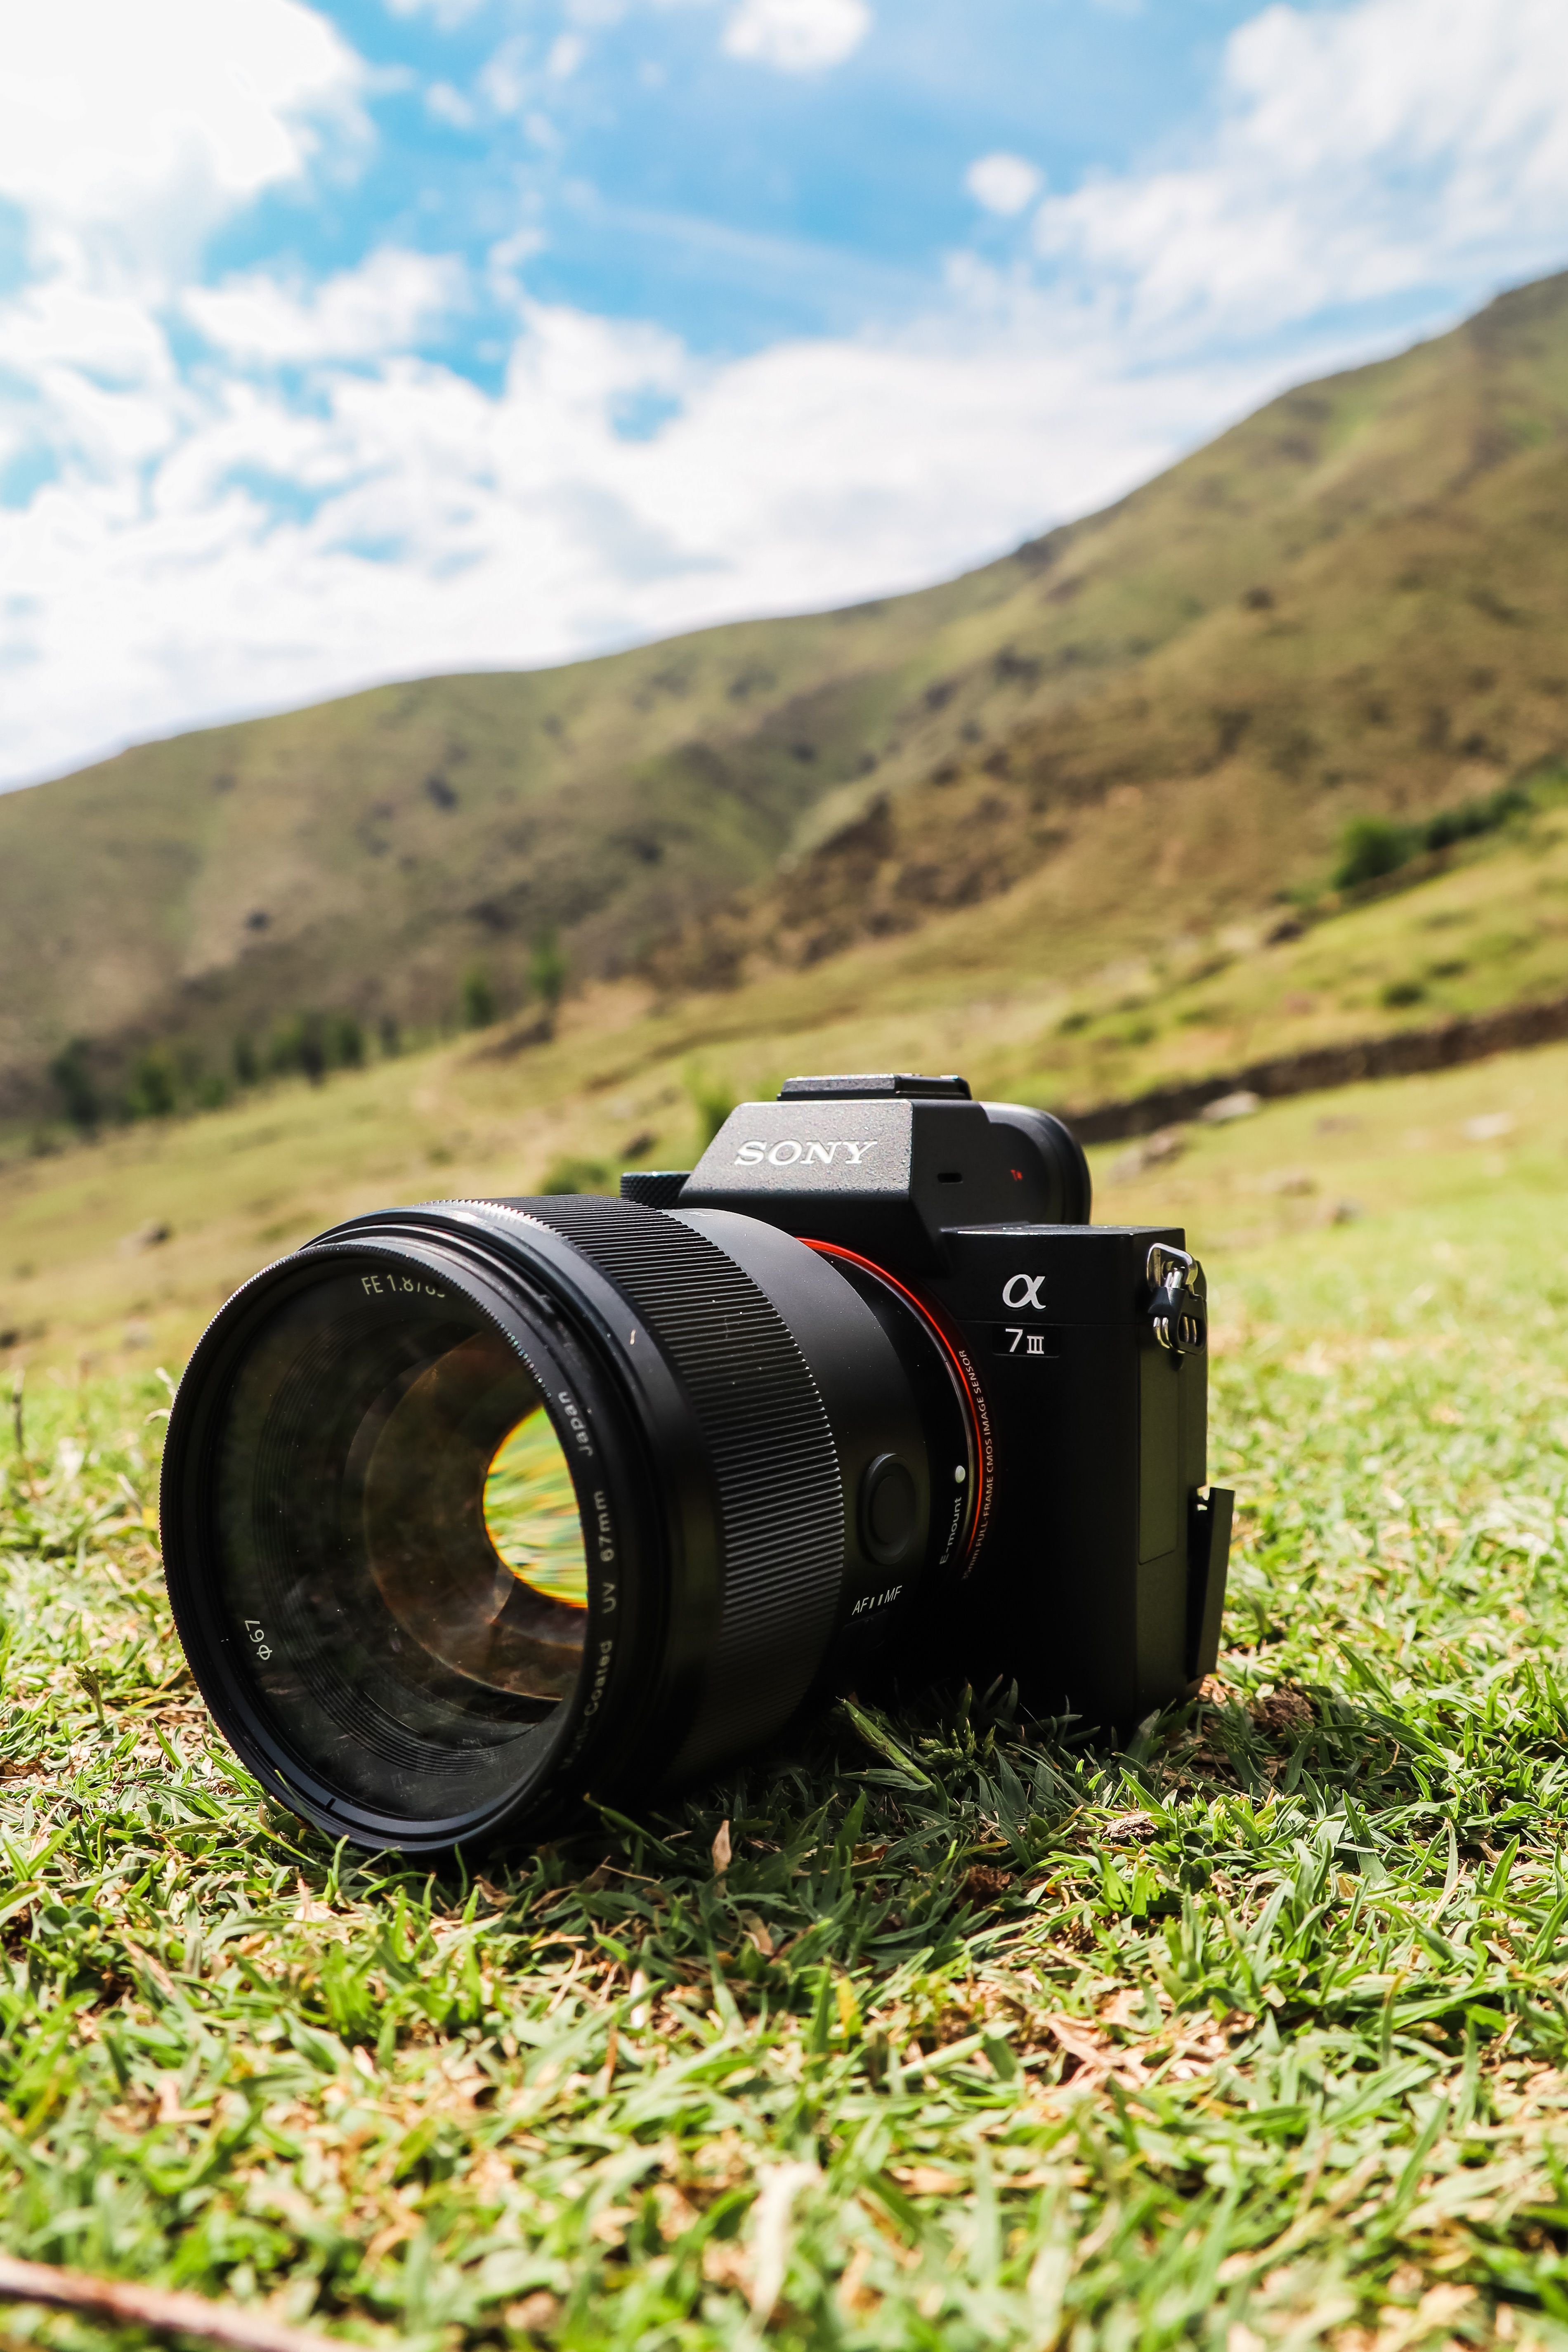
A mirrorless body works well because it delivers strong image quality in a small shell. Pair it with a lens in the 16-25mm f/2.8 range for a wide travel view, or use a 24-70mm zoom if you want more reach without adding another lens.
Choose one lens for the whole route
One lens should handle most of your trip, so you spend less time swapping glass and more time watching the scene. For indoors, low light, or night platforms, pay attention to the aperture. A lens around f/2 to f/2.8 admits more light, which helps you keep ISO lower and shutter speed safer.
What makes small gear work on trains
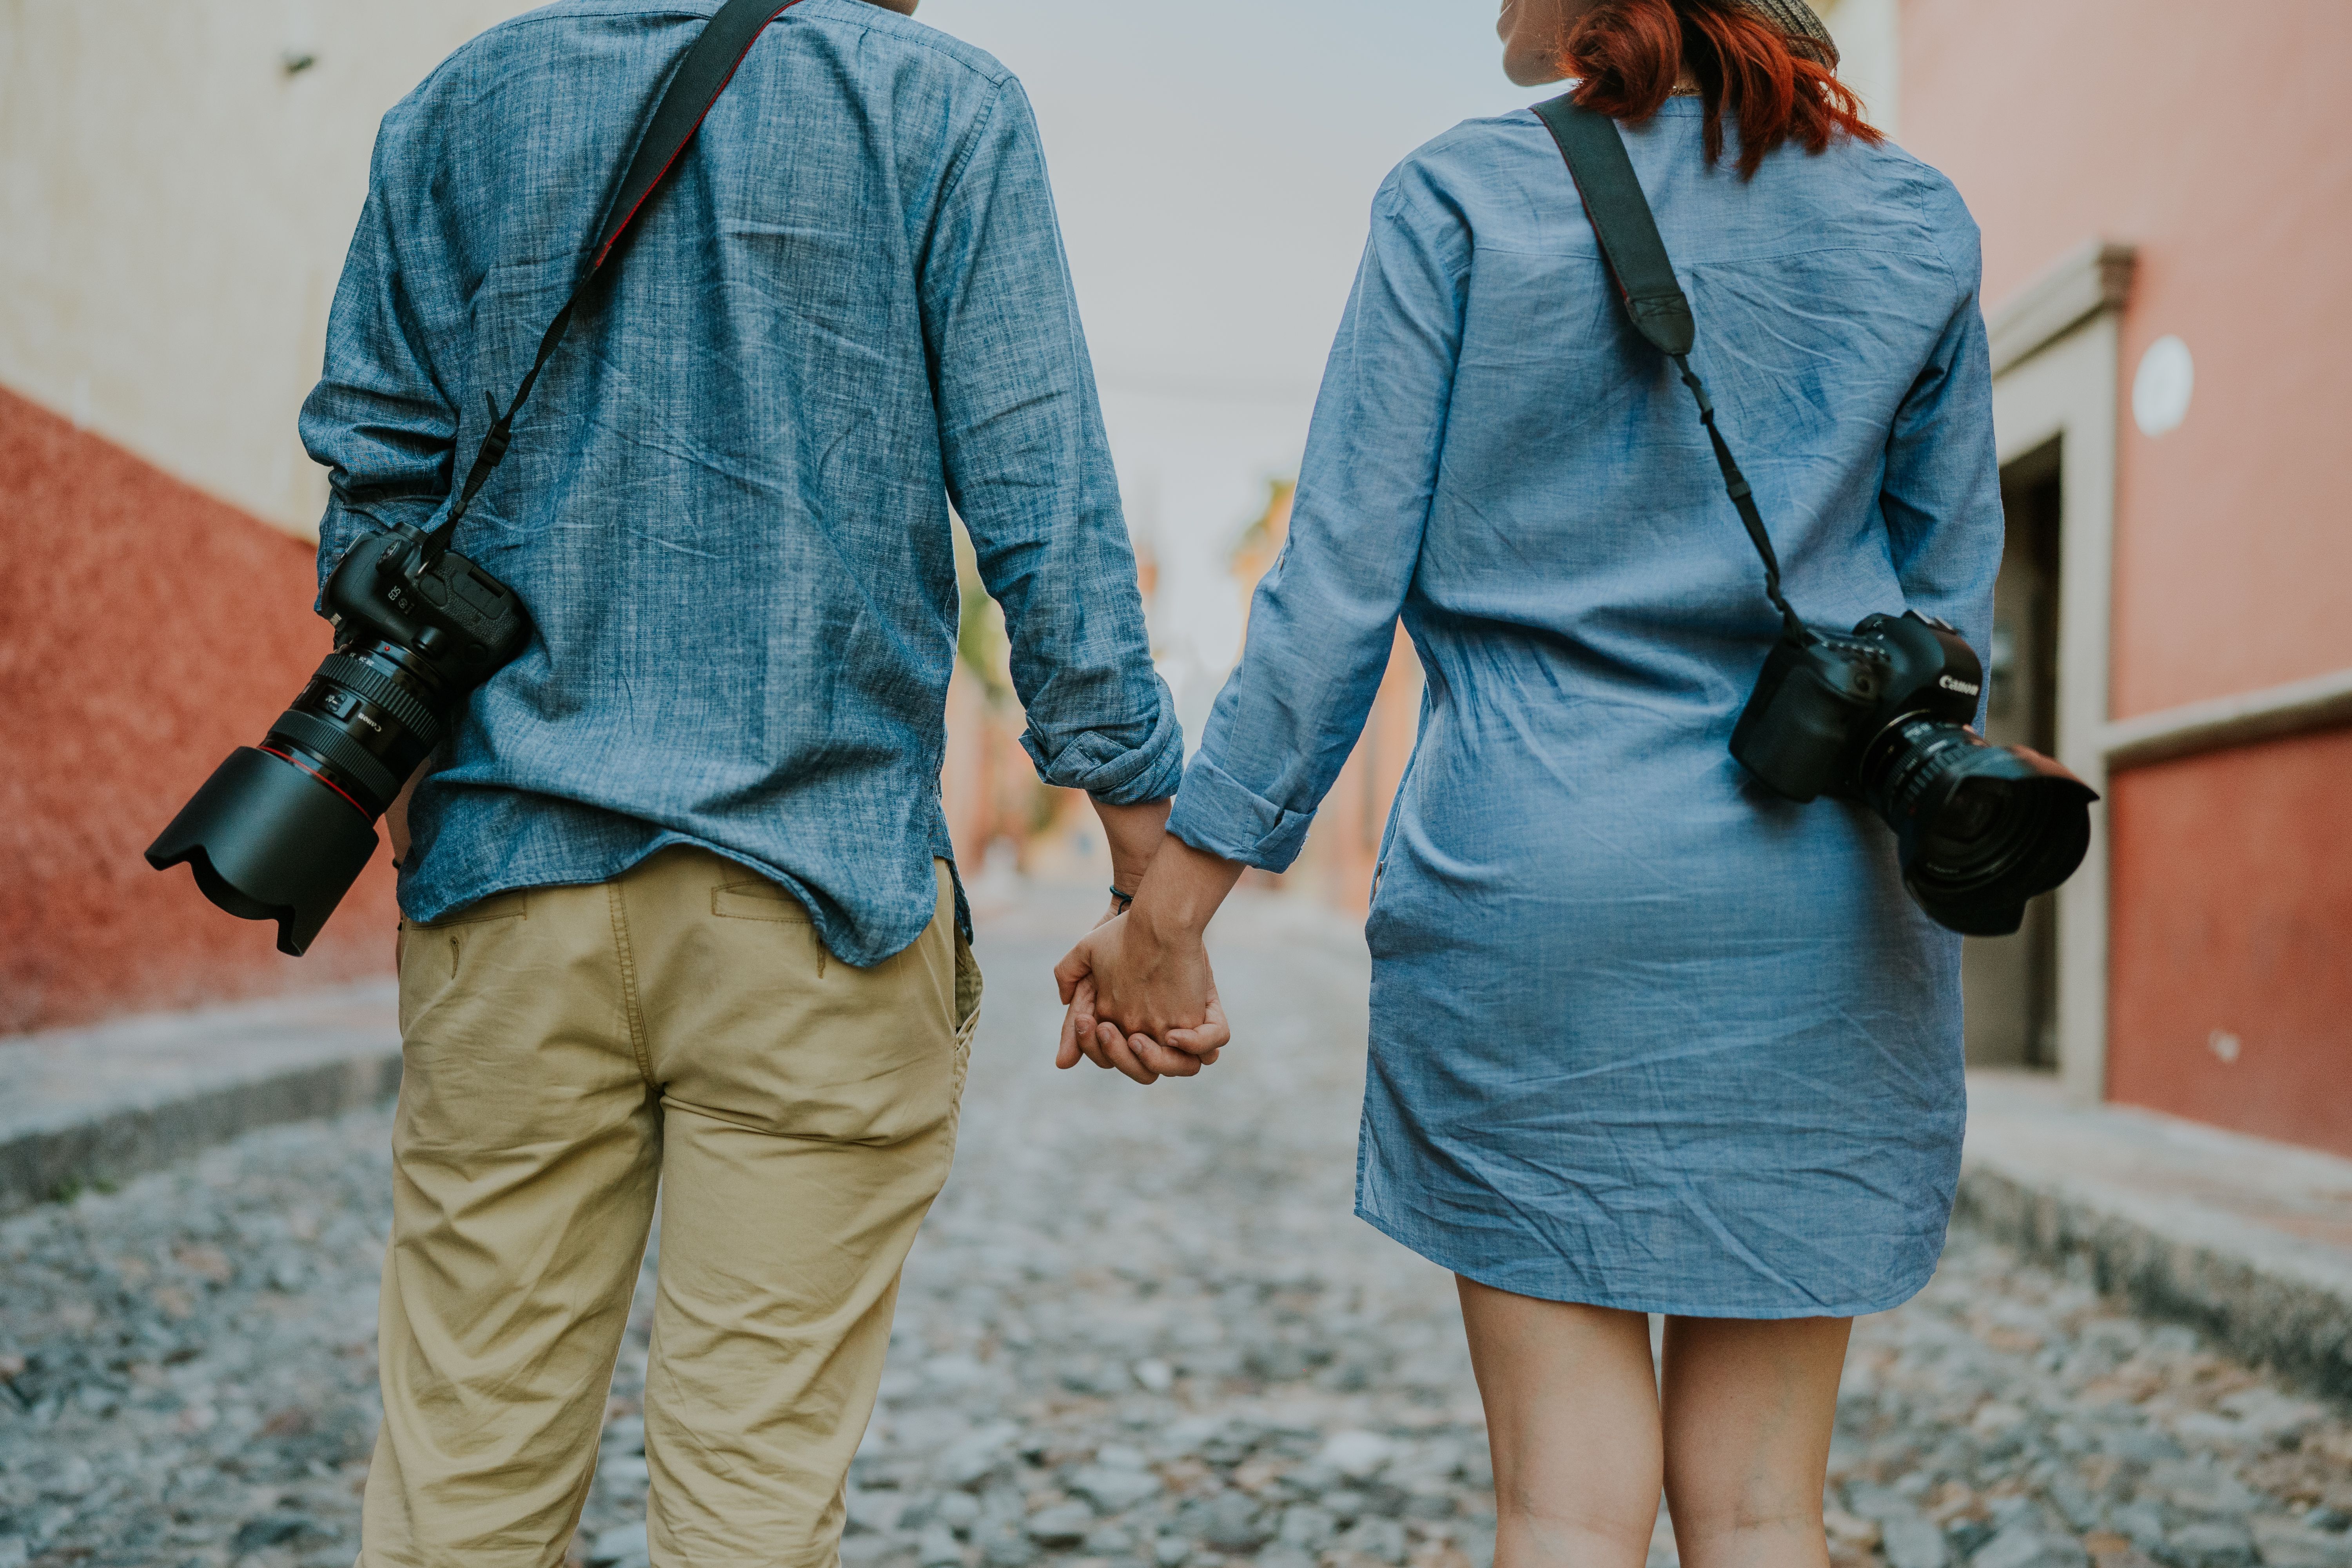
Long hours favor lighter systems because comfort starts to matter by mid-trip. A smaller body also fits better in a 6L to 10L sling or compact backpack, a common travel range for rail carry.
That size helps at busy stations. It leaves room for a water bottle, a charger, and a small rain cover without turning your bag into a hard block under the seat.
How do I pack camera gear in a small bag?
Pack camera gear in a small bag by keeping the body ready, the lens mounted, and the extras grouped by use. The bag opens faster, and you spend less time digging while the train pulls in. Use padded dividers or a slim insert if the bag has open space. Keep the heaviest item close to your back, which makes the load feel more stable when you walk between platforms.
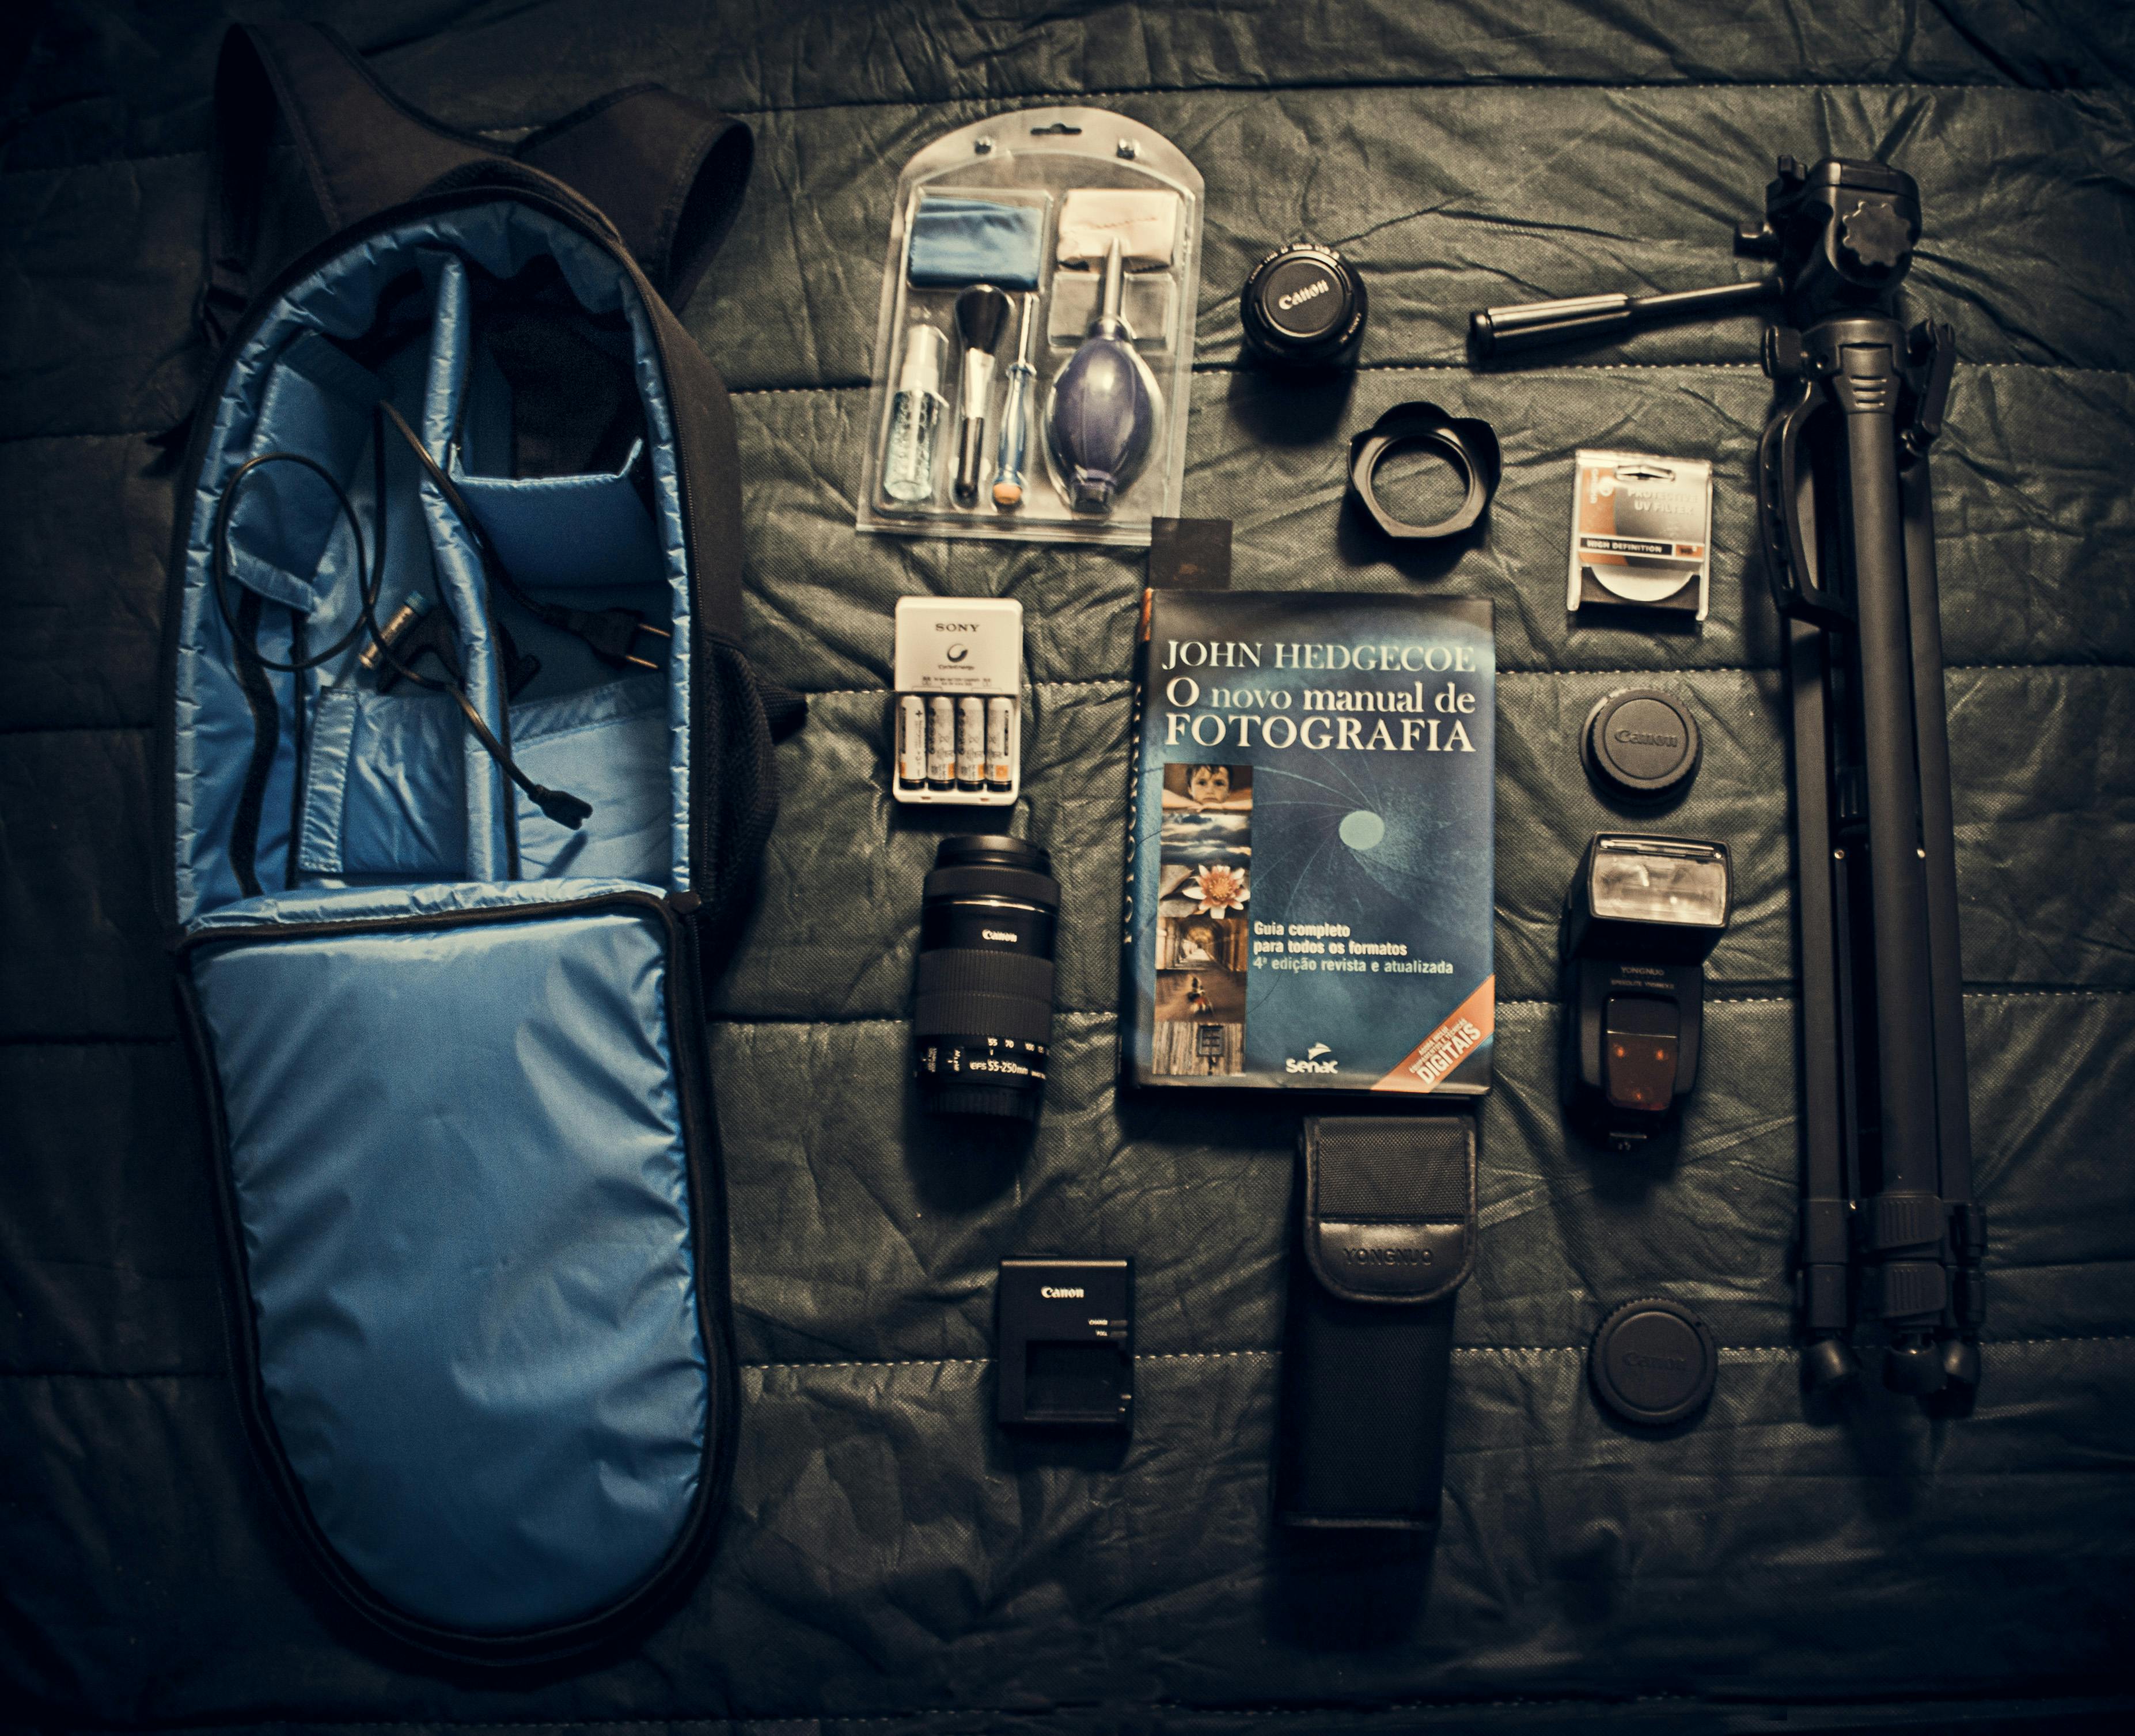
- Put the camera body in the main slot with the lens attached.
- Store one extra lens only if the trip truly needs it.
- Slide two spare batteries into the same pocket every time.
- Keep one fast memory card in the camera and one spare in a card case.
- Add a small cleaning cloth and a blower for dust and rain spots.
That small list covers the real travel risks. You protect the camera, keep power on hand, and avoid wasting space on gear you will not touch.
Give power and storage their own pocket
Travel kits often fail on battery life before they fail on image quality. Many camera batteries last only 90 to 150 minutes of recording, so two spare batteries are a sensible minimum for a full day out.
Fast cards matter too. For video, a V30 card is the safe floor, while V60 makes more sense for 4K/60fps or higher.
If you shoot stills, a fast UHS-II card also clears the buffer faster after a burst. That helps when you catch a platform crowd or a moving train window scene.
How can I carry a camera comfortably while traveling?
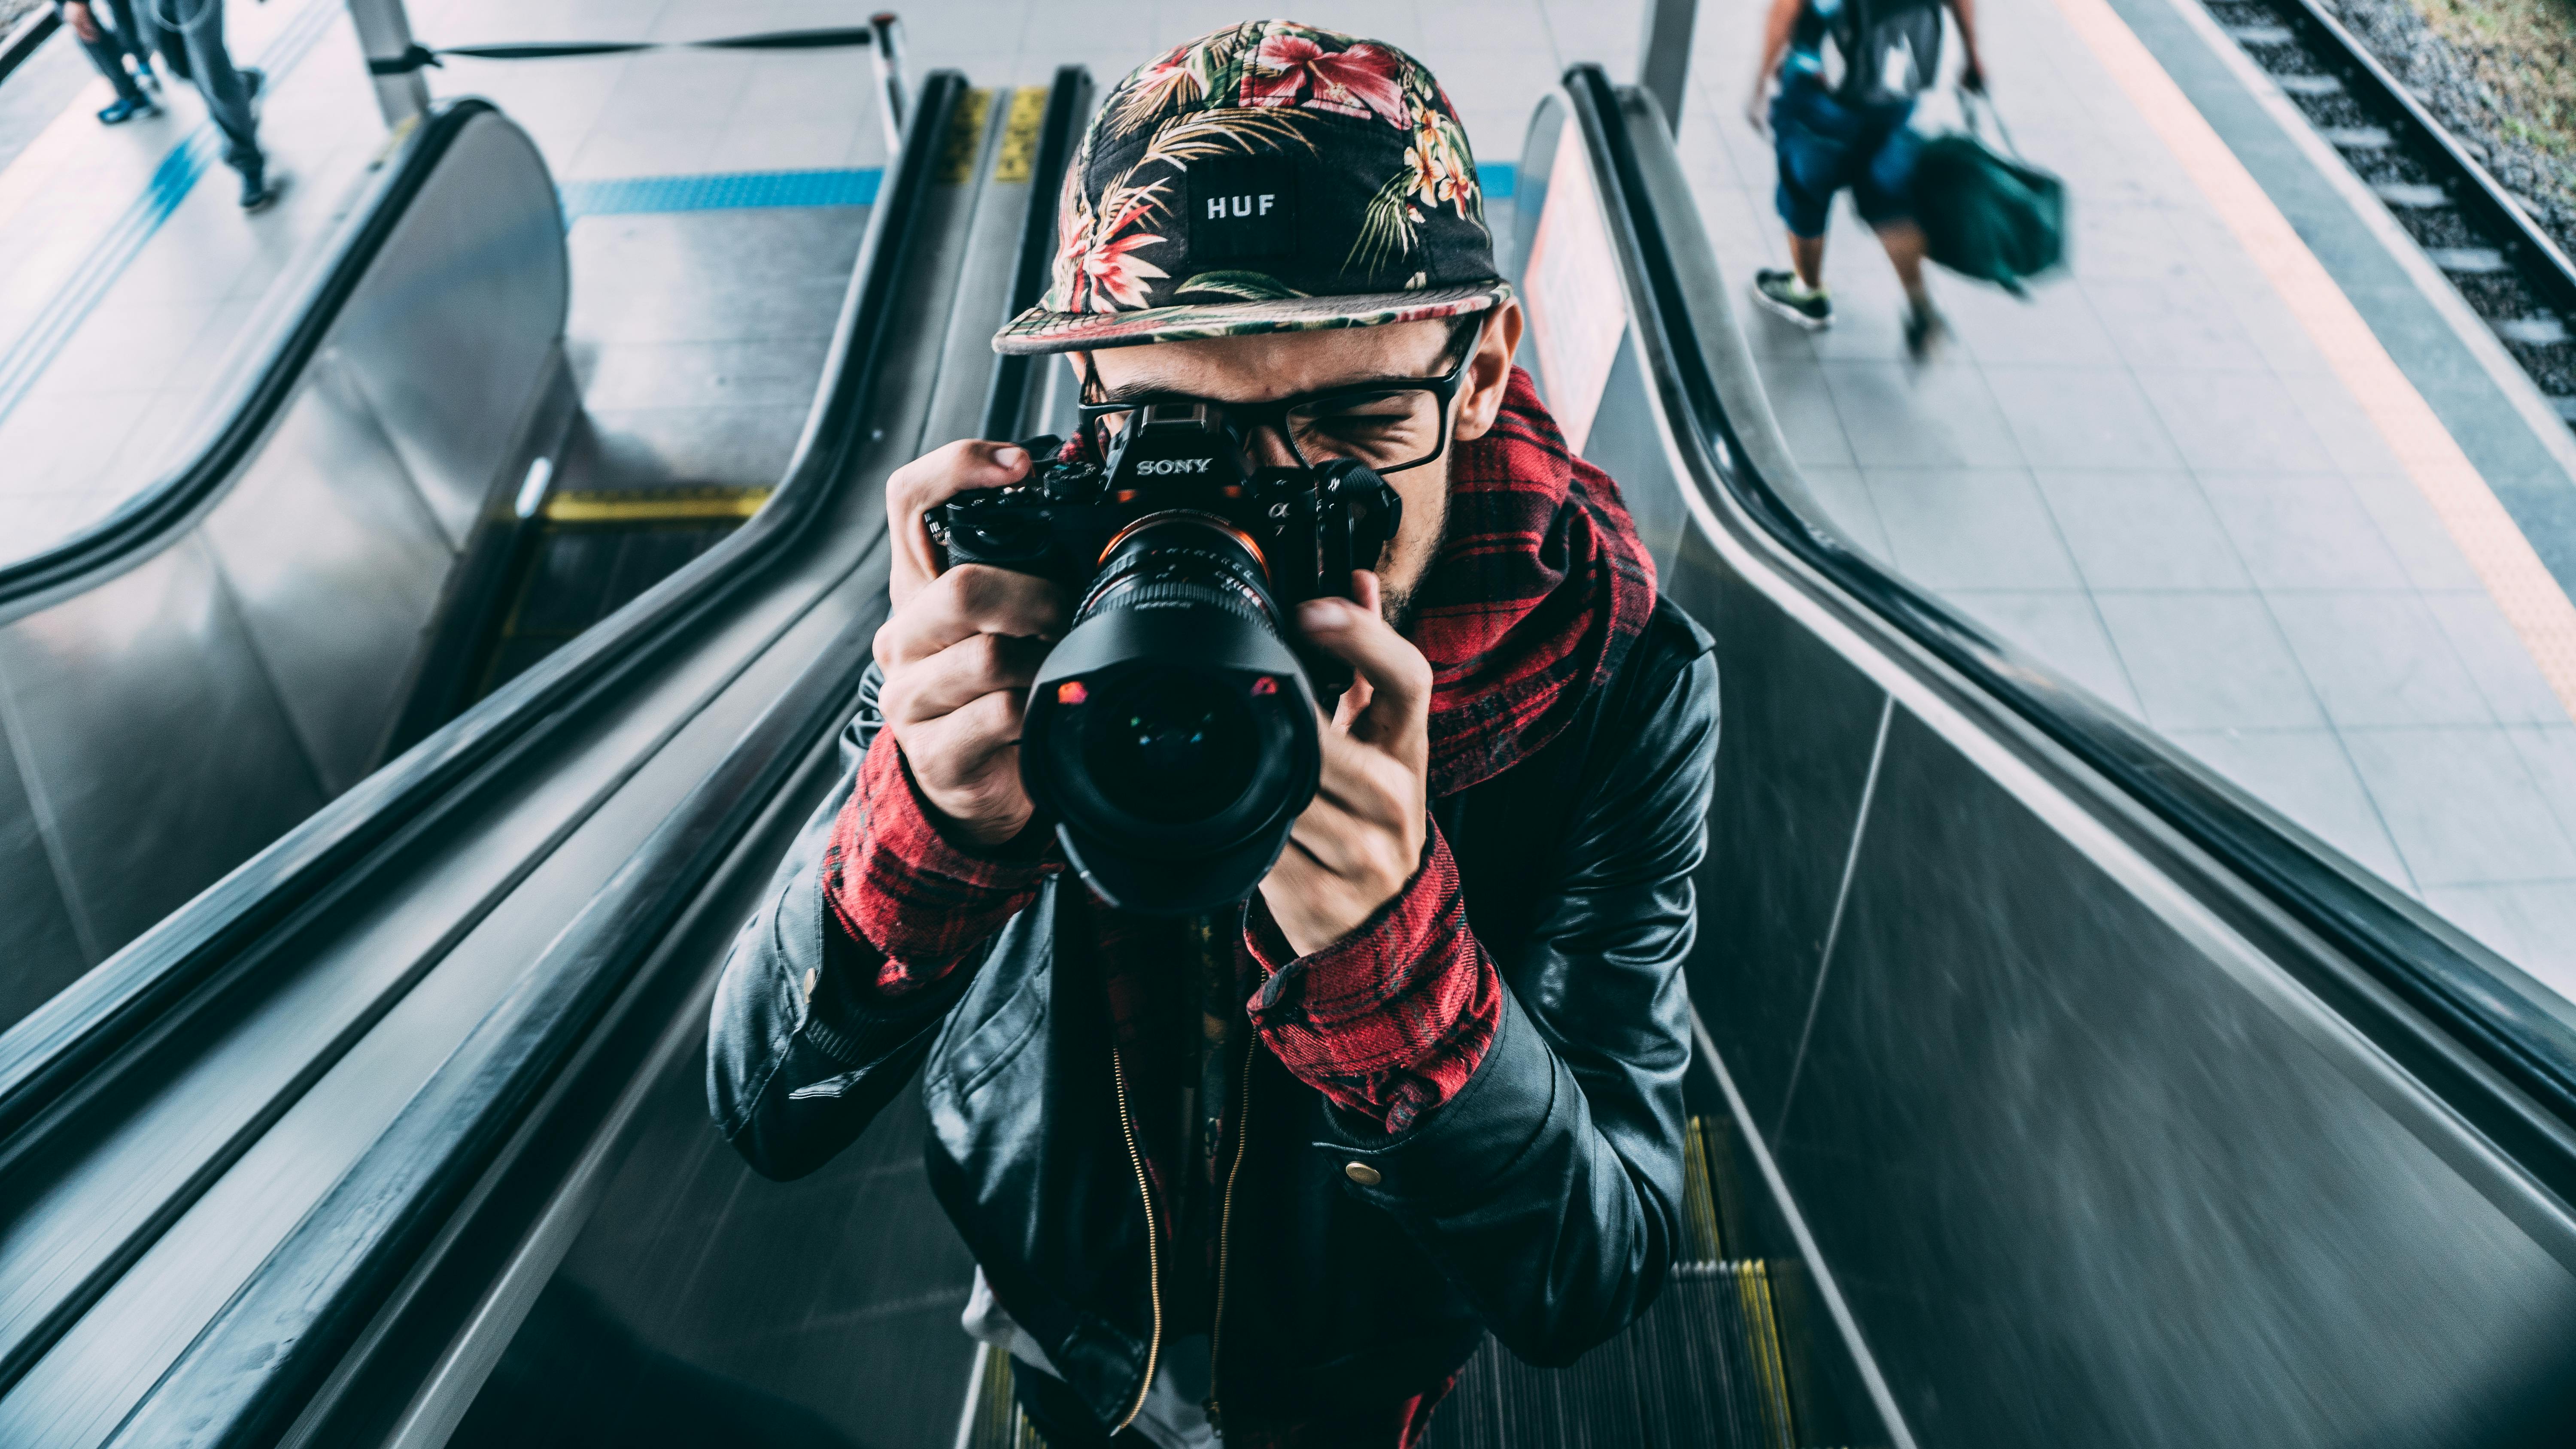
A lightweight strap and compact carry setup make it easier to travel hands-free between stations and stops. The camera feels like part of the trip instead of a chore you keep adjusting. A strap that spreads the load across the neck or shoulder reduces pinch during long walks. Camstrap Voyager fits that role well because it keeps the camera close and easy to swing up with one hand.
Why comfort changes how often you shoot
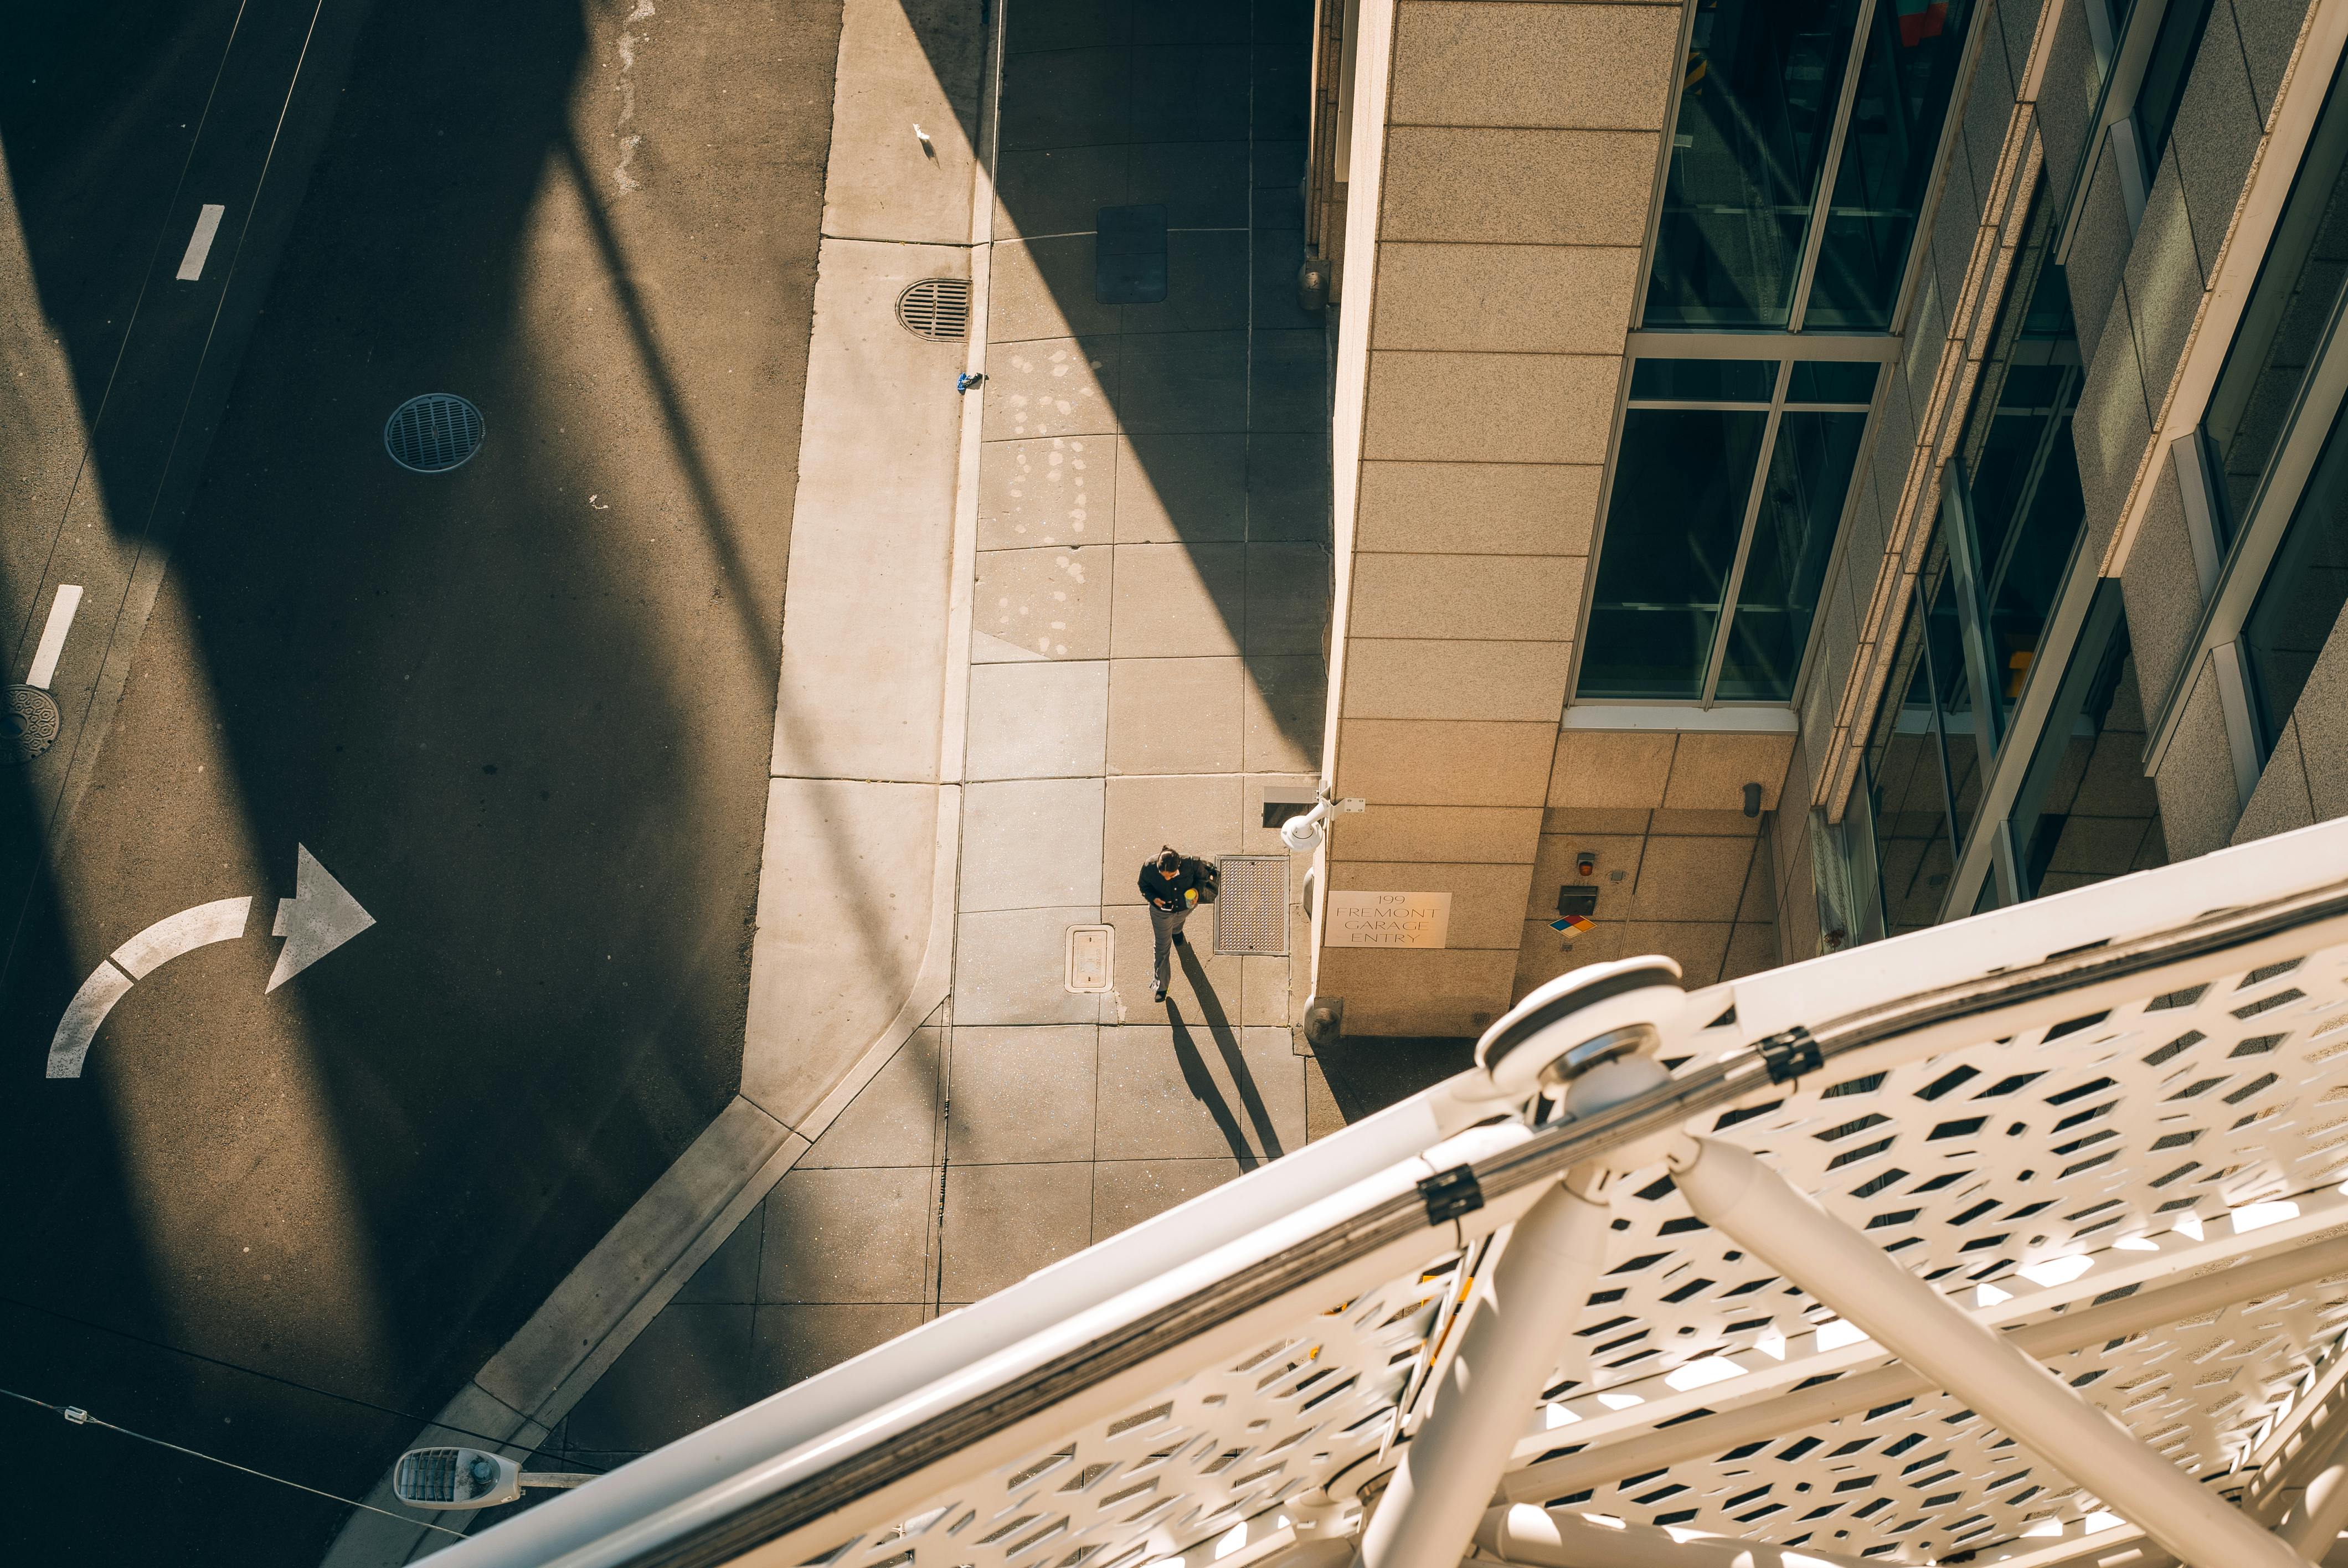
When a camera hangs well, you use it more. Your hands stay free for tickets, doors, and bags while the camera remains ready.
That freedom helps on trains, where you may move quickly through a platform and sit down five minutes later. A secure strap also lowers the chance of bumping the body on seats, railings, or other bags.
Simple carry habits that save your neck and your gear
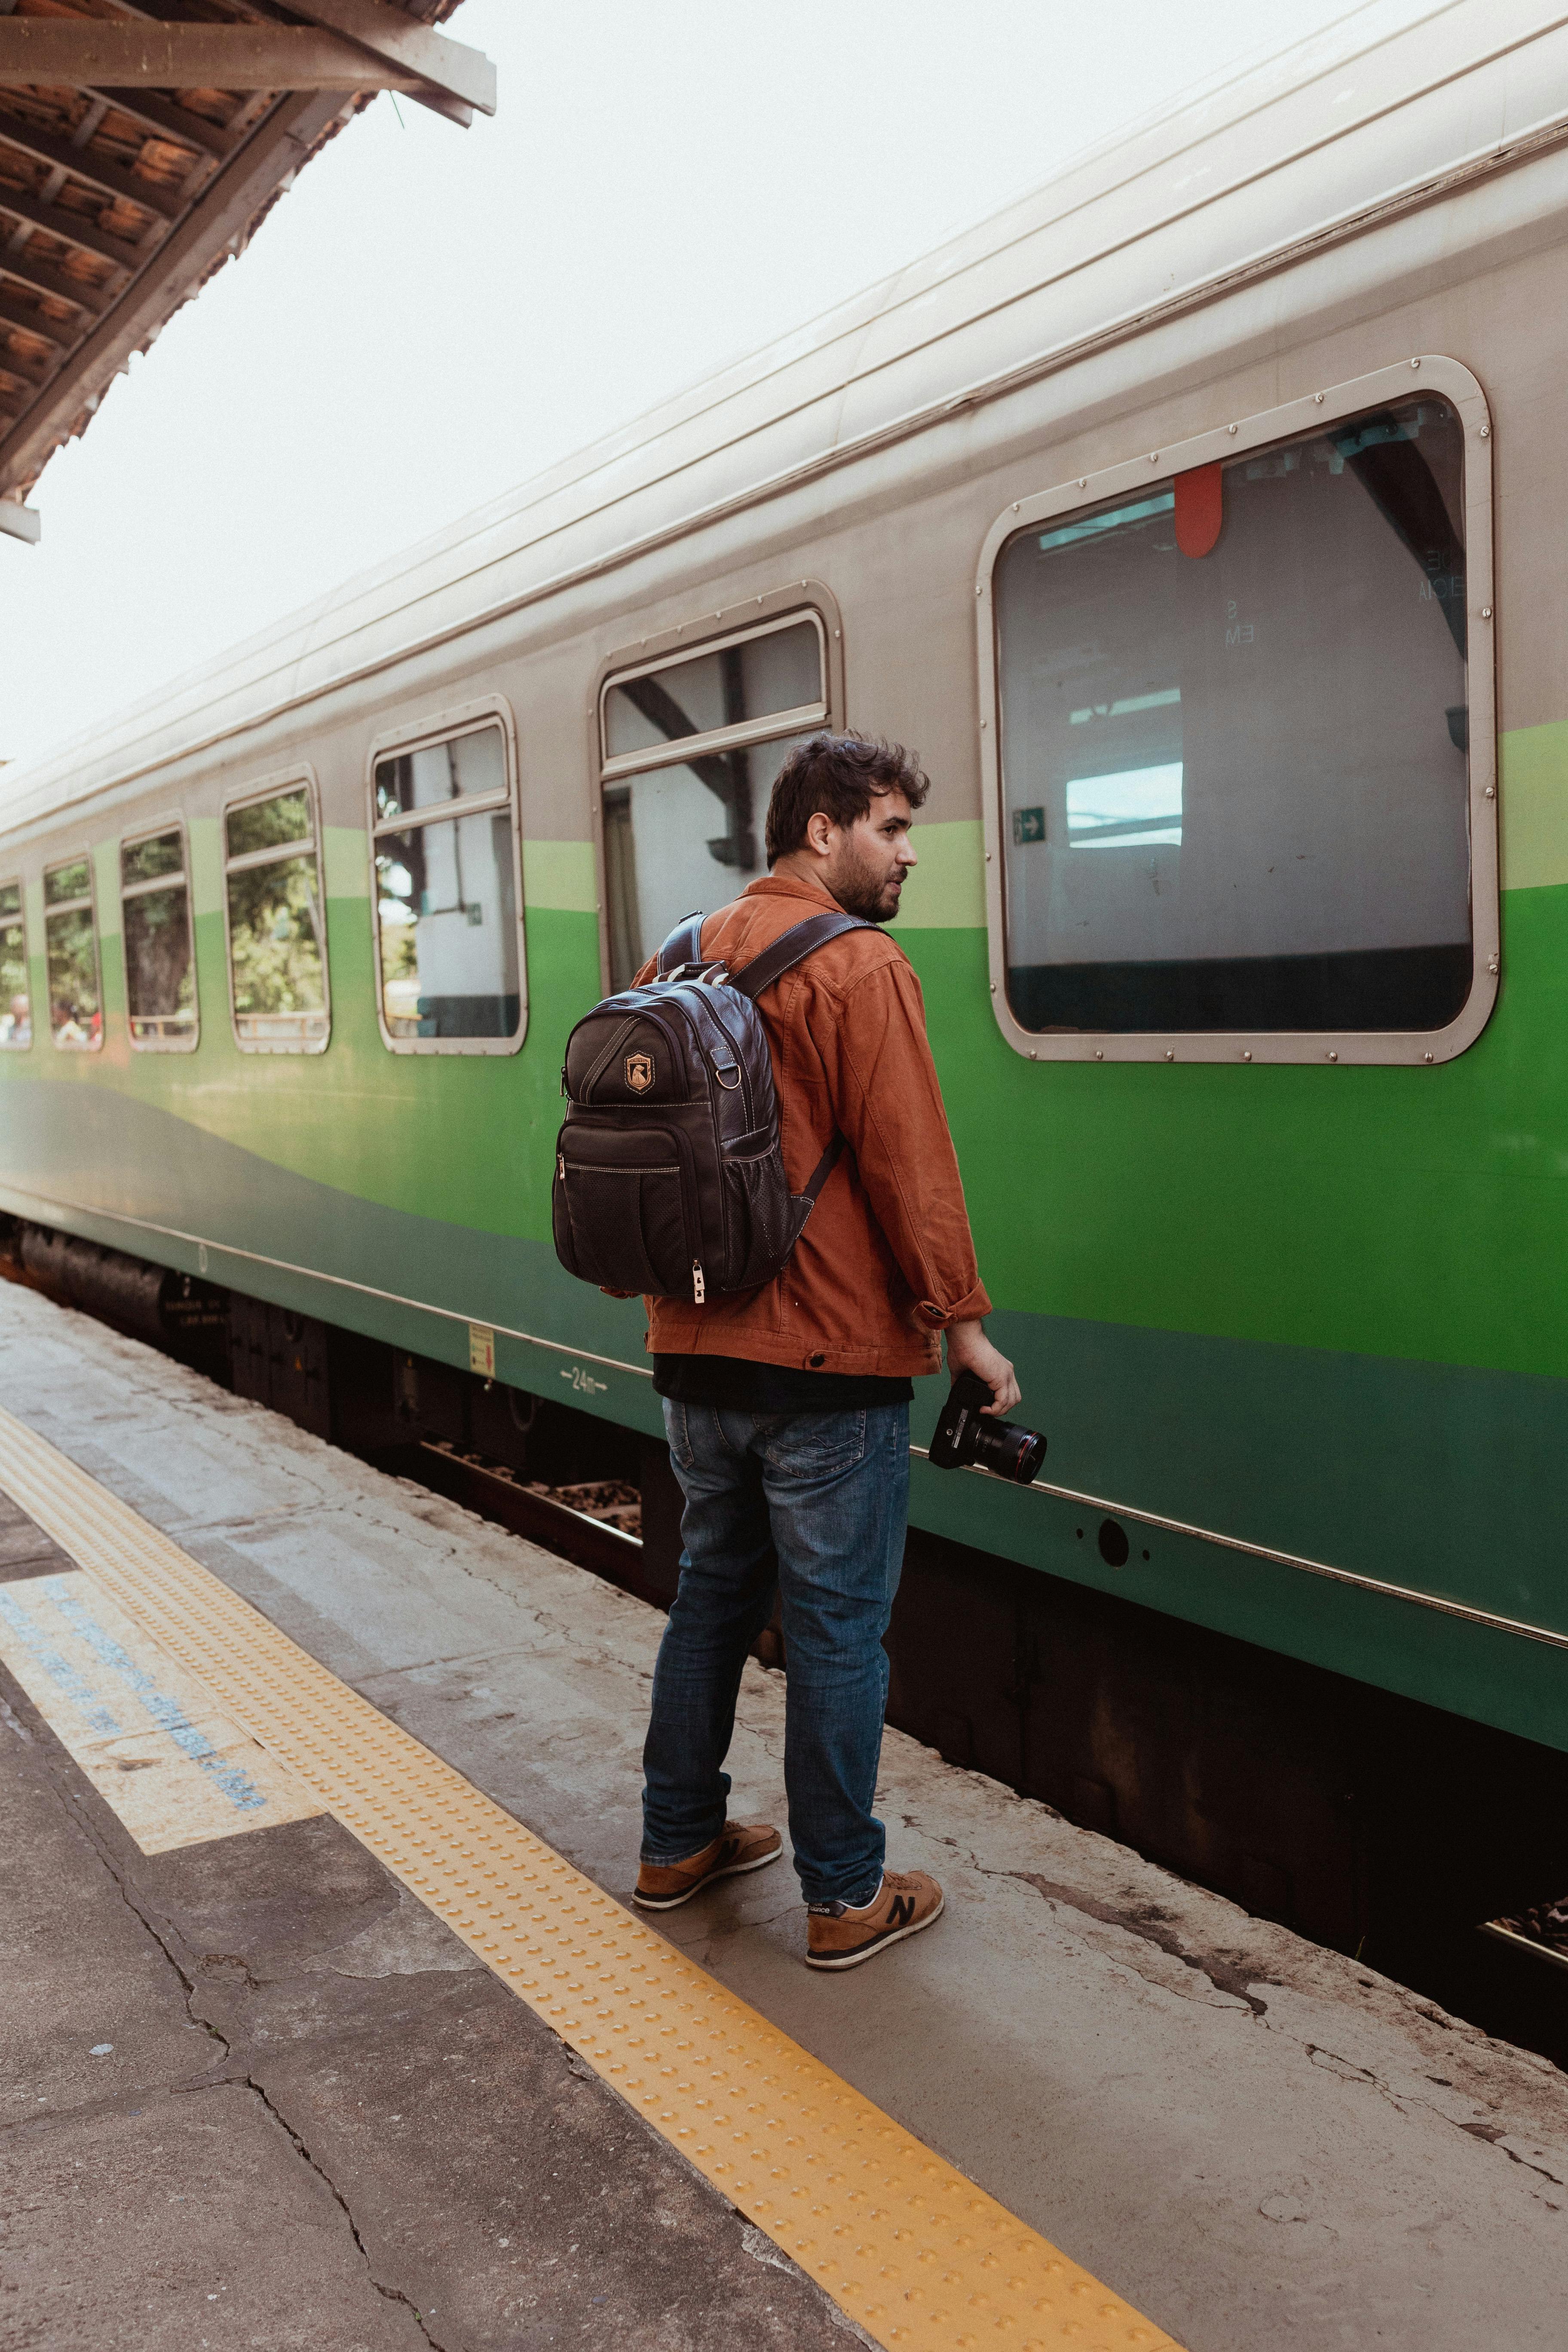
- Keep the camera across your body, not loose at your side.
- Shorten the strap before you board, then lengthen it at the stop.
- Rest the lens against your chest when you stand in a crowded car.
- Use one hand to steady the camera when you step off the train.
These small habits add up. They make the camera feel less like luggage and more like a tool you can use all day.
Which extras earn a place in the kit?
Only a few small items deserve room in a weekend rail kit. A cleaning cloth, a blower, backup power, and one extra card cover most real problems without filling the bag. A rain sleeve can help if the weather turns fast. Even a light shower can leave marks on a front element and slow your pace between stops.
Small extras that punch above their size
These items solve common travel problems. They are light, cheap, and easy to replace if needed.
- Microfiber cloth for fingerprints and mist.
- Small blower for dust on the lens or sensor area.
- Spare battery, charged before you leave.
- One extra memory card in a hard case.
- Lens hood for glare and light bumps.
A hood also gives the front element a bit of protection when you move through a tight doorway or brush past a seat.
How to shoot well without carrying too much
A small kit works best when your camera settings match the trip. For moving train scenes, start in aperture priority with auto ISO, then use a shutter speed of at least 1/500s for people in motion.
Back-button focus helps here too. Set AF-C or AI Servo with subject or eye detection, then keep the shutter free for timing your shot.
Handy settings for rail travel

These settings give you a clean base for most weekend scenes. They also reduce the need to change the camera each time the light shifts.
- Use aperture priority for changing light in stations.
- Set auto ISO with a cap that fits your camera’s noise level.
- Keep shutter speed near 1/500s for walking people.
- Drop to 1/125s for still scenes inside the car.
- Use burst only when movement matters, then review fast.
One tradeoff matters here. Wider apertures help in dim places, and they also shrink depth of field, so focus has to land cleanly on the subject. For action bursts, a mid-tier body may give you about 20 to 40 RAW frames before slowdown, depending on card speed and file size. That covers a short train arrival sequence, and a V60 card plus pre-burst or pre-capture mode can help.
How to plan the whole weekend before you leave

Good packing starts before the bag does. Check your route, the kind of light you expect, and whether you will spend more time on the train or on foot.
If you know you will shoot mostly city streets and station life, keep the kit even smaller. If sunset and night scenes matter, give more space to batteries and low-light lens speed instead of a second lens.
A simple pre-trip check
This quick list keeps the kit honest. It also stops you from packing gear you will not touch.

- Charge all batteries the night before.
- Format cards after your files are backed up.
- Clean the front element and check the sensor area.
- Set the camera date and time for clean file sorting.
- Pack only the lens you plan to use first.
That last step is the one many people skip. Once you board, the easiest lens to use is the one already on the camera.
Bringing it all together on the platform
A small train-trip kit works because it cuts friction at every step. The camera is ready, the bag stays light, and the strap keeps the body close while you move. In practice, that means one compact body, one useful lens, two spare batteries, and one fast card. Add a cleaning cloth, a blower, and a carry system that still feels good after an hour on your feet.

That is the core of smart weekend packing. If the kit fits under your seat and the camera comes up fast, you will use it more and miss less.
Before your next weekend ride, lay the gear out on a table and check each item once. If one piece does not earn its place, leave it at home and keep the bag ready for the platform.
Frequently Asked Questions
What camera should I bring on a weekend trip?
A compact mirrorless camera body with one versatile lens is the best choice for a weekend trip. A 16-25mm f/2.8 lens works well for wide travel views, and a 24-70mm zoom adds reach without needing a second lens.
How do I pack camera gear in a small bag?
Pack camera gear in a small bag with the body ready, the lens mounted, and extras grouped by use. Keep the heaviest item closest to your back, and use padded dividers or a slim insert if the bag has open space.
How can I carry a camera comfortably while traveling?
A small camera body is easier to carry comfortably because it fits better in a 6L to 10L sling or compact backpack. Keeping the load light also helps on trains and leaves room for essentials like a water bottle, charger, and rain cover.


