


- Choose one bloom that grabs the eye first and let everything else support it.
- Clear the frame by moving to dark, distant backgrounds and avoiding bright distractions.
- Use the 20-60-20 rule: keep the subject centered 20%, then clean the edges and context.
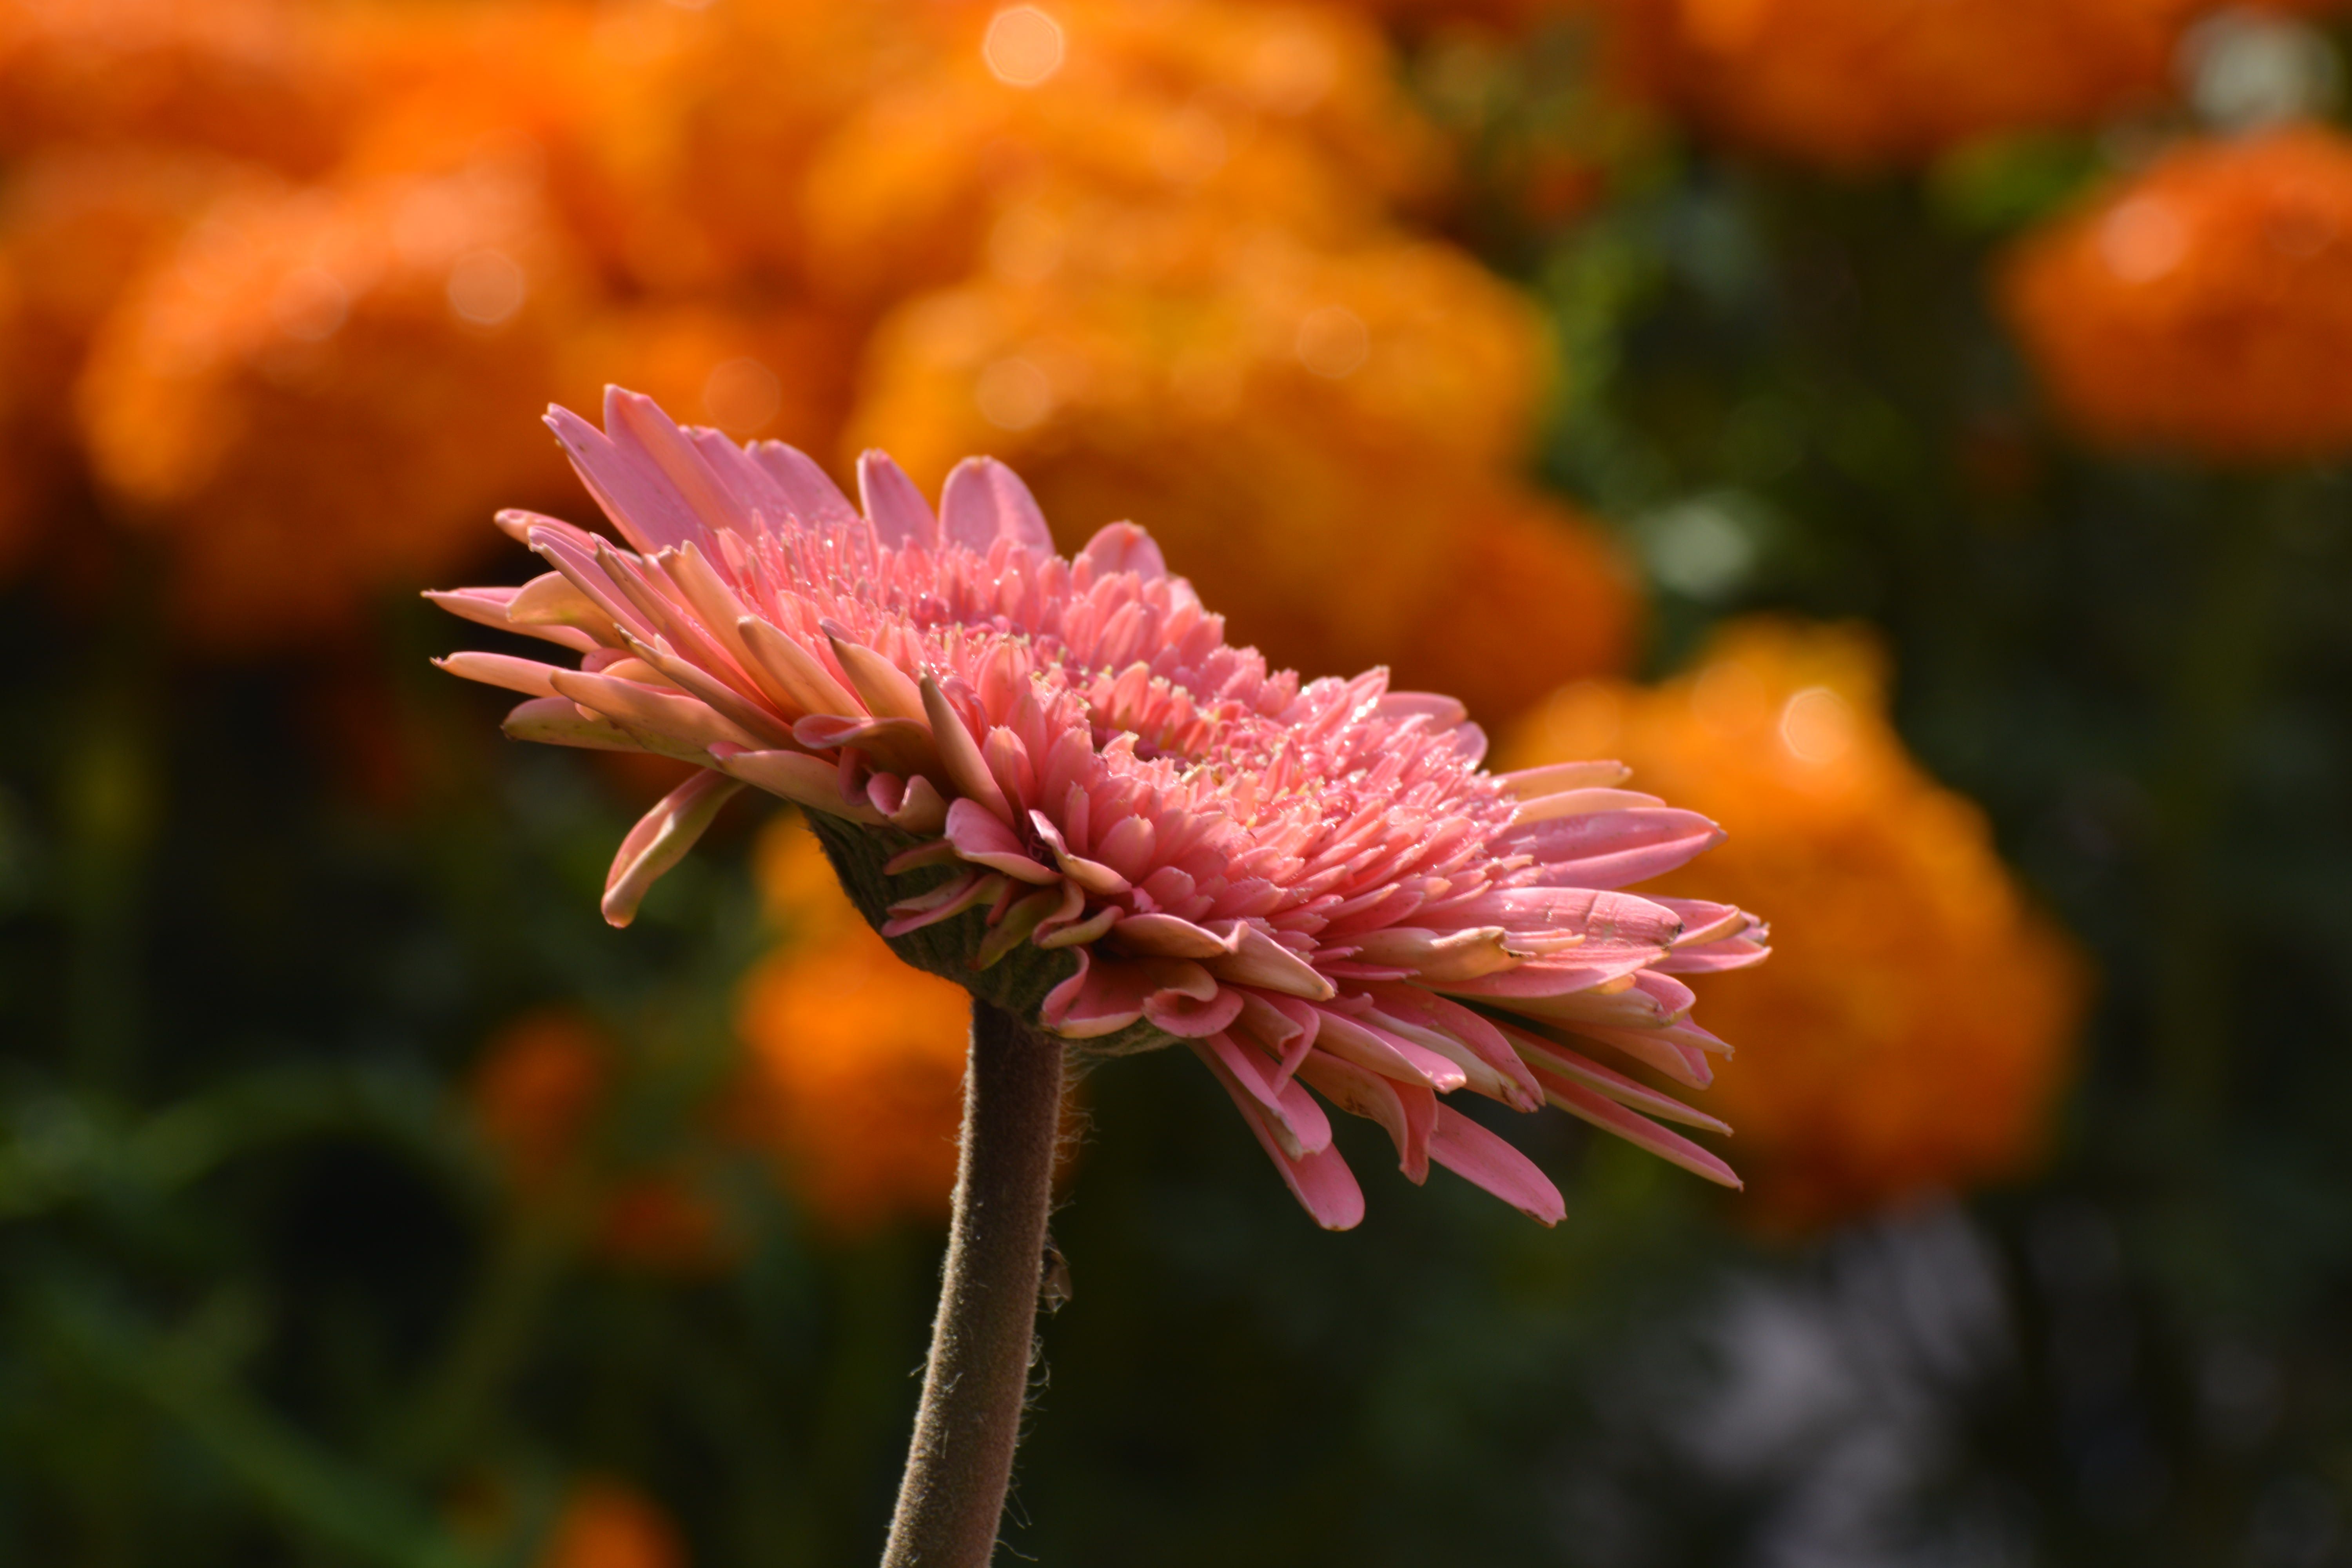
Focal point photography puts one subject in charge of the frame by leading the eye there first. On trail walks, that means spotting native flowers quickly and keeping the background quiet enough to hold them cleanly. Sharper flower photos usually come from small decisions before the shutter clicks. A better lens, a cleaner angle, and a quick glance behind the bloom can change the whole image.
Shop the setup

- Regular price
-
€42 - Regular price
-
€44 - Sale price
-
€42
By choosing the Camstrap strap, you are opting for a high-quality product designed to meet the needs of the most demanding photographers.
- Developed by a physiotherapist to relieve neck and back pain.
- Fast delivery with tracking by the Post Office 🚚
- Can be used as a shoulder strap or hands-free harness

- Regular price
-
€36 - Regular price
-
€42 - Sale price
-
€36
Free shipping included
Why the background carries so much weight
A flower can look timid when the scene behind it is crowded. Bright trash, pale rocks, and sharp leaves all tug the eye away from the plant.
Strong flower photos begin with separation. The bloom should feel close and clear, while the rest of the frame falls back.
Look for distance, light, and color
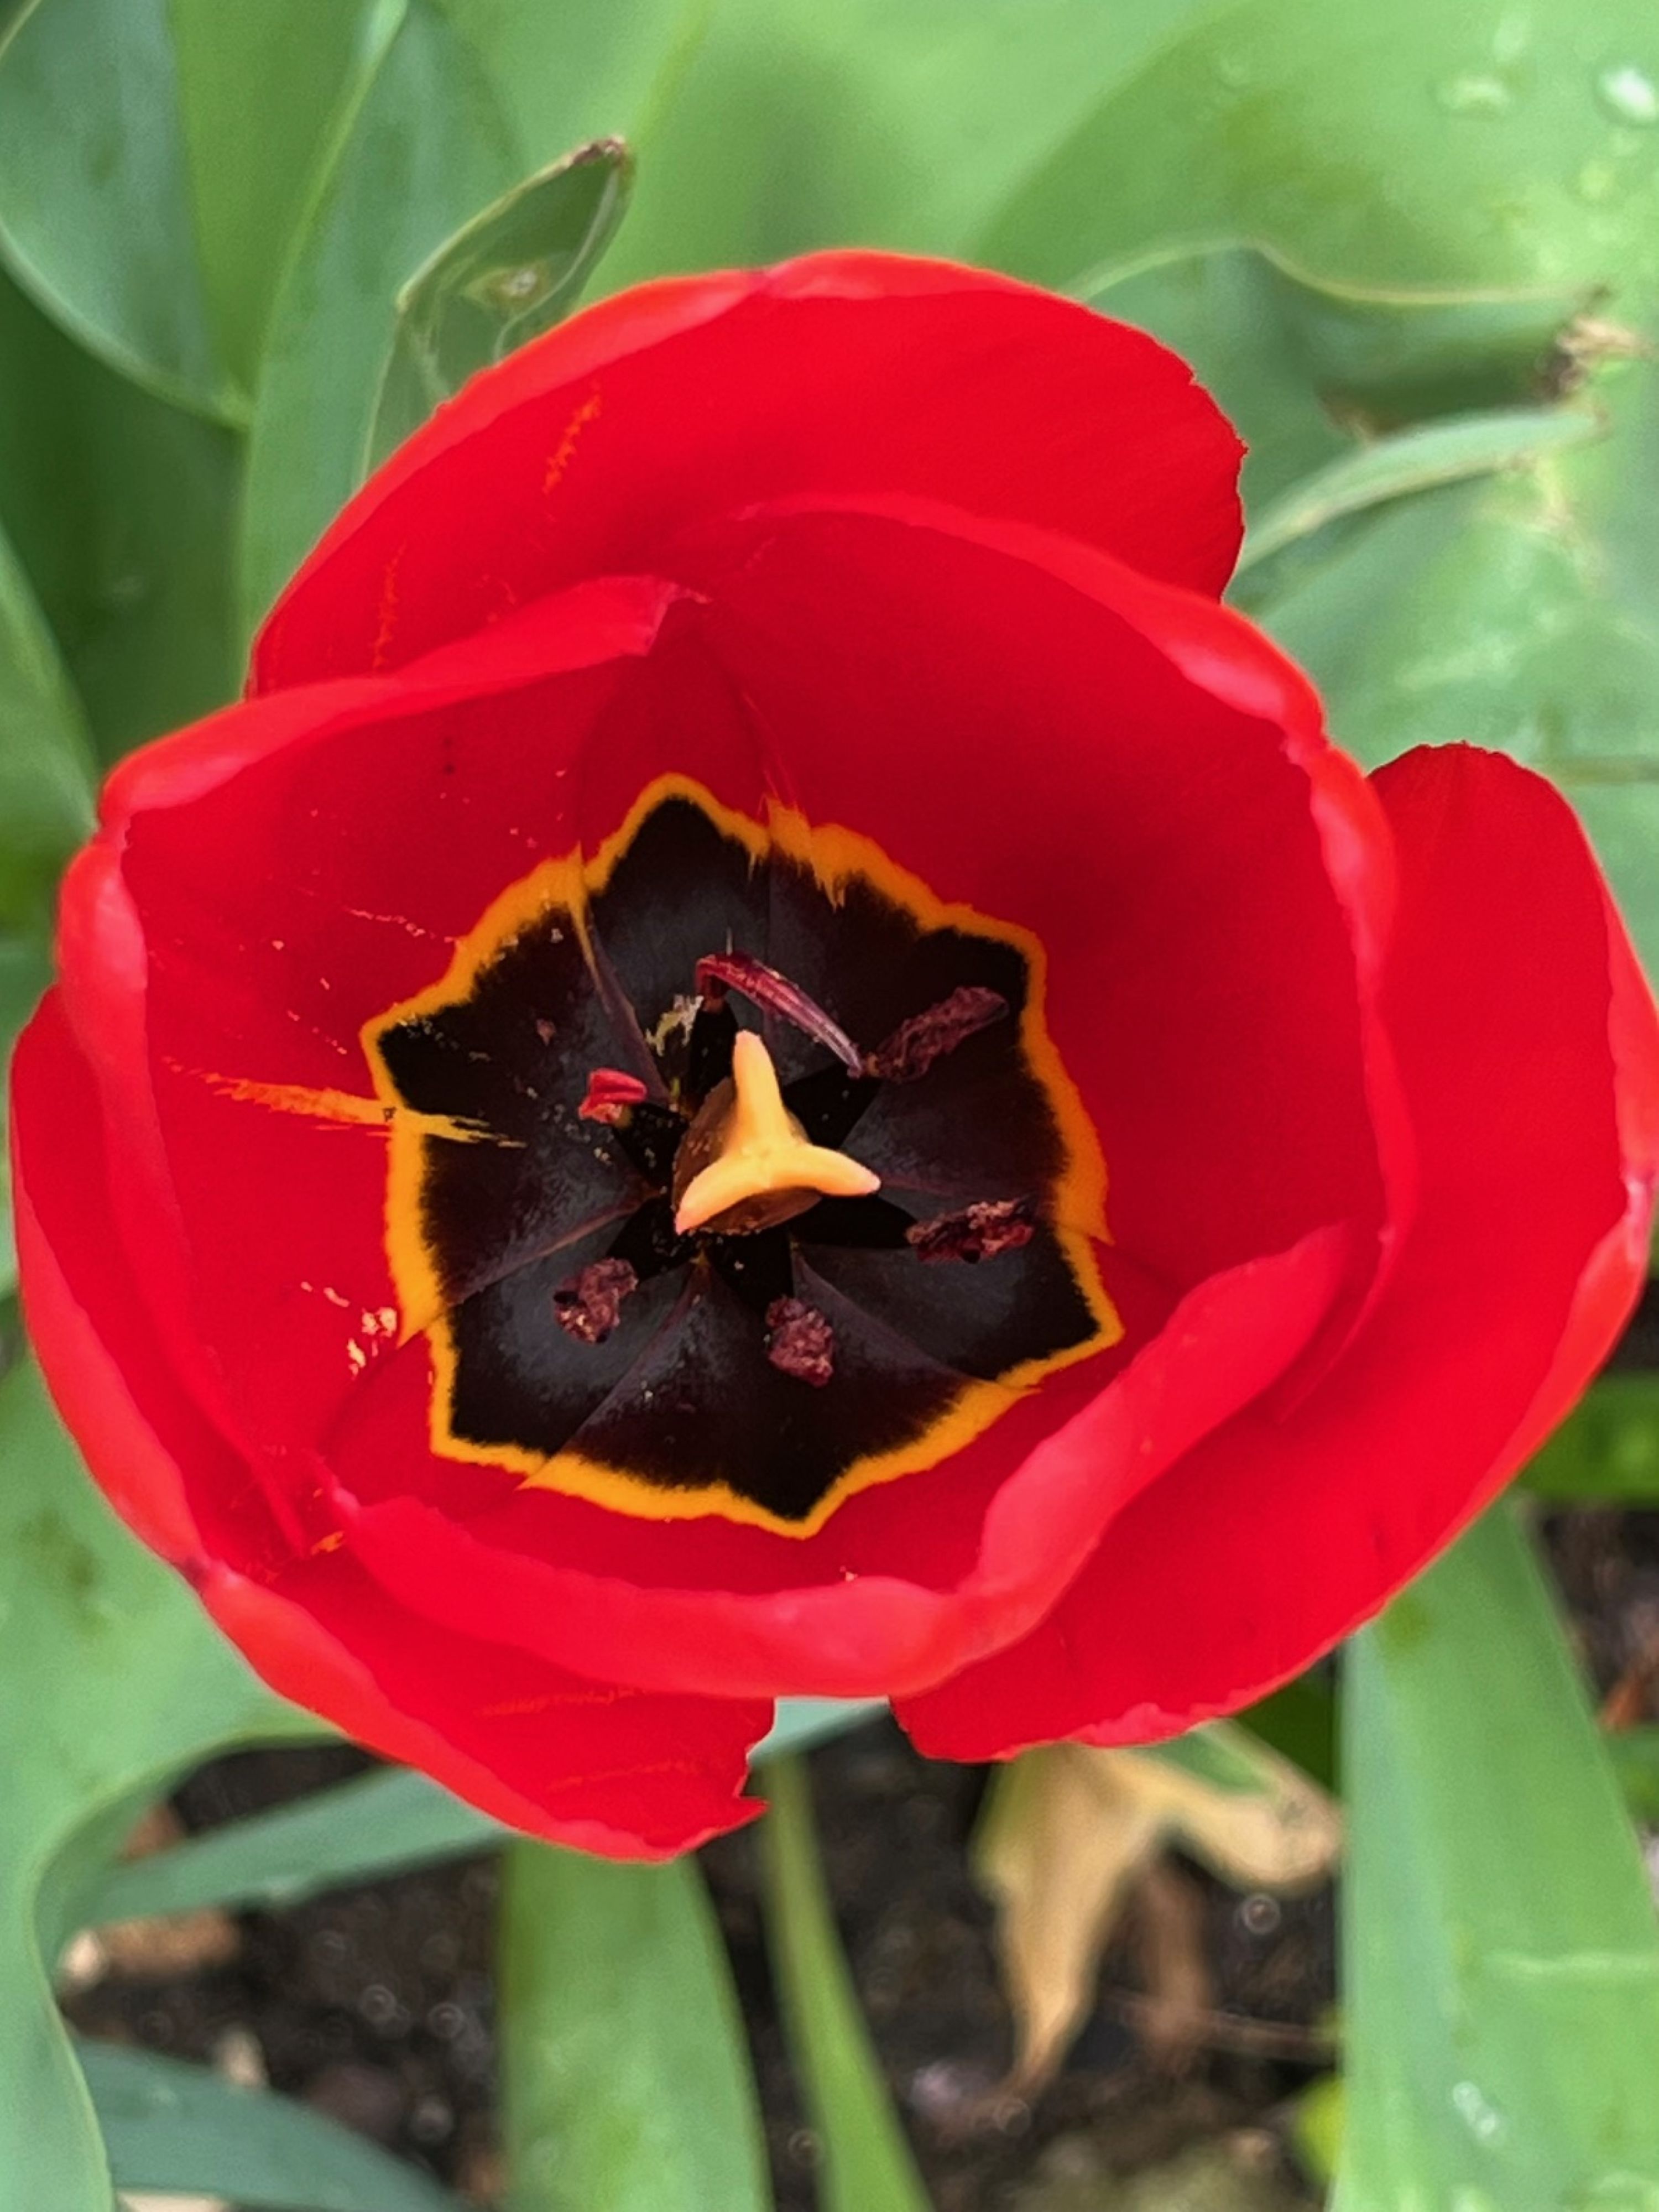
The simplest way to clean a frame is to push the background farther from the flower. One flower guide suggests at least 1 foot of space behind the bloom, and more helps even more. Light can work against you. A bright patch behind a dark flower draws attention, even when the colors look pleasant on the trail.
- Check the space behind the flower first.
- Watch for bright spots and light-colored rocks.
- Pick angles where the background turns soft or dark.
- Use one bloom instead of a clump when the scene feels messy.
Color can help or hurt. A yellow flower against green shade usually reads well, while a yellow flower against pale grass may disappear into it.
What a focal point does in a photo
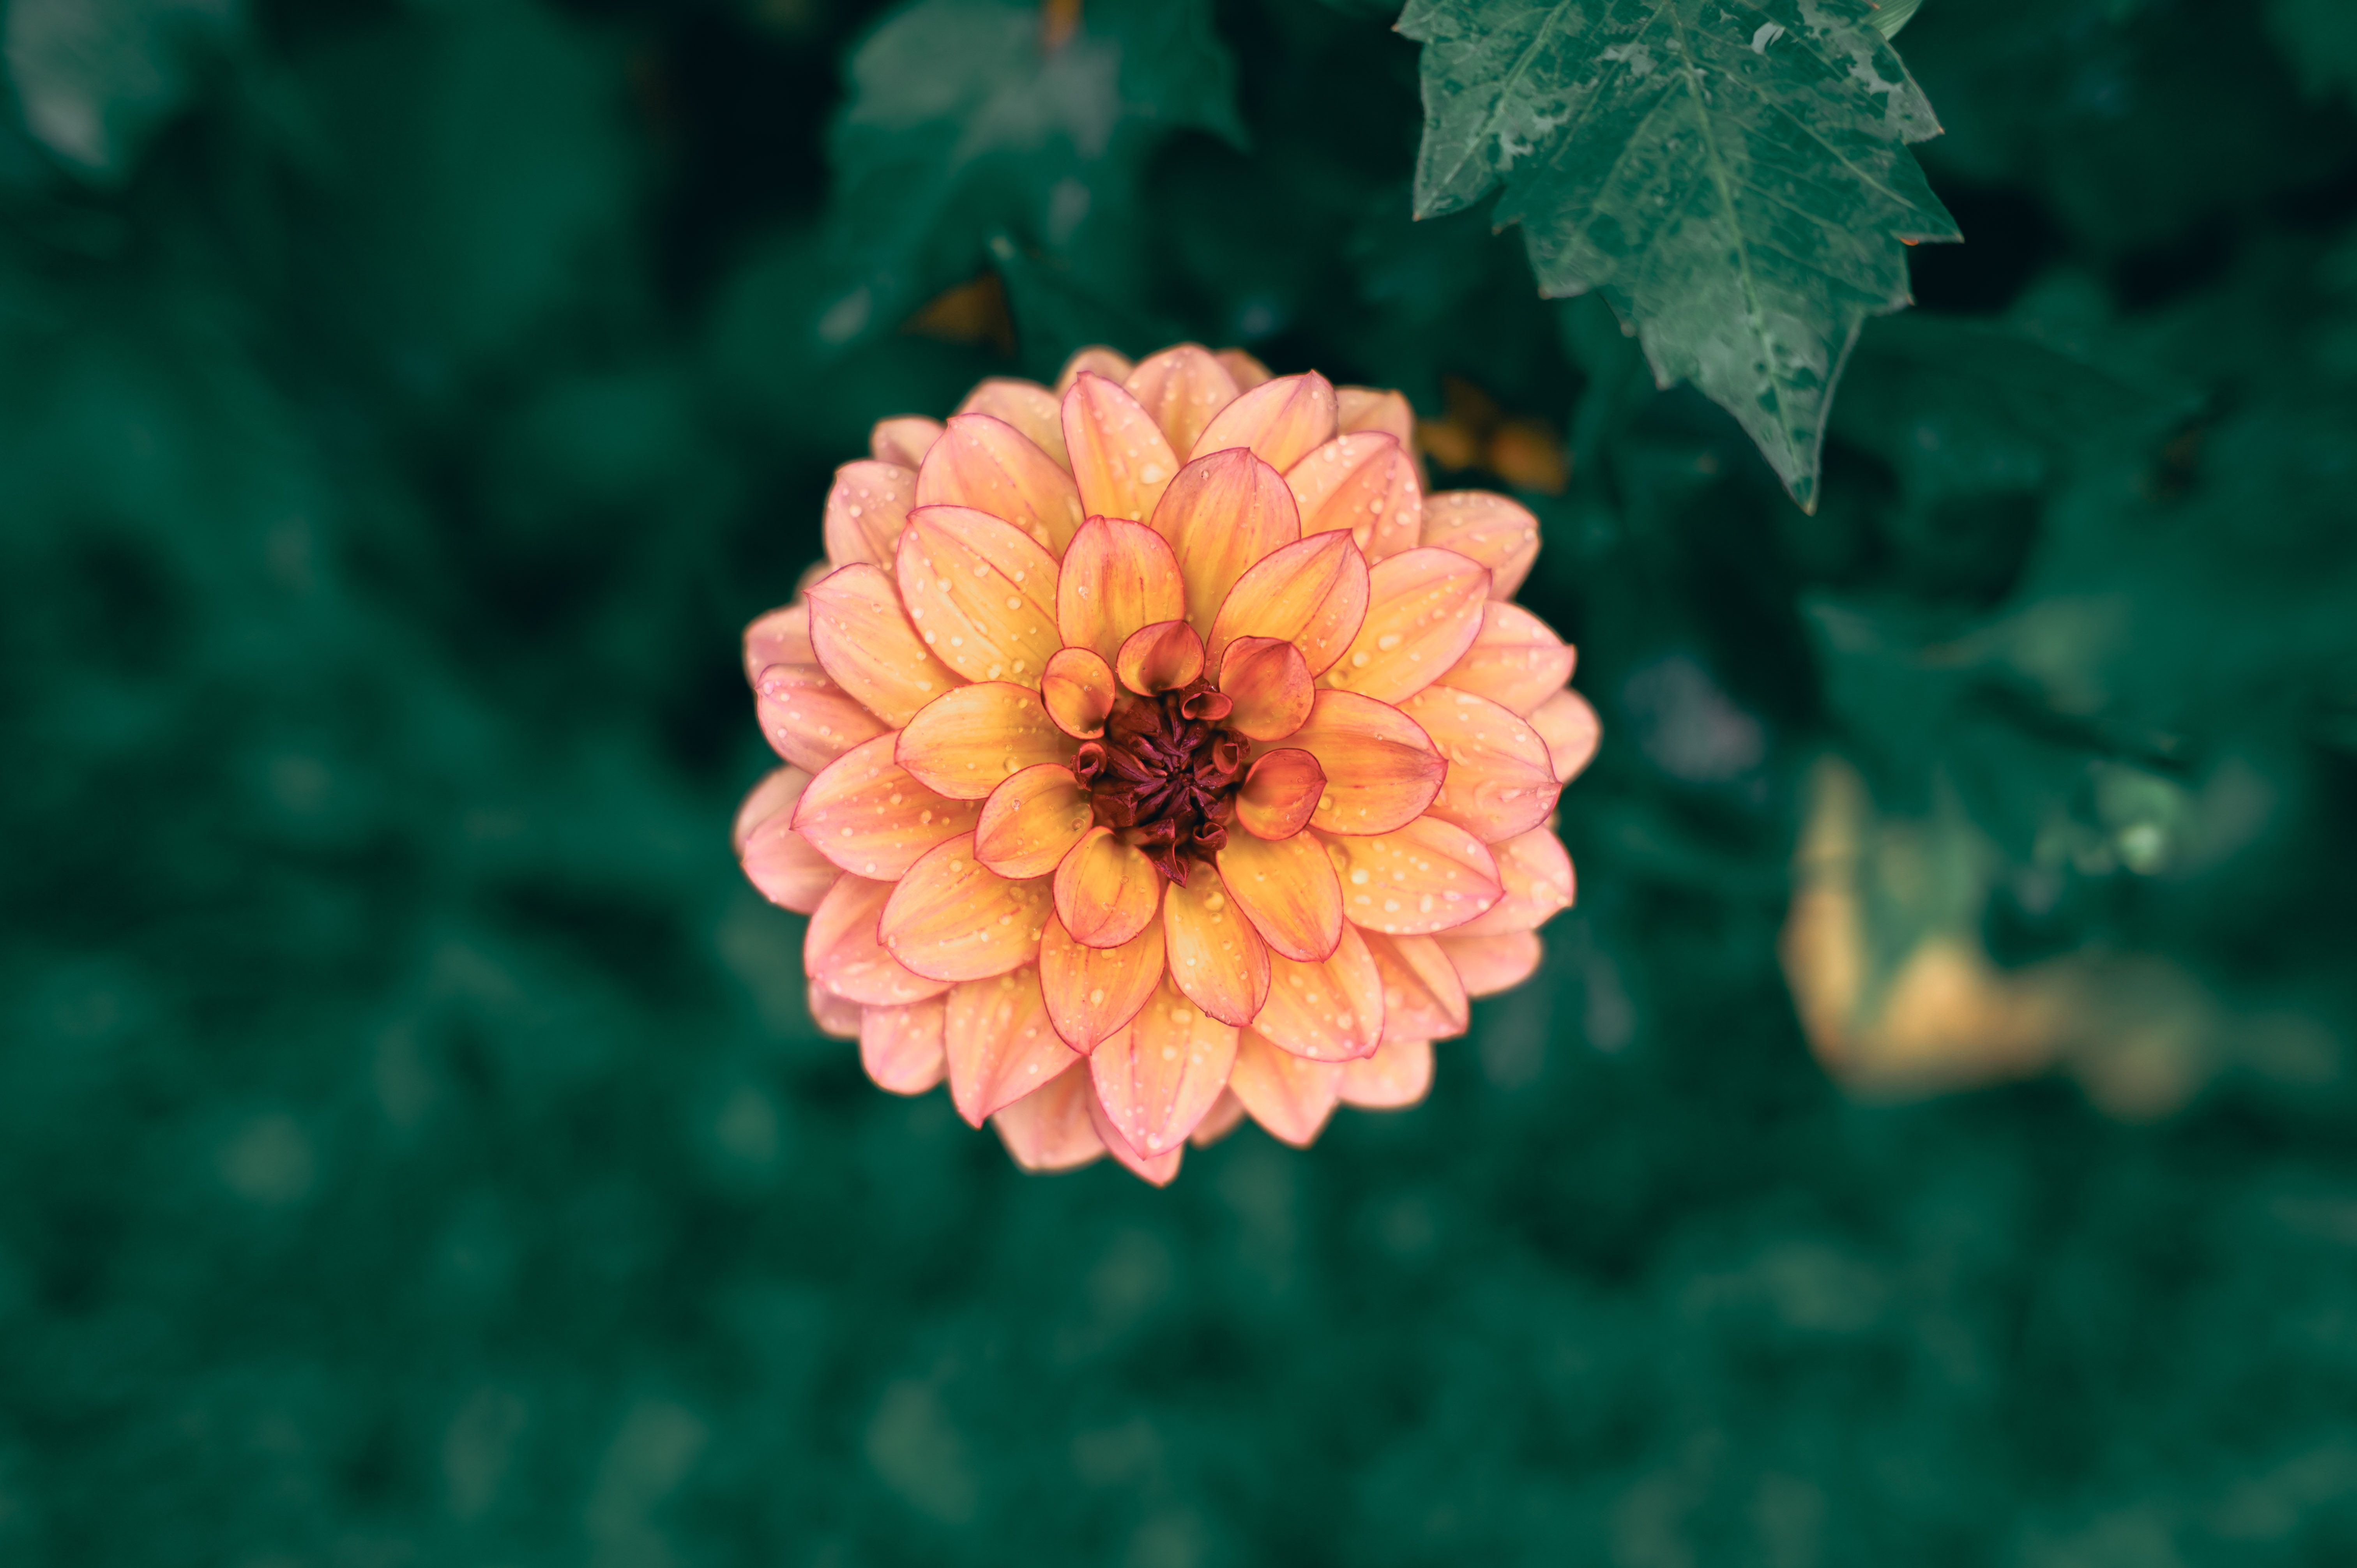
A focal point is the main part of the image that the eye meets first. In flower work, that’s often one bloom, one stem, or even one sharp petal edge.
The eye needs somewhere obvious to land. If several things compete for attention, the photo feels less calm and less direct.
How one subject organizes the frame
The focal point gives the picture a clear job. It tells the viewer what matters most and lets everything else support it. For native flowers, that often means choosing one bloom near eye level and giving it room. A 50mm or 85mm lens with a wide maximum aperture can keep that bloom crisp while the rest softens away.
On a walk, I often stop when I find a flower with clean space around it. A hands-free strap, such as the Camstrap Voyager, helps because I can lift the camera fast and stay ready without fussing with my grip.

What the focal point is for
The purpose of a focal point is to direct where the viewer looks first. It also gives the whole image a simple, readable shape.
On trails, that helps a lot, because stems, grass, stones, and shade can crowd the scene. A strong focal point keeps those extras from taking over.
How it improves native flower shots
A clear focal point makes small plants feel more important. It can turn a tiny bloom beside a path into the main story of the photo. It also speeds up editing later. When the main subject is obvious, culling in Lightroom or Photo Mechanic moves faster because the best frames stand out sooner.
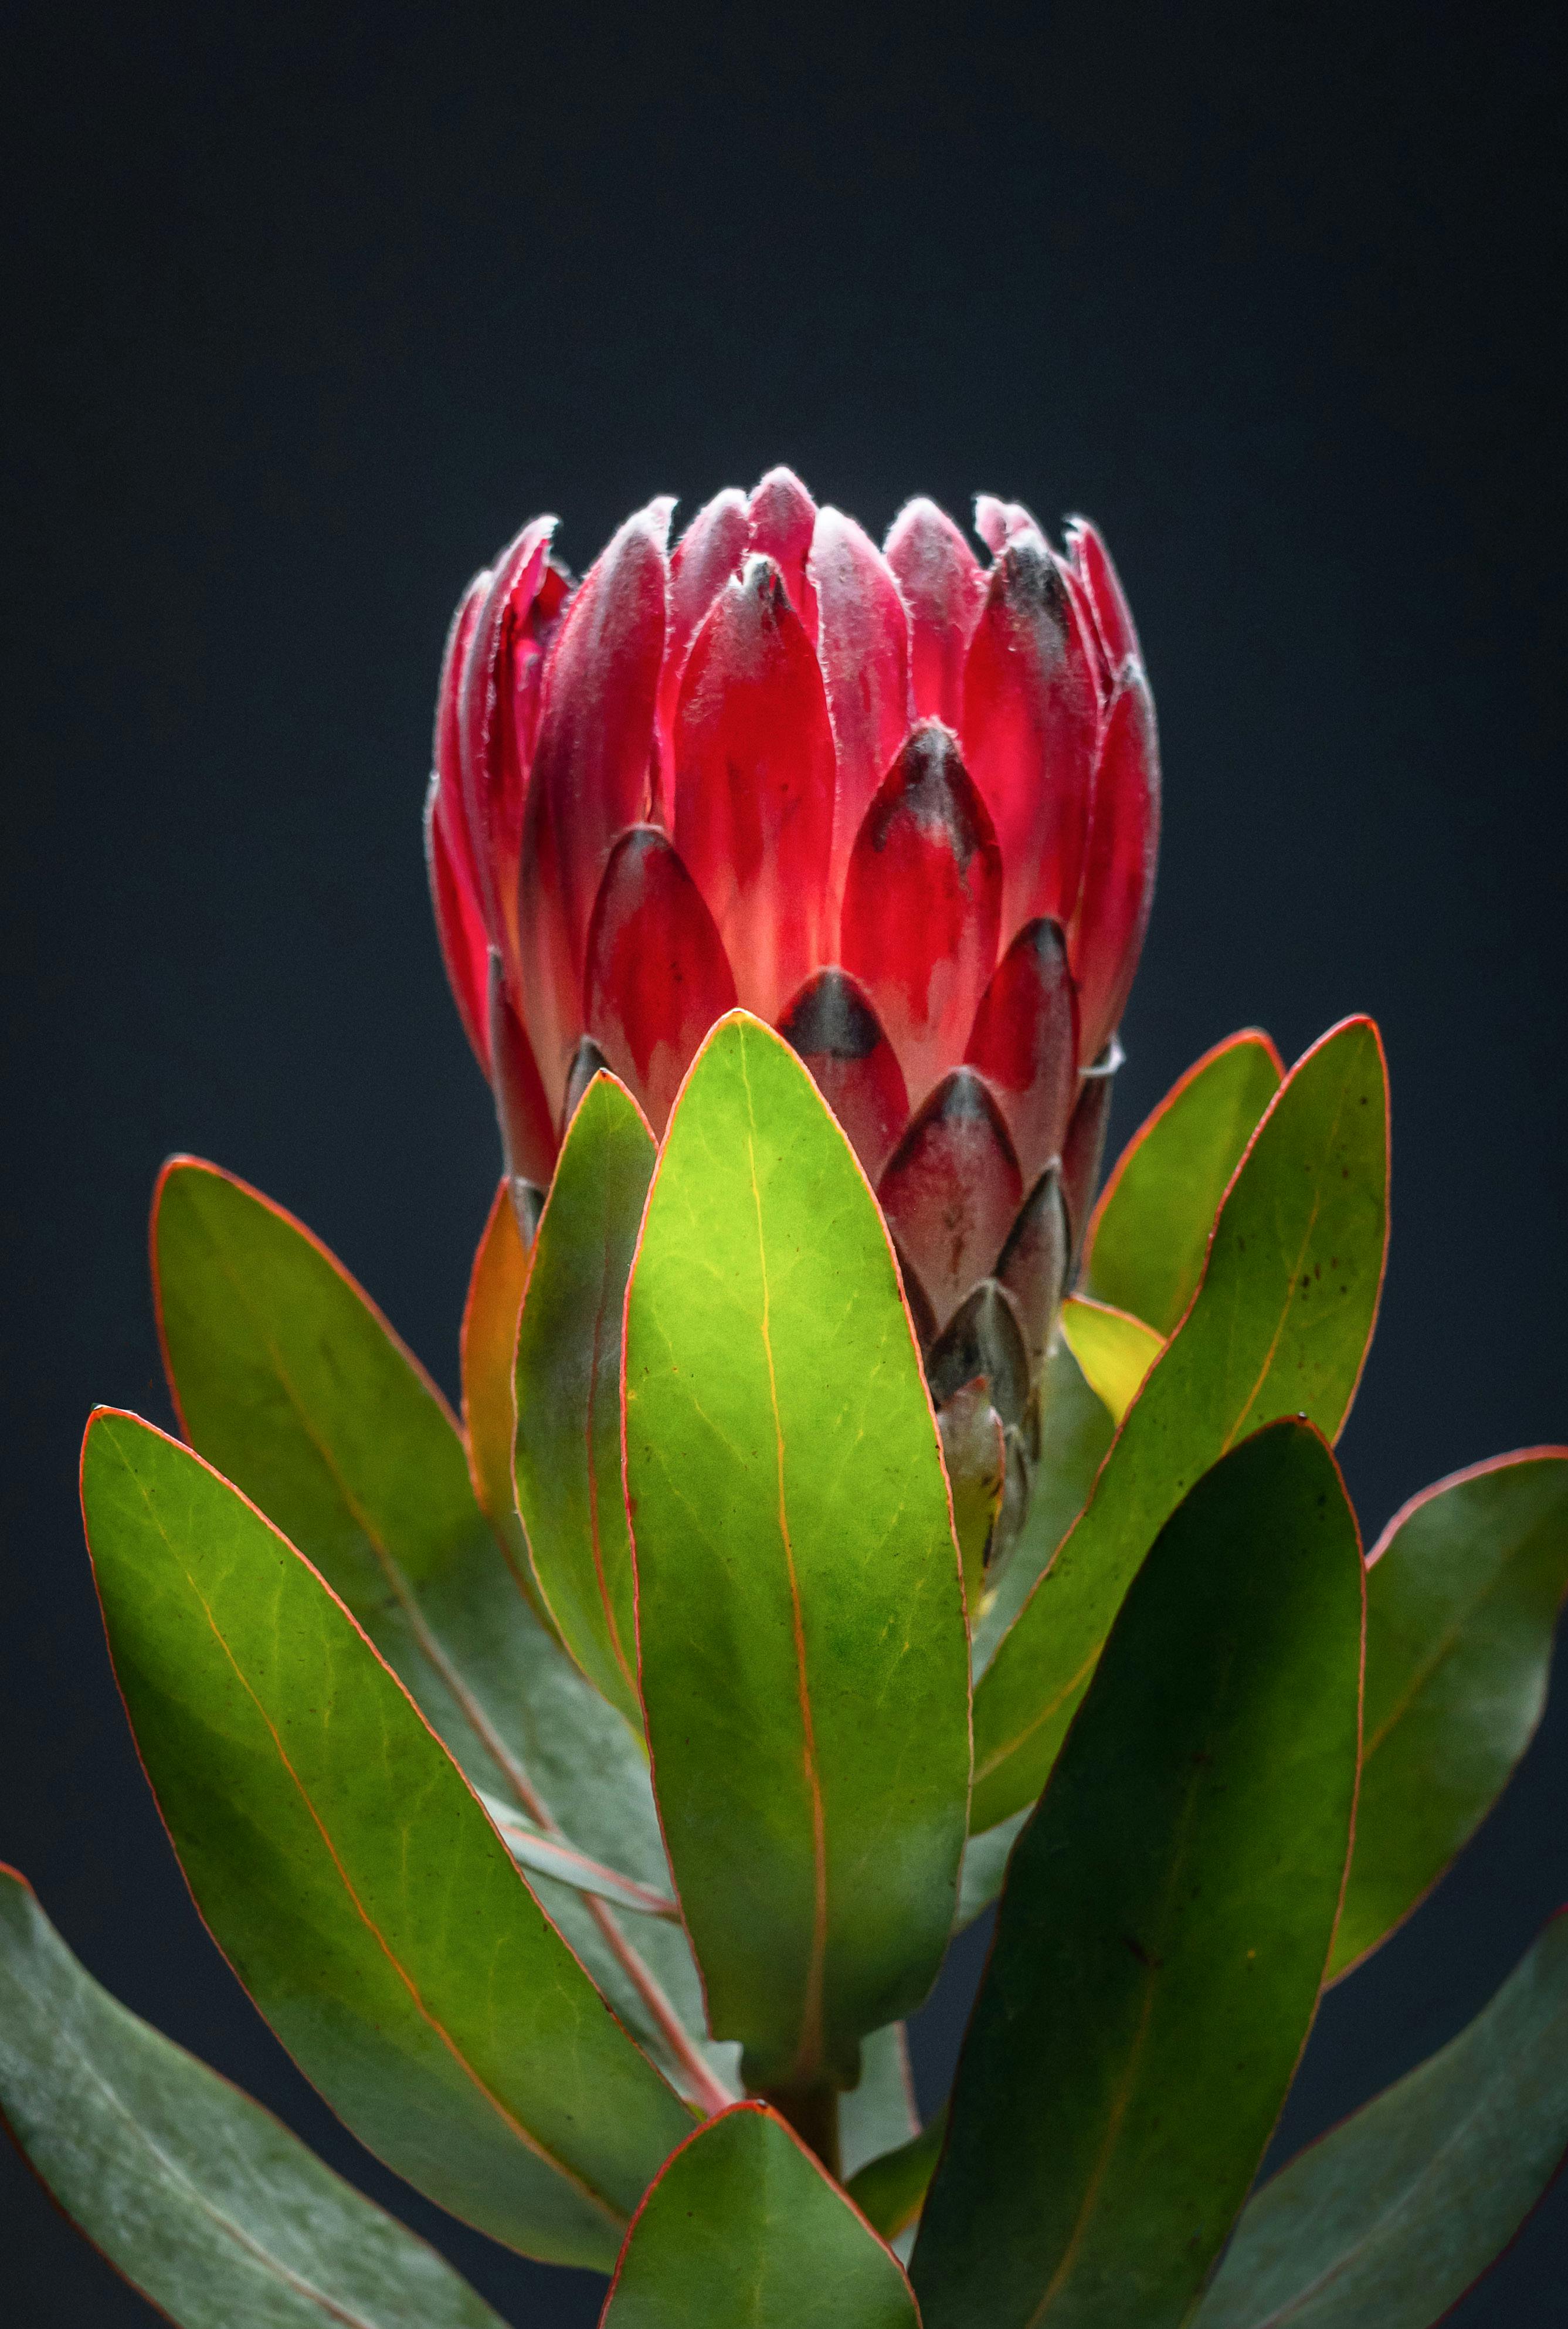
- Pick one bloom or one cluster as the main subject.
- Check whether the eye goes to the flower in one second.
- Remove distractions by changing your angle a few inches.
- Keep the subject bright enough to read, but not blown out.
That one-second test helps. If your eye drifts to the background first, the frame needs work.
How the 20-60-20 rule reads in practice
The 20-60-20 rule is a simple way to think about image balance. Roughly 20% of the frame should hold the main subject, 60% should support it, and 20% can add tension or interest.
For flowers, this is a guide rather than a hard rule. It keeps clutter from taking up too much room and gives the plant space to breathe.

Using the rule on a trail walk
Think of the bloom as the first 20%. The next 60% should shape the scene with clean grass, soft shade, or open air. The last 20% can add a small edge, such as a blurred stem or a hint of path. If that edge gets loud, the photo stops feeling clean.
One-point perspective can help in some scenes, but only if the lines stay gentle. For flowers, a soft frame usually works better than a strong road-like pull.
What focal point means in plain language
In plain language, focal point means the part of the photo you want people to notice first. It’s the star of the frame.

With native flowers, the focal point is usually the blossom with the best shape, color, or light. Everything else should help that flower stand out.
Easy ways to choose the star
Start by finding the cleanest bloom, not the biggest one. A smaller flower with a clear background often makes a better photo than a larger flower in clutter. Then move a step left or right and look again. A tiny shift can turn a messy backdrop into a soft wash of color.
Lens and camera settings that clean up the scene
Longer focal lengths and wide apertures help separate flowers from busy paths. A 50mm or 85mm lens is a strong choice, and many flower shooters use maximum apertures around f/1.4 or f/2.0.
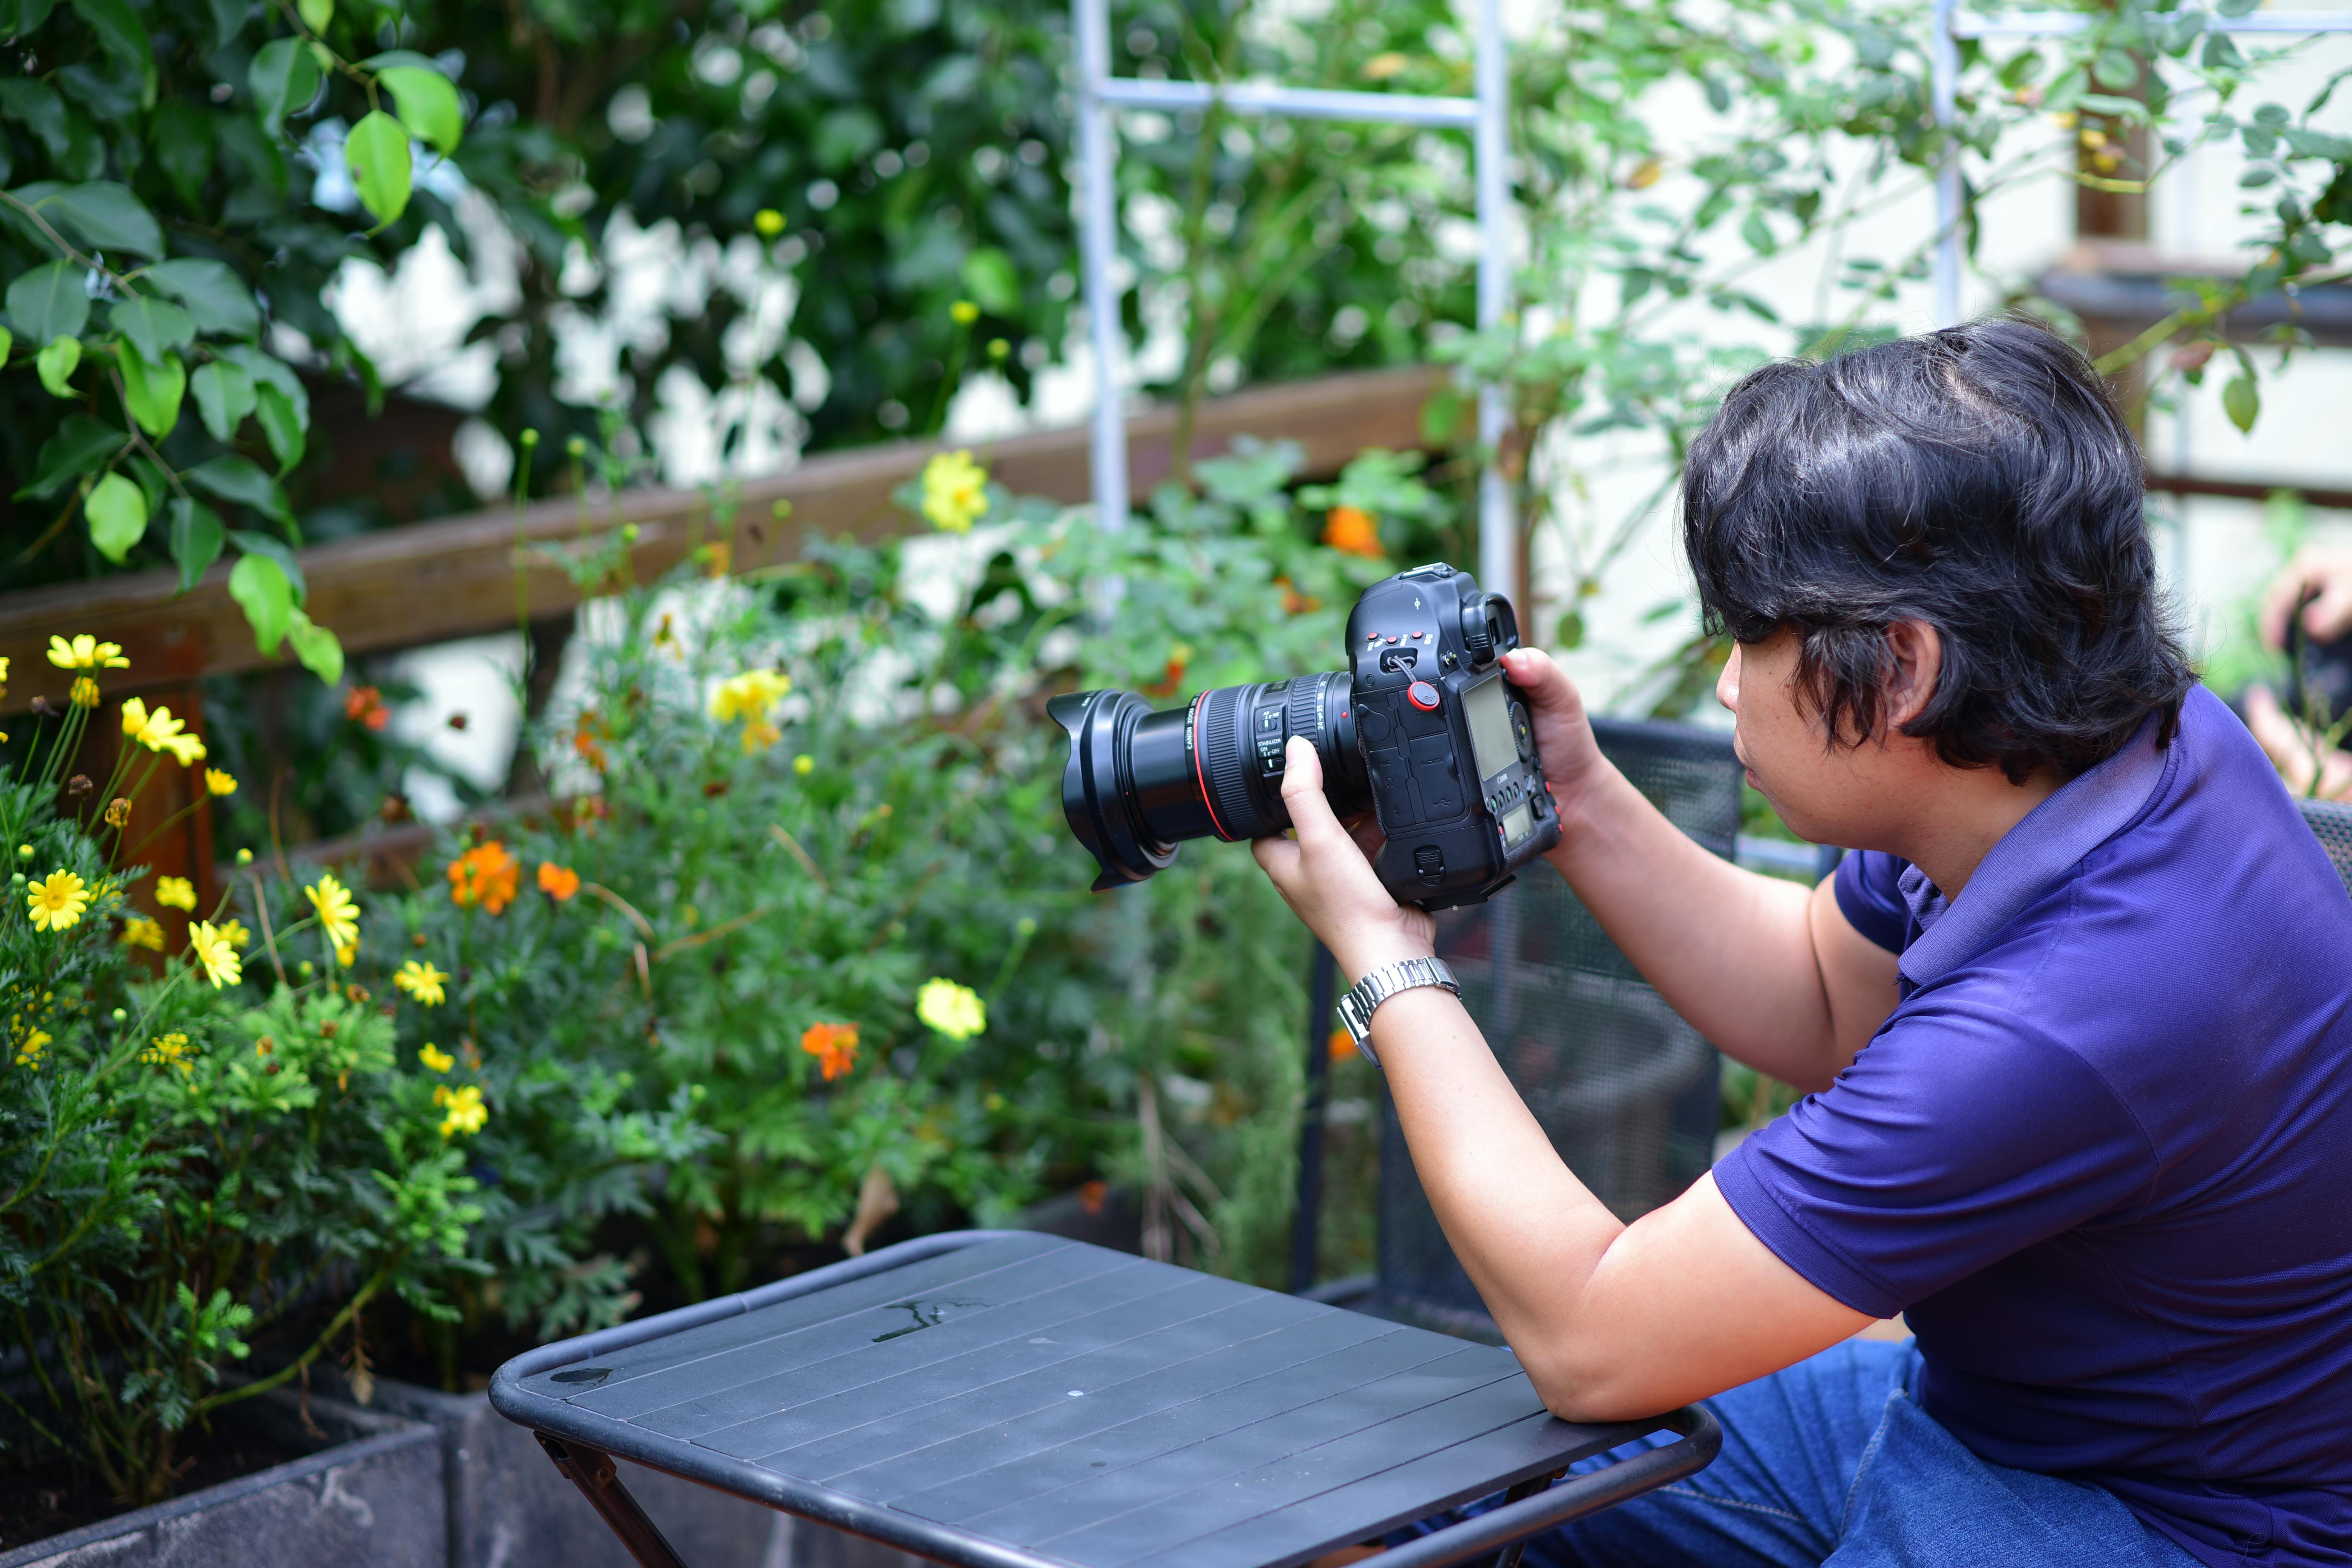
For softer backgrounds, aperture ranges around f/2.8 to f/7.1 often work well. The closer you are to the flower, the shallower the depth of field becomes, so even small changes matter.
Useful settings for trail flowers
- Set aperture priority or manual mode.
- Start around f/2.8 for strong blur, then stop down if the bloom needs more depth.
- Keep ISO as low as the light allows.
- Use AF-C or AI Servo with subject detection if the flower sways in wind.
- Take a test shot and check the background, not just the bloom.
A wide aperture can blur the background fast, and it can also make part of the flower fall out of focus. If the bloom faces the camera at an angle, I often stop down a bit. That keeps the front petal and the center both sharp.
Why distance changes the look so much
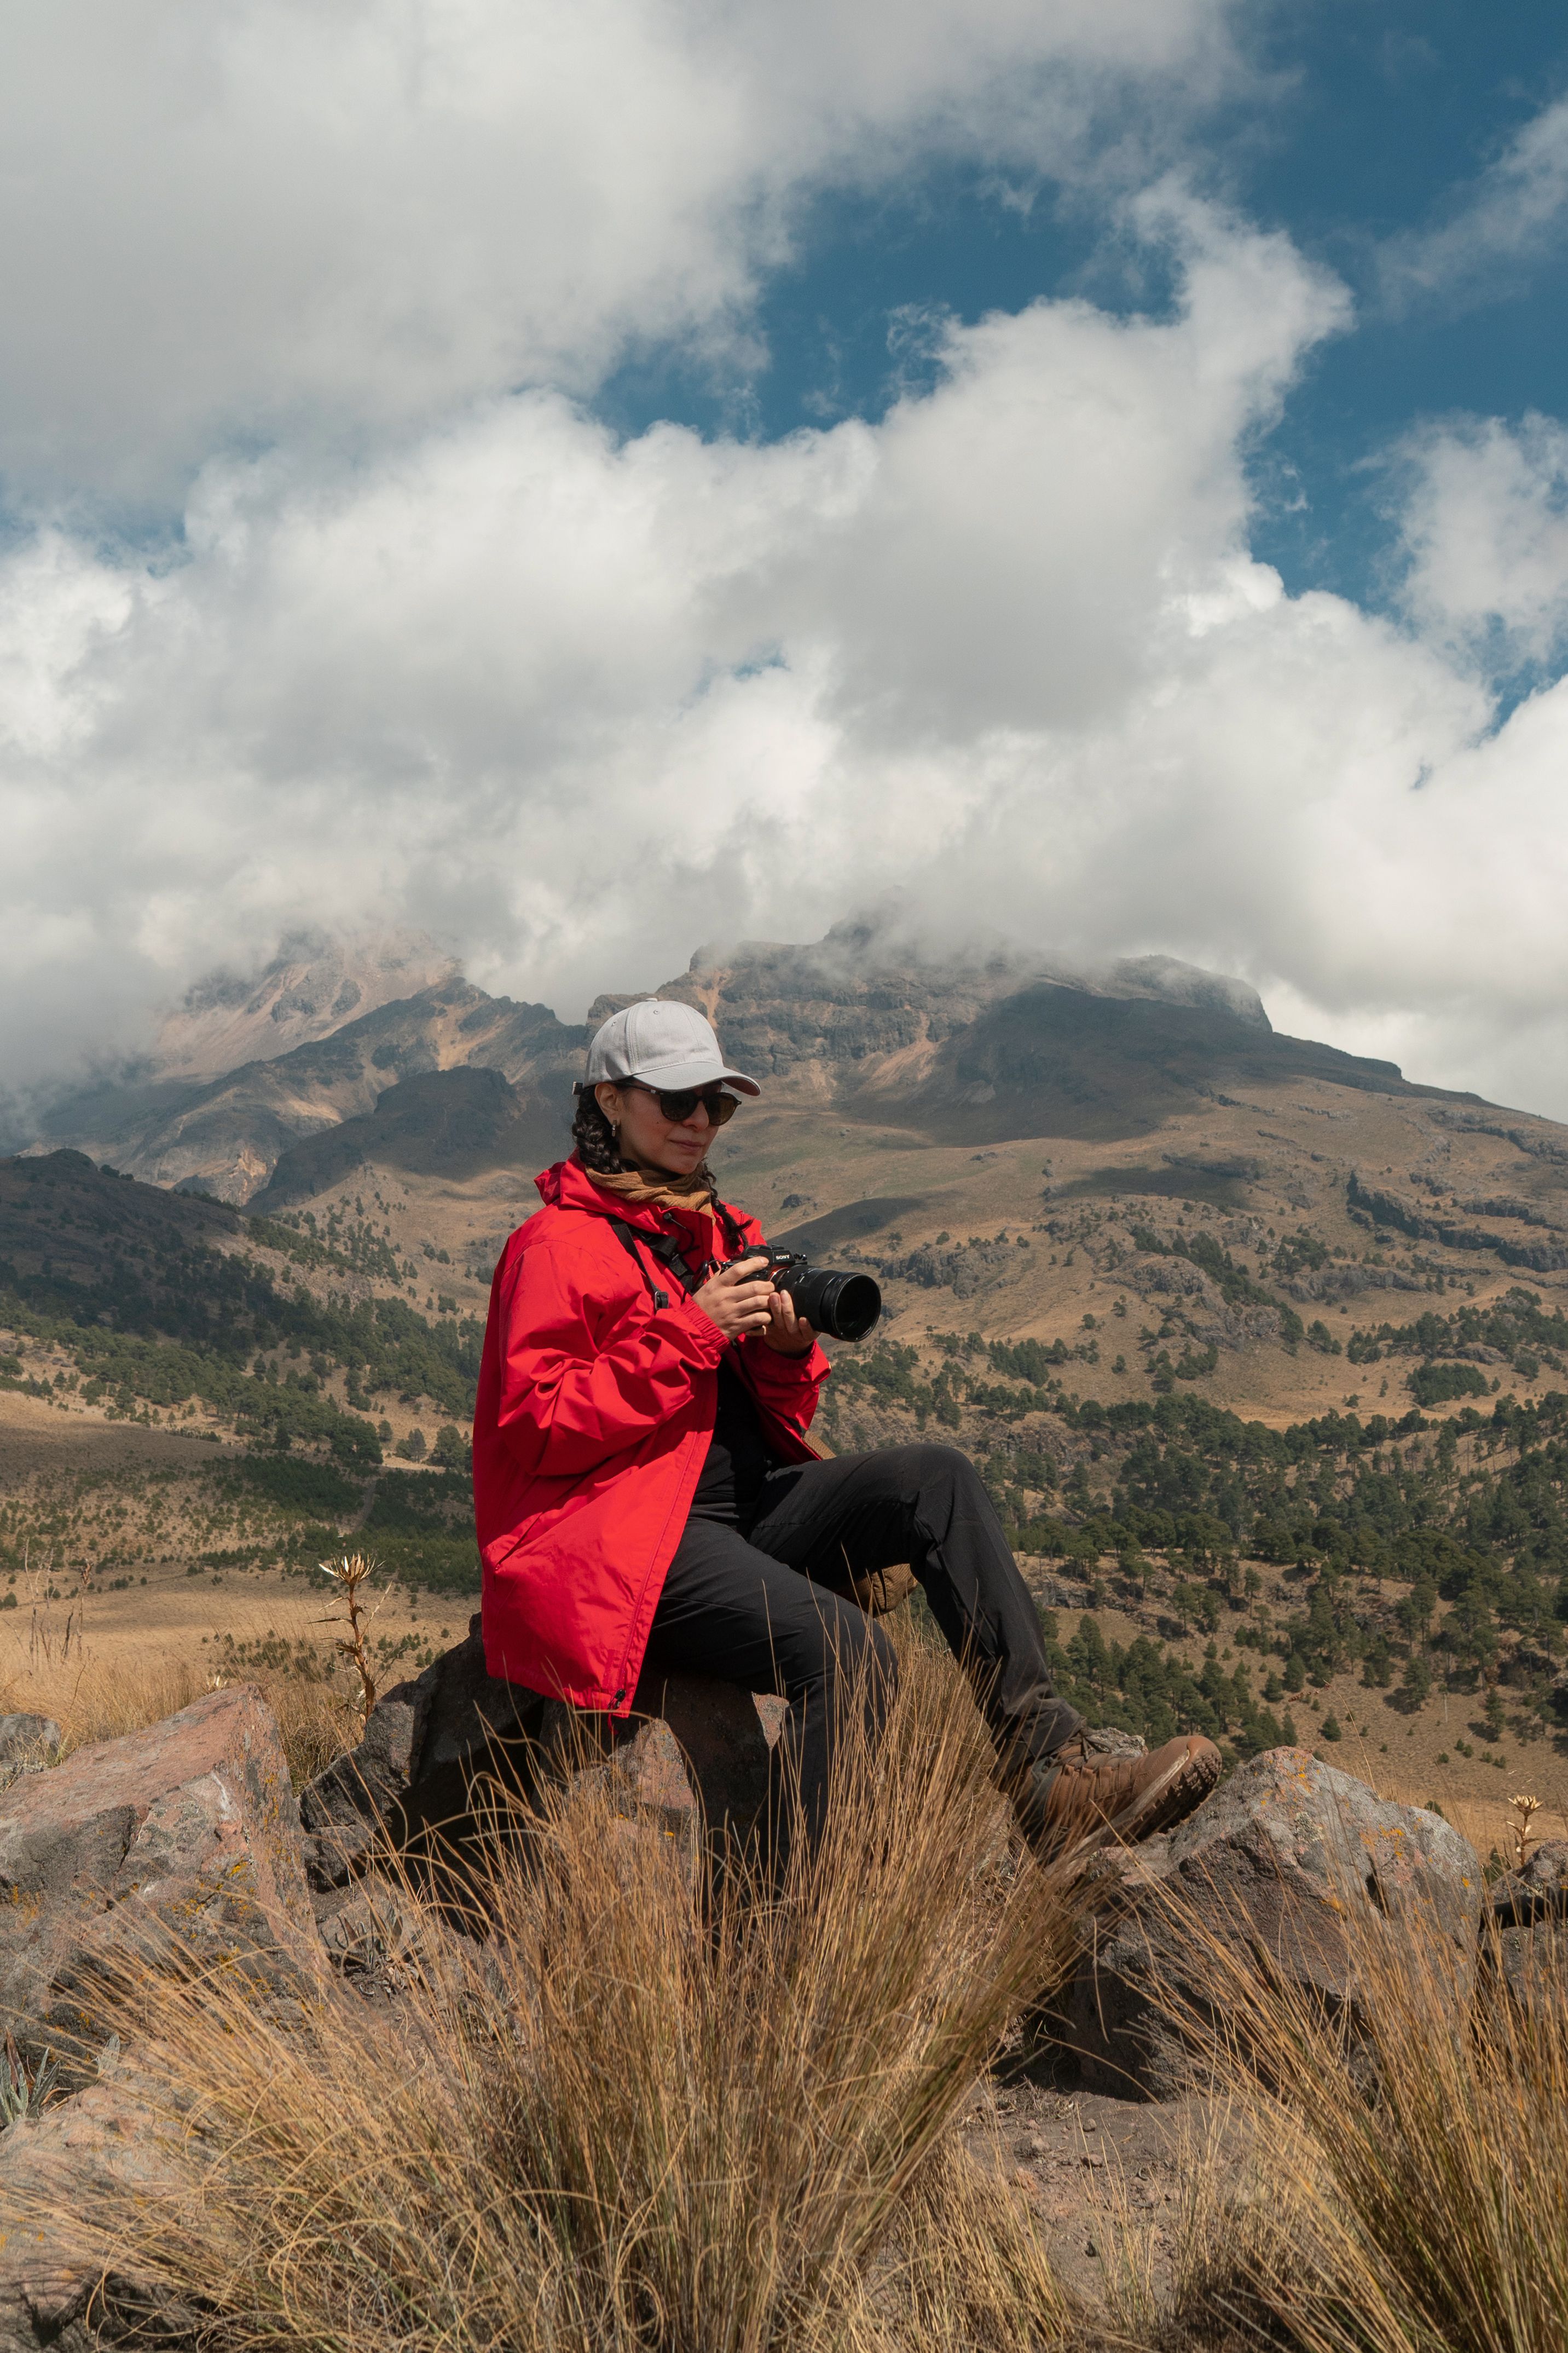
Background distance has a huge effect. At 200mm, f/6.3, and about 0.7 m focus distance, background details roughly 2 m behind the subject can disappear into blur.
That kind of separation helps on walks with trees, signs, or other plants behind the flower. Move the camera, or move your feet, until the clutter slips farther back.
Fast shutter speeds still matter when the wind picks up. Around 1/500s can freeze a light sway, while slower speeds may work only on still mornings.
Field habits that keep flower photos neat
Clean flower shots often come from simple habits, not fancy gear. A short pause before each frame can save a bad photo. First, scan the background. Then check the flower angle, the light, and the nearest edges of the frame.
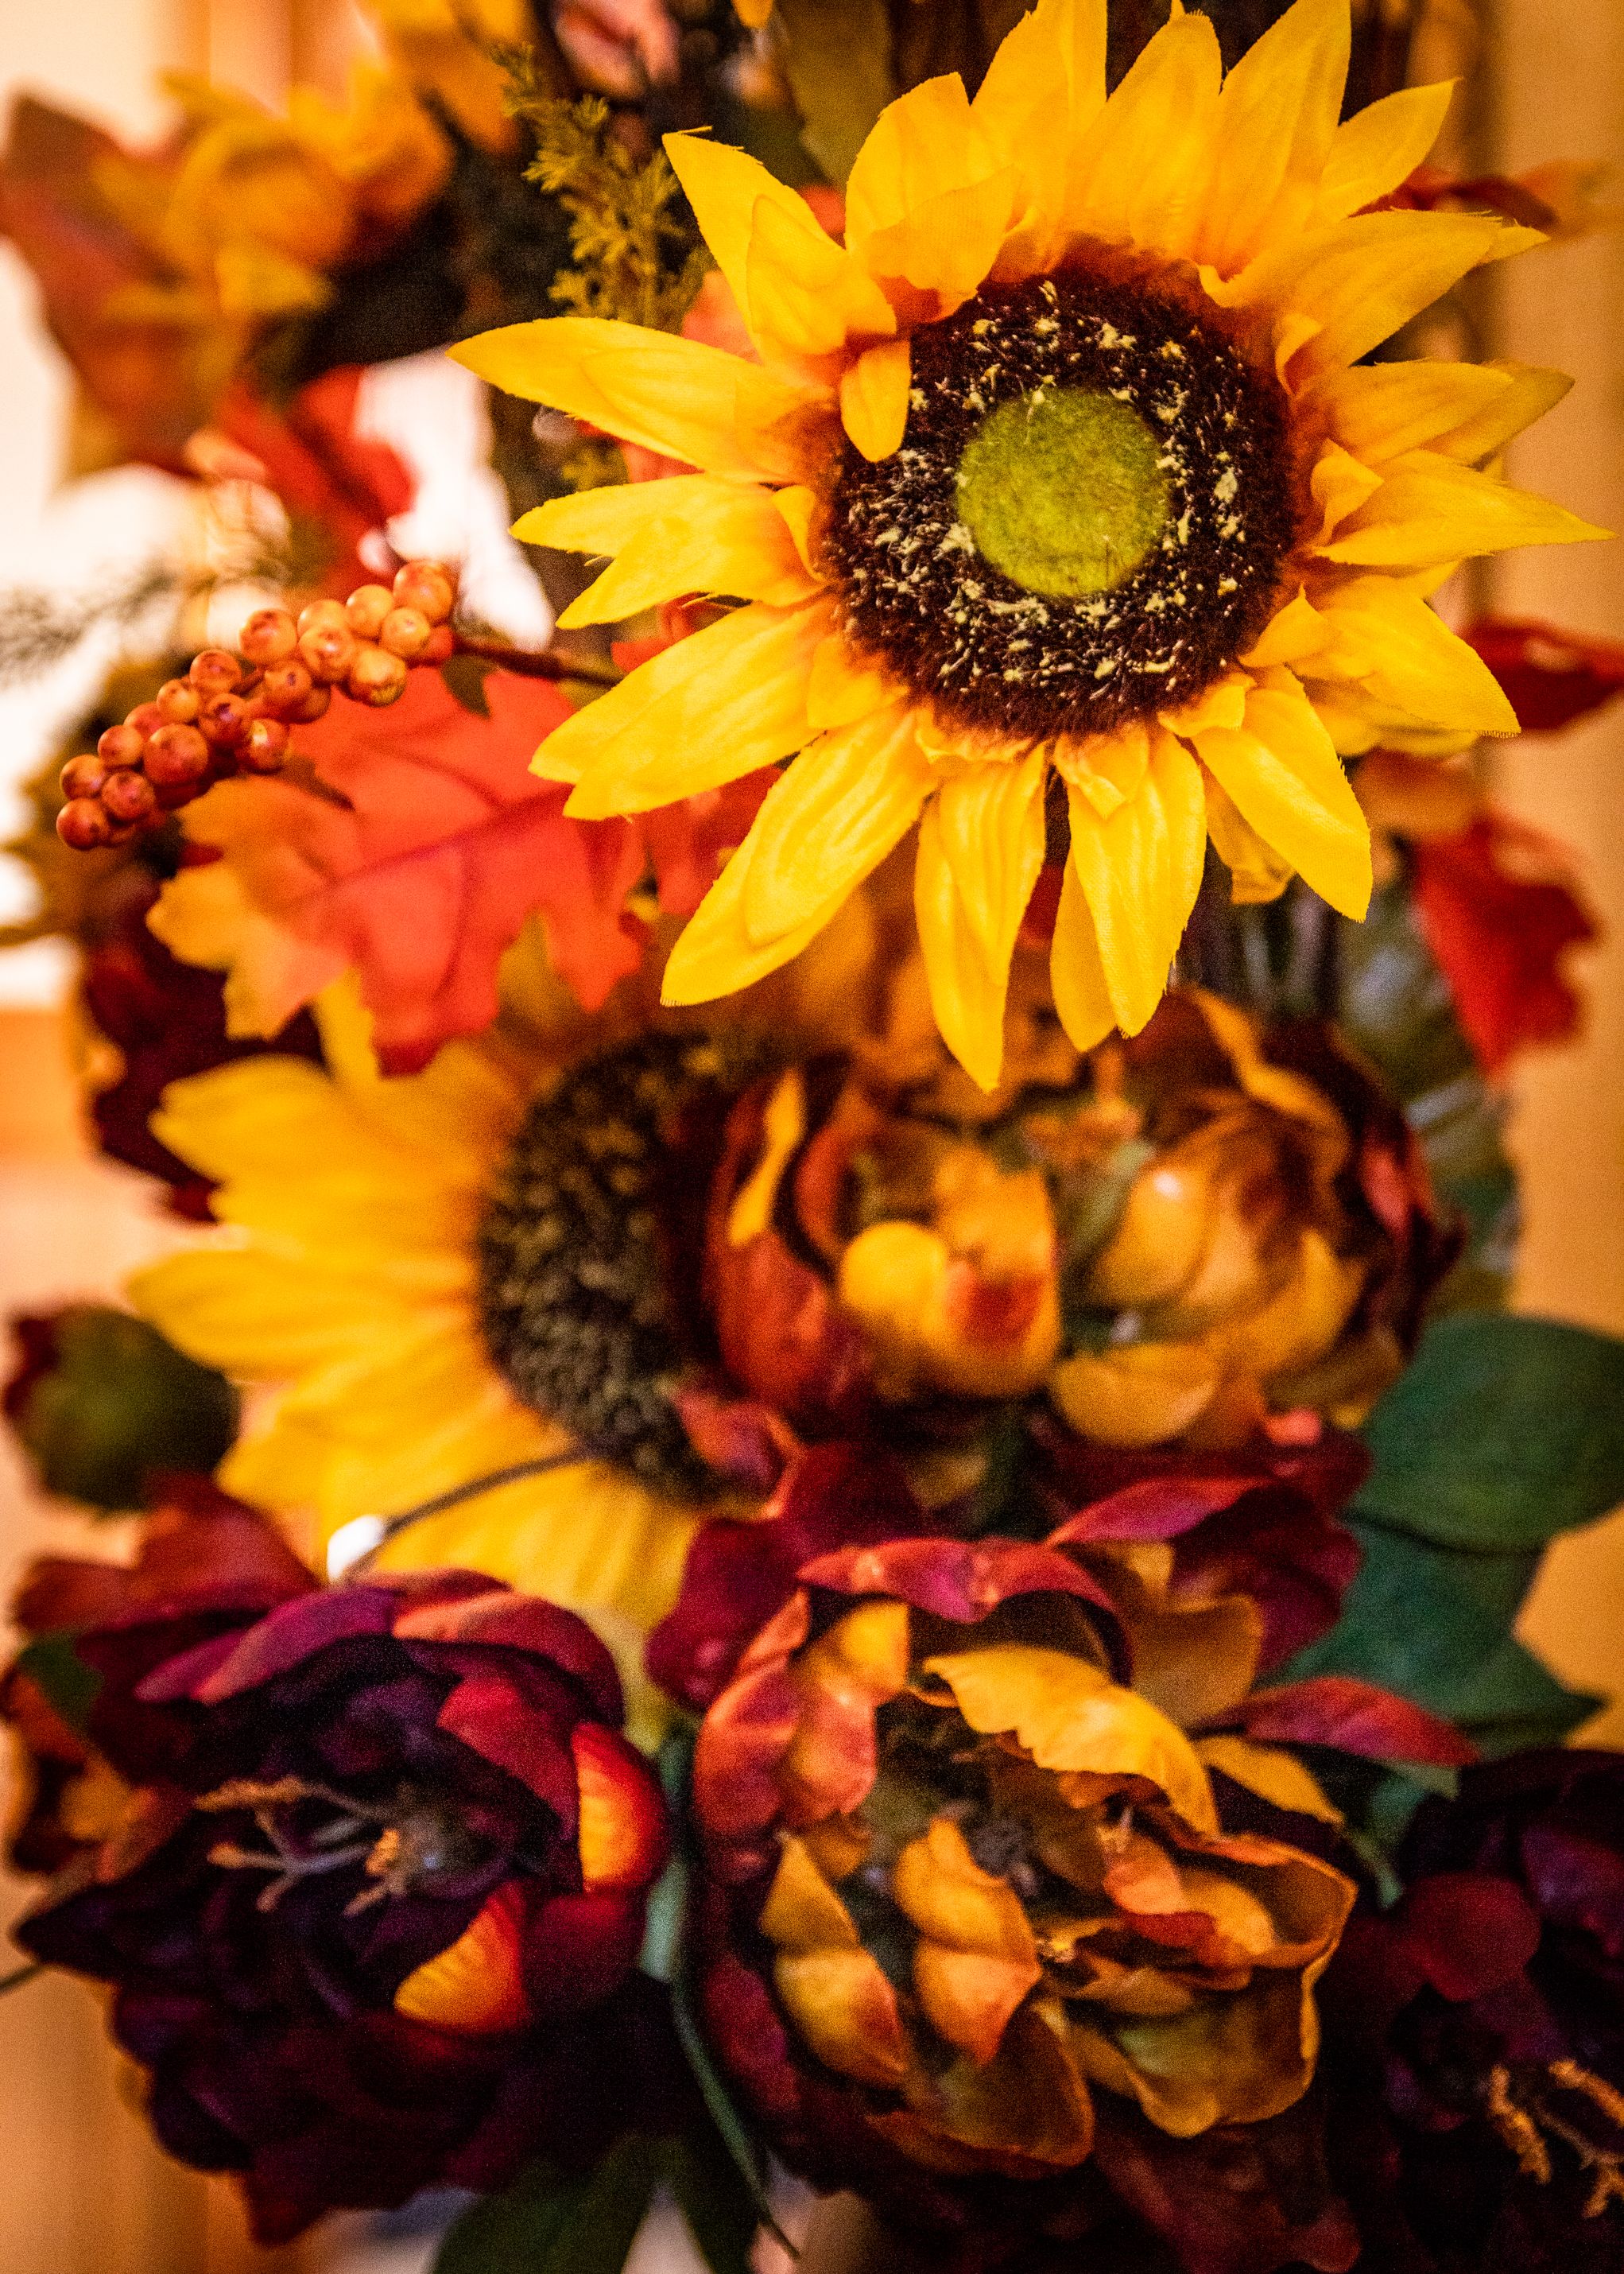
A quick walk-up routine
- Stop a few feet away and look for clutter behind the bloom.
- Kneel or crouch to get the background lower or softer.
- Move until the flower sits against shade, sky, or plain greenery.
- Focus on the nearest petal edge if the flower is angled.
- Take one frame, then review the background before shooting more.
Wind can wreck a good composition fast. If the stem moves a lot, use burst mode for a short series, but keep it brief so you can stay in control of the frame.
Mirrorless bodies also drain faster when the EVF or LCD stays on all the time. Screen review uses power too, so I keep playback short on long walks.
Ways to work fast without making the frame messy

Quick movement helps when native flowers sit close to a trail. You want to raise the camera, lock focus, and shoot before the light changes. Back-button focus makes this easier because focus and shutter stay separate. Pre-capture or pre-burst modes can also save a few frames from just before the full press, which helps when a bloom sways in the wind.
Tools that help on the trail
A mid-tier mirrorless body often slows after about 20 to 40 RAW frames, depending on file size and card speed. UHS-II V60 or V90 cards clear that buffer faster than UHS-I cards, and CFexpress is quicker still.
That matters less for a single flower frame and more for a windy patch of blooms. Still, it helps to know the limit before the camera pauses at the wrong moment.
One more useful detail: high frame rates can bring tradeoffs. Electronic shutter may shoot very fast, but it can show rolling-shutter skew or banding under LED or fluorescent light.

What to keep in mind before the next trail walk
Clean flower photos come from seeing the subject first and the clutter second. A strong focal point, a soft background, and a little space behind the bloom do most of the work. Use a 50mm or 85mm lens, open the aperture as needed, and check the frame edges before each shot. Then move your feet until the background turns plain enough to support the flower, not fight it.
On the walk itself, stay light, stay ready, and keep your camera easy to reach. A good frame is often the one you can make in ten seconds, while the flower is still in the best light.
Frequently Asked Questions
What is a focal point in photography?

A focal point in photography is the main part of the image that the eye notices first. In flower photos, it can be one bloom, one stem, or even one sharp petal edge that stands out from the rest of the frame.
What is the purpose of a focal point?
The purpose of a focal point is to direct the viewer’s attention to what matters most first. It also gives the photo a clear, readable structure by letting everything else support the main subject.
What is the 20-60-20 rule in photography?
The 20-60-20 rule in photography is a composition guideline that divides attention into three parts: about 20% of the frame for the main subject, 60% for supporting elements, and 20% for distraction or negative space. It is used to keep the viewer’s eye centered on the subject while maintaining balance in the image.
What is focal point in simple terms?
A focal point is the thing in a photo that stands out first. It is the subject the viewer’s eyes go to before anything else.


