


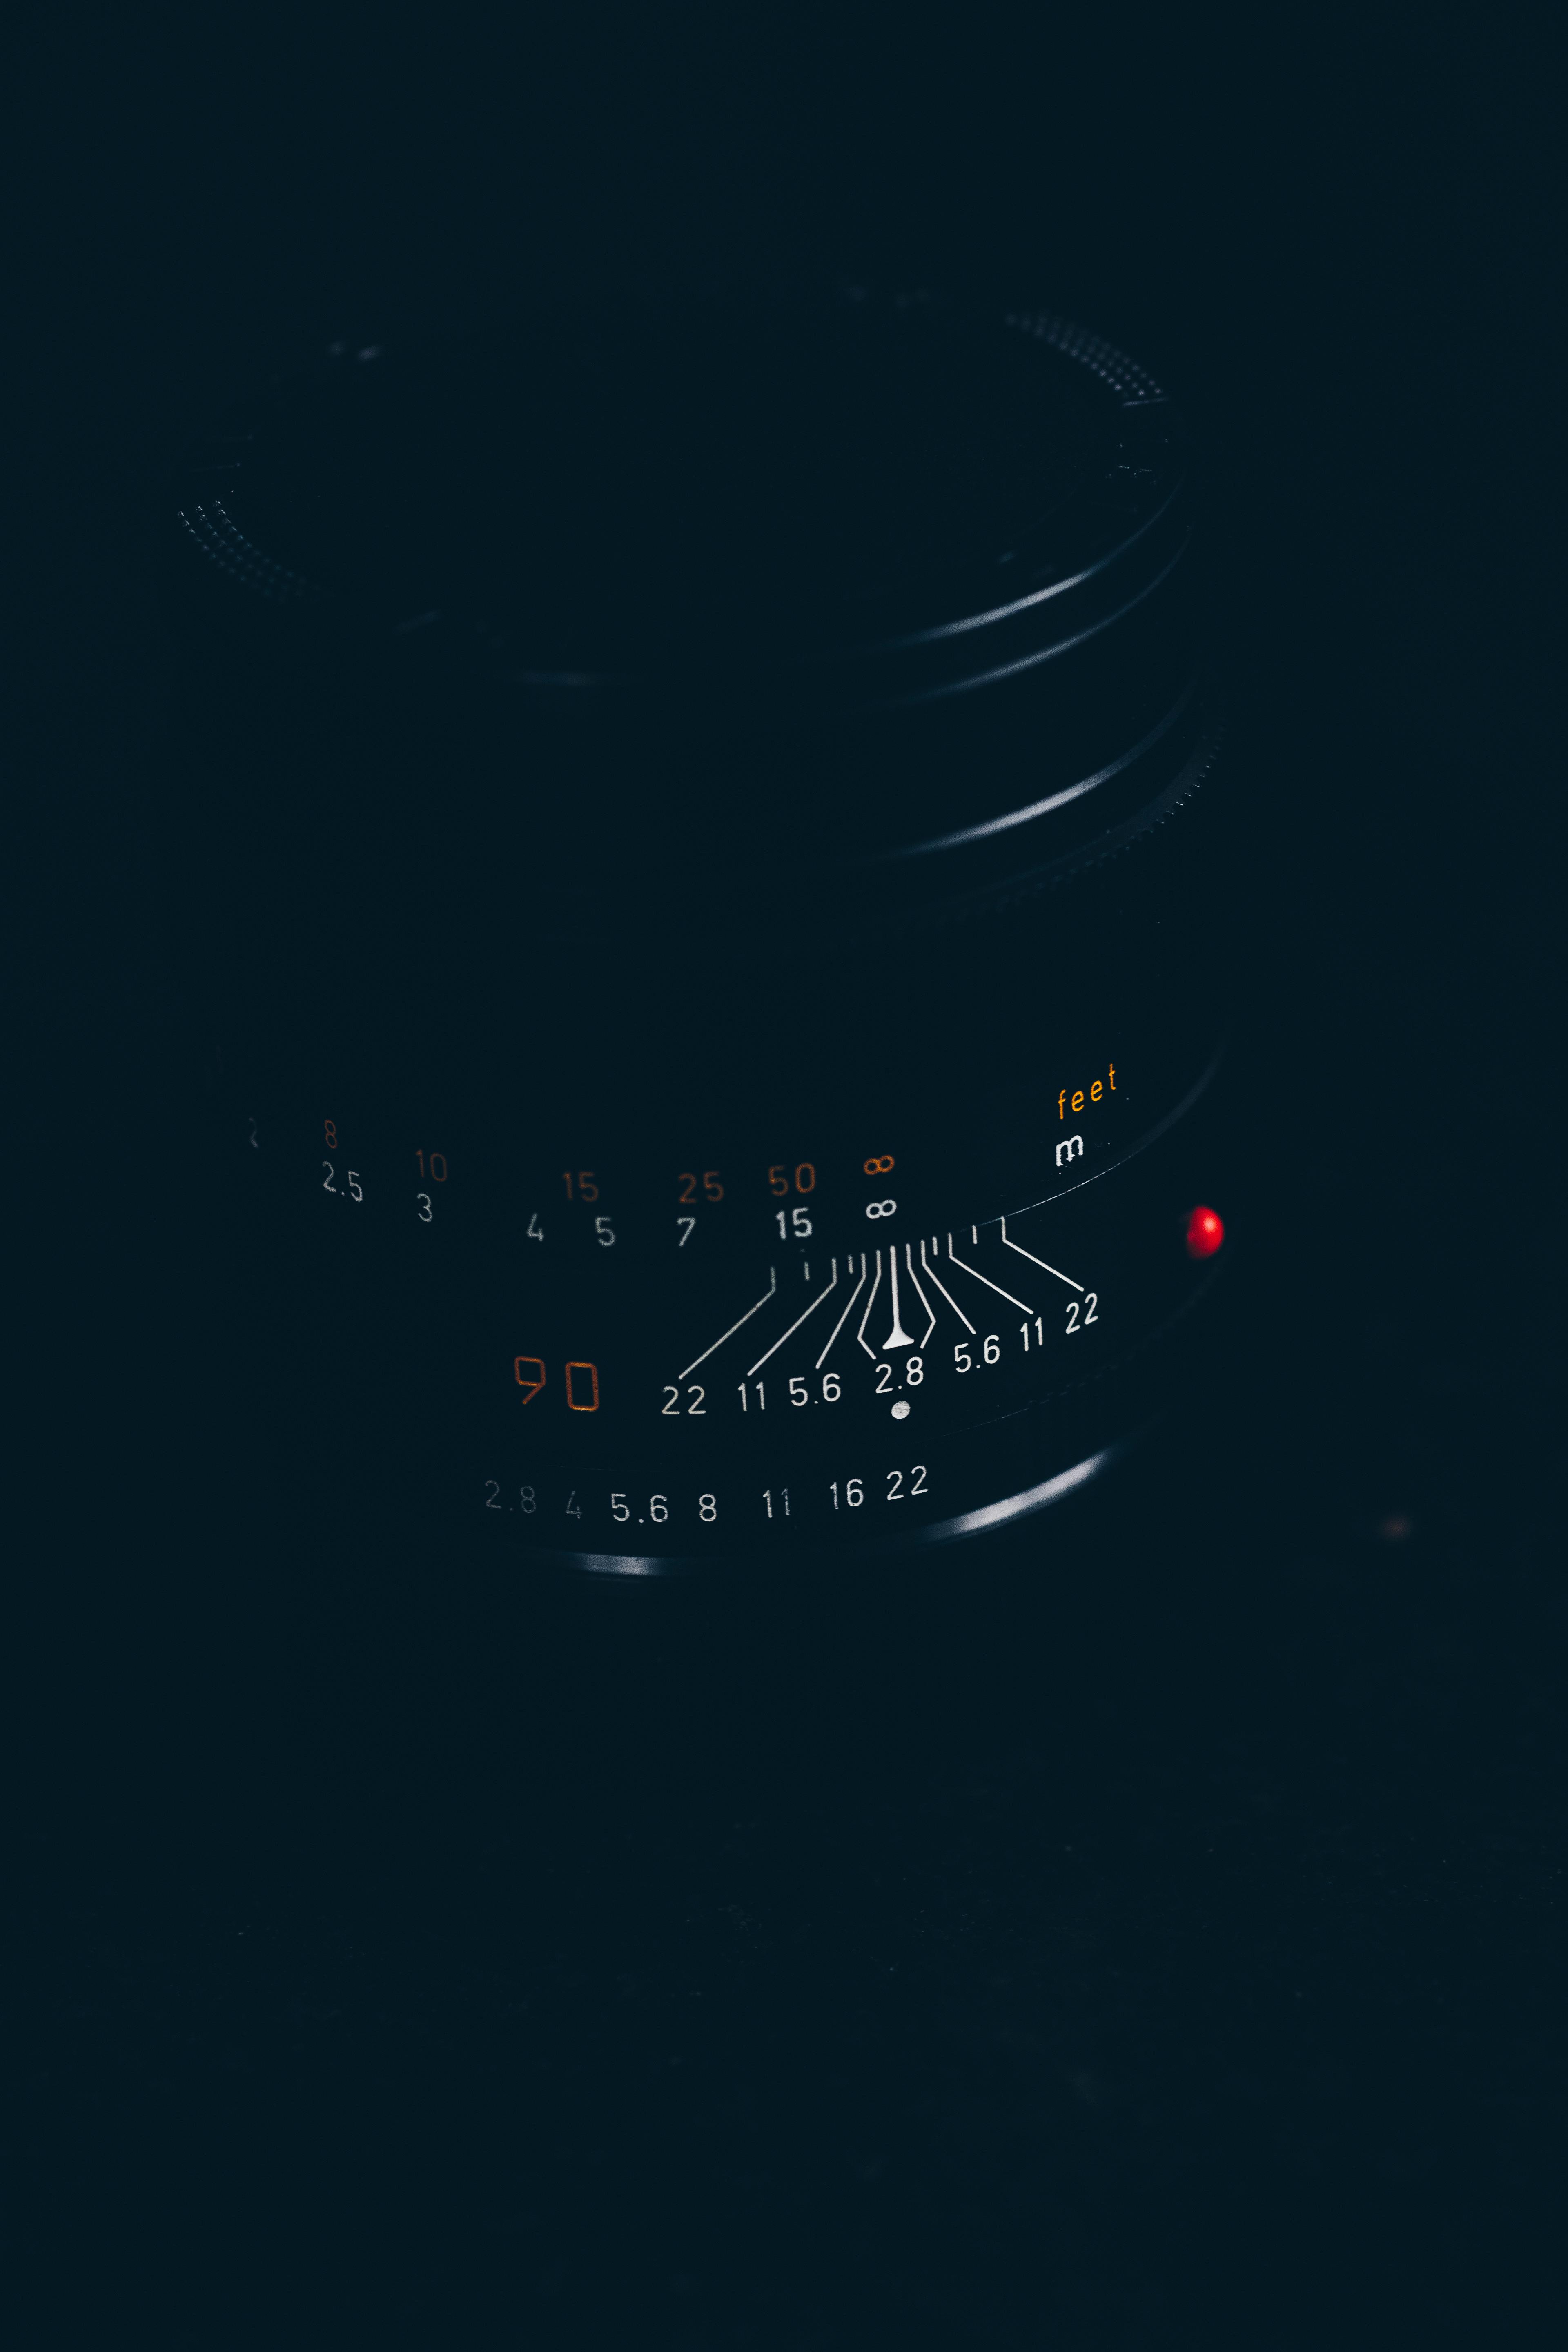
- Favor a fast lens around f/2.8 if you want more light and flexible city shots.
- Set f-stop in your camera’s aperture mode, then use the dial to choose the number.
- Remember f/2.8 means a wider aperture: brighter images and stronger background blur.
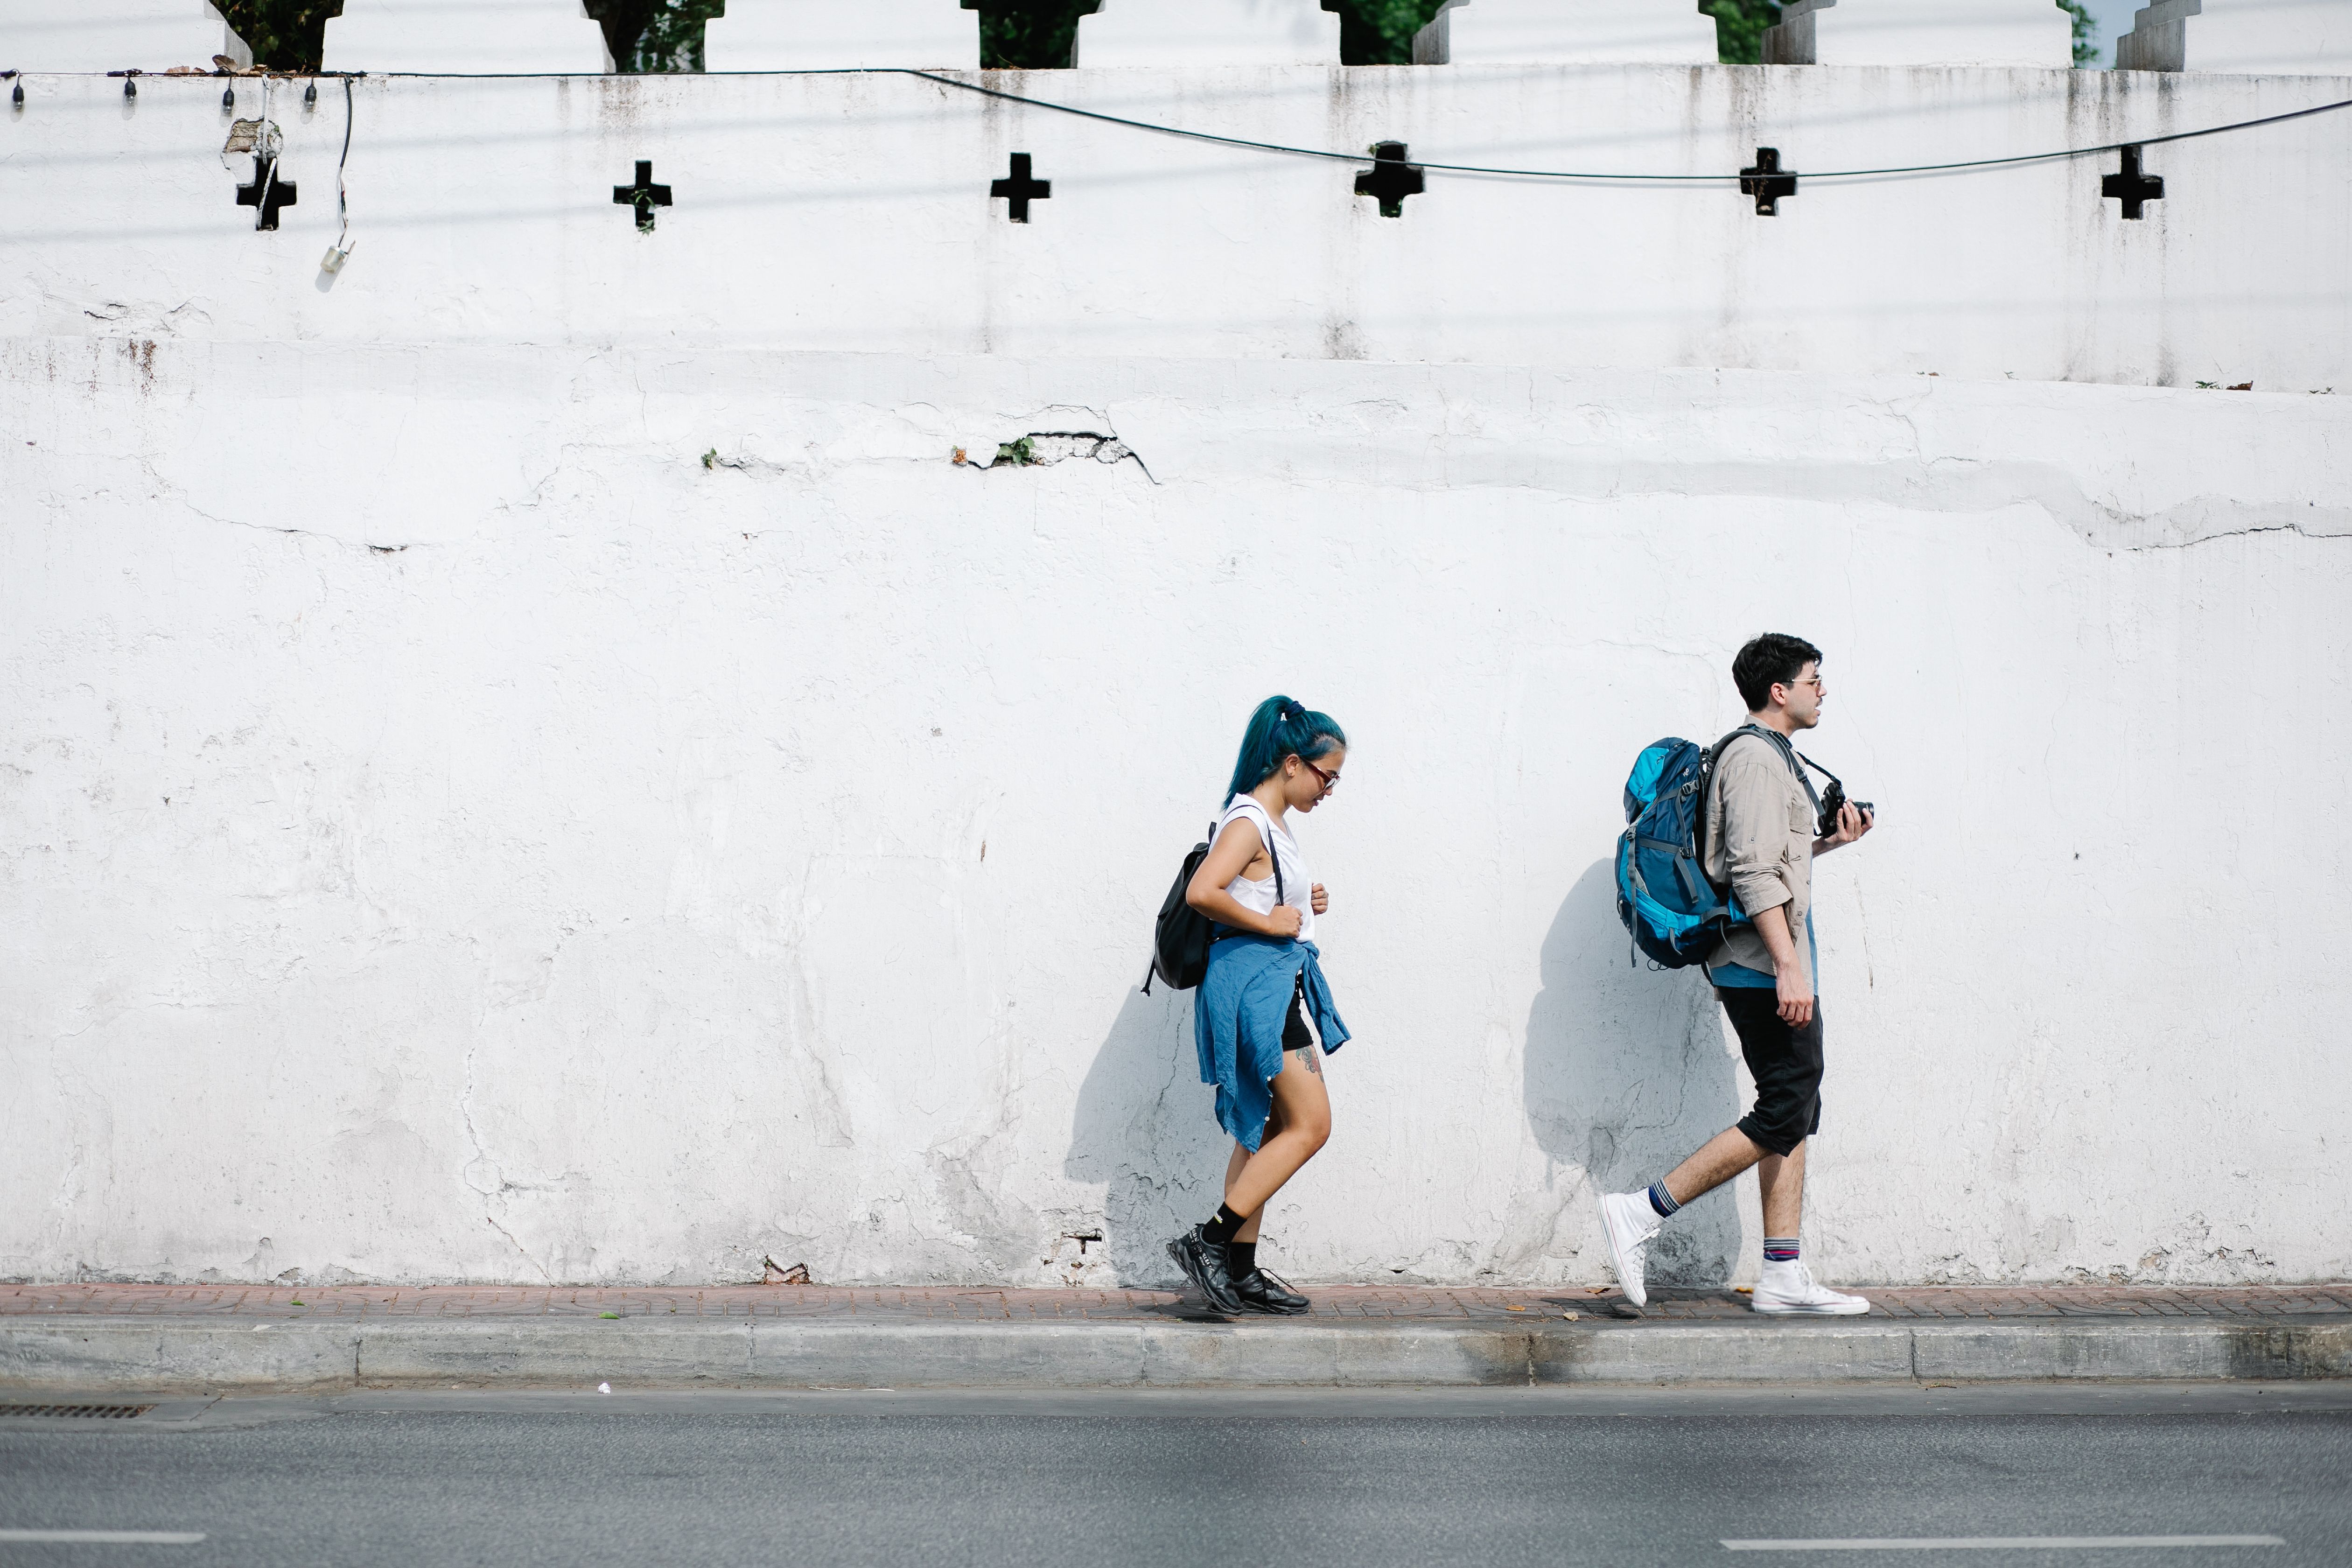
Camera packing is how you arrange and carry your gear so it stays protected, light, and ready to shoot. On a one-bag city hop, that means getting to the camera fast on stations, trains, and crowded streets. Pack for movement, not for a full studio day. One body, one lens, a slim power kit, and a carry setup that keeps the camera in hand or on your chest do the job.
Shop the setup

- Regular price
-
€42 - Regular price
-
€44 - Sale price
-
€42
By choosing the Camstrap strap, you are opting for a high-quality product designed to meet the needs of the most demanding photographers.
- Developed by a physiotherapist to relieve neck and back pain.
- Fast delivery with tracking by the Post Office 🚚
- Can be used as a shoulder strap or hands-free harness

- Regular price
-
€36 - Regular price
-
€42 - Sale price
-
€36
Free shipping included
Start with the trip, not the kit
One-bag city travel changes the whole rhythm of shooting because the bag has to do two jobs at once. It needs to hold your travel items and protect your camera without slowing you down.
Urban travel also brings small risks that matter on a car trip. A train door, a tight aisle, or a quick map check can turn a loose camera into dead weight.
Build a carry plan around movement
Think in short moves: platform, street, café, museum, hotel, then back out again. Each move should take seconds, not minutes, to handle your camera. Hands-free carry keeps the camera ready while you board trains, check maps, and move through stations. A strap with a secure quick-release point, such as the Camstrap voyager, works well when you need the camera up fast and down fast.
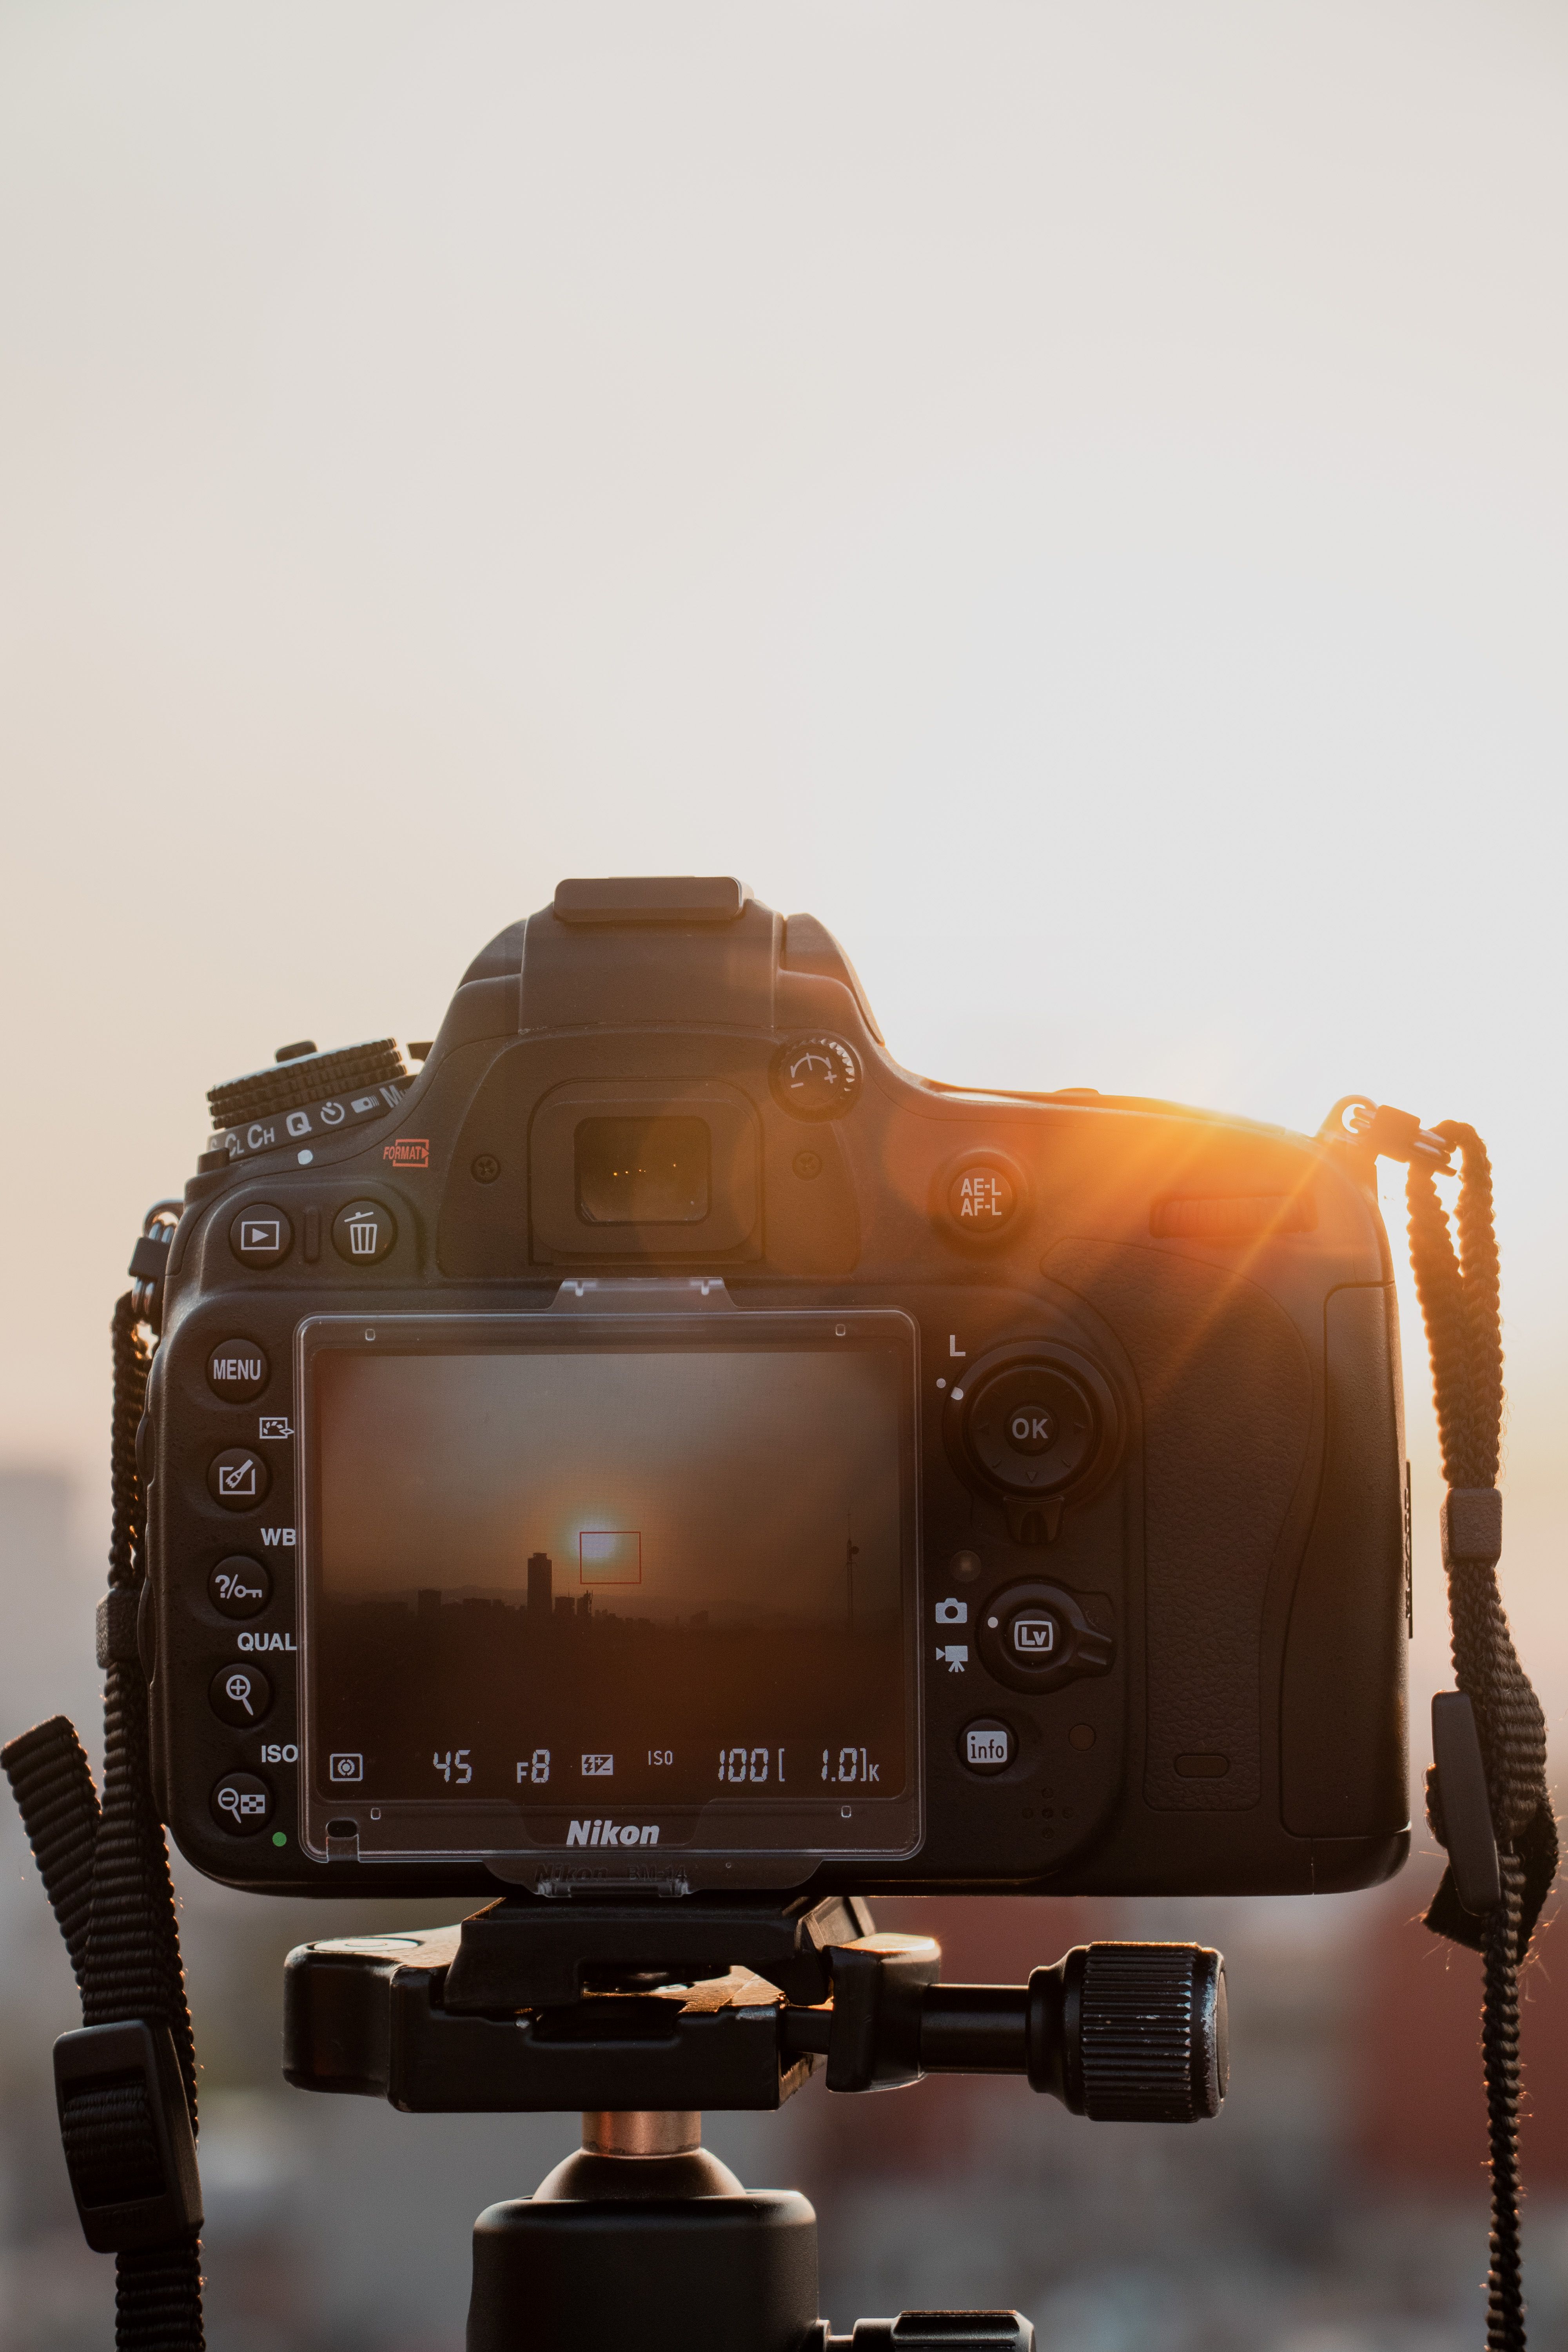
Stow the camera where you can reach it without opening the whole bag. That choice saves time, cuts stress, and lowers the chance of dropping gear on the move.
Choose the right kit before you zip up
One body and one general lens handle most city hops. A 24mm–70mm zoom or a 35mm prime covers streets, food, people, and landmarks without adding bulk.
If you like a prime, a 35mm or 50mm lens keeps the kit light and simple. If you prefer flexibility, a small zoom cuts down on lens swaps, which helps in dusty stations and on fast walks.
- Camera body with one battery in the camera
- One lens, usually 24mm–70mm or 35mm/50mm
- One extra battery
- One memory card, or two if your body uses dual slots
- Small lens cloth
- Compact charger and cable
This list covers most one-bag city trips. Extra gear can feel safer, but it usually adds weight without adding more keepers.
What the f-stop does in photography
F-stop is the lens opening that controls how much light reaches the sensor and how deep the focus looks. On a city hop, it helps you balance sharp subjects, background blur, and low-light shooting. For travel, the sweet spot often sits near the middle of the lens range. That gives you room to move from bright streets to dim cafés without swapping lenses or chasing settings all day.
Do I want high or low aperture?
Low aperture gives you more light and a softer background. High aperture keeps more of the scene in focus, which suits a skyline, group shot, or layered street scene.
A low number like f/2.8 suits portraits, indoor stops, and night walks. A higher number like f/8 works well when you want cleaner focus across a building facade or a wide plaza.
For a one-bag city hop, I lean low when light is weak and high when the scene has depth. That simple rule keeps the bag light and the shots useful.
How do I get f-stop on my camera?
Use the camera’s aperture control in Aperture Priority mode, Manual mode, or the lens ring if your lens has one. Many mirrorless bodies also show it in the quick menu or on the rear dial. Set Aperture Priority when you want speed and steady control. Use Manual mode when the light changes fast and you want both shutter speed and aperture locked in place.

On many bodies, the display shows the f-number as soon as you half-press the shutter or touch the exposure screen. That makes it easy to check before you step into a dark station or a bright square.
What does f 2.8 aperture mean?
f/2.8 means the lens opening is wide and lets in a lot of light. It also gives a shallower depth of field, which helps a subject stand out from a busy street.
A lens at f/2.8 is useful after sunset, in metro stops, and inside restaurants with weak light. It can also keep ISO lower, which helps protect image quality on a small travel kit.
One tradeoff matters here. A wide aperture can blur more of the scene, so you need careful focus on the eye or the main edge of your subject.
What is the lowest f-stop on a lens?
The lowest f-stop is the widest opening the lens can use, and the lens design sets it. Many compact travel lenses open to f/2.8, while small primes can go to f/1.8 or f/1.4. That lowest number tells you how much light the lens can gather before you raise ISO or slow the shutter. A faster lens can help in dim streets, but it also raises cost and size.

For one-bag travel, the best low f-stop is the one you will carry all day. A small lens you actually bring beats a faster lens that stays in the hotel.
Fit the bag for quick reach and safe carry
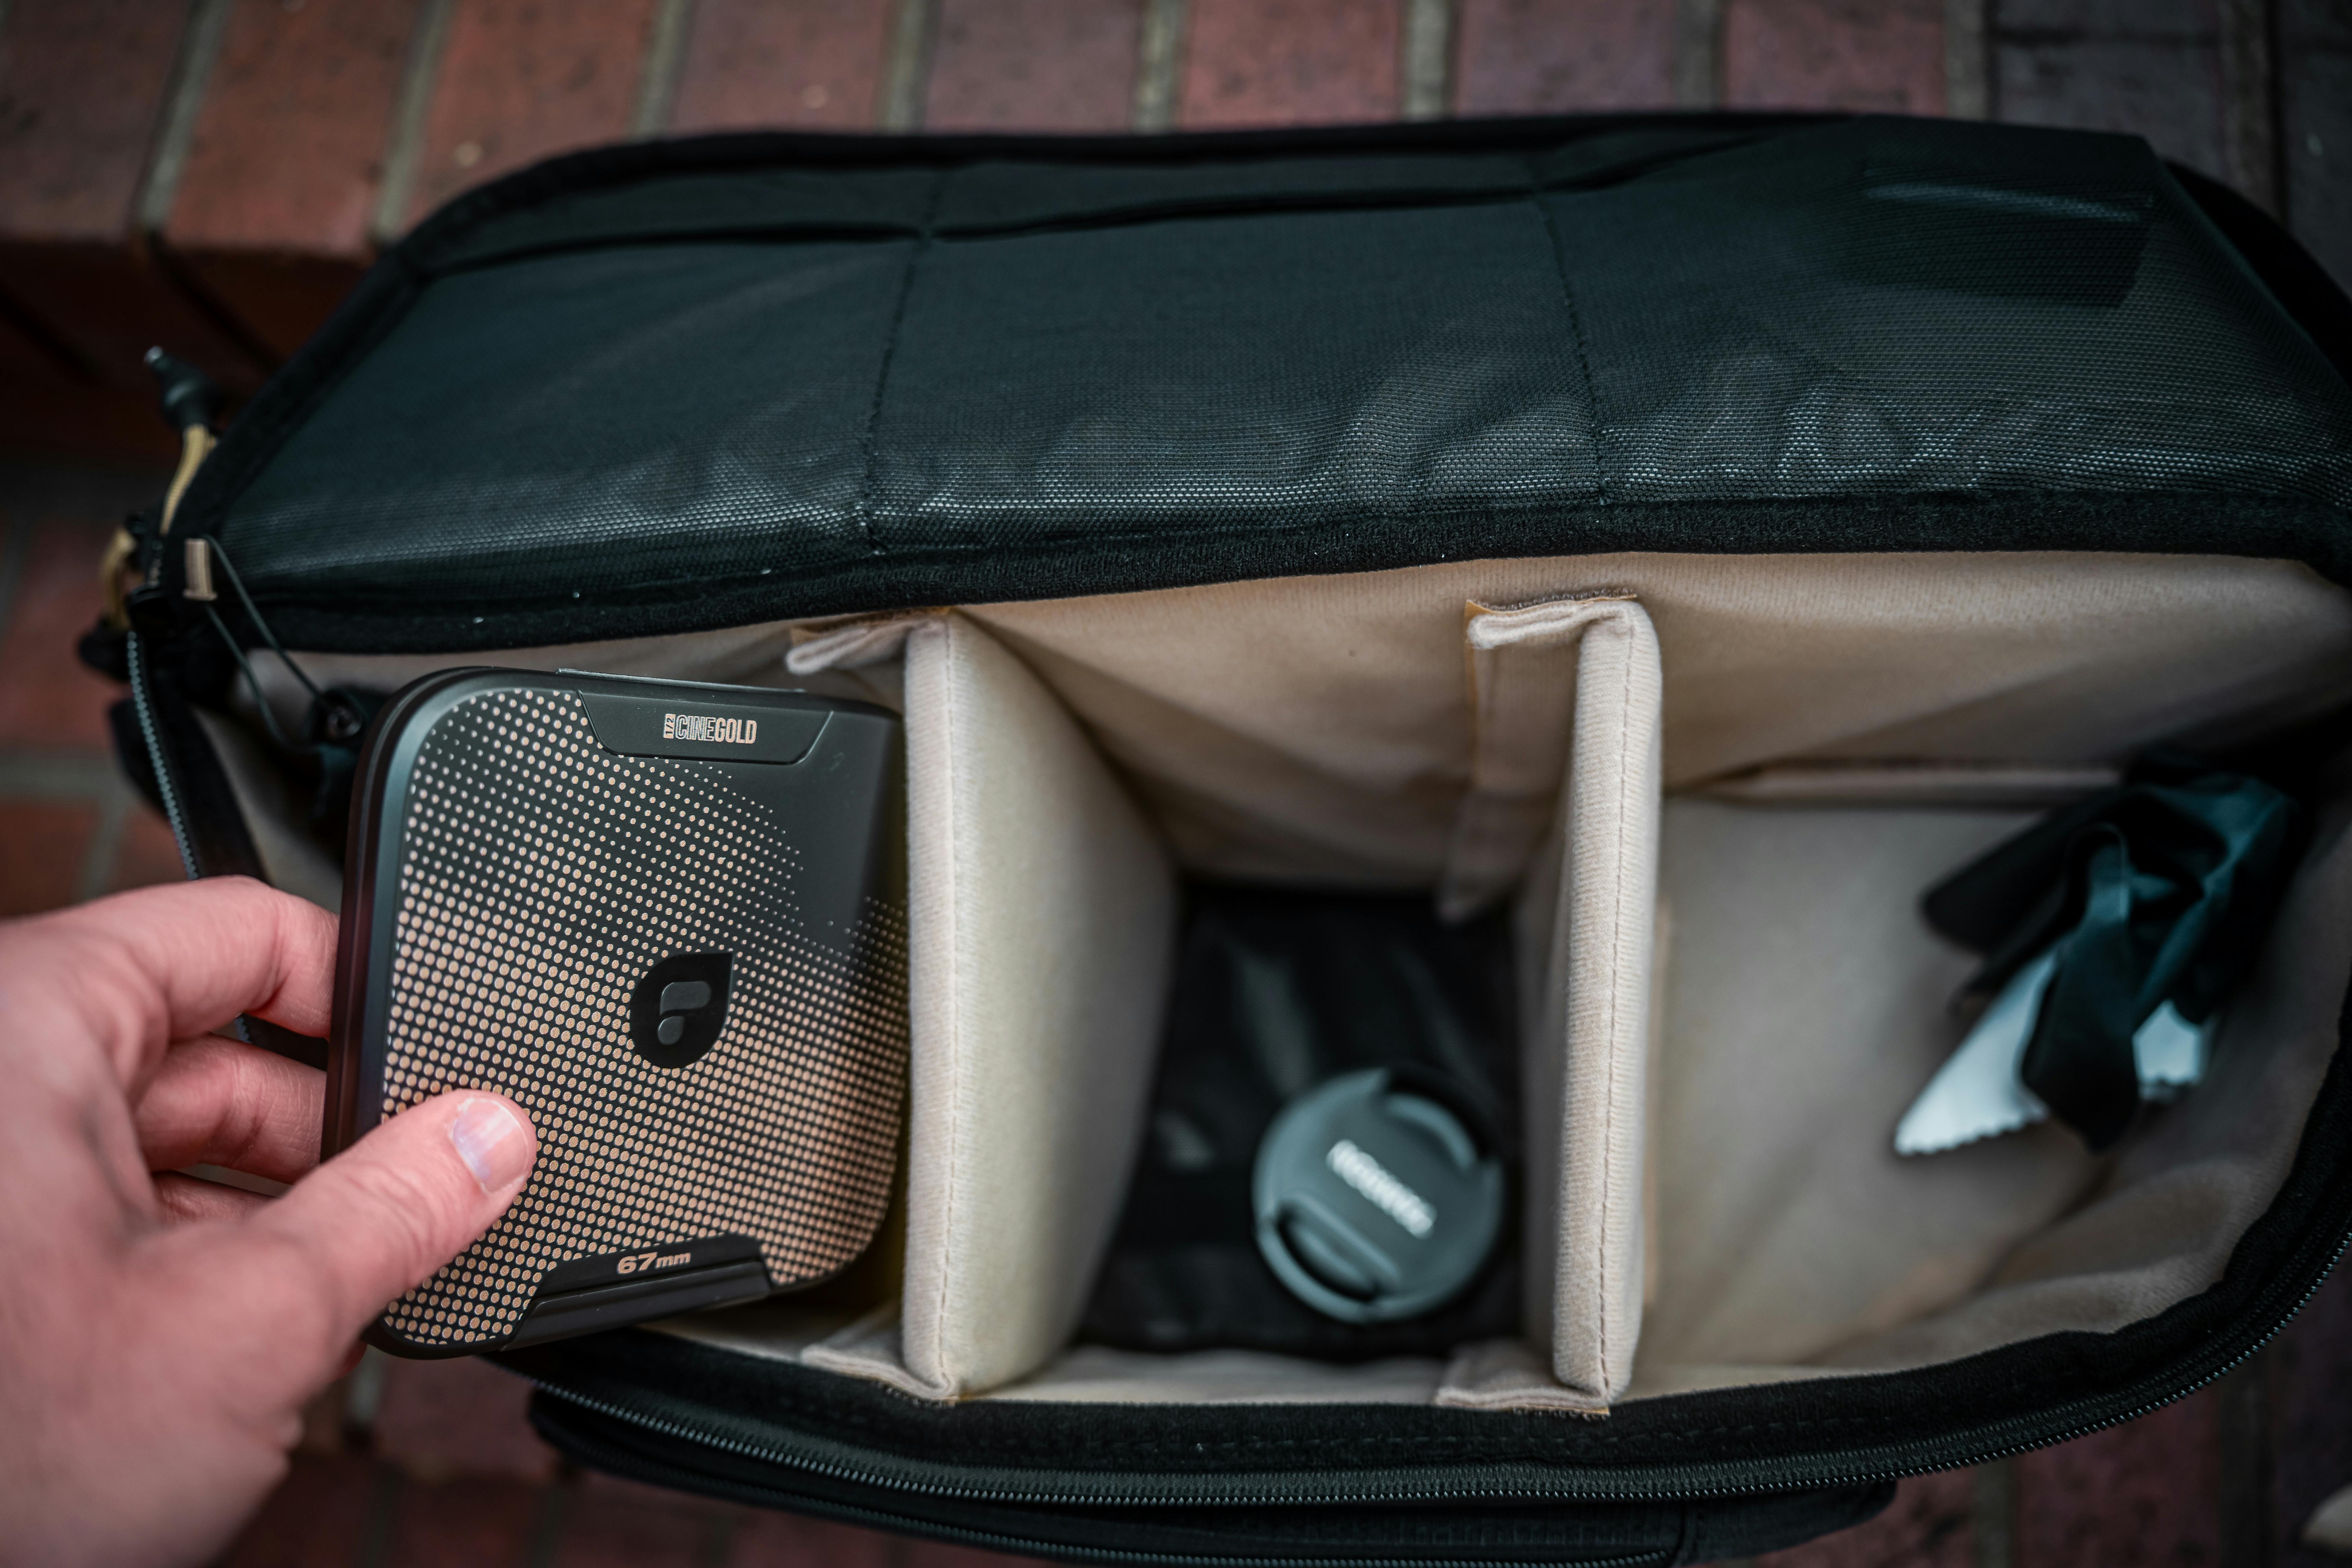
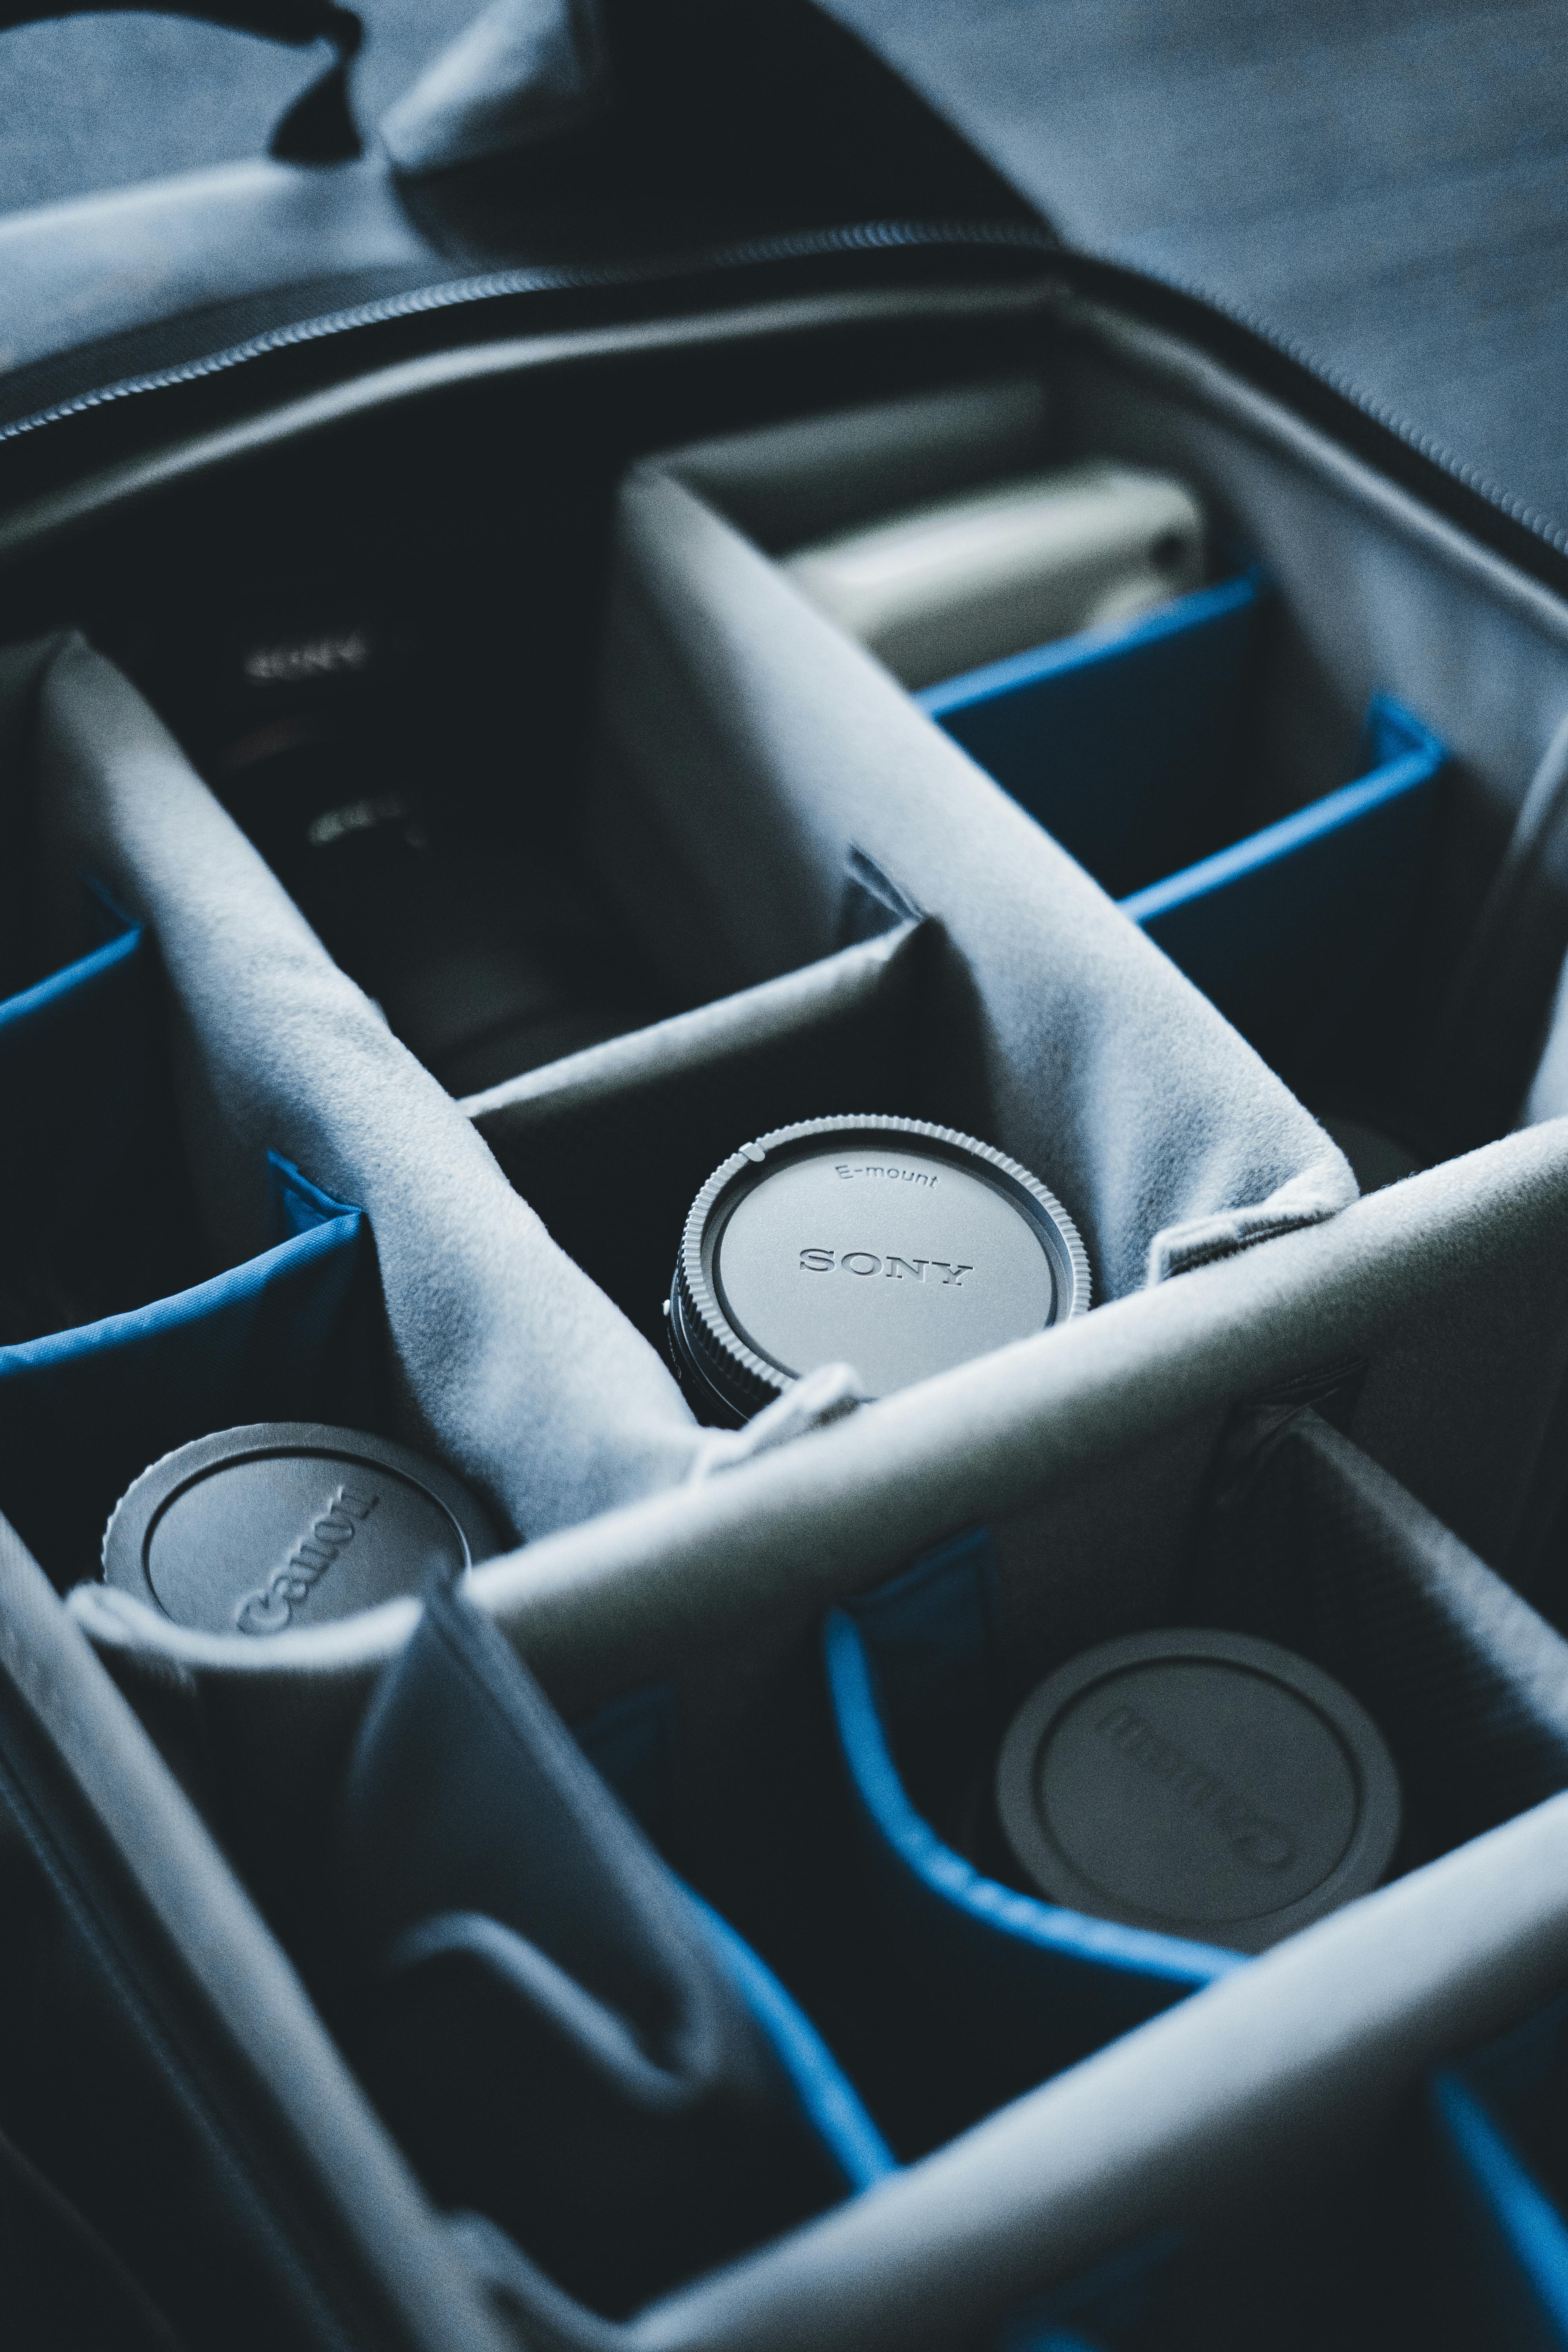
Camera packing works best when the bag opens fast and closes cleanly. Keep the camera high enough for easy reach, but deep enough that it does not swing loose.
Use padded zones only where the camera touches hard edges. That keeps weight down and leaves room for chargers, a jacket, or snacks.
Place the camera where your hand goes first
Put the camera near the top or in a side access zone if the bag allows it. Then you can draw it in one motion instead of digging past travel gear. If you carry the camera on a strap, leave the bag ready for storage, not for constant opening. The goal is to move the camera between hand, chest, and bag without a fuss.
A soft divider helps stop lens caps, keys, and battery doors from rubbing against the body. Keep hard metal items in a separate pocket.
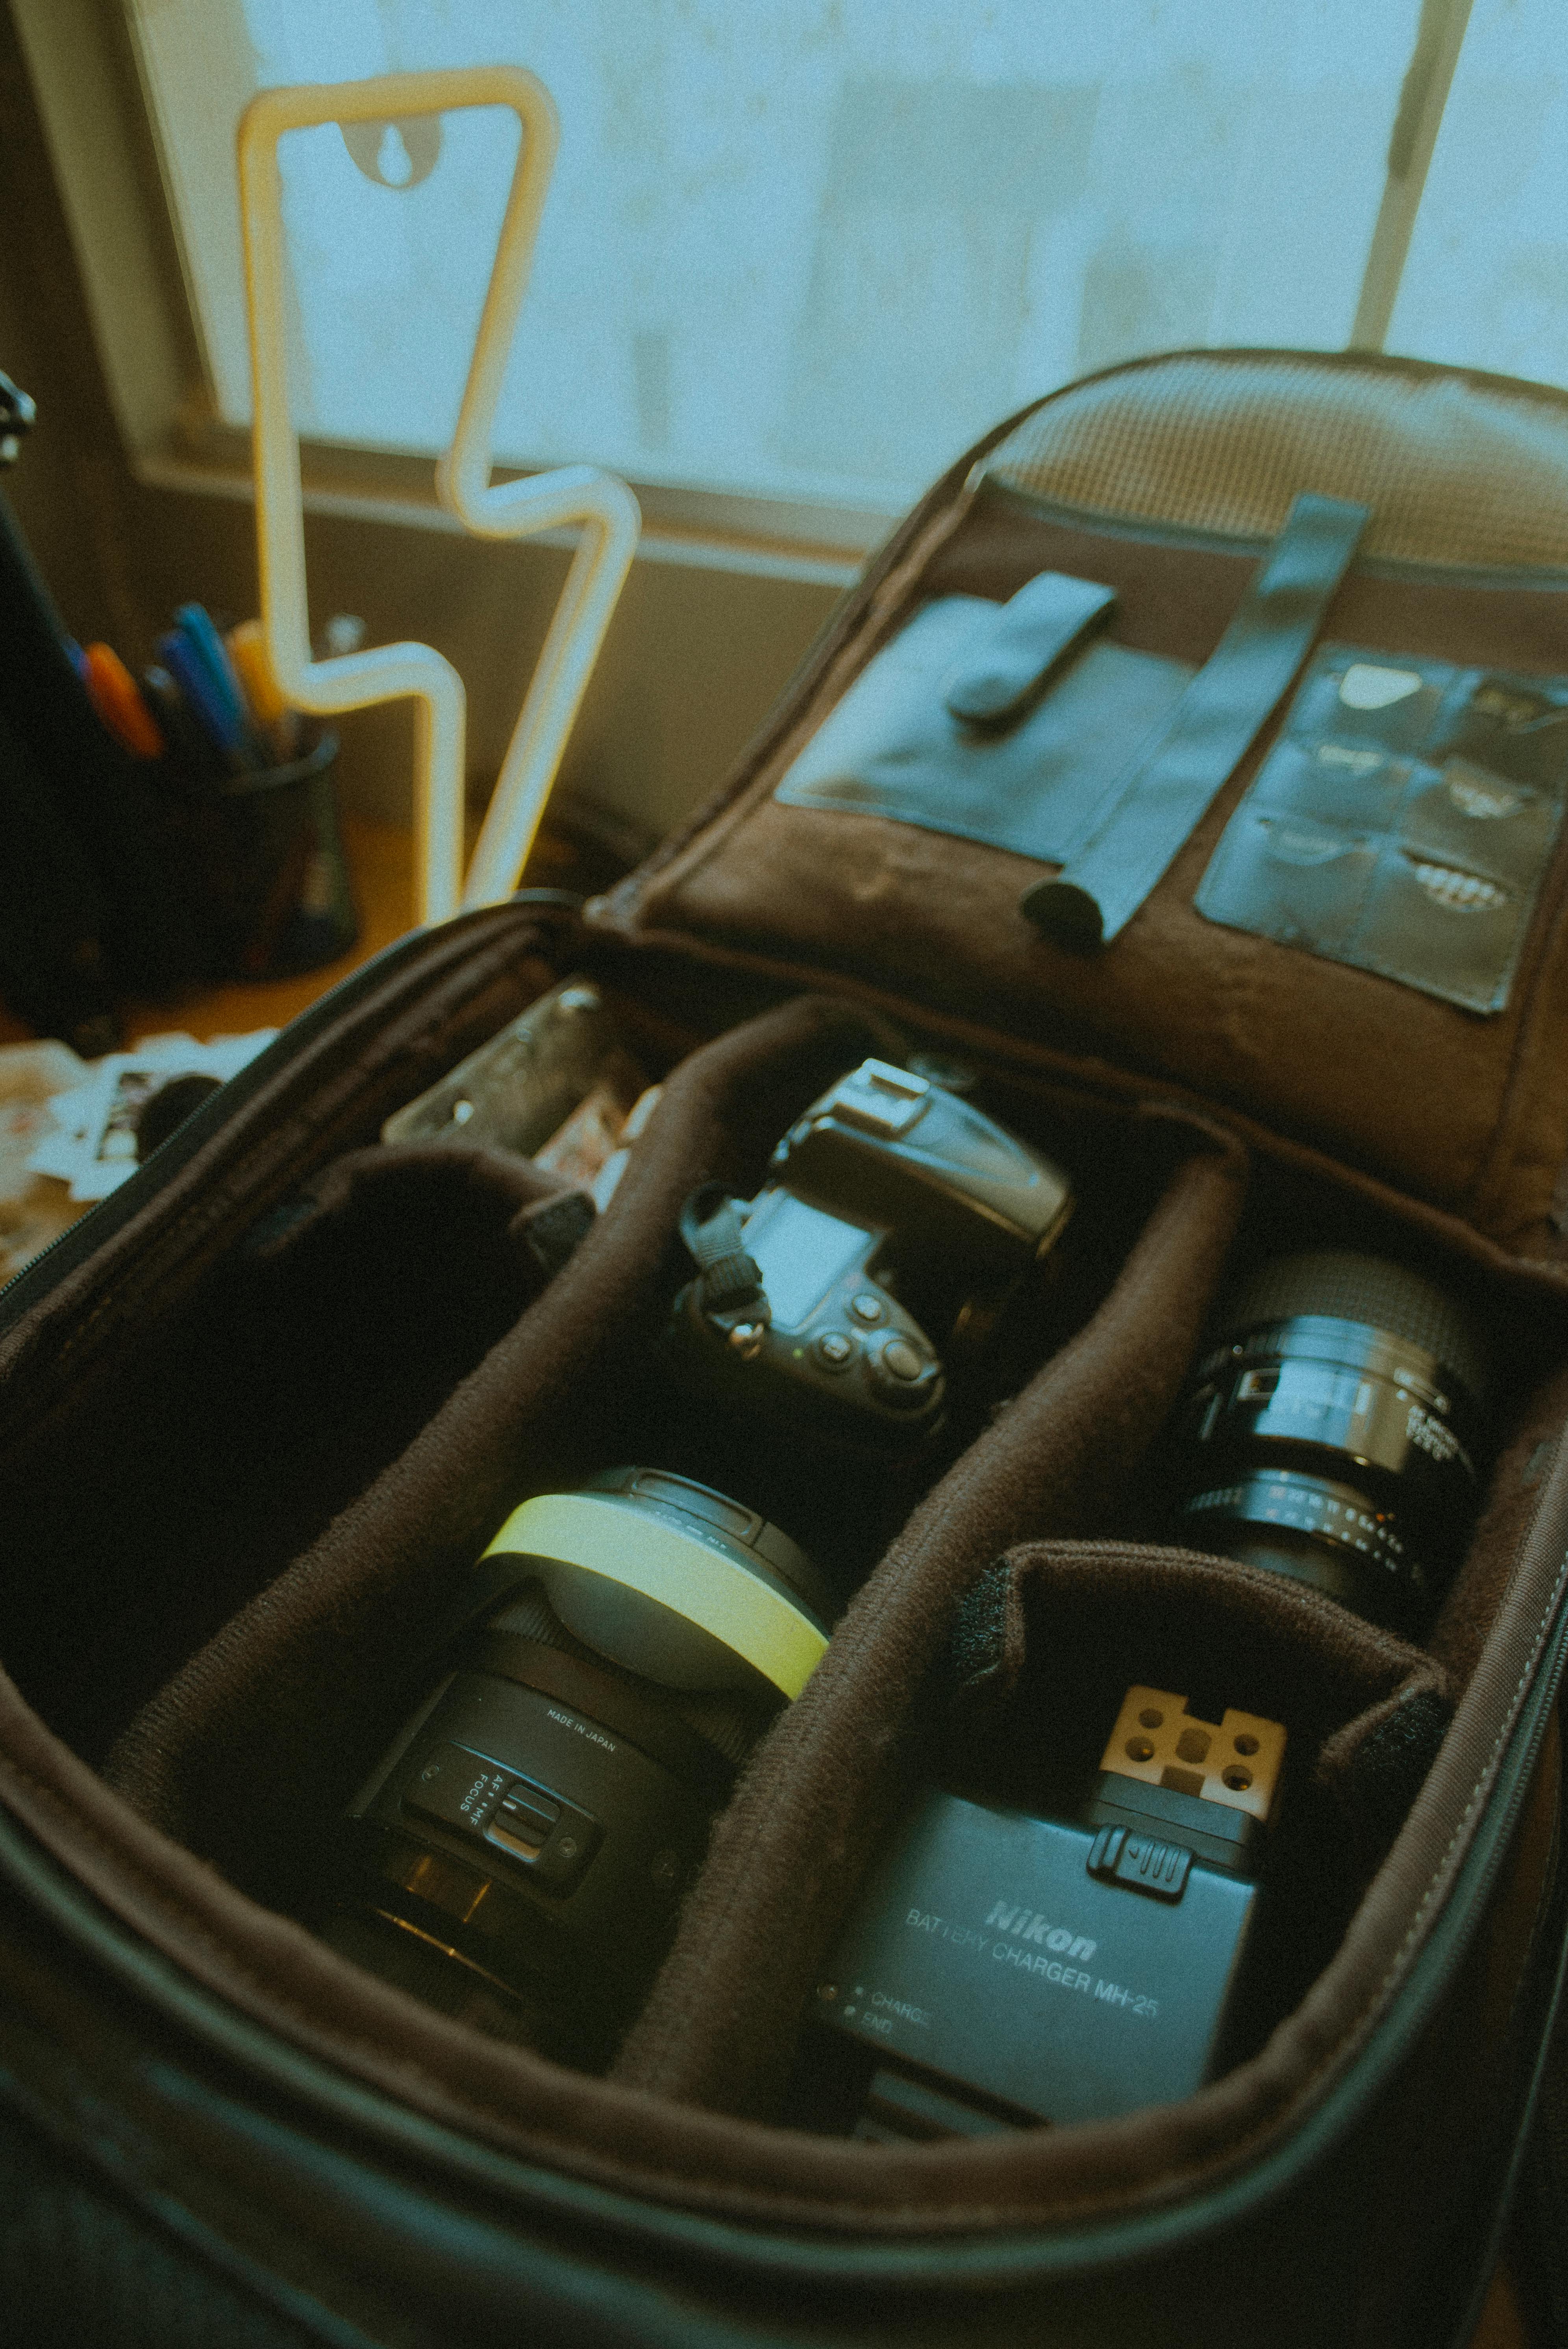
Balance weight so the bag wears well
Place heavier items close to your back and near the center. That makes the bag feel stable on stairs and packed trains.
Light items can fill side gaps and top spaces. A jacket, charging cable, and cloth can work as padding if you keep them away from the lens mount and screen.
Do a short test walk before you leave. If the bag bounces, shift the camera higher or move the battery pack lower.
Dial in the settings before you leave the hotel
Good camera packing includes setup, not just placement. A ready camera saves time, and time matters when a good scene lasts ten seconds. Set your base mode before you step out. For city travel, Aperture Priority is often the fastest choice, and Manual works well when the light stays steady for a while.
Use shutter speed with real travel needs in mind
For walking people, I start around 1/250s. For quick street moments or kids moving through a square, 1/500s gives more safety.
On a mirrorless body, the biggest drains are the EVF, LCD, and image review, not a shutter motor. Limit screen wake time and turn down image review if you want the battery to last longer.
Keep the camera on and let the display sleep quickly, then wake it with the shutter half-press or a custom button.
Match ISO to the light you actually have
Use the lowest ISO that keeps your shutter speed usable. In bright city light, ISO 100 to 400 is often enough. After dark, ISO 800 to 3200 is normal on many modern bodies. If you shoot a wide lens at f/2.8, you may stay lower than you would at f/5.6.
Do not chase a fixed ISO just for neatness. A useful image with a little grain is better than a clean blur.
Which shooting tools matter on the move?
Travel shooting gets easier when the camera is set up for quick, clean hits. The right tools cut missed frames and reduce the time you spend hunting in menus.
City scenes move fast. A cyclist, a crossing light, or a commuter at a doorway can vanish before you can reframe.
Use AF-C, eye detect, and back-button focus
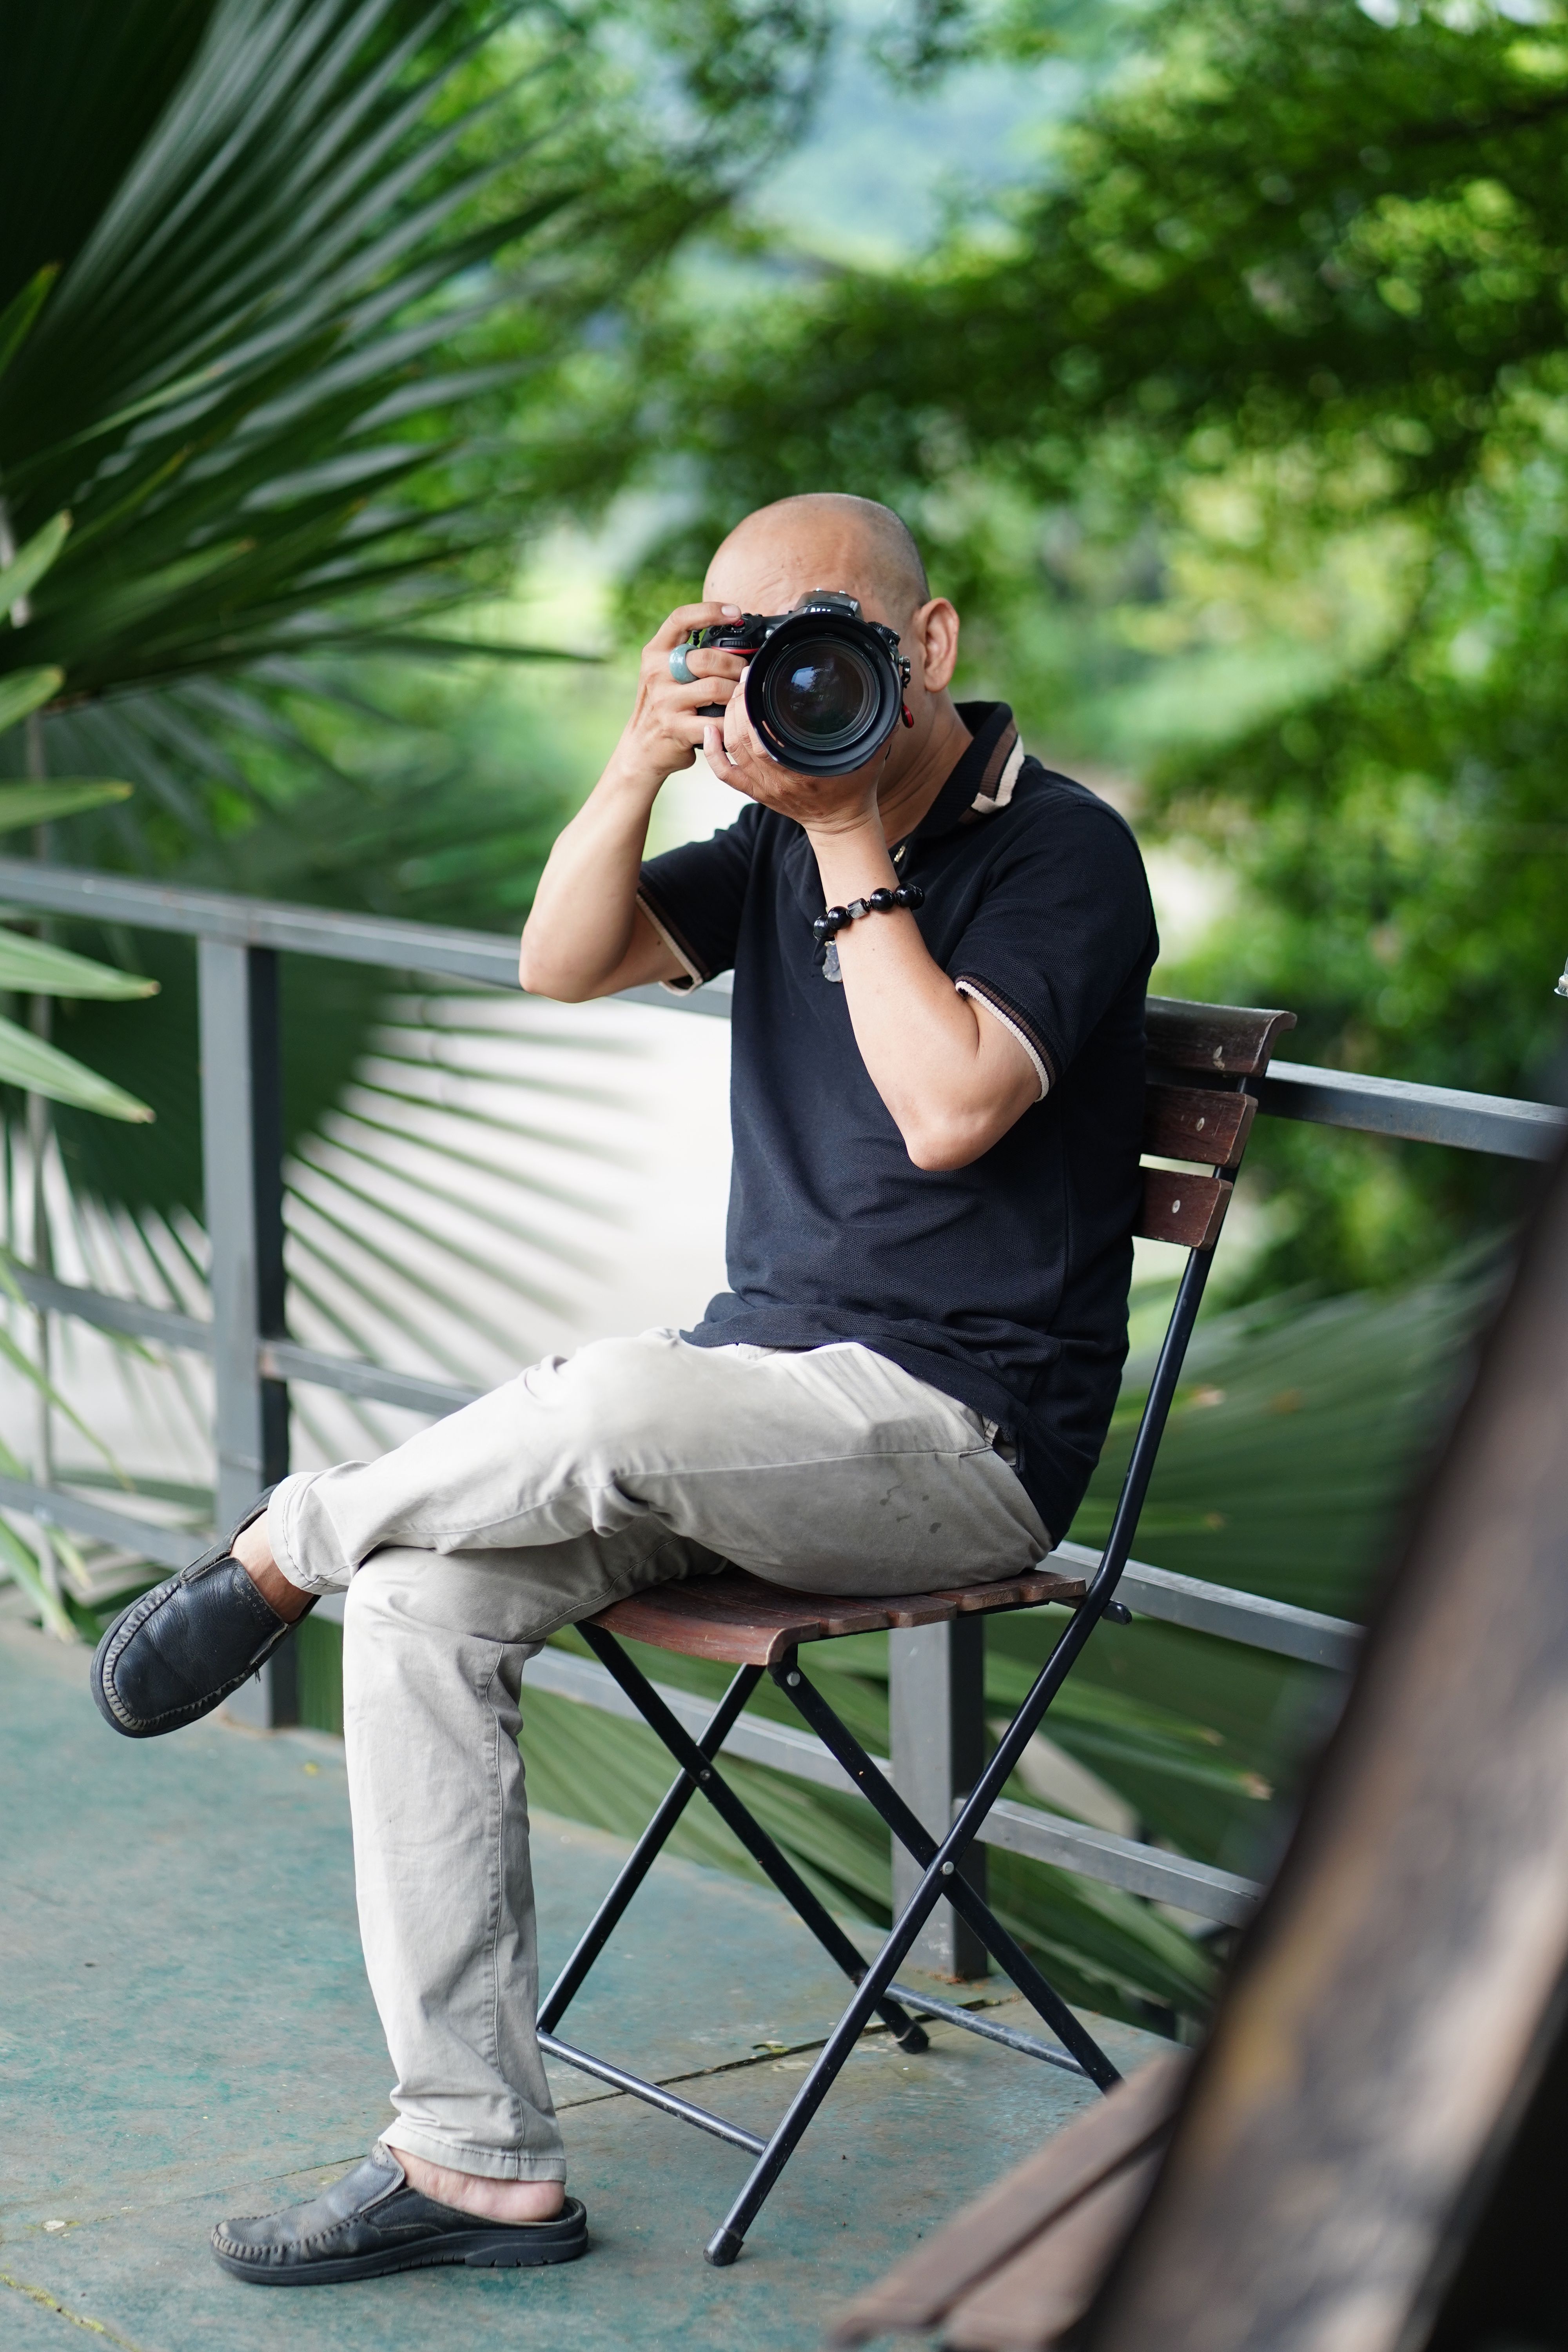
Continuous AF, also called AF-C or AI Servo, keeps tracking as your subject moves. Eye or subject detection adds speed when people turn, walk, or pause in a crowd. Back-button focus splits focus from the shutter. That gives you control when you want to lock focus on a face, then shoot several frames without refocusing each time.
This setup works well for street portraits and train-platform shots. It also cuts the chance that the camera refocuses on a sign, rail, or passing hand.
Know when burst mode helps and when it does not
Burst mode helps when you need a short run of frames, such as a step, a glance, or a jump over a curb. A mid-tier body often shoots about 10 fps mechanically, while electronic bursts can reach 20 to 40 fps.
Higher frame rates help, but they can bring rolling-shutter skew, LED banding, or faster battery drain. They can also fill a buffer faster if you shoot RAW files only.
Many modern bodies handle a 3–6 frame burst with ease, and some mid-tier cameras hold around 20 to 40 RAW frames before slowing. A UHS-II V60 or V90 card helps clear that buffer faster than a slower UHS-I card.
Use pre-capture when your camera offers it
Pre-capture, or pre-burst, stores frames from just before the full press. It works well for street moments because the best expression often happens before your finger reacts. That tool works best when you expect motion and can keep the camera ready for a few seconds.
If your body offers it, turn it on for busy crossings, transit platforms, and candid people shots. It gives you a small time cushion that can save a rare frame.
Pack power, cards, and protection without bulk
One-bag travel rewards small tools that do more than one job. A spare battery, one cable, and a fast card setup usually cover the whole day.
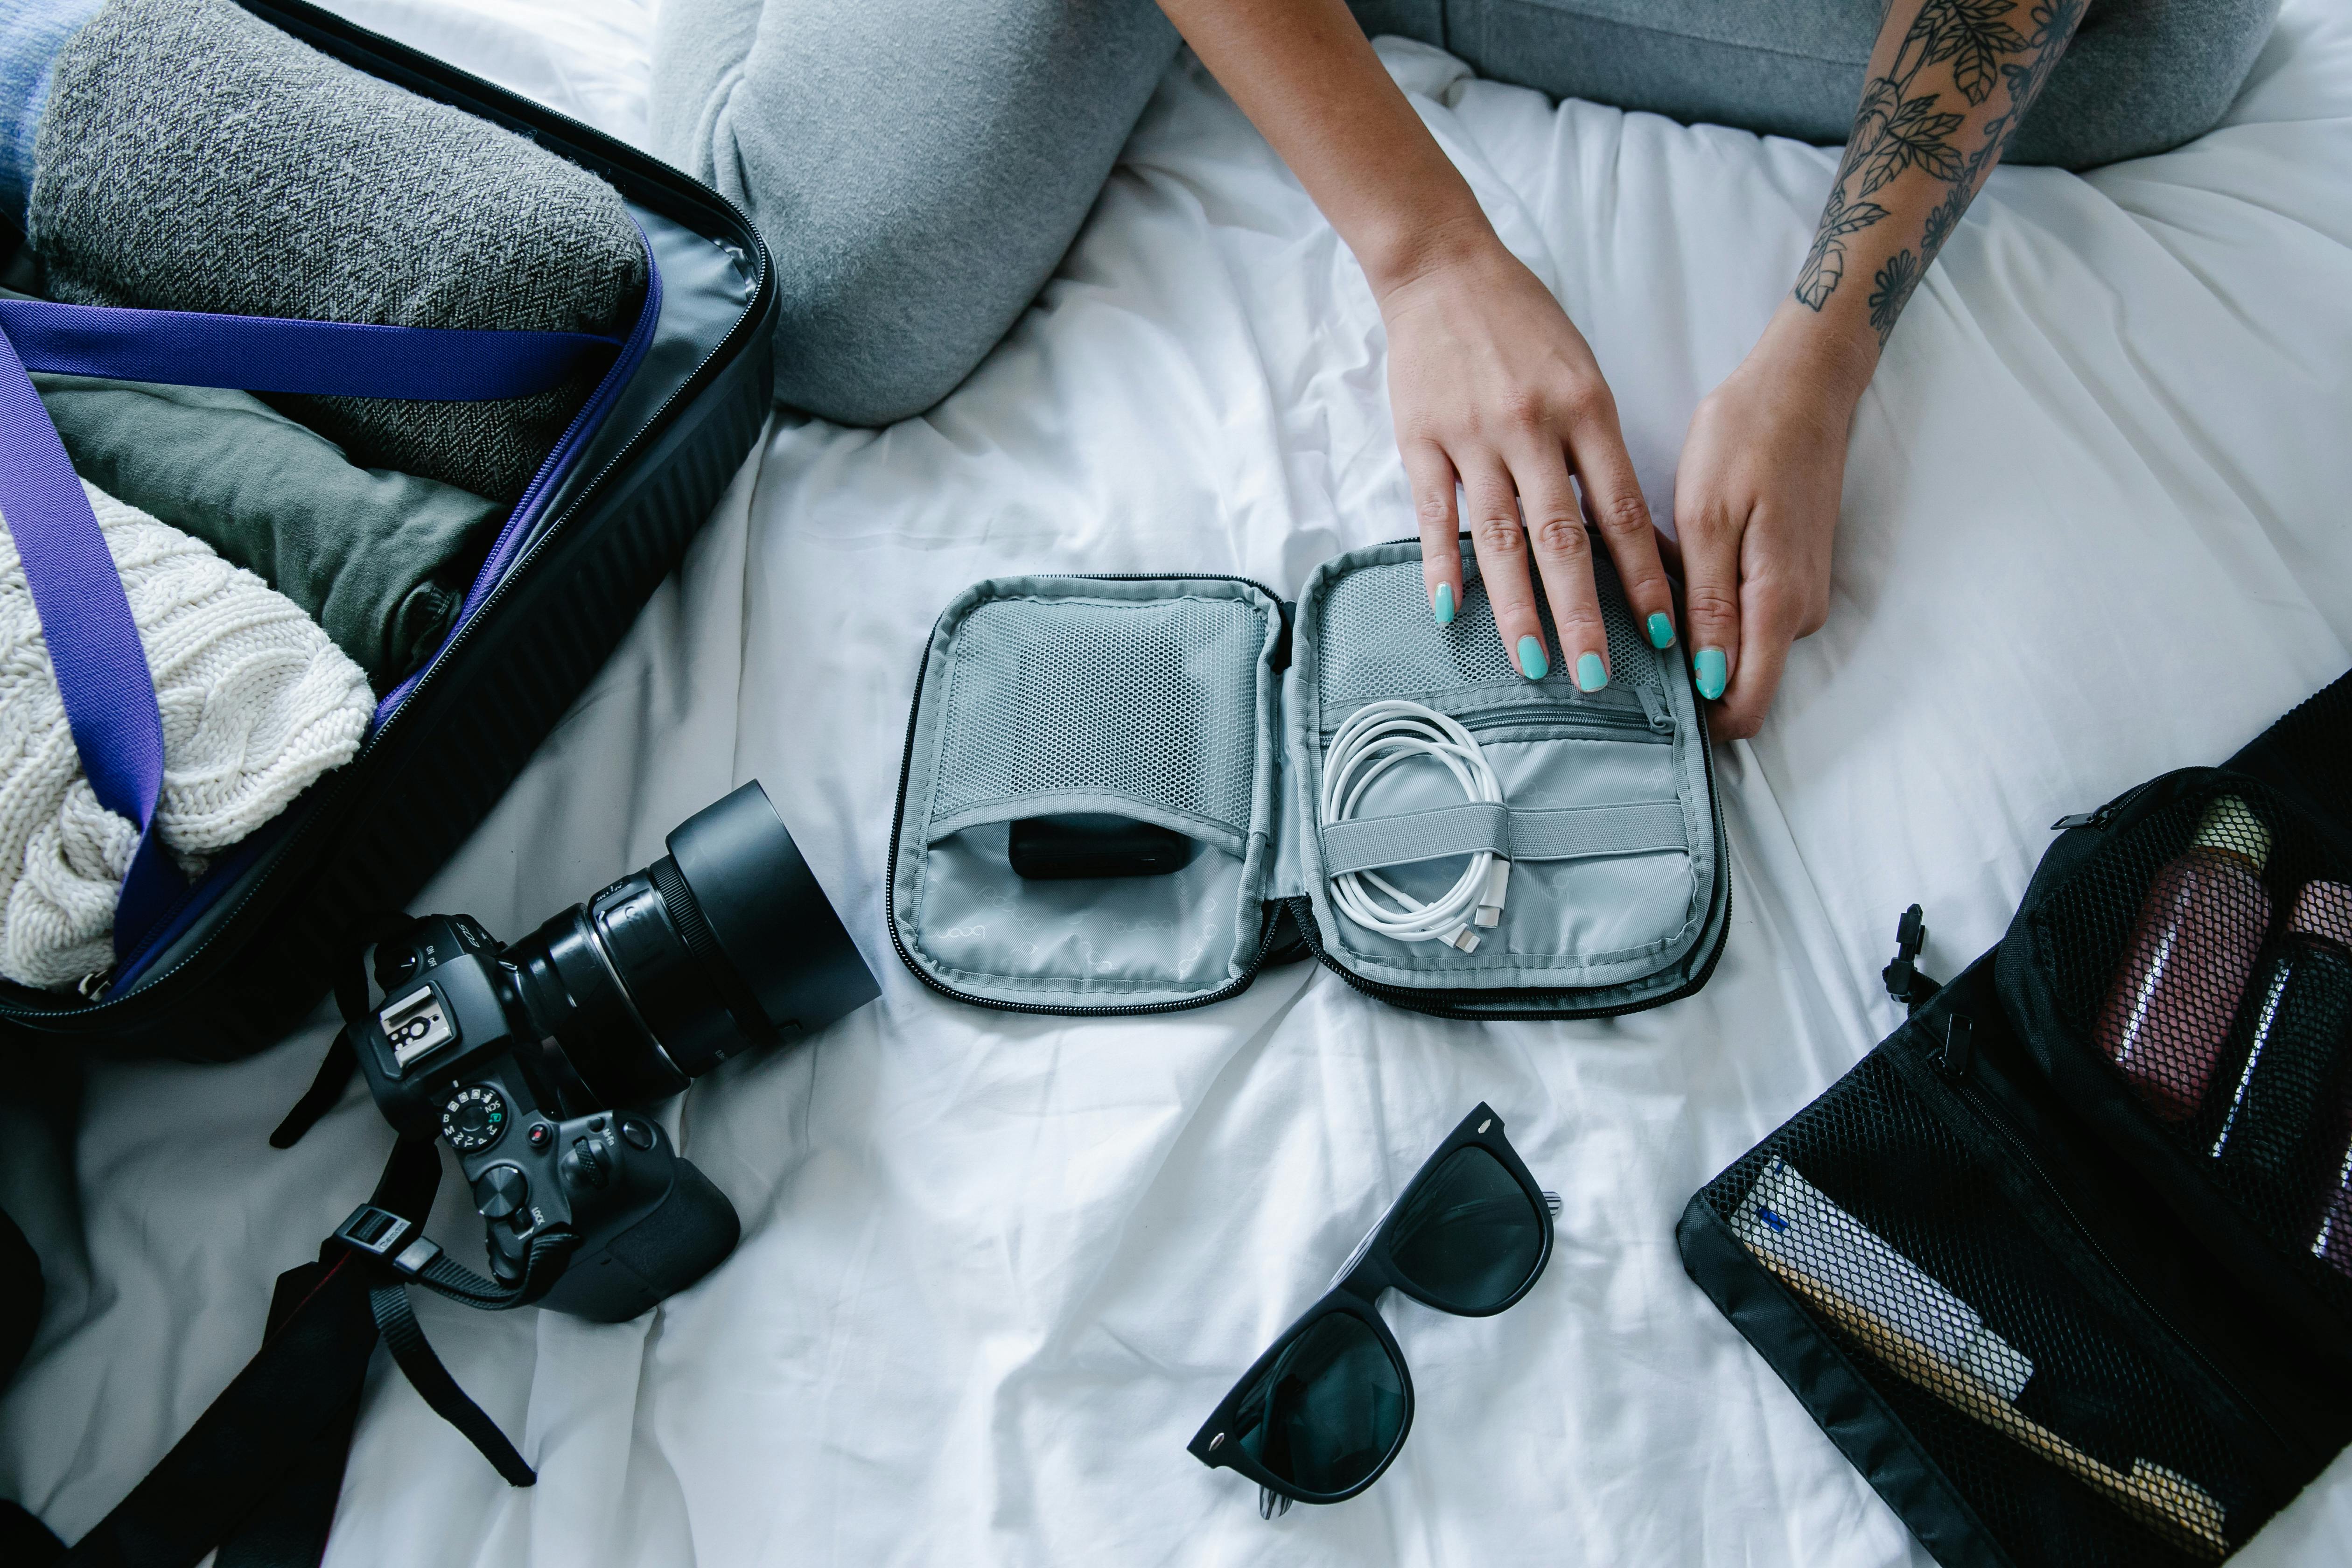
Protect the camera from dust, rain, and bumps, but do it with light pieces. A thick shell bag can waste the space you need for clothes and travel items.
Use card and battery choices that match your shooting style
RAW files need more card speed than JPEG. If you shoot bursts or use pre-capture, a UHS-II V60 or V90 card is a smart match for a modern mirrorless body. Keep one battery in the camera and one spare in a pocket or small sleeve. Cold weather and heavy EVF use can drain a battery faster than you expect.
Format the card in camera before the trip. That lowers file chaos and helps you start with a clean card structure.
Pack a small defense kit
A microfiber cloth clears rain and fingerprints in seconds. A slim rain cover or even a folded shell layer can save a shoot during a sudden shower.
Keep the lens hood on the lens if it fits inside the bag. It adds some front-end protection and cuts flare from bright street lights.

One tiny habit matters here: put the body cap and rear cap in the same pocket every time. You will thank yourself when you swap gear in a rush.
A simple packing order that keeps the day smooth
Pack in the same order each time so you do not forget a small piece. Repetition helps more than a bigger bag.
- Charge the battery and format the card in camera.
- Mount the lens and check the front cap.
- Set aperture, shutter speed, ISO, and AF-C before you pack.
- Place the camera in the top or side access spot.
- Stow the spare battery, card, cloth, and cable in one pocket.
- Attach the strap or quick-release carry point.
- Walk ten steps with the bag and fix any bounce.
This order keeps the camera ready from the start. It also makes the bag feel like part of your workflow, not a separate chore. For one last check, lift the bag by one strap and shift it side to side. The camera should stay settled, and you should still reach it without a full unpack.
A well-packed one-bag city hop ends with less gear and more shooting. Keep the kit light, keep the camera easy to grab, and keep the settings ready for the next street corner.
Frequently Asked Questions

Do I want high or low aperture?
Low aperture gives more light and a softer background, while high aperture keeps more of the scene in focus. A low number like f/2.8 suits portraits, indoor stops, and night walks, and a higher number like f/8 works well for buildings, plazas, and layered street scenes.
How do I get f-stop on my camera?
The f-stop is set through the camera’s exposure controls, usually by changing aperture in Aperture Priority mode or Manual mode. Use the camera dial, command wheel, or lens aperture ring if the lens has one, and check the screen or viewfinder for the f-number.
What does f 2.8 aperture mean?
An f/2.8 aperture means the lens opening is fairly wide, letting in more light. It also creates a shallower depth of field, so the subject stands out more and the background looks softer.
What is the lowest f-stop on a lens?

The lowest f-stop on a lens is its widest aperture, and it varies by lens model. Many common travel lenses start at f/2.8, while some prime lenses open wider than that.


