


- Set a tripod, drop ISO to 100, and start around 1/2 second.
- Use 1/4–1/2 second for texture; lengthen only when you want smoother water.
- Avoid camera shake, wet-tripod wobble, and overlong shutters that erase wave shape.
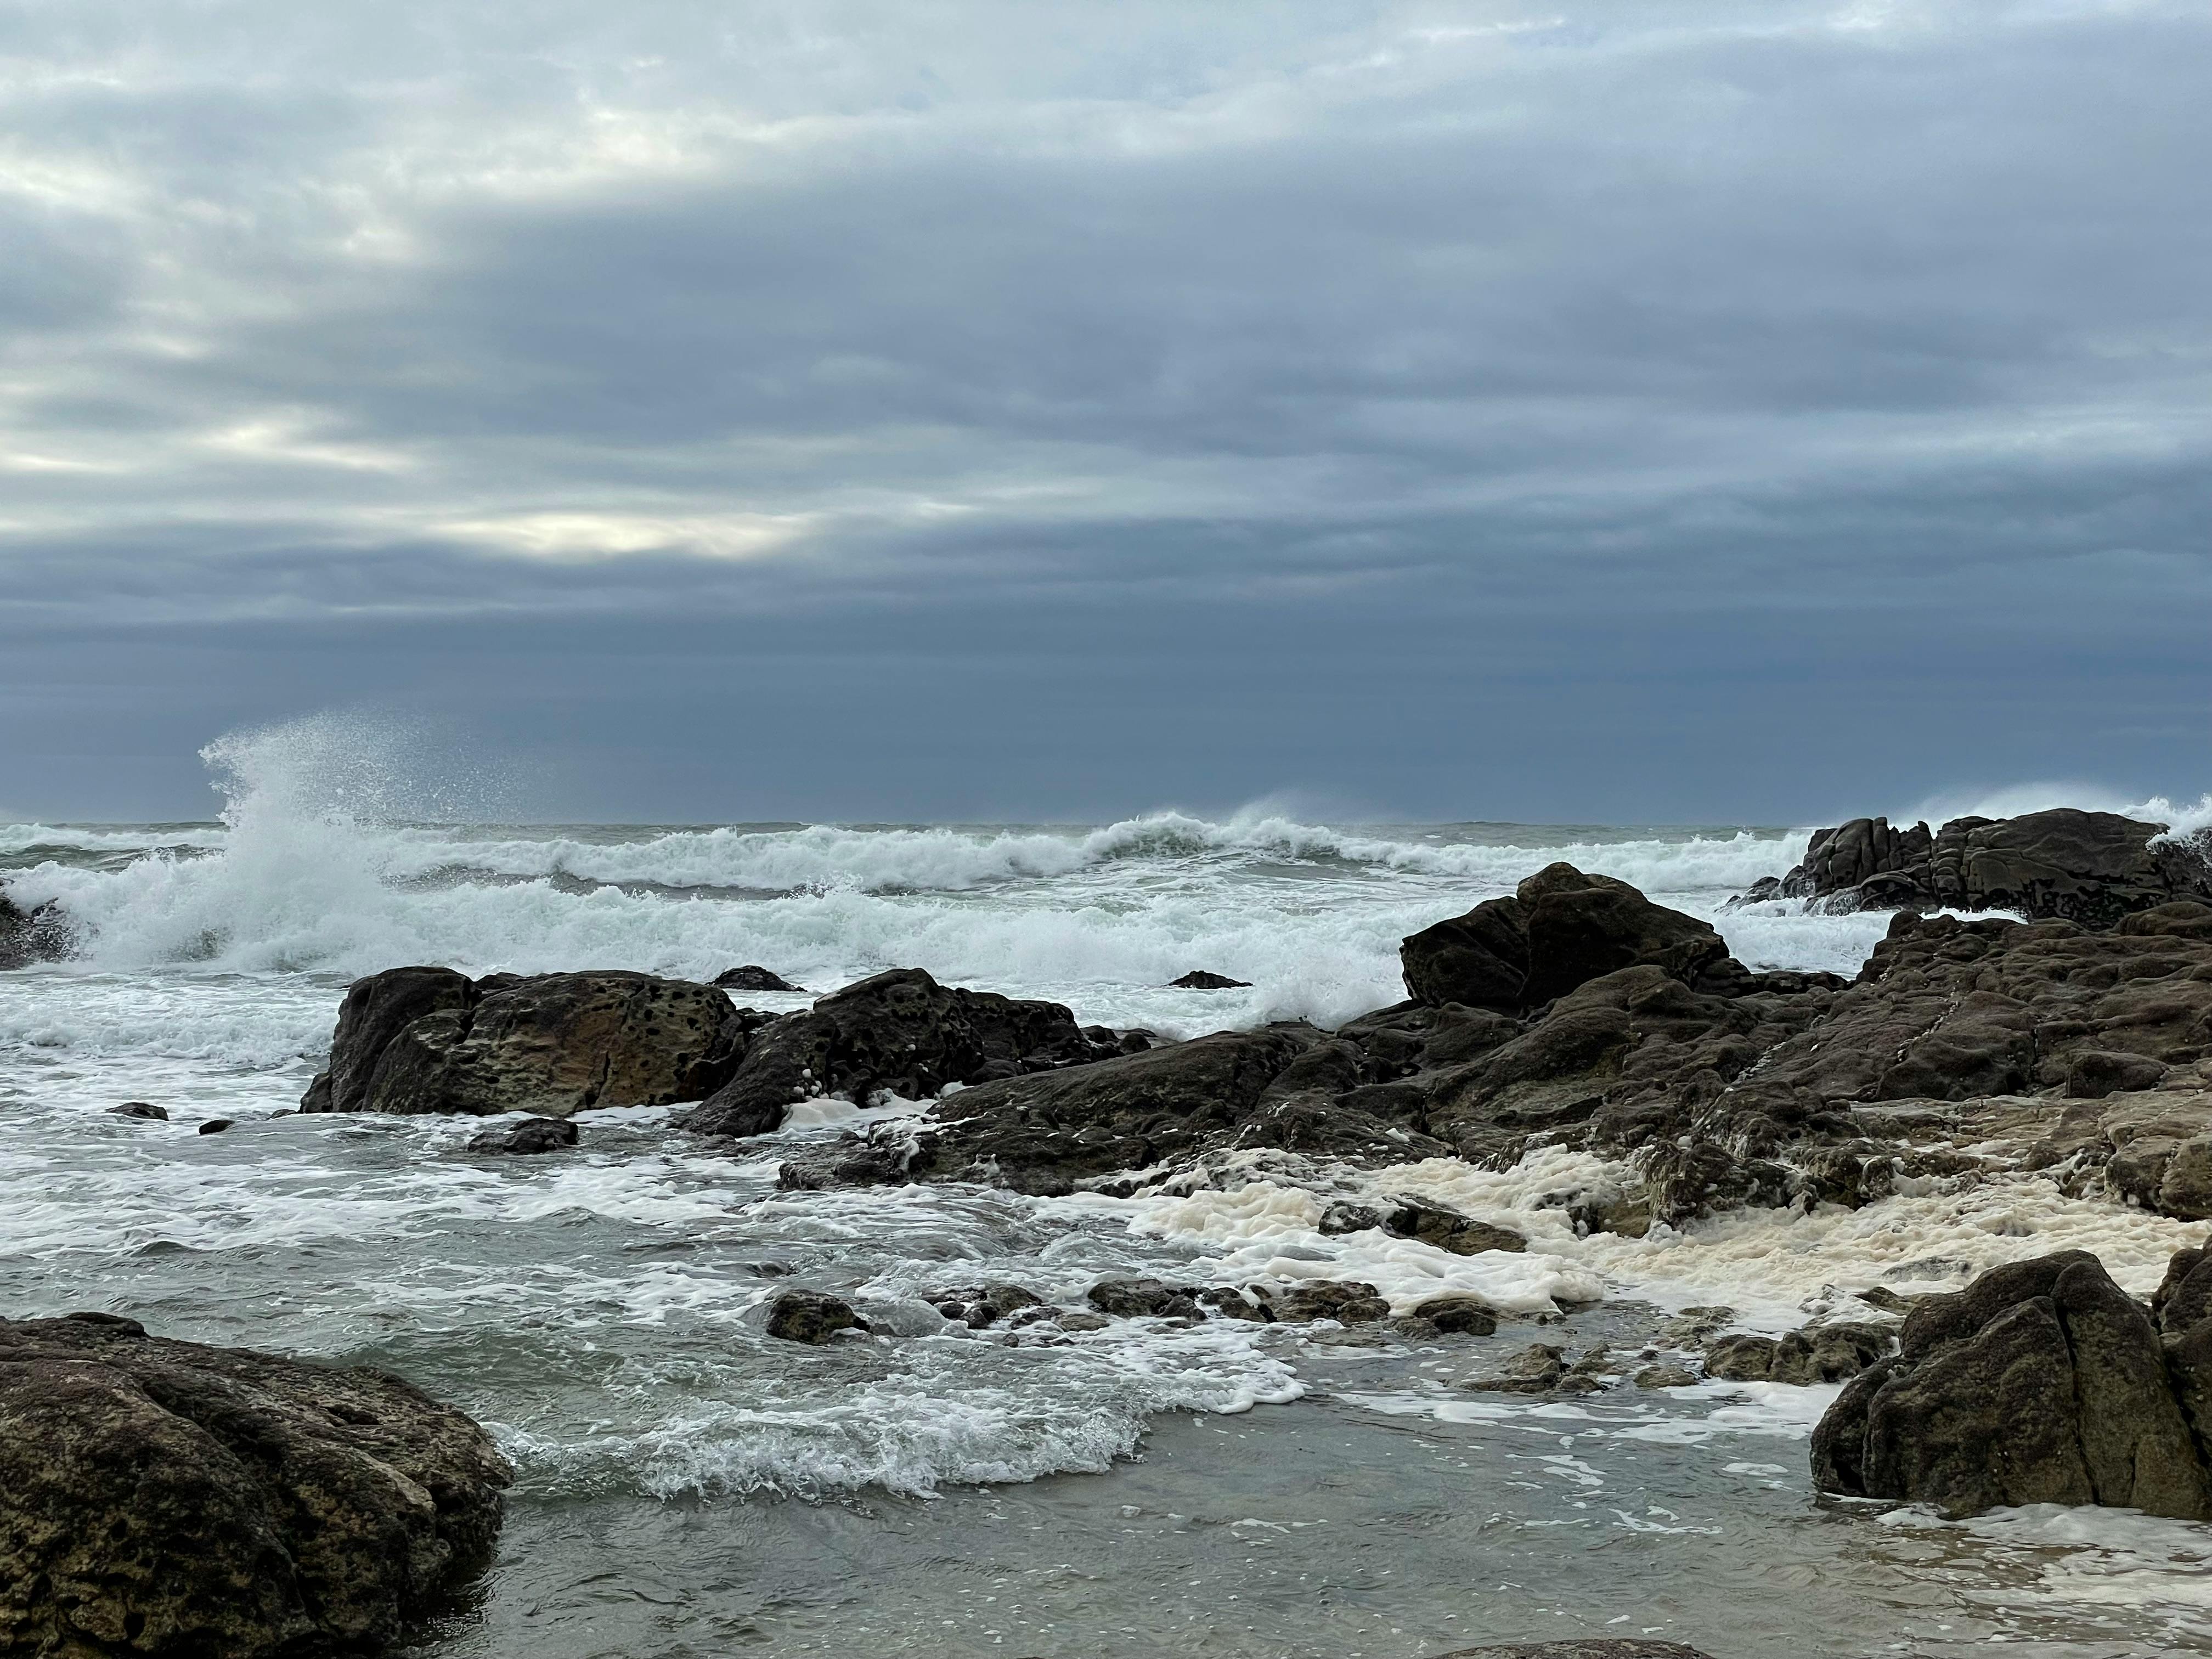
Long exposure photography uses a slow shutter to record motion over time. On a windy shoreline walk, that motion can turn waves soft, streaky, or glassy, depending on the shutter speed you choose. Shore scenes change fast. Wind pushes spray, shifts your stance, and nudges the camera, so one setup choice can alter the whole frame.
Shop the setup

- Regular price
-
€42 - Regular price
-
€44 - Sale price
-
€42
By choosing the Camstrap strap, you are opting for a high-quality product designed to meet the needs of the most demanding photographers.
- Developed by a physiotherapist to relieve neck and back pain.
- Fast delivery with tracking by the Post Office 🚚
- Can be used as a shoulder strap or hands-free harness

- Regular price
-
€36 - Regular price
-
€42 - Sale price
-
€36
Free shipping included
Choose the water look first
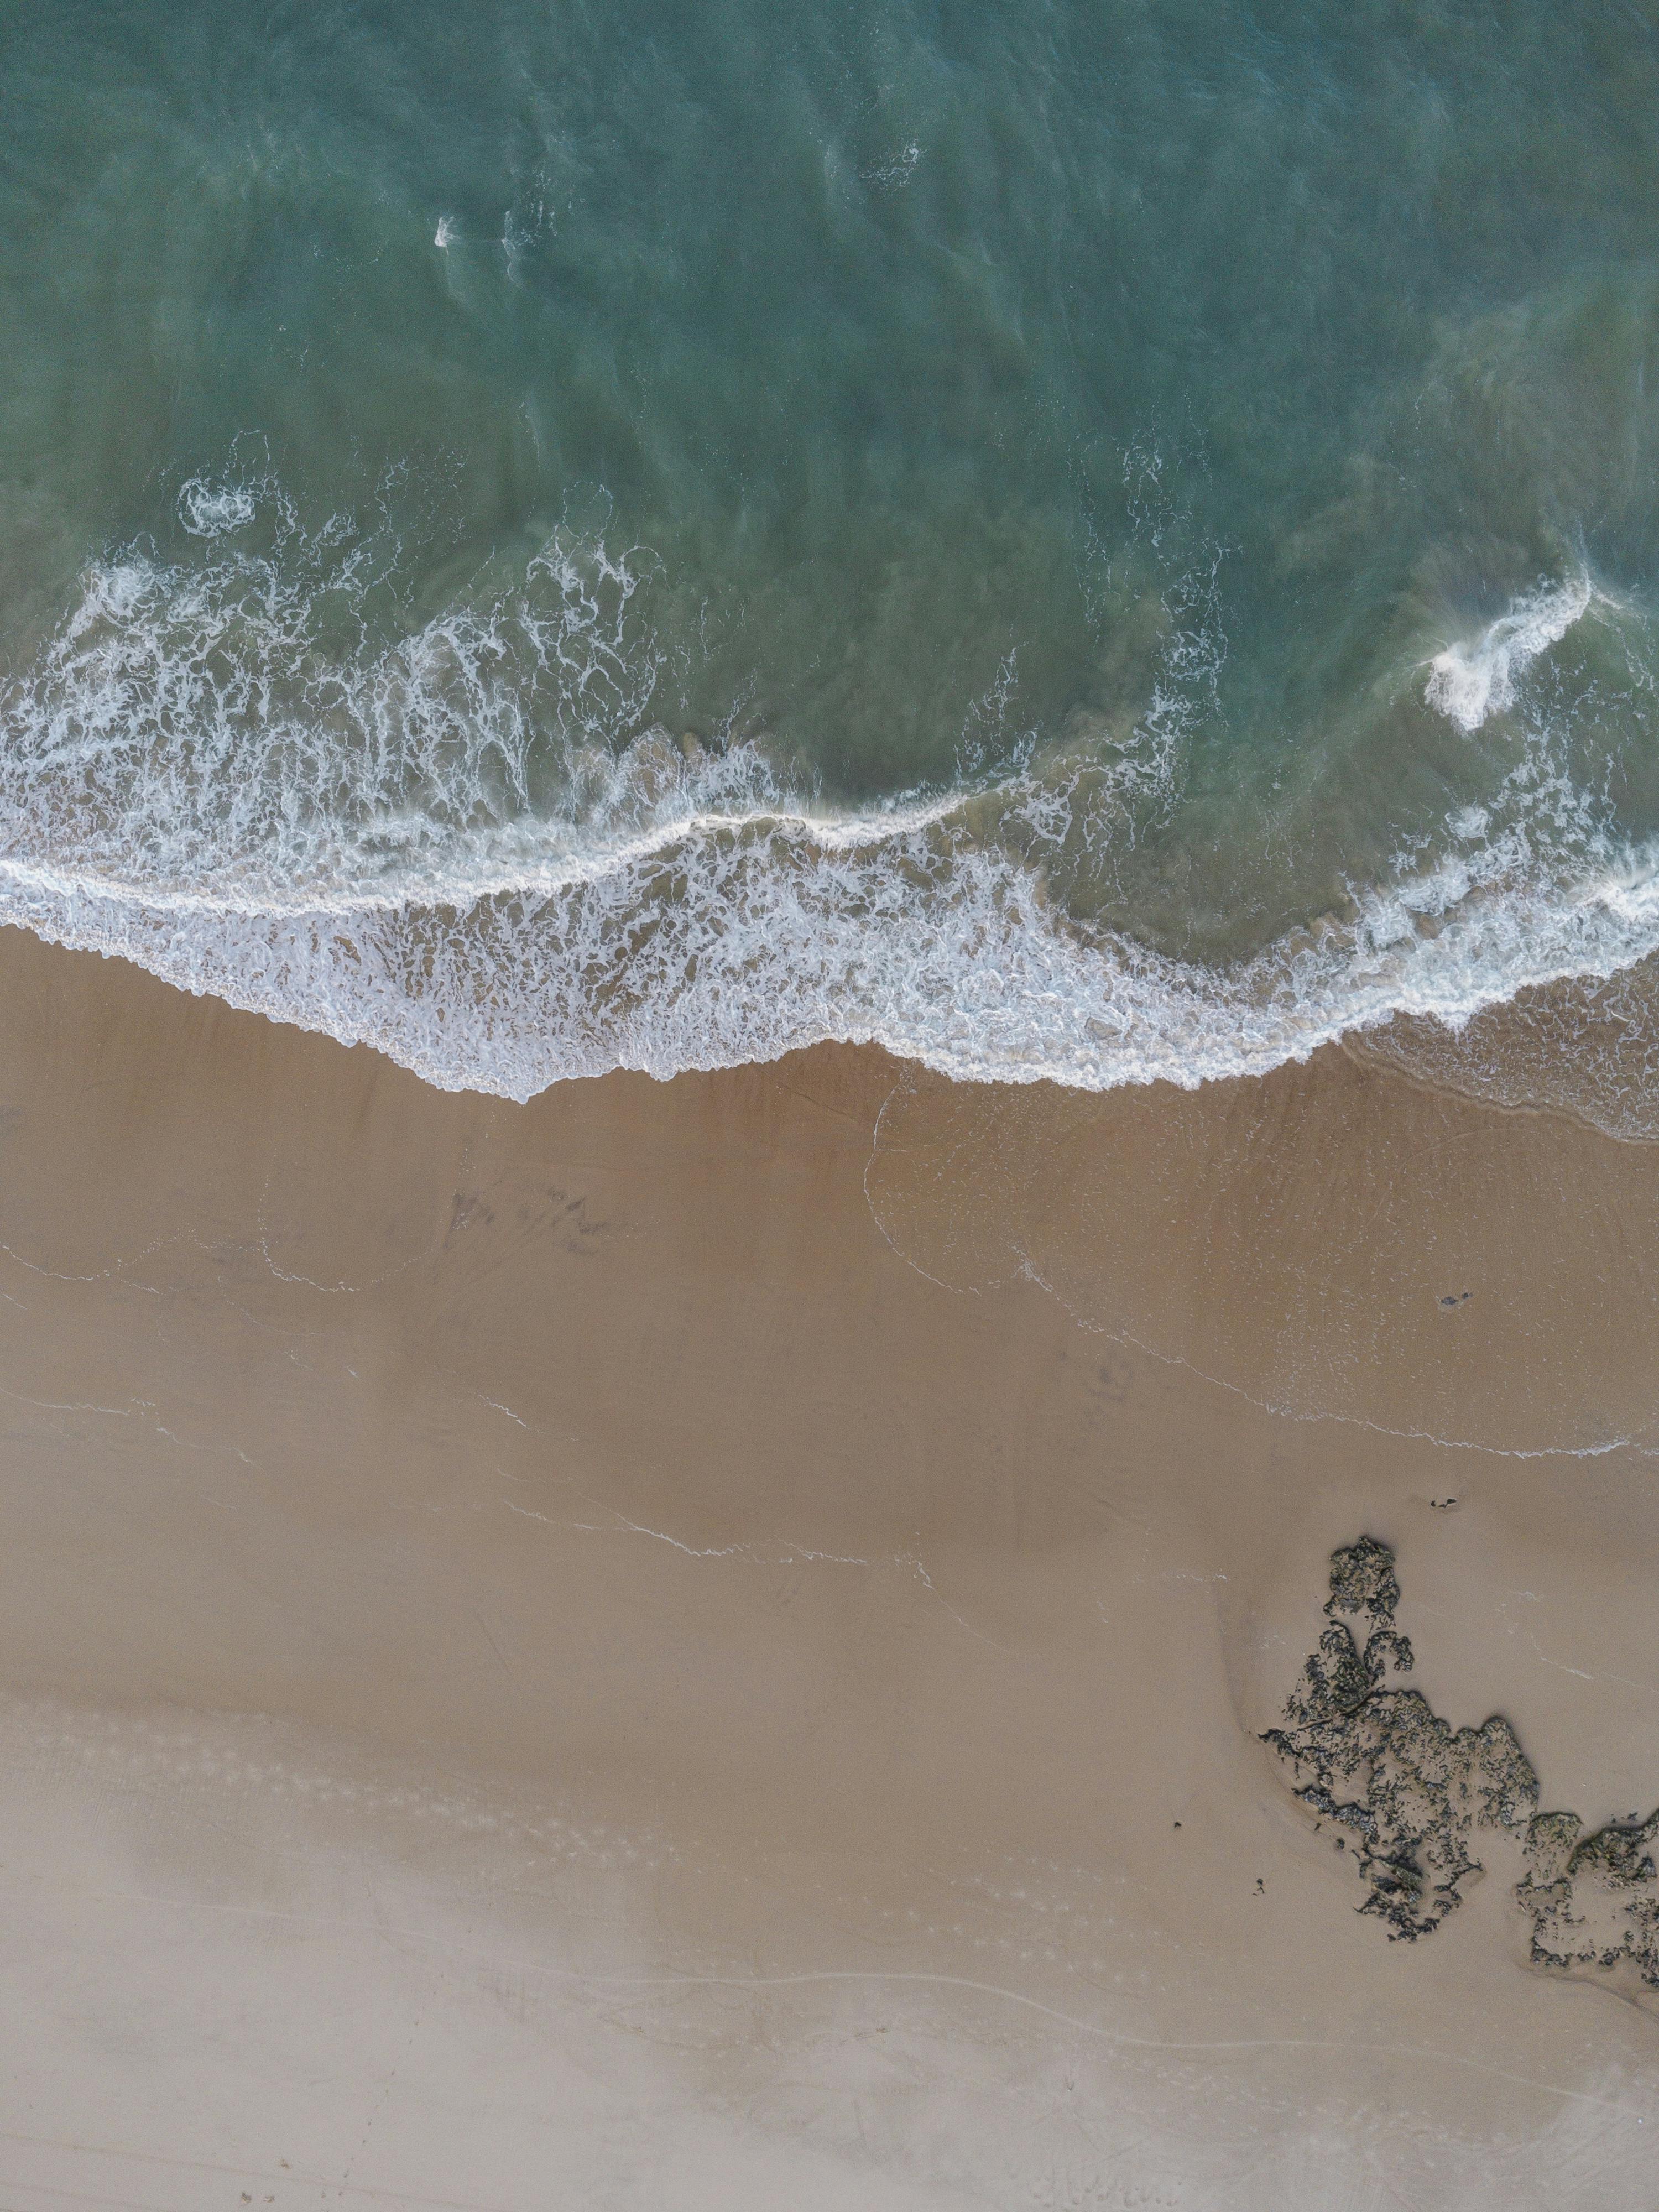
Decide how much wave shape you want to keep. Slower speeds around 1/4 second to 1/2 second preserve more foam edges and surface texture, while longer times smooth the water.
Water usually starts to look truly smooth around 1–2 seconds. Around 30 seconds, it can turn glassy, though that often wipes out the wave form you may want to keep.
Match shutter speed to the mood
Reach for a faster slow shutter when the surf has clean lines or a good curl. Use a longer one when you want mist, a softer wash, or a calmer sea feel. A 50mm to 85mm lens helps isolate one wave pattern. A wider lens can still work, but it often makes the frame feel busier.
- 1/4 s to 1/2 s: keeps wave texture and edge detail
- 1–2 s: starts to smooth the water
- About 30 s: creates a very soft water look

How does long exposure photography work?
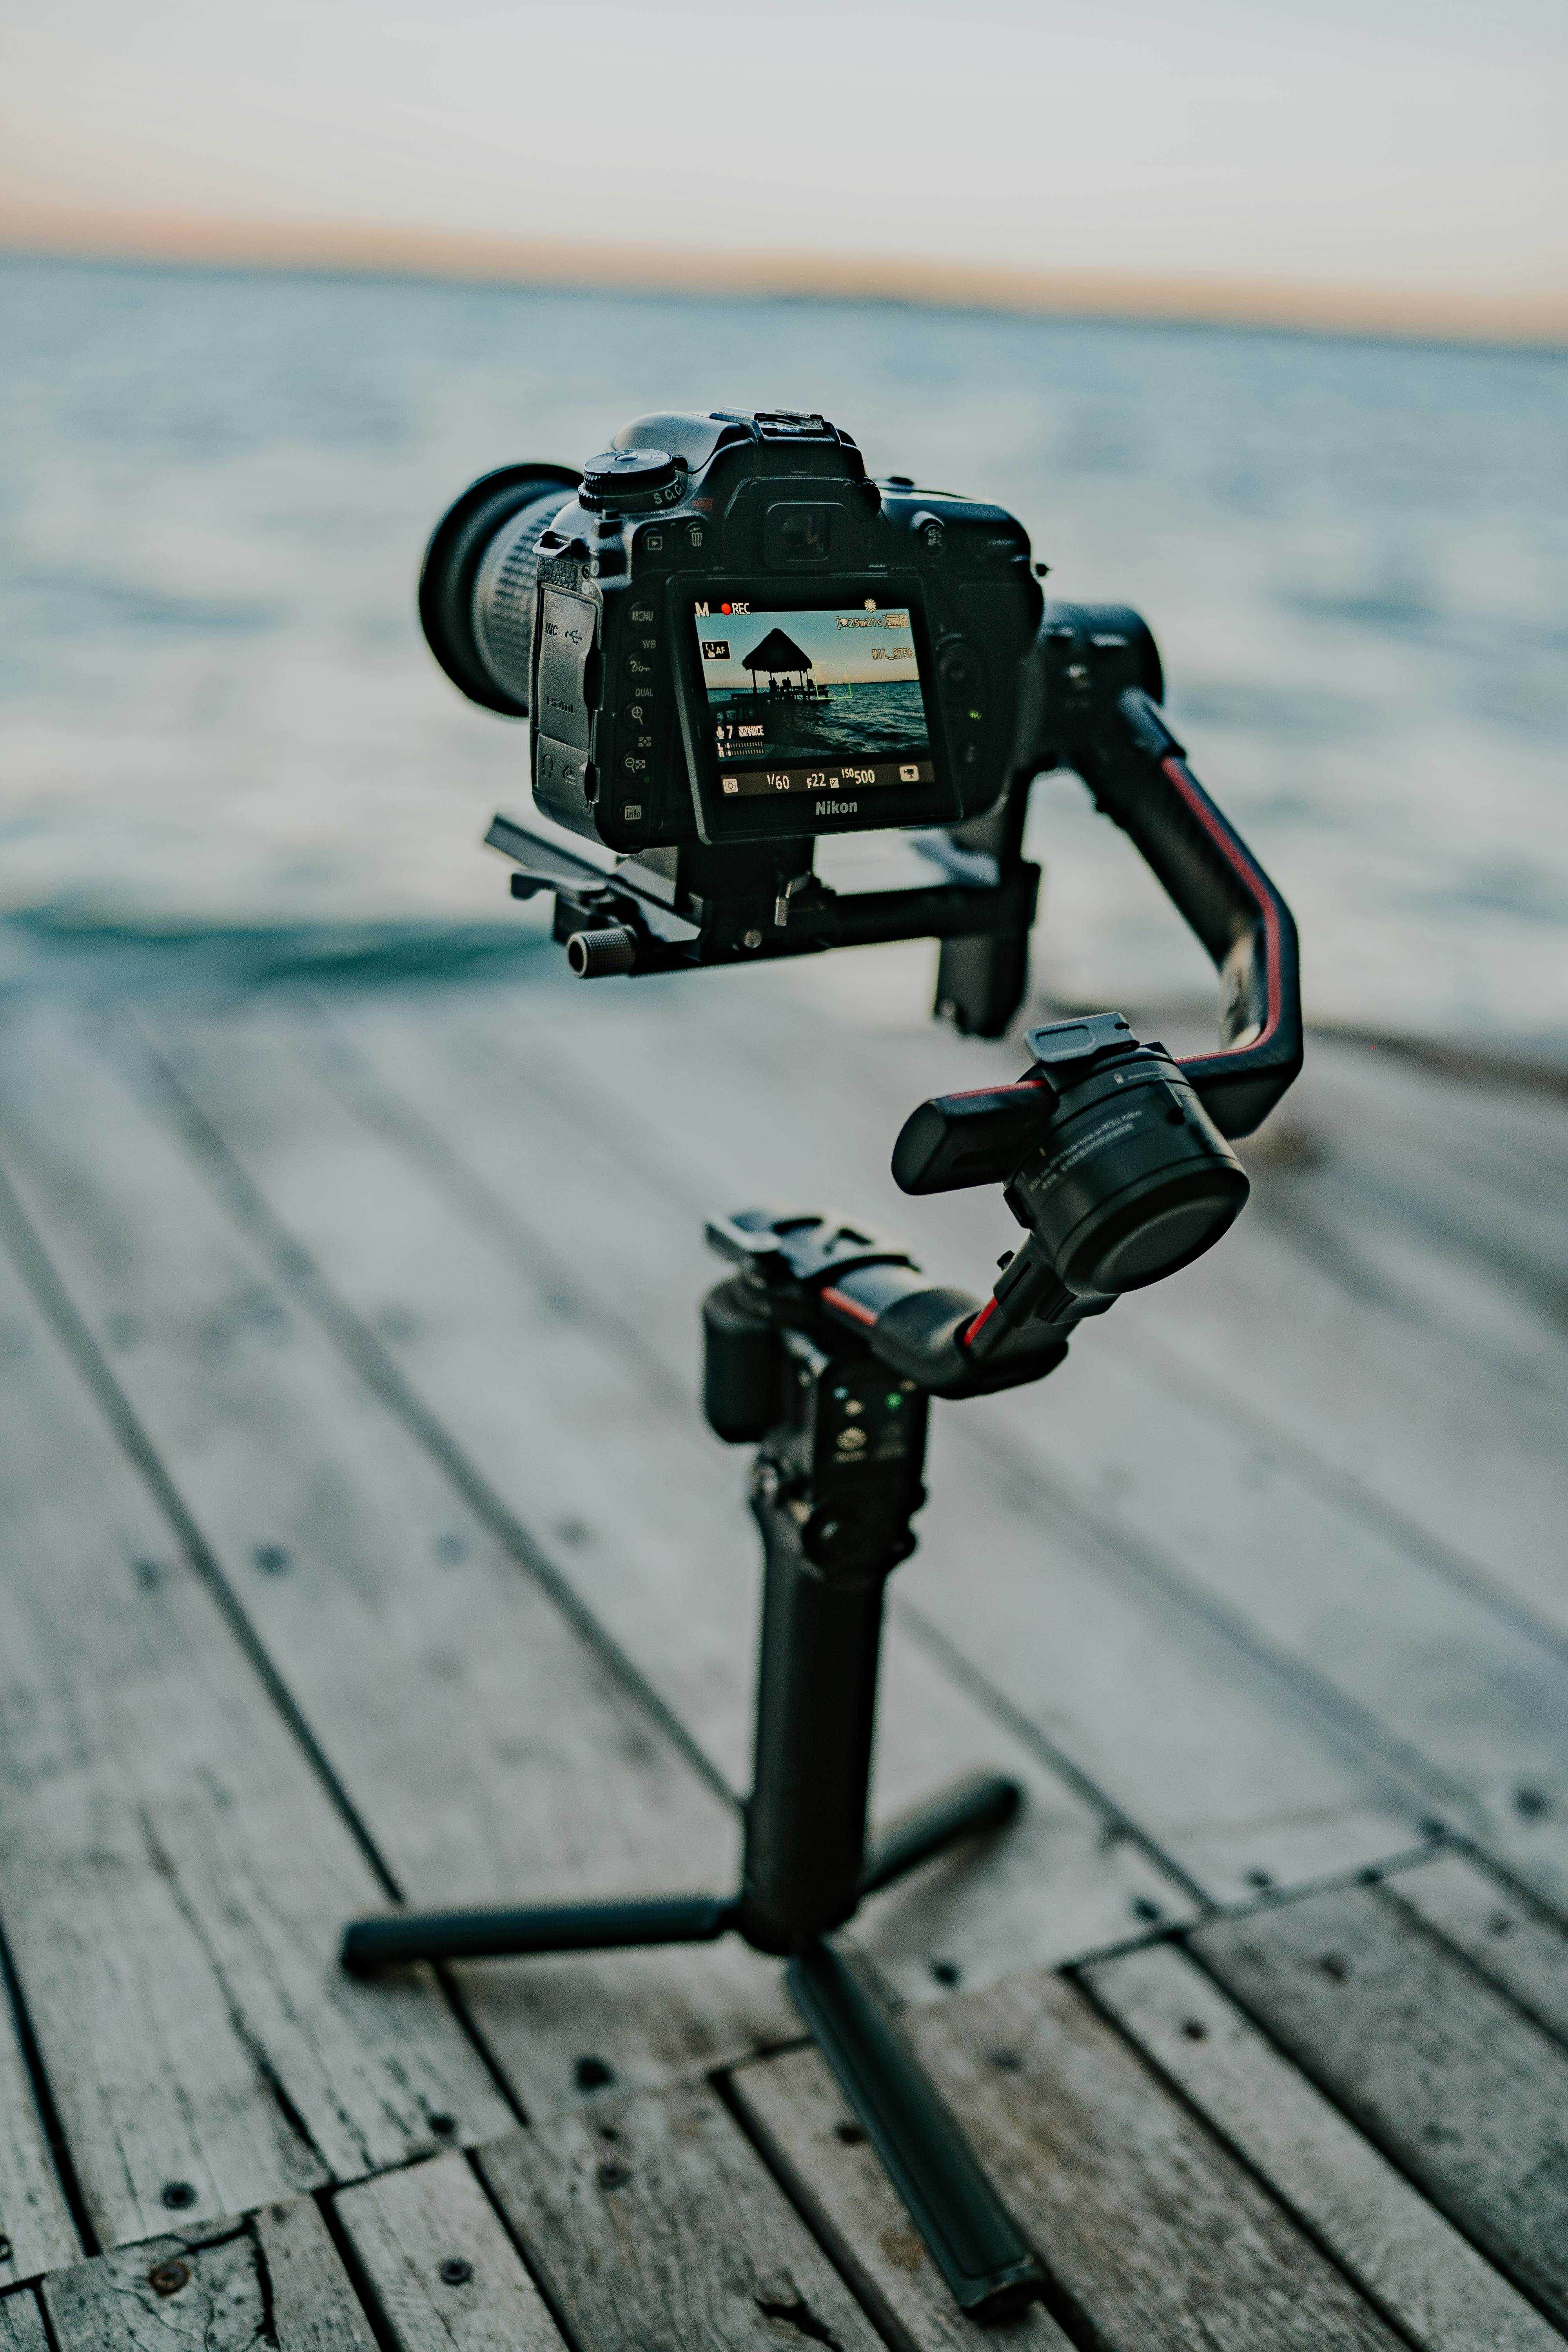
Stabilize the camera, lower ISO, and slow the shutter until motion records the way you want. A tripod, ISO 100, and a narrow aperture such as f/16 or f/22 make a solid starting point.
Start in Manual mode or Shutter Priority mode. Set the camera on a tripod, frame the scene, then adjust the shutter until the water looks right.
A simple shore setup that works
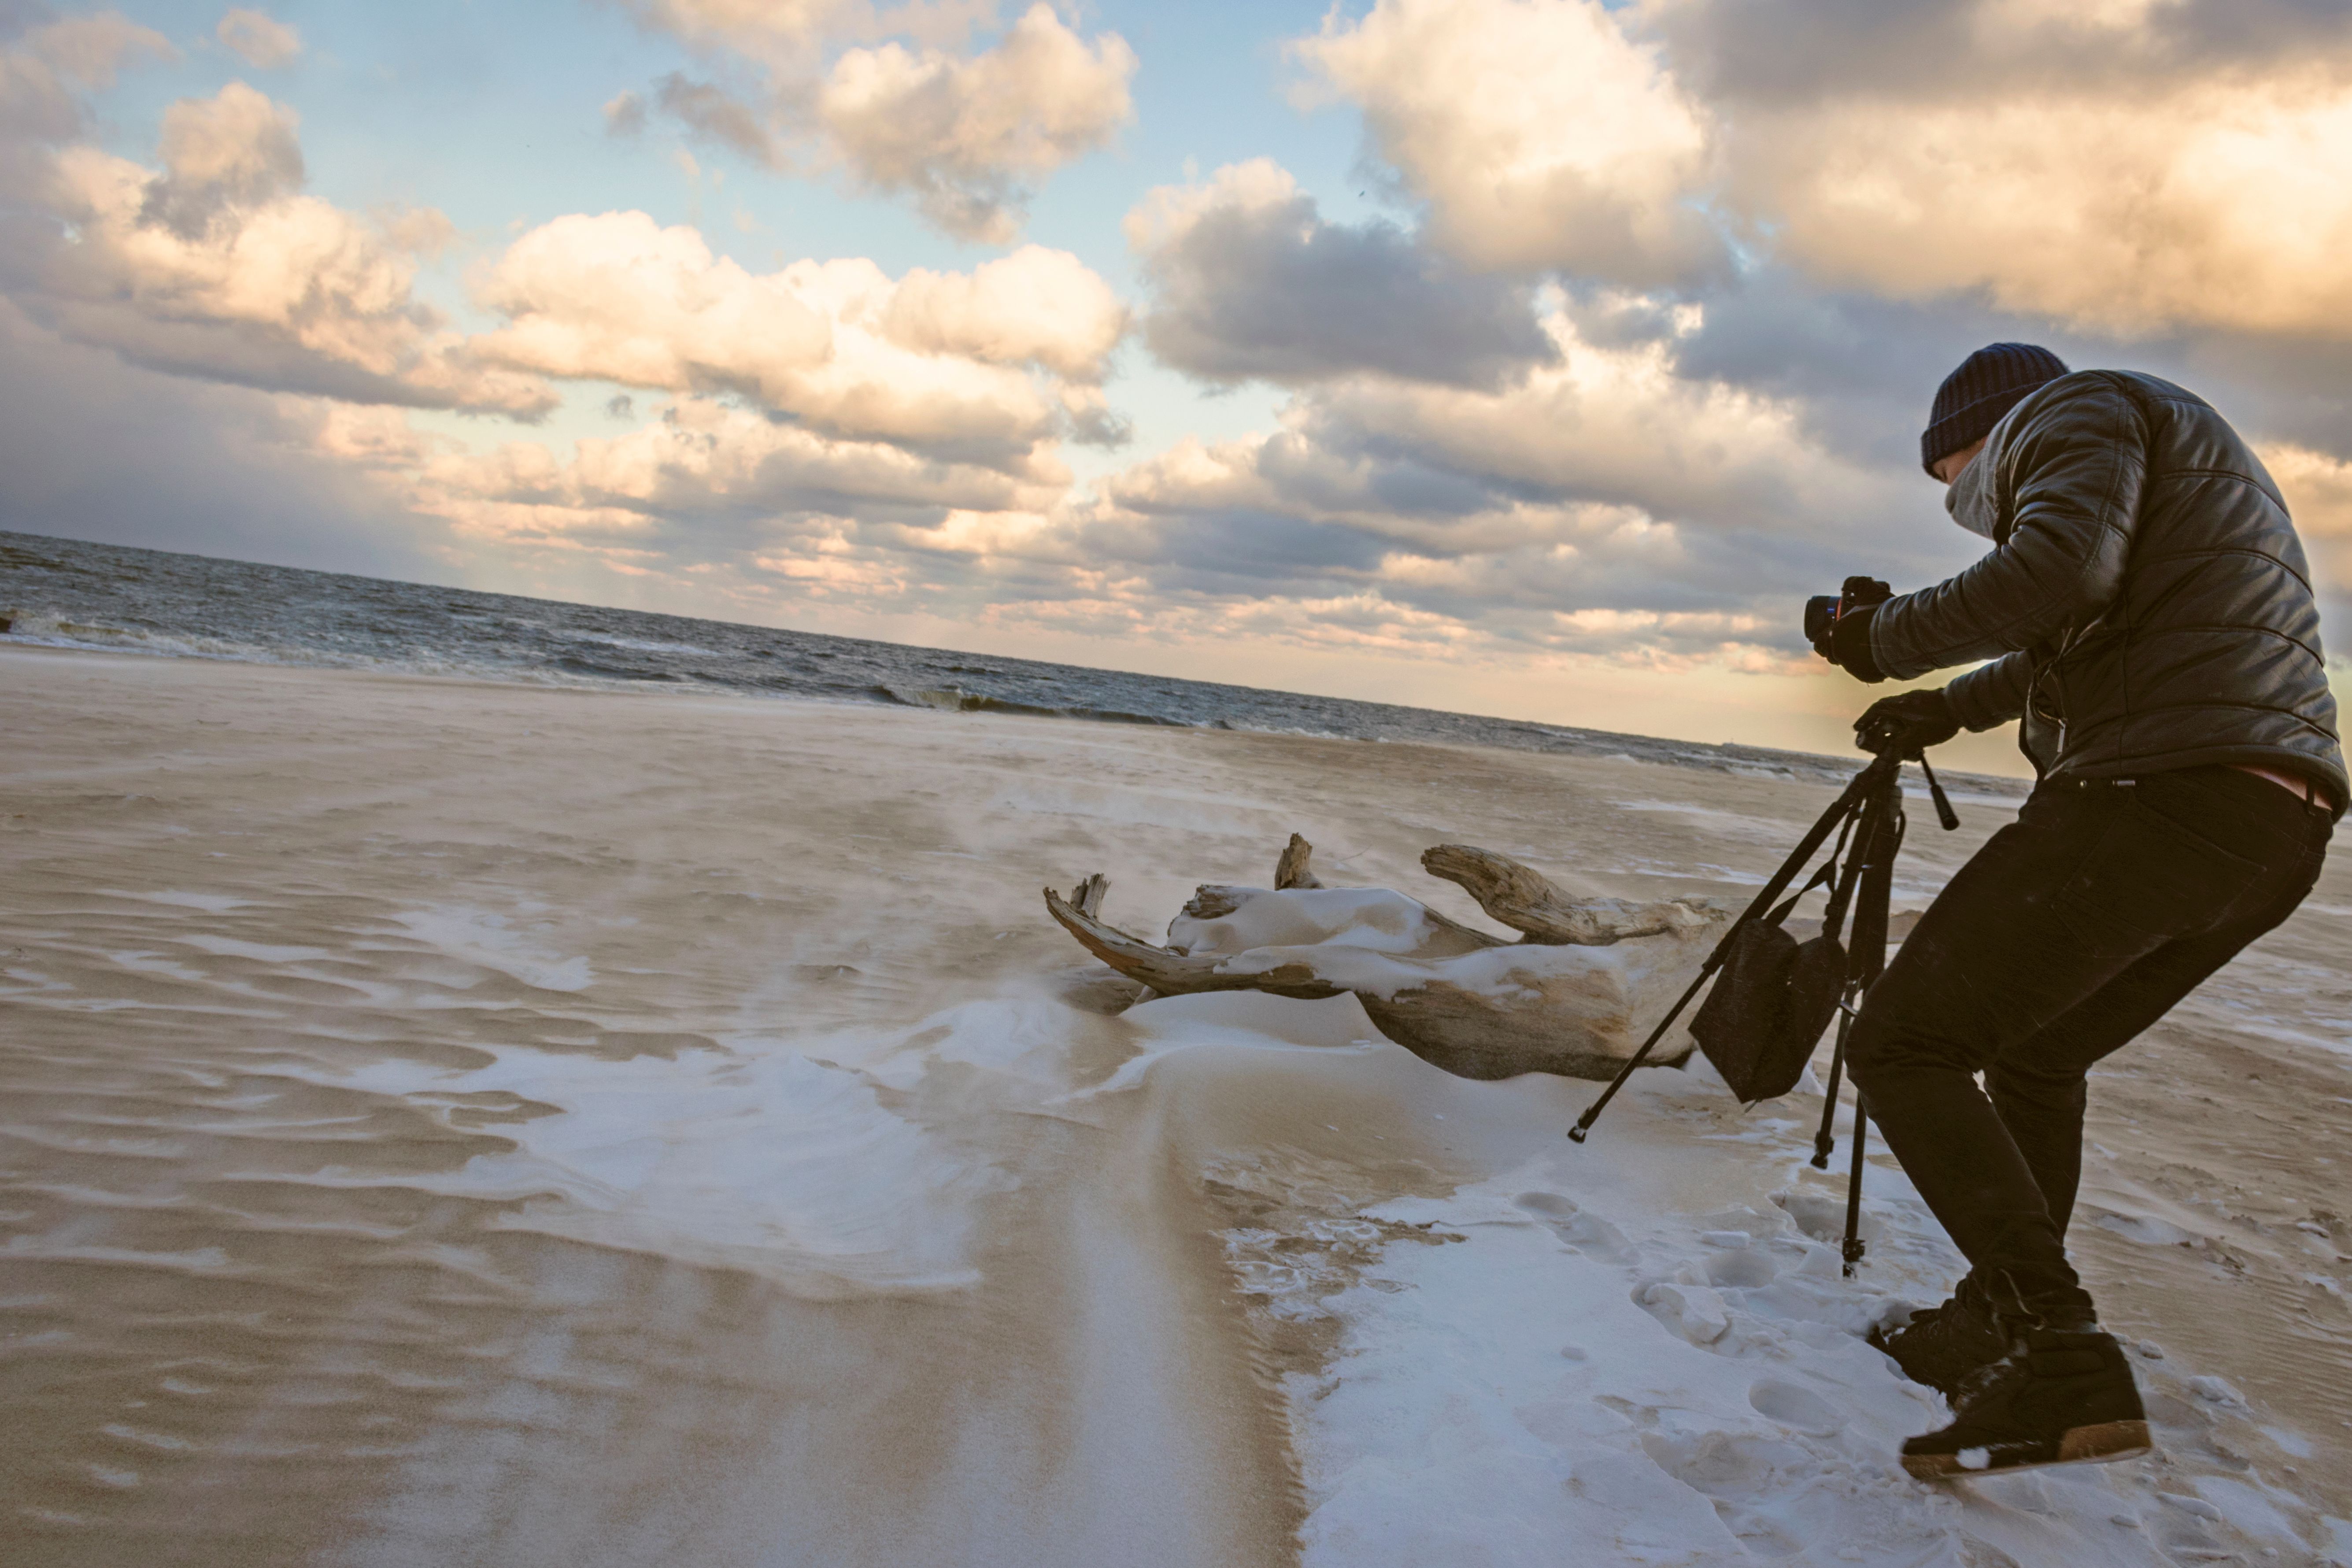
- Plant the tripod on firm ground above the wet line.
- Set ISO to 100 for clean files.
- Choose f/16 or f/22 if the scene is bright.
- Set the shutter to 1/2 second, then test again at 1 second.
- Check the frame for wave shape, not just exposure.
Lower ISO keeps noise down in dark water and sky. A narrow aperture cuts light, and an ND filter helps when the sun is too bright for a slow shutter.
What is the 20-60-20 rule in photography?
The 20-60-20 rule splits your time across a shoot. Roughly 20% goes to setup, 60% to making and checking frames, and 20% to review and select the strongest images. On a shoreline walk, that rhythm saves time and keeps you alert. You spend less energy rushing and more energy on the shot that matters.
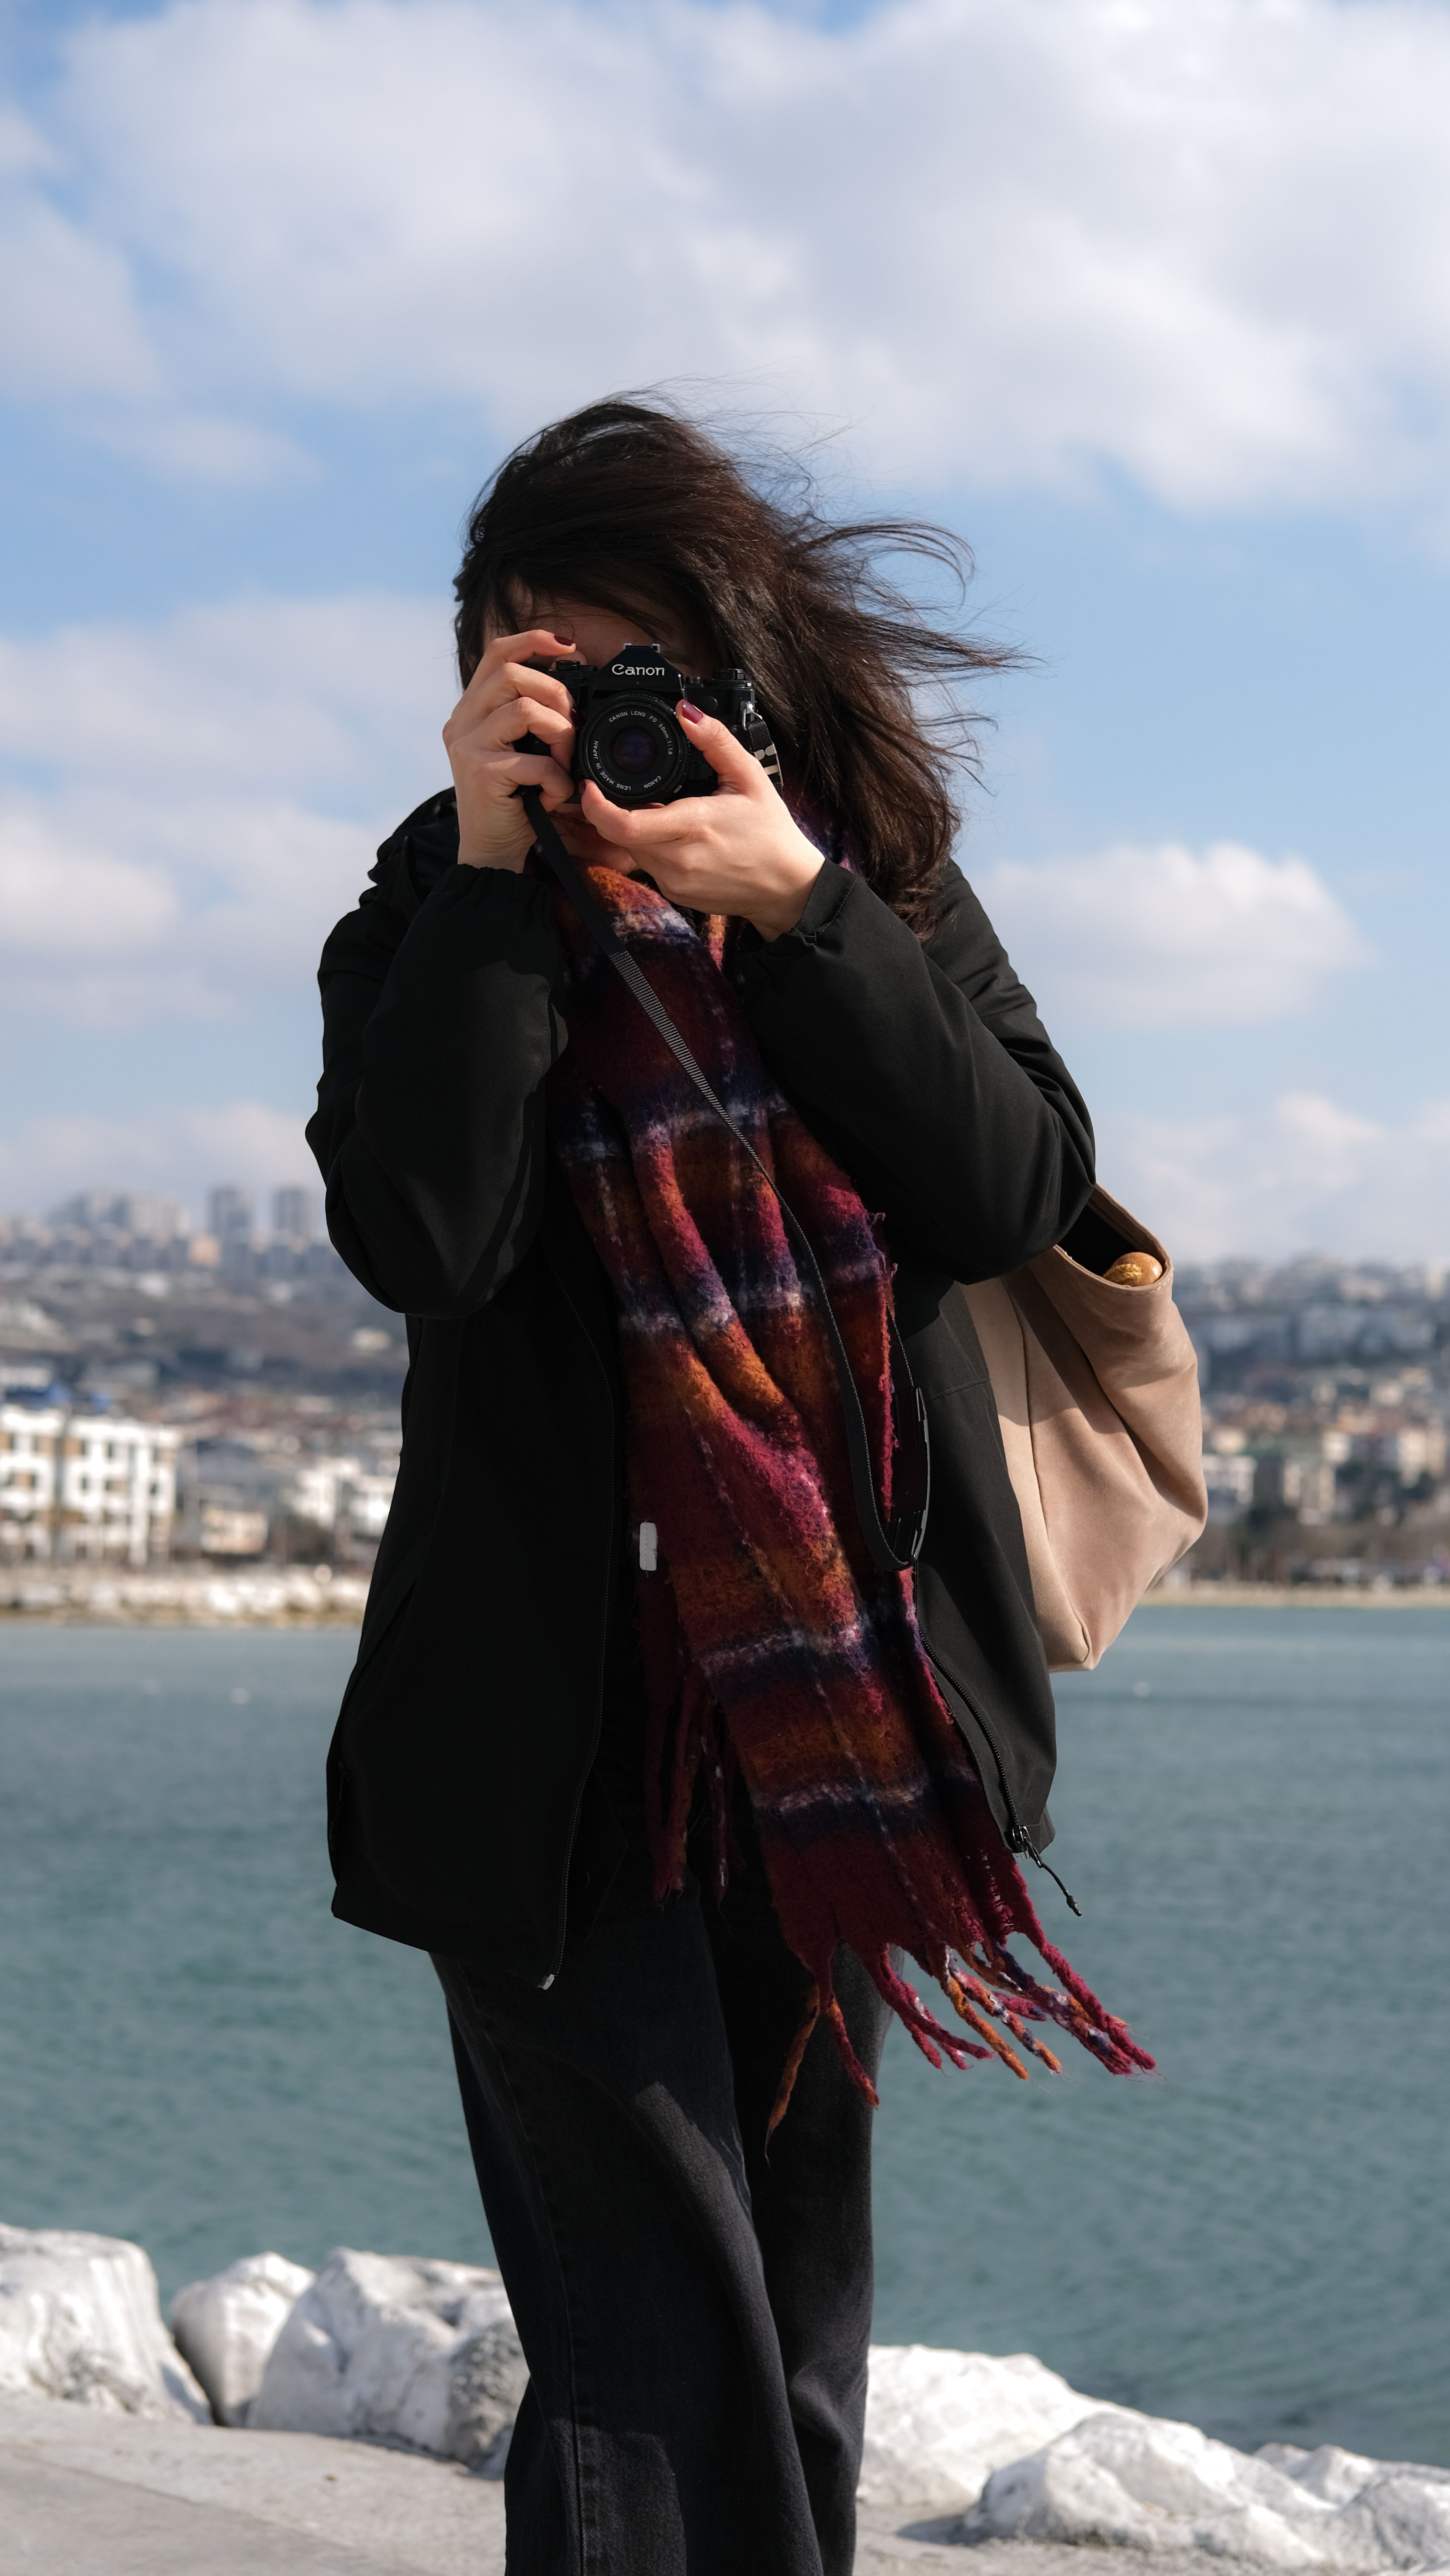
Use the rule to stay focused near the sea
The first 20% is for reading the wind, waves, and rocks. The middle 60% is for changing position and testing slower shutters.
The last 20% is for review. Zoom in on the surf line, check for camera shake, and note which shutter speed kept the wave forms clear.
Wind control makes the biggest difference
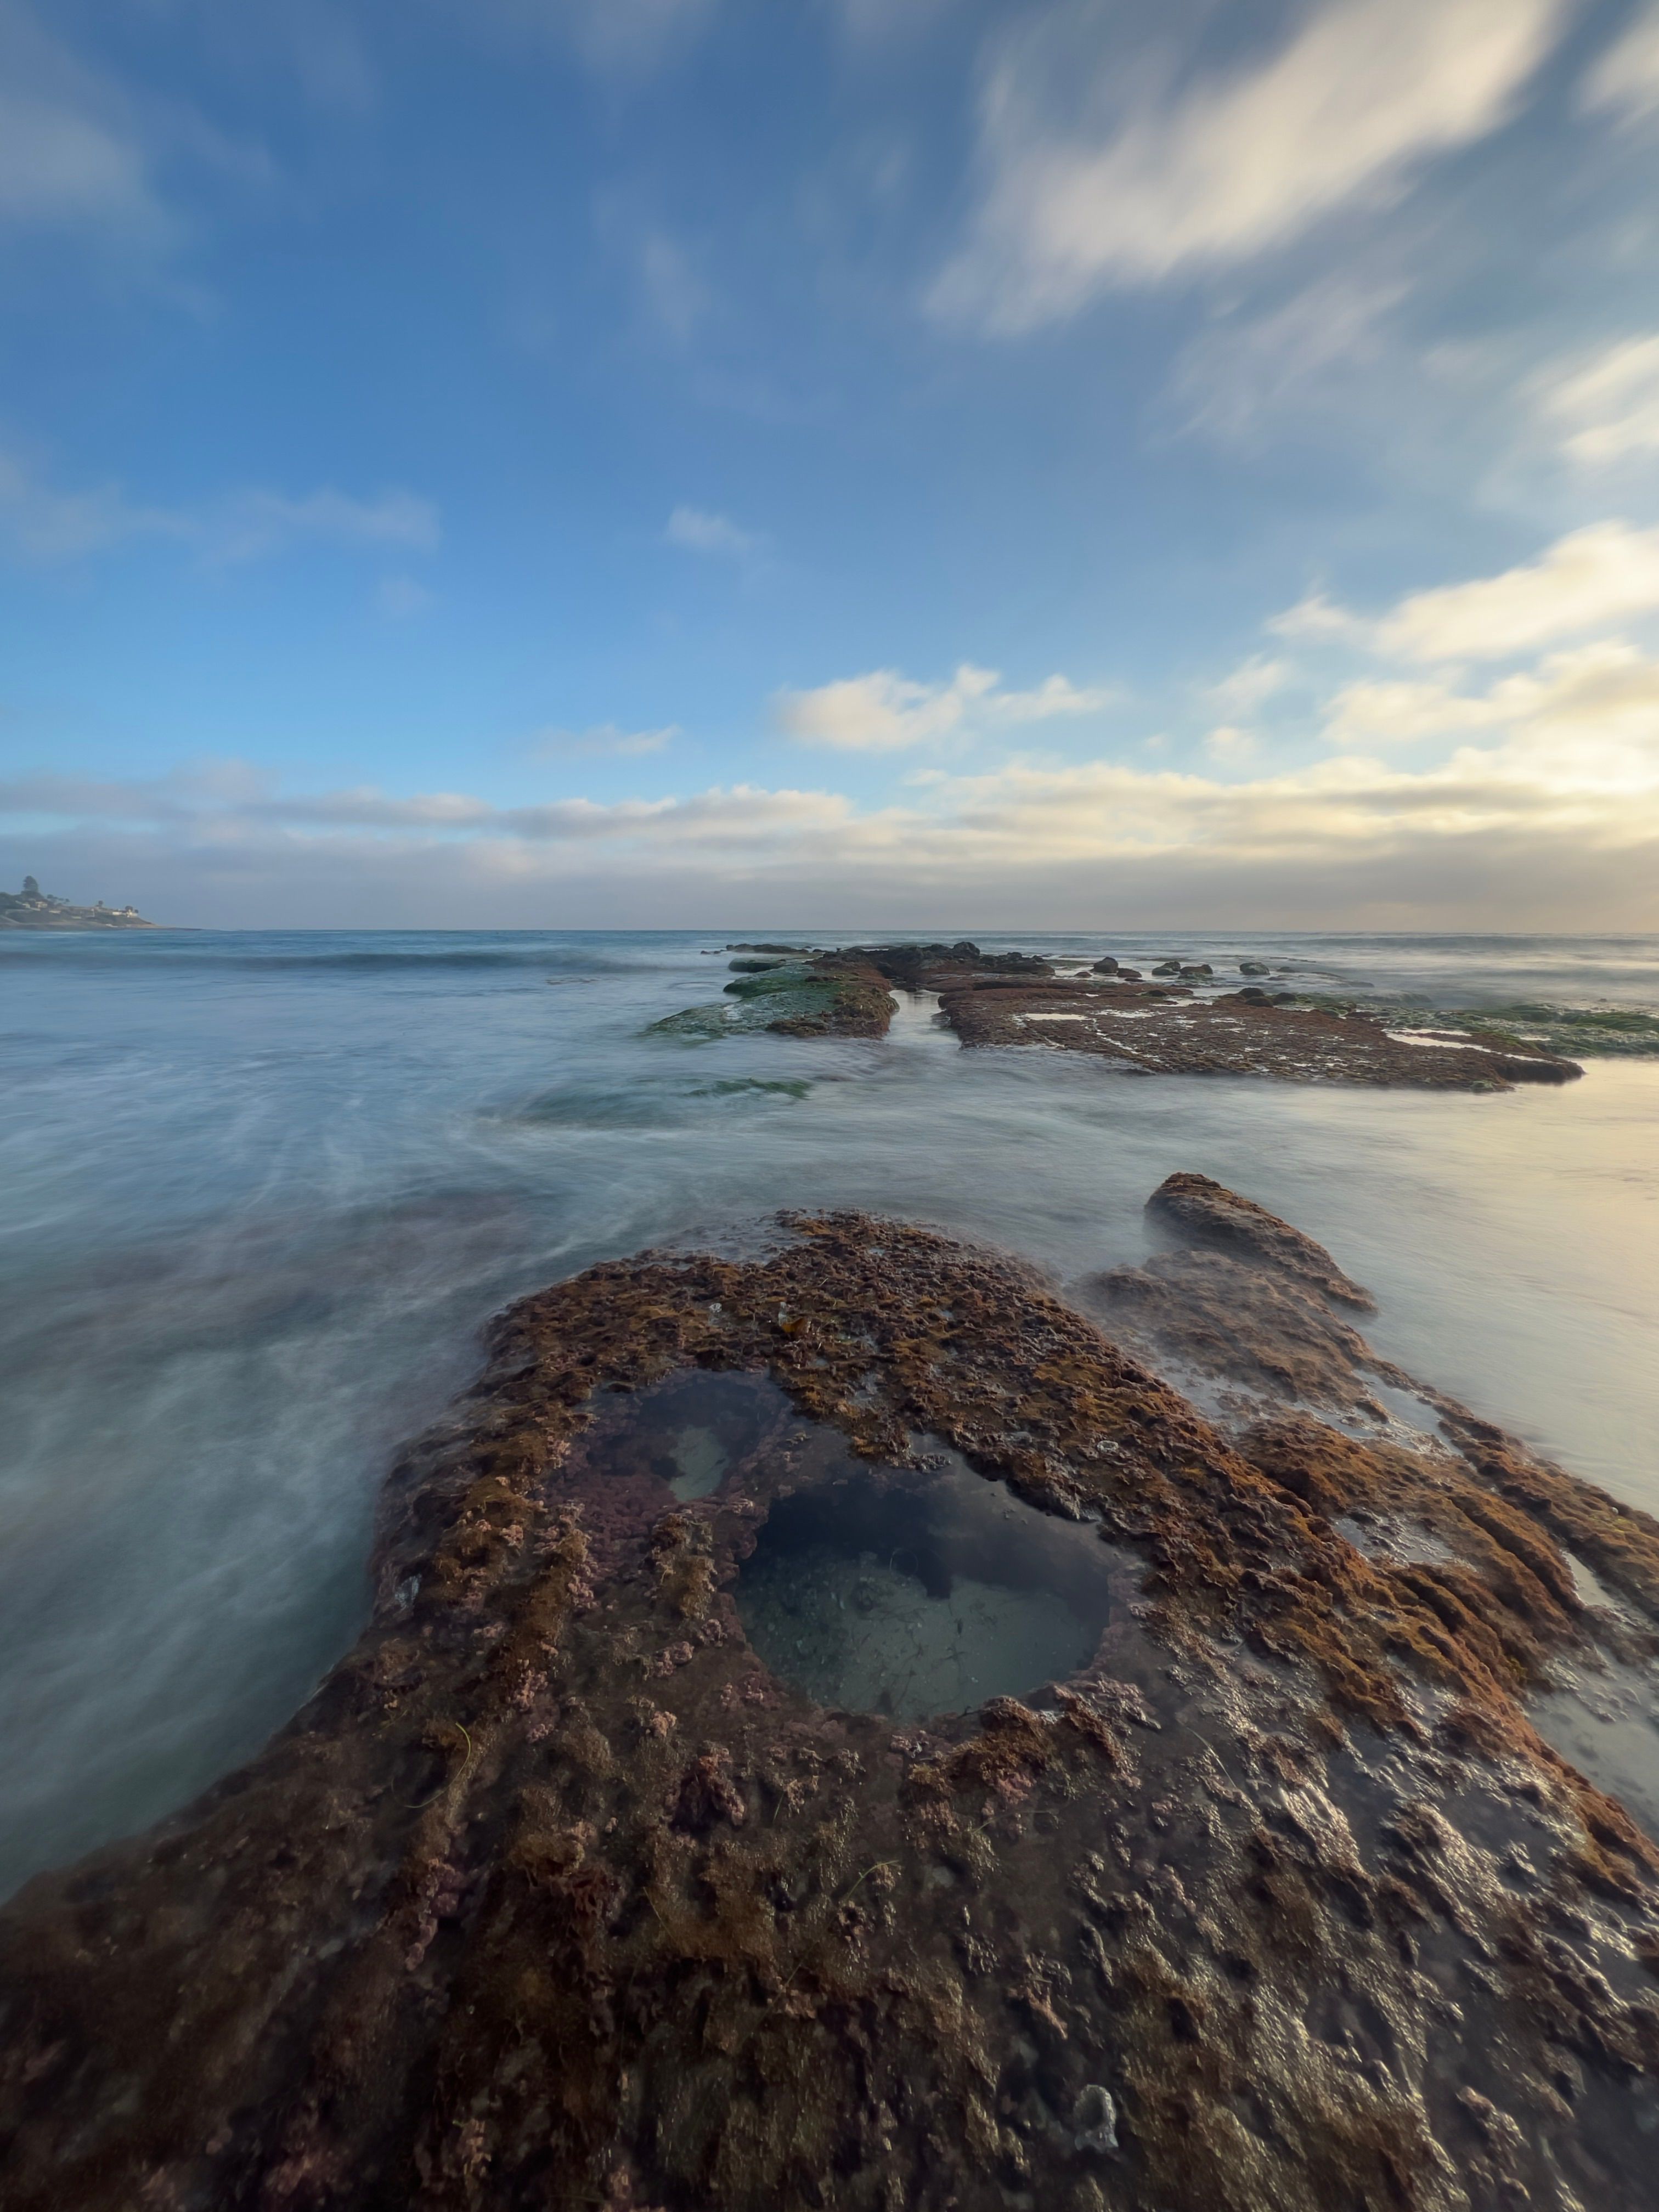
Wind is the main reason shoreline long exposures go soft in the wrong way. Even a good tripod can move when gusts hit the camera body or legs. A stable base matters. If the tripod has a hook, hang a bag from it, and keep the center column down whenever you can.
Small changes that cut shake
- Keep the tripod low and wide
- Use the center column only when needed
- Stand on the windward side to shield the camera
- Use a 2-second self-timer or remote release
- Wait between gusts before you press the shutter
These steps keep the camera still during the long open time. They also reduce tiny shifts that can blur the wave edge you wanted to keep.
What are common mistakes in long exposure?
Common mistakes in long exposure are camera shake, too much light, and a shutter that is too long for the subject. On the shore, people also forget that wind can move the tripod even when the ground looks solid.
Using a high ISO without need is another mistake. It raises noise and can make the water look rough, even when the motion is smooth.
Watch for these trouble spots
- Tripod legs on loose sand
- Center column raised too high
- Shutter speed so slow that waves turn to flat blur
- Bright sun with no ND filter
- Auto white balance shifting from frame to frame
Focus hunting is easy to miss. Use single-shot AF to set focus, then switch to manual focus before the exposure sequence starts.
How do I get 30 seconds exposure on my iPhone?
A 30-second exposure on an iPhone usually needs a low-light app or a tripod-based live long exposure mode. The stock Camera app on many models limits long shutter control, so third-party apps or Live Photo effects may be needed. Place the phone on a stable mount first. Then set the exposure time manually in the app, and use a timer or remote trigger so your touch does not shake the frame.

Phone settings that help
Use the lowest ISO the app allows, and lock focus on the waterline or rocks. If the scene is bright, a phone ND filter can help the app hold a longer shutter without overexposure.
For shoreline shots, 30 seconds will smooth waves a lot. If you want wave shape, try 1 second to 2 seconds instead.
Kit choices that keep you moving
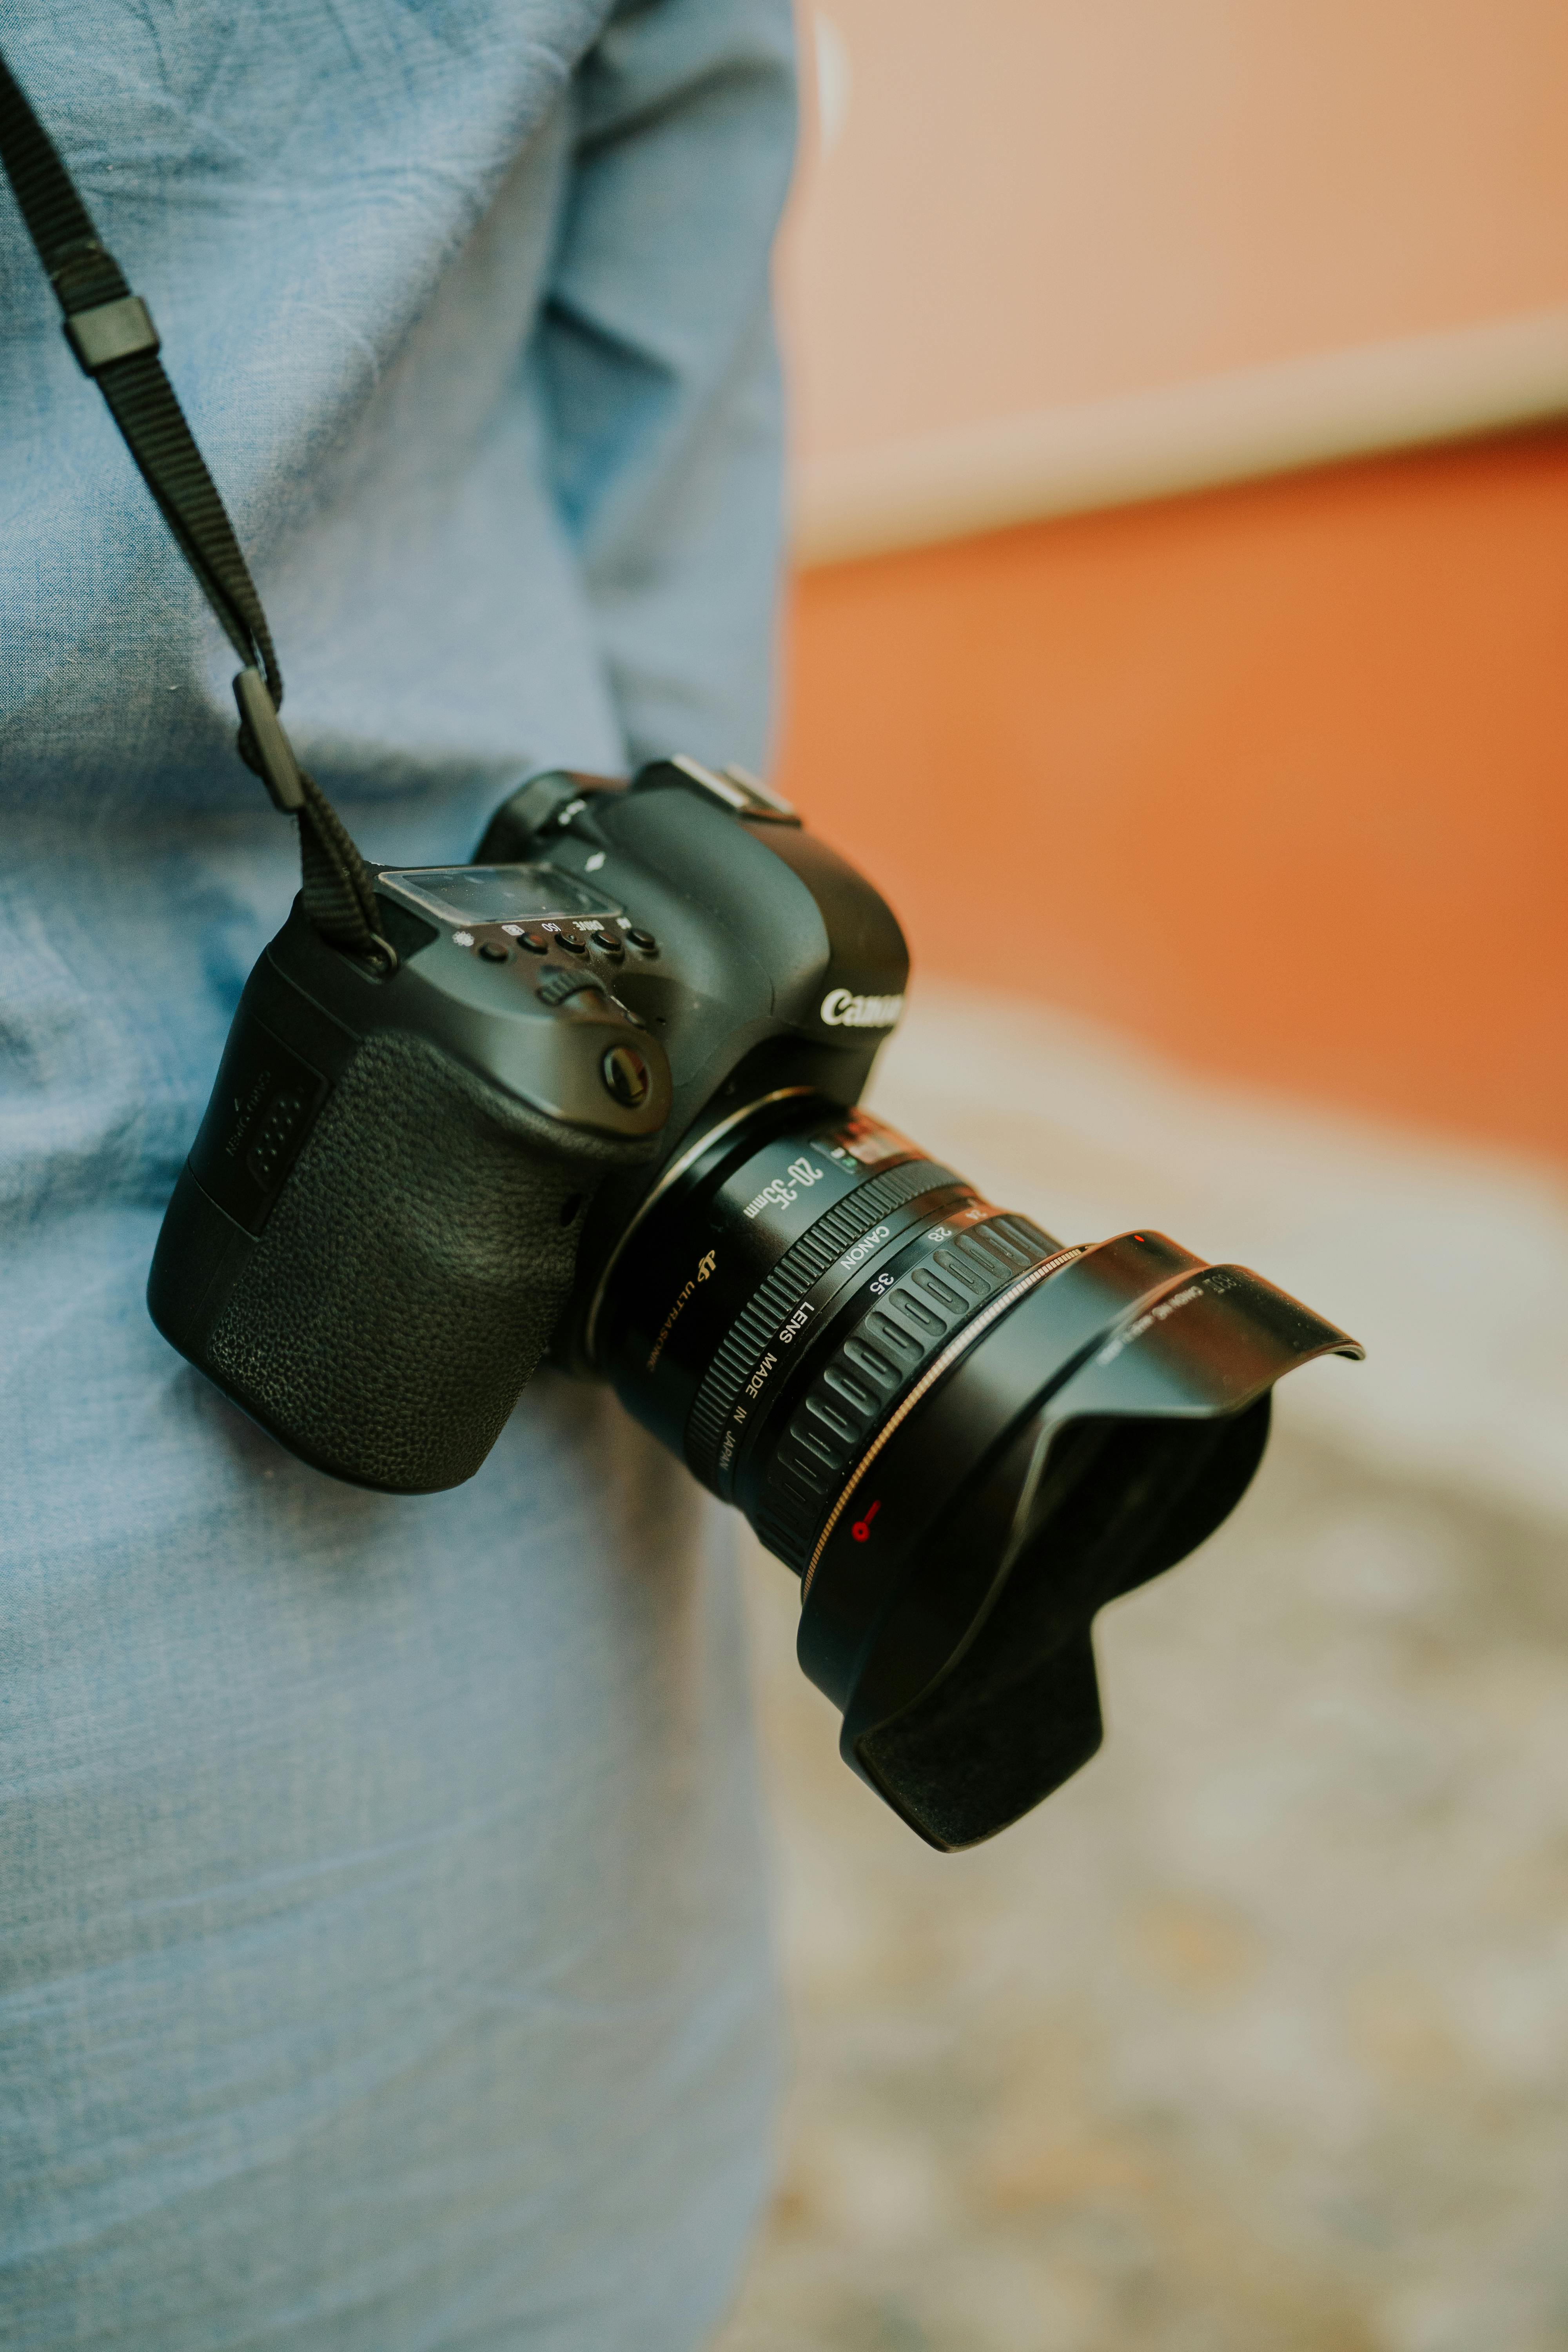
A windy beach walk often means moving fast between rocks, sand, and viewpoints. A hands-free carry helps because you can keep the camera ready without gripping it the whole time. A cross-body strap also keeps the camera from swinging into your knees as you step over wet stones. The Camstrap Voyager fits this kind of walk well because it spreads weight across the body and still lets you lift the camera fast for a frame.
Pack only what helps the shot
- Tripod with a hook for added weight
- Remote release or self-timer
- ND filter for bright surf scenes
- Microfiber cloth for salt spray
- Extra battery for long review and live view use
Mirrorless bodies drain power faster when the EVF or LCD stays on a lot. A spare battery matters because long scenes often need more preview checks, more focus tries, and more review time.

Small tweaks that keep the waves readable
Wave detail lives in the middle ground. If the shutter is too fast, the scene feels frozen and rough. If it is too slow, the wave shape disappears.
For many shore scenes, I start at 1/2 second, ISO 100, and f/16. Then I move one step slower only if the wave pattern still looks clear.
Use this quick check before each frame

- Look for a clean edge in the next wave.
- Check that the tripod is planted on firm ground.
- Shield the camera from the gust if you can.
- Take one frame and zoom in on the surf detail.
- Adjust shutter speed in small steps.
This approach keeps the scene sharp in the right places. It also gives you control over how much motion the water shows, instead of letting the wind decide for you.
Walk the shoreline with patience, not haste, and use the wind as a clue for your next frame. A steady tripod, ISO 100, and a shutter near 1/2 second usually give the best balance of wave shape and motion.
Frequently Asked Questions

How do you do long exposure photography?
Long exposure photography uses a slow shutter speed to record motion over time while the camera stays still on a tripod. For shoreline work, start with ISO 100, use a narrow aperture such as f/16 or f/22 in bright light, and test shutter speeds around 1/2 second to 1 second to see how the water renders.
What is the 20-60-20 rule in photography?
The 20-60-20 rule divides a shoot into three parts: 20% for setup, 60% for making and checking frames, and 20% for review and selecting the strongest images. On a shoreline walk, it means reading the wind and waves first, spending most of the time testing shutter speeds and positions, then reviewing sharpness and wave shape at the end.
What are common mistakes in long exposure?
Common long-exposure mistakes include camera shake from wind, using a shutter speed that smooths the waves too much, and shooting with a tripod that is not stable on firm ground. Other frequent errors are forgetting to lower ISO, not using an ND filter in bright light, and checking only exposure instead of wave shape and sharpness.
How do I get 30 seconds exposure on my iPhone?
An iPhone can reach a 30-second exposure with the built-in Camera app in Night mode when the phone is held very still on a tripod. Keep the phone steady, open Night mode, and slide the exposure time up to 30 seconds if the scene is dark enough for the option to appear.


