


- Start at 2–10 seconds, then lengthen until the ripples vanish.
- Use a tripod; long exposures on a bridge need real stability.
- Anchor the setup, lower your stance, and shield it from wind.

Glassy water is the long-exposure look that turns moving water into a smooth, calm surface. It’s a classic target for long exposure photos, especially from trail bridges above rivers and falls. Trail bridges give you a strong view, but they also bring wind, foot traffic, and shake. That mix makes the shot both rewarding and touchy, so the setup has to be solid.
Translation missing: en.blog_cta.bundle_heading

- Regular price
-
€42 - Regular price
-
€44 - Sale price
-
€42
By choosing the Camstrap strap, you are opting for a high-quality product designed to meet the needs of the most demanding photographers.
- Developed by a physiotherapist to relieve neck and back pain.
- Fast delivery with tracking by the Post Office 🚚
- Can be used as a shoulder strap or hands-free harness

- Regular price
-
€36 - Regular price
-
€42 - Sale price
-
€36
Translation missing: en.blog_cta.free_shipping_included
Light and motion shape the look
Water turns glassy when the frame stays open long enough for surface motion to merge. In bright conditions, that usually means shutter times in the multi-second range instead of quick snaps.
Near sunrise, sunset, or in open shade, the results tend to improve fast. Softer light gives you room to slow the shutter without blowing out the scene.
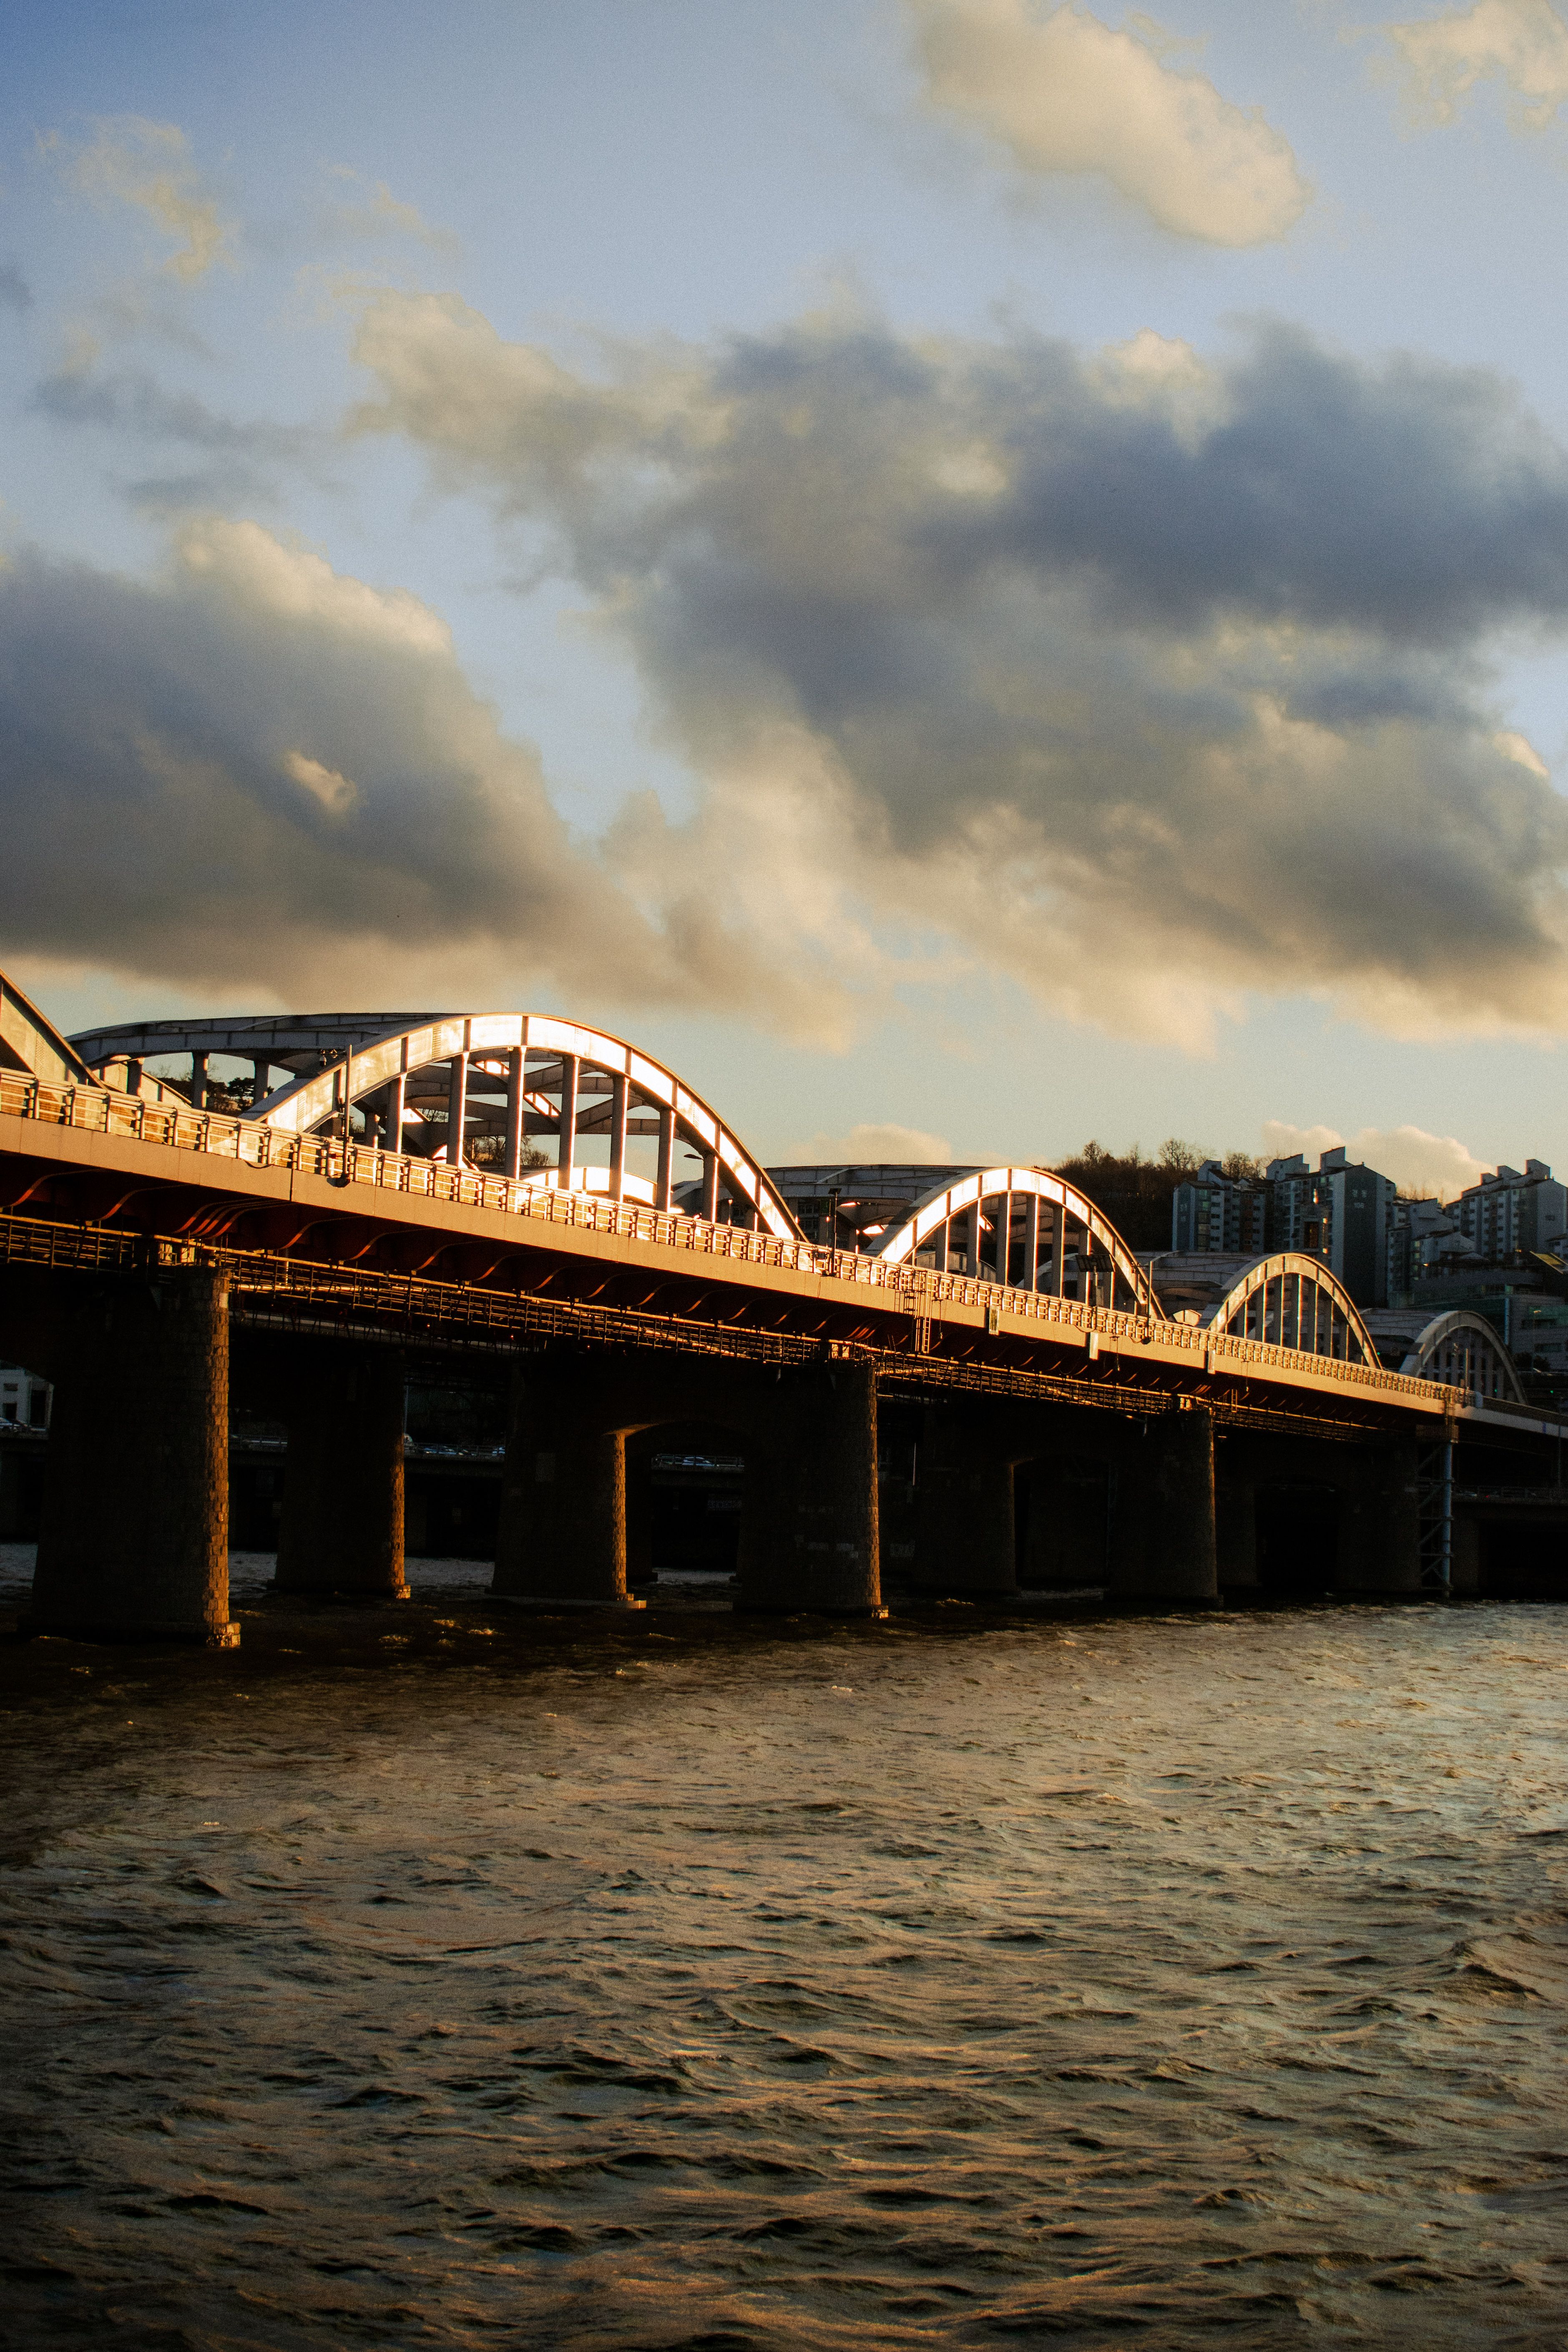
Why the effect works
Each wave and ripple shifts during the exposure. The camera records those changes as blur, while rocks, rails, and trees stay sharp if the support is steady. That contrast creates the silky, glass-like surface. If the camera moves too, the whole frame softens and the effect falls apart.
What shutter speed should I start with for moving water?
Start around 2 to 10 seconds for moving water in golden-hour light. In bright midday conditions, an ND64 or ND1000 filter often helps you stay in that range.
A fast stream may need the lower end of that window, while a calm river can take longer. If the water still shows texture, lengthen the exposure in small steps.

A simple starting point
Use manual mode, set ISO 100, and pick f/8 to f/11. Then test 2 seconds, 5 seconds, and 10 seconds until the water looks right. One bridge scene can stretch far longer. A known example used ISO 100, 12 mm, f/10, and a 299-second exposure.
What ND filter do beginners need for waterfall photos?
A 10-stop ND filter is the strongest first pick for bright daylight. It can push shutter times into roughly 2 to 10 minutes, which leaves plenty of room for very smooth water.
For lighter control, an ND64 is a good step up from no filter at all. It works well around sunset or in open shade, where a few seconds of blur usually do the job.
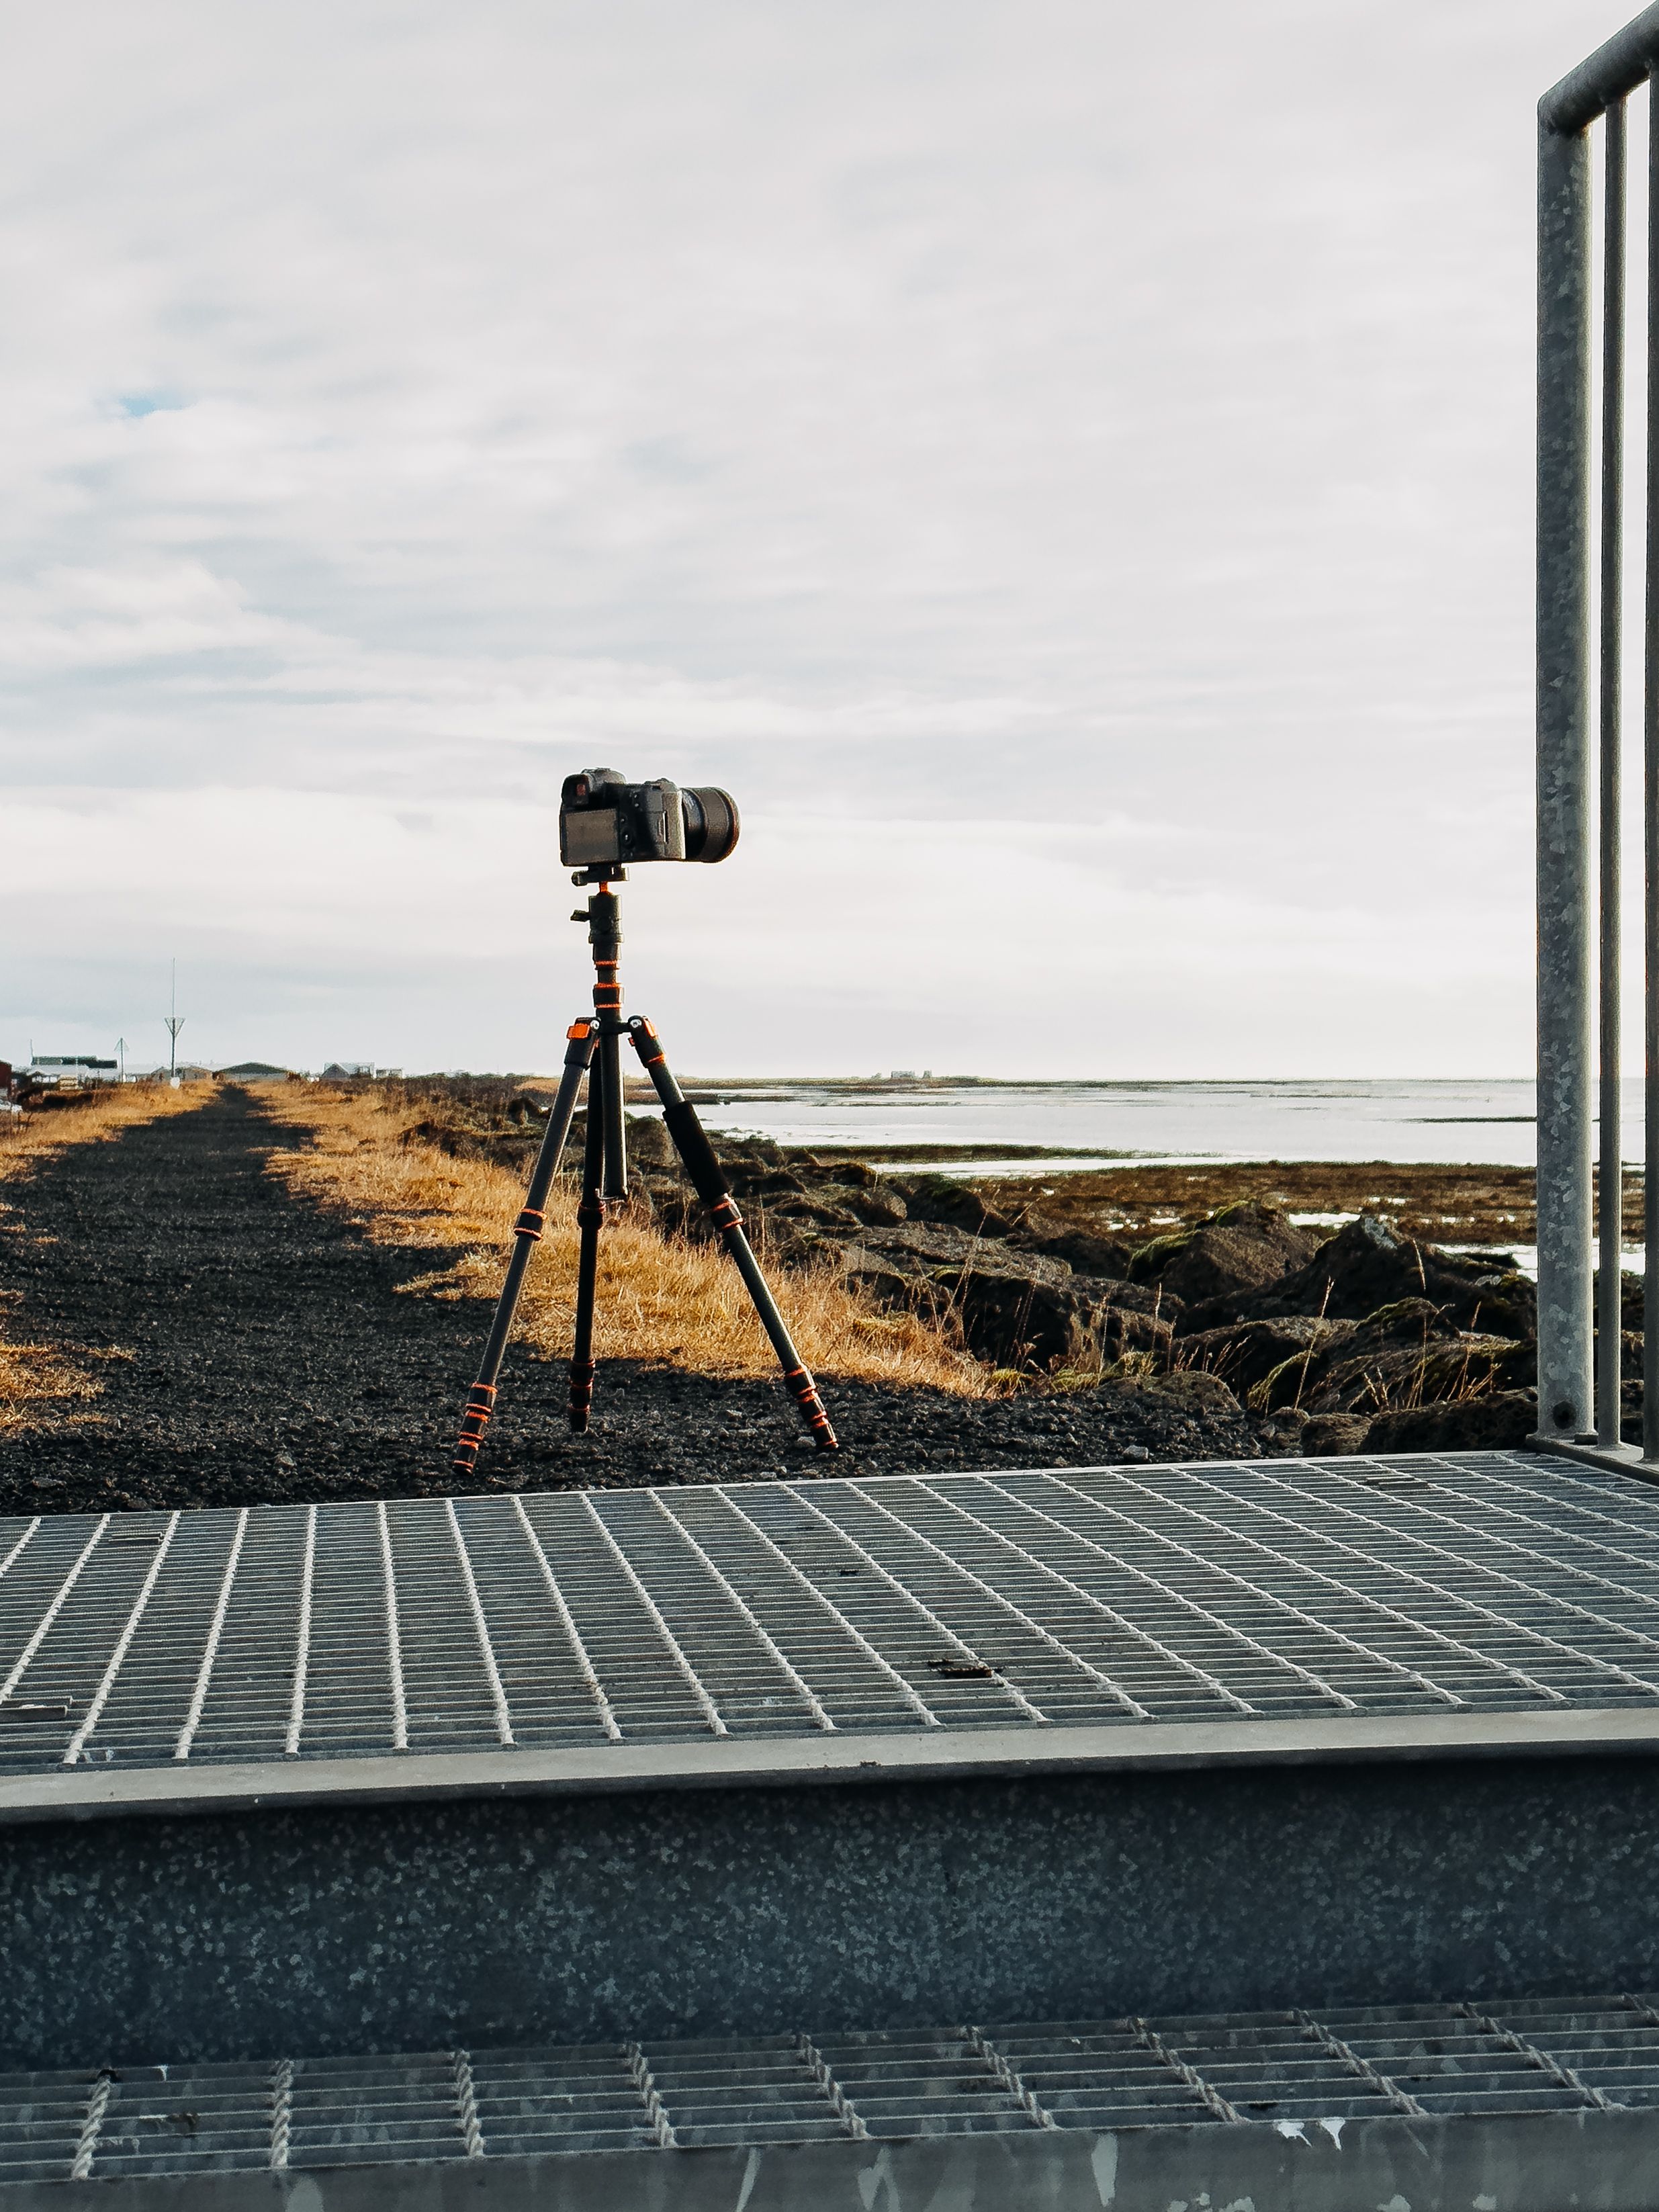
Filter choice by light
- Golden hour: ND64 for about 2 to 10 seconds.
- Bright day: ND1000 for about 2 to 10 seconds.
- Very long daytime blur: 10-stop or even 15-stop filters.
Keep the filter clean and matched to your lens size. Vignetting can show up on wide lenses, especially at 12 mm or 16 mm.
Do I need a tripod for long exposure shots outdoors?
A sturdy tripod is the best way to hold sharp rocks, railings, and trees while the water blurs. Handholding won’t keep the frame still for several seconds, even with good technique. The tripod also makes bridge composition easier. If the bridge shakes when people walk by, wait for a gap before you press the shutter.
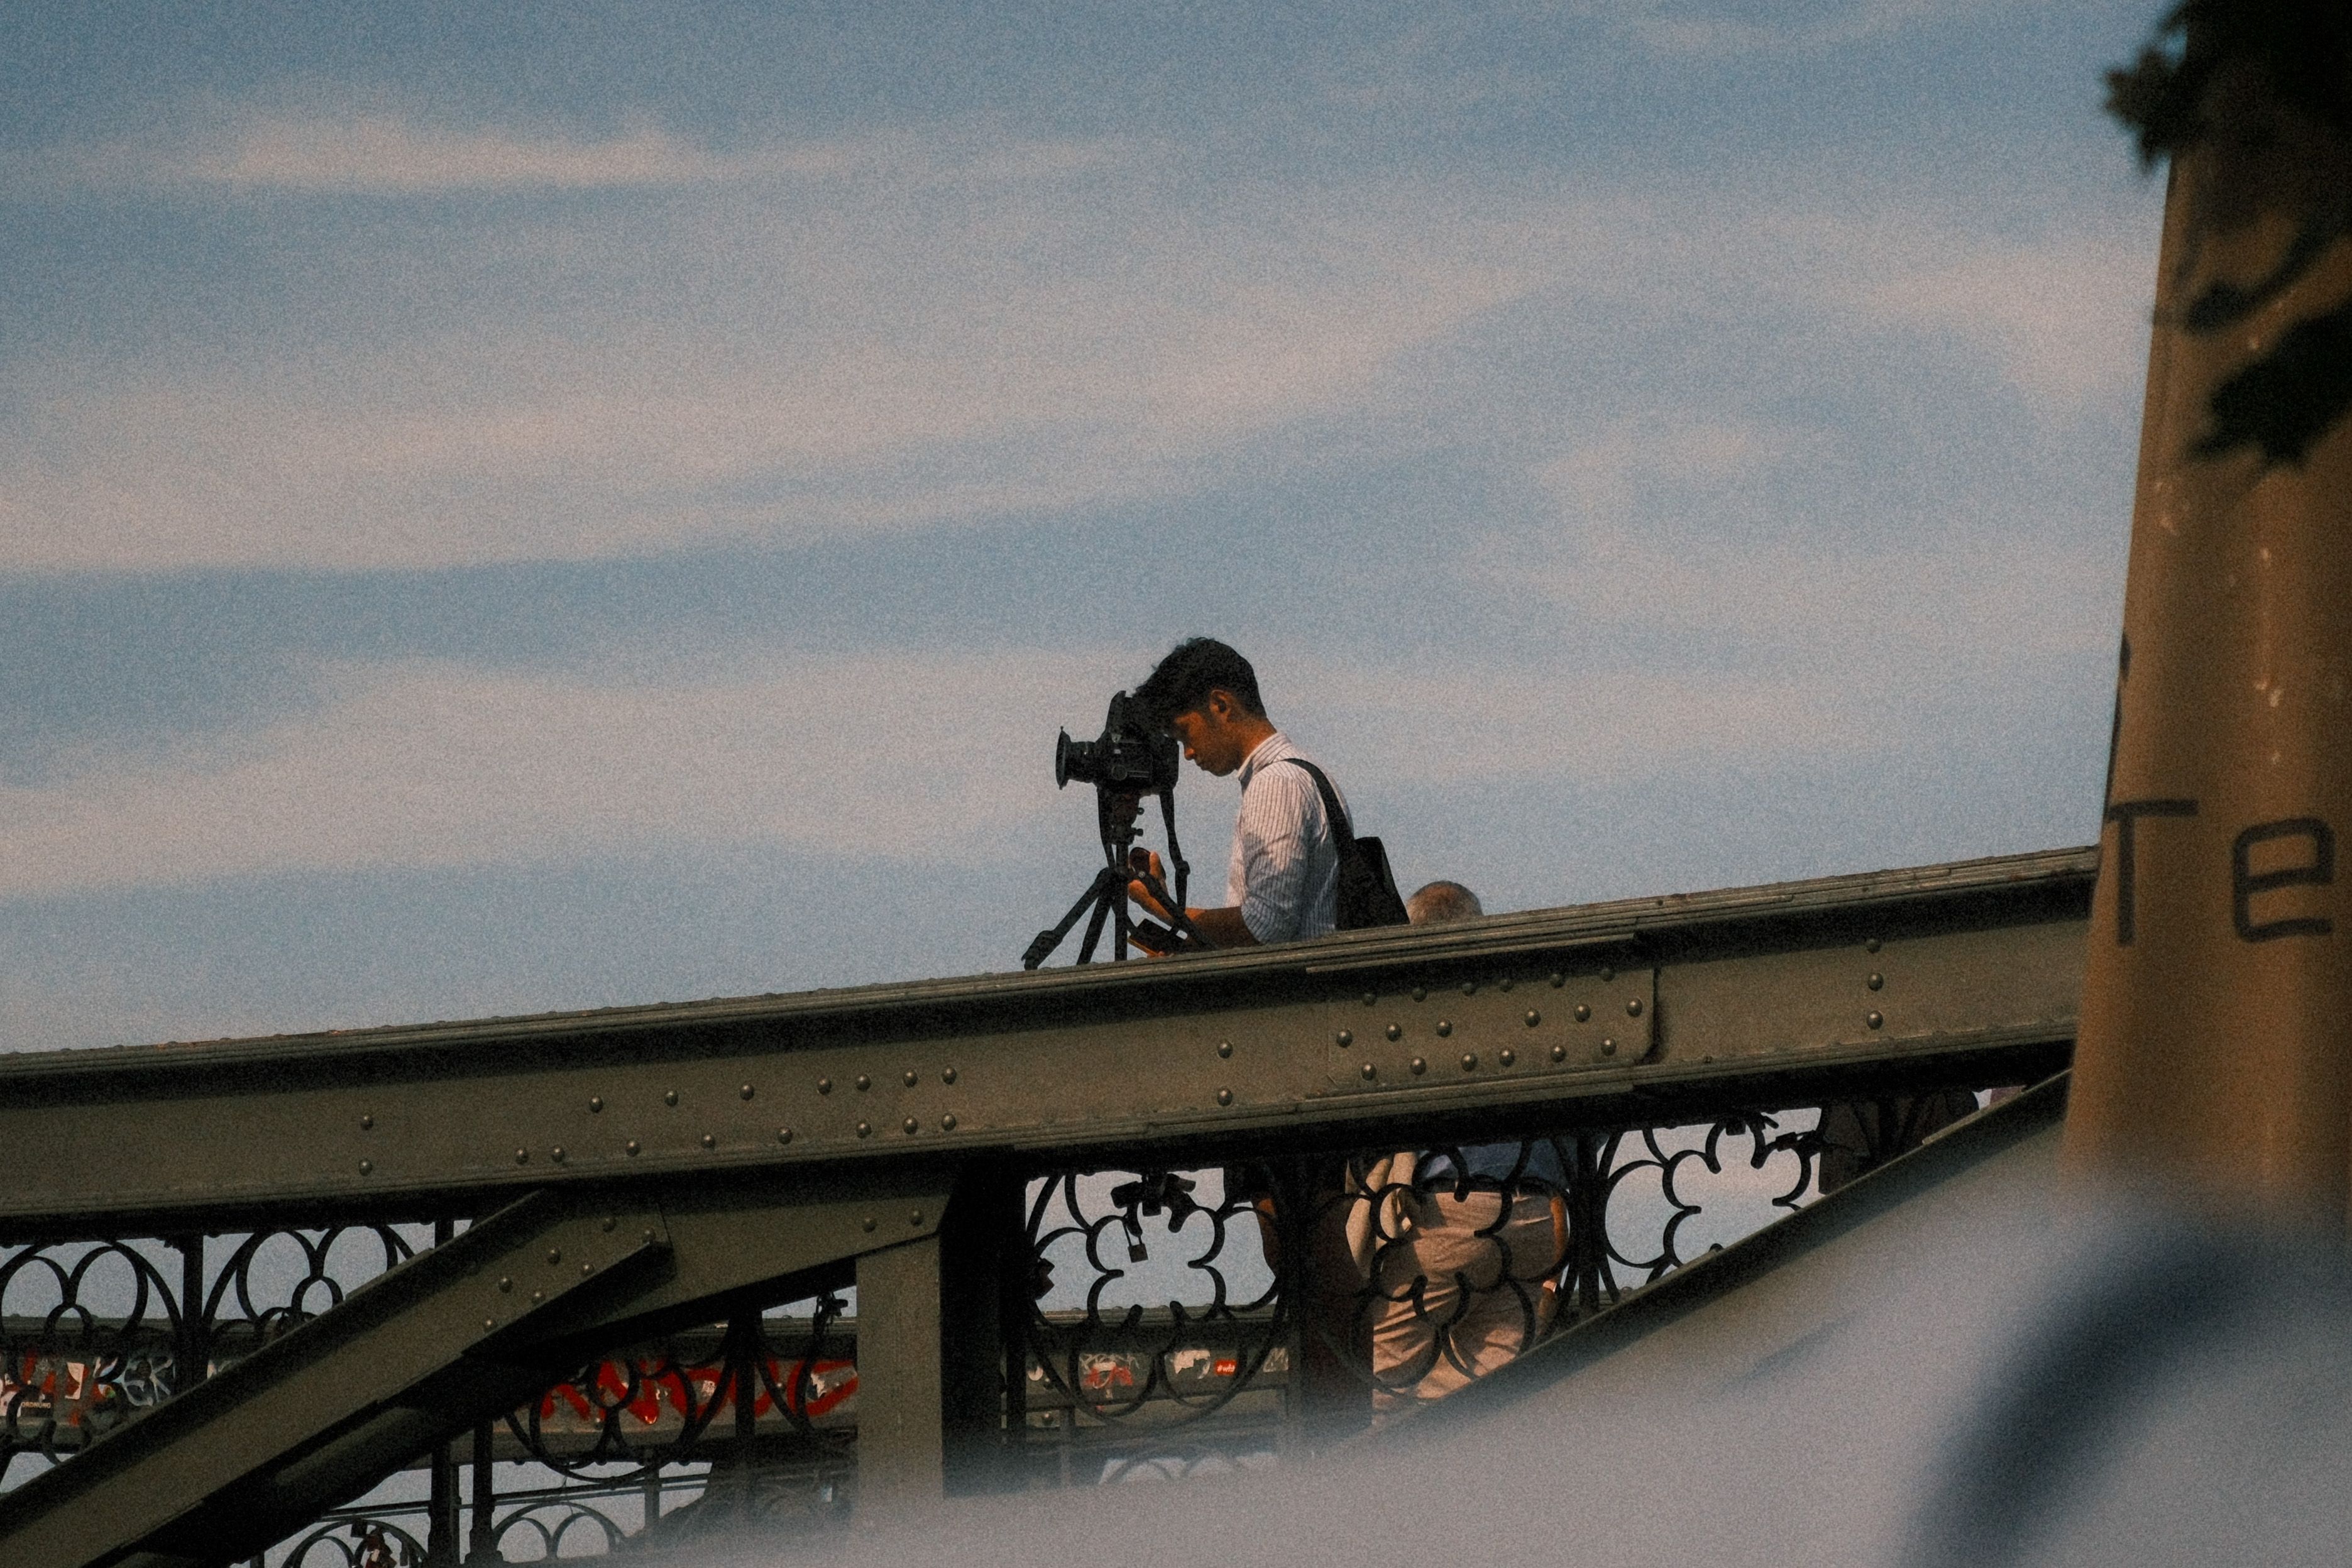
What to carry
- Tripod with firm leg locks.
- Remote release or self-timer.
- Manual focus mode.
- Stabilization turned off on the tripod.
A hands-free carry setup helps before the tripod even comes out. A strap like the Camstrap voyager keeps the camera secure while you walk to the bridge, so both hands stay free for the tripod and gate rails.
How do I keep the camera steady on a windy bridge?
Keep the tripod low, lock the center column down, and hang weight from the hook if your tripod has one. Wind pushes high rigs more than low ones, so a lower stance helps right away.

Use a self-timer set to 2 seconds or a remote release to avoid a press shake. If the bridge vibrates, wait a few seconds after each footstep or gust before you shoot.
Small fixes that help
Turn off image stabilization when the camera sits on the tripod. Some systems can hunt for motion that isn’t there, which can add blur instead of removing it. Manual focus removes one more moving part. Focus once on the bank, a rock, or the edge of a fall, then stop refocusing unless the camera position changes.
Why do long exposures make water look silky?
Long exposures make water look silky because the camera averages motion over time. The sensor records the moving surface as one smooth tone instead of many tiny ripple details.
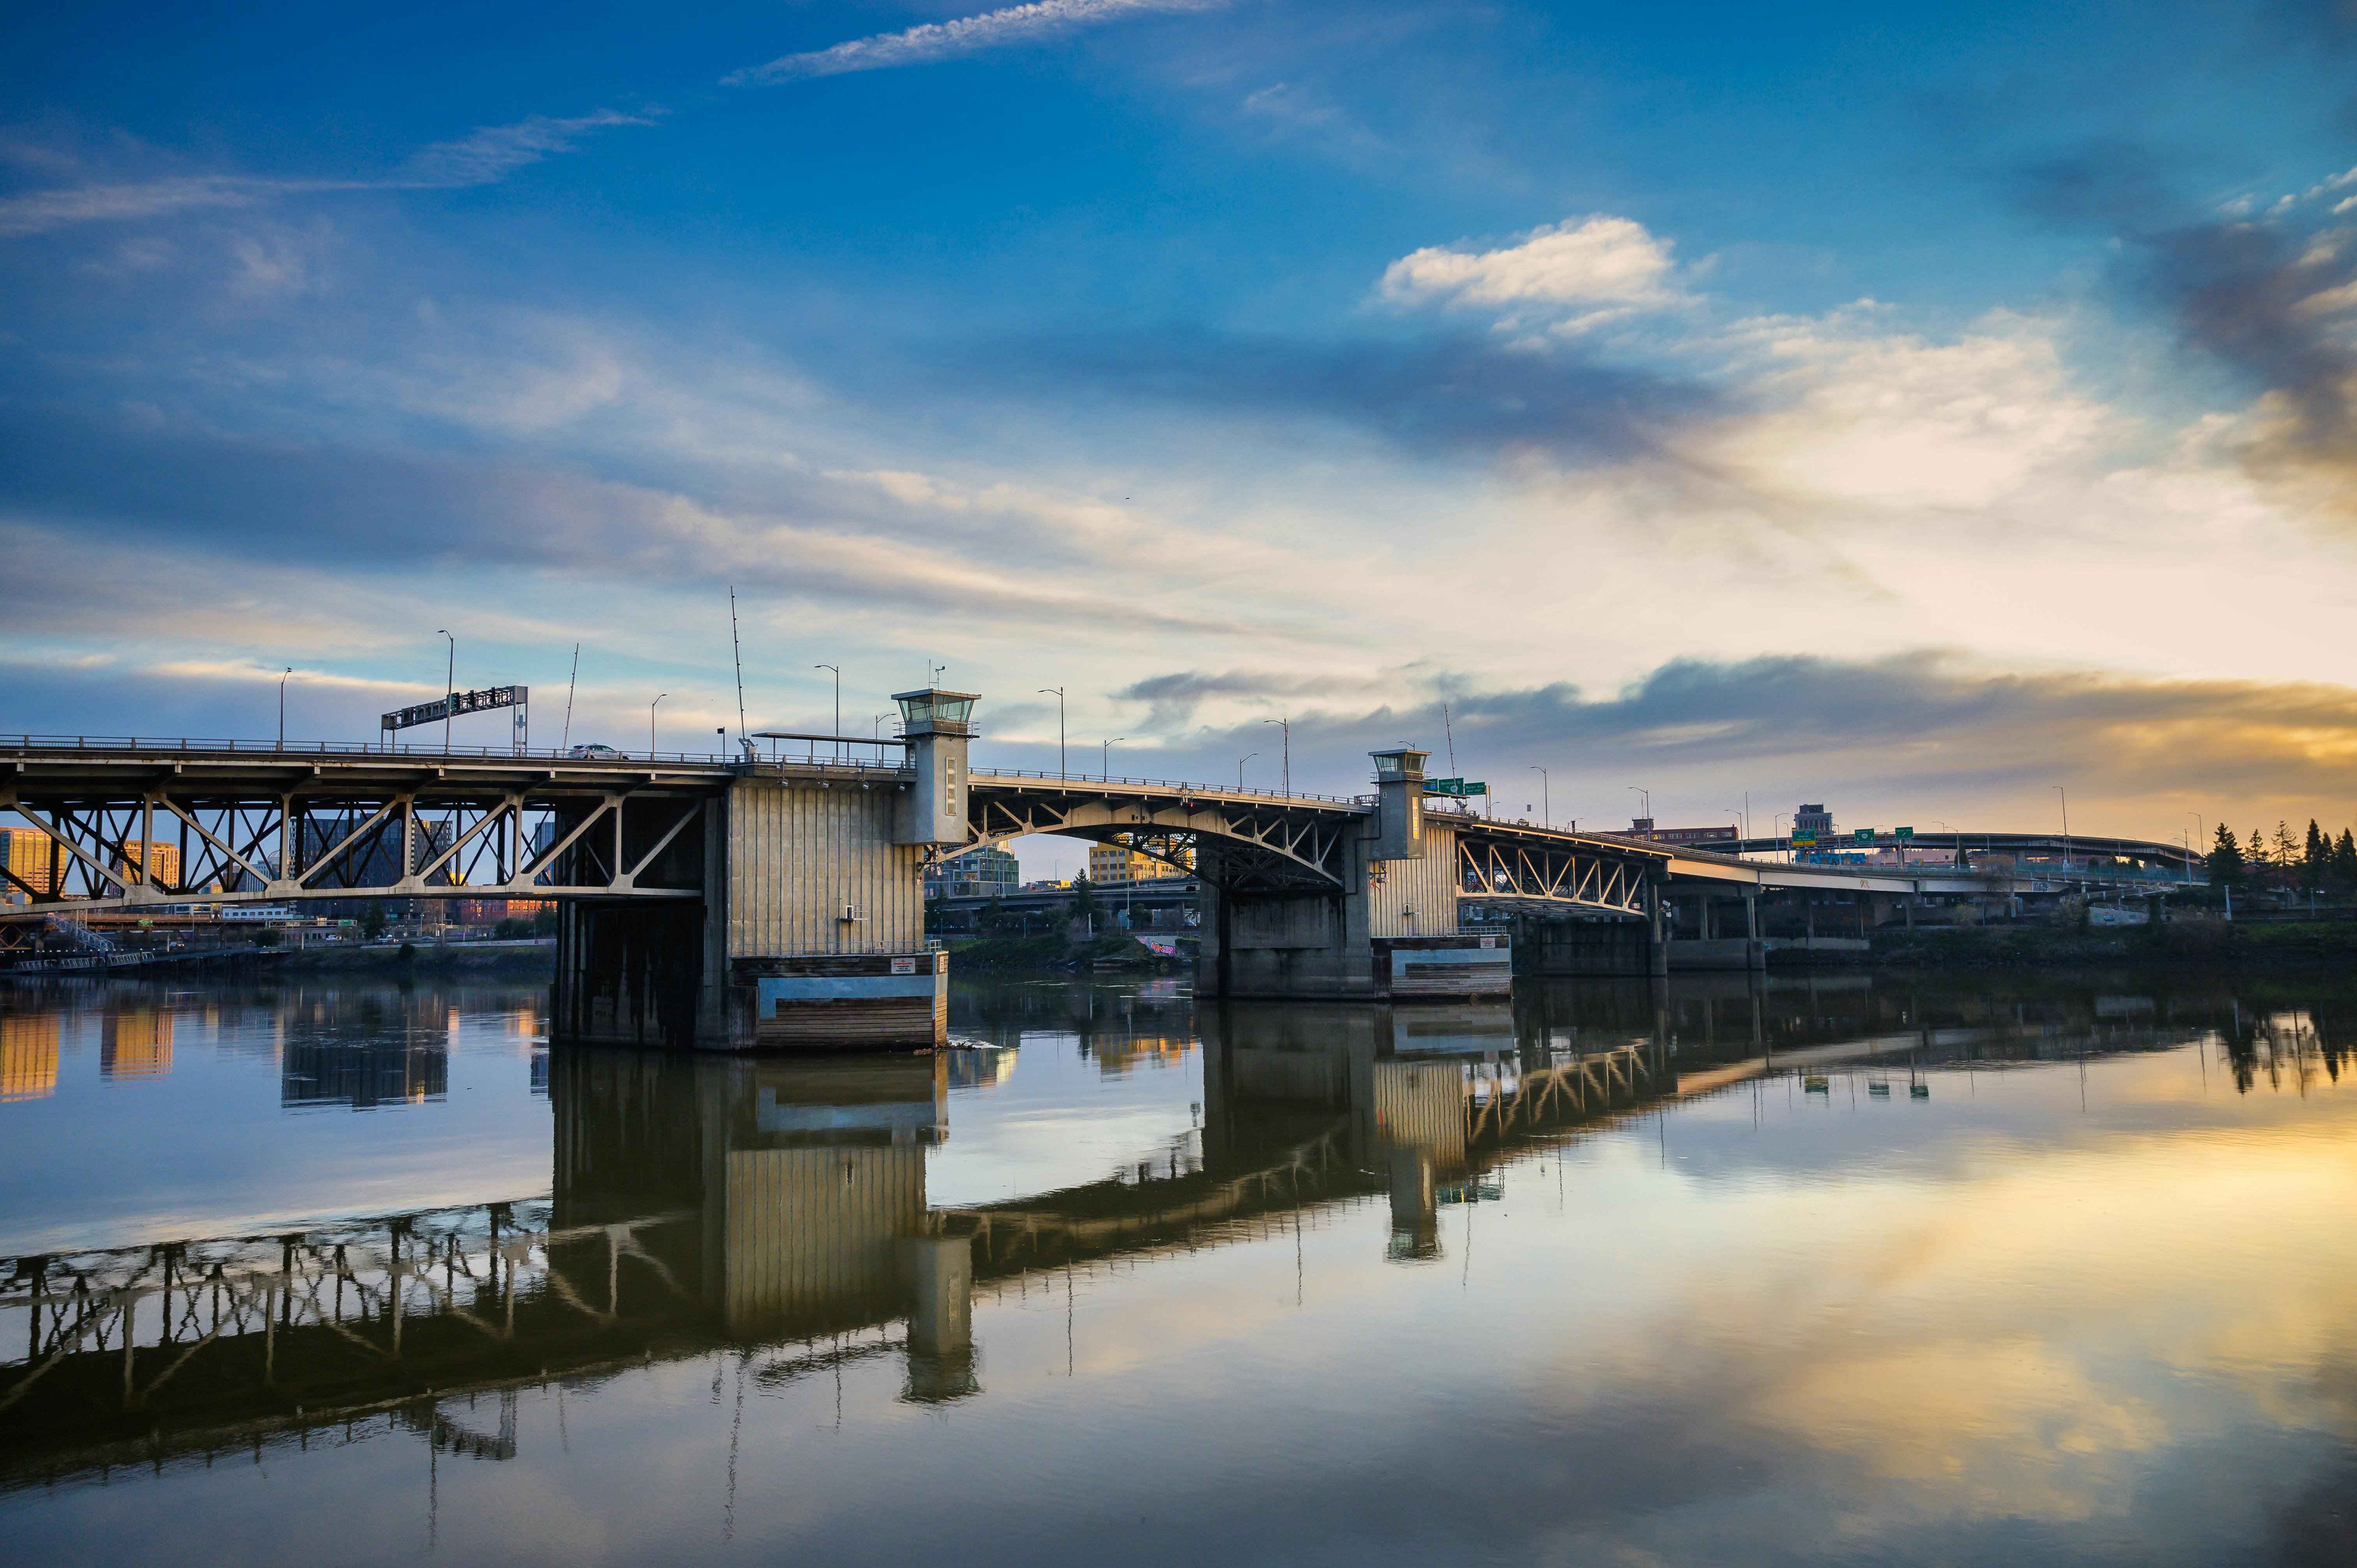
That blend hides chop and spray while keeping fixed parts of the scene clear. The result feels soft, but the image still has structure.
What the eye sees first
With enough shutter time, white foam turns to a faint veil. Dark water can even look like polished glass when the flow is slow and the light is even. Fast water doesn’t vanish completely. It usually leaves a soft streak or a misty band, which can look great in a frame with rocks or bridge beams.
How to set the shot on the bridge
Build the frame from the ground up. Start with the bridge line, place the water as the main subject, and keep the horizon level before you touch exposure settings.
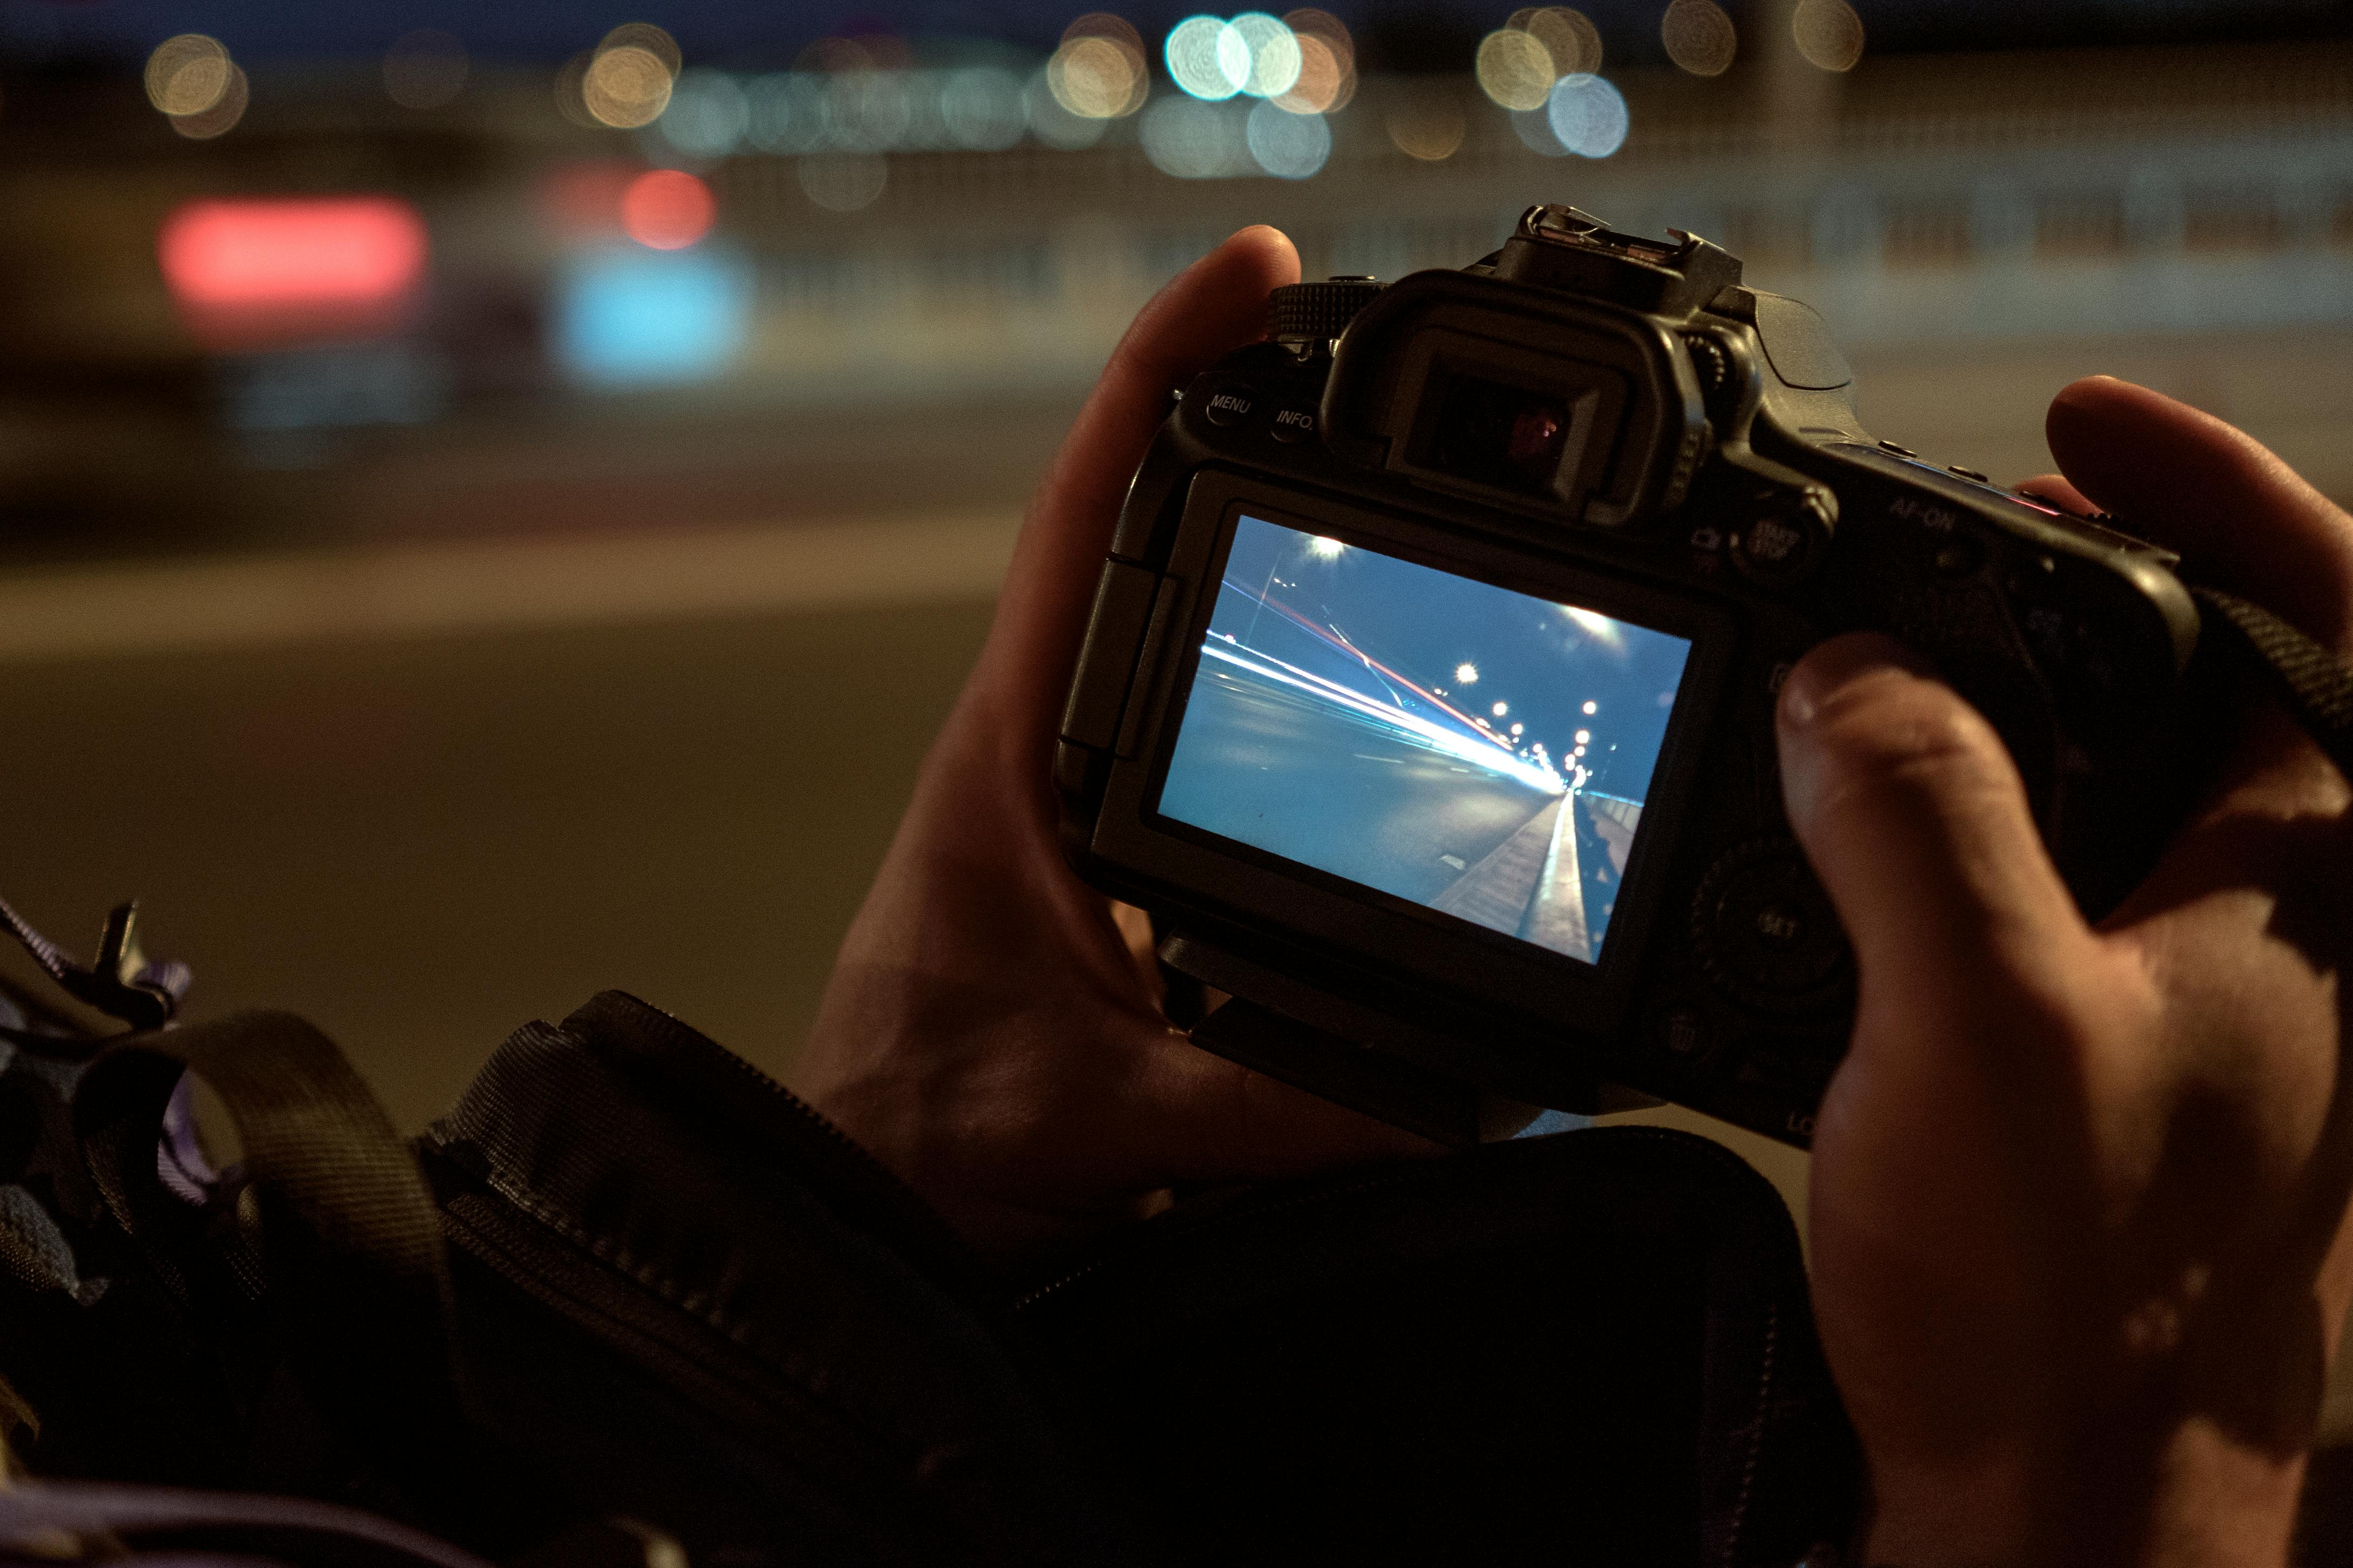
Then choose a lens that fits the scene. A 24 mm to 35 mm lens often shows the bridge and river well, while a 50 mm to 85 mm lens can isolate a single bend or fall.
- Arrive early and check the wind.
- Set the tripod away from foot traffic.
- Compose with manual focus and ISO 100.
- Start at f/8 or f/11.
- Test 2, 5, and 10 seconds.
- Review the water, then adjust the shutter.
Use live view to fine-tune the frame if your camera offers it. A small shift in angle can change the water shape a lot, especially when the bridge looks down into a narrow channel.
What extra camera settings make the files cleaner?
Many cameras offer long-exposure noise reduction, and it can help with hot pixels and mottling. On some Sony bodies, it sits under MENU → Shooting → Image Quality → Long Exposure NR. Bulb mode and Time mode also help on very slow scenes. Bulb keeps the shutter open while you hold the release, while Time mode opens and closes with one press on supported cameras.

Practical settings that matter
- ISO 100 for the cleanest file.
- Aperture around f/8 to f/11 for sharp detail.
- RAW capture for better edit room.
- Manual white balance for stable color.
Battery drain is the tradeoff to watch. Mirrorless bodies lose power fast when the EVF or LCD stays on, so keep review short and dim the screen if needed.
Bringing it together in a real bridge session
The best bridge work comes from a calm, repeatable process. You want a steady camera, a clear shutter target, and enough light control to keep the exposure in the sweet spot.
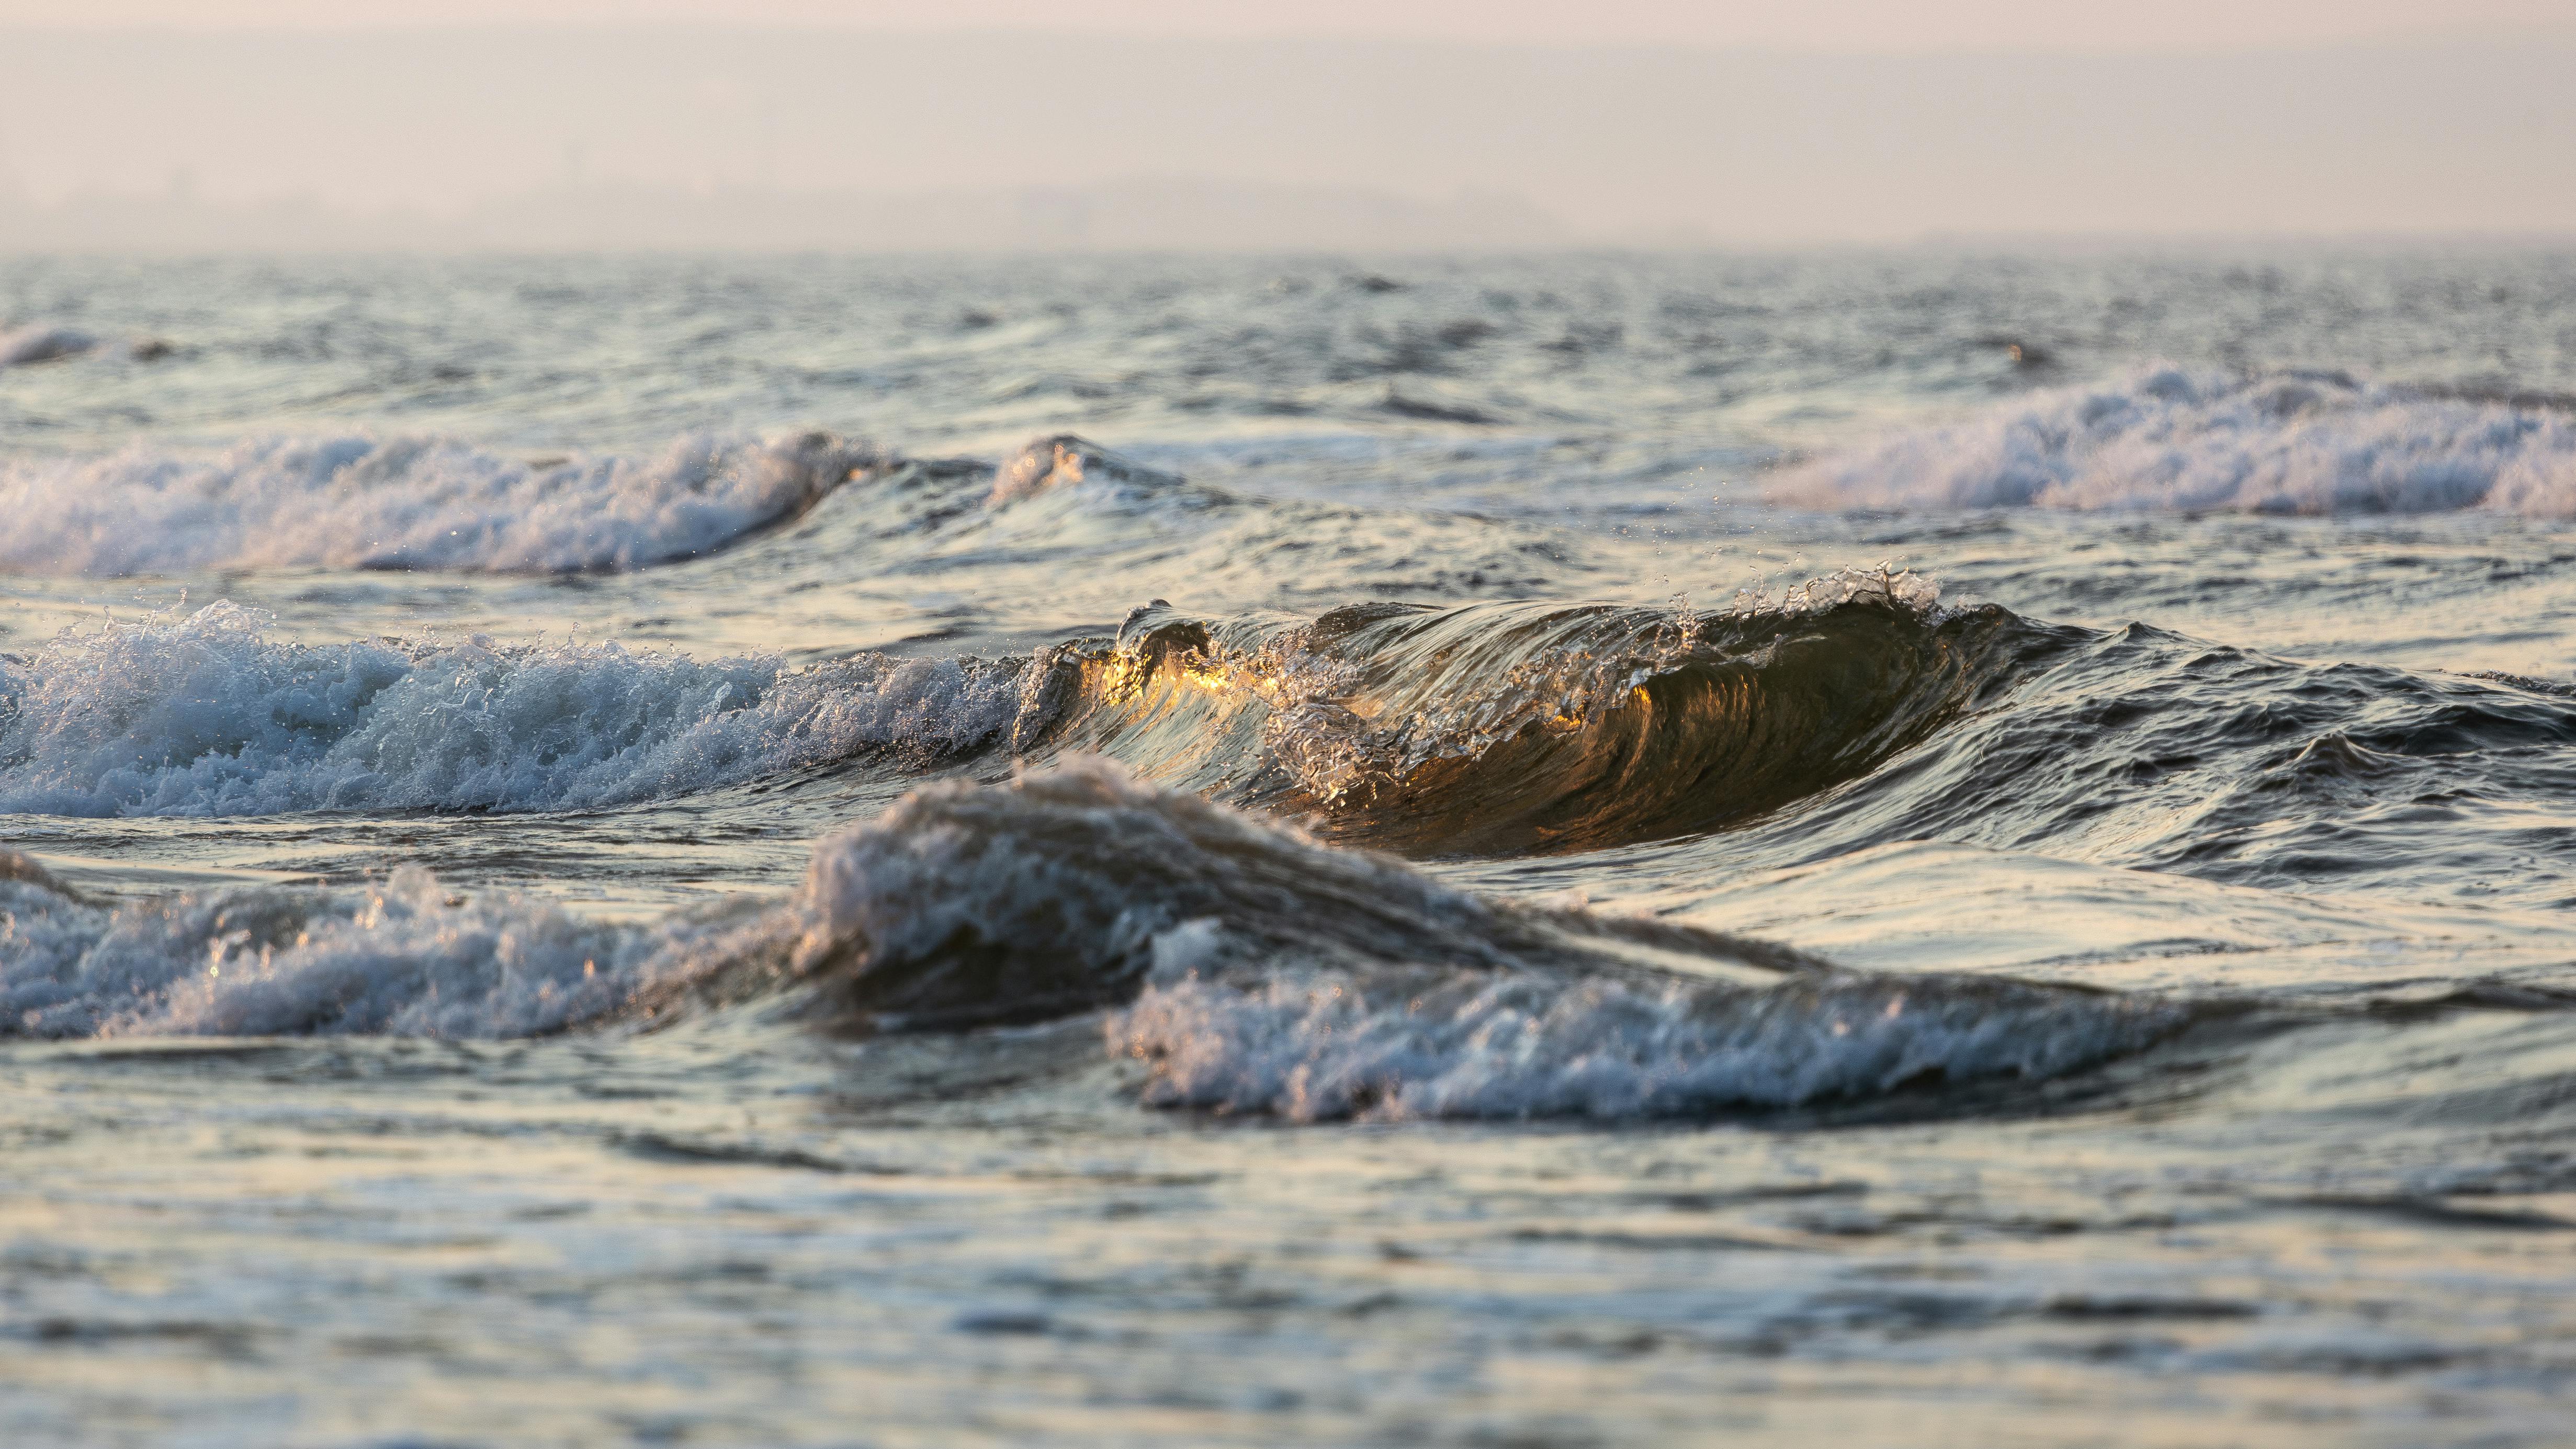
Arrive with the camera ready, then move step by step. Walk to the bridge with the strap secure, set the tripod, and let the water decide the final shutter time.
When the frame feels close, take one more look at the shore and the bridge rails. A slight crop, a slower shutter, or one extra stop on the filter can turn a decent river shot into a clean sheet of flowing glass.
Frequently Asked Questions
What shutter speed should I start with for moving water?
Start with 2 to 10 seconds for moving water in golden-hour light. Fast streams usually need the lower end of that range, while calmer water can take longer if the texture still shows.

Do I need a tripod for long exposure shots outdoors?
A sturdy tripod is essential for long exposure shots outdoors because it keeps rocks, railings, and trees sharp while the water blurs. Handholding cannot keep the frame steady for several seconds, especially on a bridge.
How do I keep the camera steady on a windy bridge?
Keep the camera steady on a windy bridge by using a tripod with firm leg locks, turning off stabilization on the tripod, and using a remote release or self-timer. Waiting for a gap in foot traffic also helps reduce shake from the bridge deck.
What ND filter do beginners need for waterfall photos?

A 10-stop ND filter is the strongest beginner choice for bright daylight waterfall photos. An ND64 is a lighter option for sunset or open shade when only a few seconds of blur are needed.
Why do long exposures make water look silky?
Long exposures make water look silky because the moving ripples shift during the time the shutter stays open, and the camera records that motion as blur. Rocks, rails, and trees stay sharp if the camera remains still, so the blurred water contrasts with the static scene.
Sources


