


- Center the camera on the scene axis and keep it level.
- Use a simple one-body kit so you can shoot fast at the border.
- Avoid tilted frames, cluttered bags, and lens-swapping that slows the crossing.
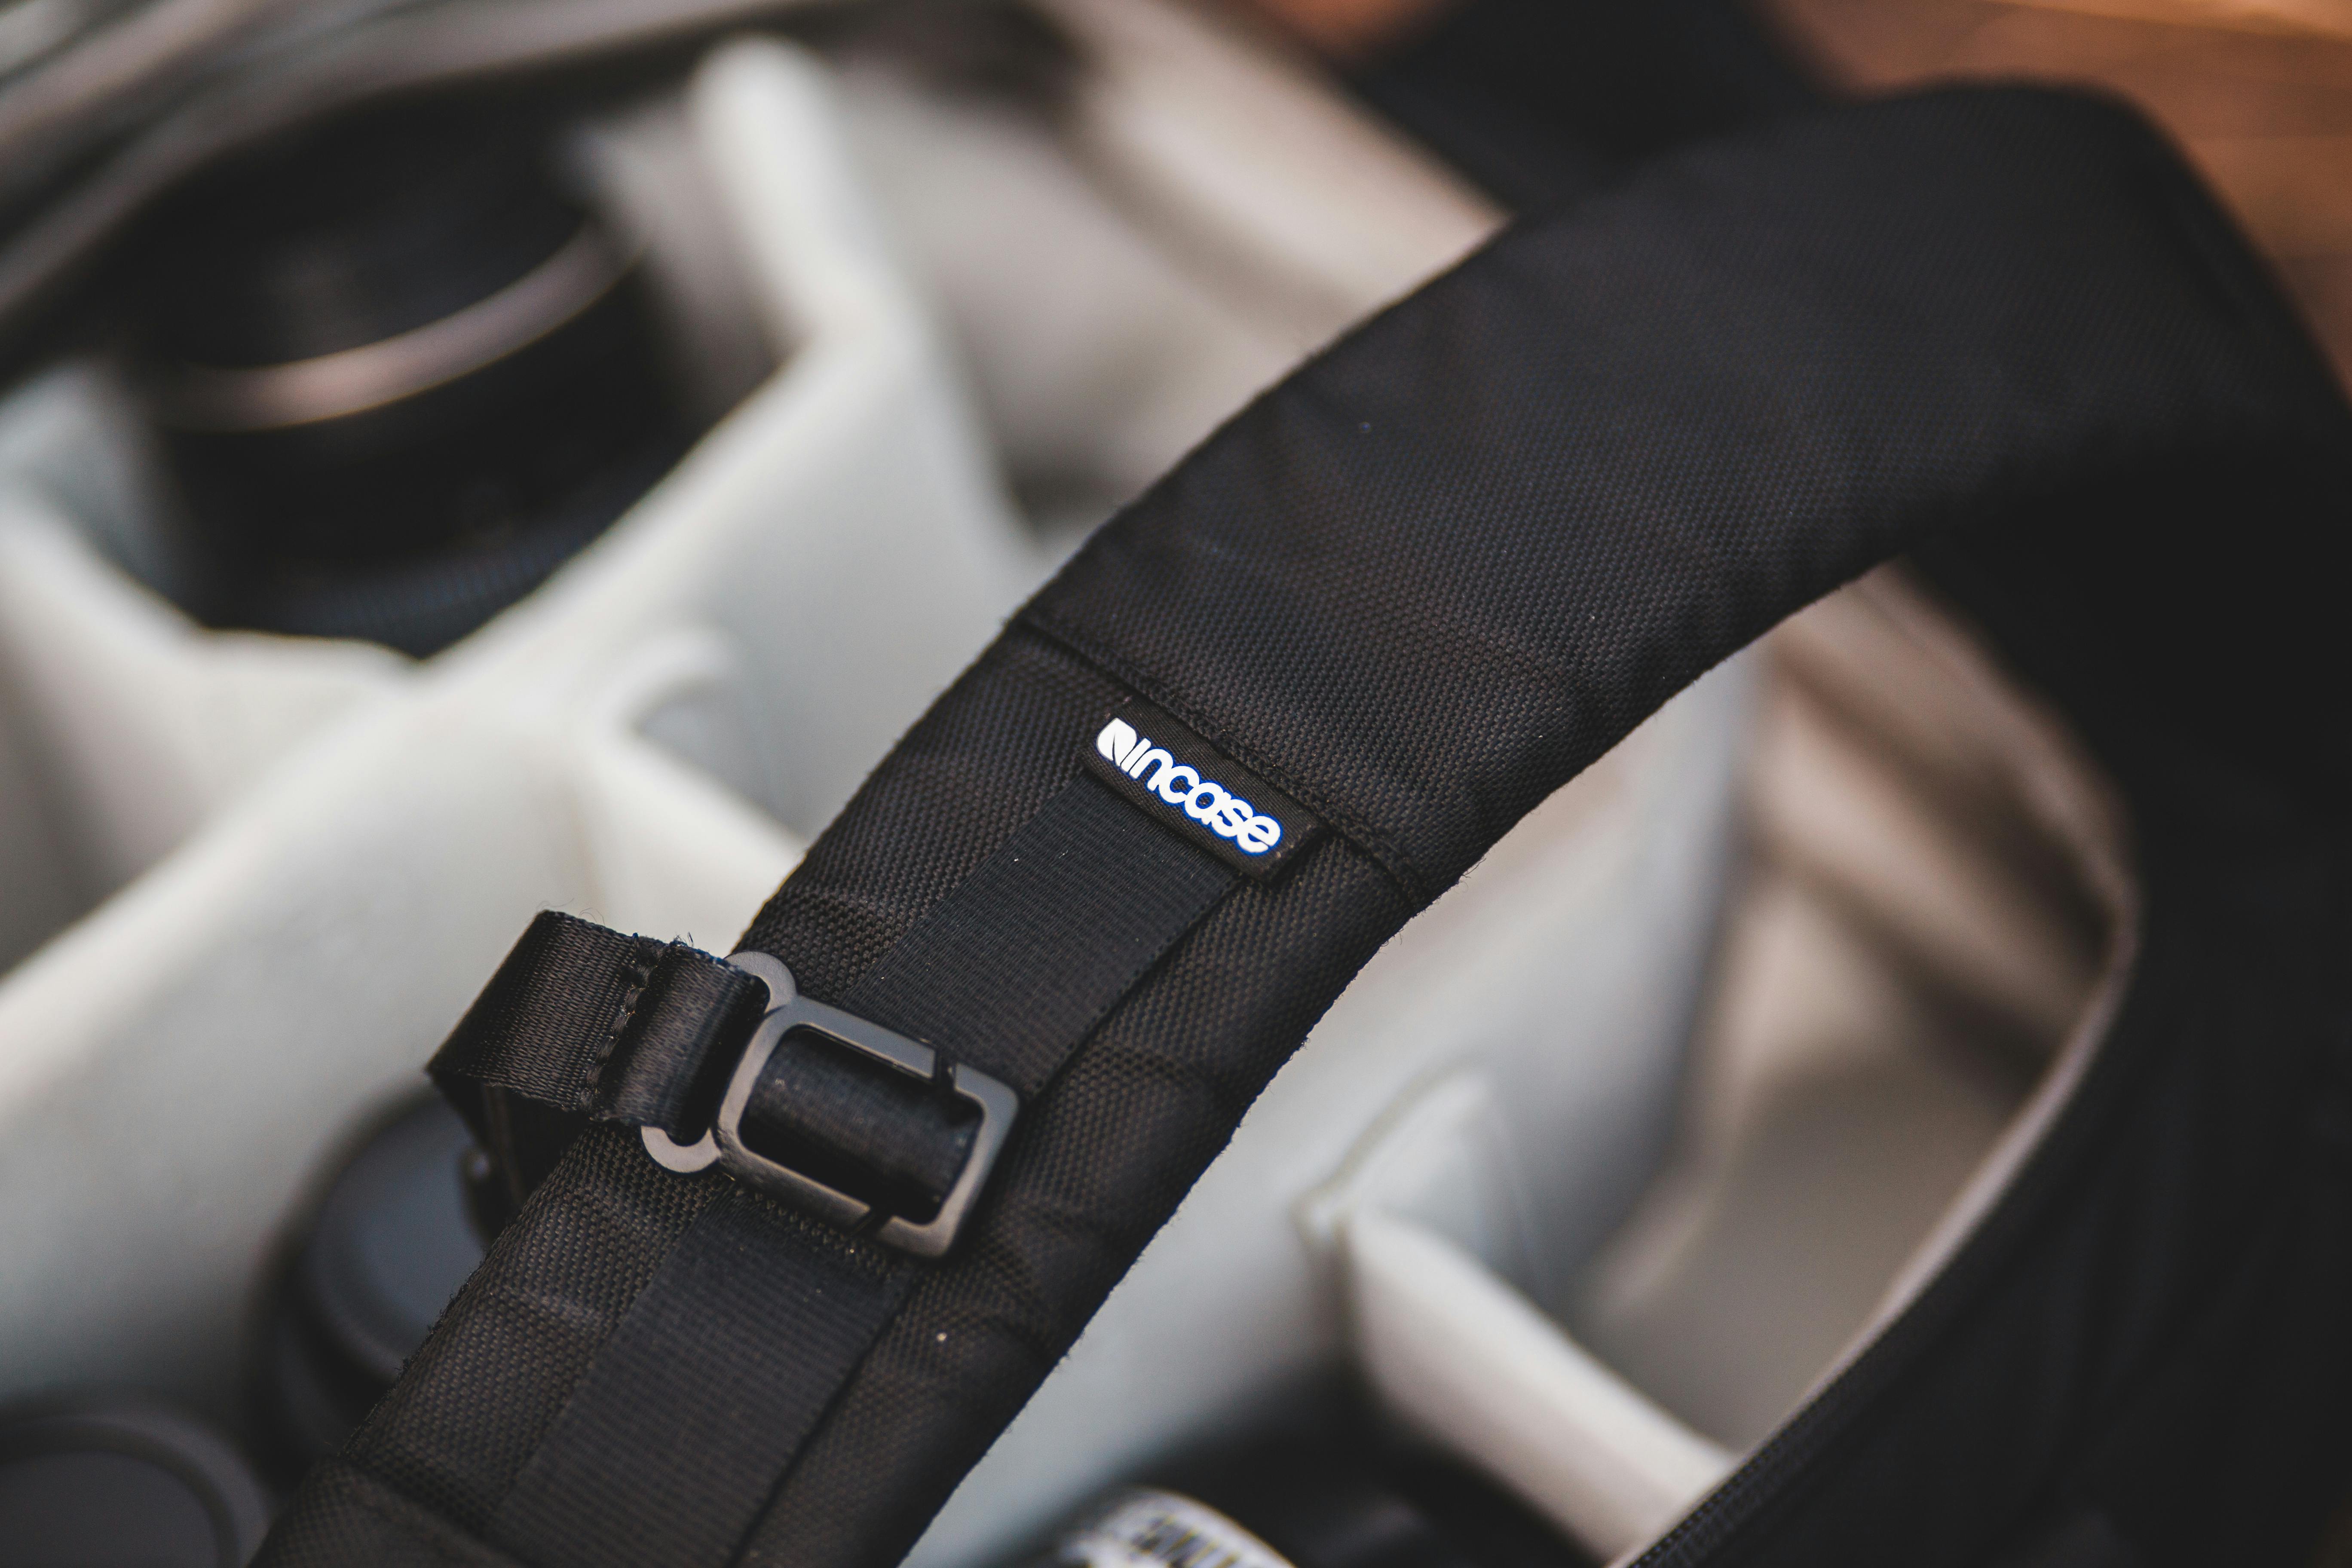
One-point perspective photography shows depth through lines that converge at a single vanishing point. I keep my camera bag ready for it because border days move fast, and a scene can shift in one stop or one street. My setup has to stay light, open quickly, and work from zero. It also needs to hold together under pressure, since airport gates, bus depots, and border lines do not pause for a full unpack.
Shop the setup

- Regular price
-
€42 - Regular price
-
€44 - Sale price
-
€42
By choosing the Camstrap strap, you are opting for a high-quality product designed to meet the needs of the most demanding photographers.
- Developed by a physiotherapist to relieve neck and back pain.
- Fast delivery with tracking by the Post Office 🚚
- Can be used as a shoulder strap or hands-free harness

- Regular price
-
€36 - Regular price
-
€42 - Sale price
-
€36
Free shipping included
The carry system I trust before I ever reach the checkpoint
A one-bag camera setup works best when the camera stays on me instead of buried in luggage. I want the body ready, the lens choice simple, and the strap secure enough for a quick handoff at the desk.
On long travel days, I use a sling or strap that keeps the camera close to my chest. With that setup, I can move through terminals, buses, and platforms without setting gear on dirty floors or wasting time.
Why the bag stays simple
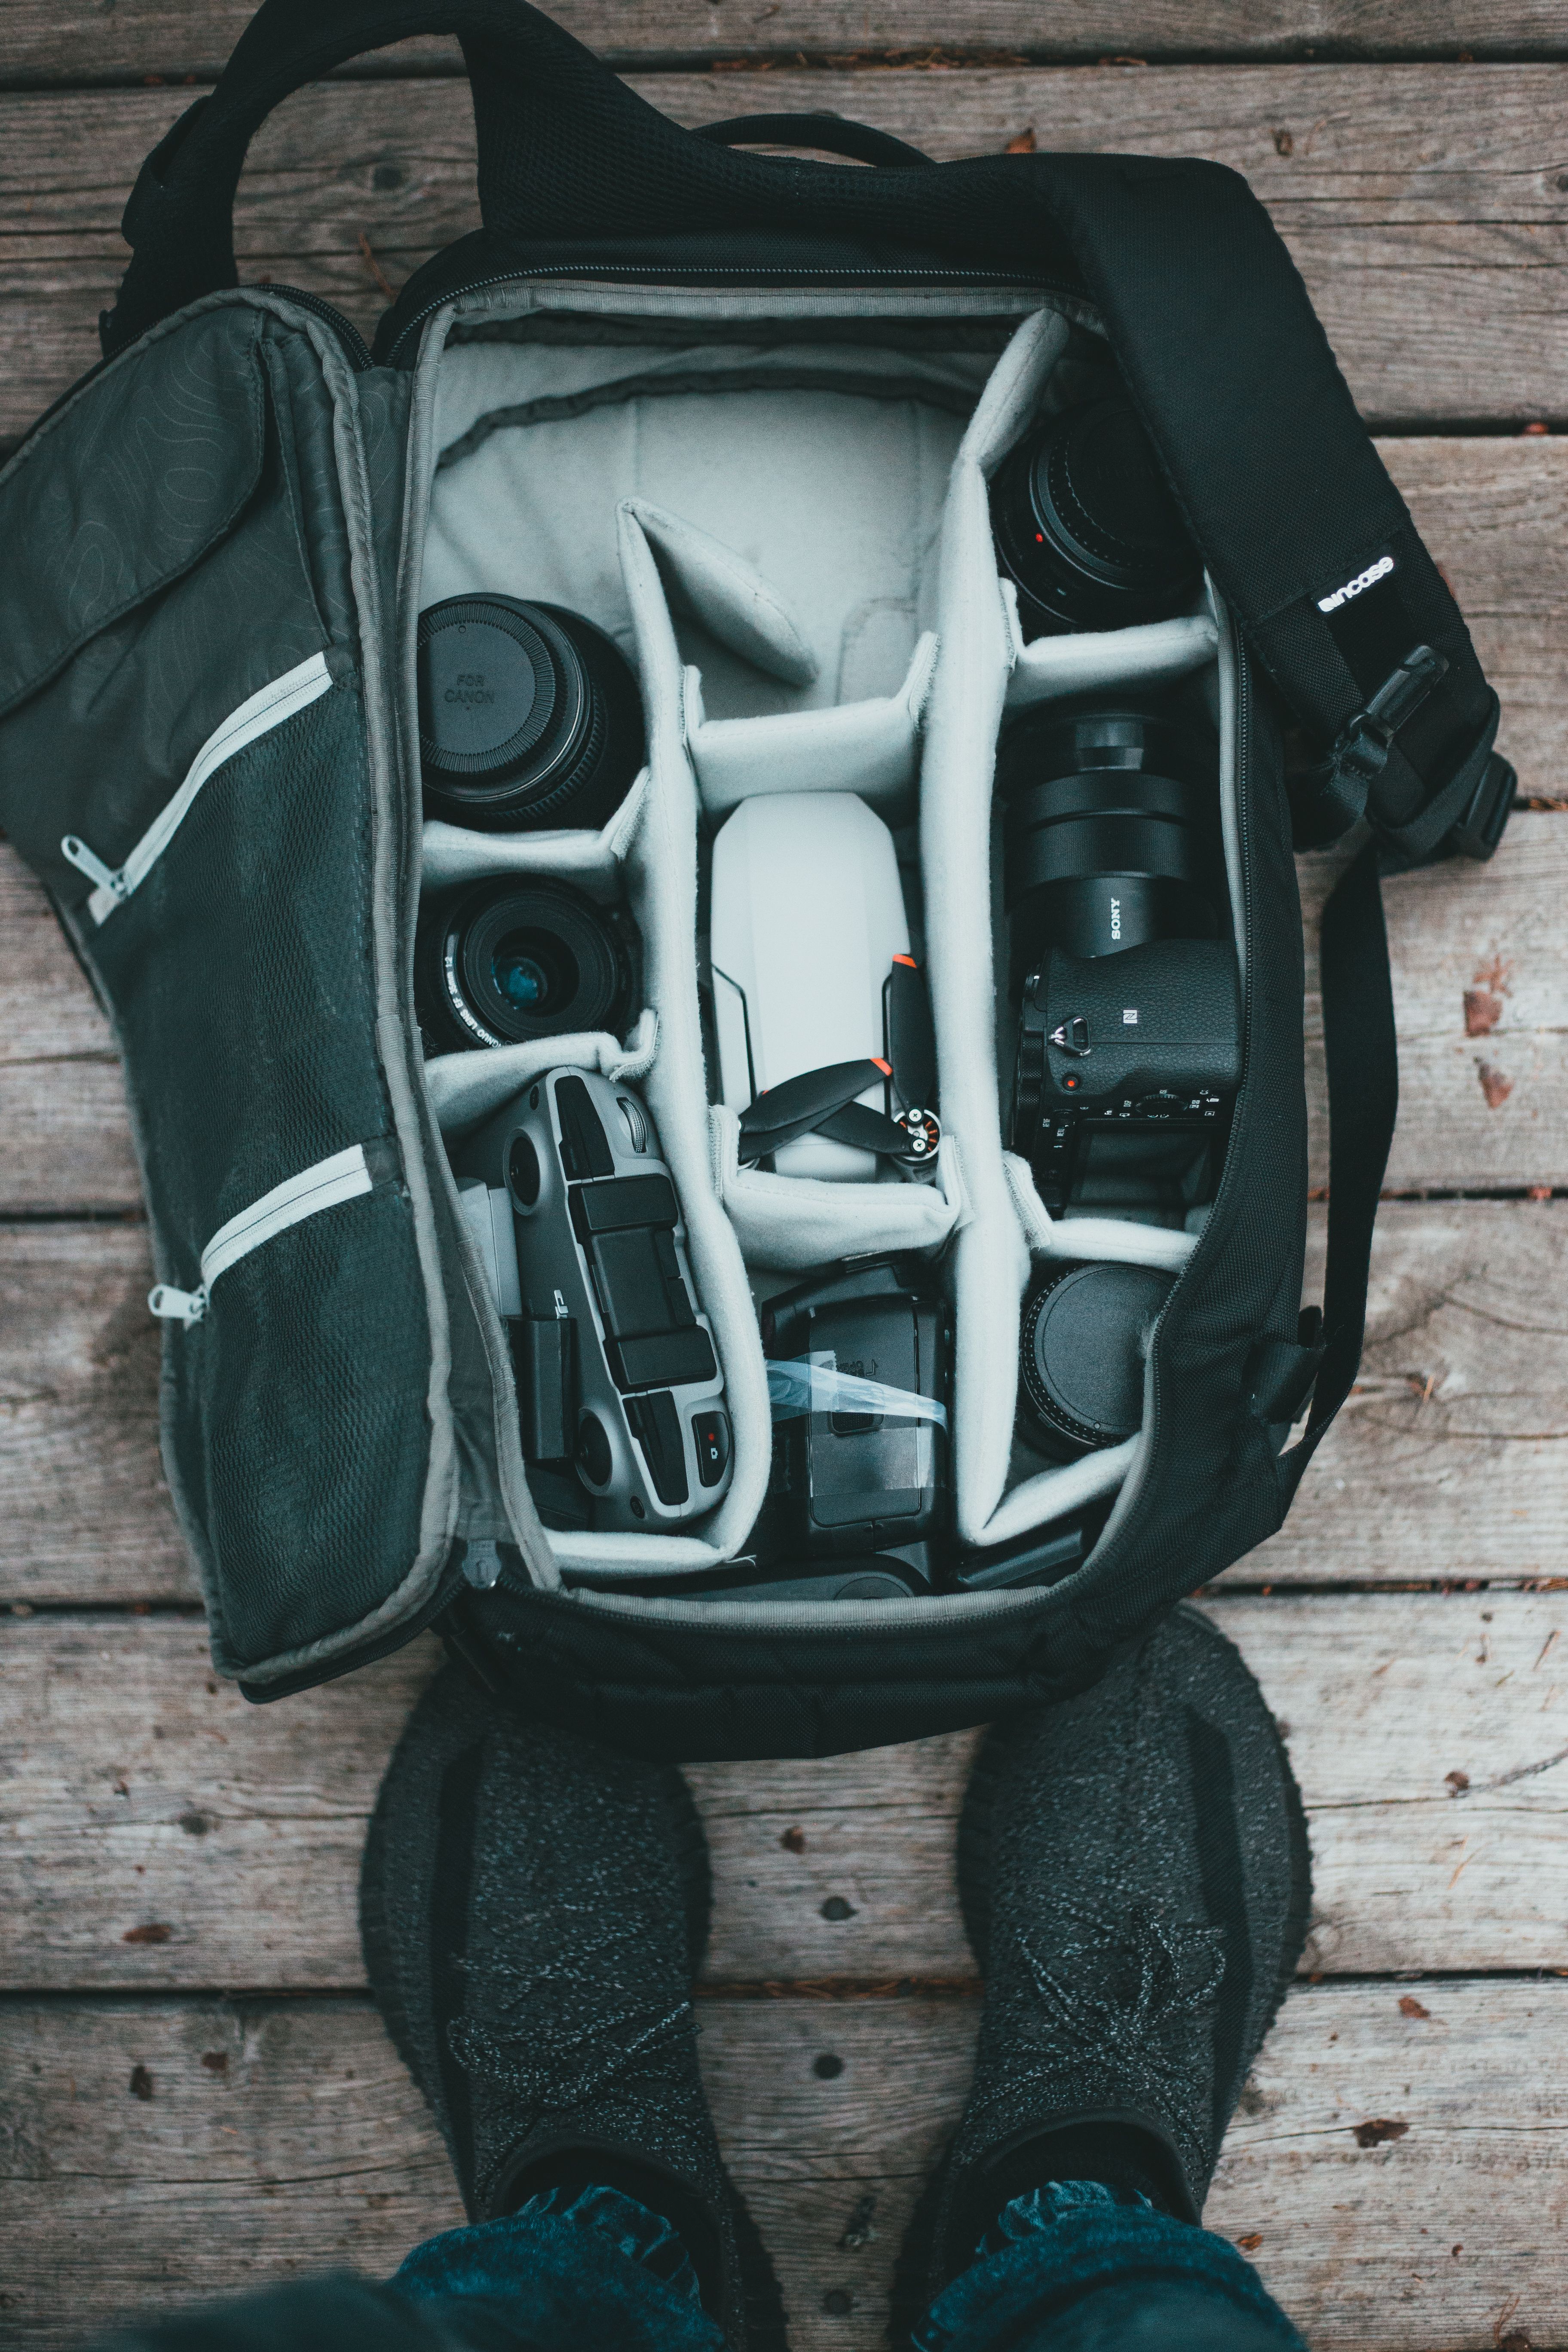
I keep one body, one mid-range lens, one spare battery, and one card in the bag. That bare-bones load cuts decisions the moment the line starts moving. A 24–70mm lens covers most travel scenes, while a 50mm or 85mm prime can be better for clean lines and tight frames. For perspective work, camera position matters more than a huge lens kit, because the scene shape changes when I move, not when I swap glass.
Where Camstrap fits
A Camstrap camstrap voyager fits this setup because the load sits close to the body and stays easy to grab. I can get the camera up fast, yet the weight still spreads well during a long walk to the gate.
One secure carry point with quick access beats a bag full of extra gear. If I can free one hand without digging, I move faster and stay calmer at the crossing.
Keeping one-point perspective ready in real travel spaces
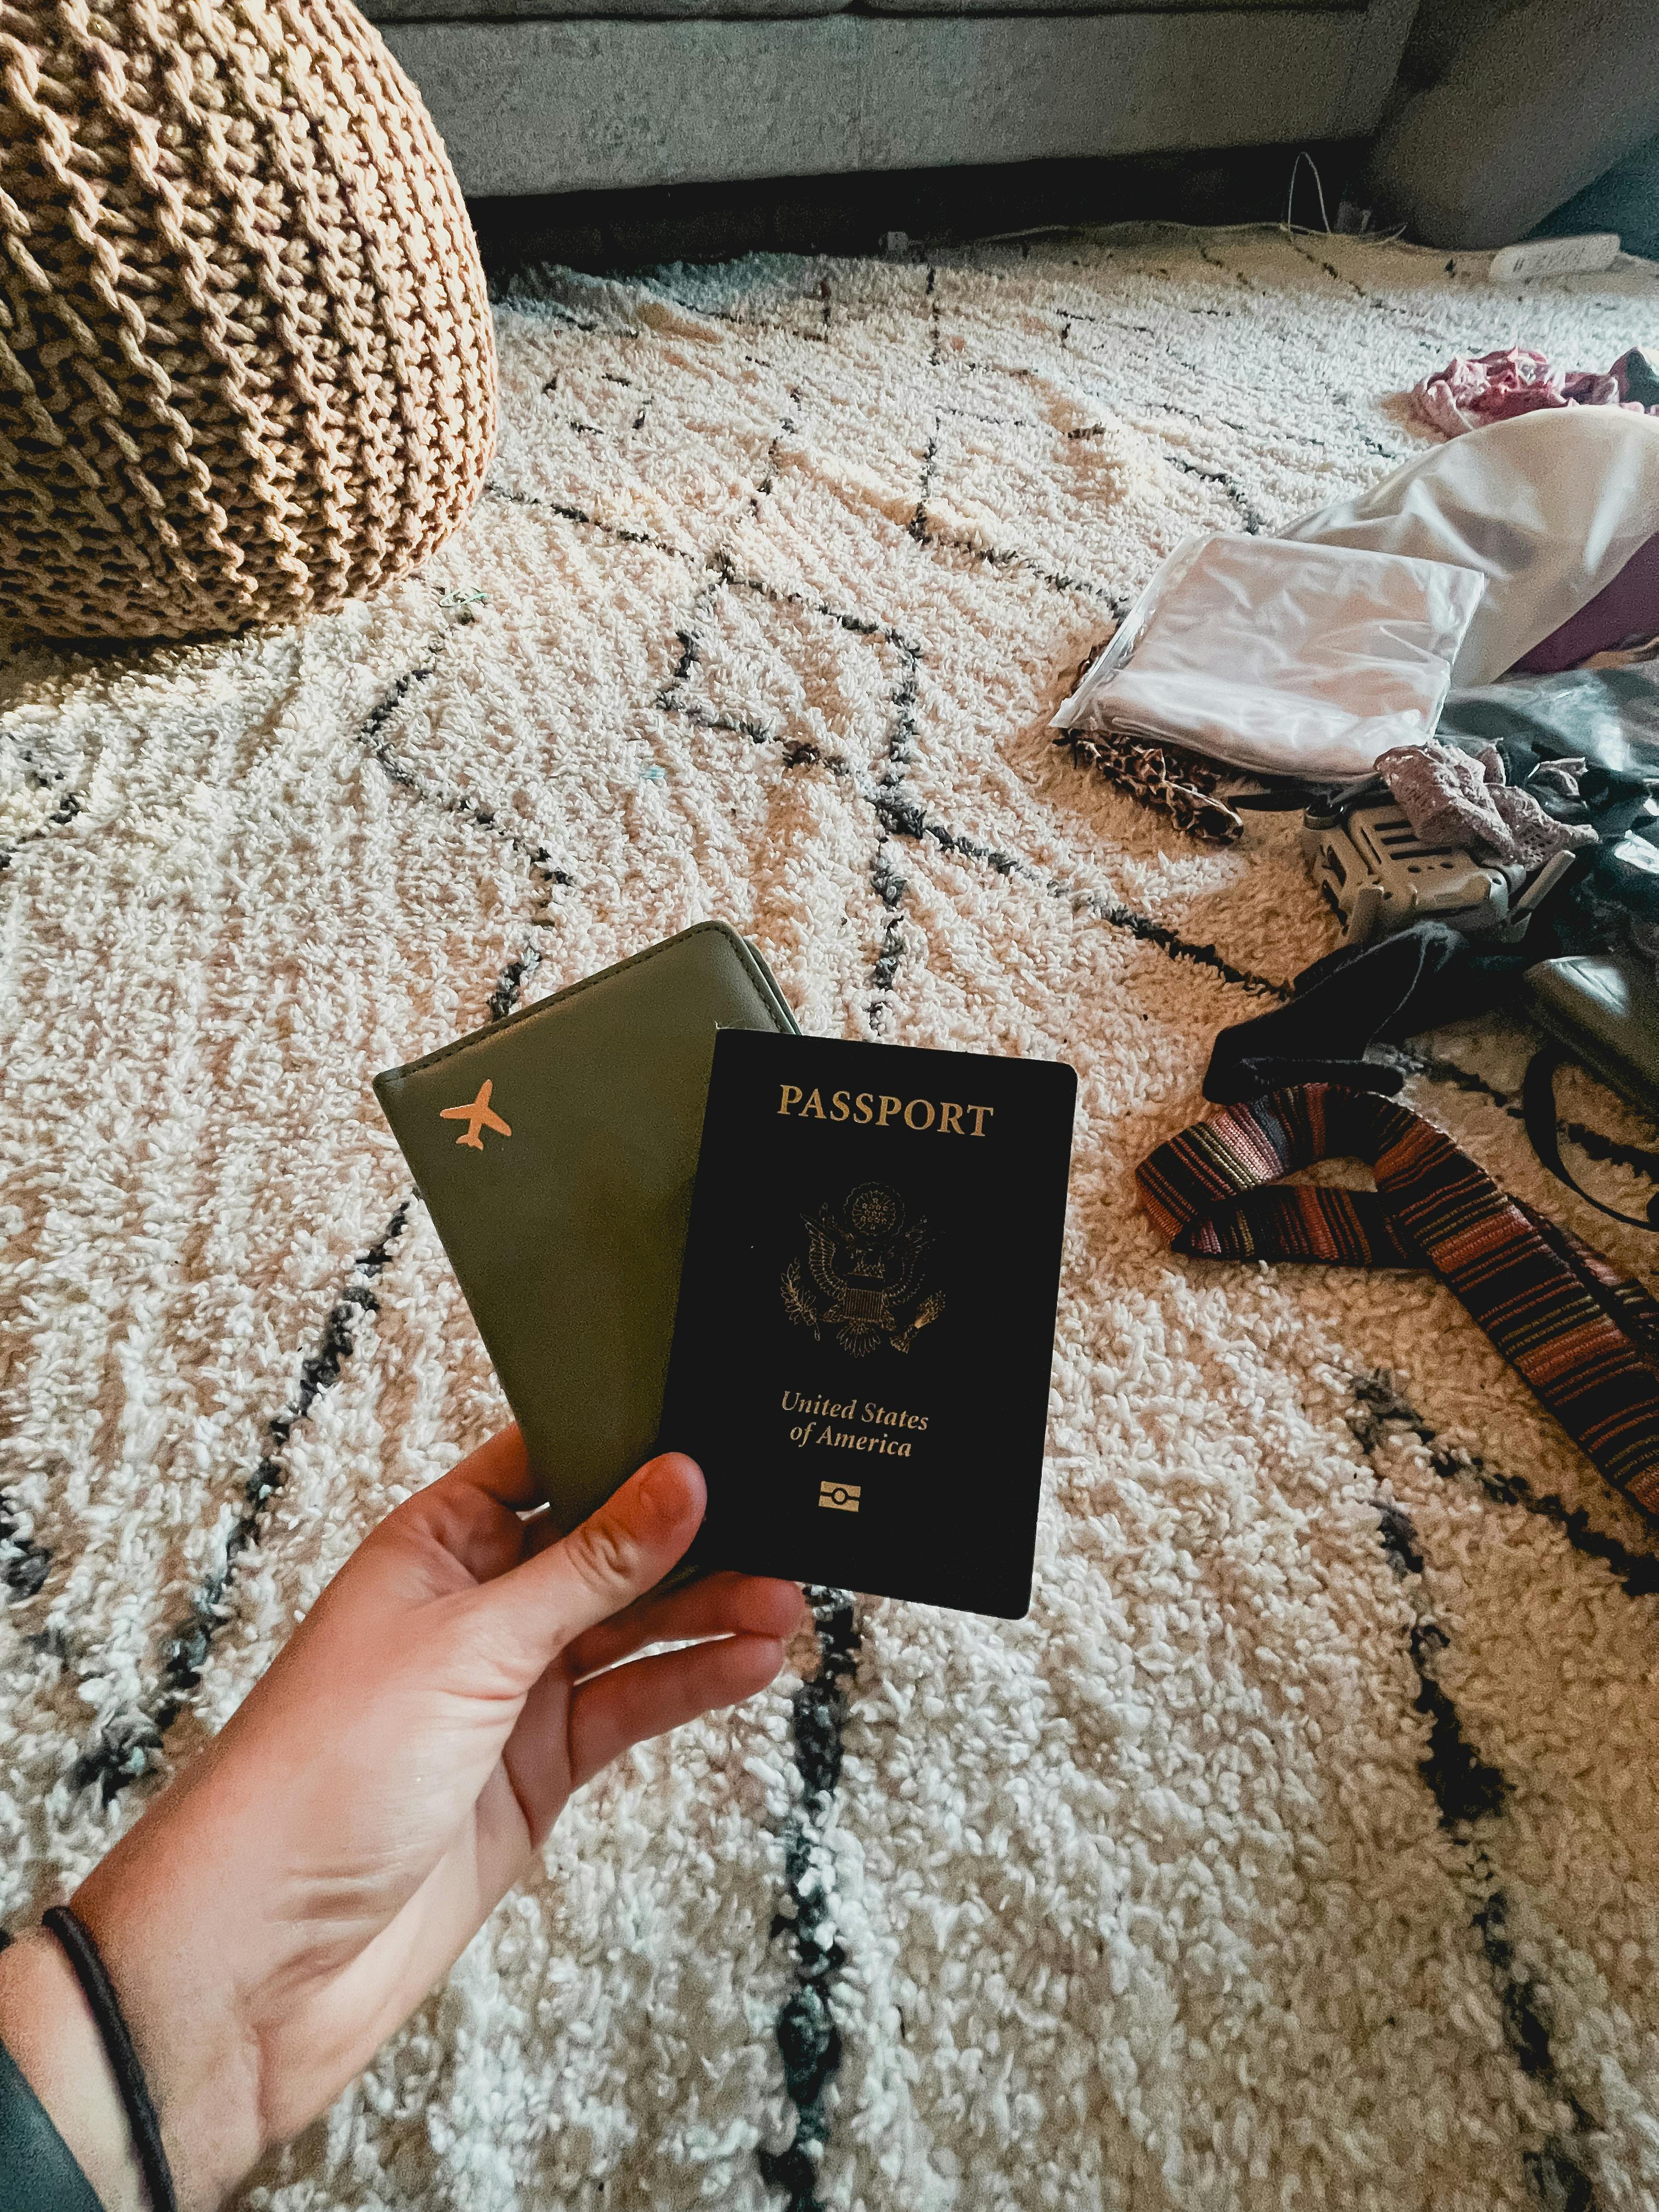
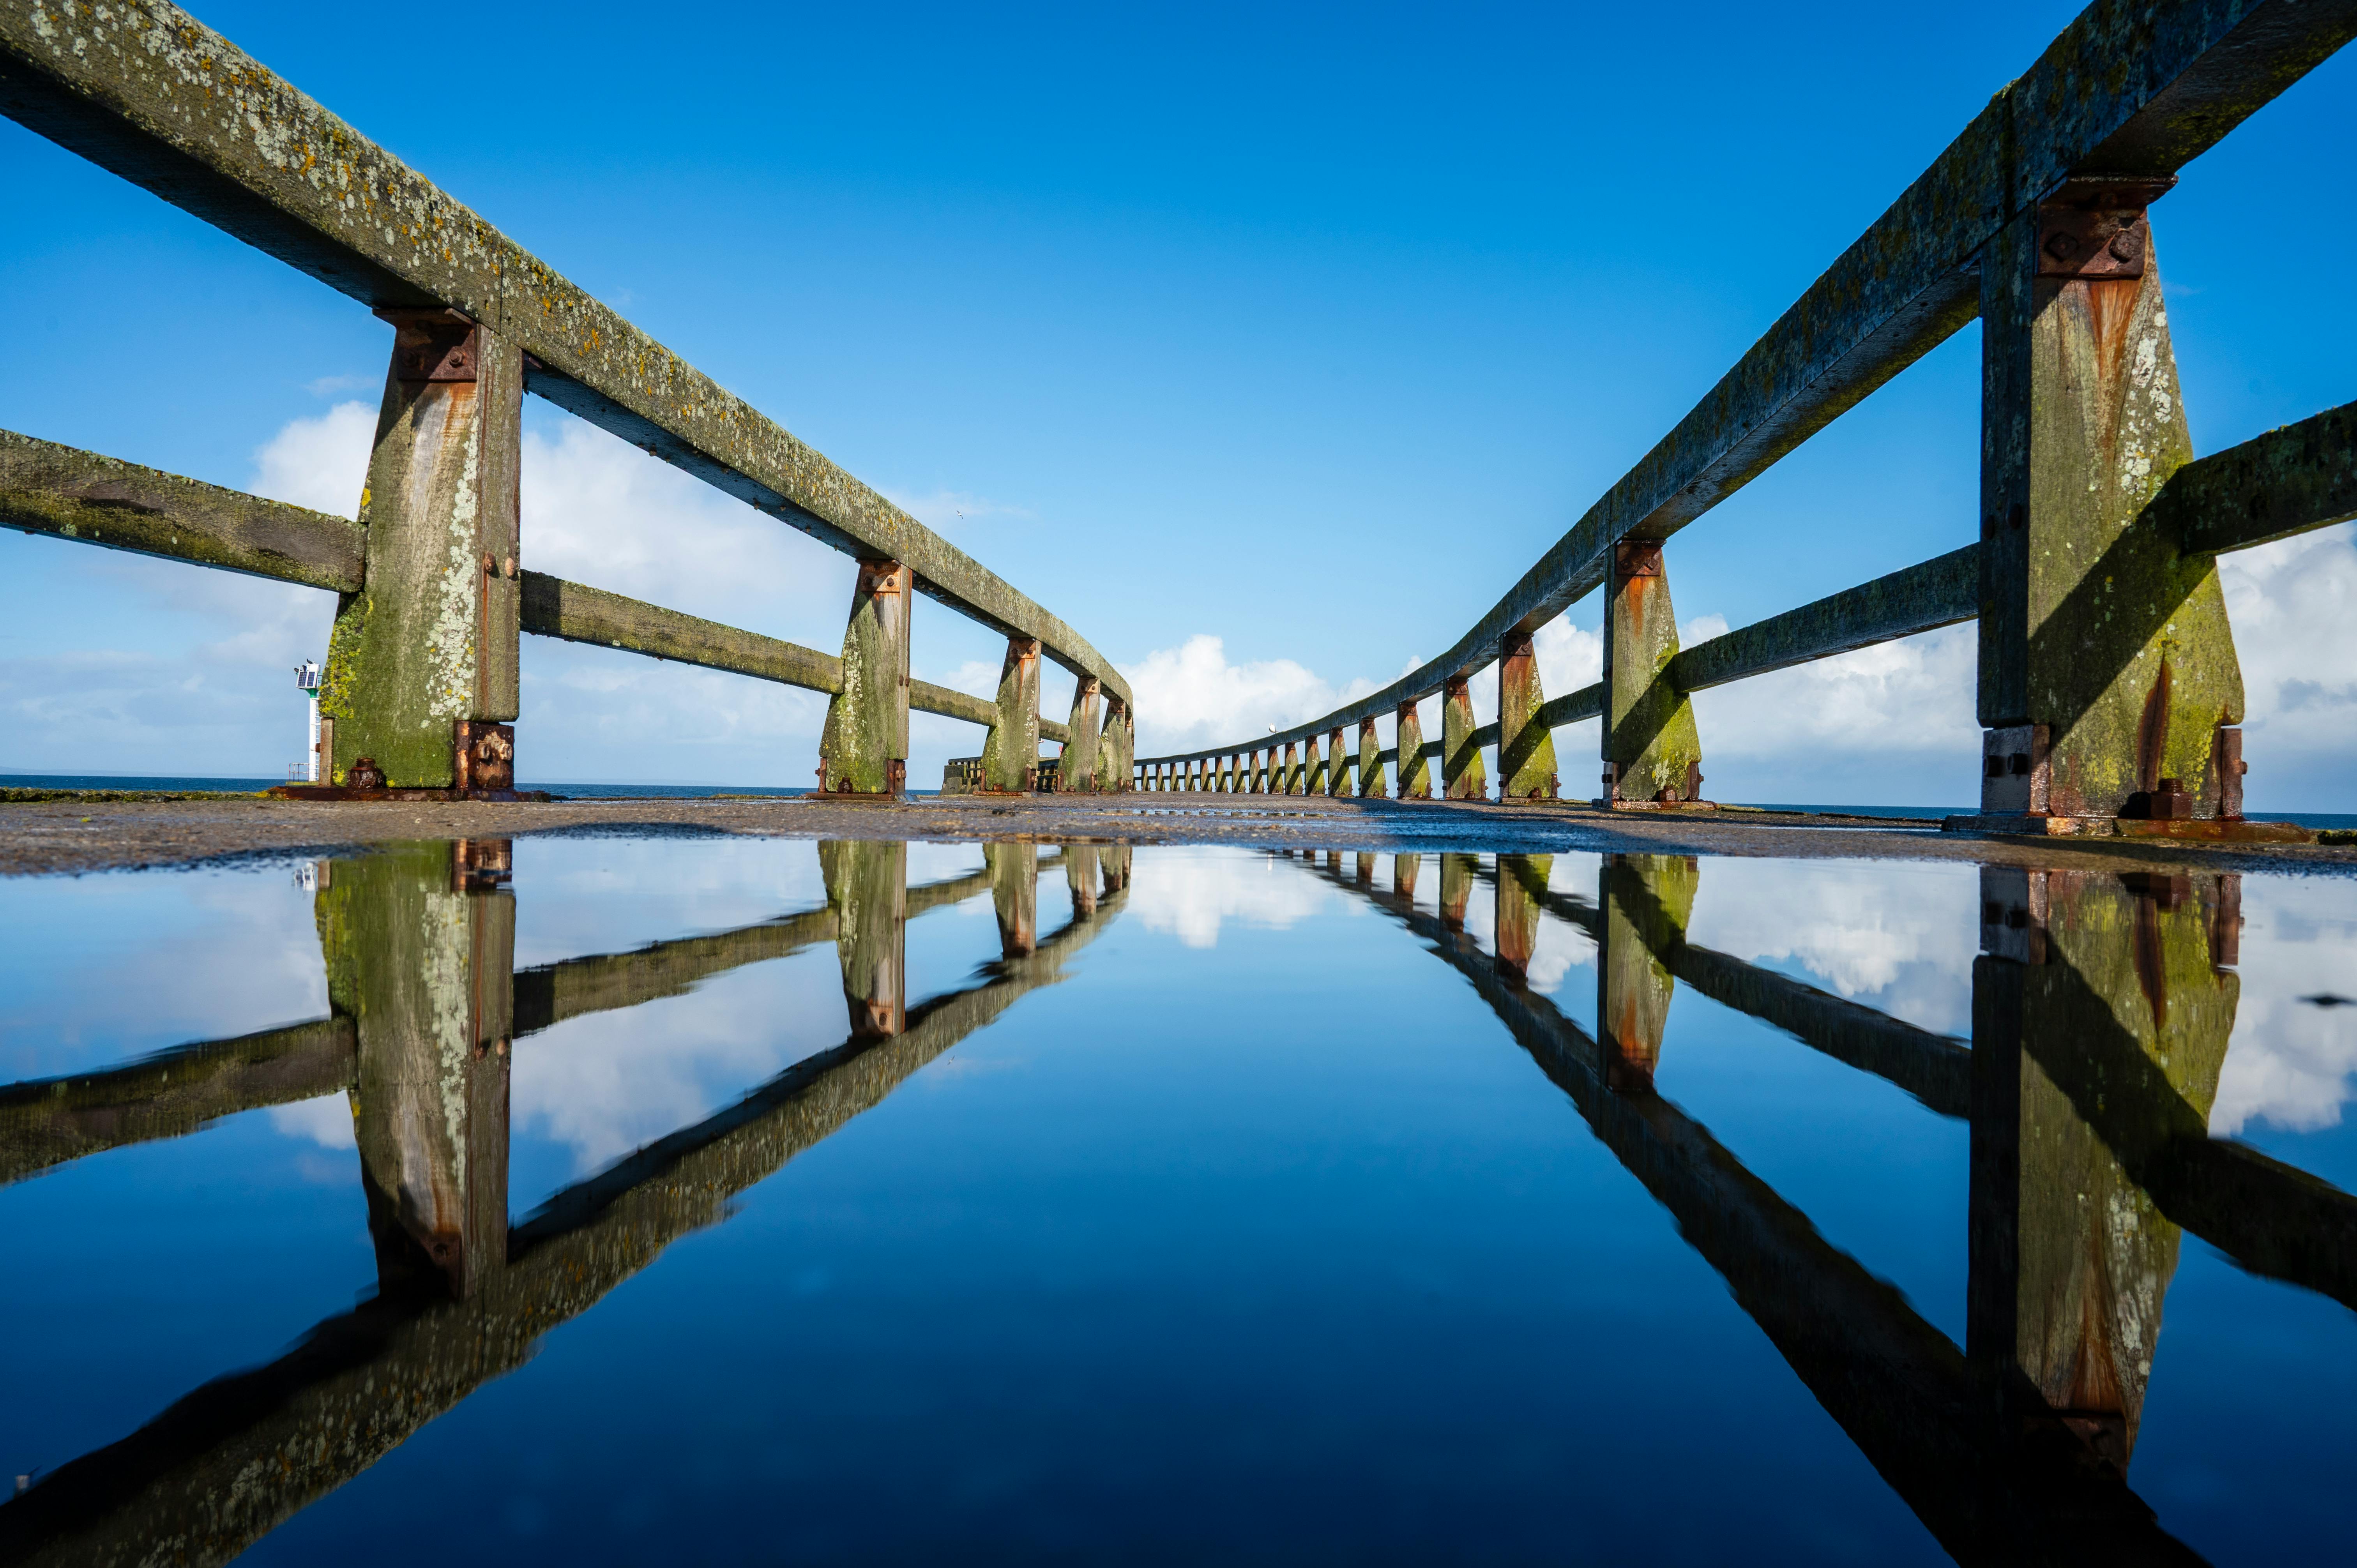
One-point perspective photography uses a single vanishing point, with straight lines pulling toward the center of the frame. I look for hallways, bridges, station platforms, tiled floors, fences, and road edges because they naturally steer the eye inward. To strengthen the look, I place the camera on the scene centerline and keep it level. The result is clean lines and a vanishing point that feels direct instead of tilted or messy.
What the lens really changes
Perspective comes from camera position and subject distance, not from focal length alone. A 50mm lens, for example, can still produce a strong centered frame if I stand in the right spot.
Long focal lengths bring near and far objects closer together in the image. I use them when I want a tighter, calmer corridor look.
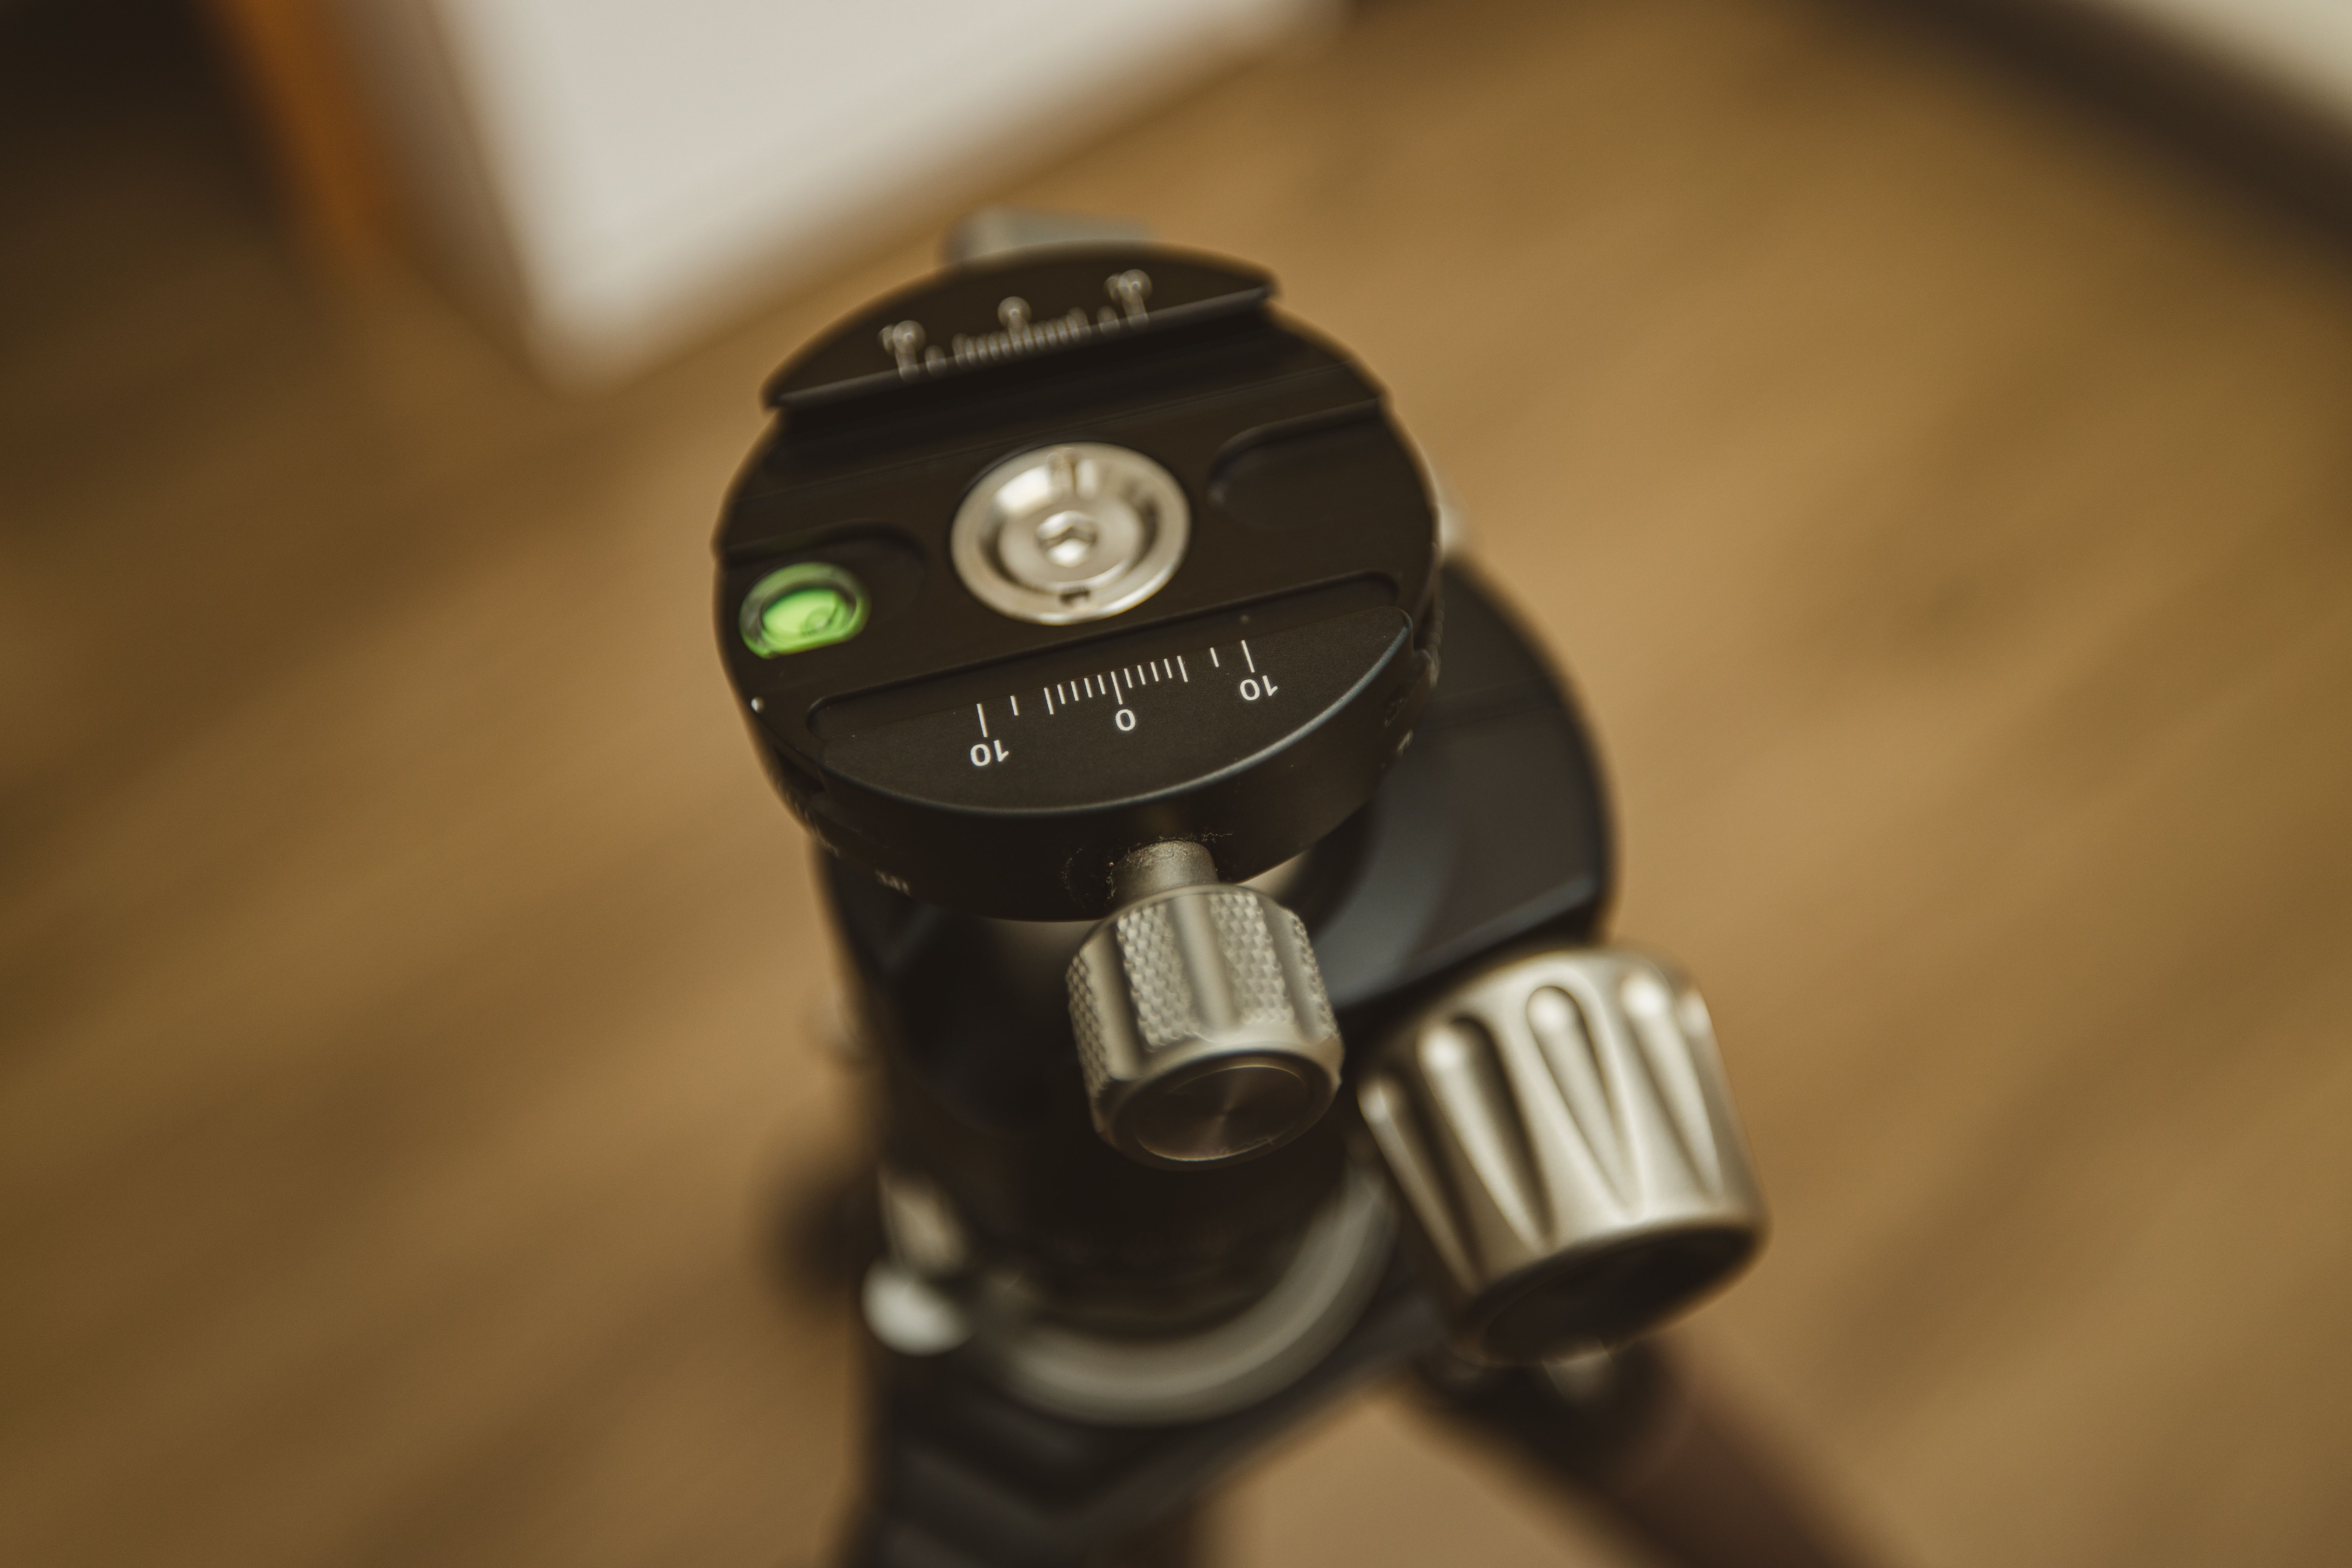
A wider lens shows more of the scene and makes the lines feel deeper. It also exposes small tilts, so I watch the horizon and the frame edges more carefully.
Border days change the way I pack and shoot
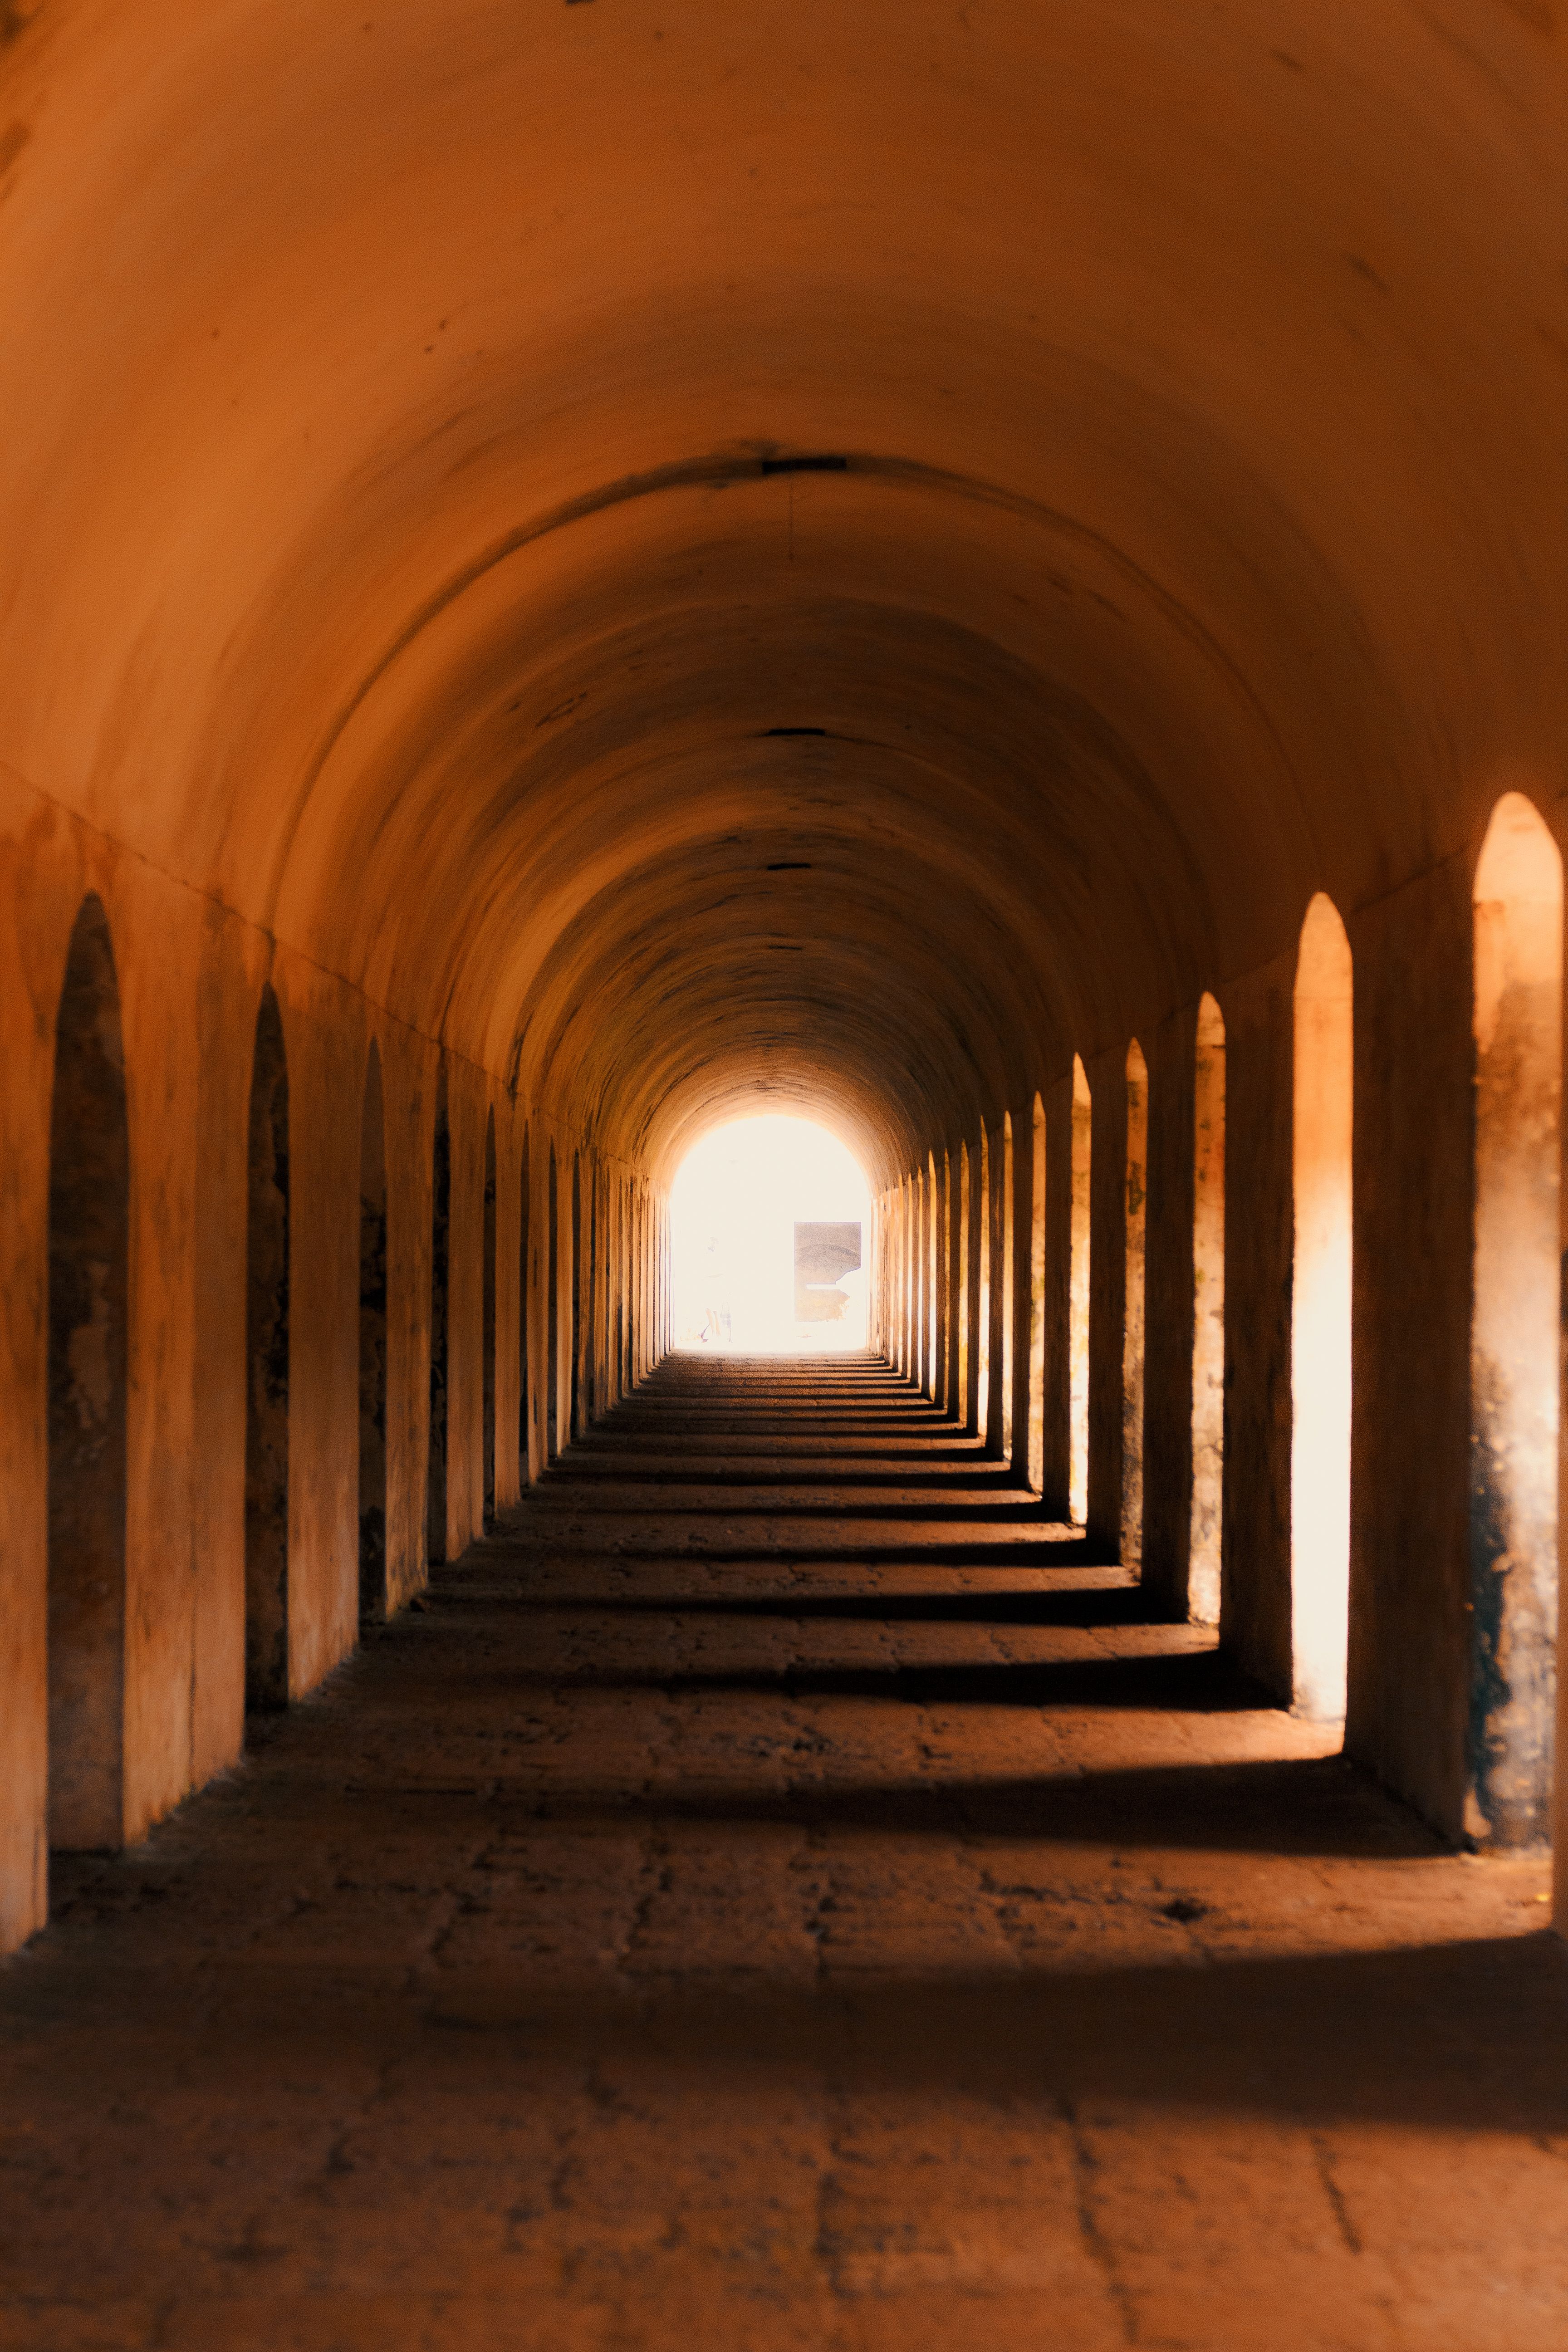
Travel crossing points have their own rules. I may have only a few minutes to clear security, show a document, or board a bus, so my camera has to stay ready without drawing attention. I keep one battery near full and one memory card in the body, with a second card only if the body has two slots. The kit stays lean, and I do not waste time checking pockets while the line moves.
My small border-day kit
- One camera body with a charged battery
- One lens that covers the most likely scene
- One empty or nearly empty UHS-II card
- One backup battery in an easy pocket
- One lens cloth in an outer zip, not buried deep
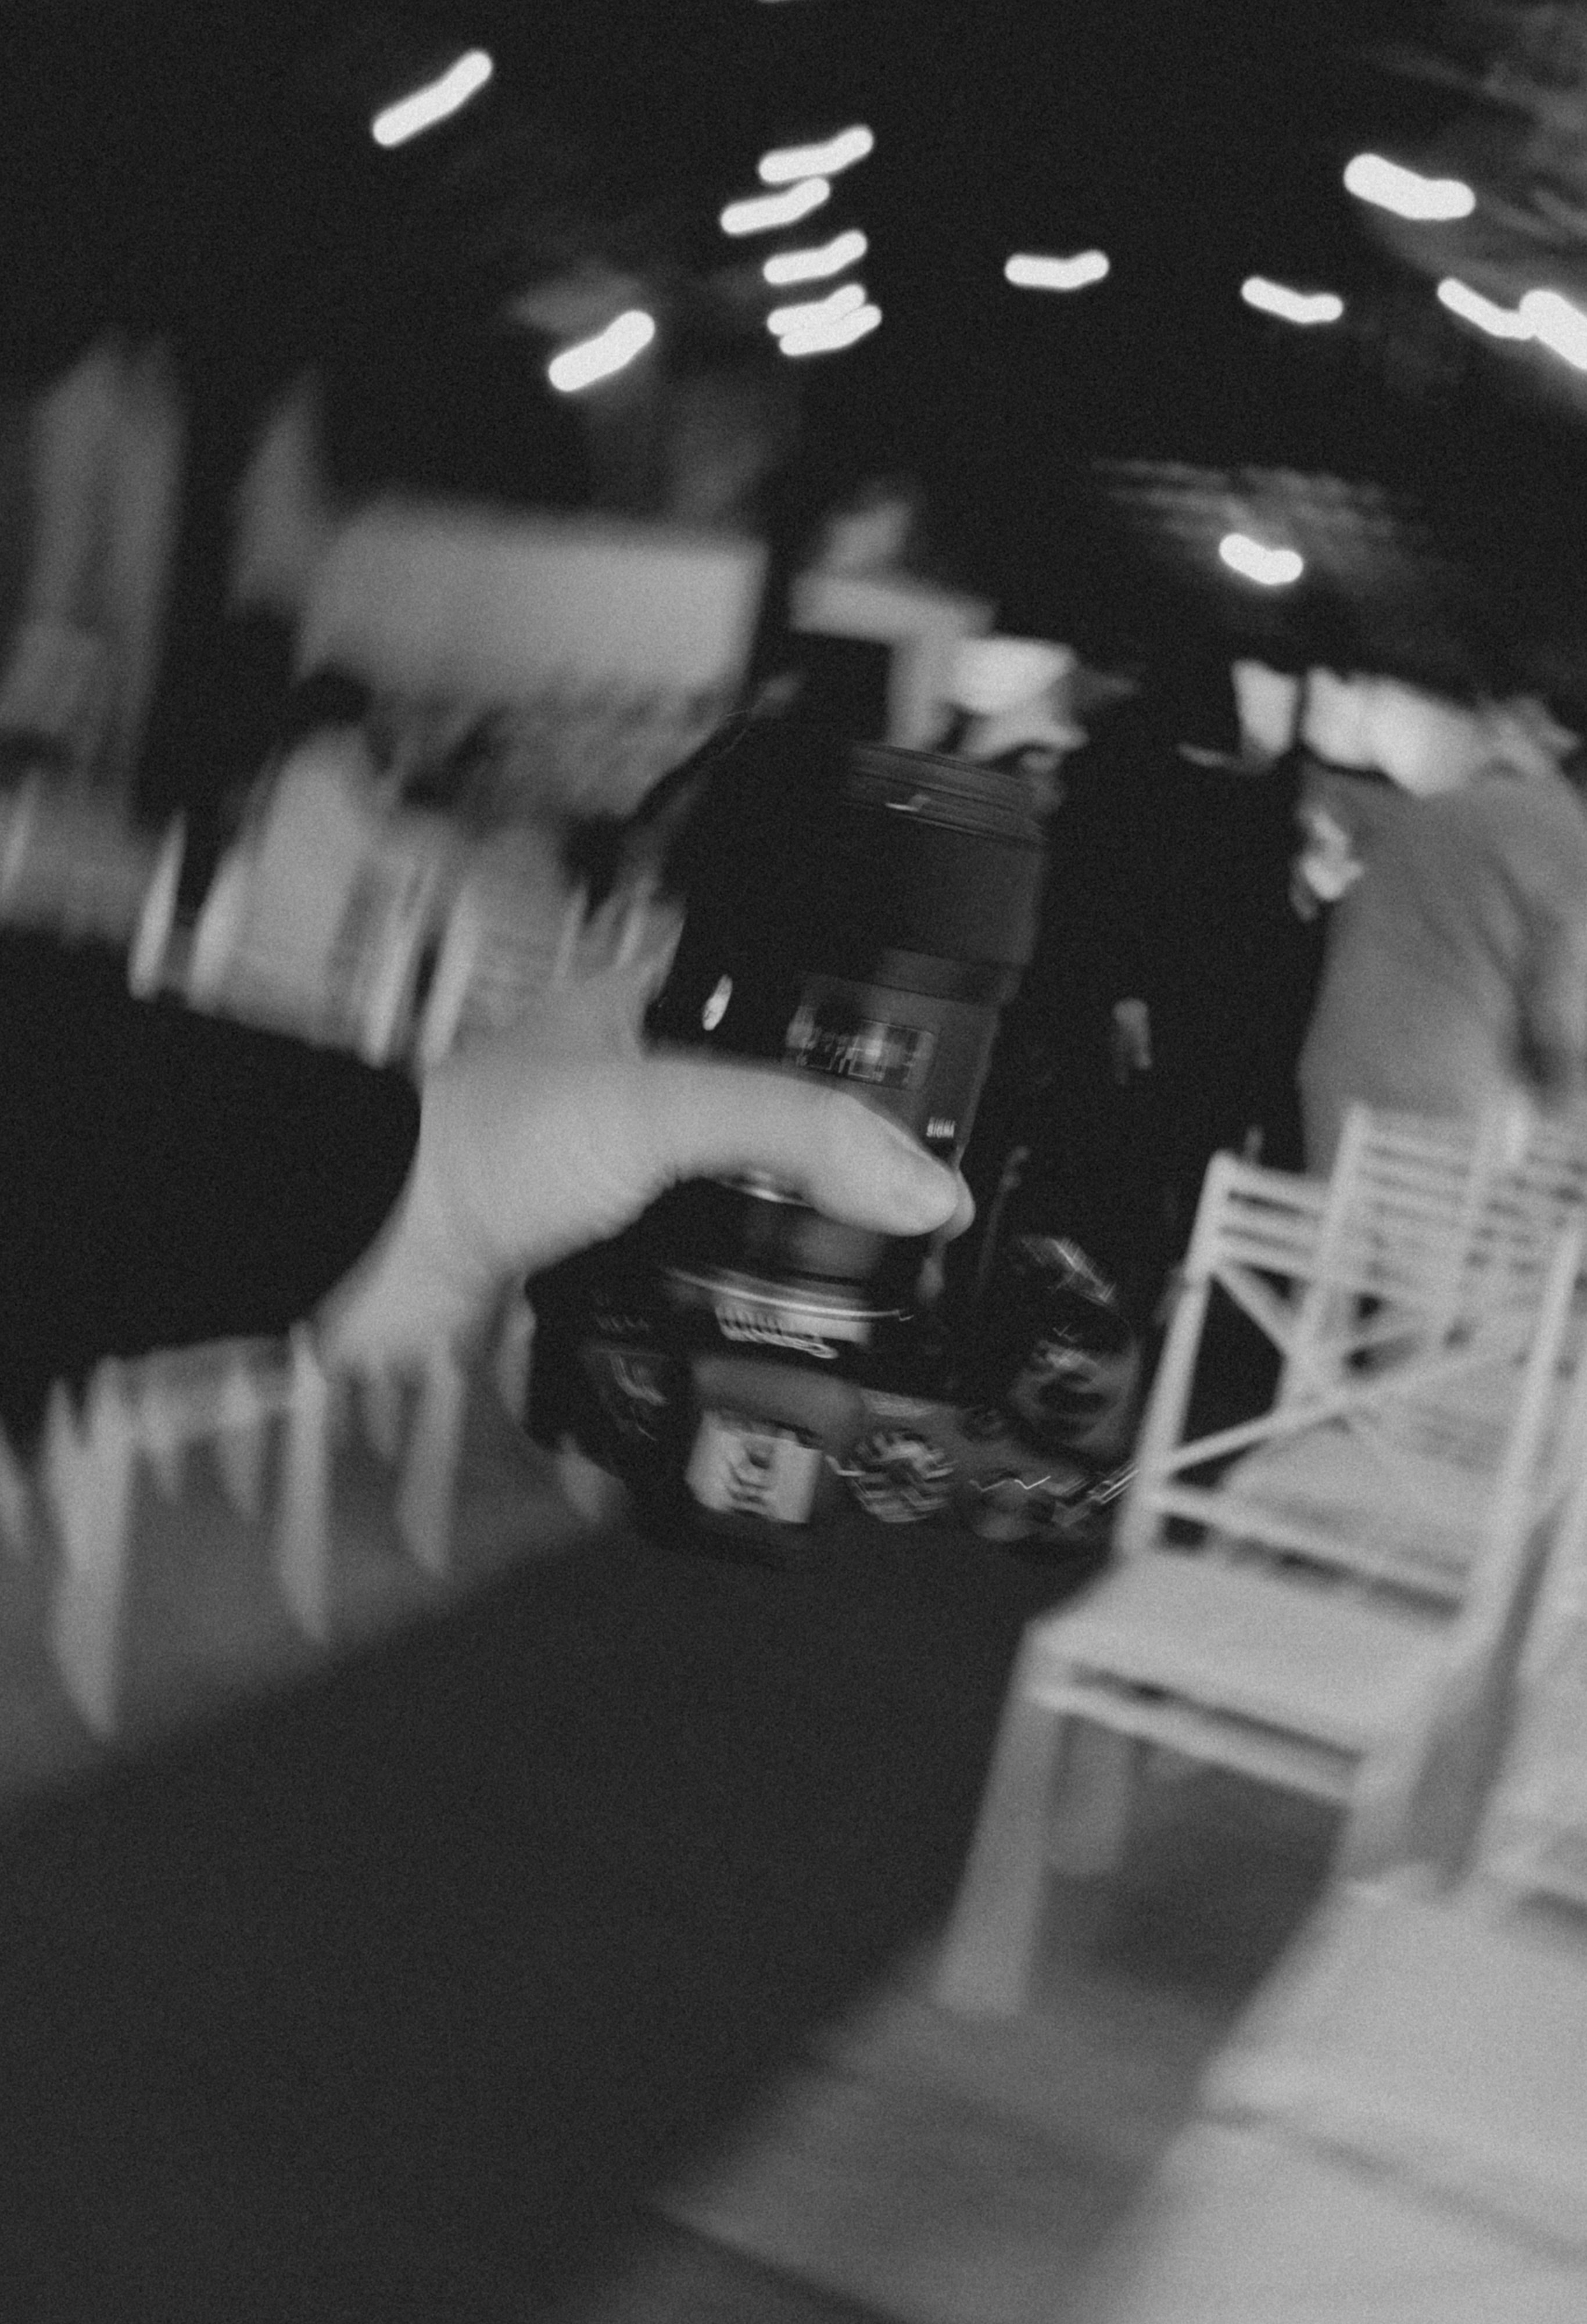
I prefer a UHS-II V60 or V90 card when I know I may shoot bursts or RAW files. UHS-I can still work, but write speed matters when I want the buffer to clear fast after a series.
A short 3–6 frame burst does not usually fill a modern buffer, but a long RAW run can slow a mid-tier body after roughly 20 to 40 frames.
What are the three rules for one-point perspective?
The three rules are simple: use one vanishing point, keep the camera level, and place the camera on the scene’s centerline. Those choices keep the lines clean and help the frame read at once. I treat them as a quick field test before I press the shutter. If one slips, the image can still work, but the depth feels less direct.
How I apply them on the spot
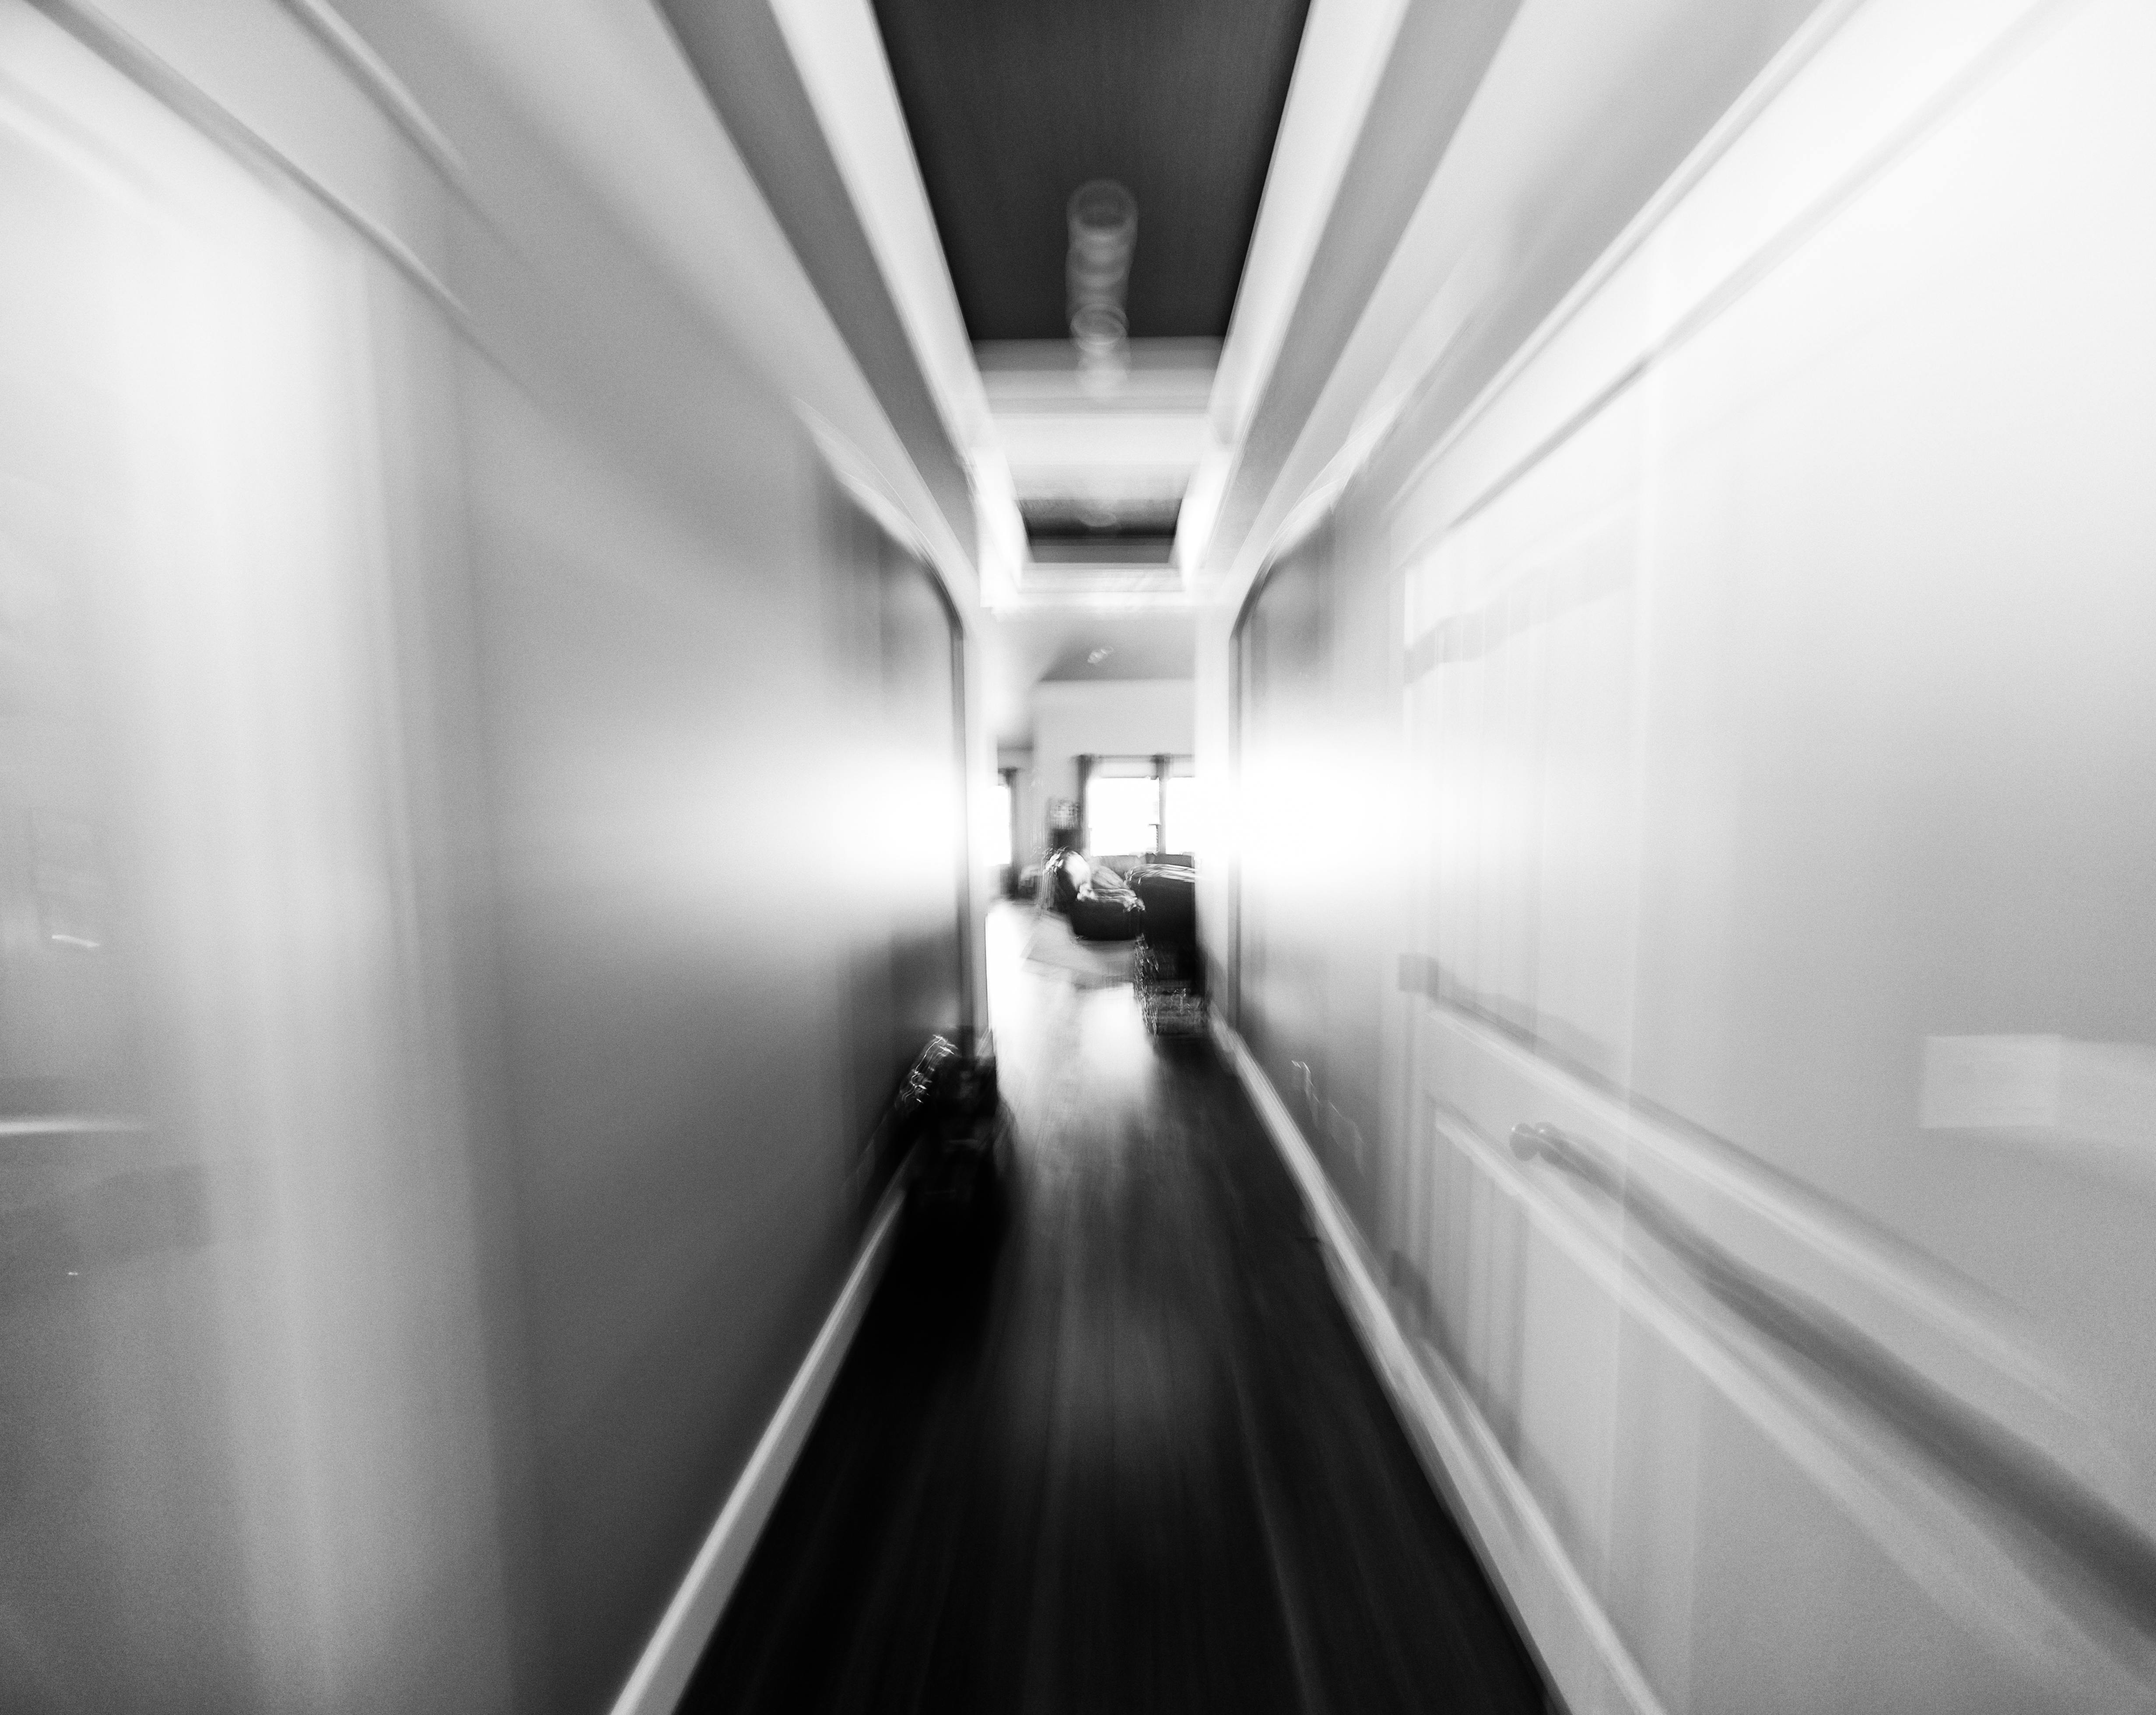
First, I find a scene with strong straight lines, like a walkway or tunnel. Next, I stand where those lines point toward the middle of the frame.
Then I check the camera level, usually with the electronic level or grid display. A level camera keeps verticals from leaning and puts the vanishing point where I want it.
What are common mistakes in one-point perspective?
The most common mistakes are a tilted camera, a subject placed off center, and weak leading lines. Those errors break the sense of order and make the frame feel accidental. Another mistake is changing the zoom before moving the feet. Perspective shifts only when the camera moves in relation to the subject, so lens changes alone do not fix the scene shape.
Four slips I watch for
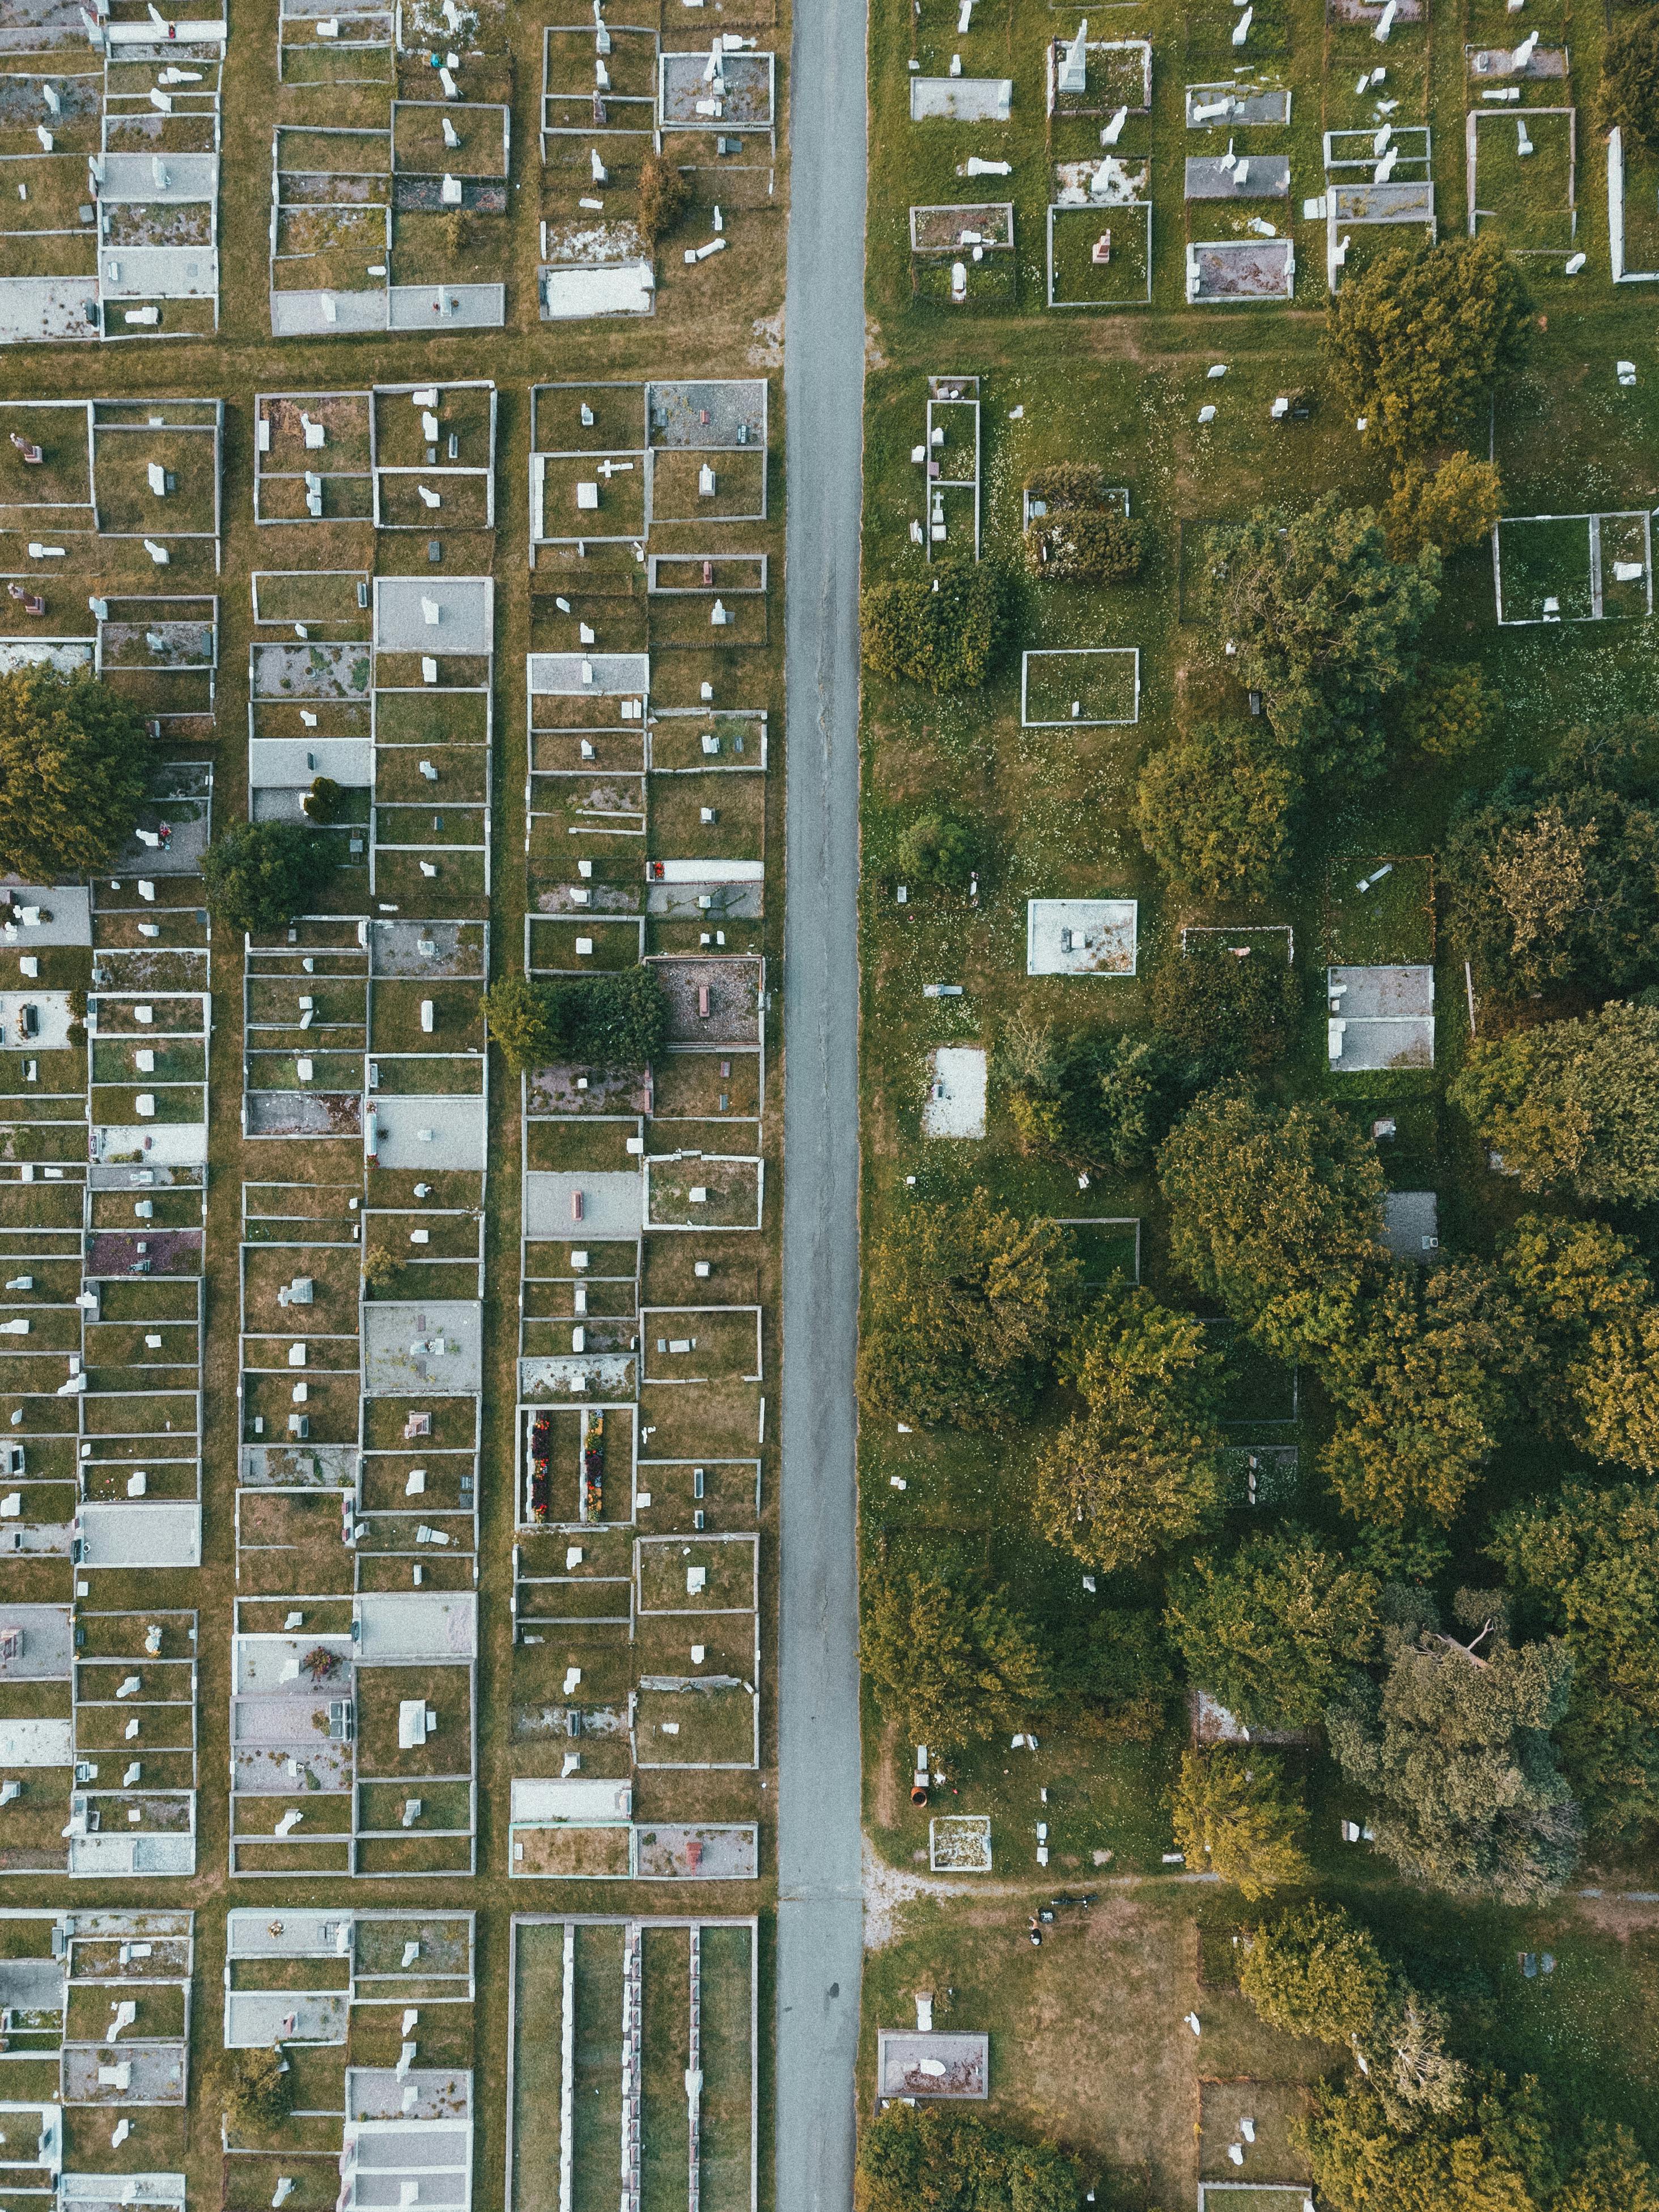
- Horizon lines that drift up or down
- Vanishing points that sit too close to an edge
- Busy foreground objects that block the path inward
- Over-cropping that cuts the lines before they meet
Low light can also create trouble at border crossings. If I stop down to f/8 for more depth, the shutter may drop too low, and motion blur can creep in from walking people or a moving bus.
In that case, I open to f/2.8 or raise ISO to keep the shutter near 1/250s or faster. I would rather accept a little noise than lose the sharp line structure that makes the composition work.
Can you explain one-point perspective to a beginner?
One-point perspective shows depth by making straight lines meet in one place. It feels like looking down a road, a hallway, or a bridge where everything pulls your eye forward. I describe it as a “one road, one destination” view. The camera sits in the middle, the frame stays level, and the scene narrows toward one clear spot.
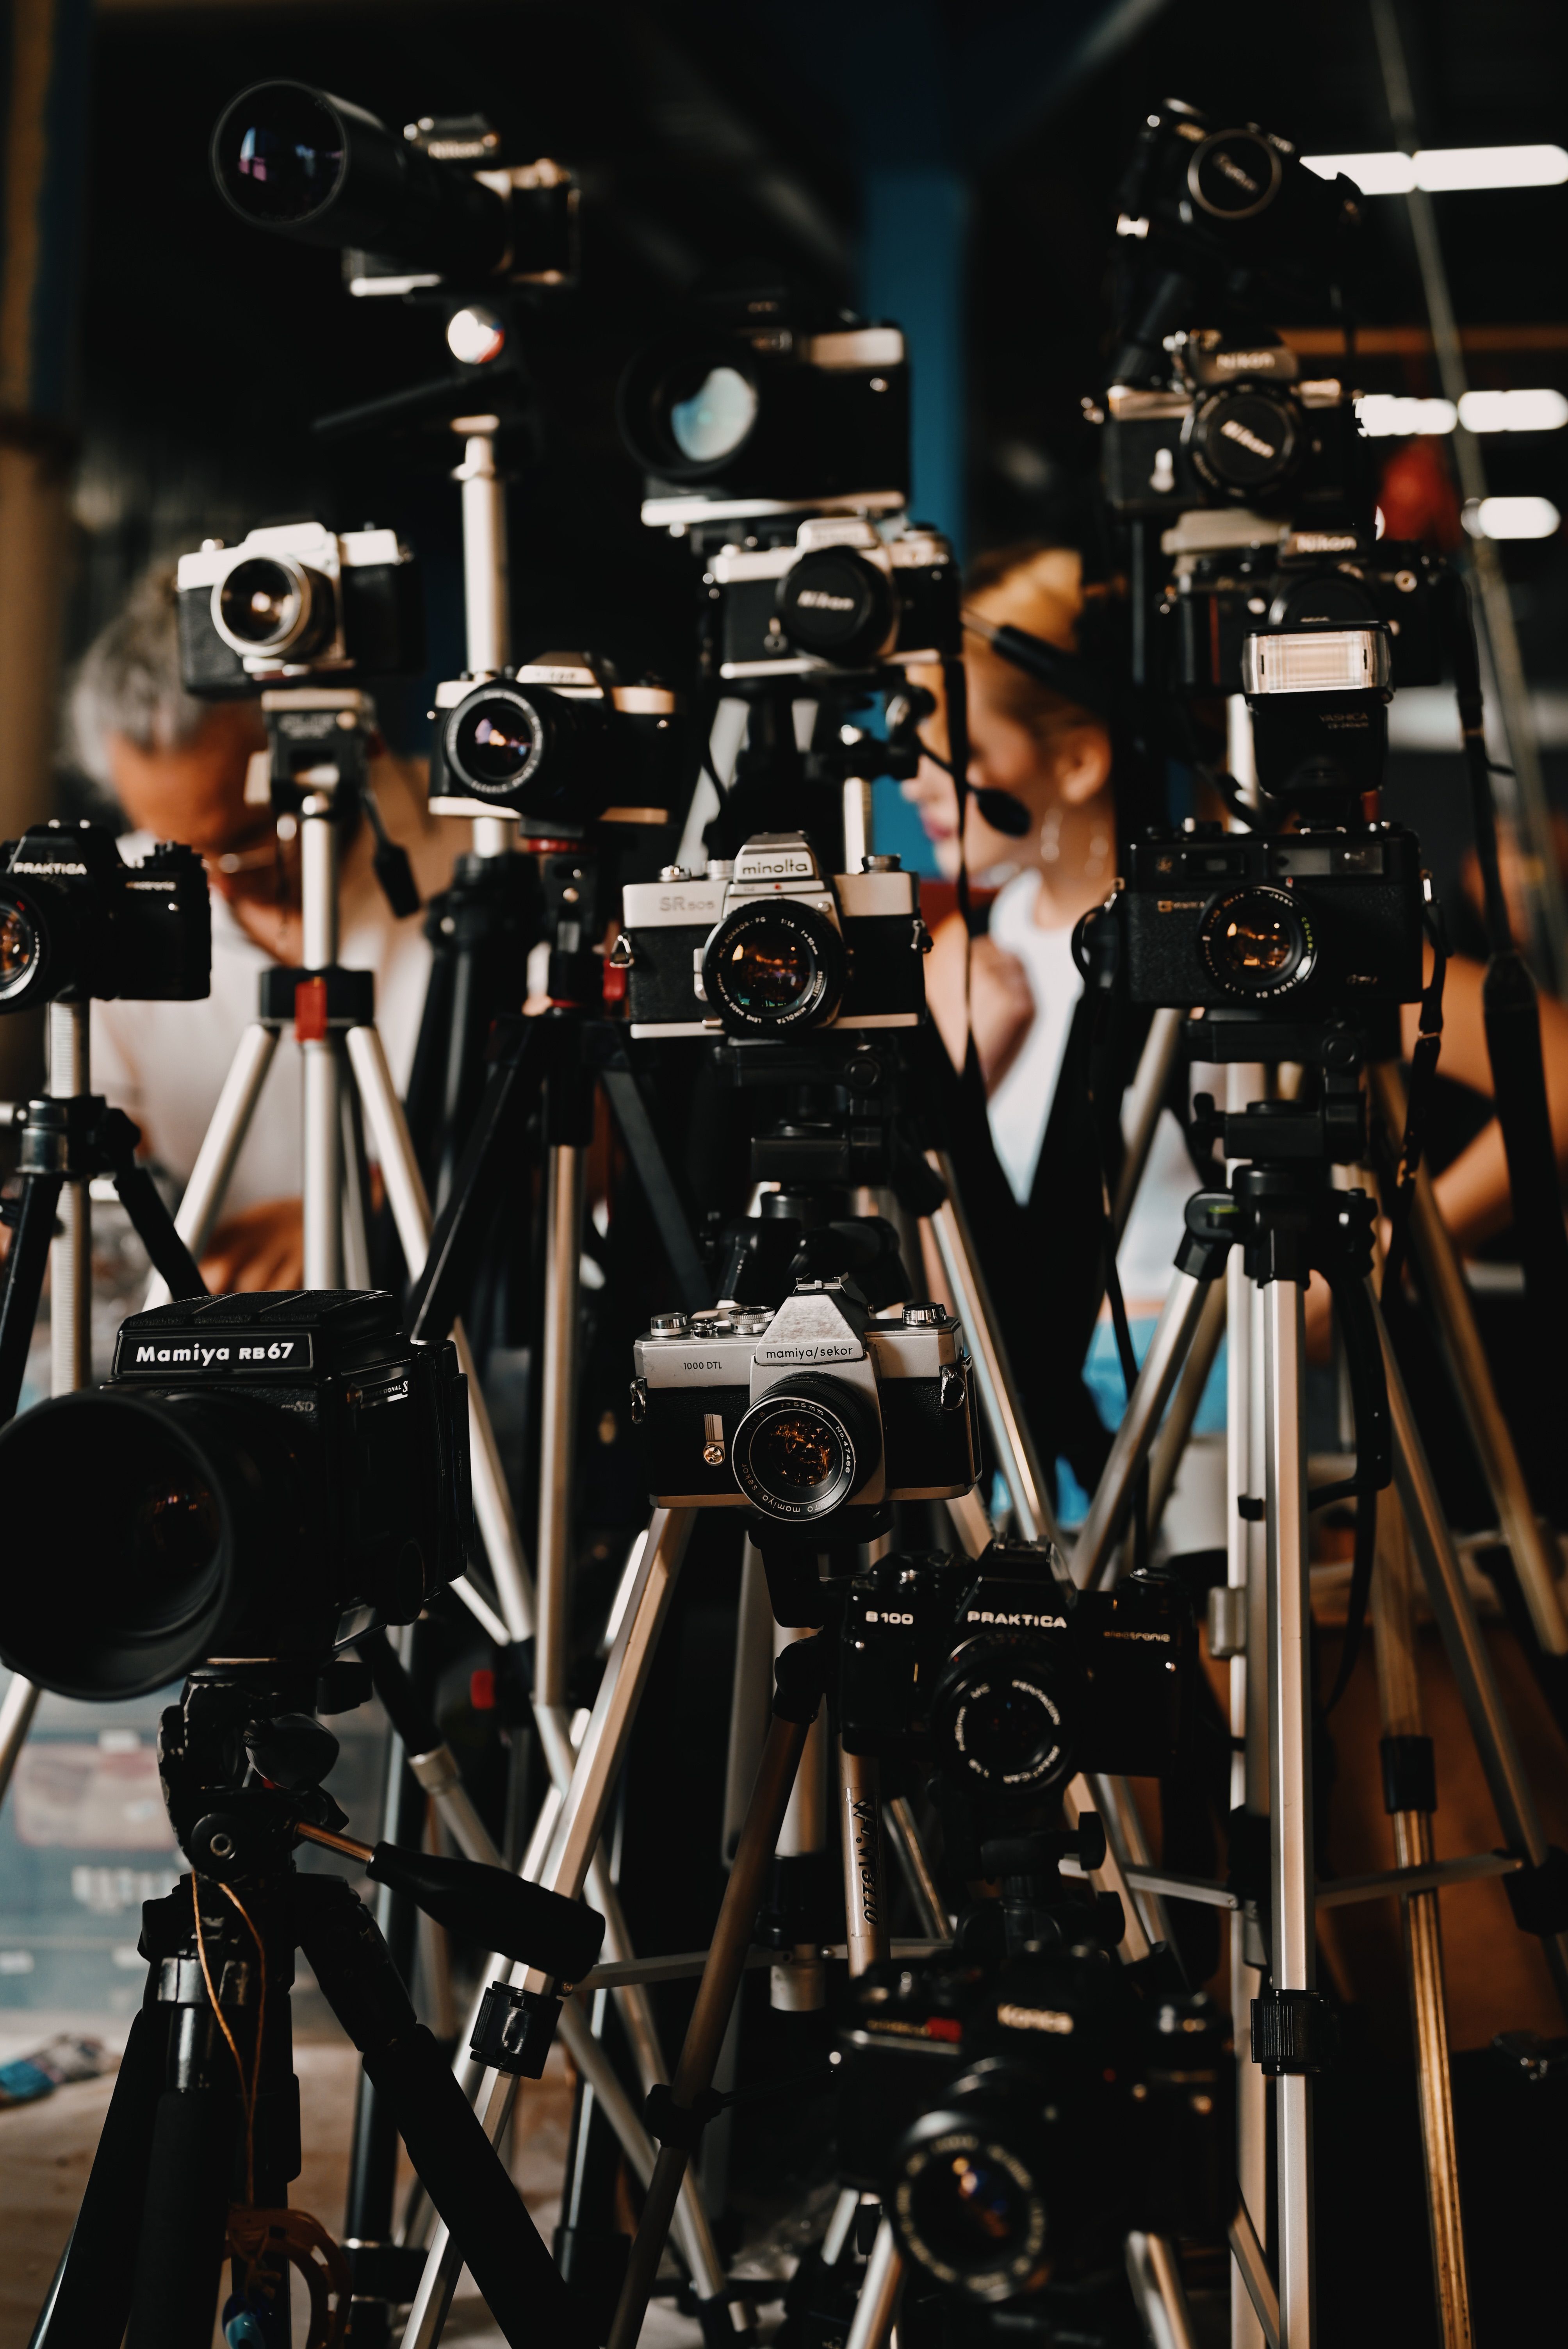
A beginner-friendly way to practice
- Find a long straight space with clear lines.
- Stand in the middle and face forward.
- Keep the camera level at chest or eye height.
- Frame so the lines meet near the center.
- Take one shot, then move a step left or right and compare.
That small move shows how much the camera position matters. It also shows why the same lens can make different-looking images from different spots.
For travel work, I often use aperture priority with Auto ISO and a minimum shutter speed set around 1/250s. The setup stays quick, and I can react before a checkpoint or platform scene changes.
What are the 7 types of perspective?
The seven common types are one-point, two-point, three-point, aerial, forced, isometric, and vanishing perspective. Each one changes how depth and scale feel in the frame, and each one can be useful in travel scenes. I use one-point most often in border spaces because those places already come with lines, rails, doors, and corridors. Still, the other types help me read a scene and decide what it can do.
Quick guide to the set
- One-point: lines meet at one point in the center
- Two-point: edges split toward two vanishing points
- Three-point: adds a strong up or down view
- Aerial: distance feels softer through haze or tone
- Forced: scale is bent by placement
- Isometric: lines stay more parallel
- Vanishing: the eye follows lines into the distance
Not every type fits every border scene, and that is fine. A long corridor may want one-point, while a crowded street near customs may fit two-point better.
The camera settings I keep ready before I reach the line
I set my camera for speed before I get anywhere near the checkpoint. That usually means continuous AF with eye or subject detection, single-shot or low burst for calm scenes, and RAW capture if I want room to crop later.
For still travel scenes, I start at 50mm to 85mm when I want a tighter centered look. If the light is good, f/5.6 to f/8 keeps the lines crisp, but I drop to f/2 to f/2.8 when the room gets dim.
How I handle fast movement near borders
When people move through the frame, I switch to a burst mode around 10 fps on a mechanical shutter if the camera can manage it. Electronic shutter can reach 20 to 40 fps on some bodies, but LED banding and rolling-shutter skew can show up under bad light. Pre-capture or pre-burst buffering helps when the moment is hard to time. Back-button focus also helps, because it lets me lock focus once and keep shooting without hunting.
The display drain matters more than the badge on the lens. On mirrorless bodies, the EVF and LCD use more power than most people expect, so I lower screen brightness and avoid extra review when I need the battery to last.

How I keep the whole setup border-ready
I check the bag in the same order every time. The goal is not perfection, but a setup that never makes me stop and think at the wrong moment.
- Battery charged above 80%
- Card formatted in camera
- Lens cap easy to remove or already off in safe spaces
- Strap adjusted for a quick lift
- Camera mode set before I join the line
That last step saves the most time. If I know I may see a strong corridor or fence line, I set the file type, AF mode, and exposure before I step out of the vehicle.
Border crossings reward simple choices. A camera that hangs ready, a clean line of sight, and a centered frame do more for the image than extra gear ever will.

The setup I trust most is the one I can carry with one hand, one bag, and one clear view toward the vanishing point.
Frequently Asked Questions
What are the three rules for one-point perspective?
The three rules for one-point perspective are: use a single vanishing point, keep the camera centered on the scene’s centerline, and keep the camera level. These rules make straight lines converge cleanly toward the middle instead of looking tilted or distorted.
What are common mistakes in one-point perspective?

Common mistakes in one-point perspective are using more than one vanishing point, placing the camera off the centerline, and tilting the camera so the horizon is not level. These errors make the lines look messy and weaken the centered depth effect.
Can you explain one-point perspective to a beginner?
One-point perspective is a way of showing depth by making straight lines appear to move toward one central point in the image. Hallways, roads, bridges, and station platforms often work well because their edges naturally lead the eye inward.
What are the 7 types of perspective?
The seven types of perspective are one-point, two-point, three-point, atmospheric, forced, isometric, and linear perspective. These terms cover common ways images can create depth, distance, or spatial structure.


