


- Avoid slow setups and bag-bound gear; keep your camera ready for instant insect shots.
- Use the 20/60/20 rule: spend 20% planning, 60% shooting, 20% reviewing.
- Start simple with one close-focusing lens, continuous AF, and a low crouched angle.
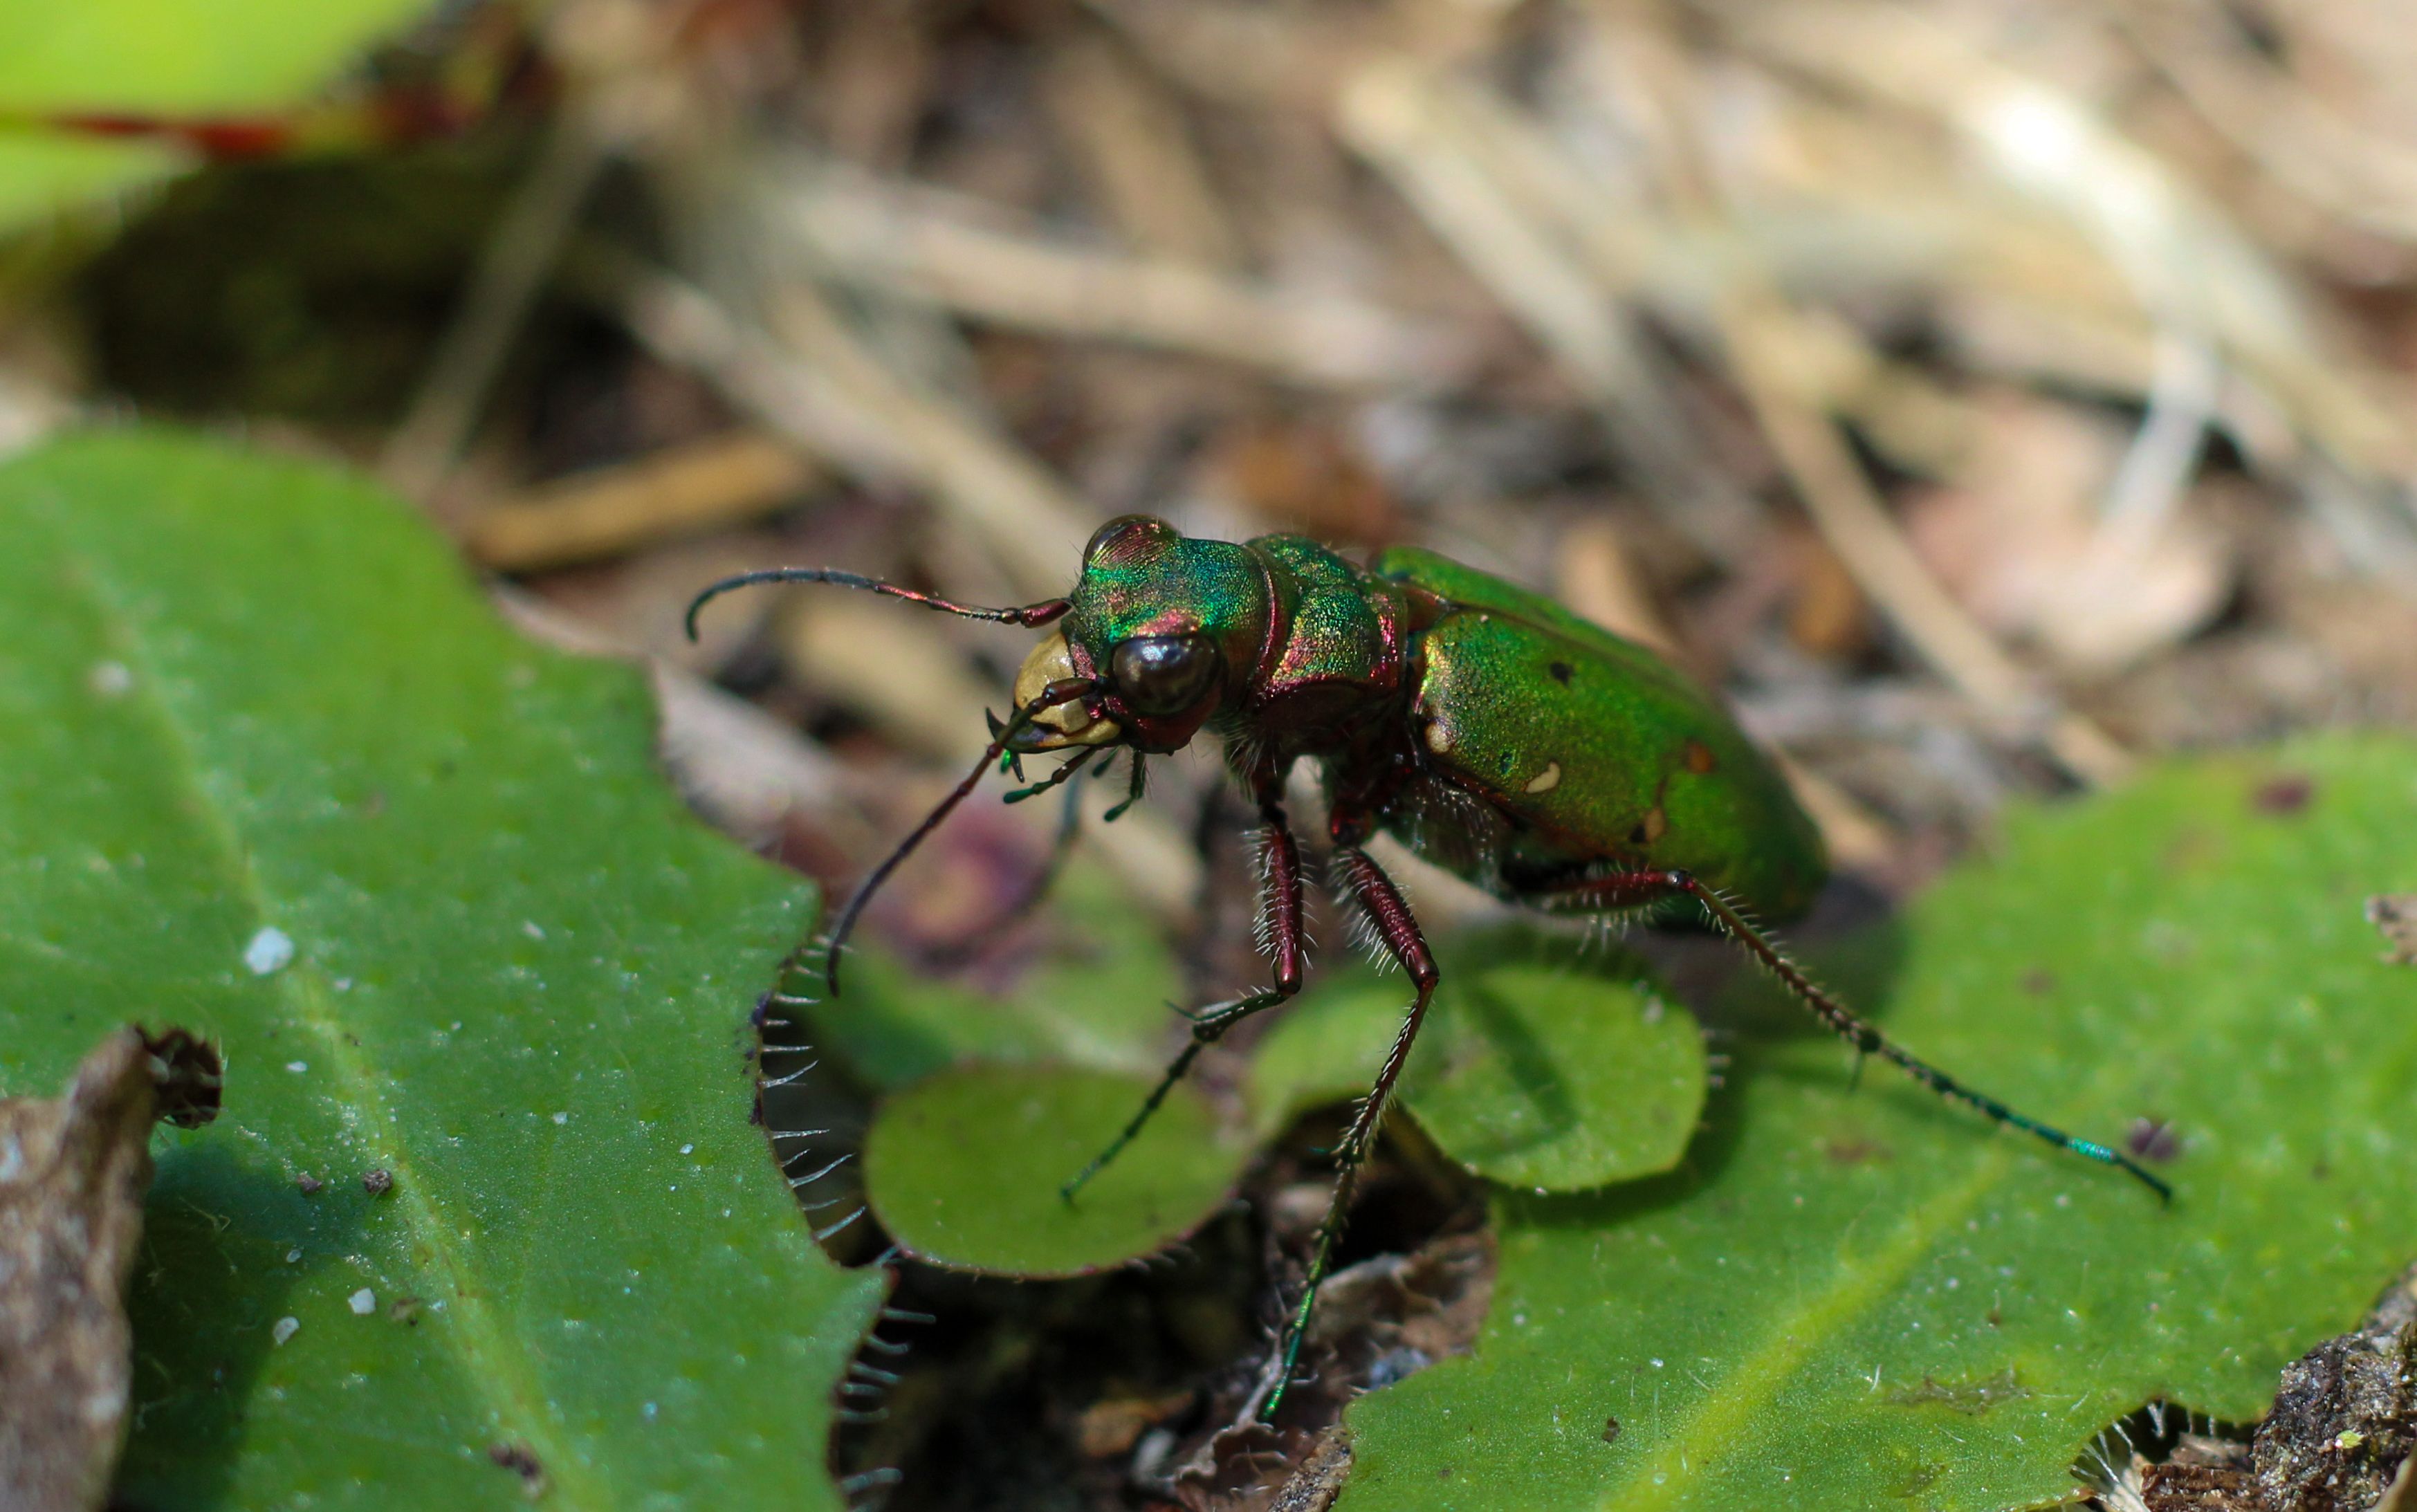
Macro photography tips give tiny subjects the clarity and detail they deserve. On a moving trail, they matter because insects shift place, light, and pose in seconds. Quick setup and steady habits make the difference. Keep the camera within reach, and a brief stop can turn into a clean close-up.
Shop the setup

- Regular price
-
€42 - Regular price
-
€44 - Sale price
-
€42
By choosing the Camstrap strap, you are opting for a high-quality product designed to meet the needs of the most demanding photographers.
- Developed by a physiotherapist to relieve neck and back pain.
- Fast delivery with tracking by the Post Office 🚚
- Can be used as a shoulder strap or hands-free harness

- Regular price
-
€36 - Regular price
-
€42 - Sale price
-
€36
Free shipping included
Why trail insects are so difficult to photograph
Insects on trails move fast, and they react instantly to light, shadow, and vibration. A footstep, a breeze, or a slow camera lift can ruin the shot.
Mixed light adds another layer of trouble. Sun patches, dark leaves, and a subject that turns in an instant all fight for attention at once.
Keep a ready-to-shoot carry setup
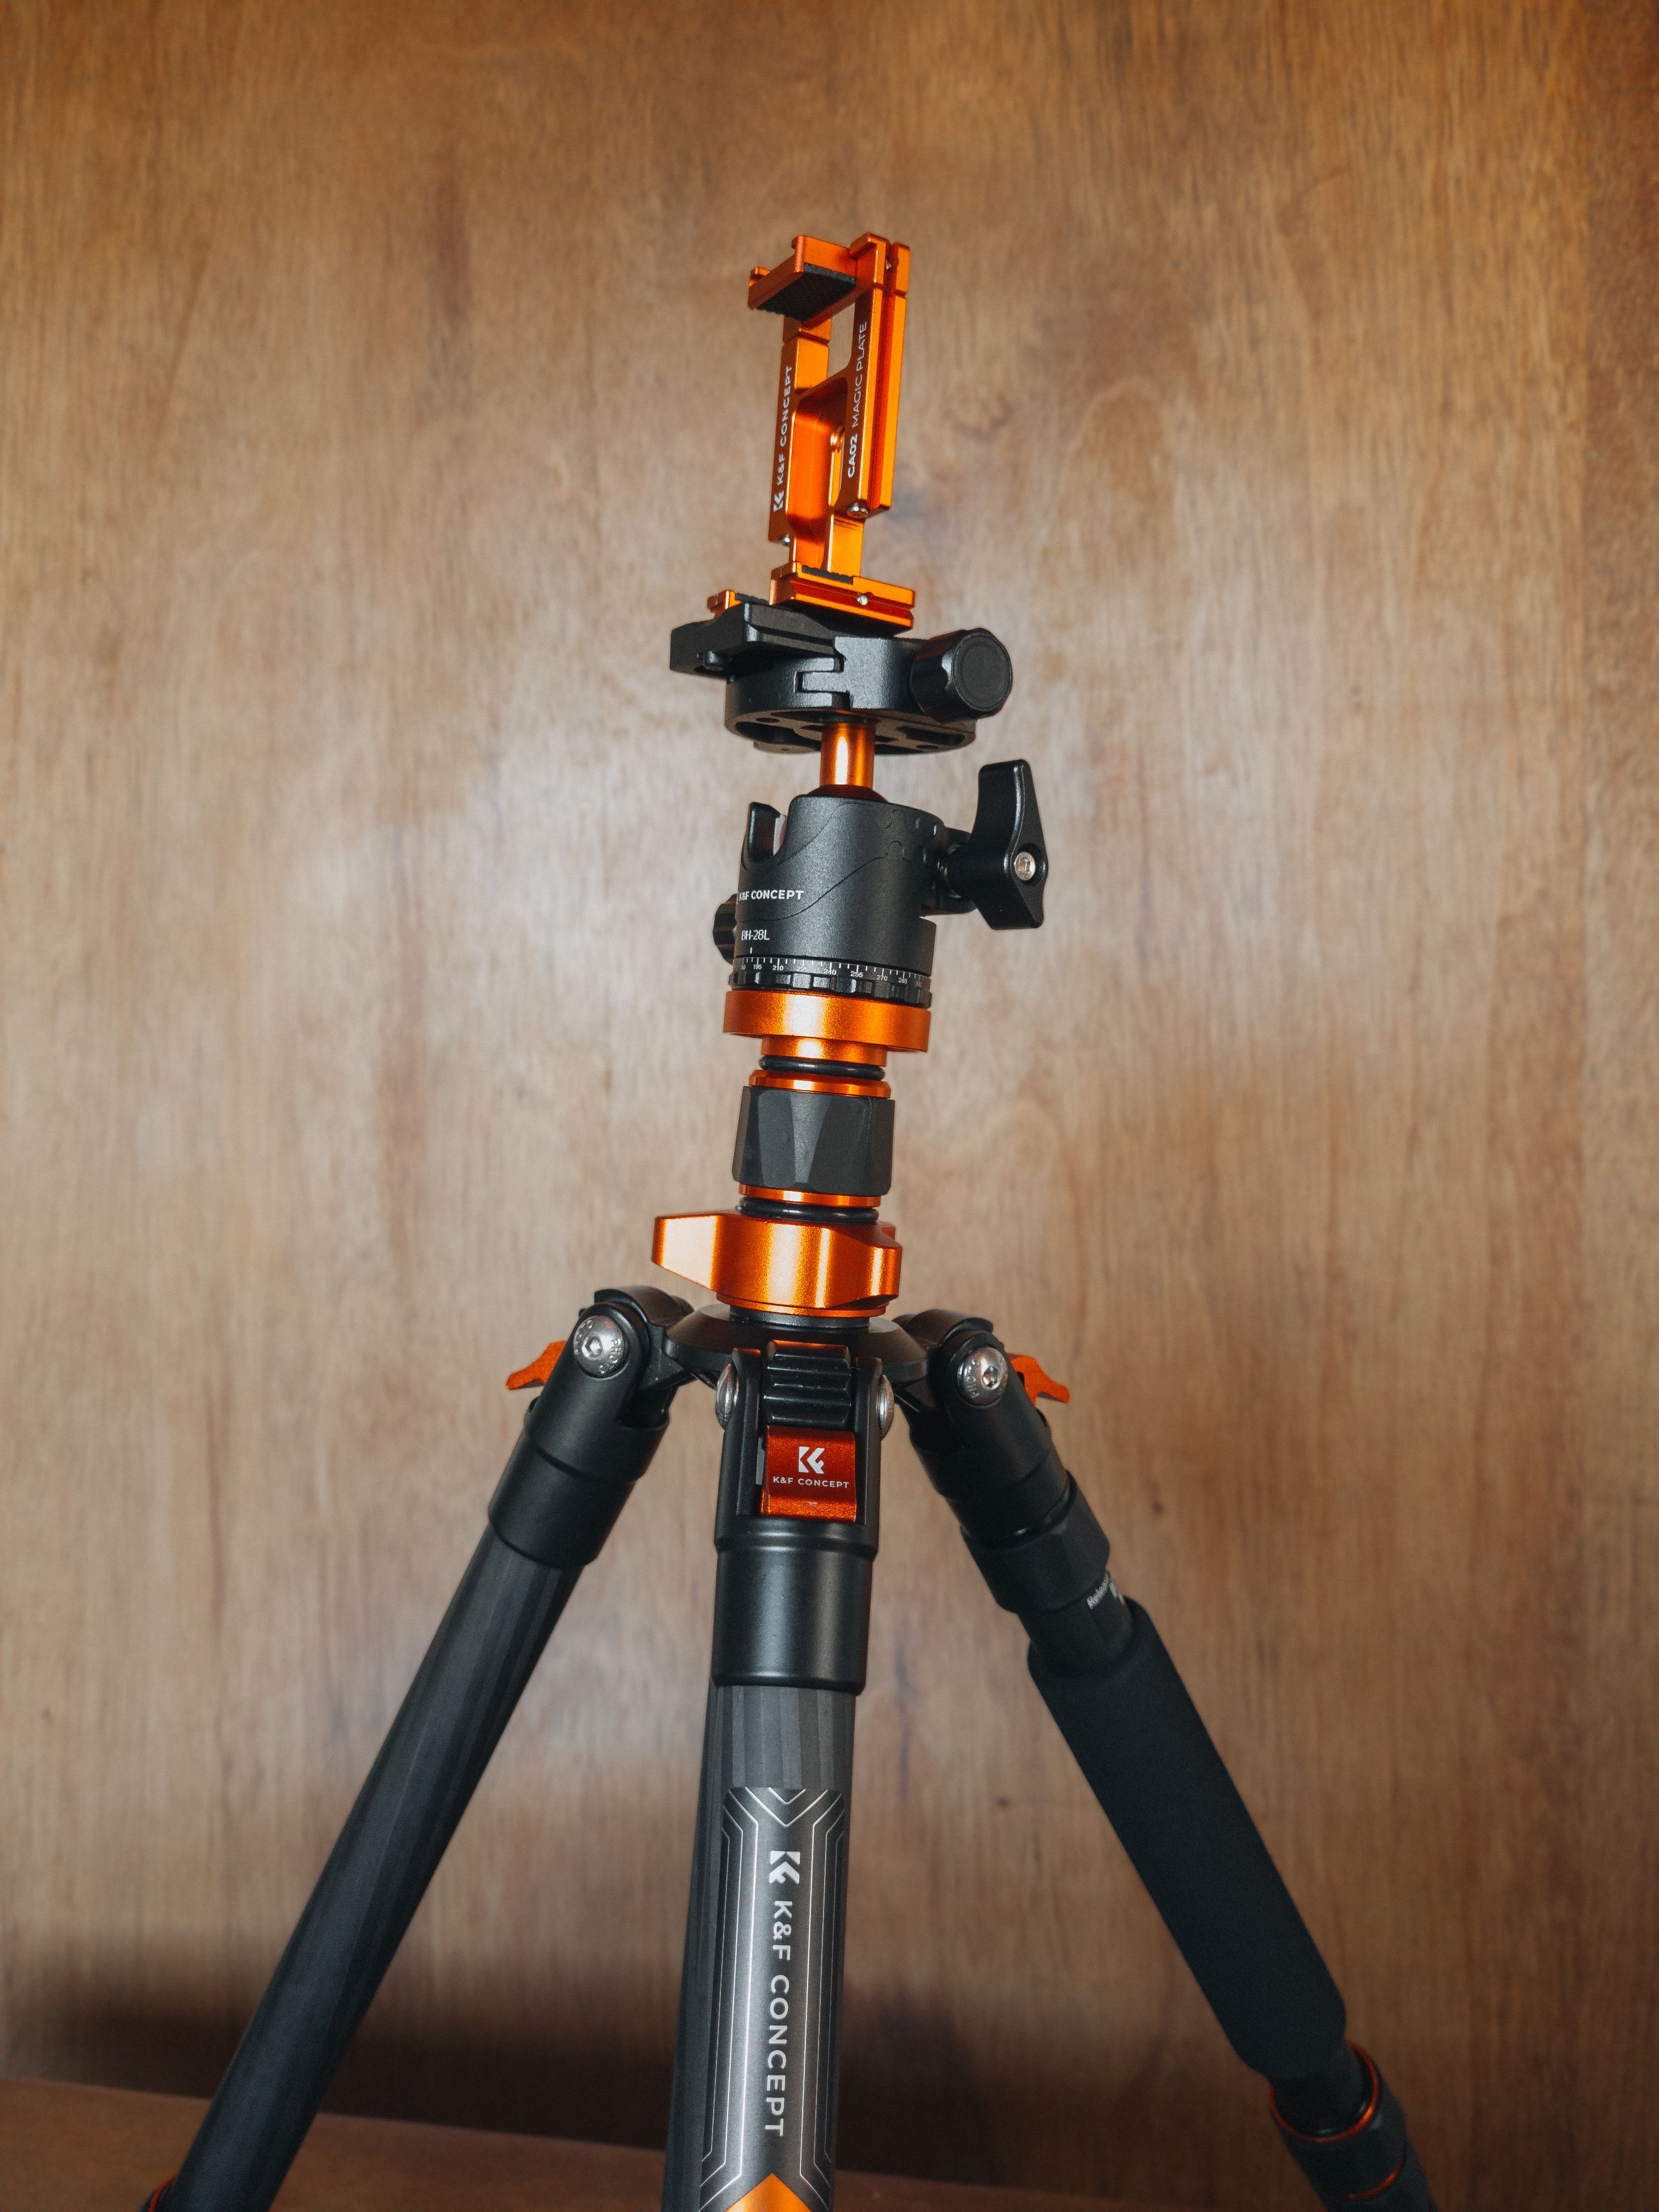
A hands-free strap keeps the camera close between stops. The Camstrap voyager lies flat, stays out of the way while you walk, and lets you raise the camera fast when a beetle or fly appears. That small speed gain pays off. If the body is buried in a bag, the insect is usually gone.
Build a light field kit
Trail macro works best when your kit stays out of the way. A lighter setup also makes it easier to crouch low, shift angle, and hold still near the ground.
Start with one camera body, one close-focusing lens, and a simple support plan. Add only what helps you make frames faster.
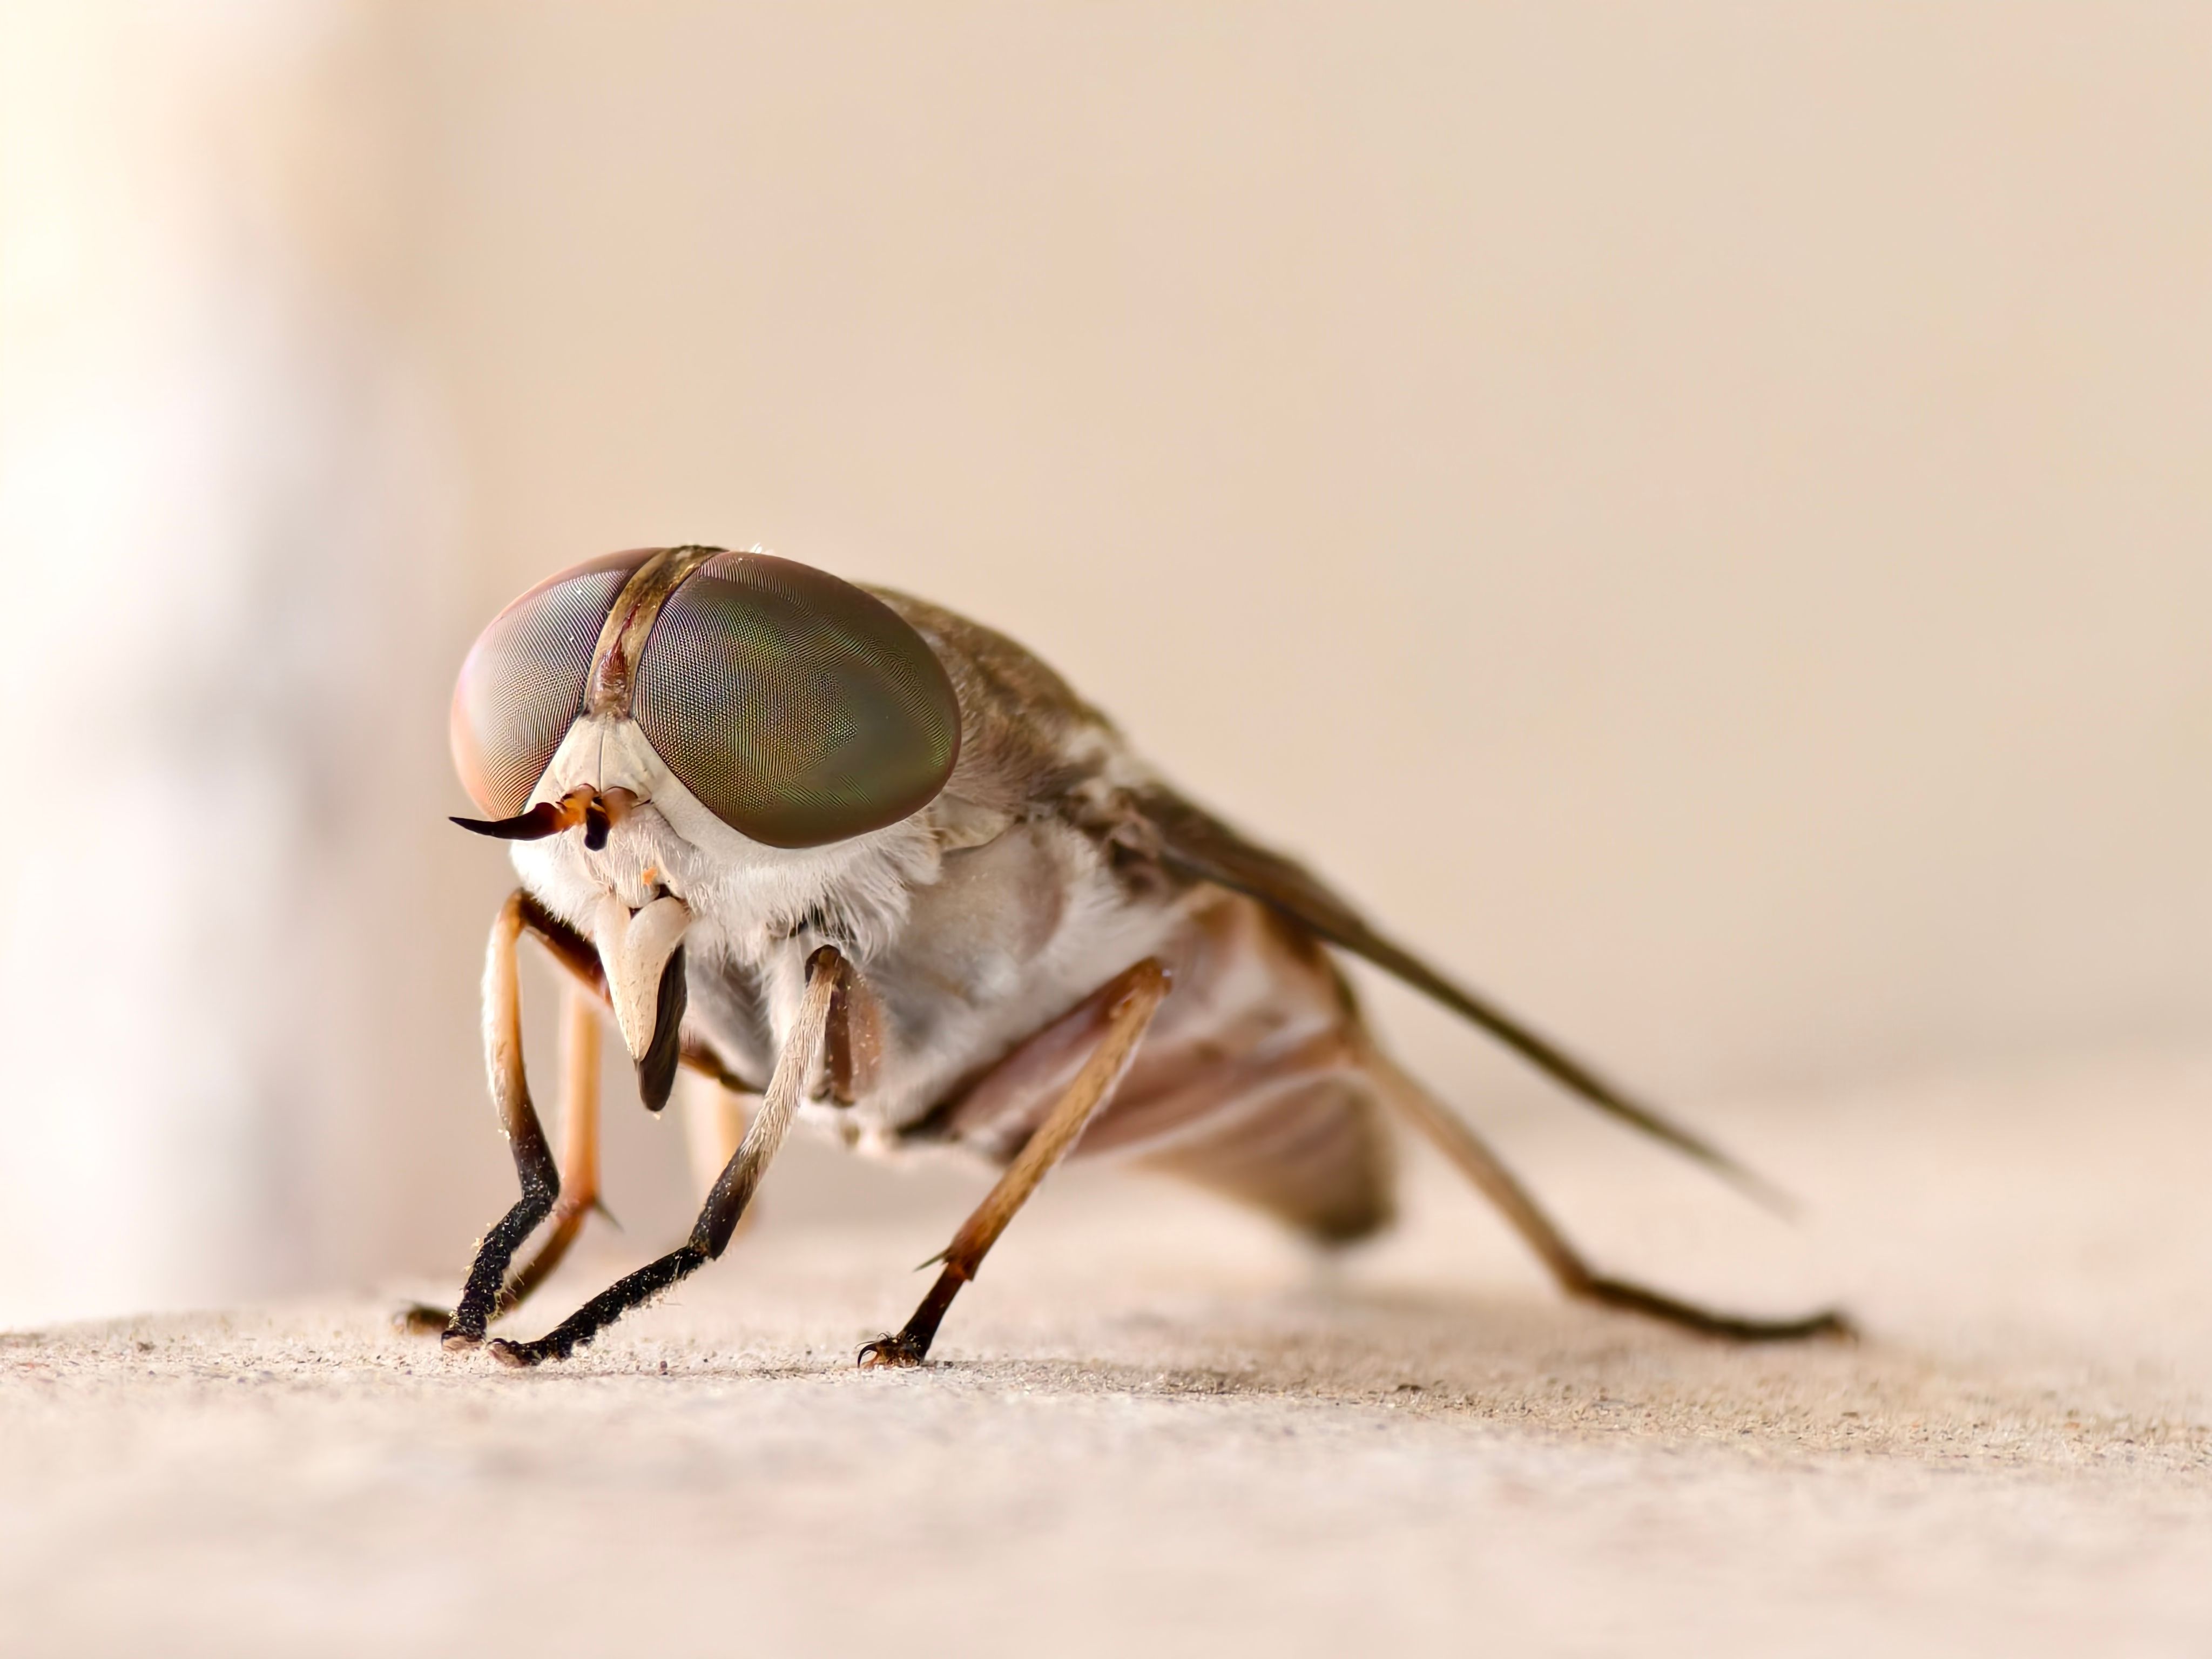
- A lens in the 50mm to 85mm range for working space and subject comfort
- A flash or small LED light if shade is common on your trail
- A spare battery, since EVF and LCD use drains power fast
- A card with strong write speed, such as UHS-II V60 or V90
- Clean cloths for dew, dust, and trail grit
Card speed changes how the camera keeps up. A UHS-I card can bottleneck write speed, while UHS-II gives more room for short bursts and faster review.
Lock onto the insect, not the whole scene
With moving insects, the first goal is simple: keep the eyes or head plane sharp. That single point matters more than the full body when the subject keeps shifting. Use continuous AF, also called AF-C or AI Servo, with subject detection when your camera has it. Back-button focus helps too, since it lets you hold focus and recompose without half-press delays.
Small setup changes that pay off fast
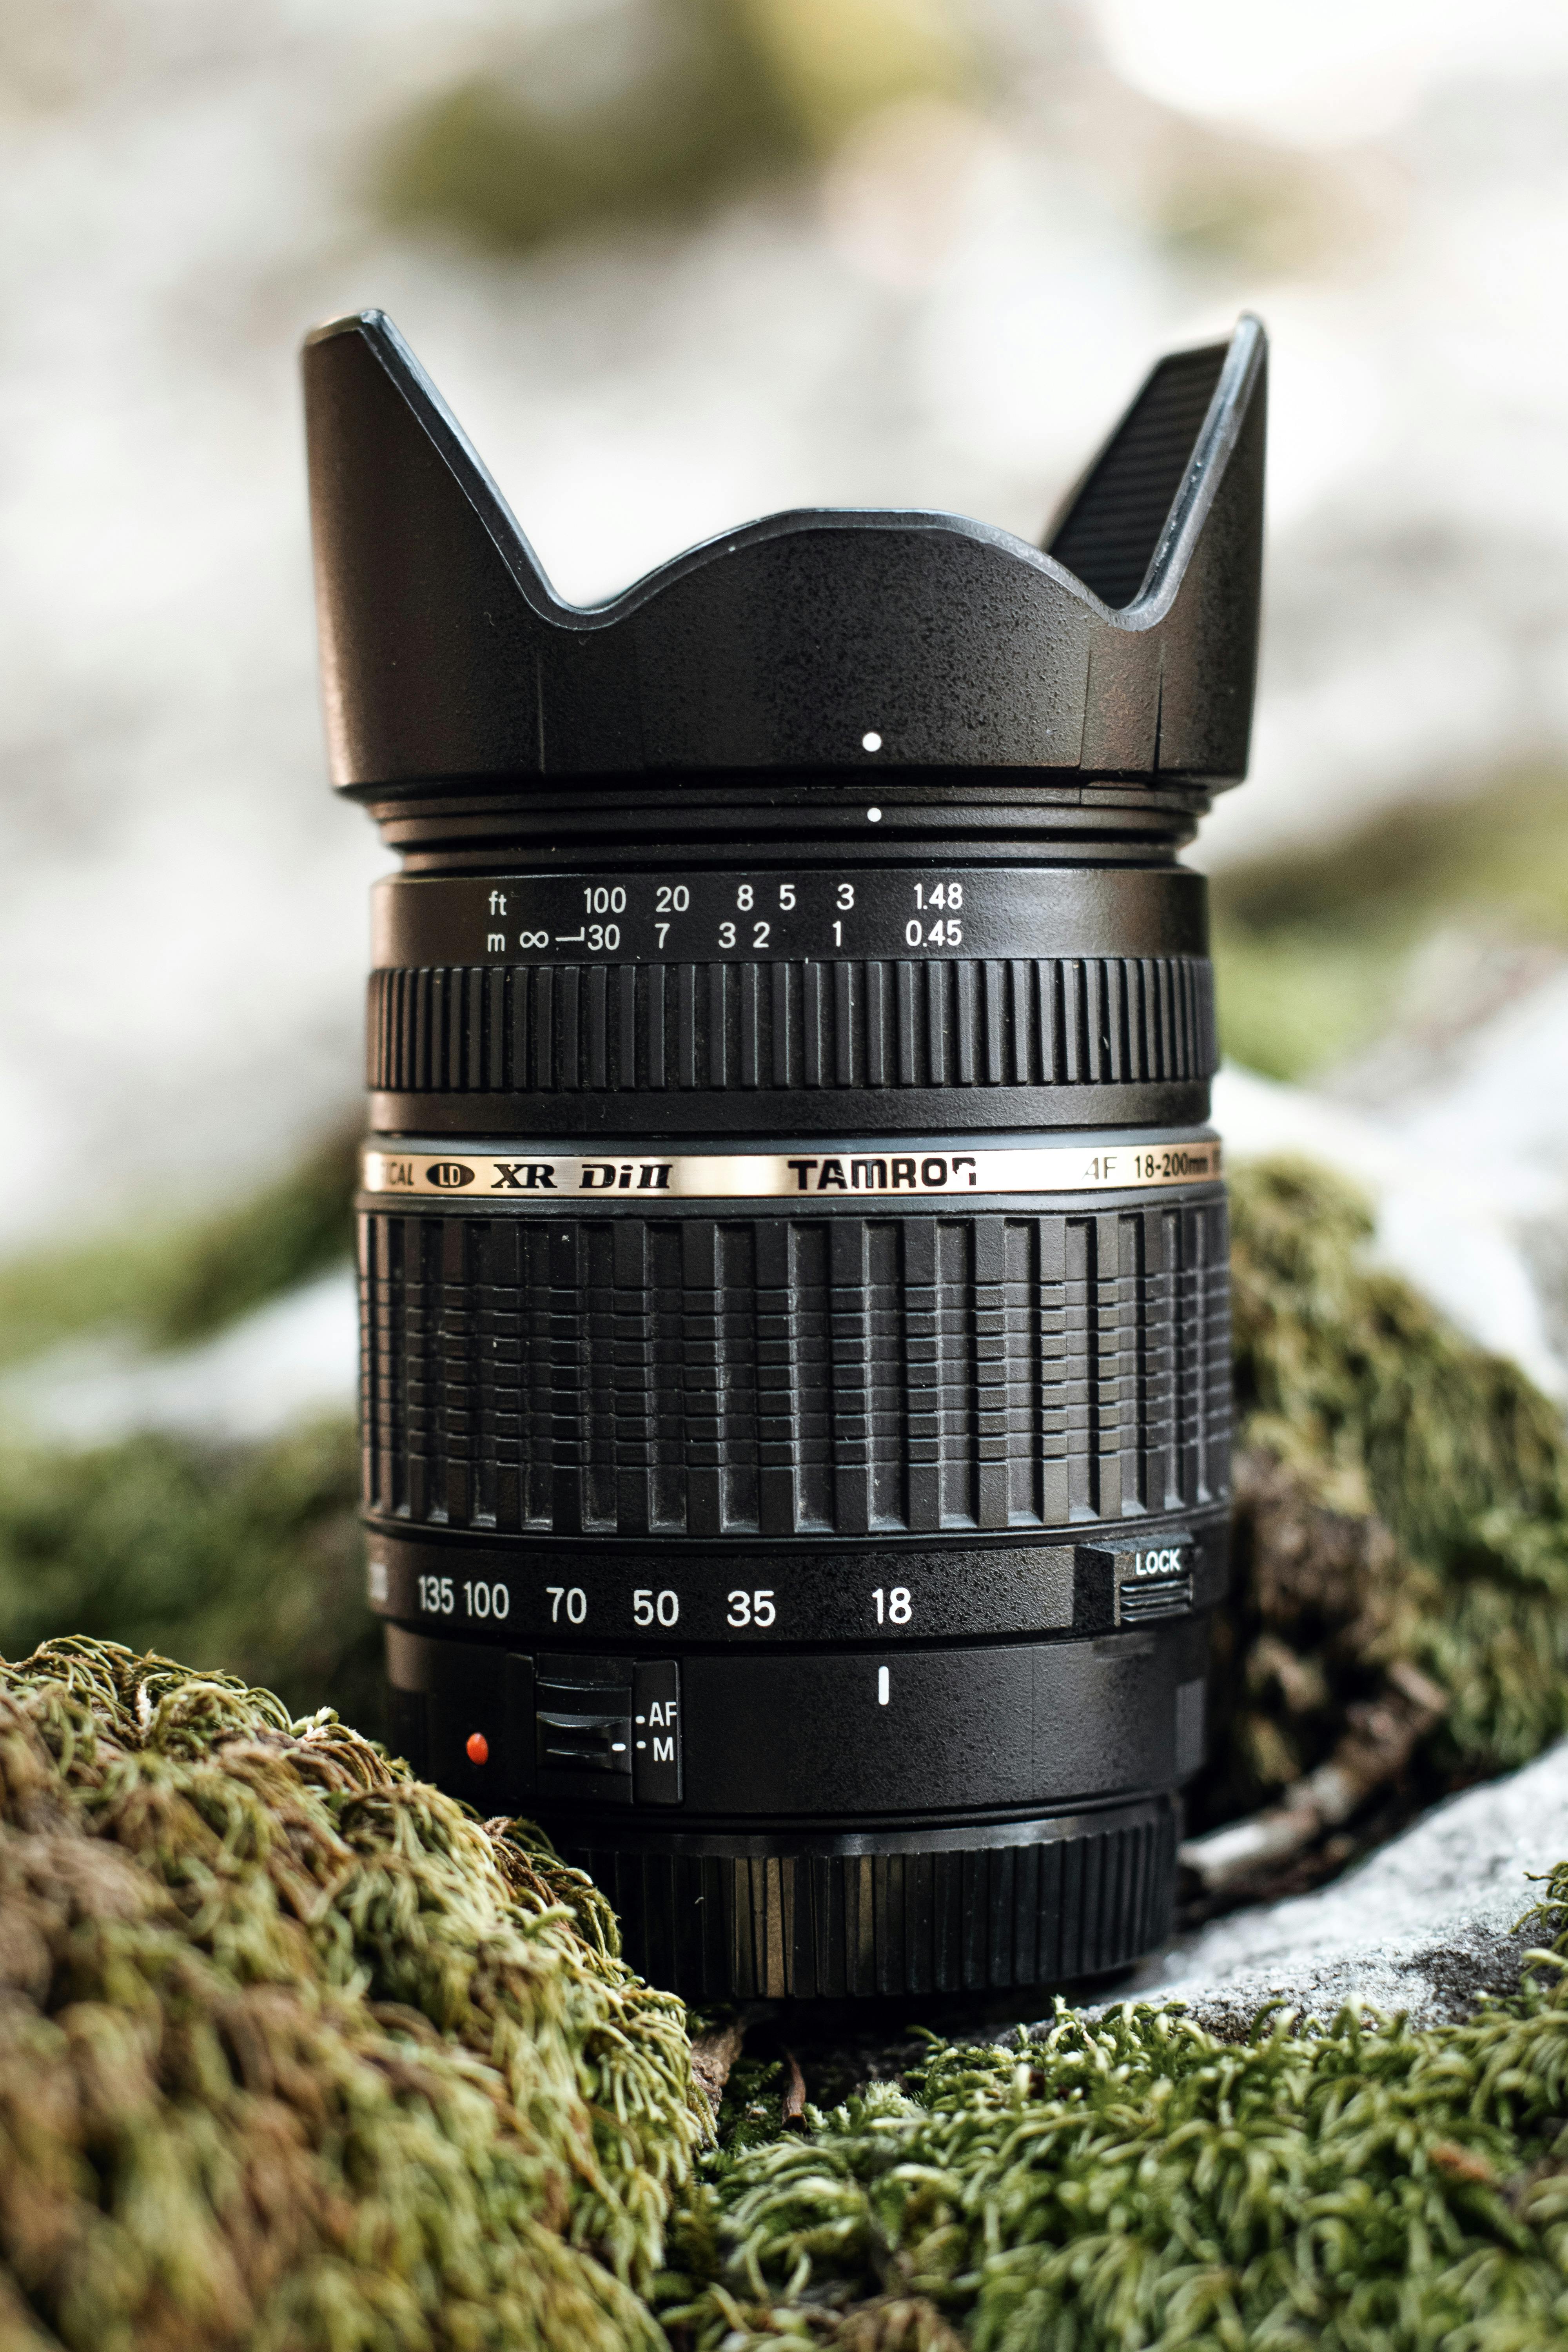
Keep the camera ready before you stop walking. Raise it only when the insect is in range, and keep both elbows tucked in. A low stance helps as well, since kneeling or squatting lowers your view and often gives a cleaner background.
- Stop a few feet before the insect.
- Raise the camera slowly and keep your shadow from crossing the subject.
- Pick the eye line or head as your focus target.
- Take a short burst only after focus locks.
- Check the frame once, then shoot again if the pose changes.
This short sequence limits delay. A long setup gives the insect too much time to leave.
Dial in the right camera settings
The best settings for macro photography depend on light, subject motion, and how much depth you need. For trail insects, I start near f/5.6 to f/8 and keep shutter speed at 1/500s or faster when the insect is active.

If the insect is still, I may slow down a bit. A shutter near 1/250s can work in calm air, but wing flicks and antenna moves still blur easily.
- Aperture: f/5.6 to f/8 for a useful depth of field
- Shutter speed: 1/500s or faster for live movement
- ISO: raise only as needed, often 400 to 1600 outdoors
- Drive mode: burst mode for brief action, not long spray and pray
- Focus mode: AF-C with subject detection, then back-button focus
The tradeoff is depth versus speed. Narrower apertures add depth, but they also force higher ISO or lower shutter speed. In shade, that choice often matters more than lens sharpness.
Use burst timing instead of constant firing
Short bursts help when an insect turns, opens wings, or shifts onto a leaf edge. On many mid-tier bodies, about 20 to 40 RAW frames can come from the buffer before the camera slows, while JPEG can run longer. Pre-capture or pre-burst can help if your camera offers it. That feature records frames from just before full press, which is useful when the insect jumps or flies at the edge of the frame.
What mistakes ruin macro shots?
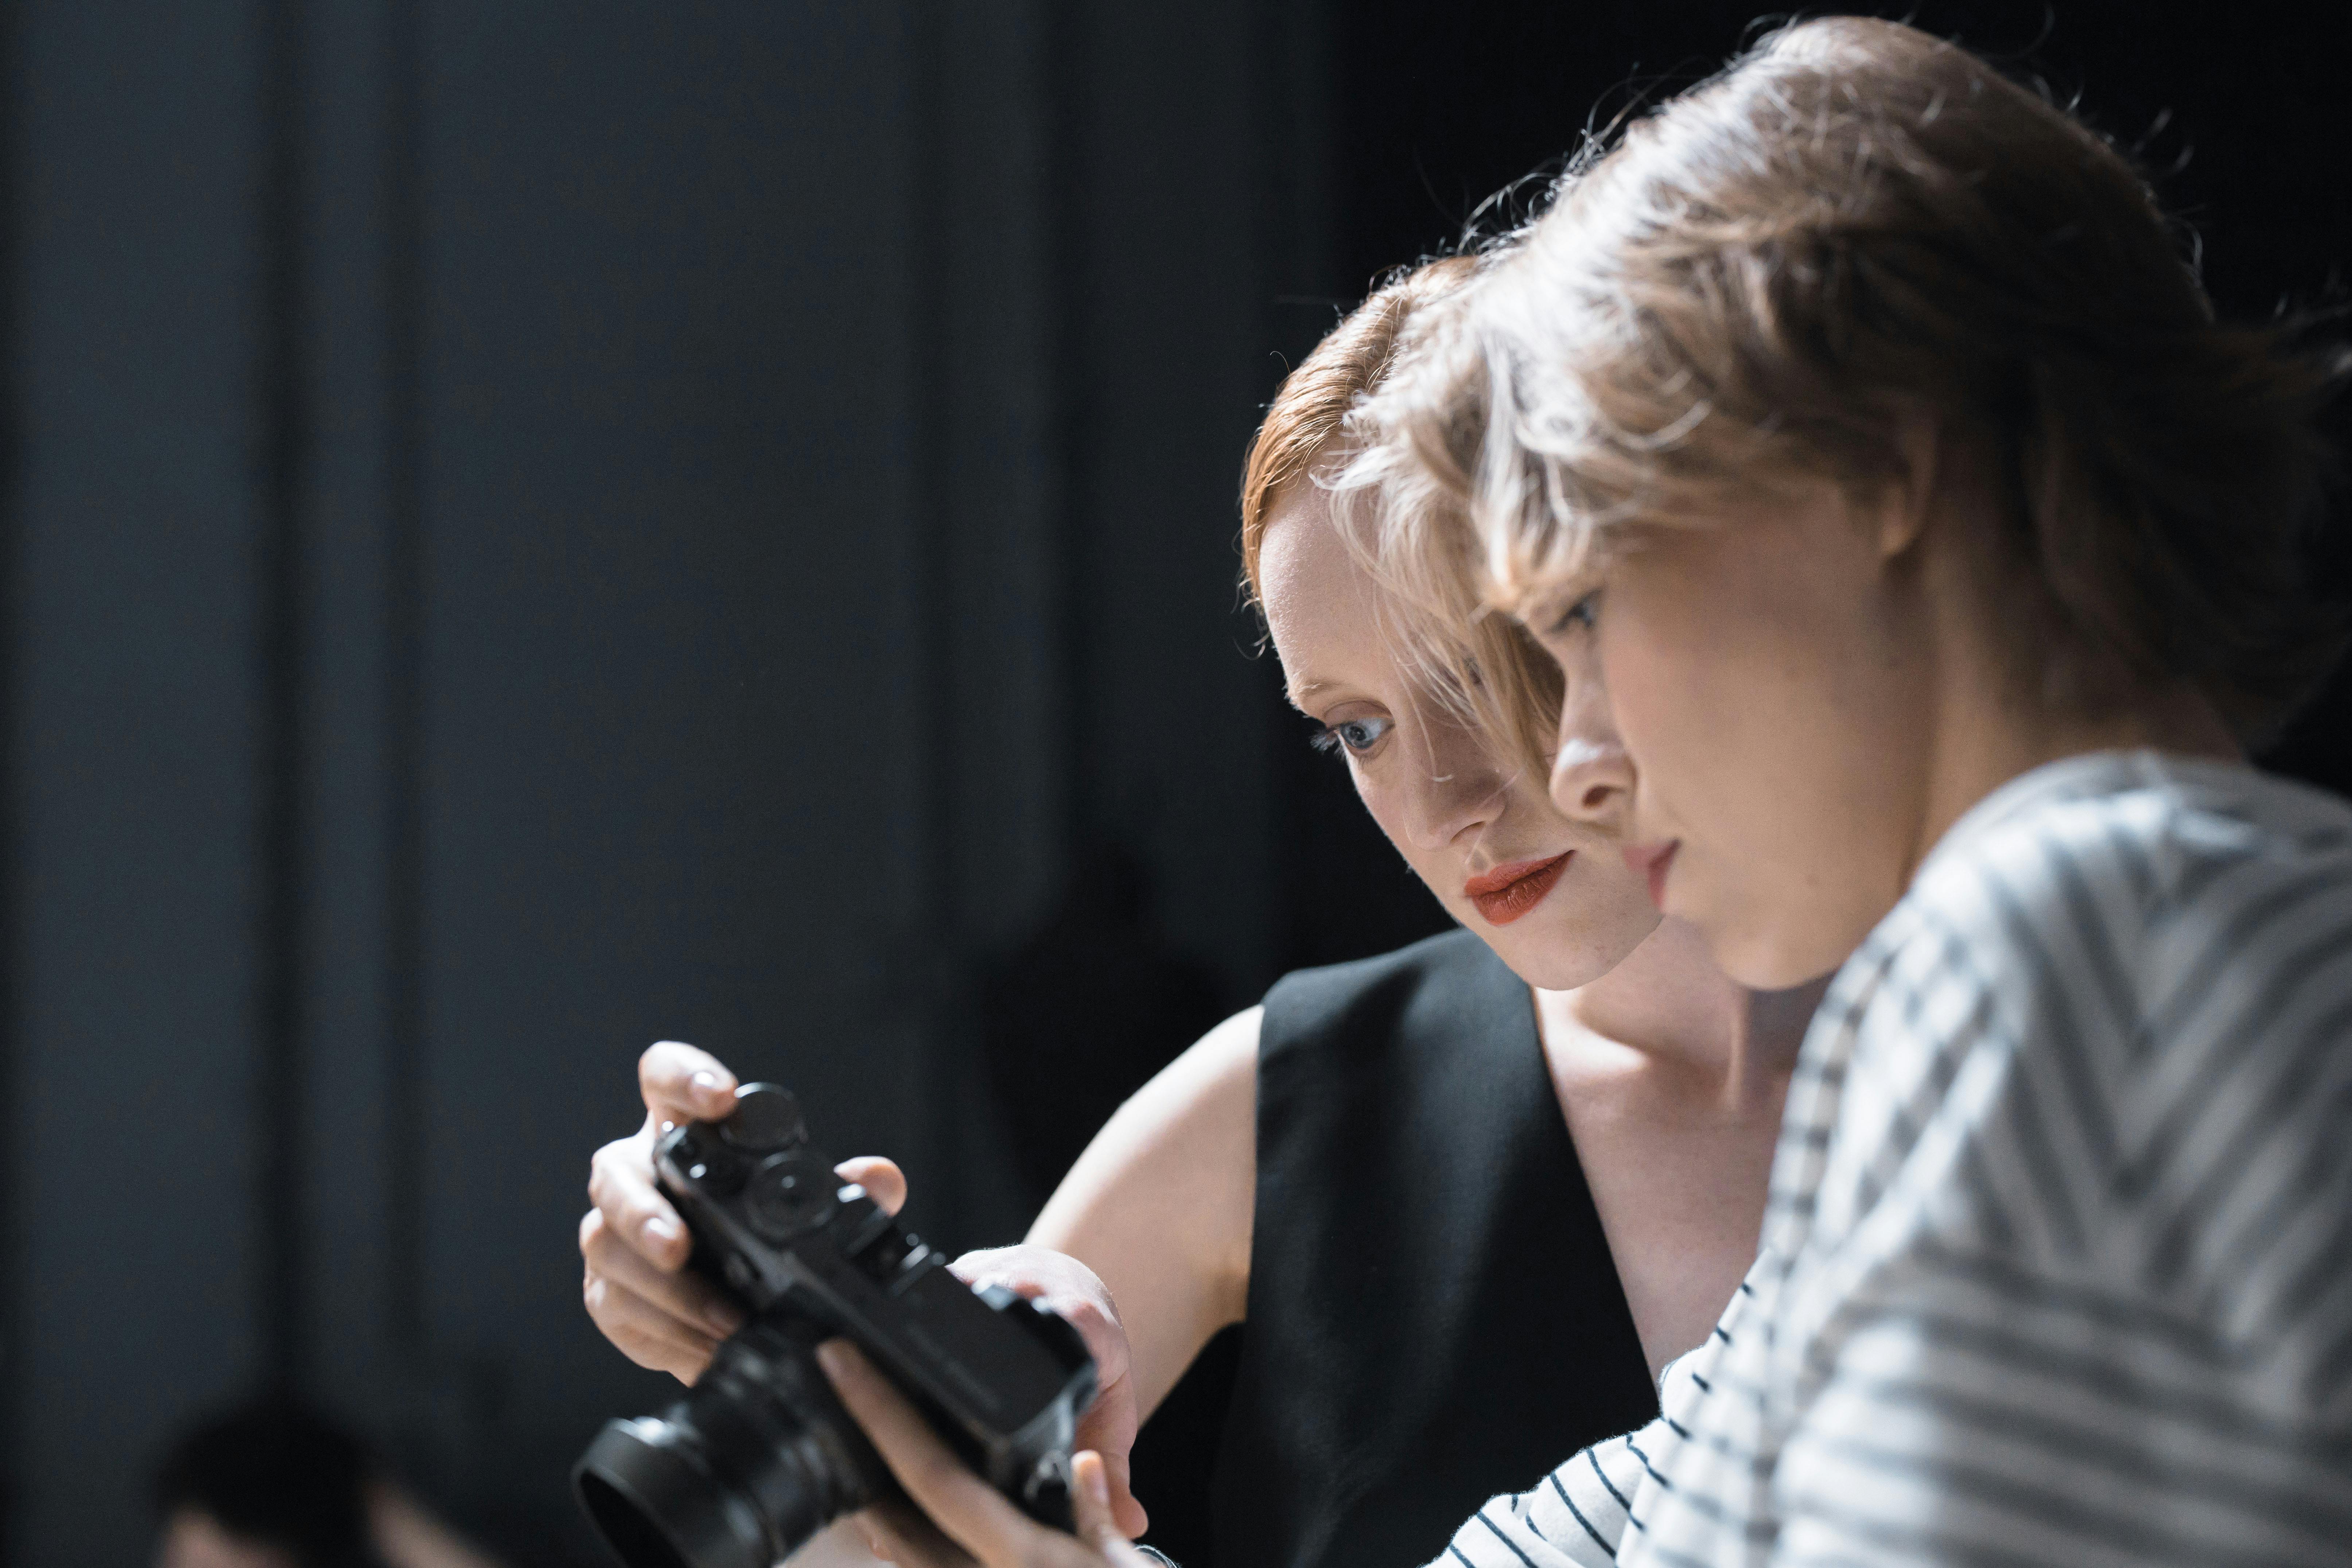
Slow focus, too much camera movement, and the wrong distance for the lens are common macro photography mistakes. Another big miss is using an aperture that is too wide, which leaves half the insect soft.
Overlooking the background is another frequent problem. A bright stem or pale rock behind the insect can pull the eye away from the subject right away.
- Focusing on the body instead of the eyes or head
- Using shutter speed that is too slow for small motion
- Standing too far away and losing detail
- Getting too close and scaring the insect off
- Ignoring wind, which moves flowers and stems
One practical fix is to shoot a little wider than you think you need. That leaves room for crop and gives you a better chance of keeping the subject in frame.

What is the "20/60/20 rule" in photography?
The "20/60/20 rule" in photography splits attention during a shoot: 20% on setup, 60% on the main frame, and 20% on review and adjustment. It works well on trails because the subject may not stay still long enough for a long checklist. For insect work, the middle part matters most. Spend that time watching the insect’s movement, angle, and light, then shoot when the pose peaks.
This rule is a time guide, not a strict law. It keeps you from spending too long on one step.
What are some tips for getting into macro photography?
Starting with common insects and simple light works best. Bees, beetles, and butterflies in calm morning hours often move less before the day heats up.
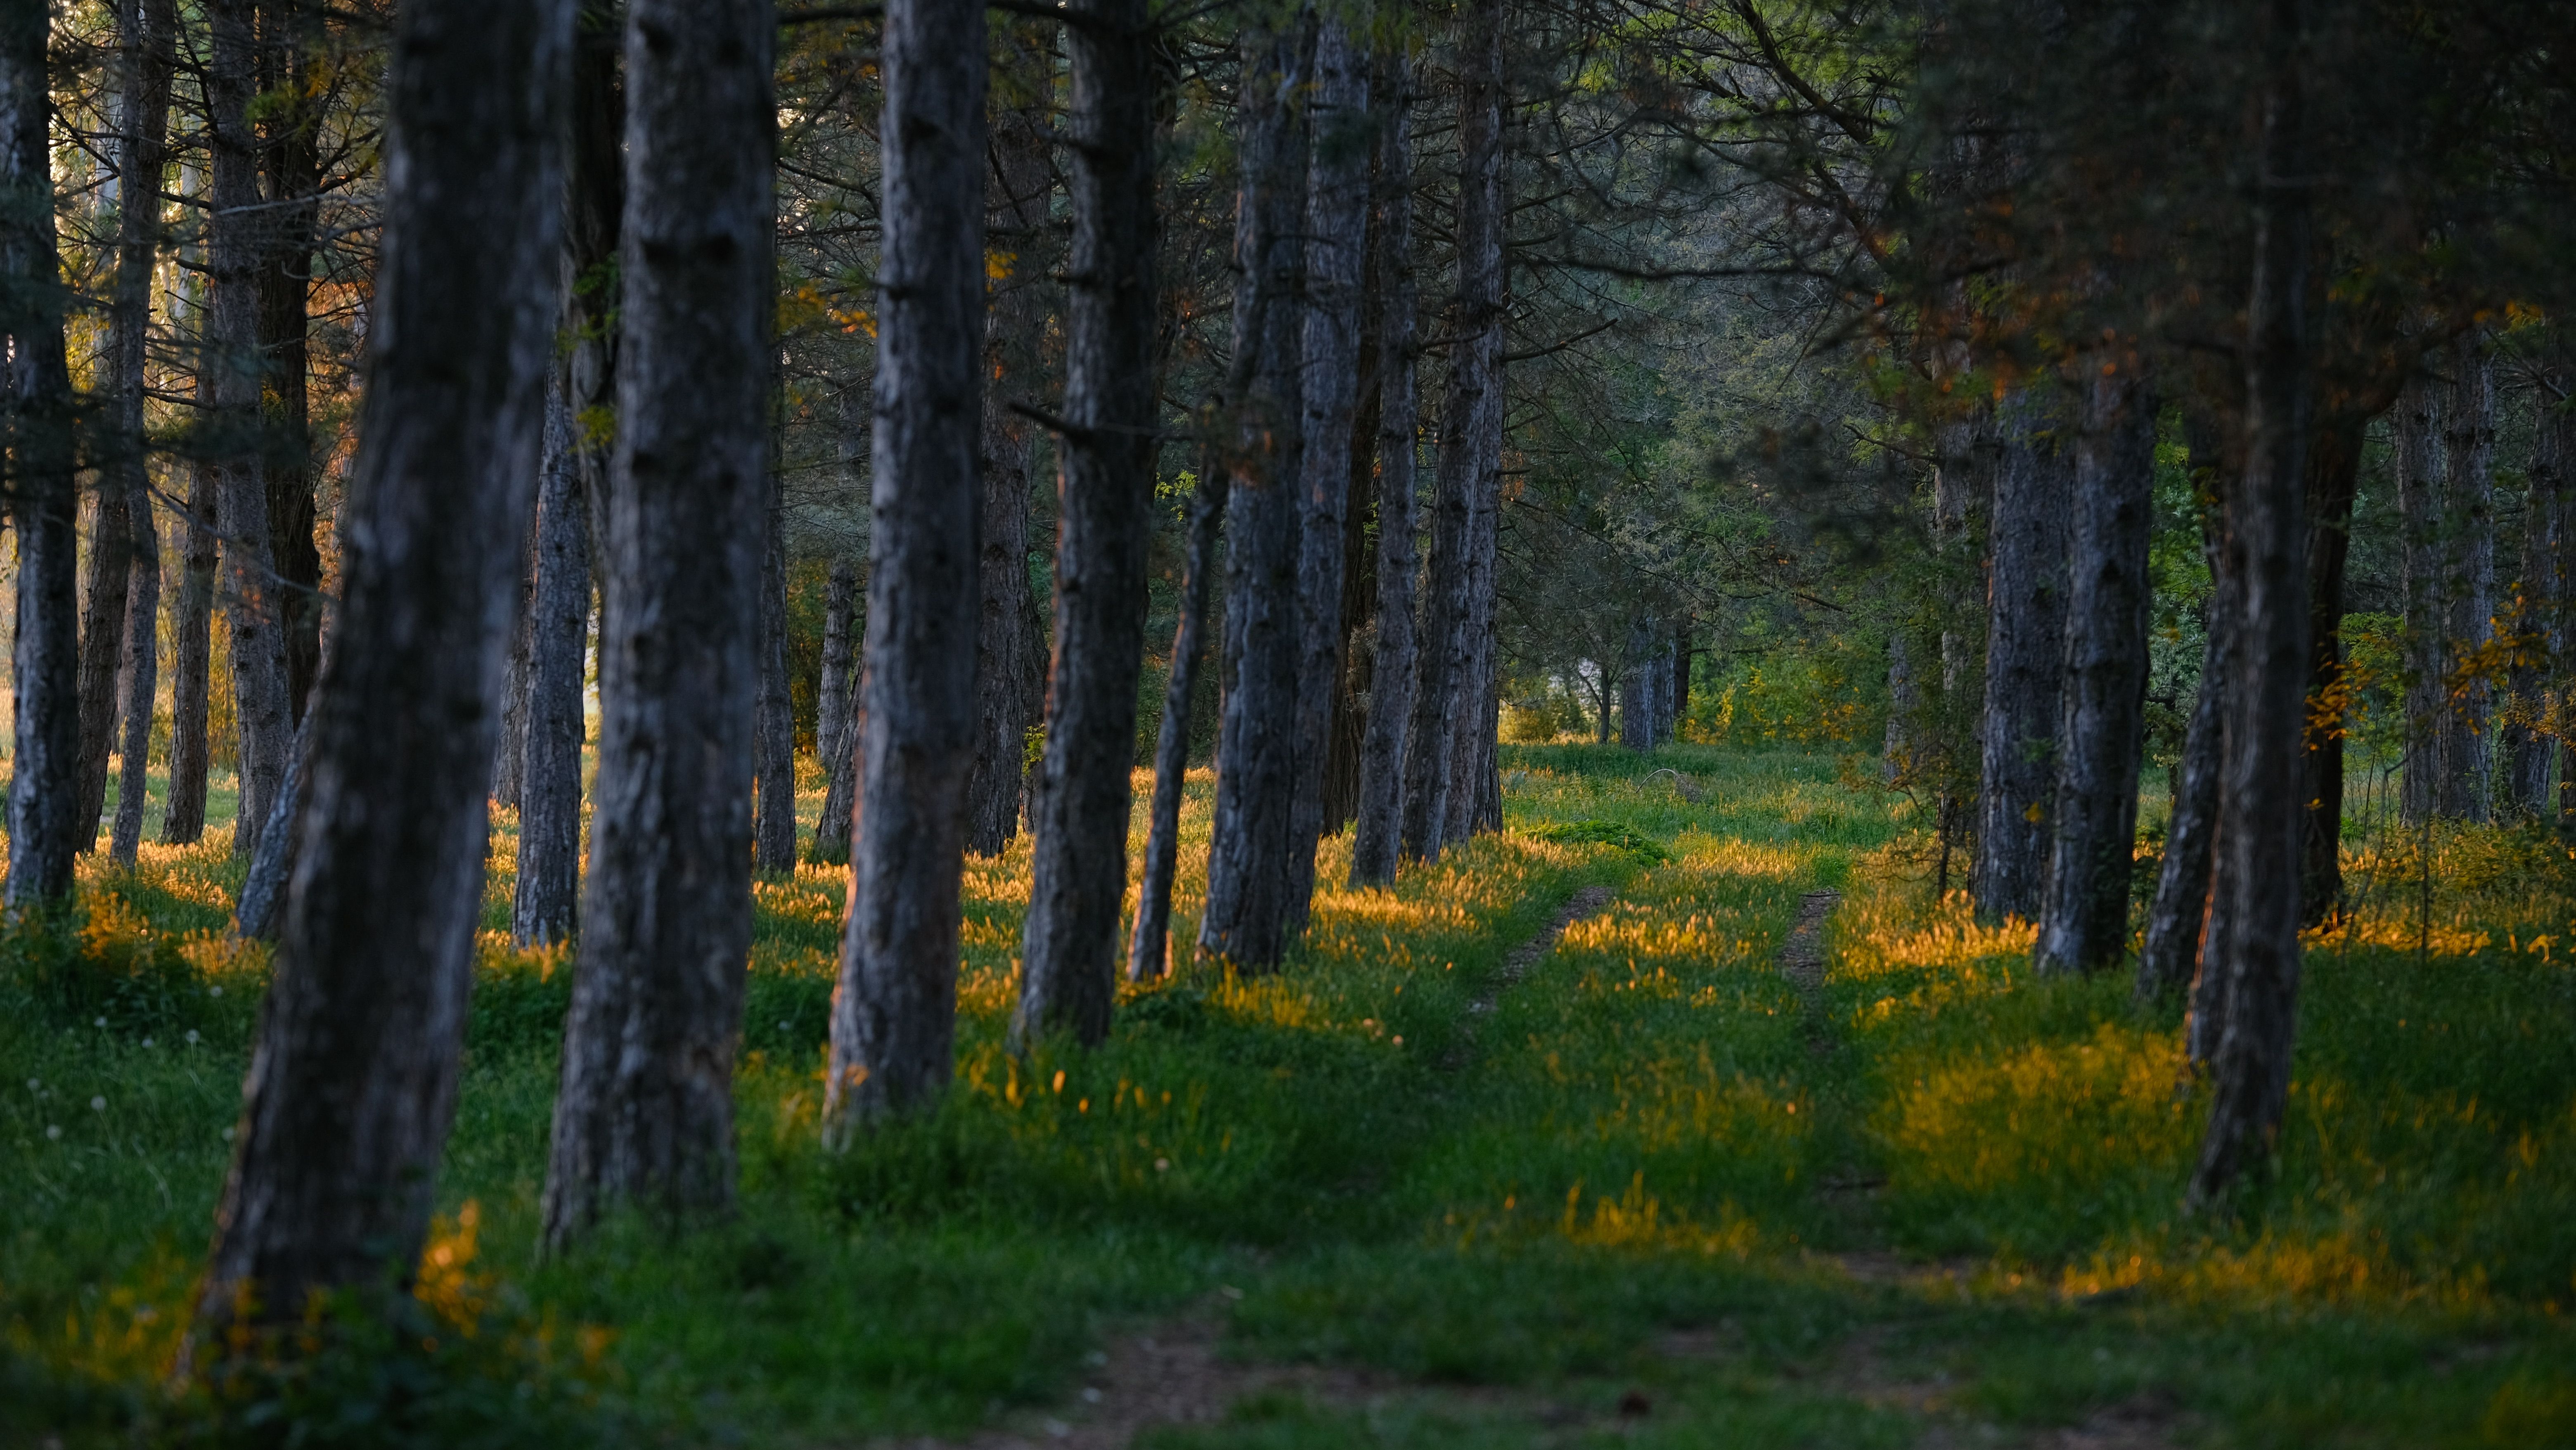
Practice at home before you hit the trail. A flower, leaf, or coin helps you learn focus distance, hand hold, and depth without pressure.
A simple path for new close-up shooters
Keep the first outings short. A 30-minute walk is enough to learn how your camera reacts when you kneel, lean, and refocus fast.
- Pick one lens and one trail section.
- Set AF-C, a mid aperture, and a fast shutter.
- Watch insects before lifting the camera.
- Shoot one burst, then adjust position.
- Review only the best frame, then move on.
Track what works in each type of light. Shade, sun, and backlight each need small changes in exposure and focus timing.
Light, motion, and trail habits that improve the frame
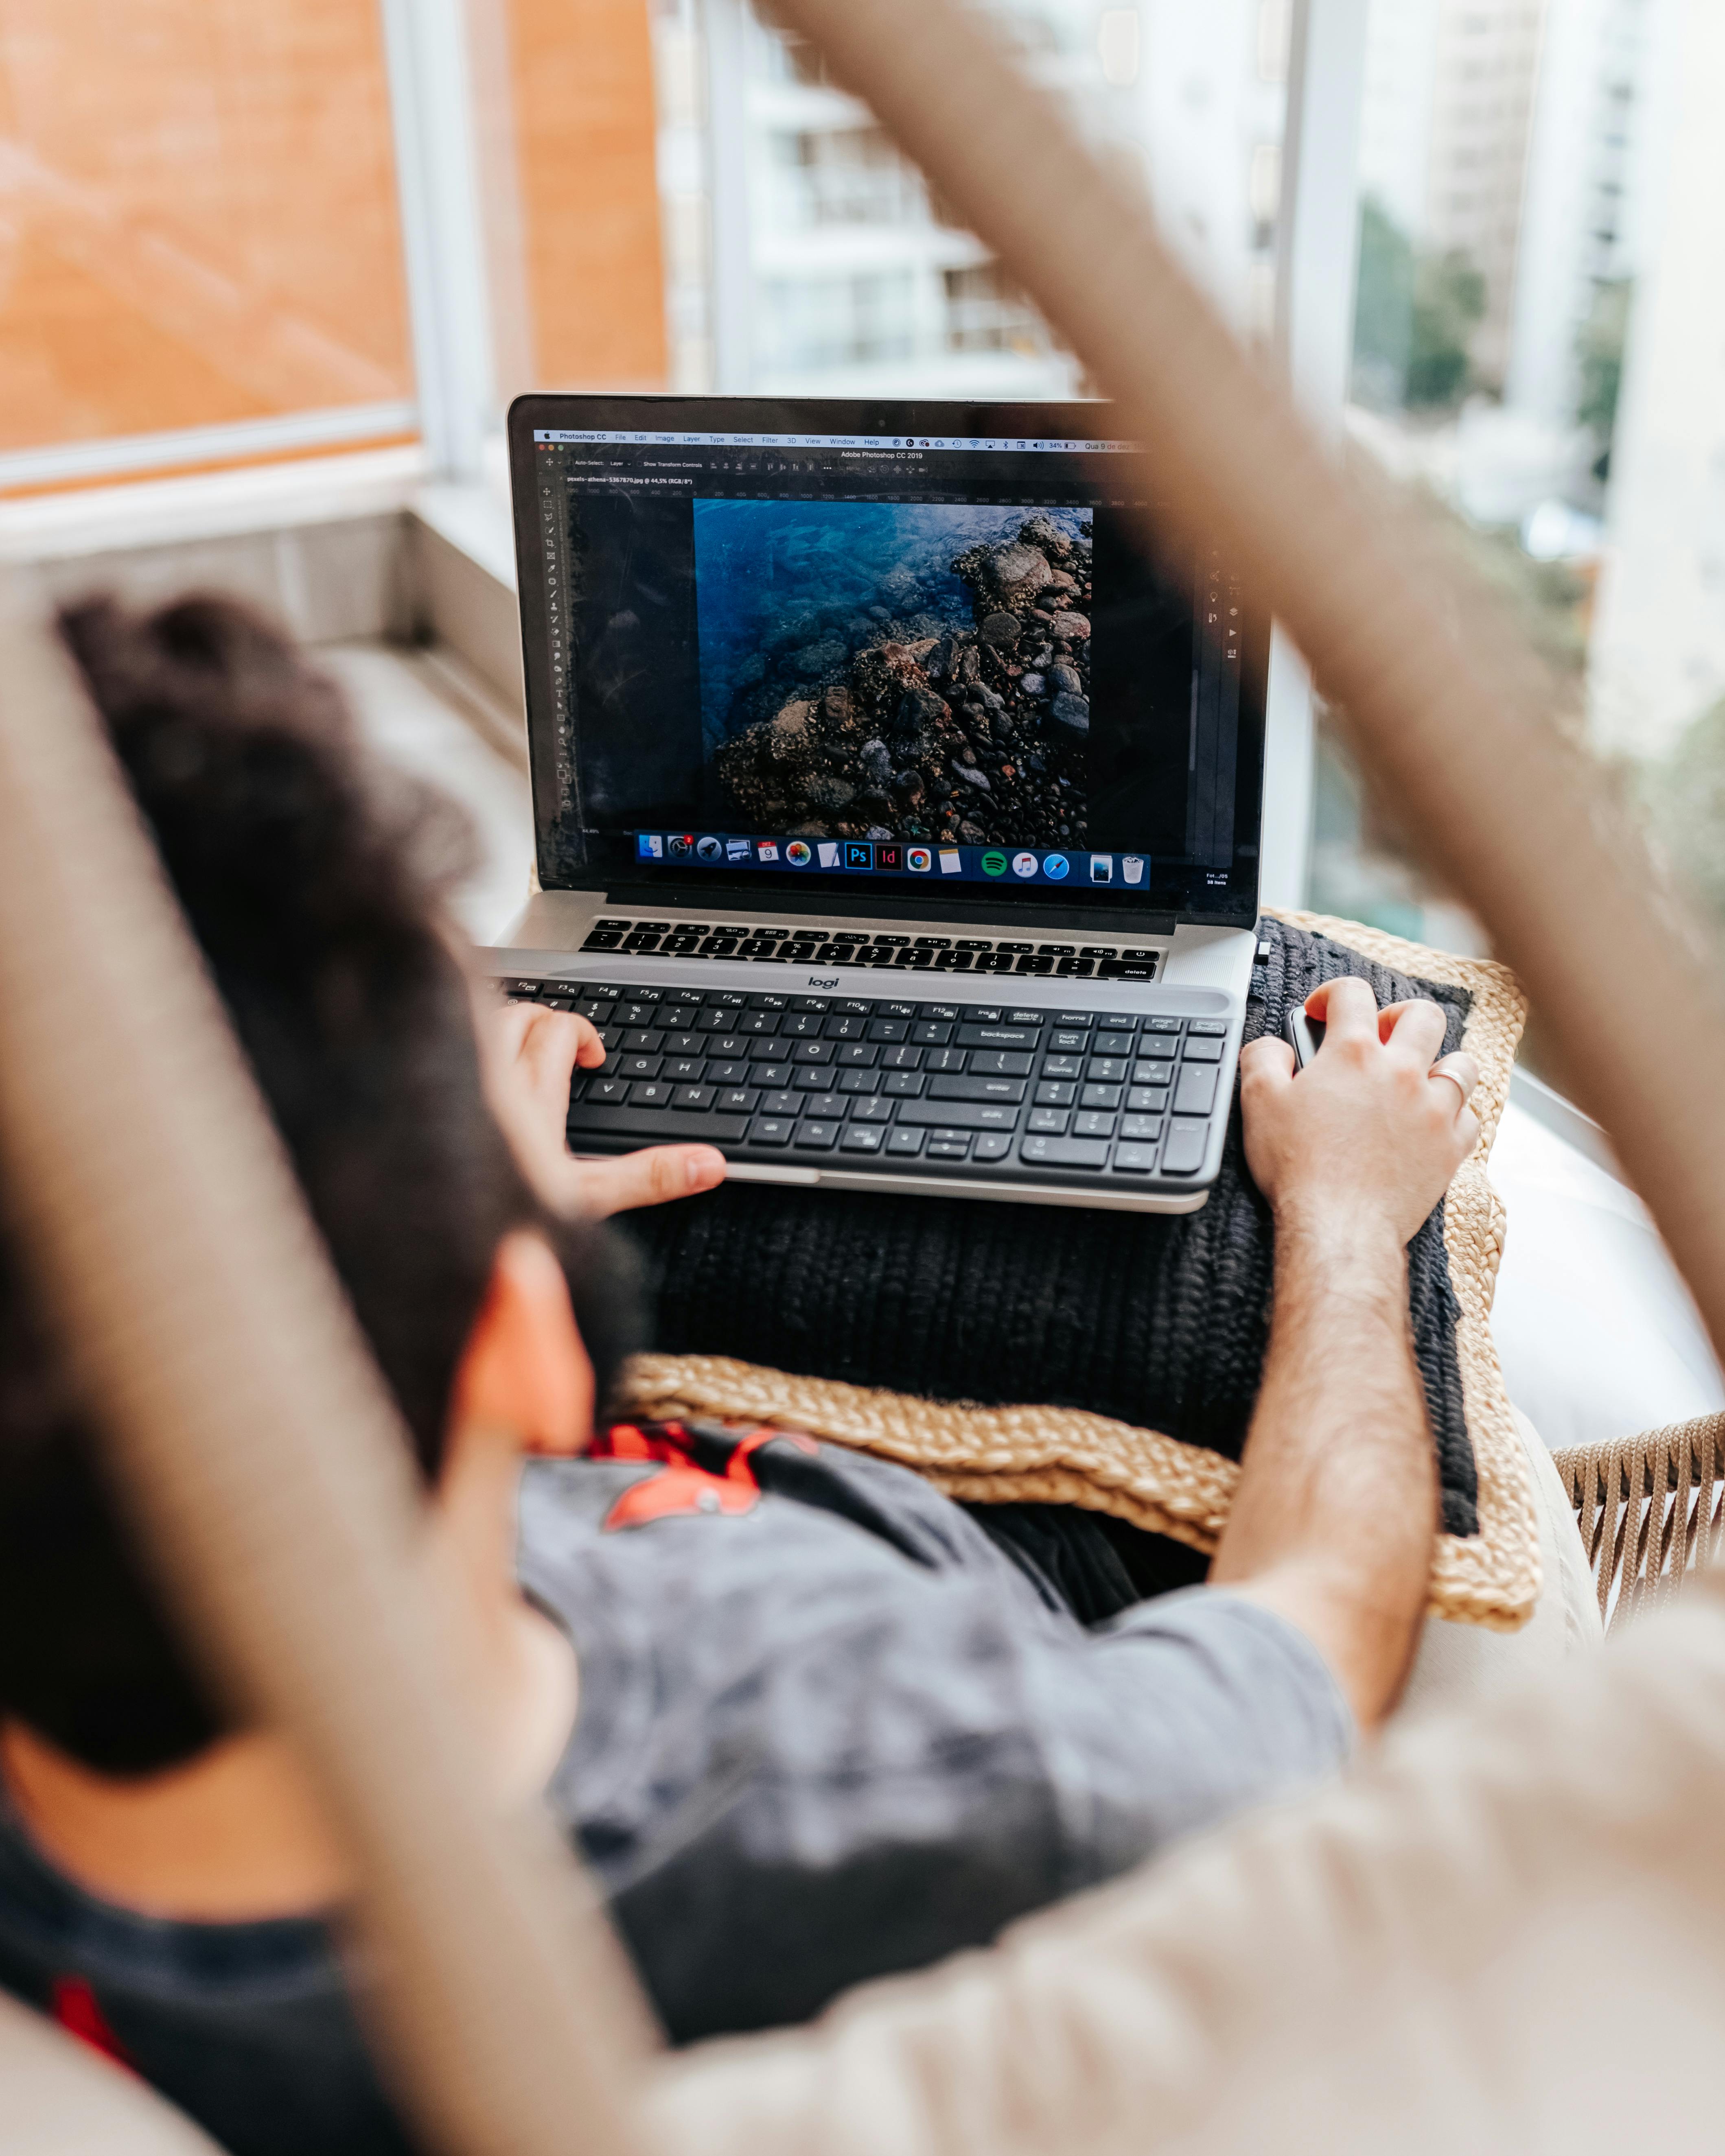
Good insect close-ups often come from timing more than from big gear. Early morning light is softer, and many insects move more slowly before the trail gets busy. Wind is the quiet enemy. Even if the insect stays put, a moving leaf can pull the focus plane away from the subject.
Check the background before you press the shutter
A clean background makes the insect stand out fast. Look for dark soil, shaded leaves, or empty space behind the subject before you shoot.
Then wait for a small turn of the head or body. That tiny shift can show the eye, antennae, and wing edge in one frame.
Bring the frame home with a simple edit
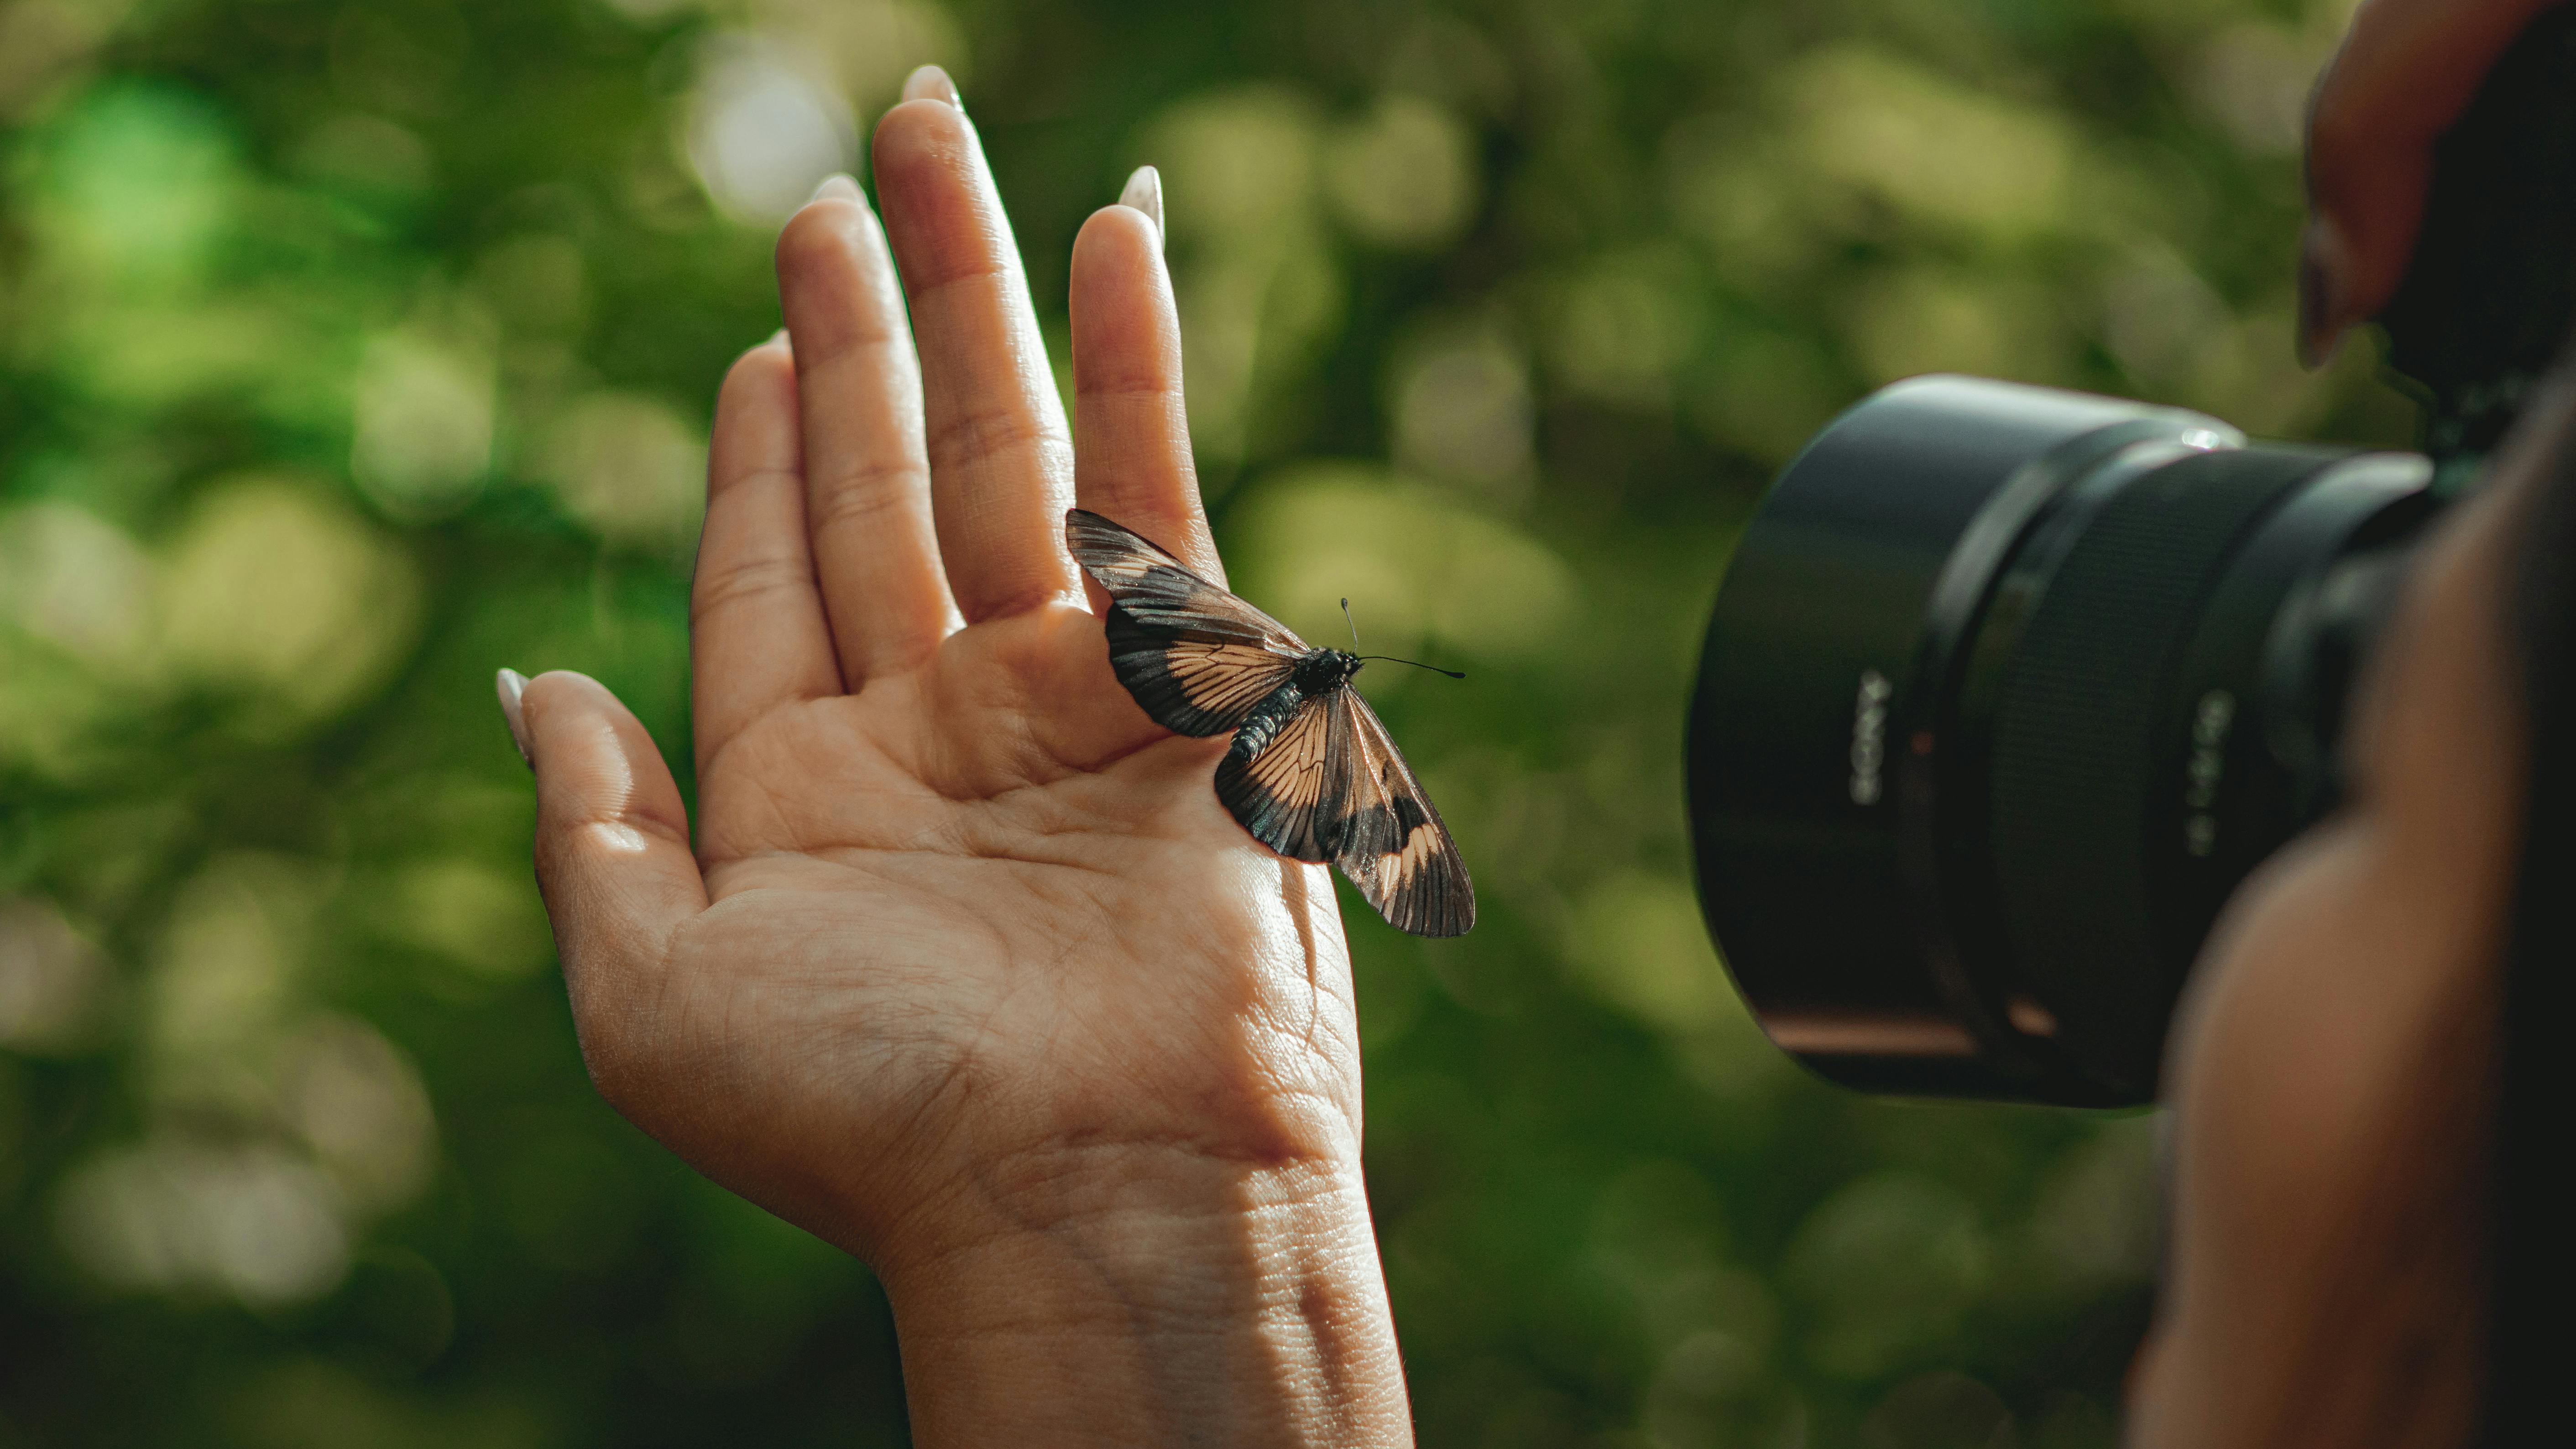
Editing should sharpen the subject, fix color, and remove small distractions. Start with a light crop, then adjust exposure and white balance before sharpening. In Lightroom or Photo Mechanic, use pick and reject flags to sort quickly. That keeps the best trail frames from getting lost in a long card dump.
Finish by checking the eye, not the whole image first. If the eye is crisp, the photo usually works.
Trail insect work gets easier each time you repeat the same calm steps. Keep the camera ready, move slowly, stay close to the right distance, and your next stop may end with a sharp frame of wings, eyes, and fine detail.
Frequently Asked Questions

What are common macro photography mistakes?
Common macro photography mistakes include putting the camera away in a bag, moving too slowly, and letting your shadow cross the insect. Another frequent error is focusing on the whole scene instead of the insect’s eyes or head plane, which is the sharpest point that matters most.
What is the "20/60/20 rule" in photography?
The 20/60/20 rule in photography is a composition guideline that divides attention into three parts: 20% for the foreground, 60% for the main subject, and 20% for the background. It is not mentioned in the trail insect macro guidance, which focuses instead on speed, focus, and subject handling.
What are some tips for getting into macro photography?

Good tips for getting into macro photography are to keep a camera ready on a hands-free strap, use a lightweight kit, and start with one camera body and one close-focusing lens. A 50mm to 85mm lens, a spare battery, a fast memory card, and simple support gear make close-up work easier and quicker.
What are the best settings for macro photography?
For trail insects, a good macro starting point is around f/5.6 to f/8, with continuous autofocus and subject detection enabled when available. Use a short burst after focus locks, and adjust exposure support with a flash or small LED if the scene is in shade.
Sources



