
Travel photographers who want a cinematic look must learn simple color grading steps. This guide shows clear, modern methods to get a cinematic mood in your shots. You will learn tools, tips, and workflows that help images feel like a film.
We cover camera setup, color theory, LUTs, masks, and final touches. We also show AI tools and apps that speed work in 2026. So you can edit faster and keep your travel flow.

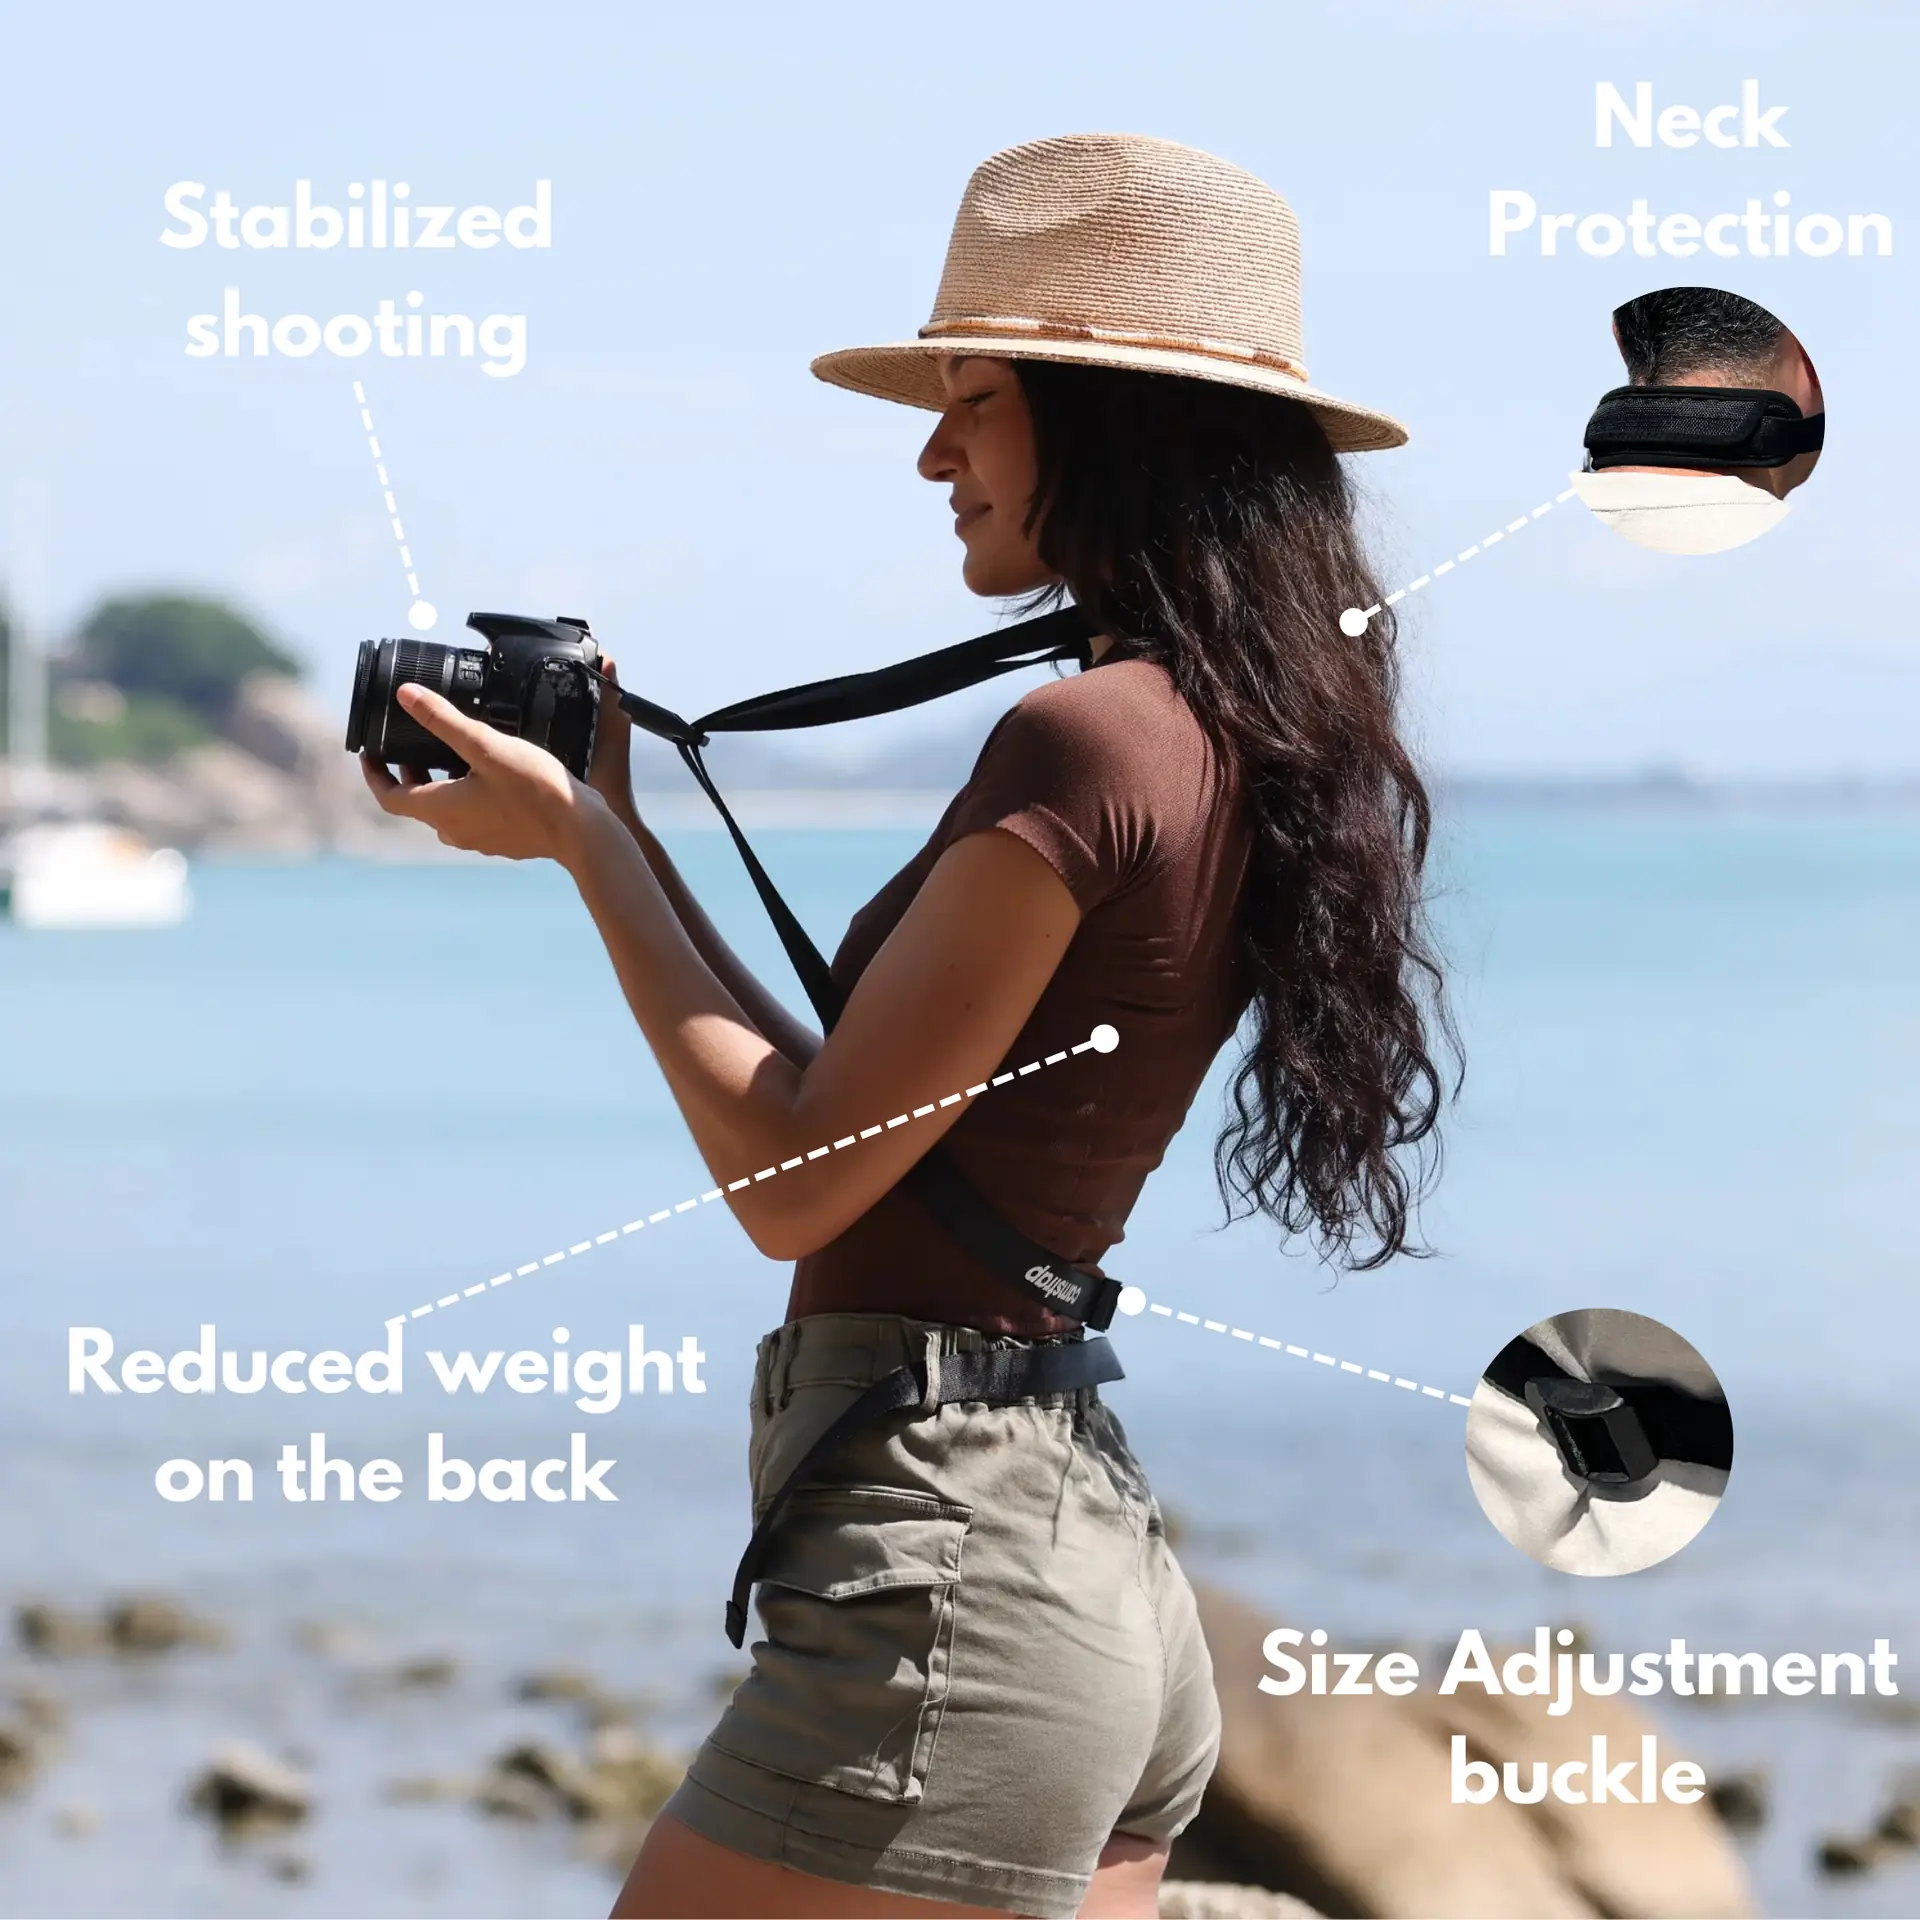
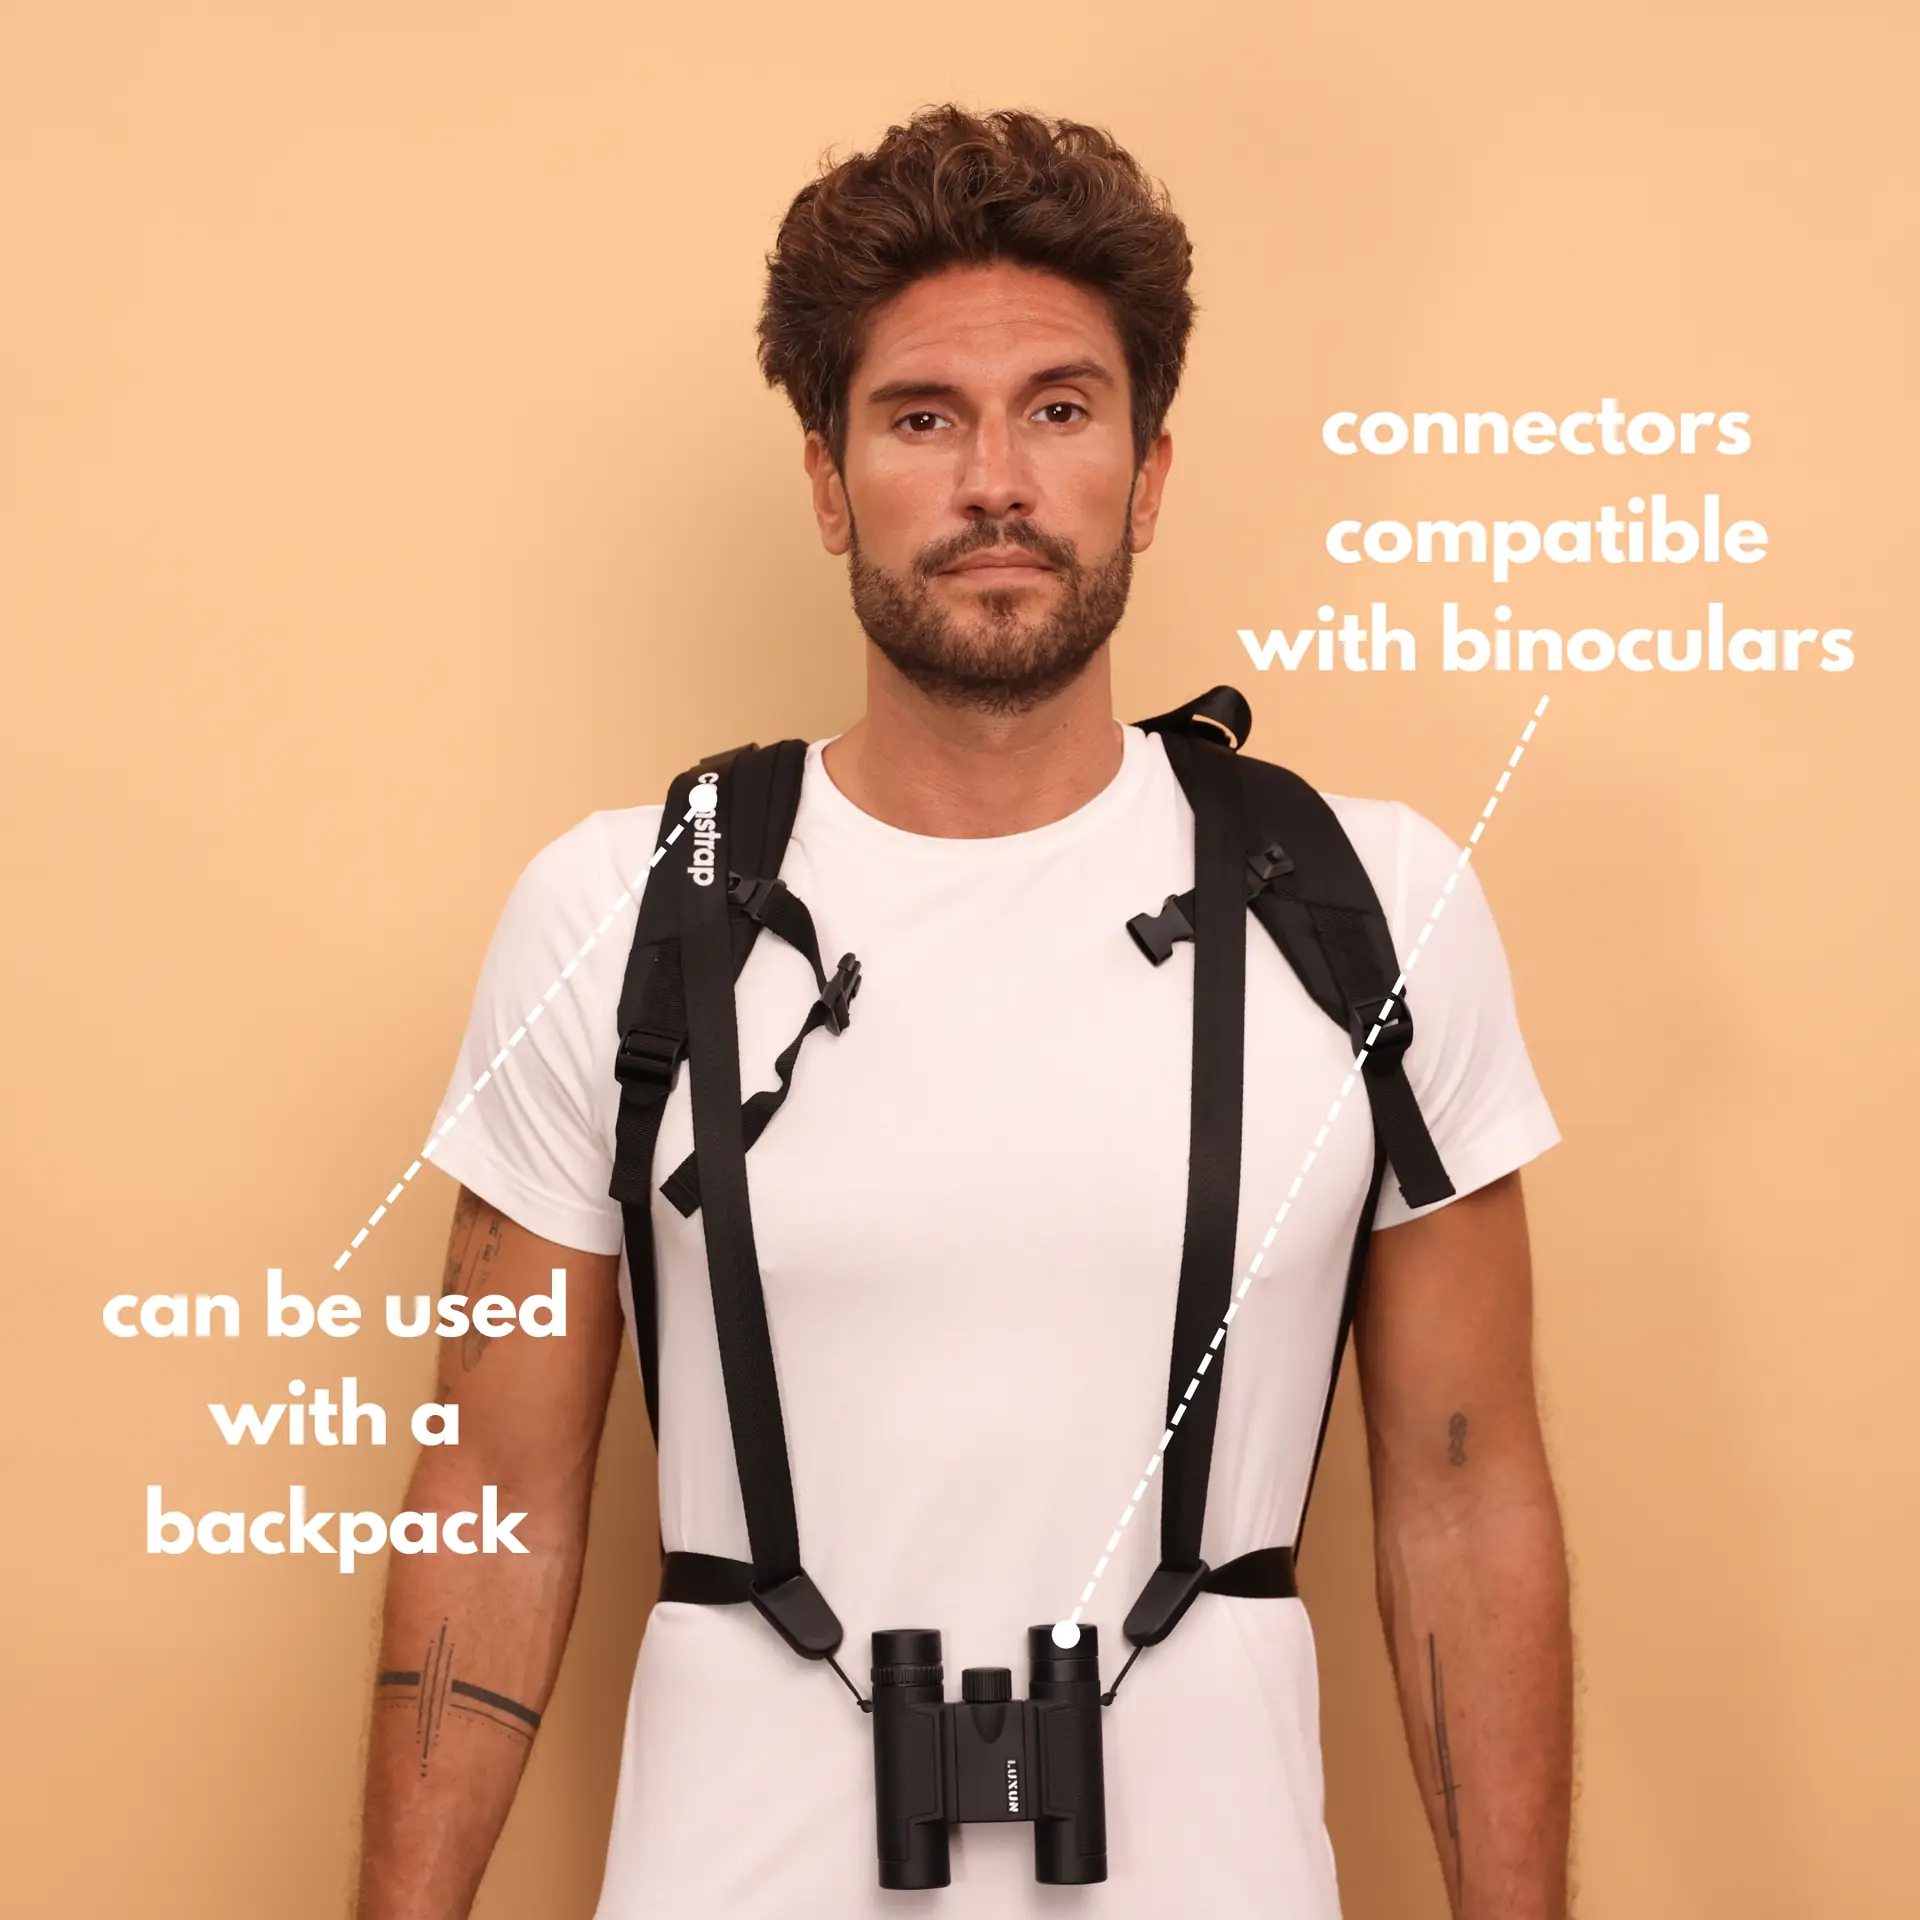
Camstrap makes camera straps for life on the move. Camstrap blends function with style to help you shoot more. Models like the Camstrap Voyager and Camstrap Explorer keep gear close and hands free.
Prepare Your Files for a cinematic Workflow
Good grading starts with clean files and steady capture. Shoot RAW or a flat log profile to keep room for the grade. This gives you control over highlights and shadow detail.
Use a simple color pipeline like ACES or a wide RGB. This keeps color steady across apps and screens. Also set white balance in camera or correct it early in the edit.

Camera Settings and Capture Tips
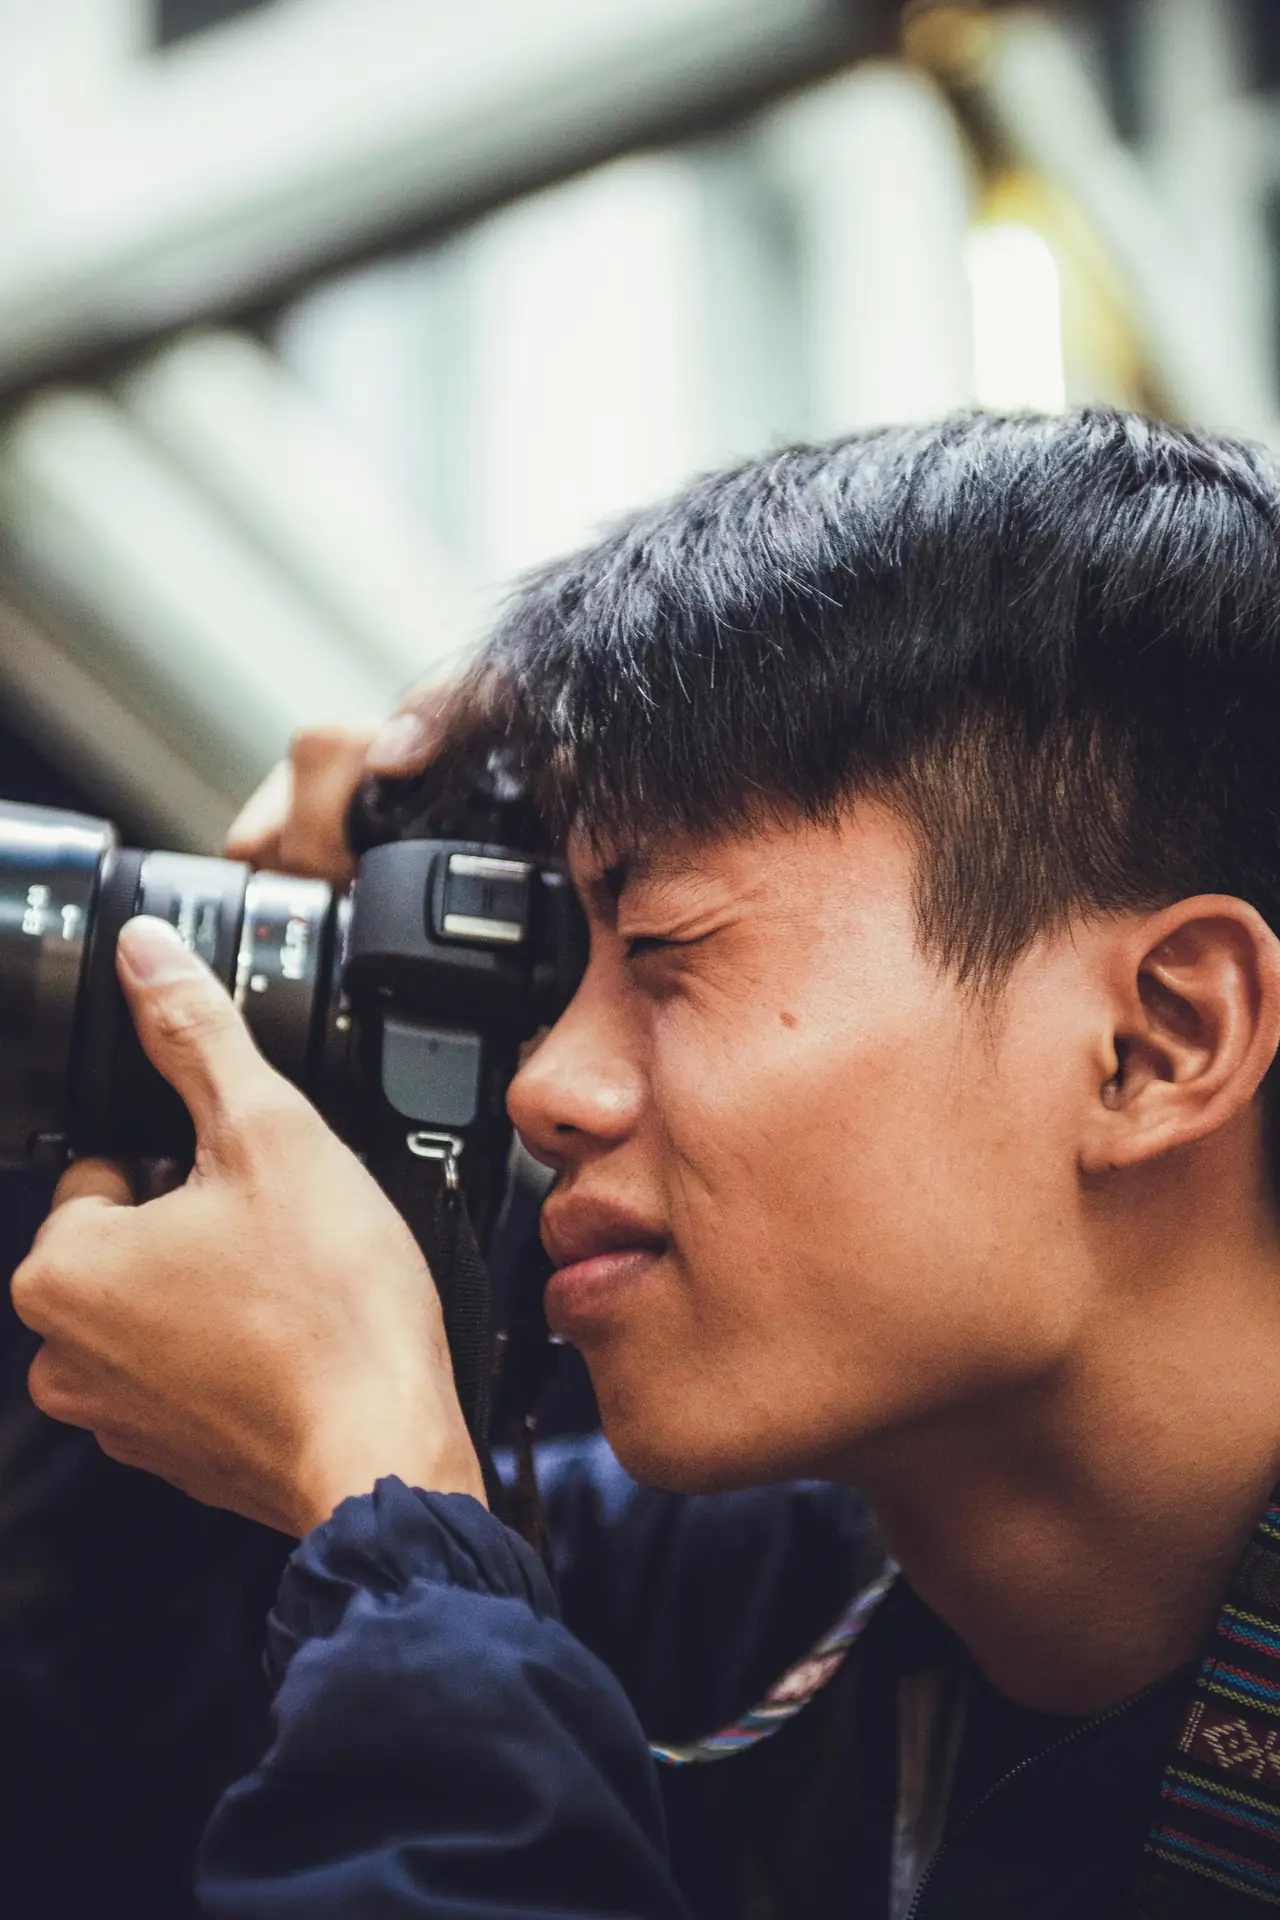
Shoot at low ISO when light allows. Use neutral exposure to protect highlight detail. Slightly underexpose bright skies to save punch for the grade.
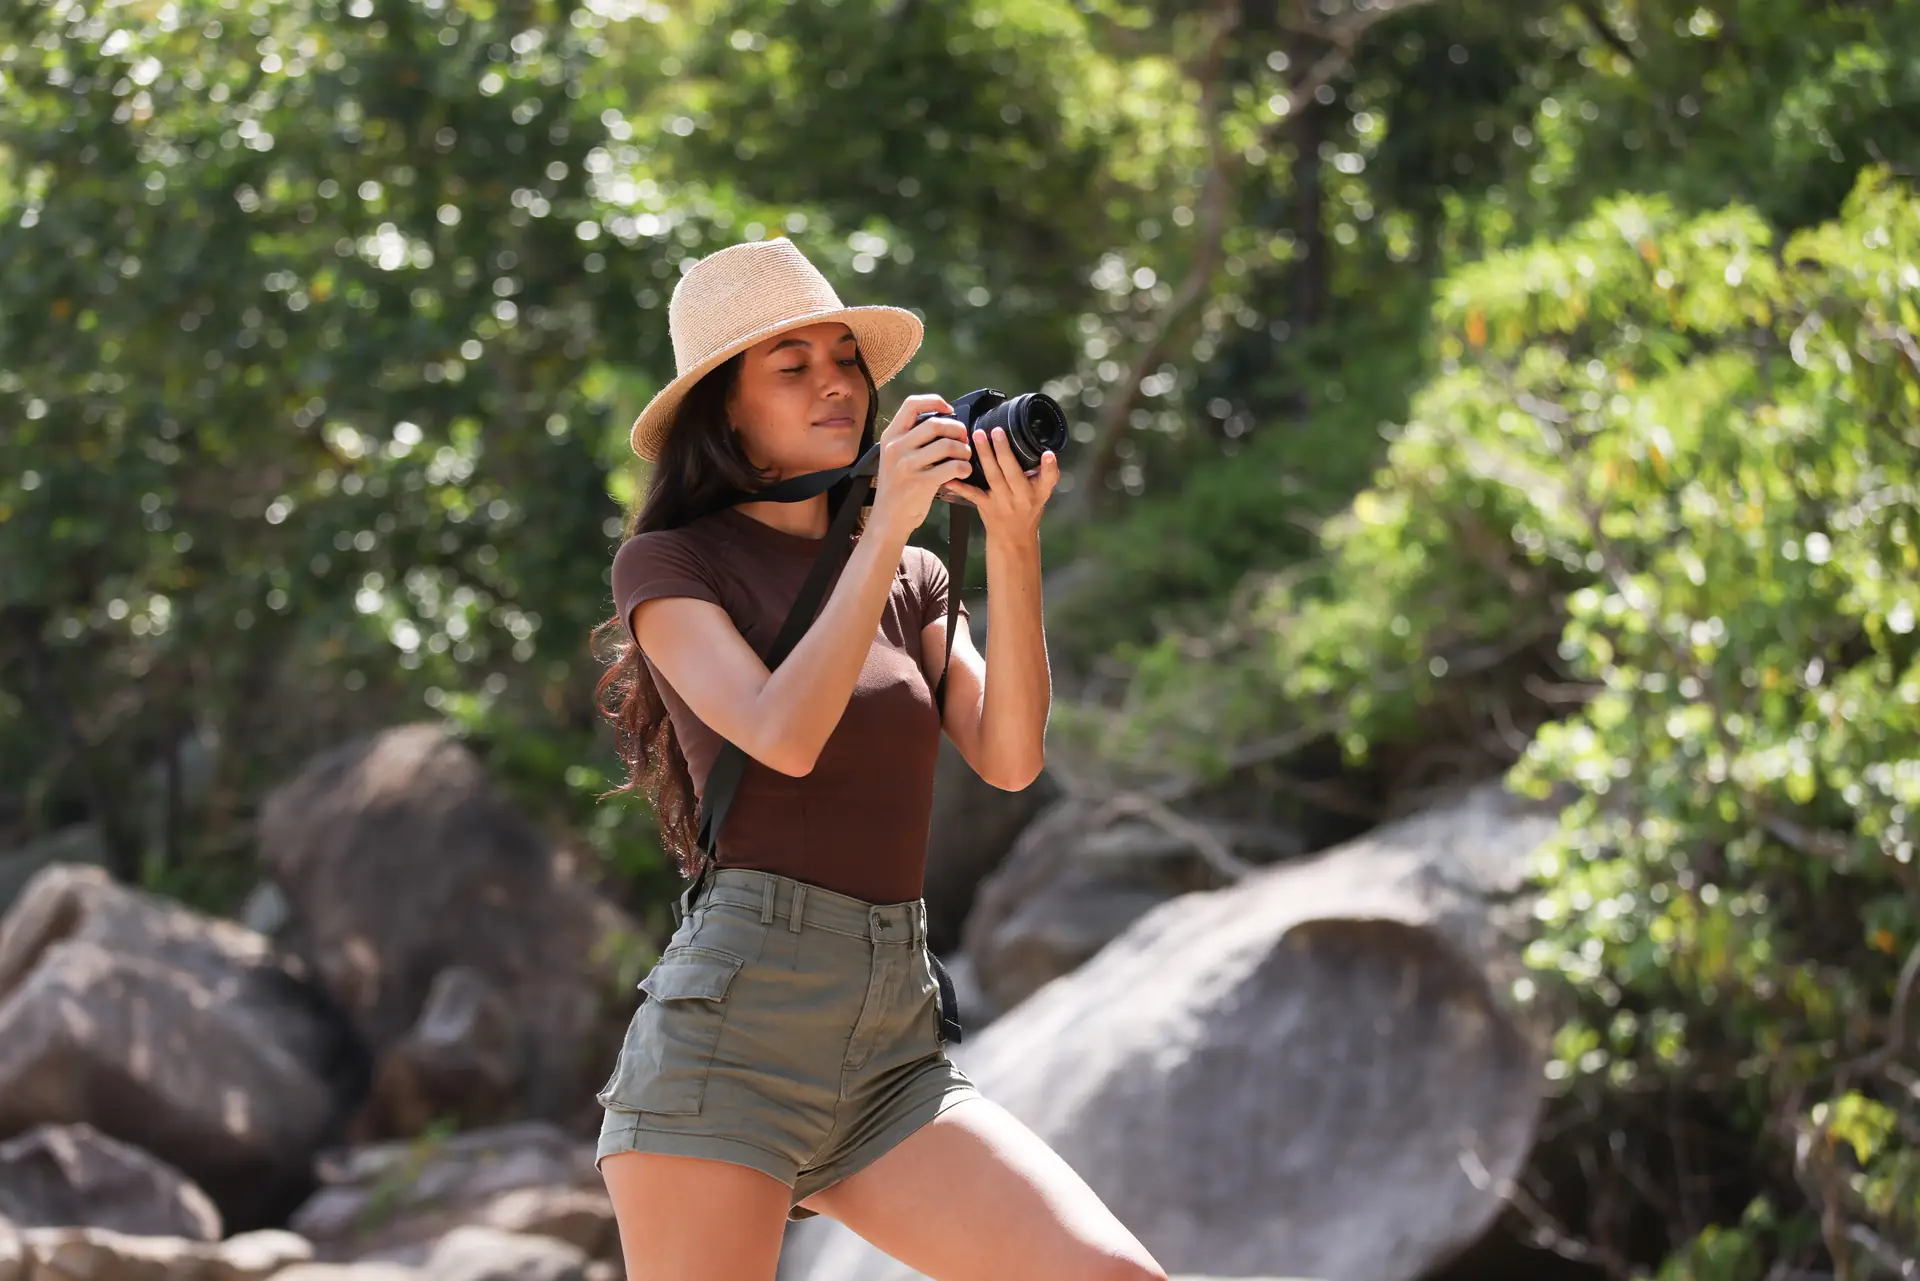
Frame scenes with clear light and clean lines. Simple scenes help color read well and speed editing. Pack a Camstrap Voyager for quick gear access while you move.
Cinematic Color Basics: Tone, Contrast, and Mood

Start your grade by setting tone and contrast for a cinematic base. Lift shadows, tame highlights, and add midtone contrast. These steps shape a film-like feel and depth.
Pick a mood early and push midtones toward that mood. Cool tones read calm or sad, while warm tones read cozy or nostalgic. This keeps your images unified and cinematic.
Use Curves and Levels
Apply an S-curve for contrast. Make a gentle pivot so skin tones stay natural. Then tweak shadows and highlights to shape depth and space.
Protect Skin and Key Colors
Use local masks to keep skin tones true and natural. Avoid large global color shifts on skin or focal colors. Protect the main subject so it stays strong in the final image.
Color Grading Techniques for a Cinematic Palette
Work on color balance with care and control. Use HSL tools to shift hue, saturation, and lightness. Isolate skies, foliage, and skin to treat each part well.

Try a teal-and-orange base for action and travel scenes. Push blues cooler and nudge warm tones toward orange. But keep the effect mild so the look stays real and cinematic.
Selective Desaturation and Color Isolation
Lower overall saturation, then boost a few key colors to pop. This makes the main colors stand out and calms the rest. It often reads like film and keeps the image tidy.
Desaturate backgrounds to isolate your subject. Or lower greens so warm skin and buildings stand out. These moves help viewers focus on what matters.
Split Toning and Film Emulation
Add slight color to shadows and highlights with split toning. A bit of blue in shadows and warm tones in highlights often feels cinematic. Keep the effect soft so it looks natural.
Try film emulation LUTs for a quick base look. Use them as a start and then tweak exposure and color. A LUT should speed work, not finish it.
Use LUTs and Presets to Speed a cinematic Edit
LUTs and presets save time on the road and in the studio. They give a quick base look you can refine by hand. Many travel pros keep a small, trusted set of LUTs for speed.
Pick LUTs that match your camera profile and working color space. Then dial back their strength to blend the LUT with your own grade. This keeps the look personal and cinematic.
- Use camera-matched LUTs for quick, reliable results.
- Keep a set for bright, moody, and neutral scenes.
- Always tweak exposure and skin tones after a LUT.
Advanced Moves: Masks, Curves, and Color Wheels for cinematic Results
Use masks for targeted color work and depth. Paint over sky, land, or subject to change color without touching the whole frame. This adds depth and guides the eye.
Use color wheels to nudge hue in shadows, midtones, and highlights. Small moves make a big difference. Keep changes subtle for a clean cinematic finish.
Gradient Masks and Radials
Use gradient masks to blend sky color and tone. Radial masks add light to faces or objects and draw the eye. These tools help shape mood and focus.

Use soft feathering to keep edits smooth at the edges. Harsh edges break the film feel and distract viewers. Smooth blends keep the look clean and cinematic.
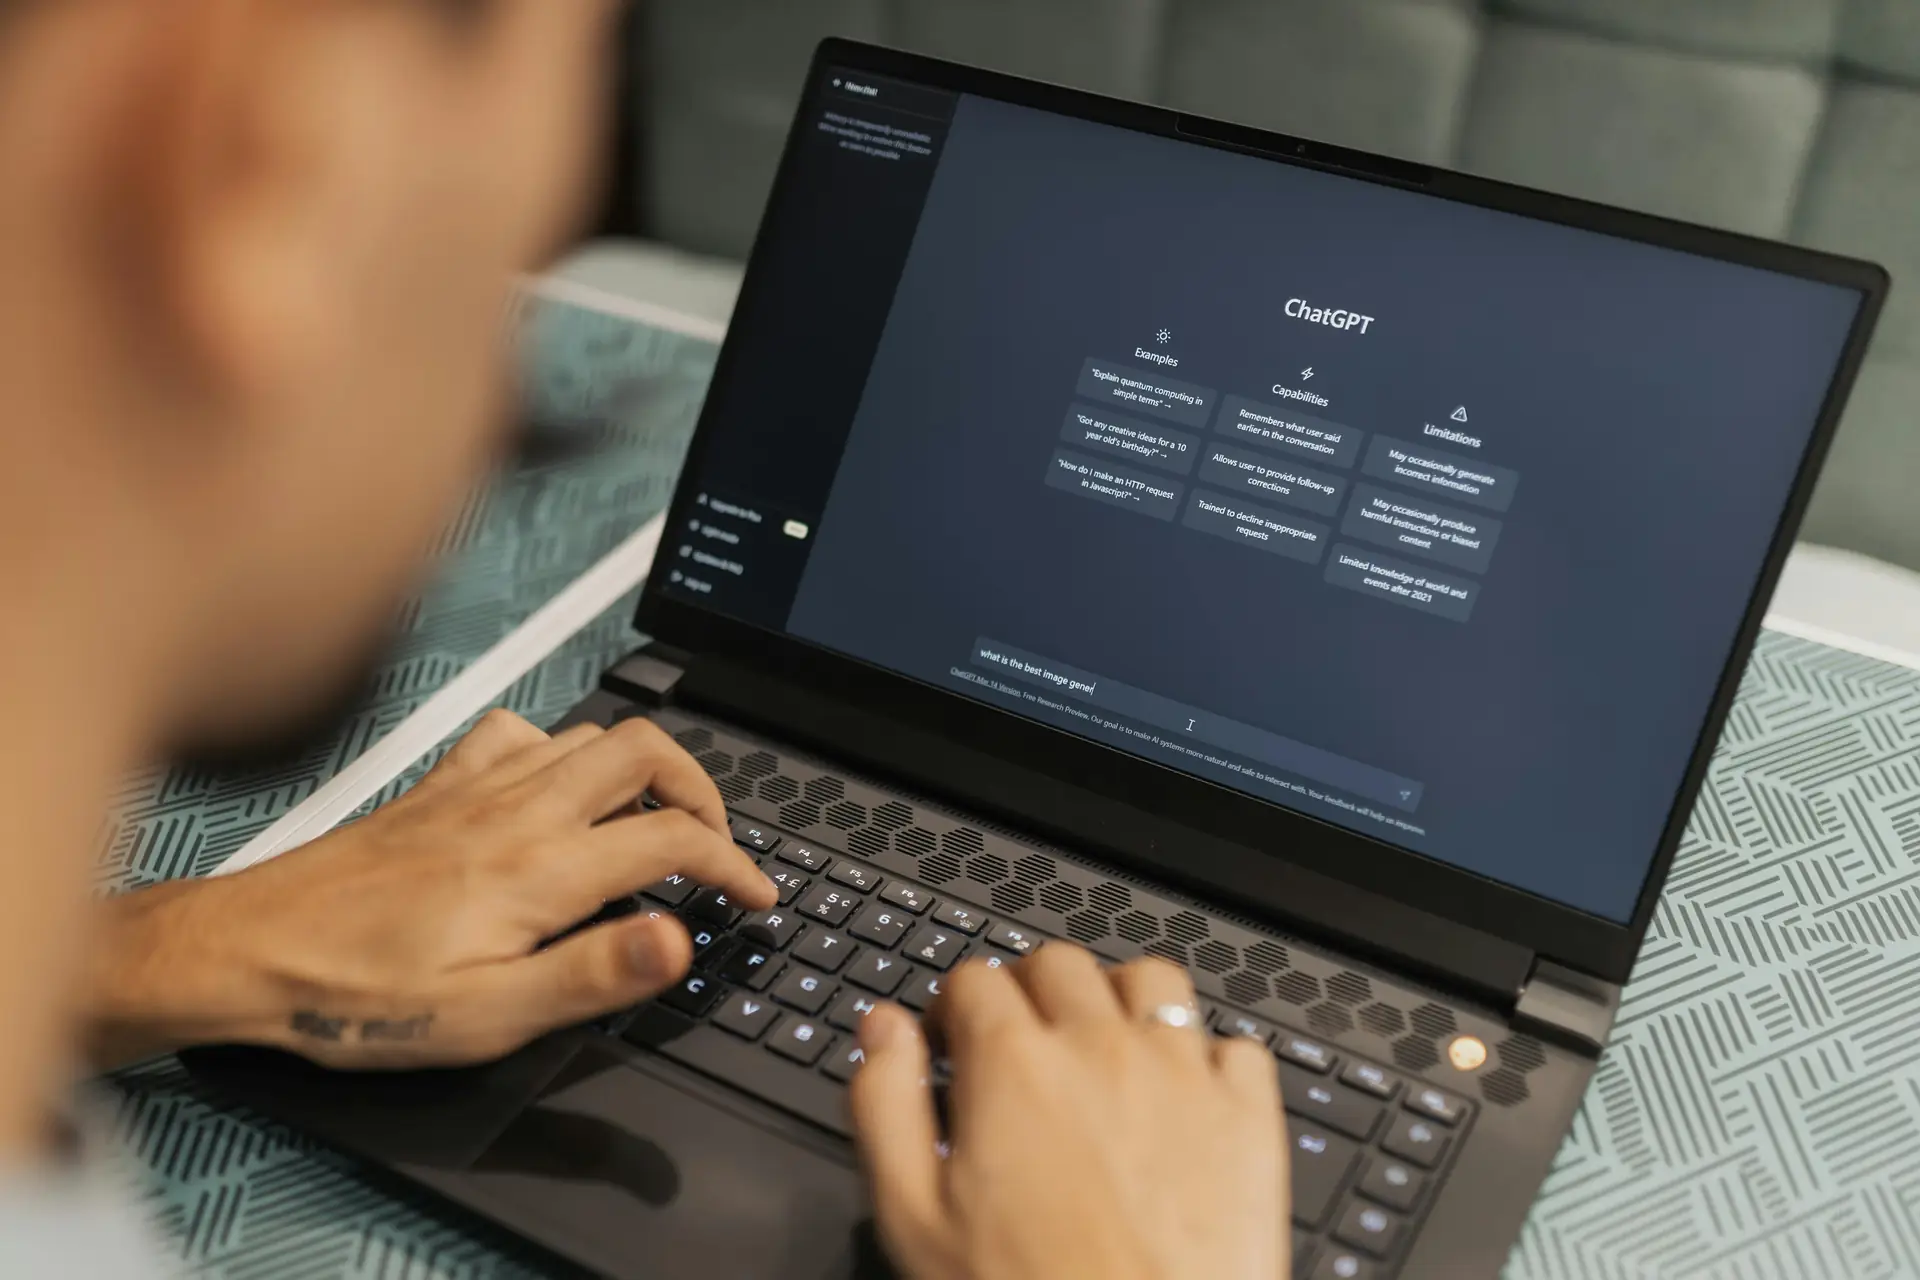
AI Tools, Automation, and Trends for cinematic Grading in 2026
AI now speeds grading with smart matches and scene detection. Use AI to suggest a base grade, then refine it by eye. The tools save time while you keep creative control.
In 2026, expect better auto masks and more accurate color matches in apps. These features help when you shoot many photos on a trip. Use them to batch a base look and tweak key frames.
Smart Color Match and Batch Workflows
Match a look across many photos with smart match tools. Pick a target frame and let the tool copy base color. Then tweak exposure and skin tones per image to match.
Batch work saves travel shooters hours of repeat work. Use a small camera bag and a Camstrap Explorer to keep kit compact when moving fast. This helps you shoot more and edit less.
Practical Tips Travel Photographers Need for a cinematic Finish
Keep edits simple on the road and save heavy work for a second pass. This helps you share faster while traveling and keeps files tidy. Back up to cloud and drive daily to avoid loss.
Carry a light kit: a compact laptop and a color-calibrated screen. Use a Camstrap Nomad for long hikes and a Camstrap MagClip for fast tripod swaps. Small gains like these keep shoots smooth.
- Calibrate your monitor before long edits for steady color.
- Keep a folder of LUTs and presets for common light types.
- Use a simple naming and backup plan to stay organized.
Export Settings for Film-Like Output

Export in high bit depth and a common color space for delivery. Use Rec.709 for web and sRGB for social. For print or wide delivery use Adobe RGB or ProPhoto RGB when needed.
Sharpen at the end and add slight grain to mimic film. Grain helps blend color moves and keeps the image from feeling too clean. A subtle grain often boosts the cinematic feel.
Case Studies and Research Notes About cinematic Grading
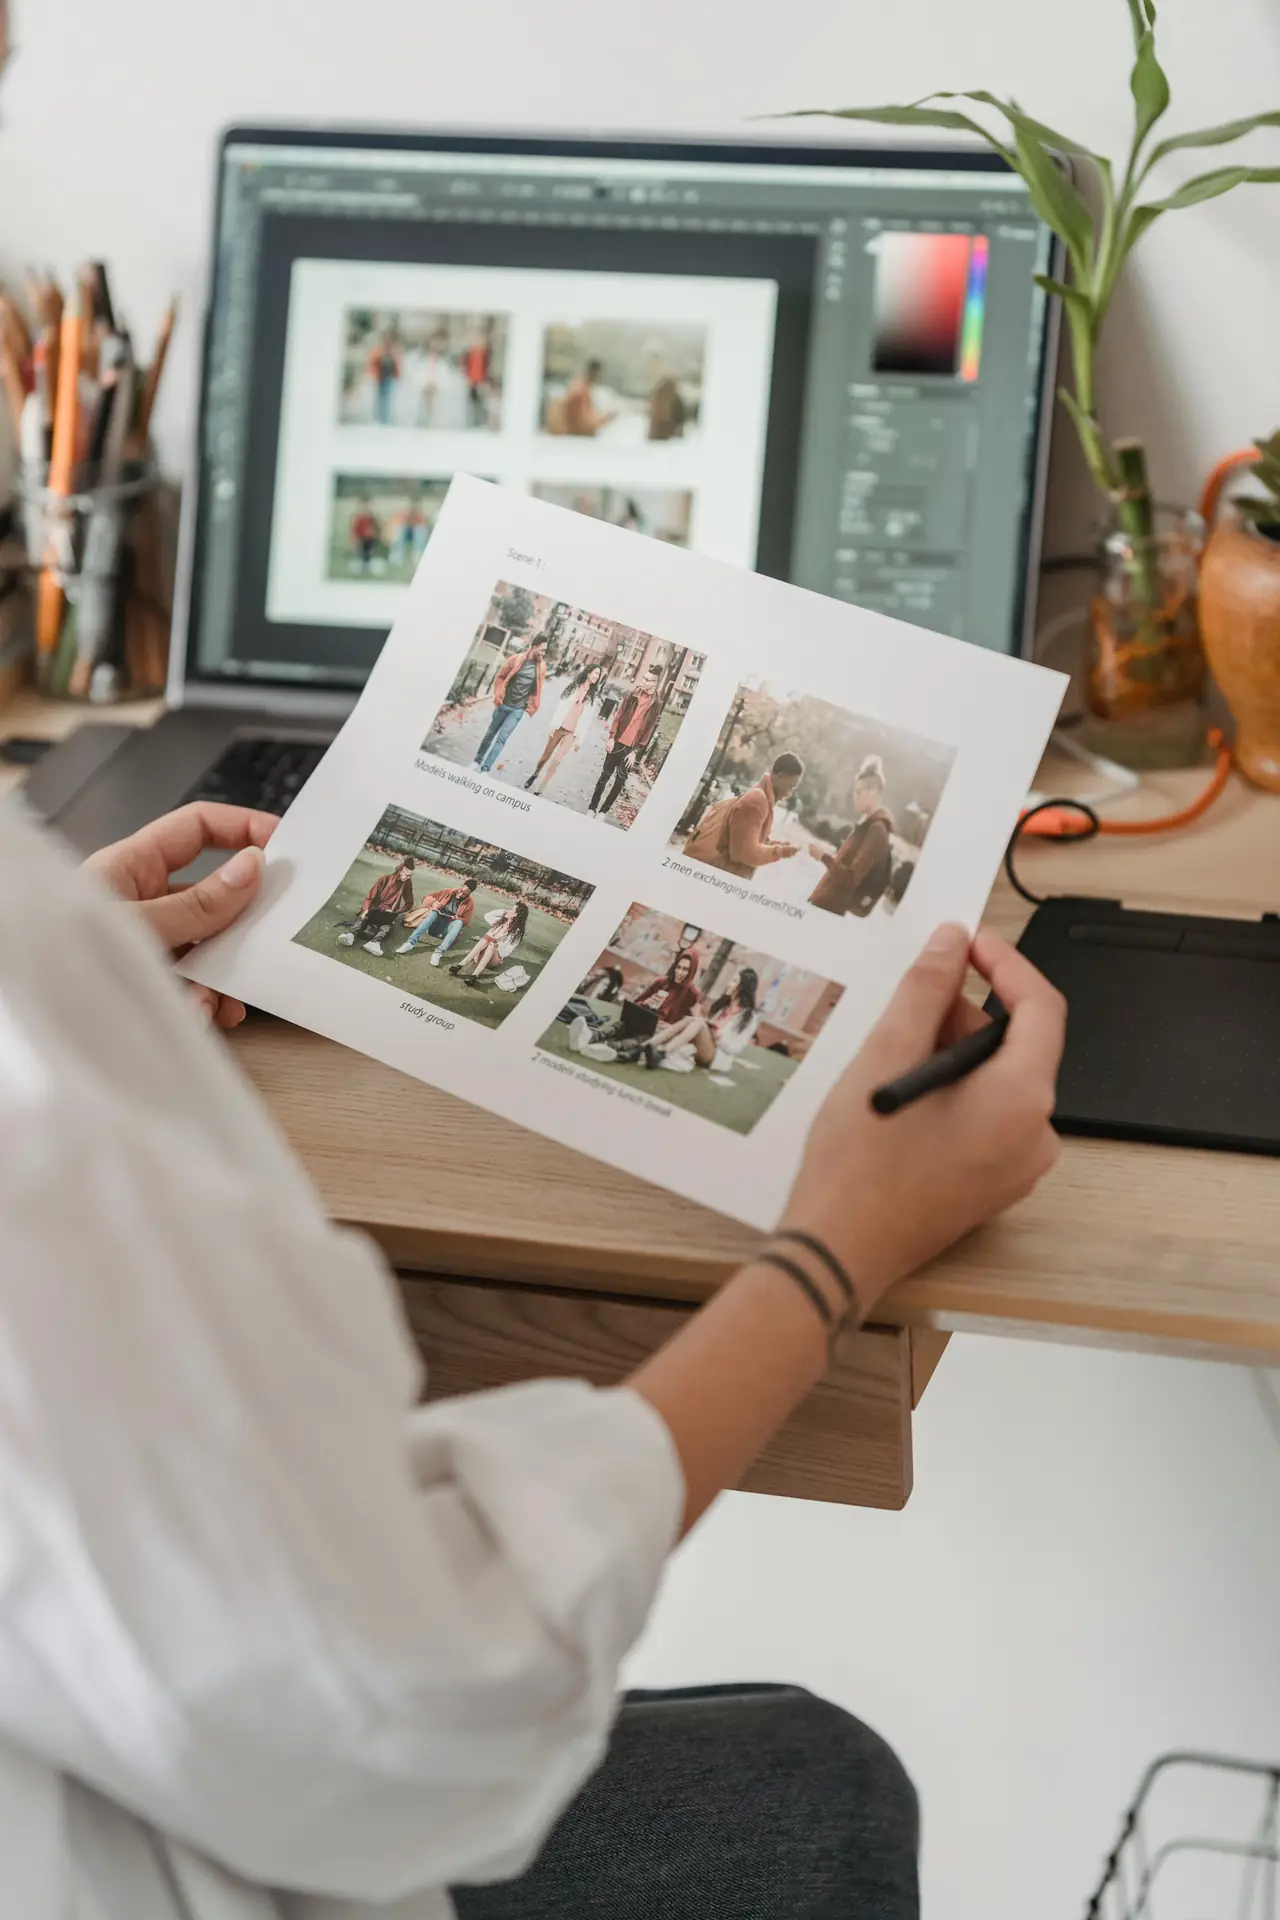
Tutorials show how small moves lead to big gains in color. For example, a 2026 DaVinci Resolve lesson shows step-by-step moves. It starts neutral and then builds mood with curves and wheels.
Talks at Bild Expo 2025 highlighted color and light as story tools. Many travel pros blend film emulation with modern tools. They aim to make photos feel like scenes, not just images.
A behind-the-edit post for a Colmar photo shows how an artist matched local light to a film reference. They used targeted masks and soft split toning to reach a cinematic end.
Quick Workflow Example
- Import RAW files and set a working color space like ACES.
- Do a base exposure and white balance pass for each image.
- Apply a mild LUT and reduce its strength to taste.
- Use curves and wheels to set tone and push mood.
- Use masks to protect skin and guide viewer focus.
- Export with the correct color space and slight grain.
Conclusion: Make Your Travel Photos Feel cinematic in 2026
Learning cinematic color grading is about taste, control, and steady work. Start with solid capture, then use clear steps and small moves. This gives your photos a film-like storytelling feel.
Use tools like LUTs, masks, and AI to speed your work, but make final calls by eye. Small color and tone tweaks often make the biggest change in a cinematic edit. Practice these steps and study real film looks.
Keep travel gear light and ready with Camstrap straps and clips. The Camstrap Voyager and Camstrap Explorer help you stay mobile and shoot more. The Camstrap Nomad and Camstrap MagClip make swaps and setup fast. These tools let you focus on light, color, and the scene.
Try film emulation, watch tutorials, and test edits in many lights. With steady practice you will make strong cinematic photos on your travels in 2026. Happy shooting, and keep your strap close so you never miss a frame.


