


- Lock focus on the nearest eye to make the smile instantly readable.
- Use the focal point to simplify clutter and steer attention to the face.
- Apply the 20-60-20 rule: center the subject, leave breathing room, balance the frame.

Focal point photography puts the viewer’s eye on one clear subject in the frame. At the park, that often means a smile, a glance, or a small move that lasts only a second.
Shop the setup

- Regular price
-
€42 - Regular price
-
€44 - Sale price
-
€42
By choosing the Camstrap strap, you are opting for a high-quality product designed to meet the needs of the most demanding photographers.
- Developed by a physiotherapist to relieve neck and back pain.
- Fast delivery with tracking by the Post Office 🚚
- Can be used as a shoulder strap or hands-free harness

- Regular price
-
€36 - Regular price
-
€42 - Sale price
-
€36
Free shipping included
Parks move fast. Kids run, light shifts, and the best face often appears between steps, swings, and turns. This guide shows how to catch that moment and hold it long enough to make a strong photo.
Why park moments vanish so fast
Park scenes change in seconds, which makes them hard to frame with care. A child may look at you, then turn away before you can lift a camera from a bag.
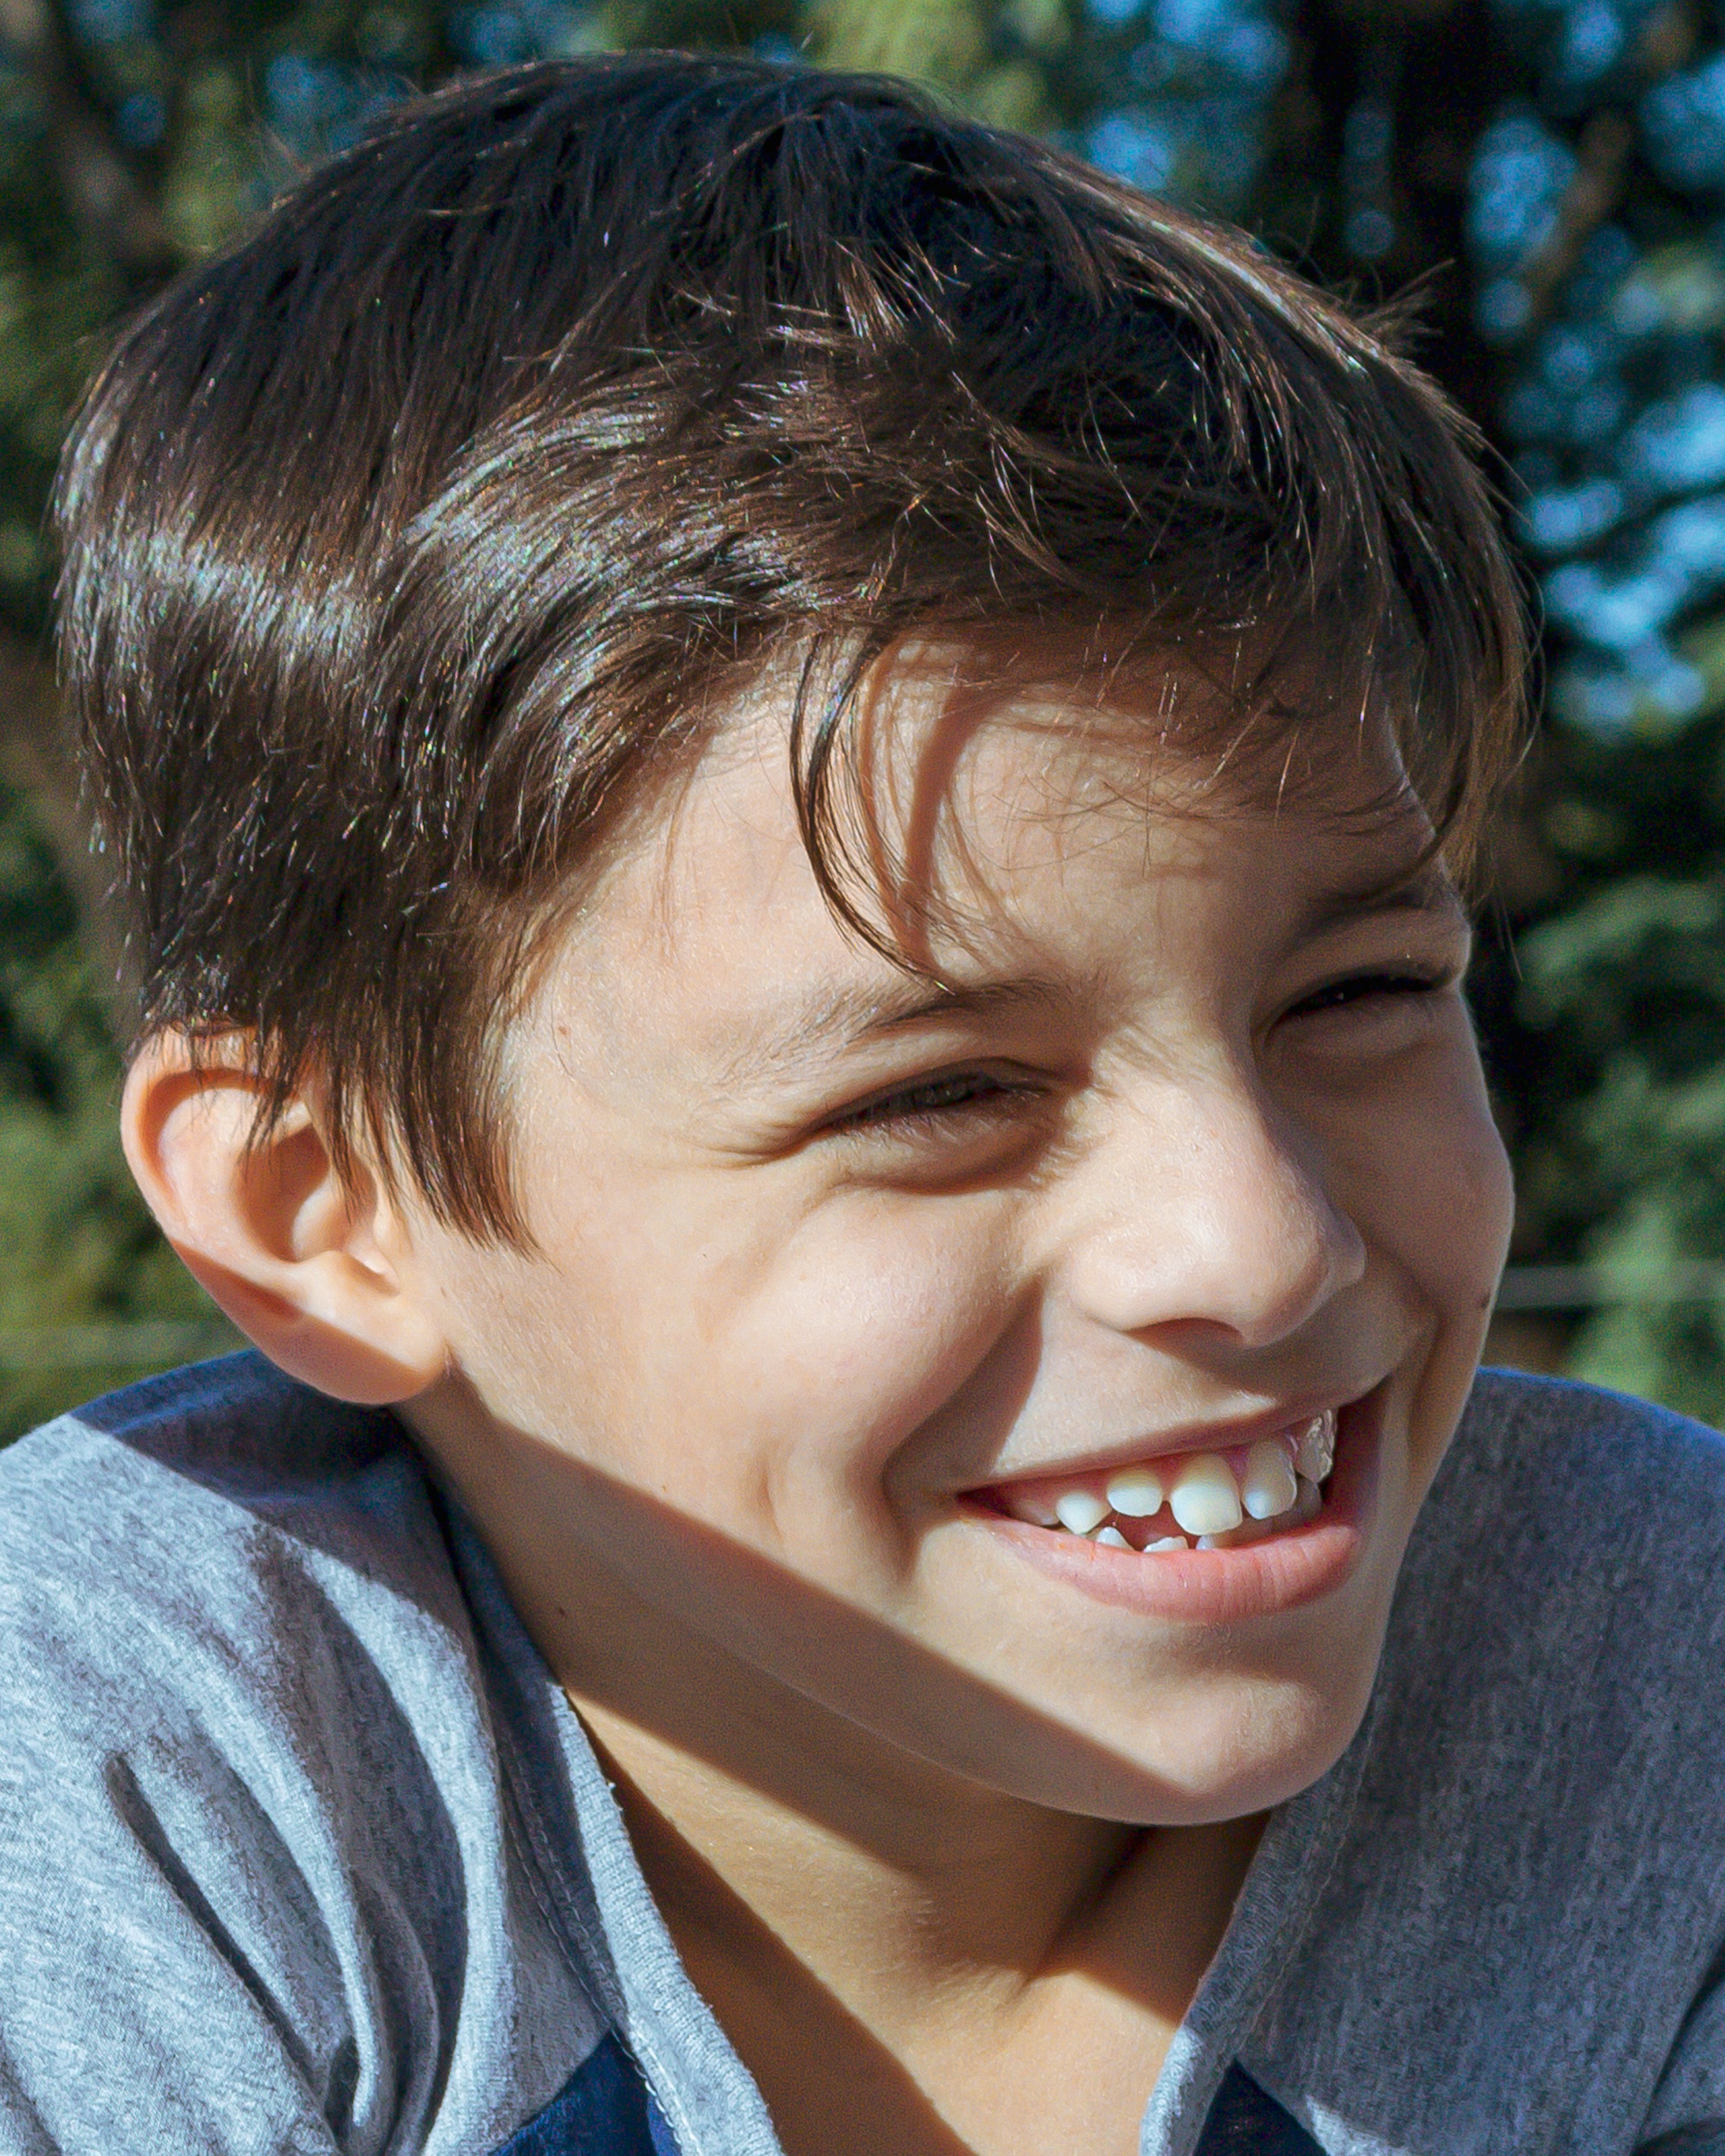
A hands-free strap helps. With the camera hanging near your chest, it stays within reach and lifts in one motion. Camstrap camstrap voyager fits that need well because it keeps the camera close and free to grab with one hand.
What gets in the way
Three things often steal the shot: slow access, weak focus choice, and a bad angle. Each one can turn a real smile into a missed frame.
- Slow access makes you late.
- Poor focus puts sharpness on the wrong face.
- High camera height can flatten the scene.
- Bright sun can make eyes squint and faces look harsh.
Keep the camera ready, know your focus point, and watch for light on the face, not just the background.
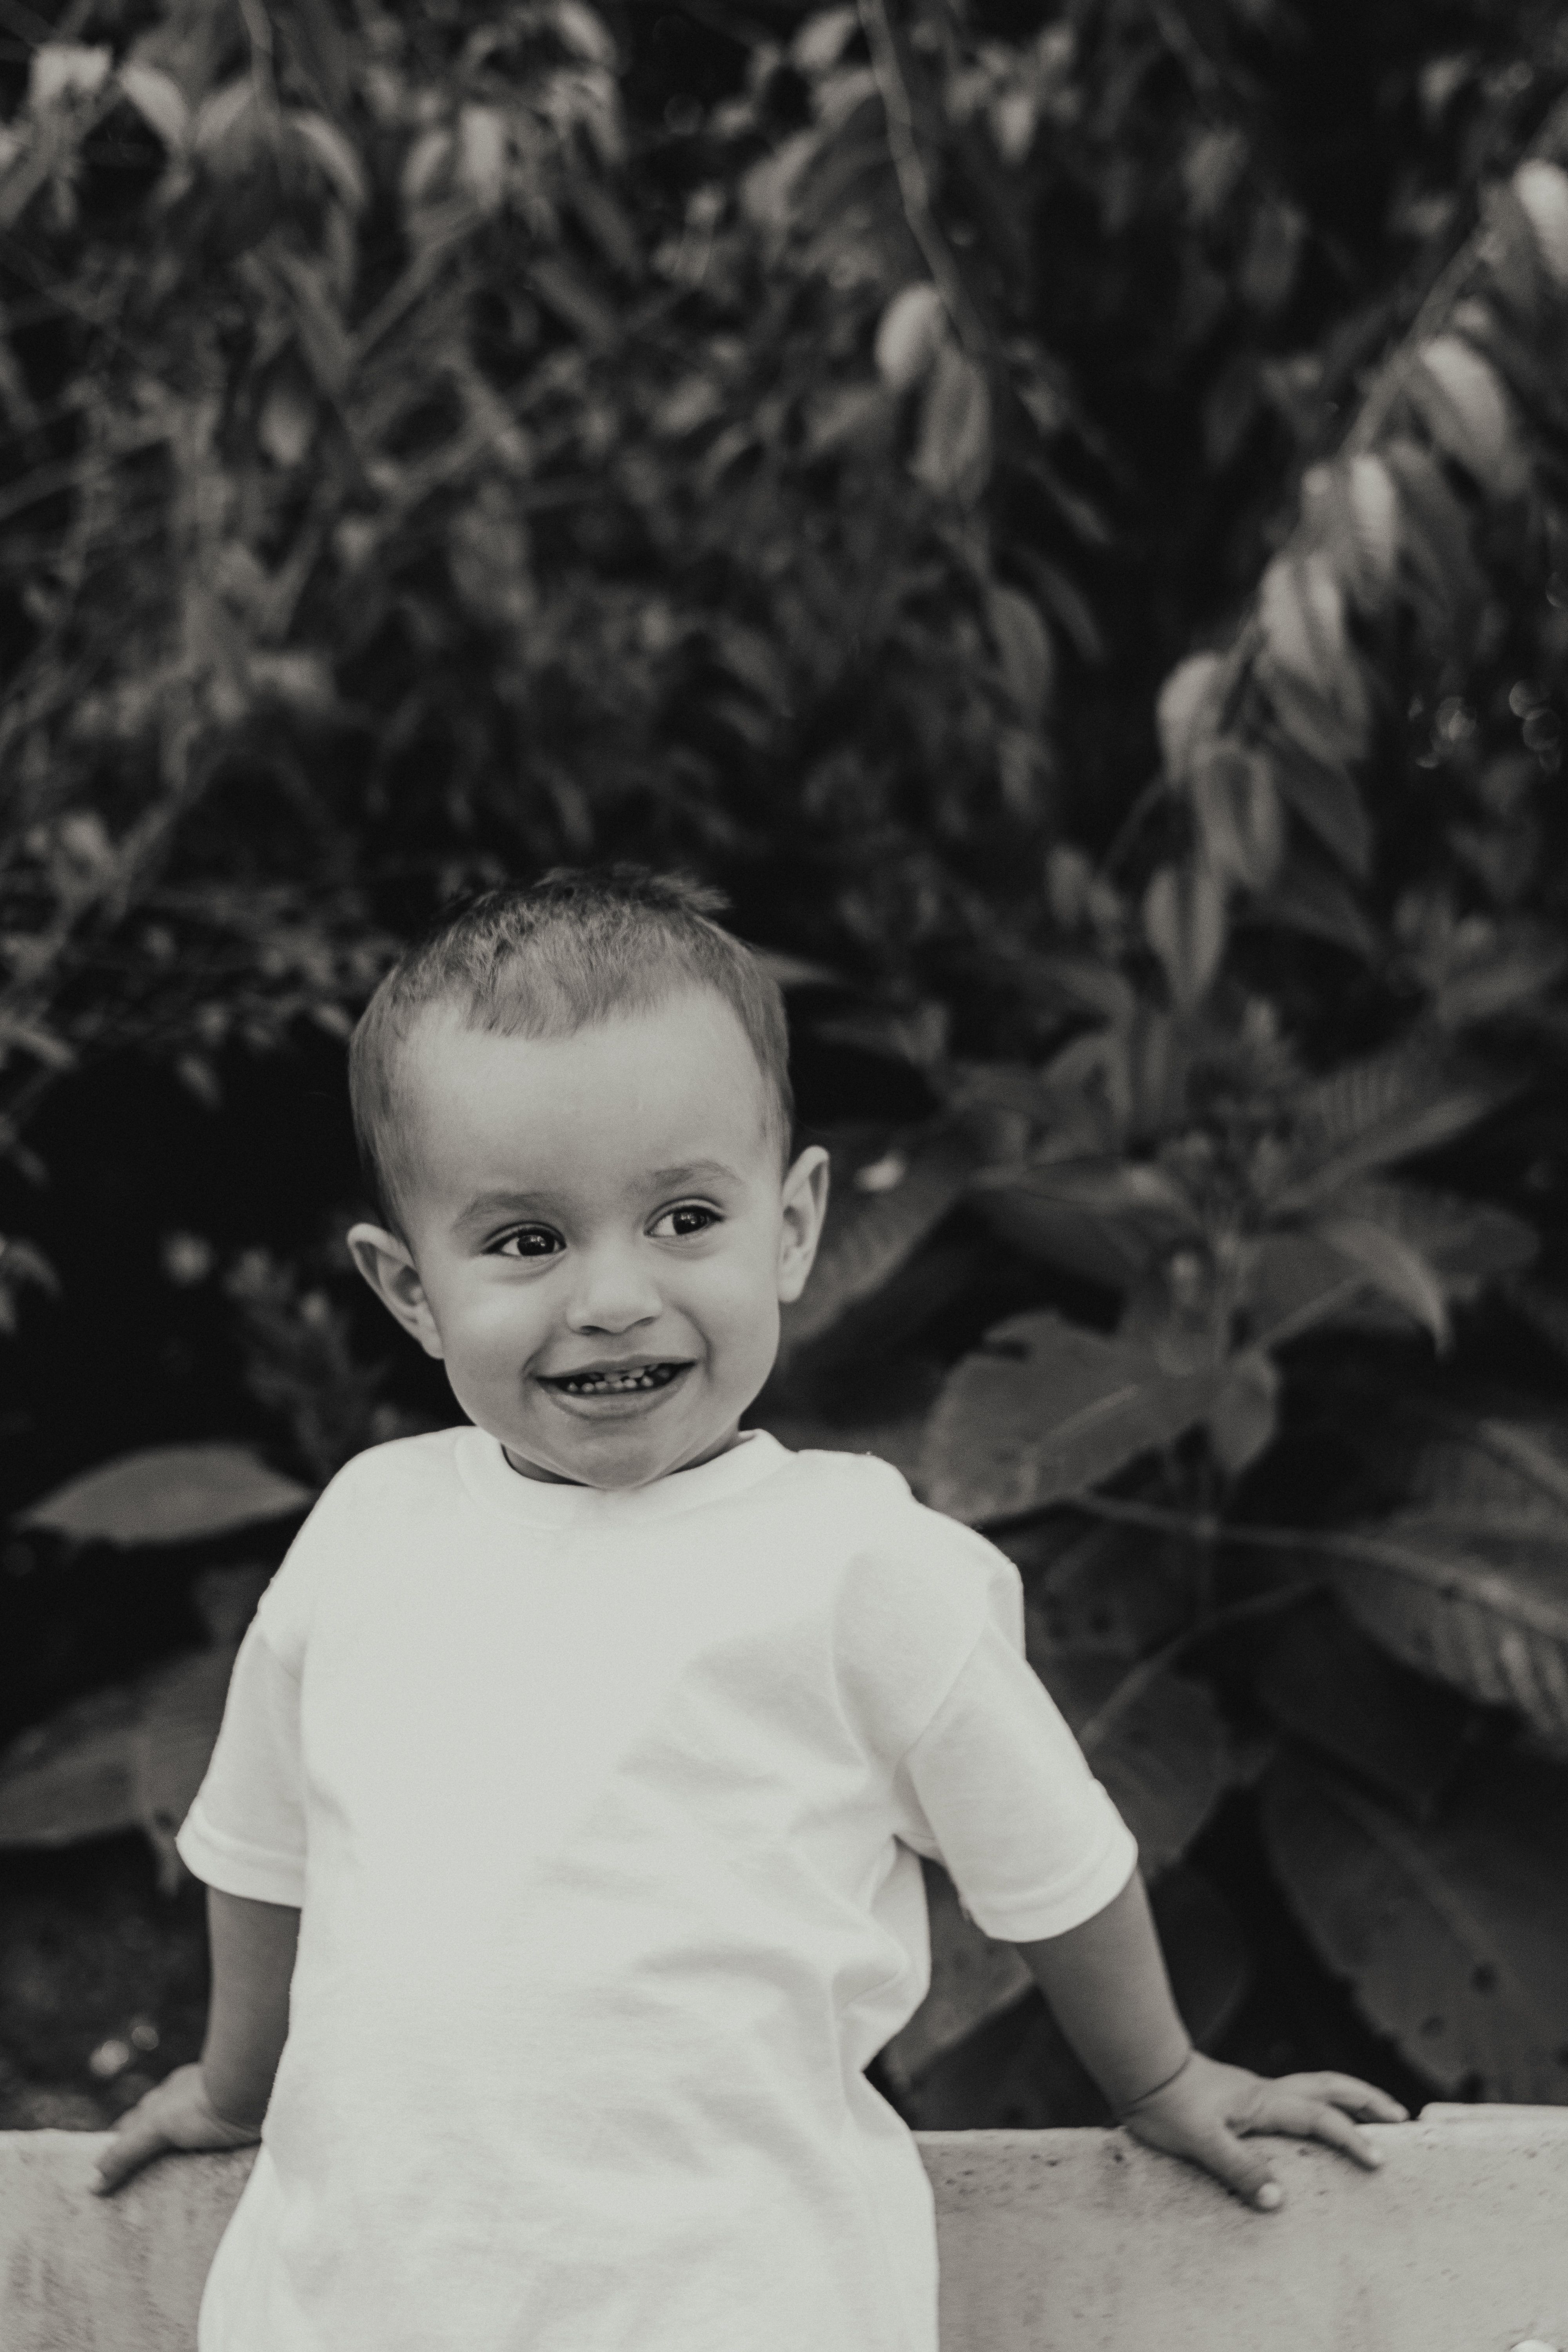
What is a focal point in photography?
A focal point in photography is the main part of the image that draws the eye first. In a park portrait, that is often the child’s face, especially the eyes or mouth. The viewer needs a place to land. Without a clear target, the photo can feel busy and weak, even when the moment is sweet.
How the best focus point works
The best focus point should match the action. If the smile is the goal, place focus on the nearest eye or the front edge of the face.
That choice gives the frame purpose. It also helps you decide what to leave soft, which can make the smile stand out more.

What is the purpose of a focal point?
The purpose of a focal point is to guide the viewer’s eye and tell the story fast. A strong point of focus turns a busy park scene into one clear memory. It also shapes the emotion. A clean face in sharp focus feels more personal, while a soft background removes distractions like benches, signs, and passing people.
For this kind of candid work, a 50mm lens is a strong choice. Sigma notes that 50mm is known for portraits, and an F2 aperture gives smooth background blur. Sony also describes a 50mm lens as a normal prime with a wide view of about 47 degrees, which keeps the scene natural.
Why 50mm feels so useful
A 50mm lens gives a view that feels close to how people see. It works well when you want a face to look natural and not stretched.
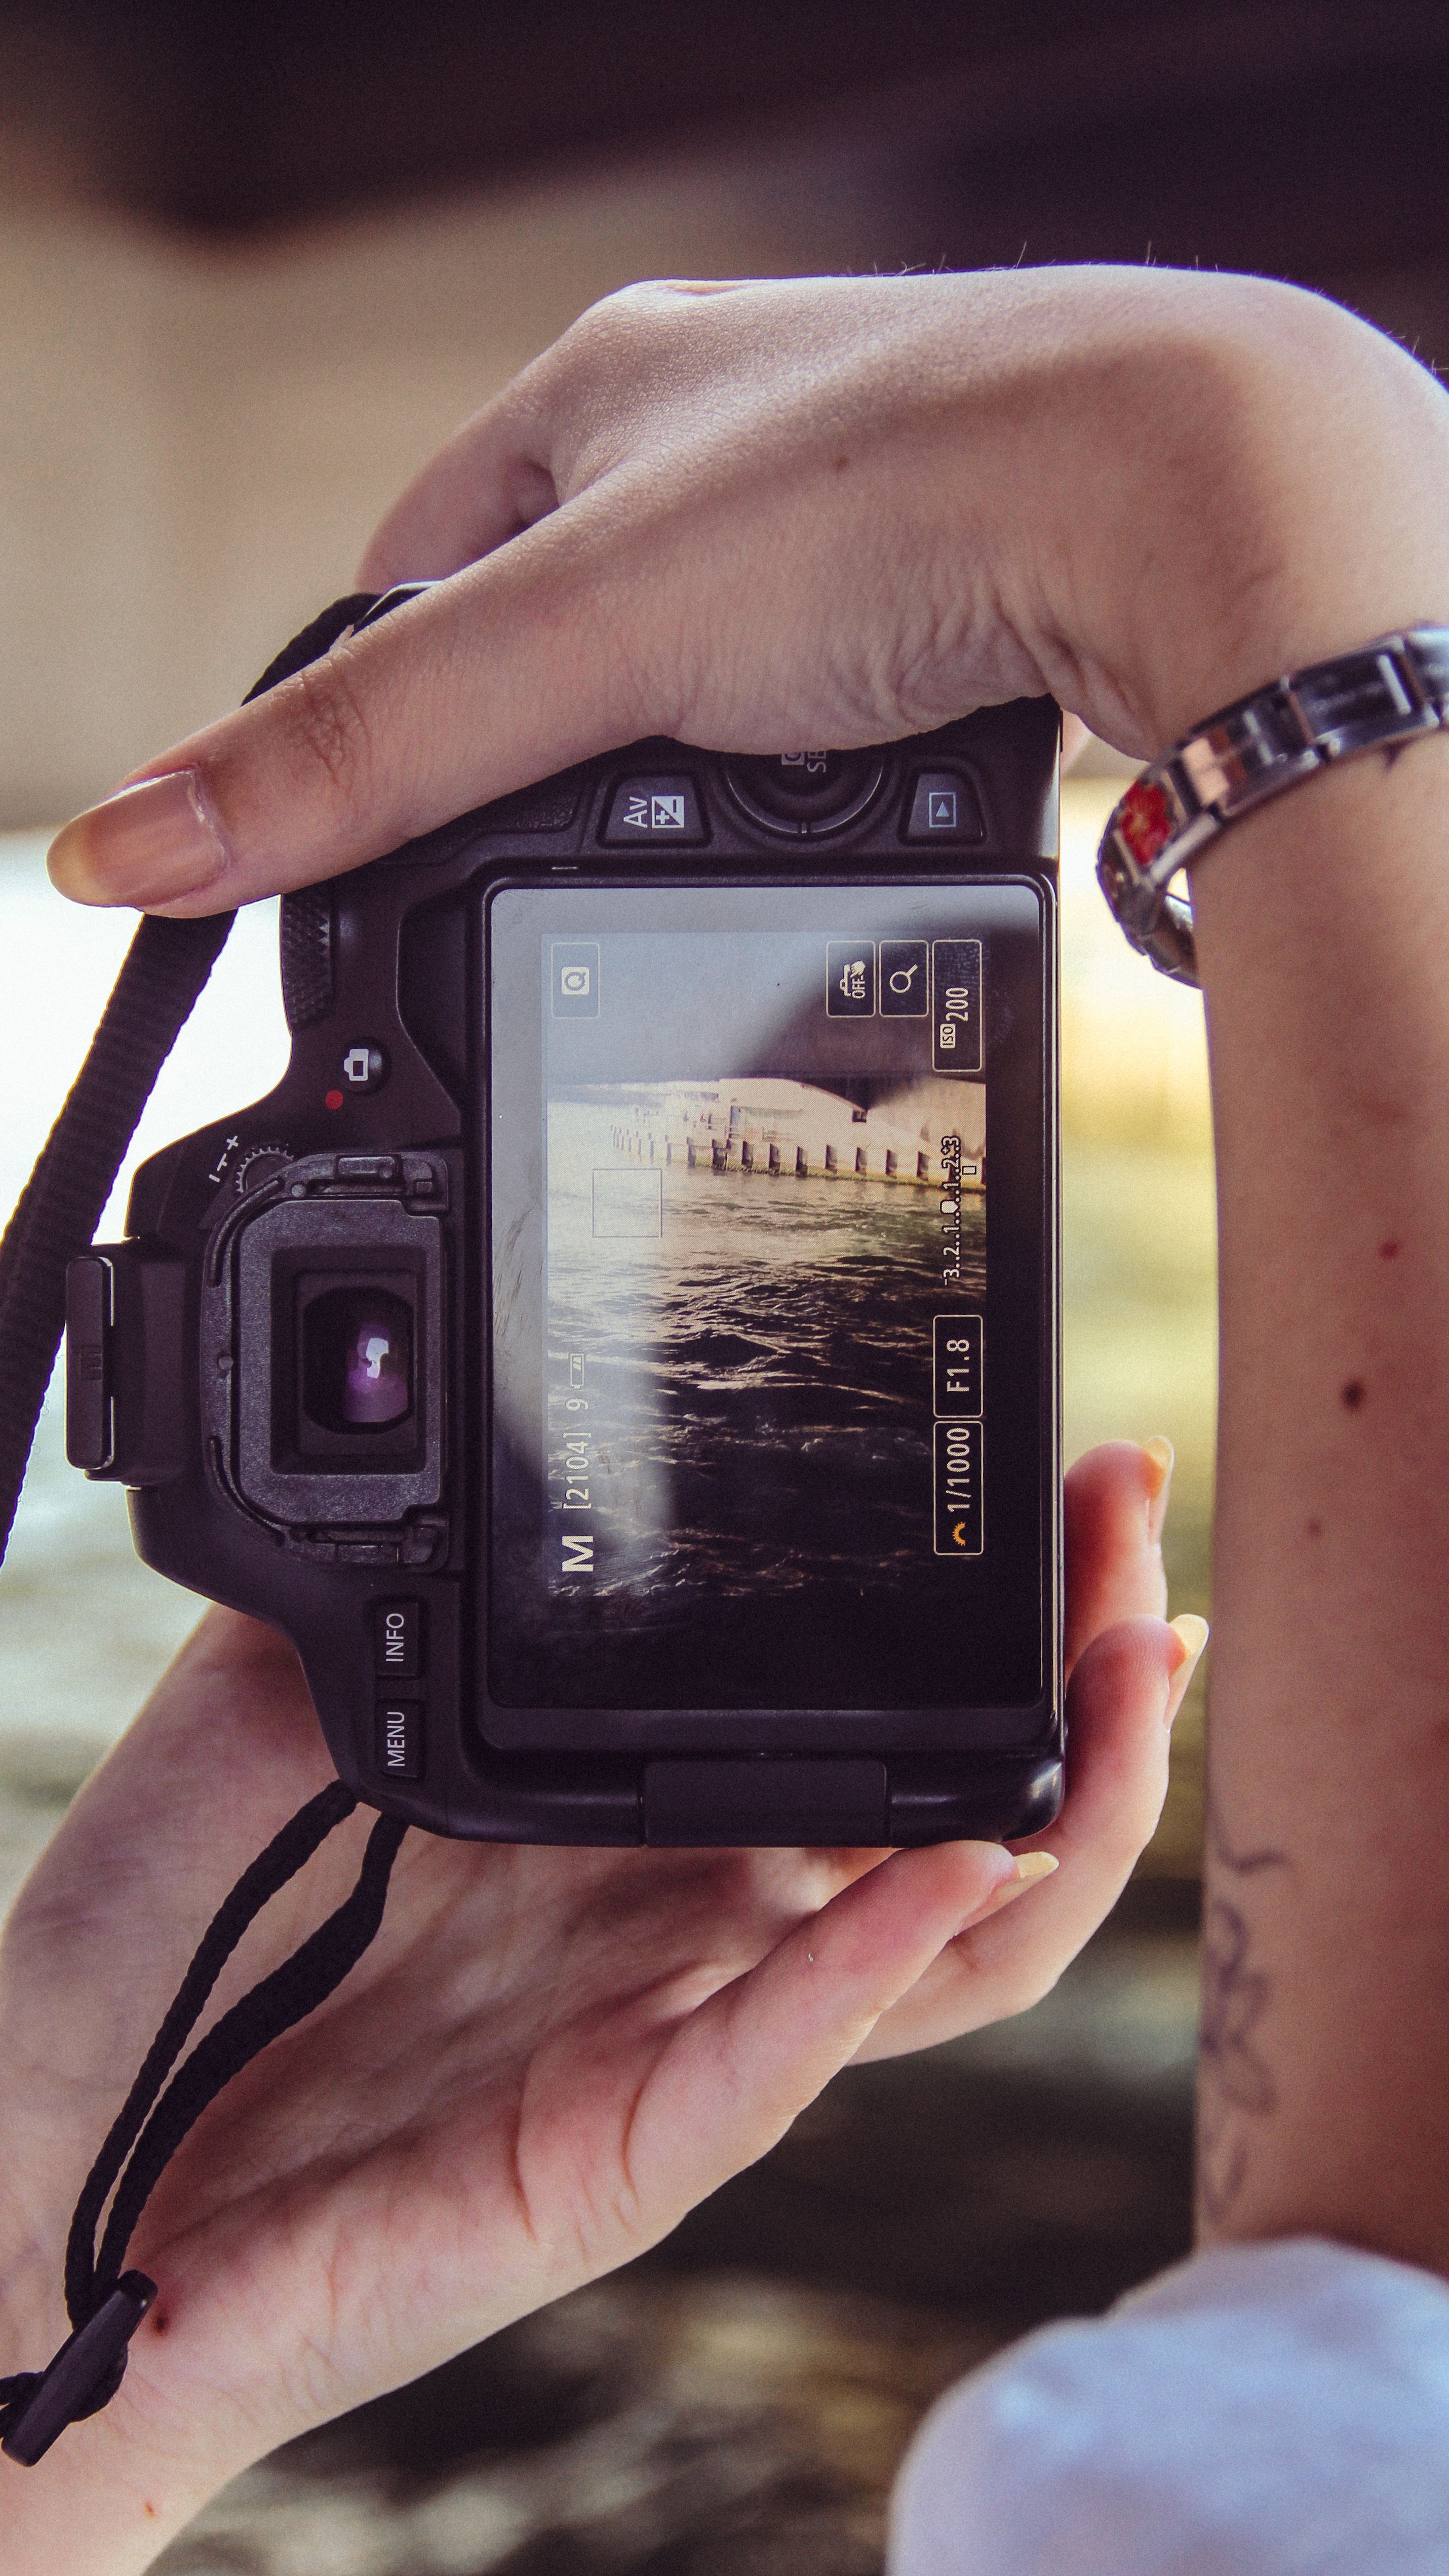
It also gives enough blur to separate a subject from the background. That blur helps a smile stay the first thing the eye sees.
What is the 20 60 20 rule in photography?
The 20 60 20 rule in photography is a simple guide for how attention may move across a frame. About 20 percent of the image may pull the eye in, 60 percent may hold it, and 20 percent may release it. For park photos, this can help you plan where the child sits in the frame. You can place the face in the middle zone, then use open space, paths, or grass to support the shot without crowding it.
This rule is a guide, not a law. It works best when the main subject has room to breathe and the scene does not fight the smile.
How to use it on the lawn

Place the face where the eye can settle fast. Then let the rest of the frame support the story with clean lines and soft shapes.
- Put the face where light is best.
- Leave space for movement.
- Keep bright clutter away from the edges.
- Use the park background as shape, not noise.
How do I know where the focal point is?
The focal point is where your active autofocus point lands and locks sharpness. On most cameras, you can see it in the viewfinder, the EVF, or on the rear screen as a box or dot.
Use single-point AF when the moment is still, and switch to AF-C or AI Servo when the child is moving. Eye detection or subject detection can help, but you still need to watch the focus box and make sure it sits on the face.
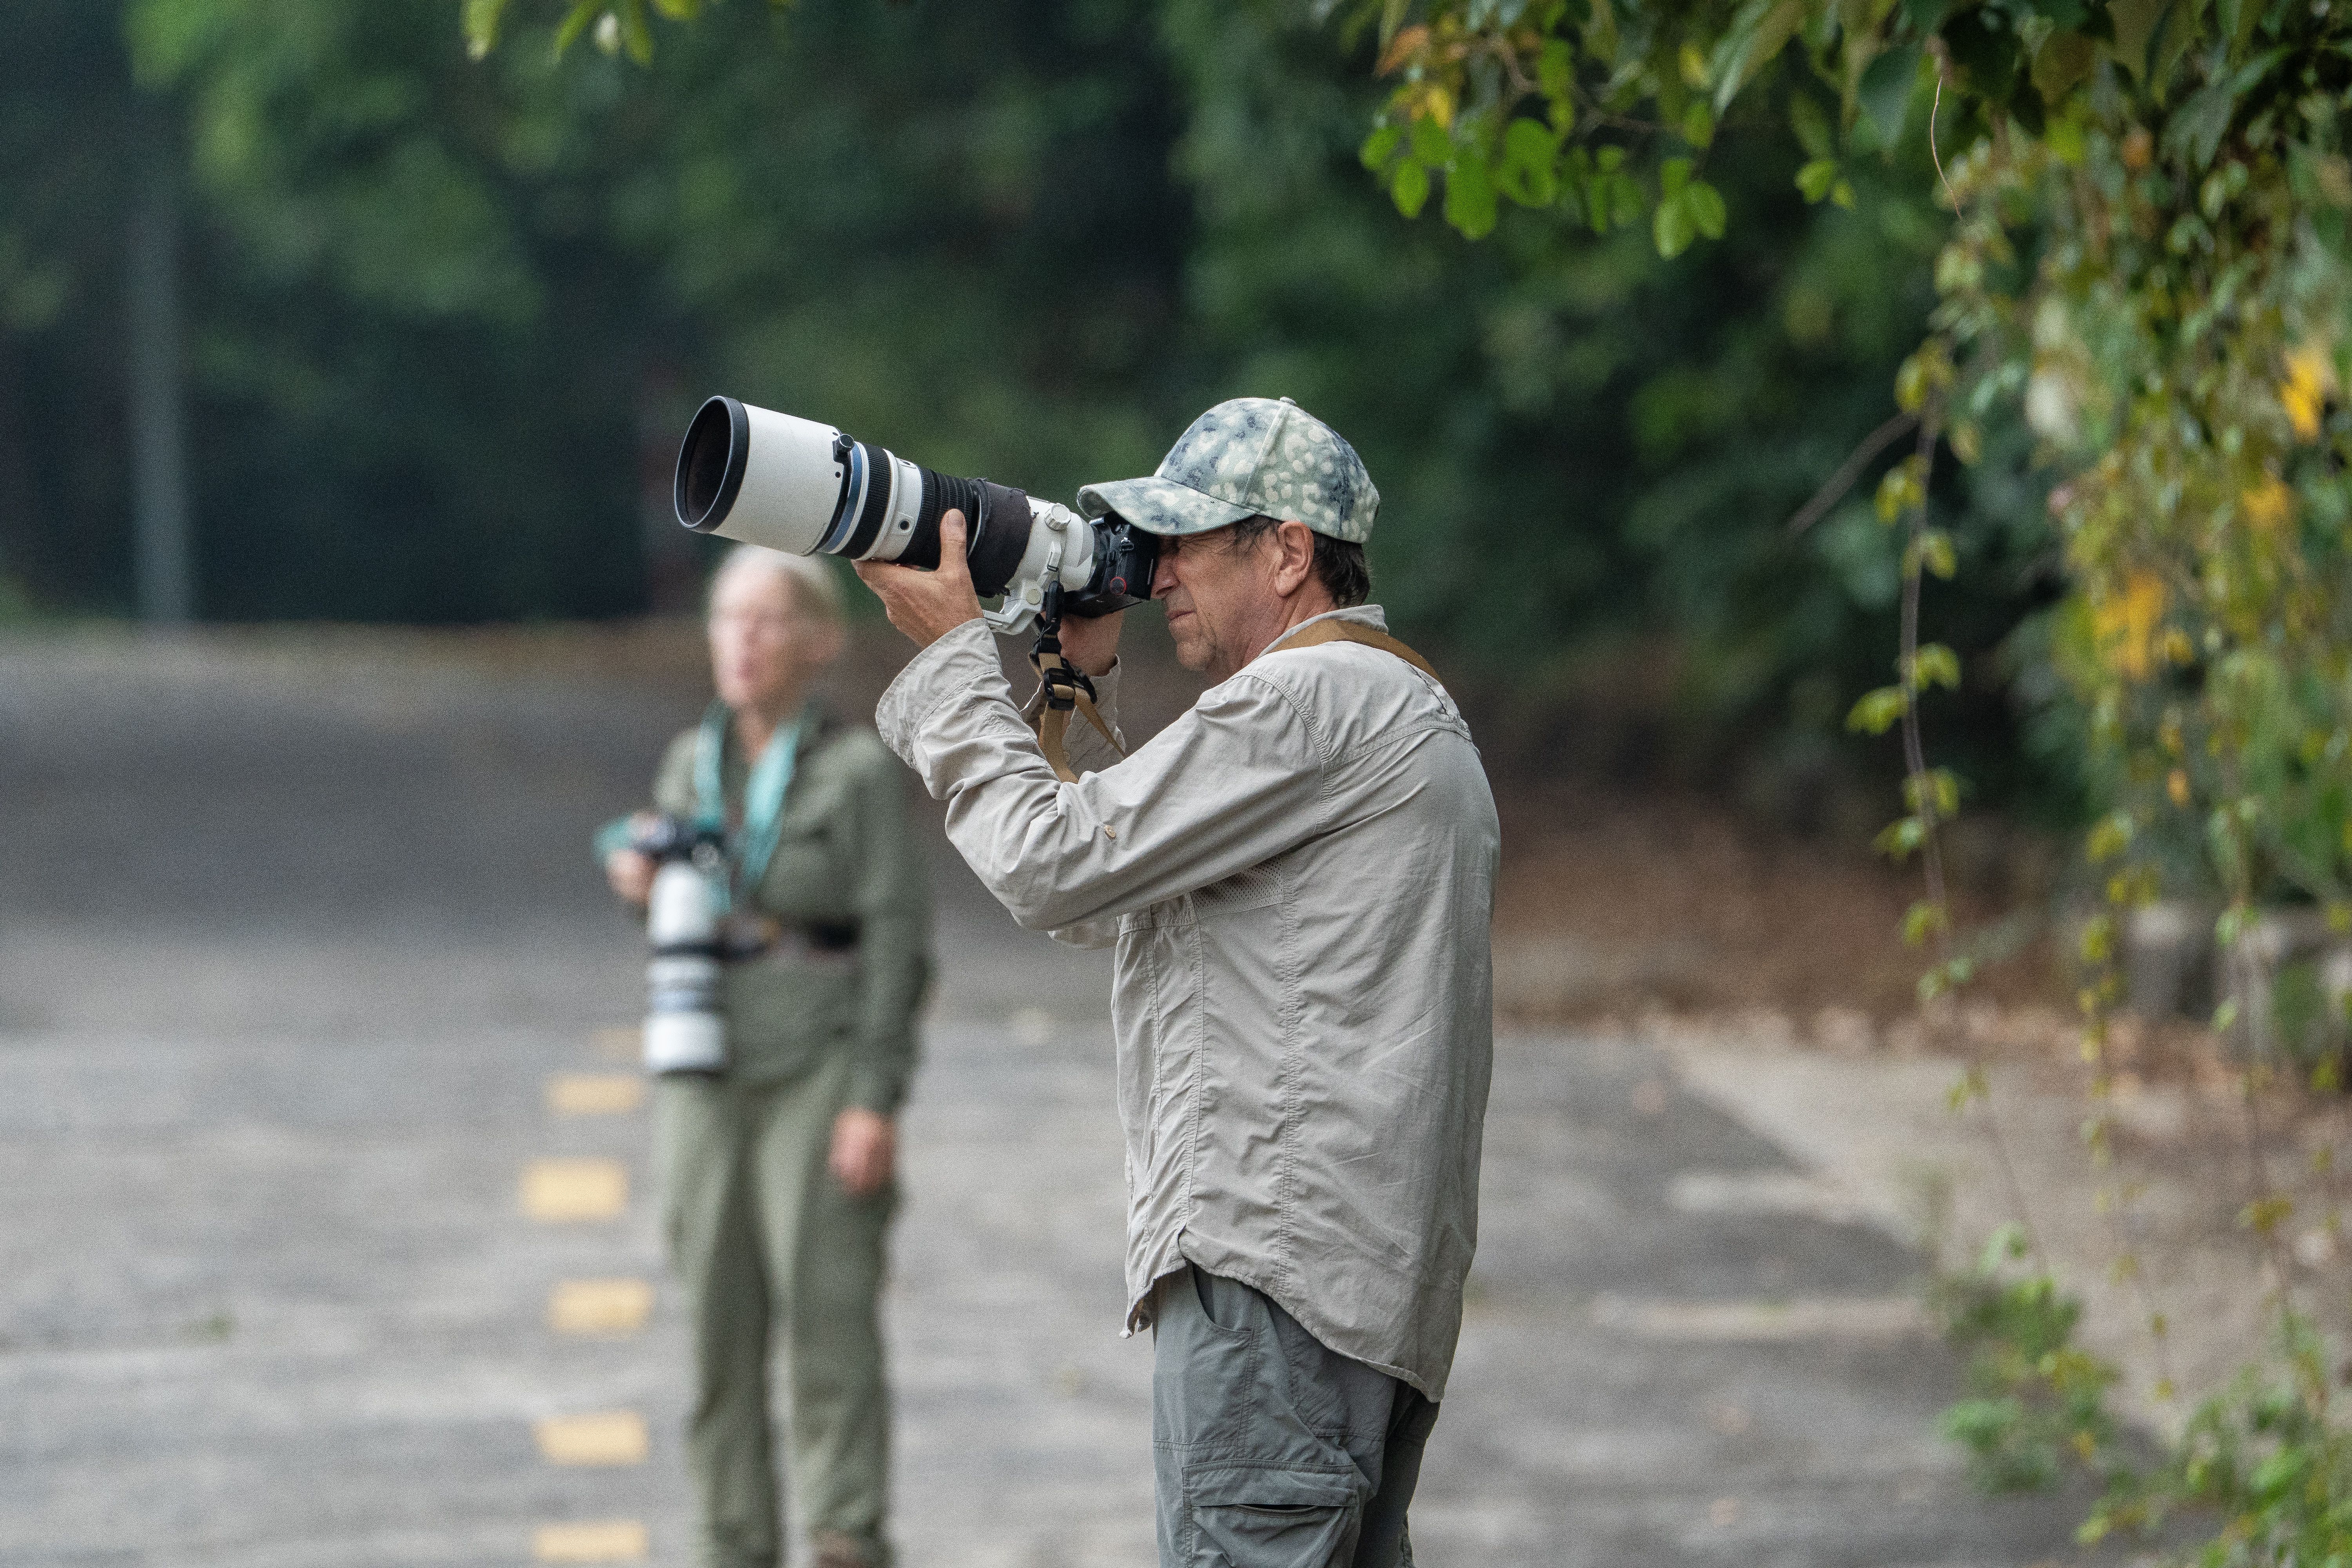
One easy check is to half-press the shutter and look for the focus marker. If the camera shows a green or solid lock, the point is set on that spot. On mirrorless bodies, the active point may also jump if tracking is on, so review the display before you shoot again.
A fast way to confirm focus
- Select a single AF point near the center.
- Place it on the nearest eye.
- Half-press and watch the focus box.
- Take one frame, then zoom in to check the eye.
- Keep the same point if the child holds pose.
That small habit saves time. It also keeps you from trusting a random focus hit on the shirt, hands, or swing chain.
Settings that help real smiles stay sharp

For candid park work, aperture-priority mode is a strong start. Pair it with a wider aperture, then keep an eye on shutter speed so motion does not blur the smile. Digital Photography School recommends at least 1/100s for moving candid subjects, with 1/250s, 1/500s, or 1/1000s used often for faster motion. For playful park action, 1/500s is a smart middle point because it freezes a lot of movement without pushing the ISO too hard.
A practical shooting setup
Here is a clean setup that works well in daylight and light shade:
- Mode: Aperture priority
- Aperture: f/2 to f/2.8
- Shutter speed: 1/500s or faster for motion
- ISO: Auto ISO with a cap you can live with
- Focus: AF-C or AI Servo with eye detection
This mix keeps the face sharp and the background soft. It also lets the camera react faster when a smile appears and disappears in the same breath.
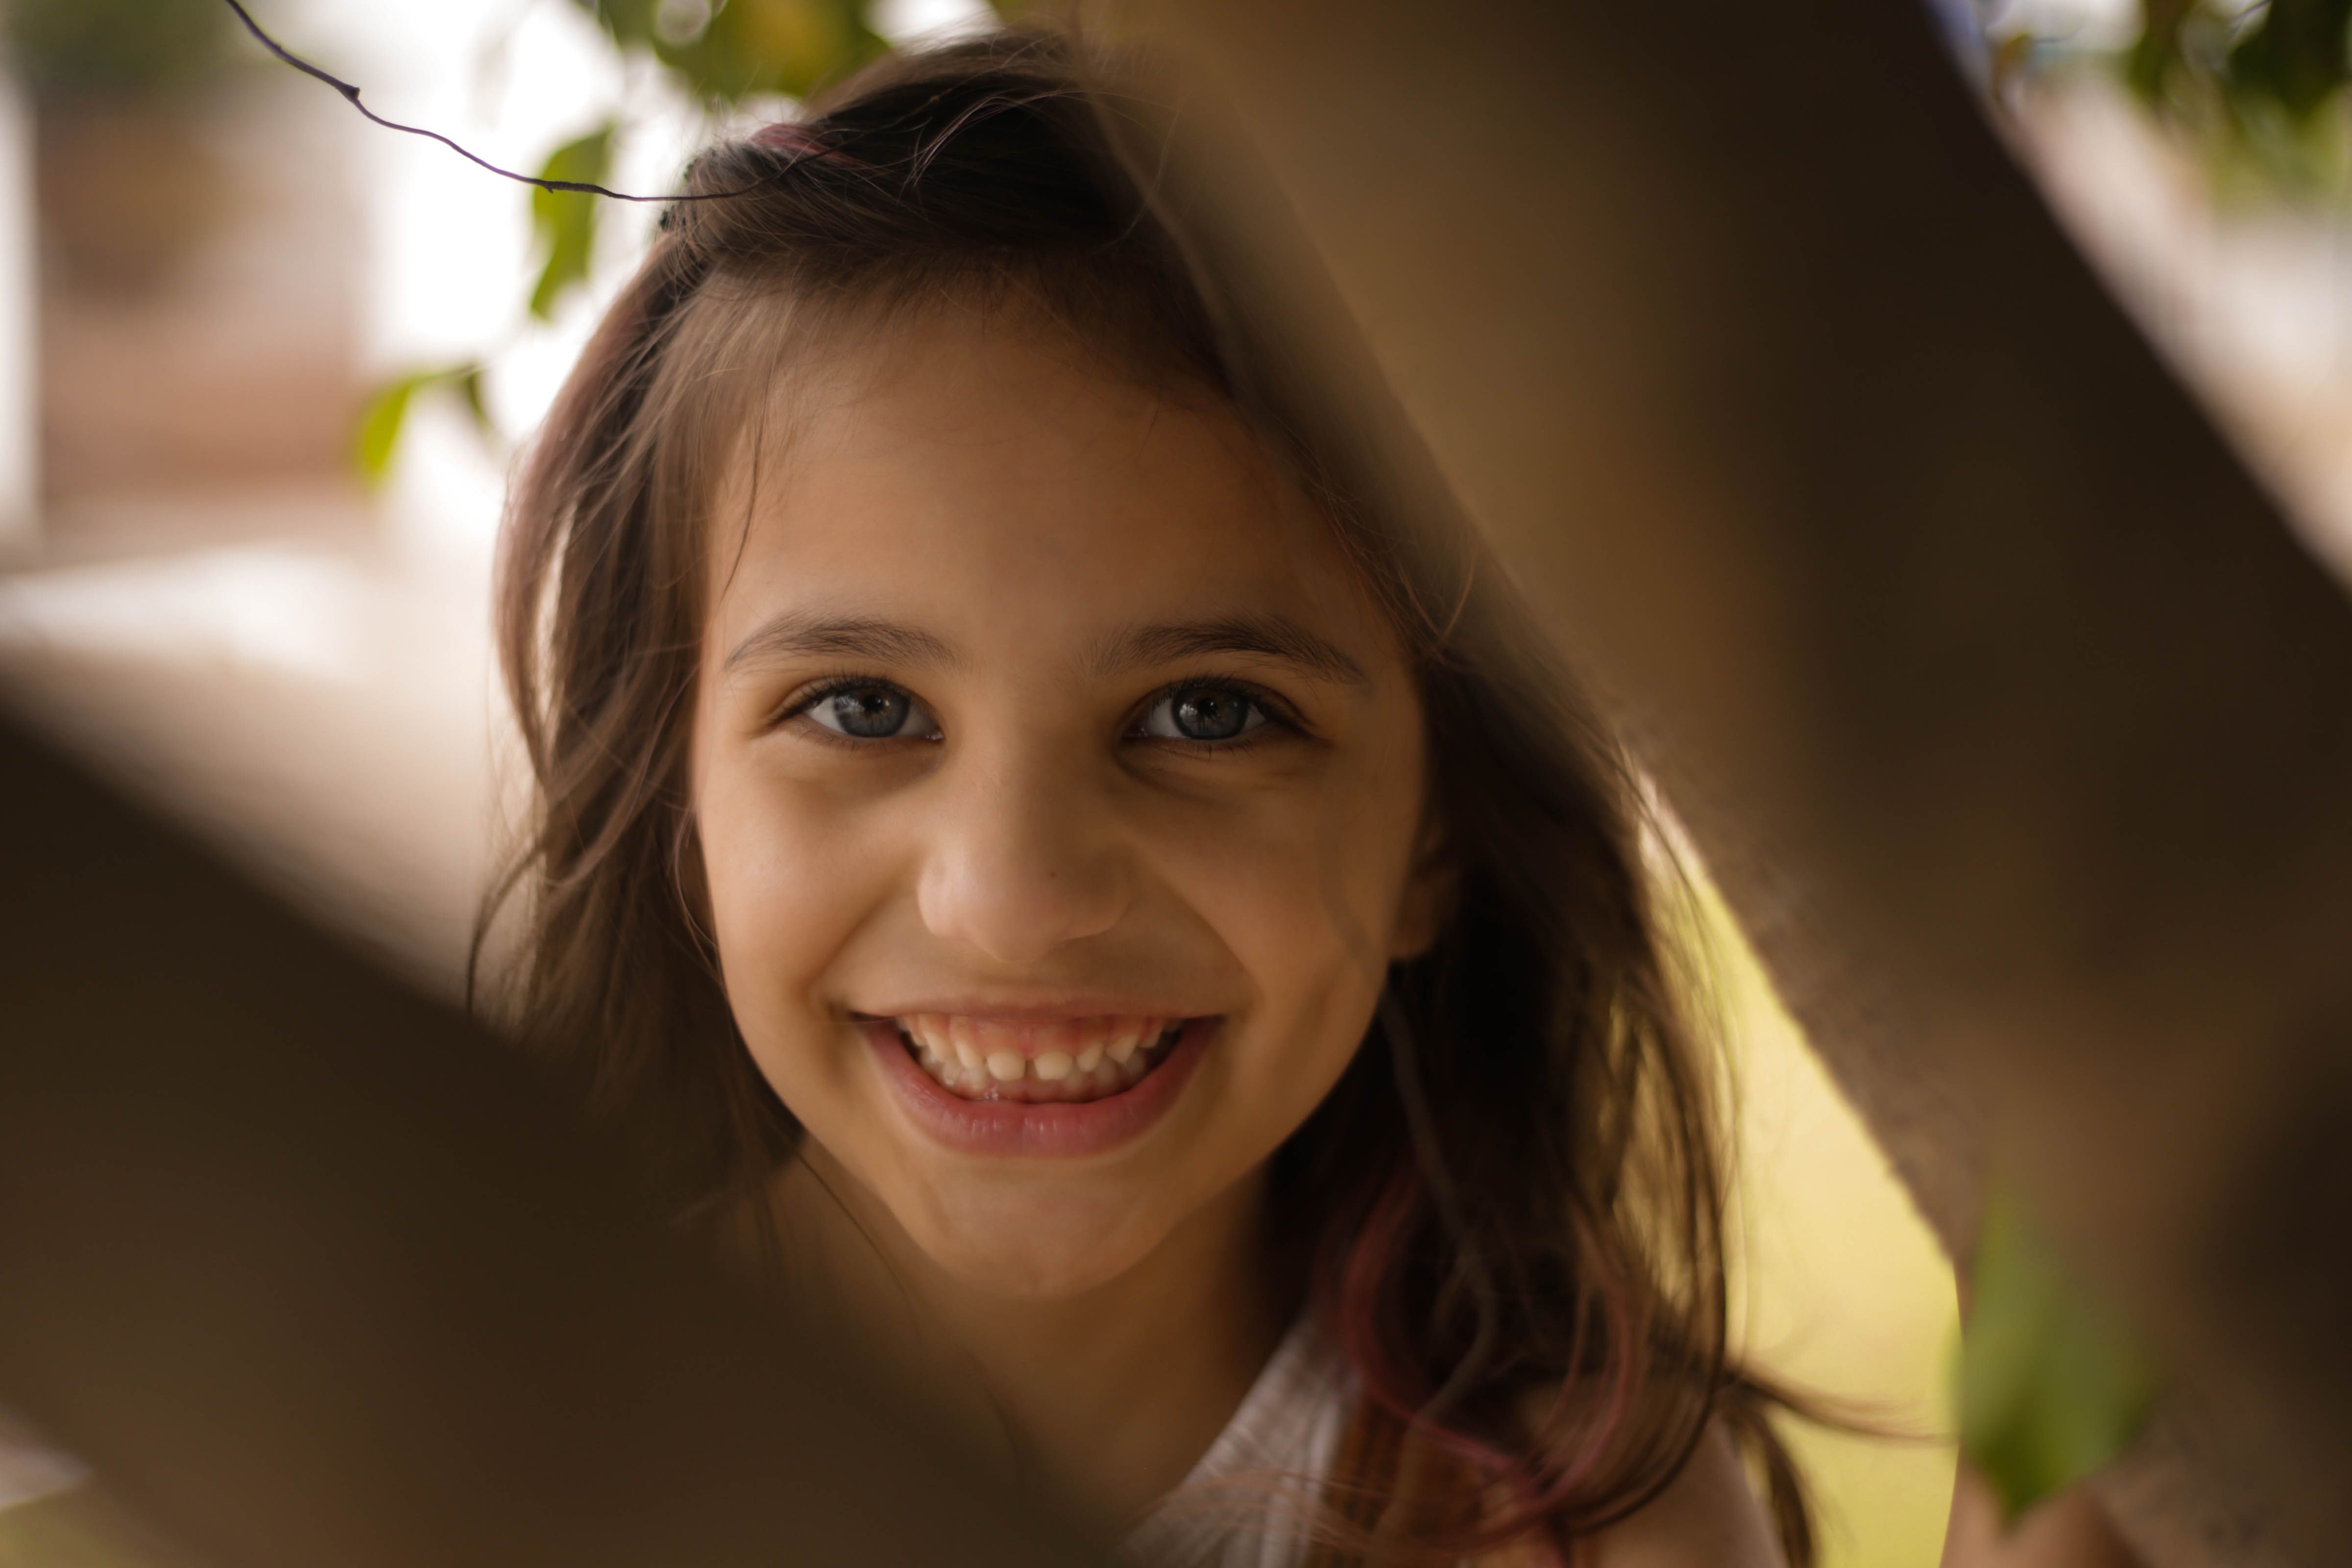
One tradeoff matters here. A wider aperture gives more light, but it also narrows depth of field, so focus must be exact. If the child leans forward, the eyes can slip out of sharpness fast.
Gear choices that keep you ready
The best gear for this kind of photo is gear you can reach without thinking. A long lens like a 135mm prime or a 70-200mm zoom can help you stay unobtrusive, which is useful when kids relax more at a distance.
Still, the lens is only part of the job. A strap that keeps the camera steady and near your hands cuts the time between seeing and shooting.
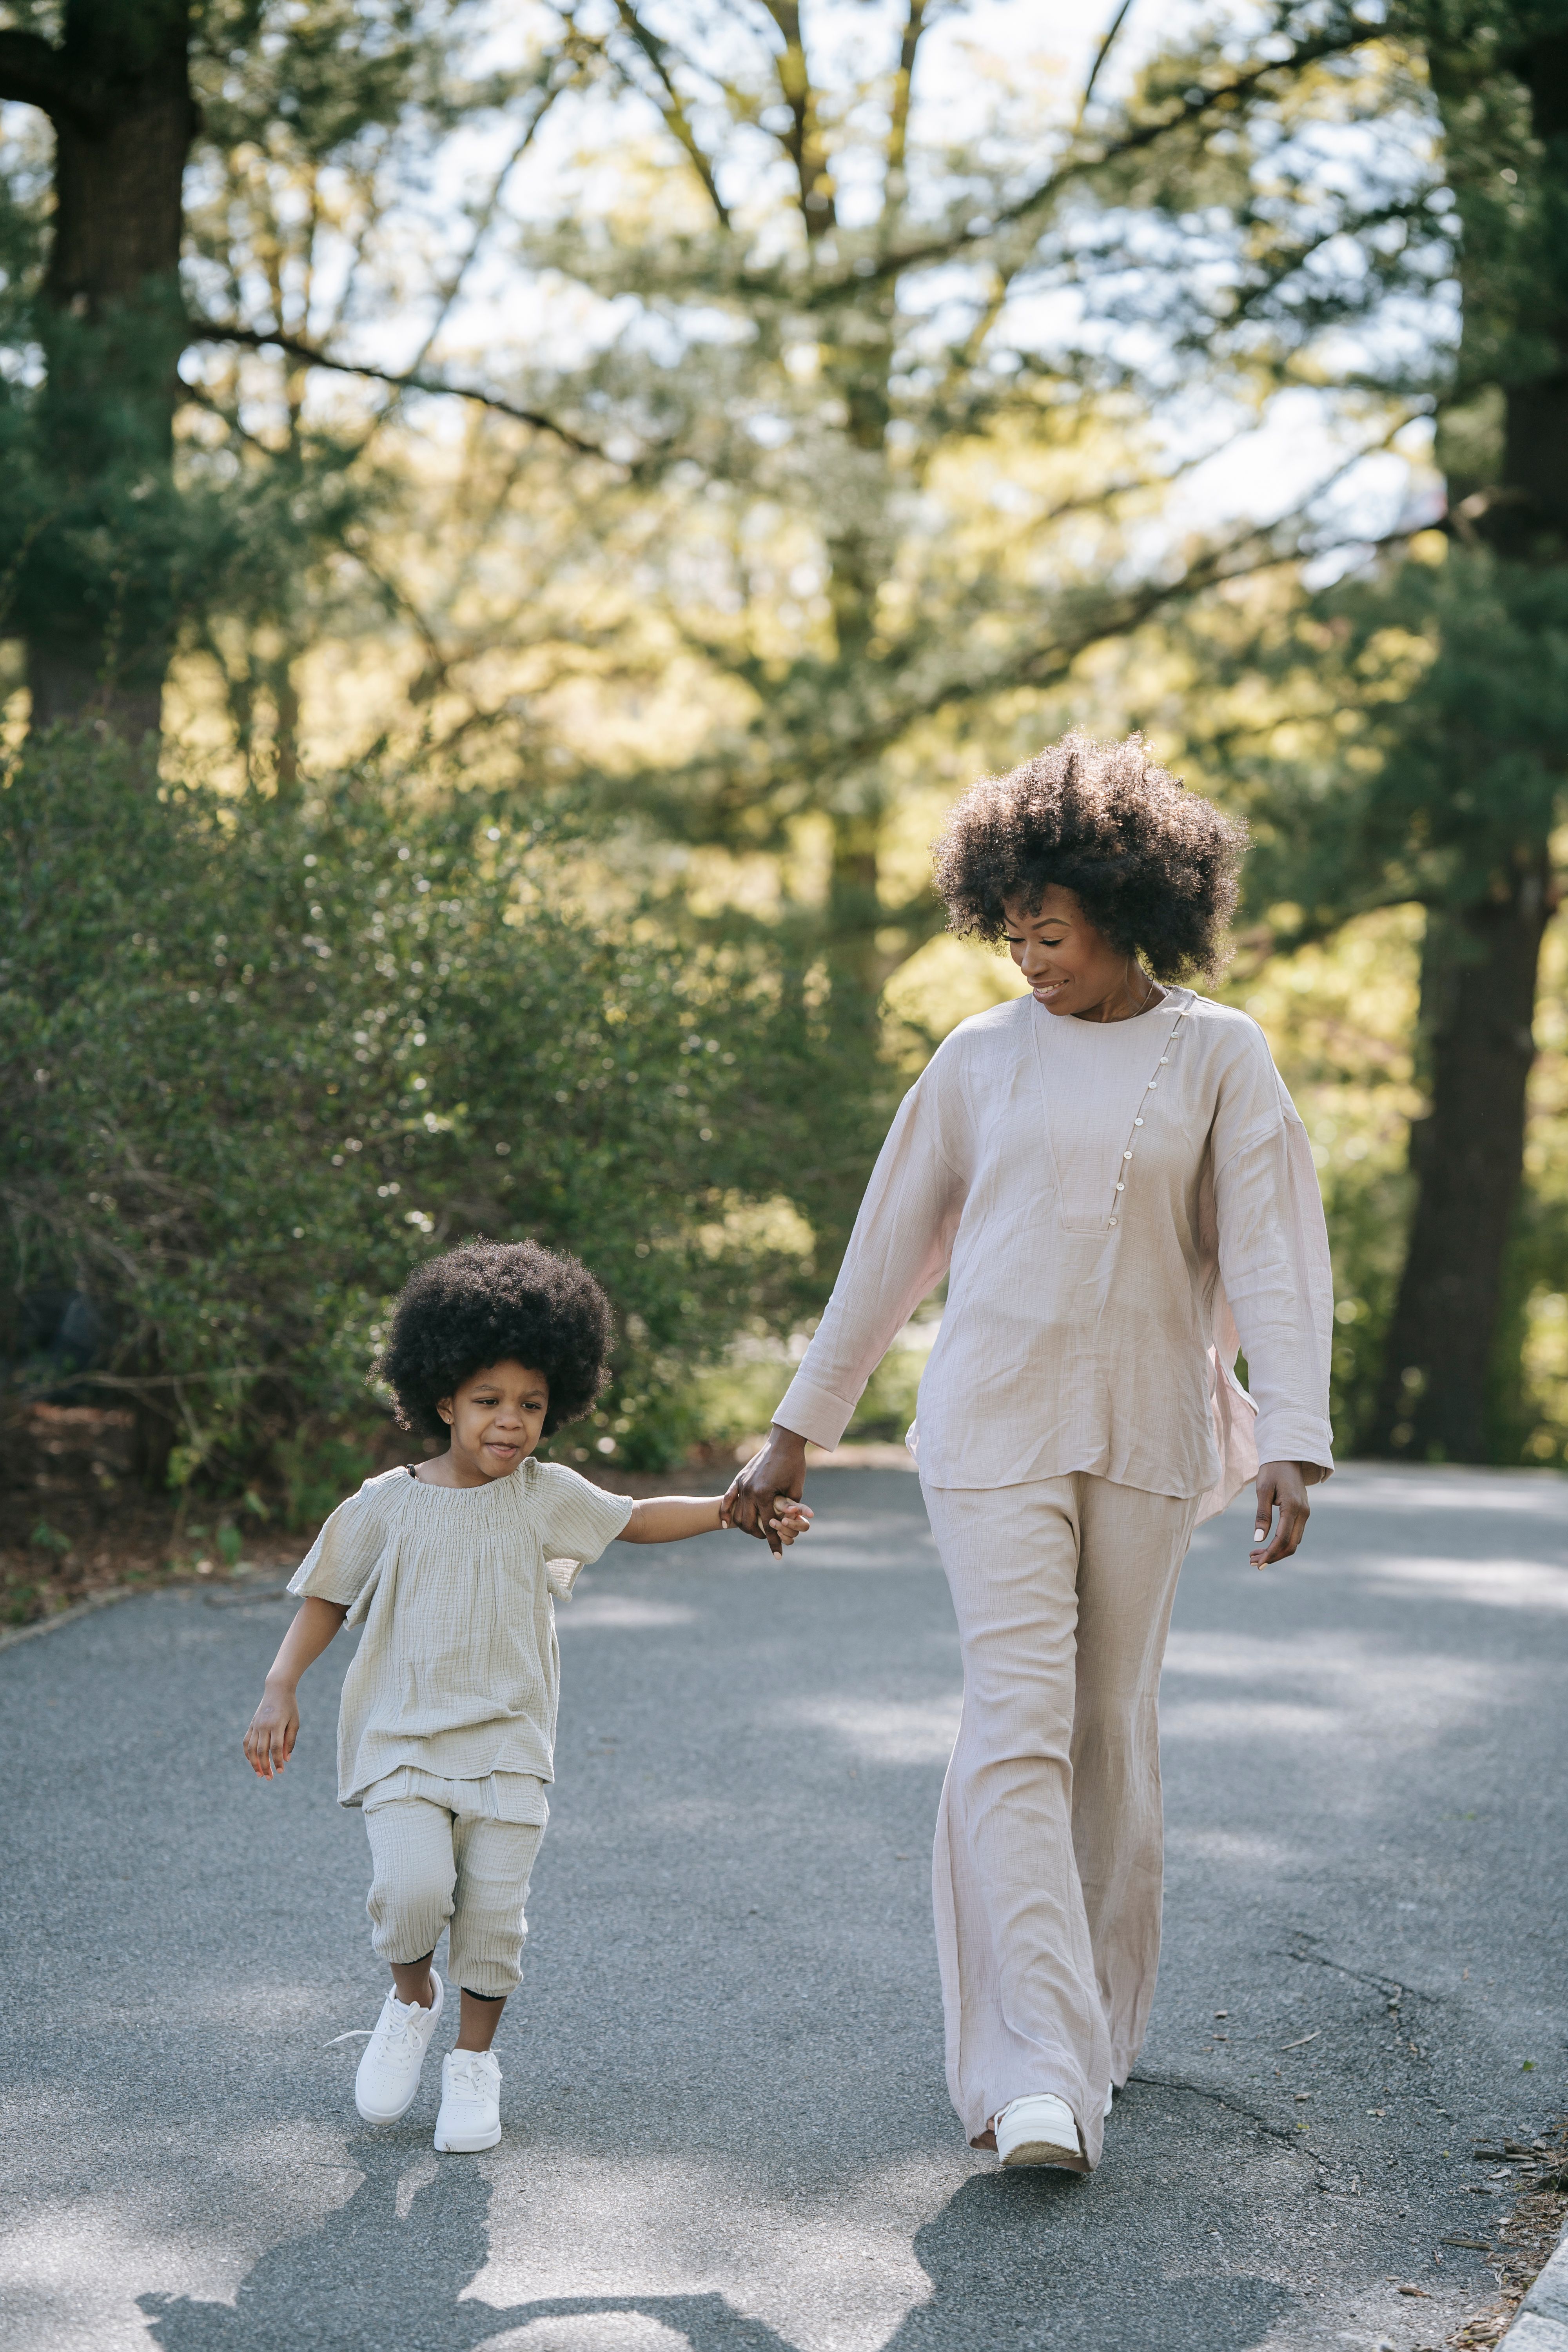
Hands-free carry also helps you stay present. You can watch for a smile, hold a snack, or guide a child, then lift the camera fast when the face turns toward you.
What I keep on hand
- A camera with AF-C or AI Servo
- A 50mm lens for close family frames
- A 135mm or 70-200mm lens for quiet candids
- At least one fast card, such as UHS-II, for quick write speed
- A strap that keeps the camera ready, not buried
Memory speed matters because a UHS-II card writes faster than UHS-I, which helps when you shoot short bursts and want the buffer to clear sooner. On a mid-tier body, a RAW buffer of about 20 to 40 frames is common, so a short burst will not fill it right away.
Small habits that make the smile happen
Timing improves when you watch the child before you raise the camera. The best smiles often come after a joke, a jump, or a quick look at a parent. Stay low and match the child’s height. That angle feels more personal and keeps the face from getting lost under hats, bars, or other park gear.

Use short bursts only when needed. A few frames can catch a blink-free smile, but long sprays can waste time and make culling harder later.
A simple field routine
- Choose a spot with soft light.
- Set the focus point on the face.
- Keep the camera in reach.
- Watch for the moment before it peaks.
- Take one frame, then a short burst if motion starts.
This approach keeps your attention on the person, not the menu. It also gives you more keepers because you shoot only when the expression is real.
Ending with the frame you meant to make

Real smiles do not last long, but the right setup makes them easier to catch. A clear focal point, a ready camera, and a fast shutter all work together at the park.
Keep the face in sharp focus, let the background stay calm, and stay close enough to read the moment. Before you start, raise the camera, lock the eye, and look for the next smile near the swings.
Frequently Asked Questions
What is a focal point in photography?
A focal point in photography is the main part of the image that draws the eye first. In a park portrait, that is often the child’s face, especially the eyes or mouth.

What is the purpose of a focal point?
The purpose of a focal point is to guide the viewer’s eye and tell the story fast. A strong focal point turns a busy park scene into one clear memory and helps remove distractions.
What is the 20 60 20 rule in photography?
The 20 60 20 rule in photography is a simple guide for how attention may move across a frame. About 20 percent of the image may pull the eye right away, 60 percent supports the main subject, and the last 20 percent can distract or fade into the background.
How do I know where the focal point is?
The focal point is the part of the scene that your eye notices first. In a park photo, look for the nearest eye, the front edge of the face, or the brightest, sharpest area that matches the action.


