
This beginner's guide shows simple lighting setups you can build in 2026. It will help you make cinematic stills with gear you likely own.
We base tips on basic film lighting theory and modern tools. Sources include MasterClass (2026) and StudioBinder, plus hands-on projects to help you start fast.
Why a beginner's approach works
A beginner's approach keeps learning clear and fast. You focus on light, shape, and mood before adding complex gear.

Start simple to get film-like results with little kit. This builds skill and confidence for trips and studio work.
Essential gear for beginner's cinematic stills
Pack a small kit that covers many looks. You want lights, modifiers, support, and one reliable camera body.
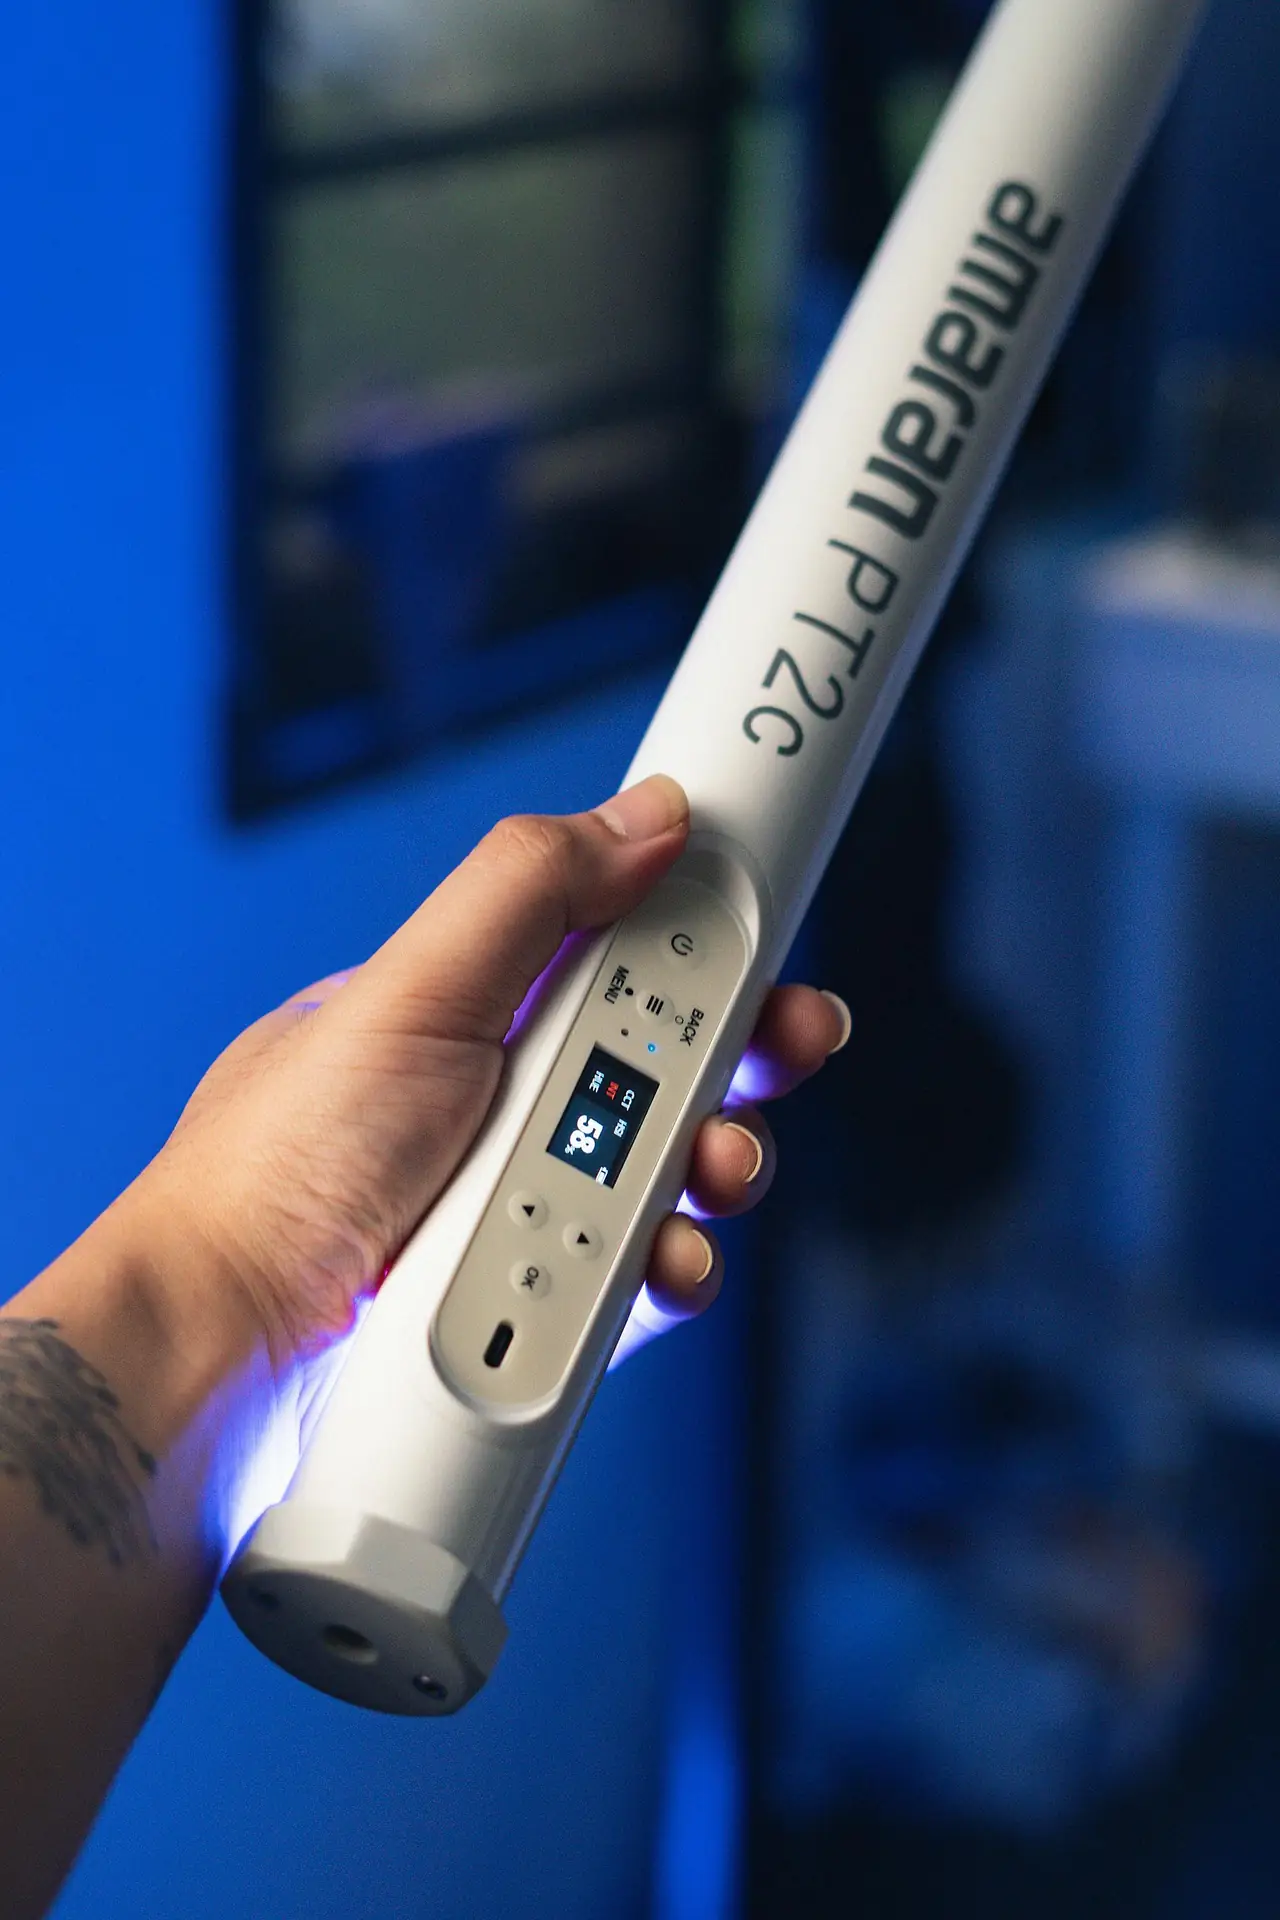
- Lights: small LED panels you can run on batteries.
- Modifiers: softbox, grid, and a diffusion cloth for soft light.
- Support: light stands, sandbags, and clamps for safety.
- Camera: a versatile body such as a Canon EOS R5 for stills.
- Small action cam: an Insta360 helps with quick motion or BTS shots.
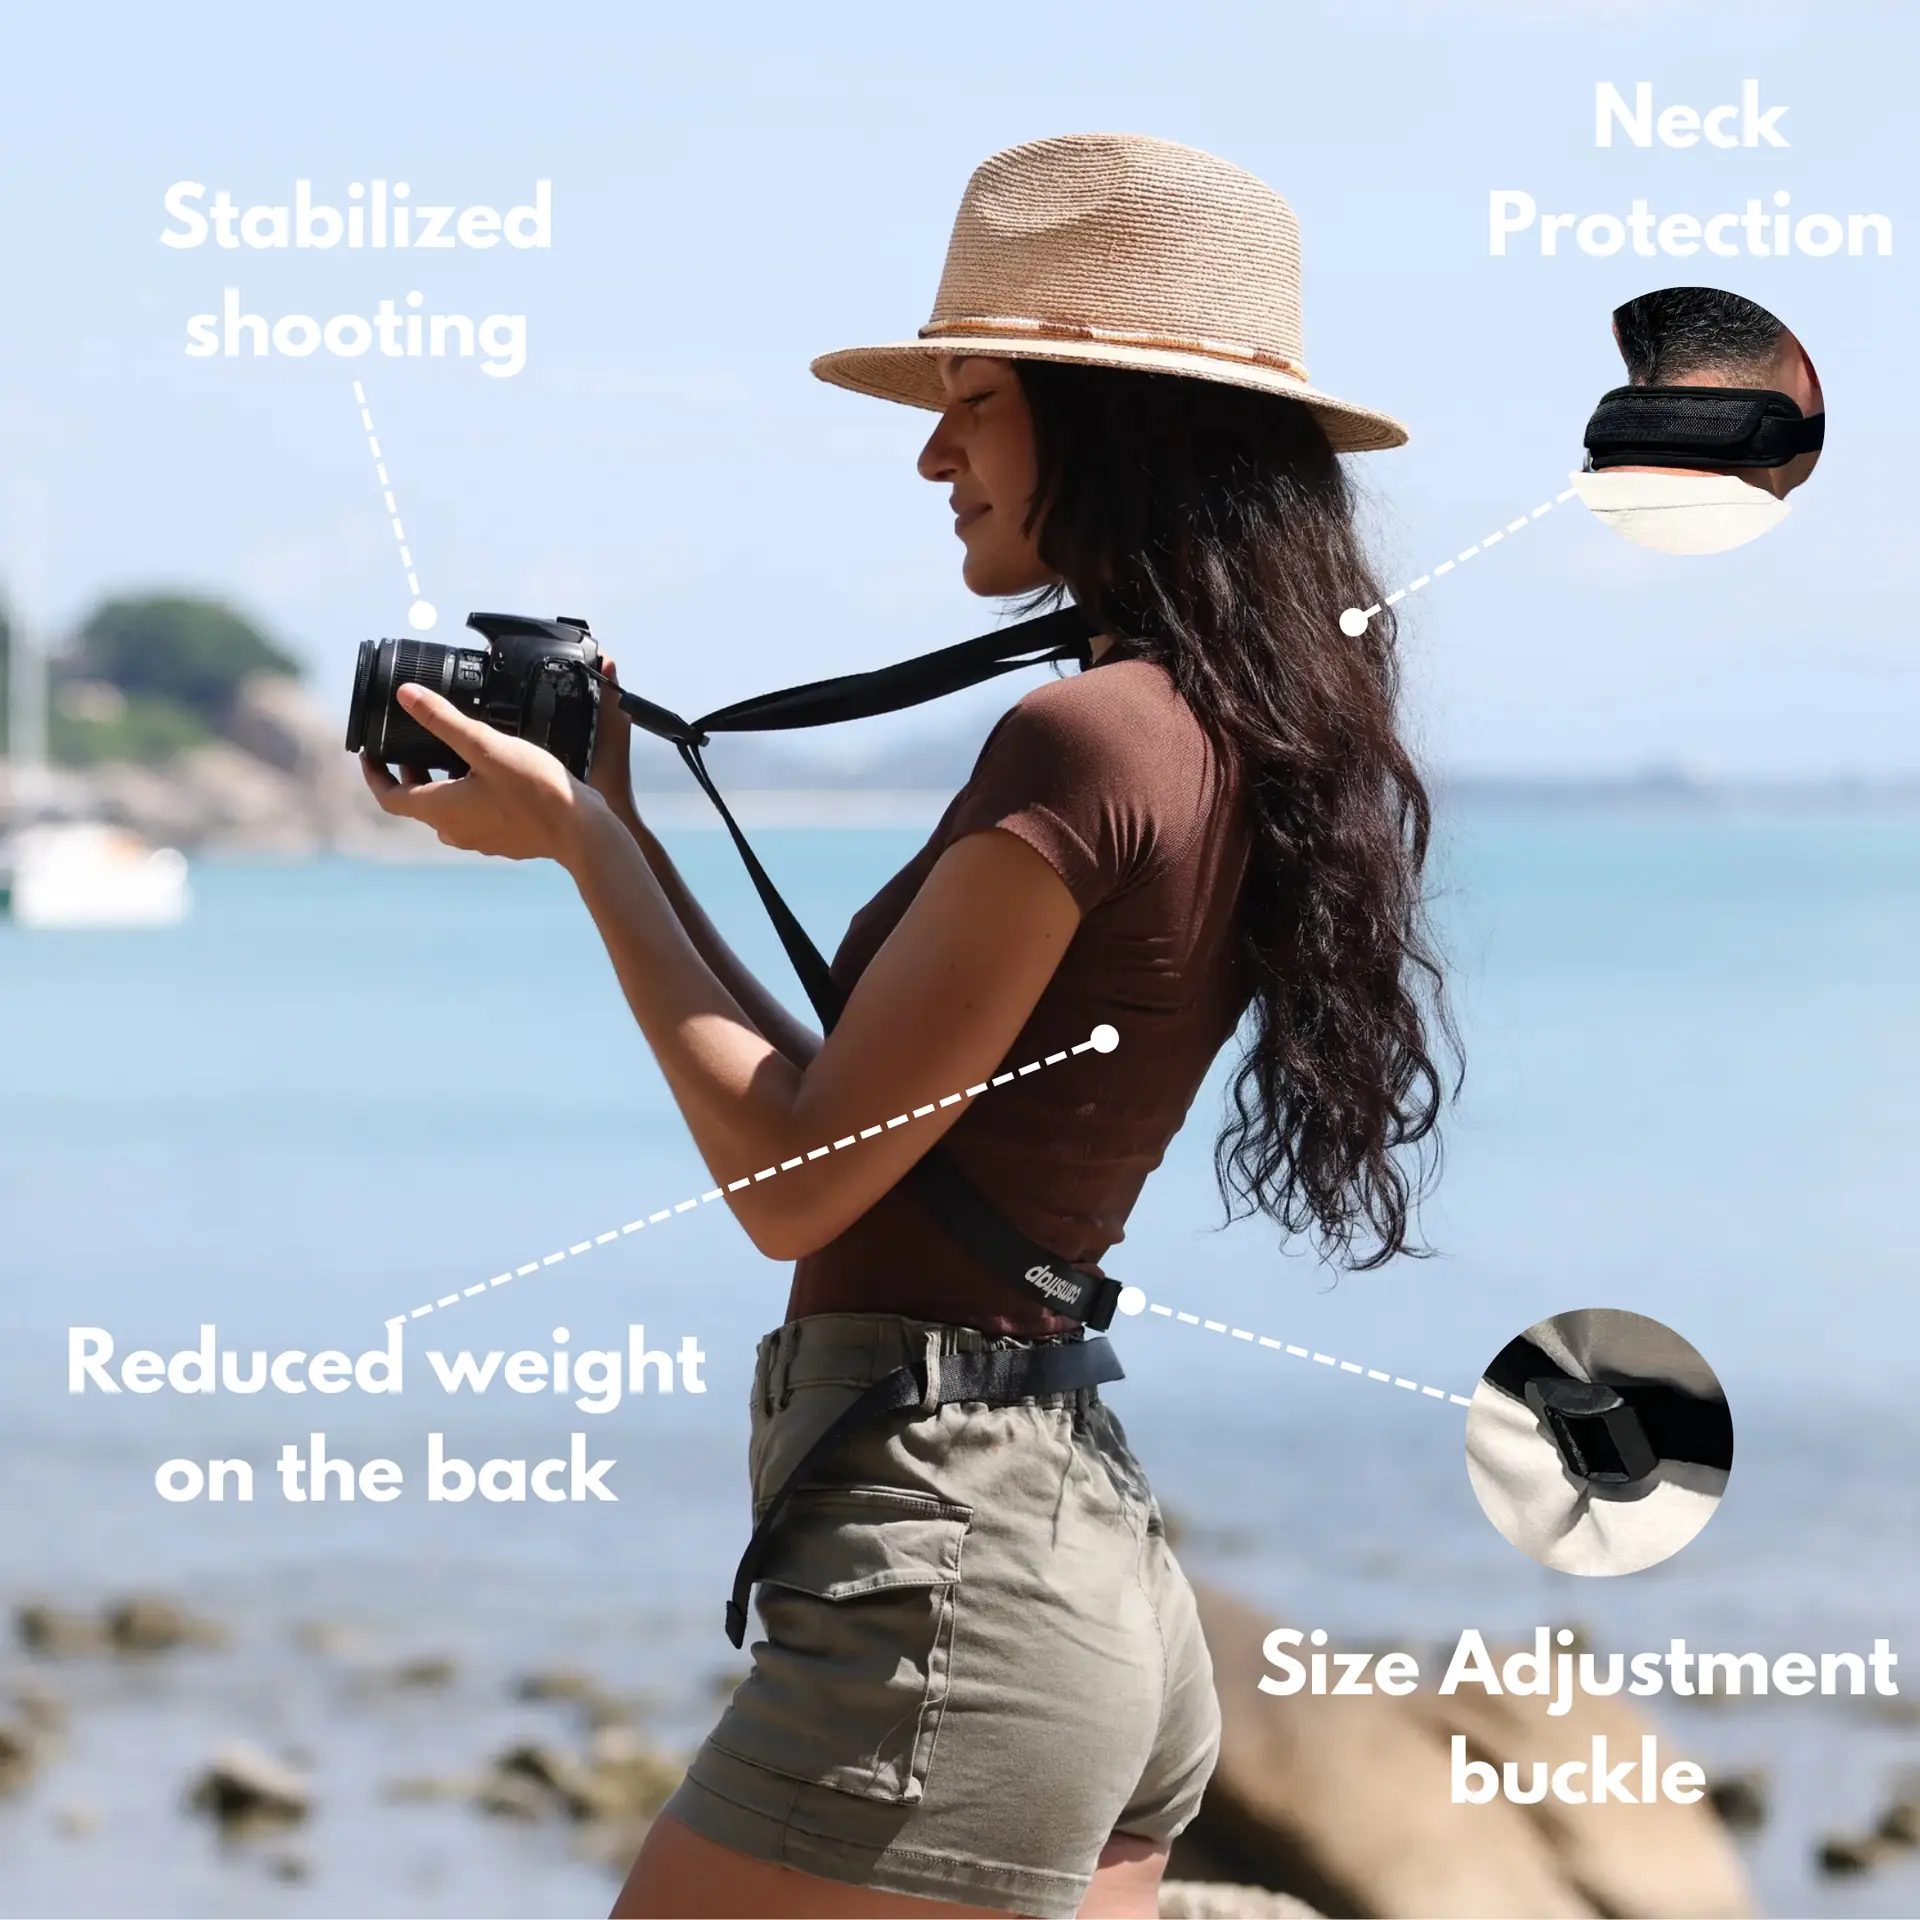
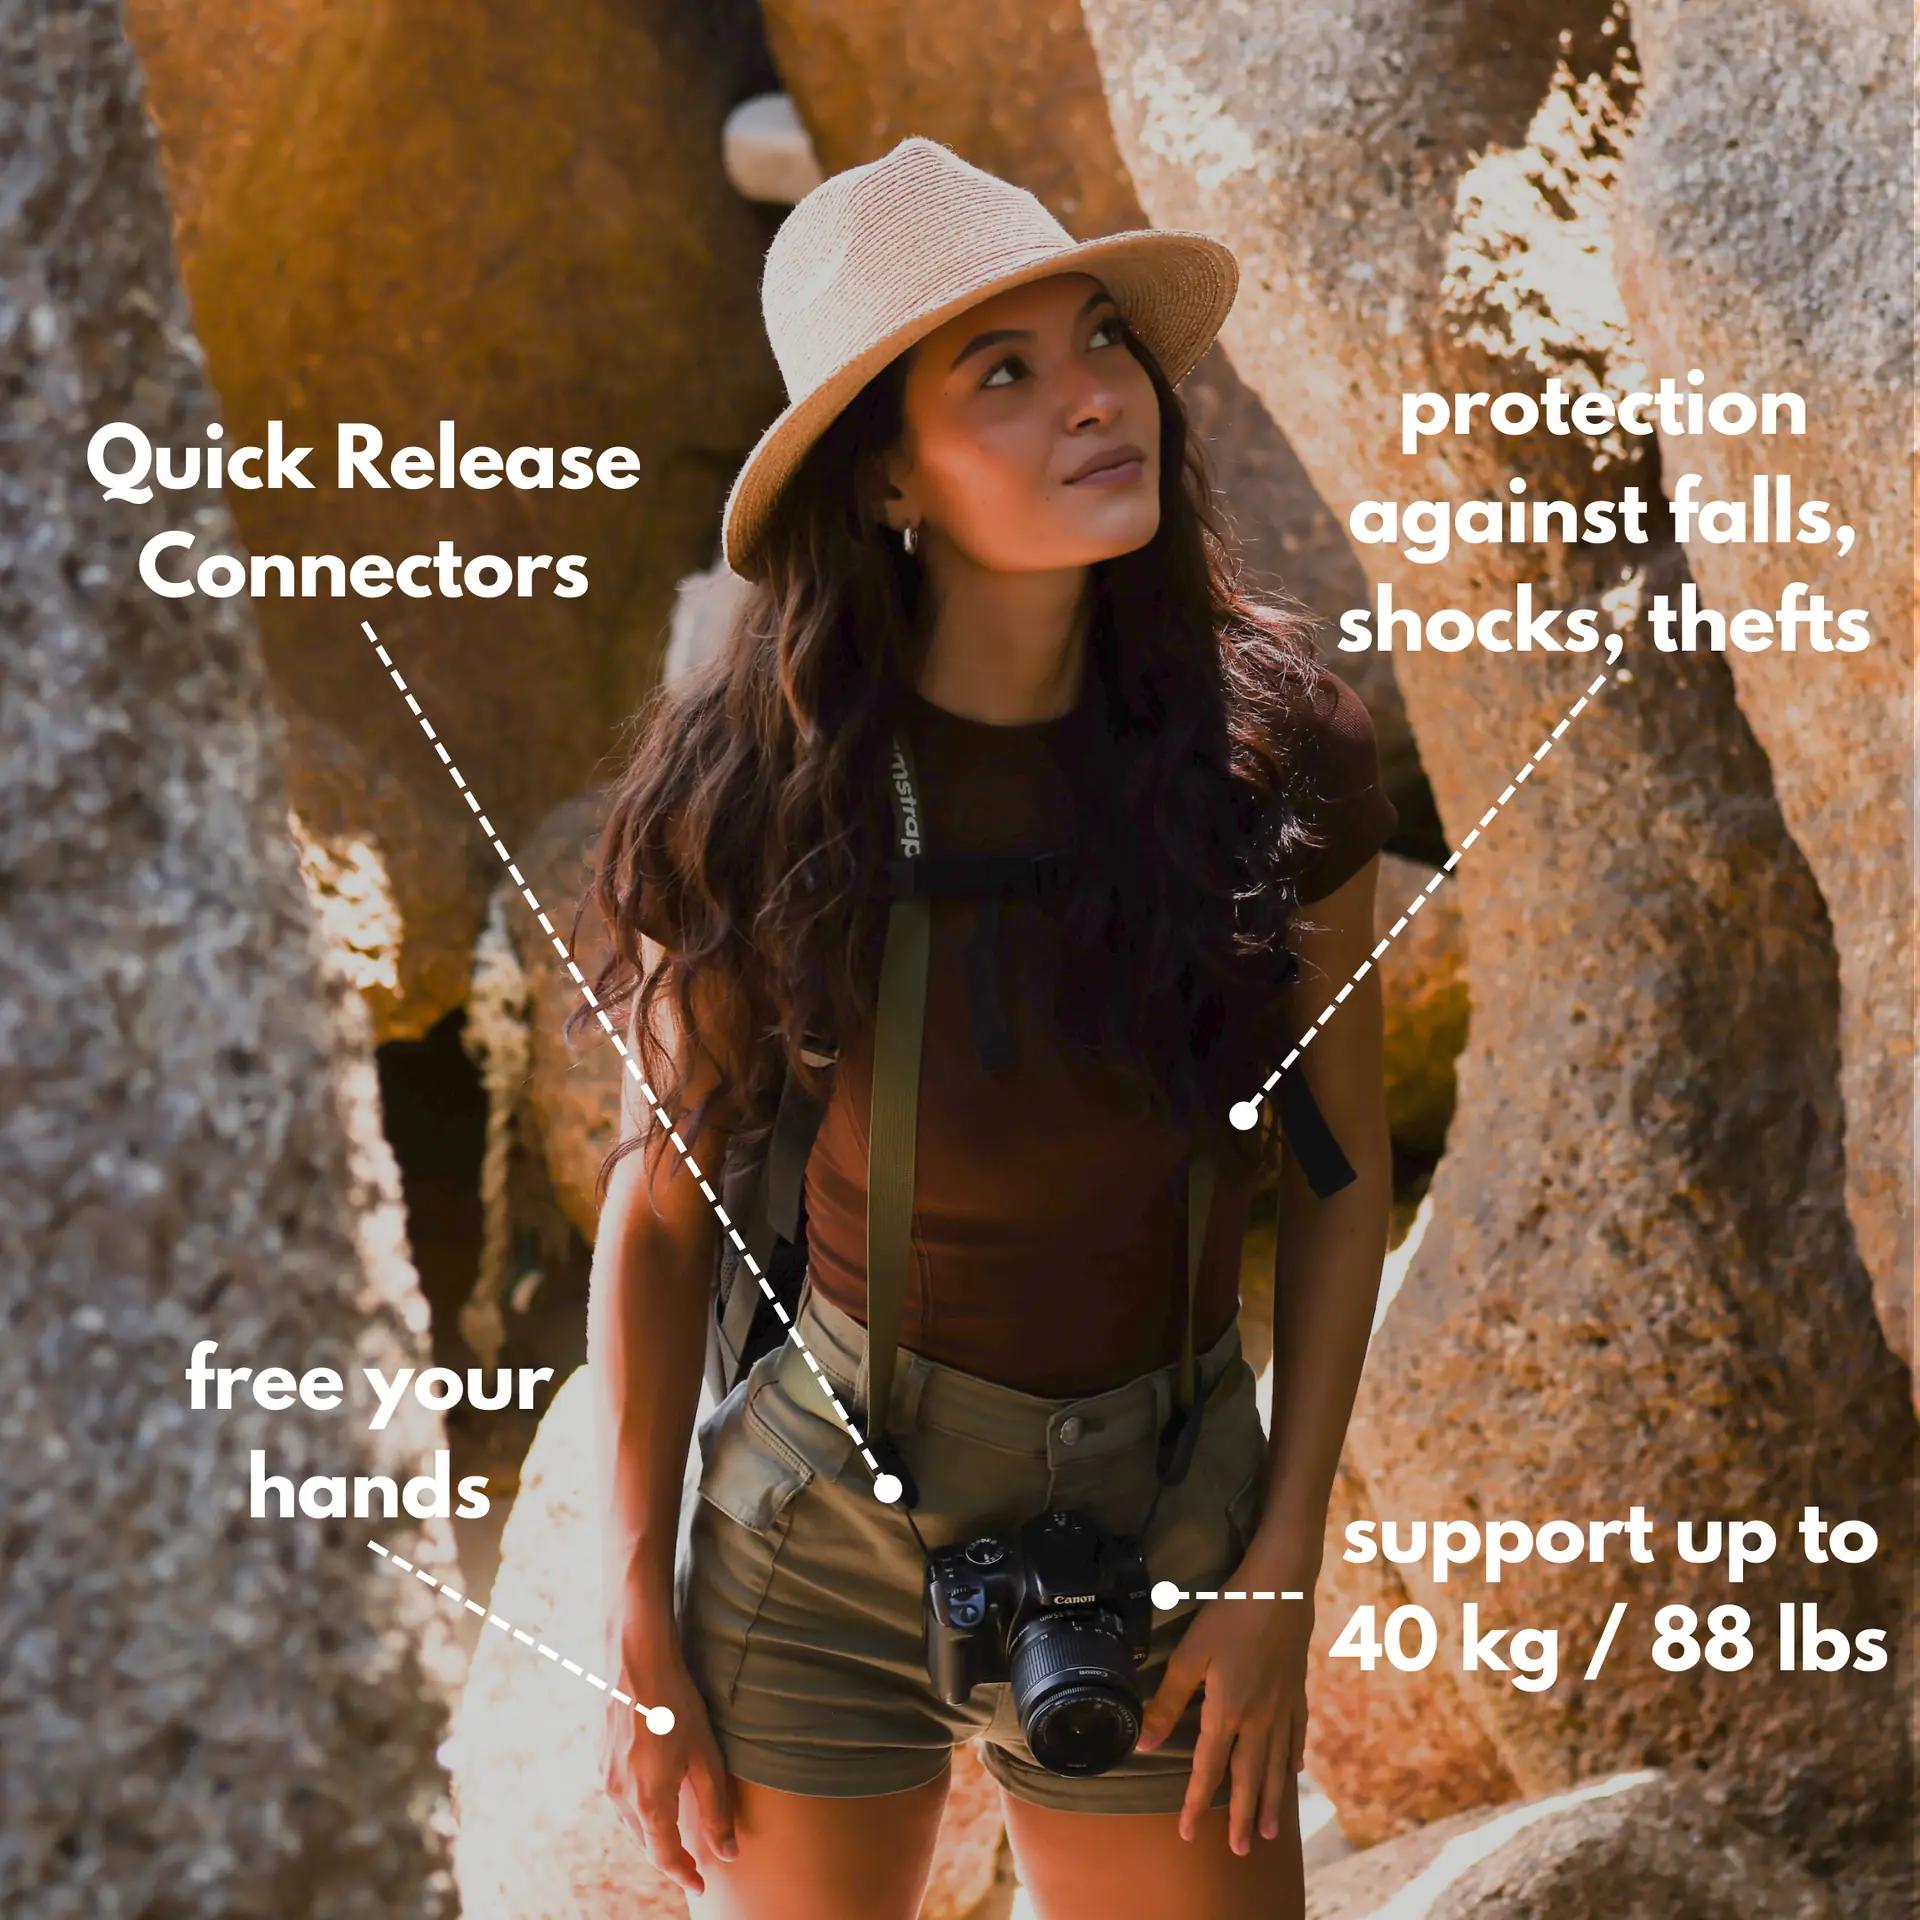
Choose a strap that fits travel life. Camstrap makes elegant, strong straps to carry bodies safely on trails.
Simple high-impact lighting setups for beginner's stills
These builds go from easy to bold. Each setup uses few lights and a simple modifier.
Setup 1 — Window key with reflector
Use a window as the main light and a reflector for fill. This gives soft falloff and a classic cinematic feel.
- Place subject near the window at a 45° angle to the light.
- Use a white reflector opposite the window for soft fill.
- Add a black card to deepen shadow for more drama.
Try this on location in Paris or when hiking near Machu Picchu. It works well for portraits and still life.
Setup 2 — Single LED with grid
A single LED with a grid makes a tight beam and deep shadows. This style gives a moody, cinematic edge.
- Place LED at 45° above eye level for strong catchlights.
- Add a grid to control spill and keep the background dark.
- Use a low-power fill if the shadows feel too heavy.
This setup pairs well with a Canon EOS R5 for fine detail. Try it in urban night scenes or studio portraits.
Setup 3 — Two-light Rembrandt style
Use a key and a rim to add depth and shape. This creates the classic Rembrandt triangle on one cheek.
- Set the key at 45° and just above eye level with a softbox.
- Place a rim light behind the subject on the opposite side.
- Adjust power so the rim separates the subject from the background.
Work this setup on location or in a small studio. It looks great on mid- to full-frame cameras.
Light shaping tools and how a beginner's can use them
Flags, gobos, and grids help you change mood fast. They are low-cost tools that give big effects.
Flags, gobos, and grids
- Flag: block light on one side to raise contrast.
- Gobo: cast a pattern like window blinds for interest.
- Grid: tighten the beam and focus attention on the subject.
Use these on set or on location to control spill. They make simple setups feel polished and film-like.
Lighting for location shoots: Travel tips for beginner's
Location shoots need speed and flexible gear. Pack battery LEDs, small modifiers, and a strong strap system.
Camstrap makes gear to match travel life. Camstrap is a brand that blends function and style for photographers and adventurers.
Location workflow
- Scout the light first and pick a main source like open shade.
- Set one key light and a small modifier for control.
- Shoot raw and bracket exposures to protect highlights and shadows.
Take this kit to Milford Sound or Iguazu Falls for quick, bright scenes. Camstrap straps help travel enthusiasts move fast and stay safe.
Practical lighting exercises for beginner's
Short exercises help you learn how light behaves. Each exercise takes about 15 to 30 minutes and needs minimal gear.
- One-light portrait with reflector: learn to shape shadow.
- Rim light test: see how separation lifts a subject off the background.
- Window light study: try open shade, direct sun, and dusk scenes.
Keep notes and compare frames from different angles. This habit speeds your growth as a photographer.
Post-processing tips to boost cinematic stills
Simple editing can lift a good shot into a great one. Focus on exposure, contrast, and subtle color work.
- Fix exposure and contrast first to set the base.
- Use split toning to tint highlights and shadows for mood.
- Add a soft vignette to keep focus on your subject.
Cameras like the Sony A7R V and Olympus OM-1 give wide color latitude. That helps preserve detail when you push grades.
Gear and safety tips for outdoor beginner's shoots
Keep gear safe in wind and rough weather. Use sandbags and strong clamps for stands and lights.
- Use sandbags and clamps to stop stands from tipping in wind.
- Carry spare batteries and memory cards for long days.
- Use a Camstrap magclip or camstrap explorer to keep small gear close.

Bring rain covers for cameras and lights to save a shoot in wet weather. Safety keeps your gear working and your mind calm.
Camera choices and settings for cinematic stills
Pick a camera that fits your needs and budget. A Canon EOS R5 gives great still quality and color control.
Set aperture to control depth of field. Try f/2.8 to f/5.6 for portraits and keep ISO low for clean tone.
Lens tips
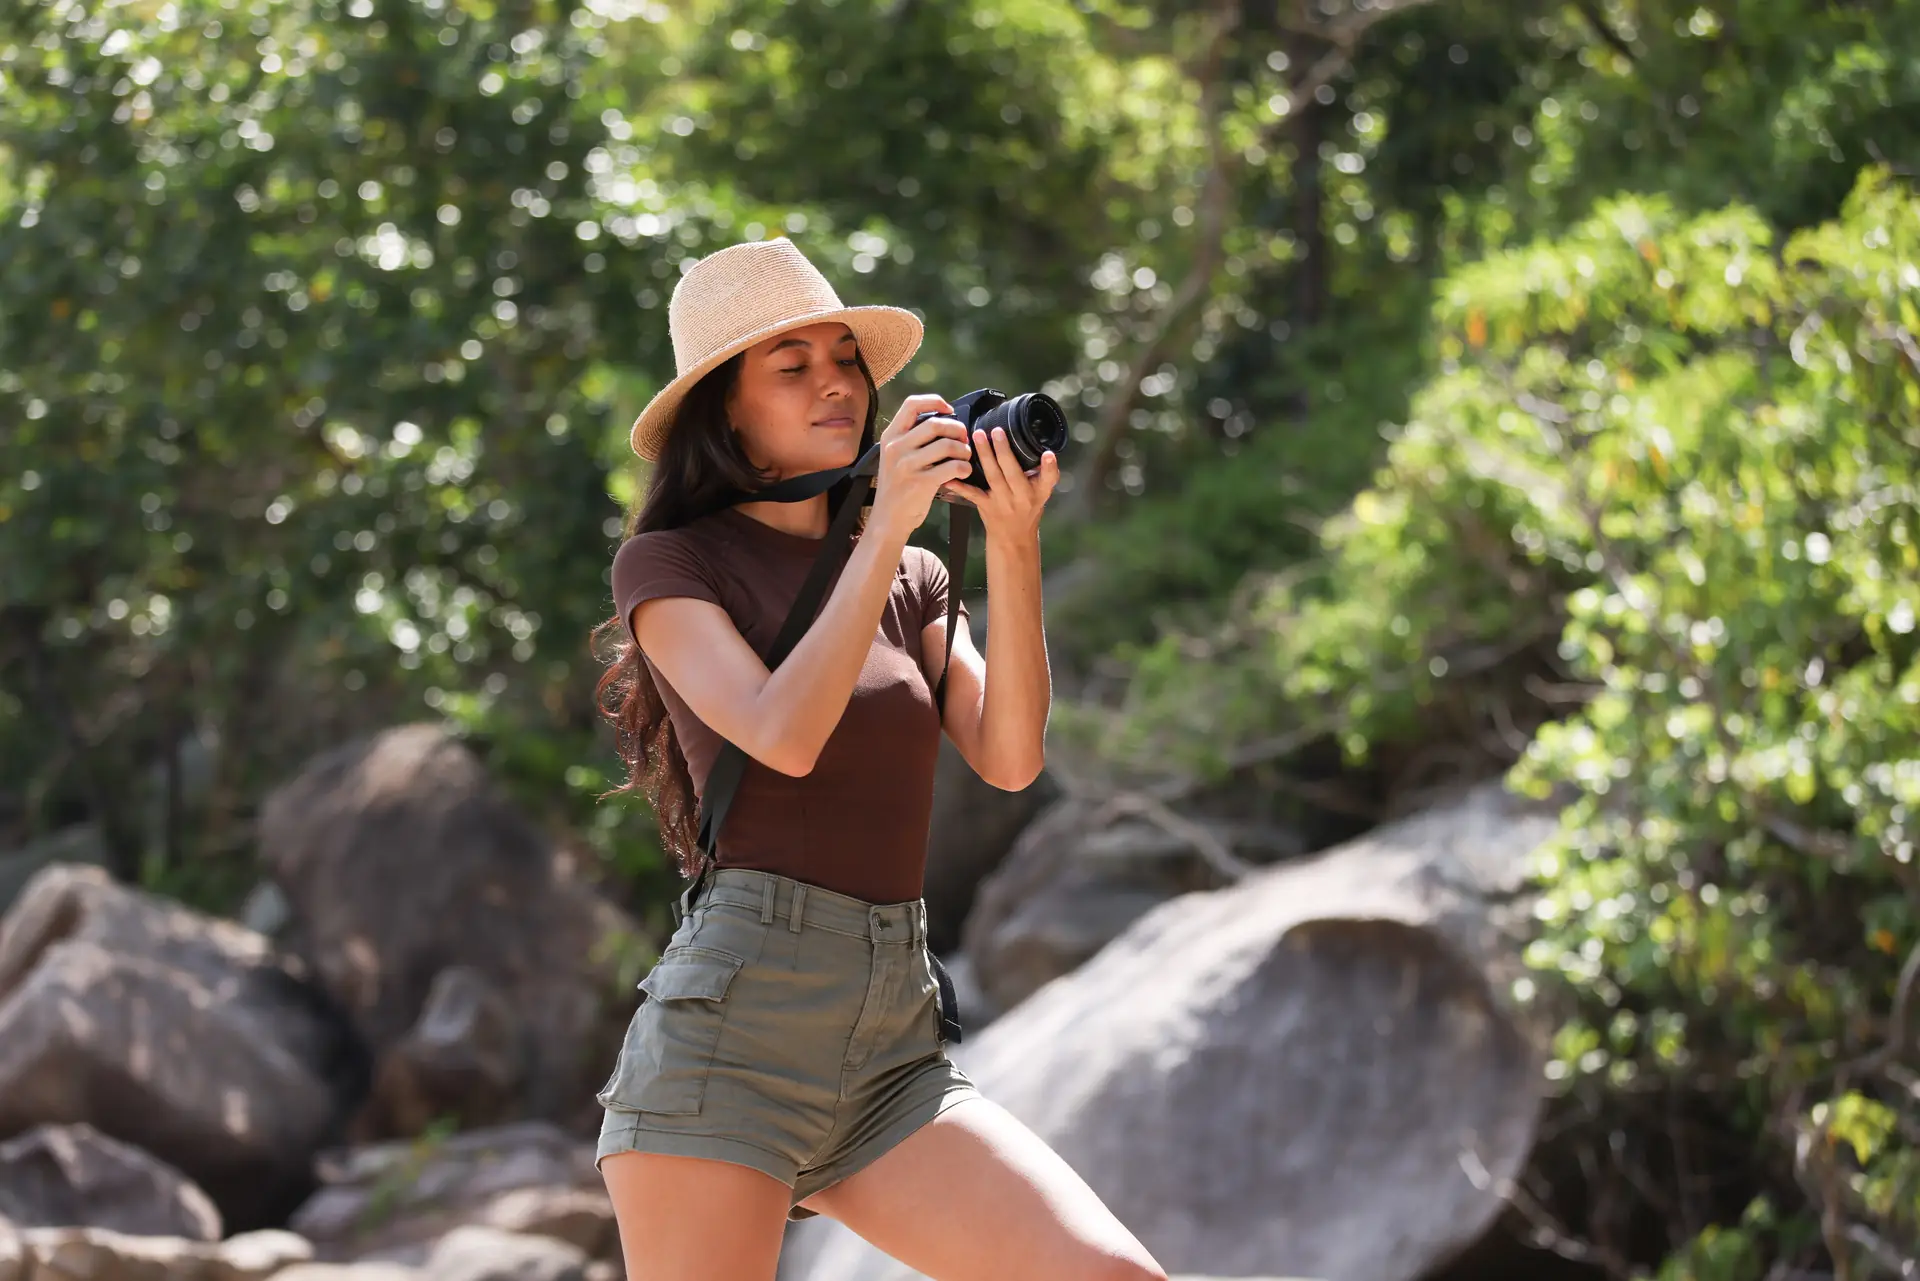
Use a fast prime to separate the subject from the background. A 50mm or a short tele works well for portraits.
Use an Insta360 or small action cam for wide environmental shots. Pair that with your main body to tell a fuller story.
Bringing it together: A beginner's workflow for a single shot
Follow a clear workflow to stay calm and fast on set. This plan works in studio and on the trail.
- Scout light and pick your key source.
- Set the key and take a test frame. Tweak angle and height.
- Add fill or rim as needed. Use flags to cut spill.
- Shoot a range of exposures and angles. Check focus and detail.
- Edit for tone and mood in post with care.
Keep a Camstrap nomad or camstrap voyager on hand for quick swaps. The right strap keeps your hands free and your gear safe.
Conclusion: Keep learning as a beginner's and beyond
This beginner's guide aims to get you making cinematic stills today. Focus on light shape, small kits, and simple tools to see fast progress.
Visit places like Paris or Machu Picchu to test your skills in real scenes. Use gear choices like the Canon EOS R5 or Sony A7R V to push image quality.
Choose straps and tools that fit your life. Camstrap gear helps travel enthusiasts and outdoor adventure photographers carry gear with ease. Keep shooting, stay curious, and enjoy the path from beginner's steps to confident cinematic stills.


