


- Pick one hero dish and let every prop point toward it.
- Balance the frame with 20% interest, 60% main subject, 20% breathing room.
- Use contrast, layers, and lines to make the spread feel easy to follow.
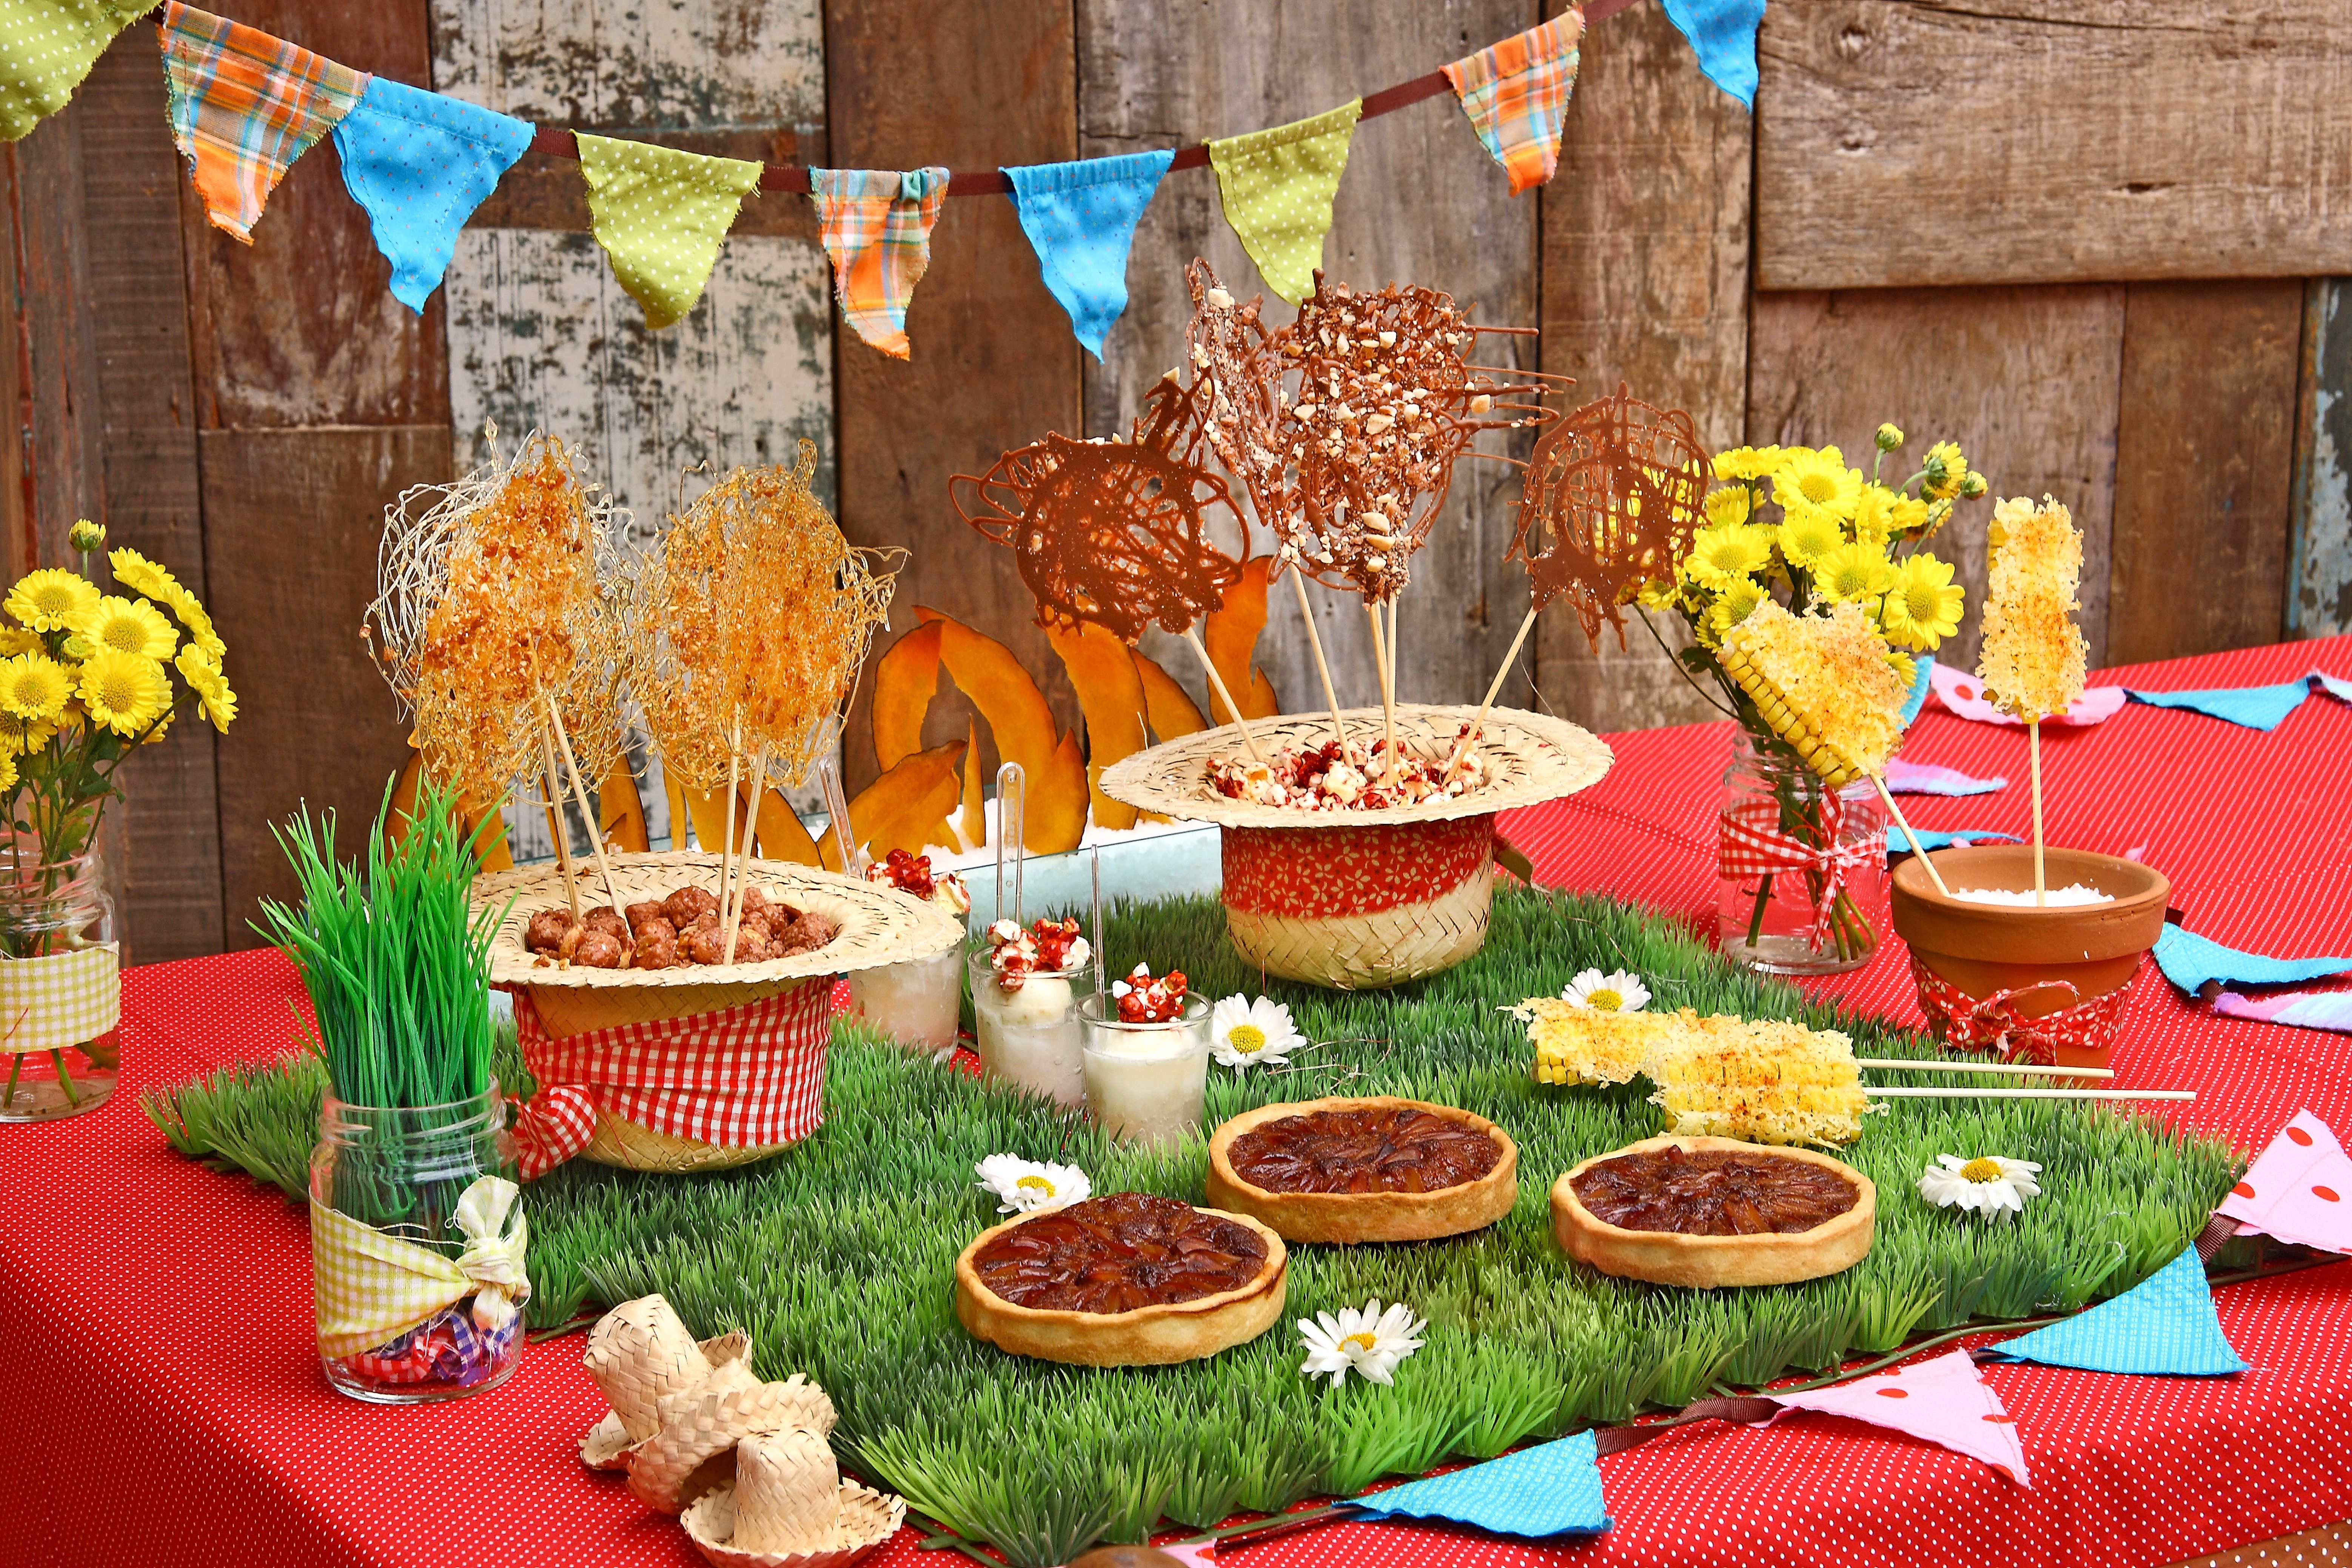
Focal point photography guides the eye to the most important part of a scene. With a picnic spread, that means turning food, color, and shape into one clear story.
Translation missing: en.blog_cta.bundle_heading

- Regular price
-
€42 - Regular price
-
€44 - Sale price
-
€42
By choosing the Camstrap strap, you are opting for a high-quality product designed to meet the needs of the most demanding photographers.
- Developed by a physiotherapist to relieve neck and back pain.
- Fast delivery with tracking by the Post Office 🚚
- Can be used as a shoulder strap or hands-free harness

- Regular price
-
€36 - Regular price
-
€42 - Sale price
-
€36
Translation missing: en.blog_cta.free_shipping_included
A strong picnic photo does more than show what you packed. It makes people want to lean in, reach for a plate, and stay a while. The seven ideas below will help you create that pull with simple, smart choices.
Begin with one clear star
Every strong spread needs one item that leads the eye first. Choose a hero dish, like a bright tart, stacked sandwiches, or a bowl of fruit, then build the rest of the scene around it.
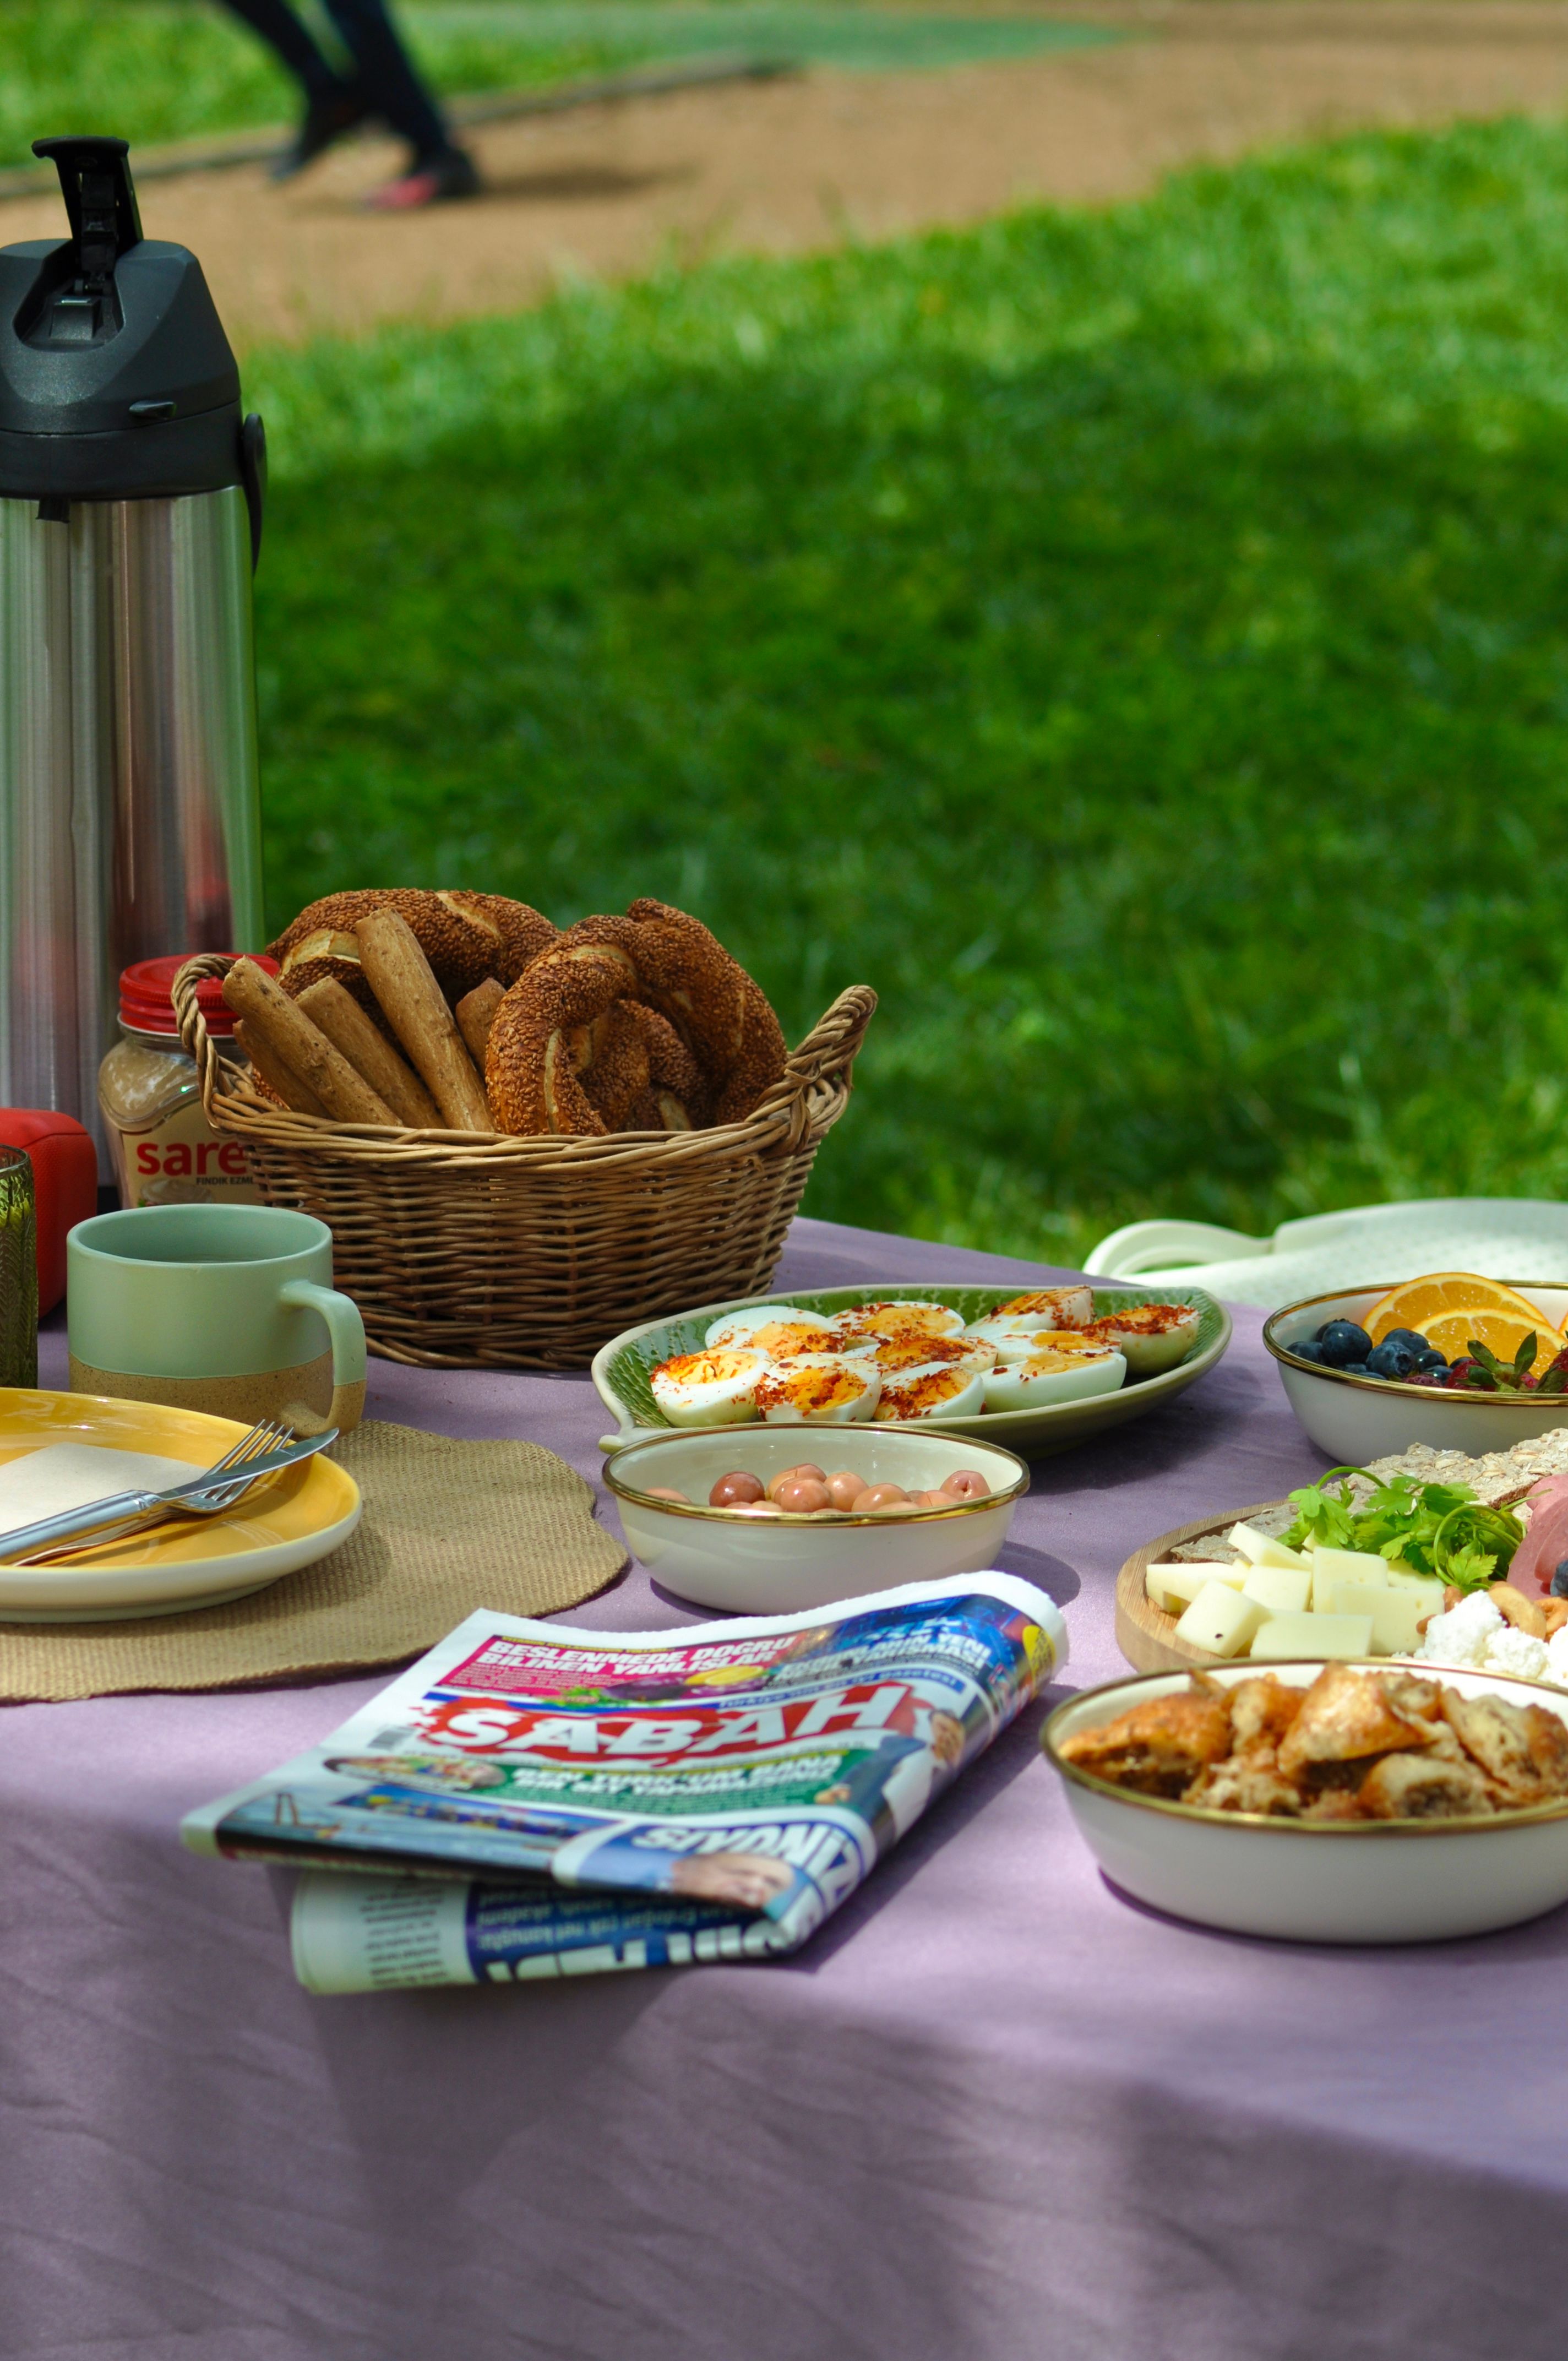
The eye looks for order. When everything shouts at once, nothing wins. A single star gives the photo a place to land.
Choose the hero before you unpack the rest
Place that one dish near the center or slightly off to one side. Use napkins, plates, and cups to point toward it. Small shape changes can guide attention fast.
A shallow depth of field helps here, too. A wide aperture like f/2.8 to f/5.6 keeps the main food crisp while edge details soften. That blur makes the star stand out without extra props.
Build depth with layers and shape
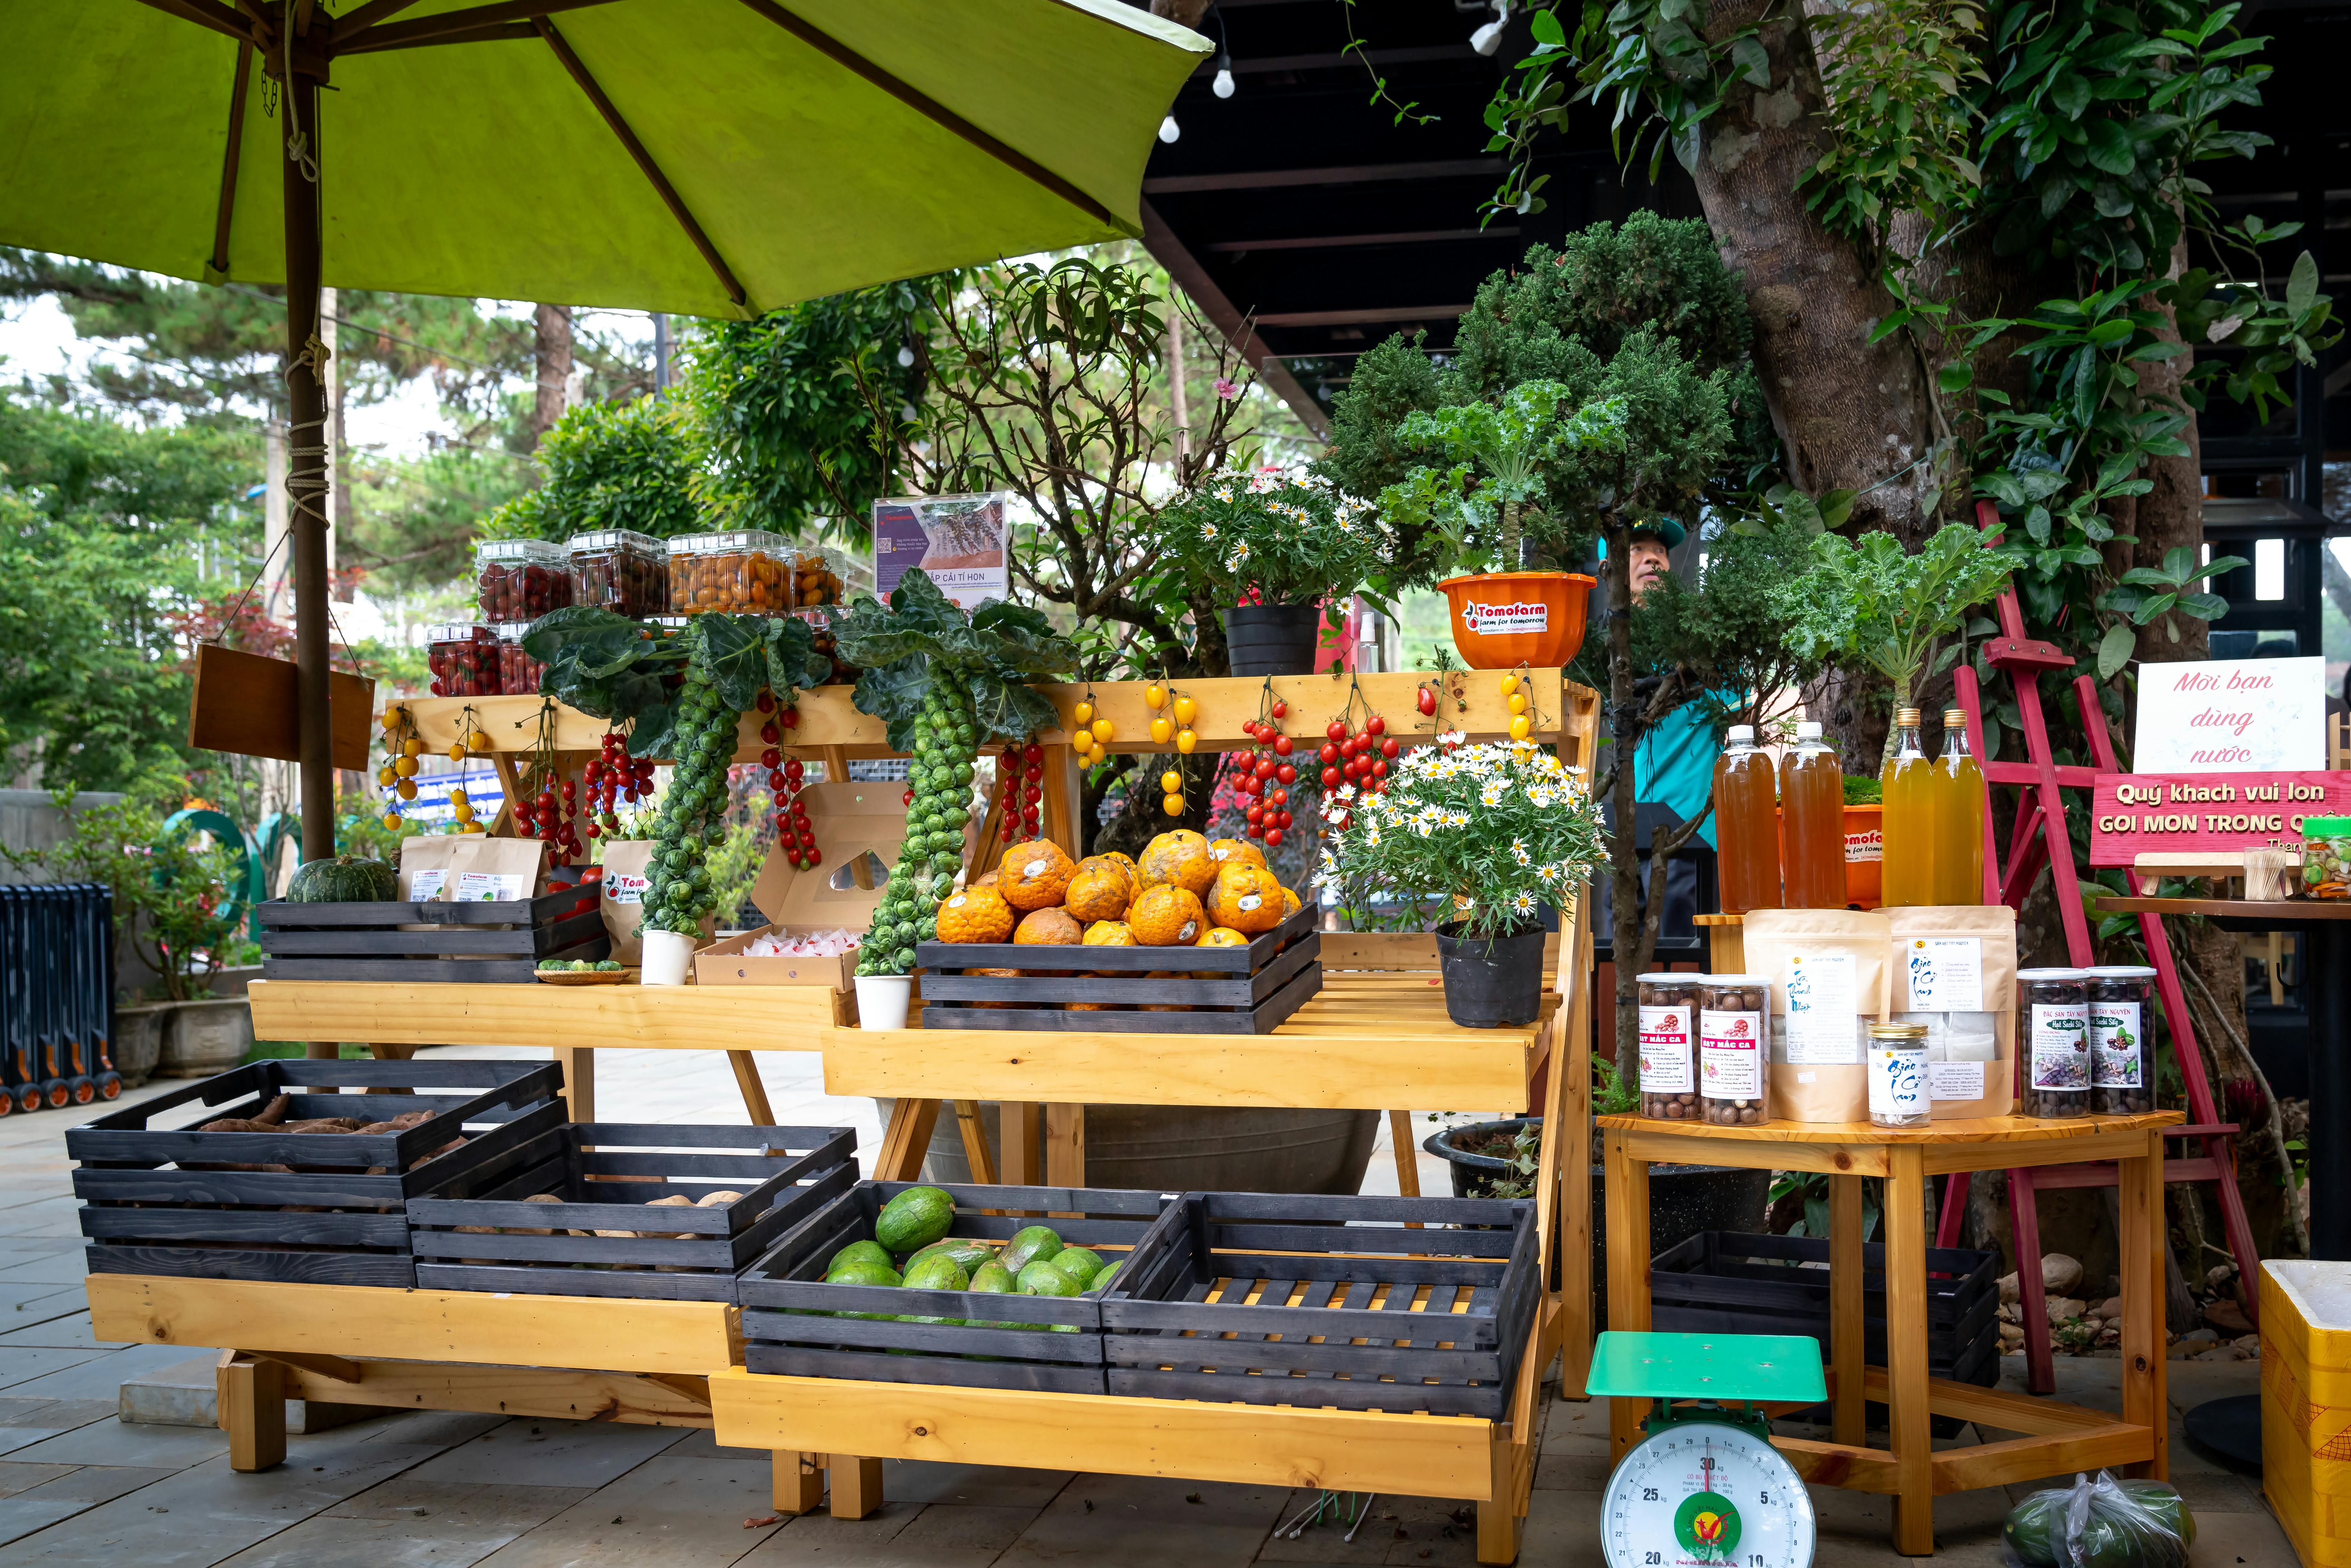
Flat rows can look neat, but they often feel dull. Add height with jars, baskets, and folded cloth, and stack a few items at different levels so the scene feels alive.
Depth gives the eye something to explore. It also makes the spread feel bigger than it really is. A little overlap between objects can make a small picnic look rich and full.
Use lines to move the eye
Place a loaf, knife, or linen fold so it leads toward the food. Diagonal lines work well because they feel active. Straight lines can still work if they frame the main dish.
For overhead shots, a smaller aperture helps keep more of the scene sharp. Many food guides point to f/8 to f/16 for top-down views. That range holds detail from front to back.
Choose fresh, edible colors
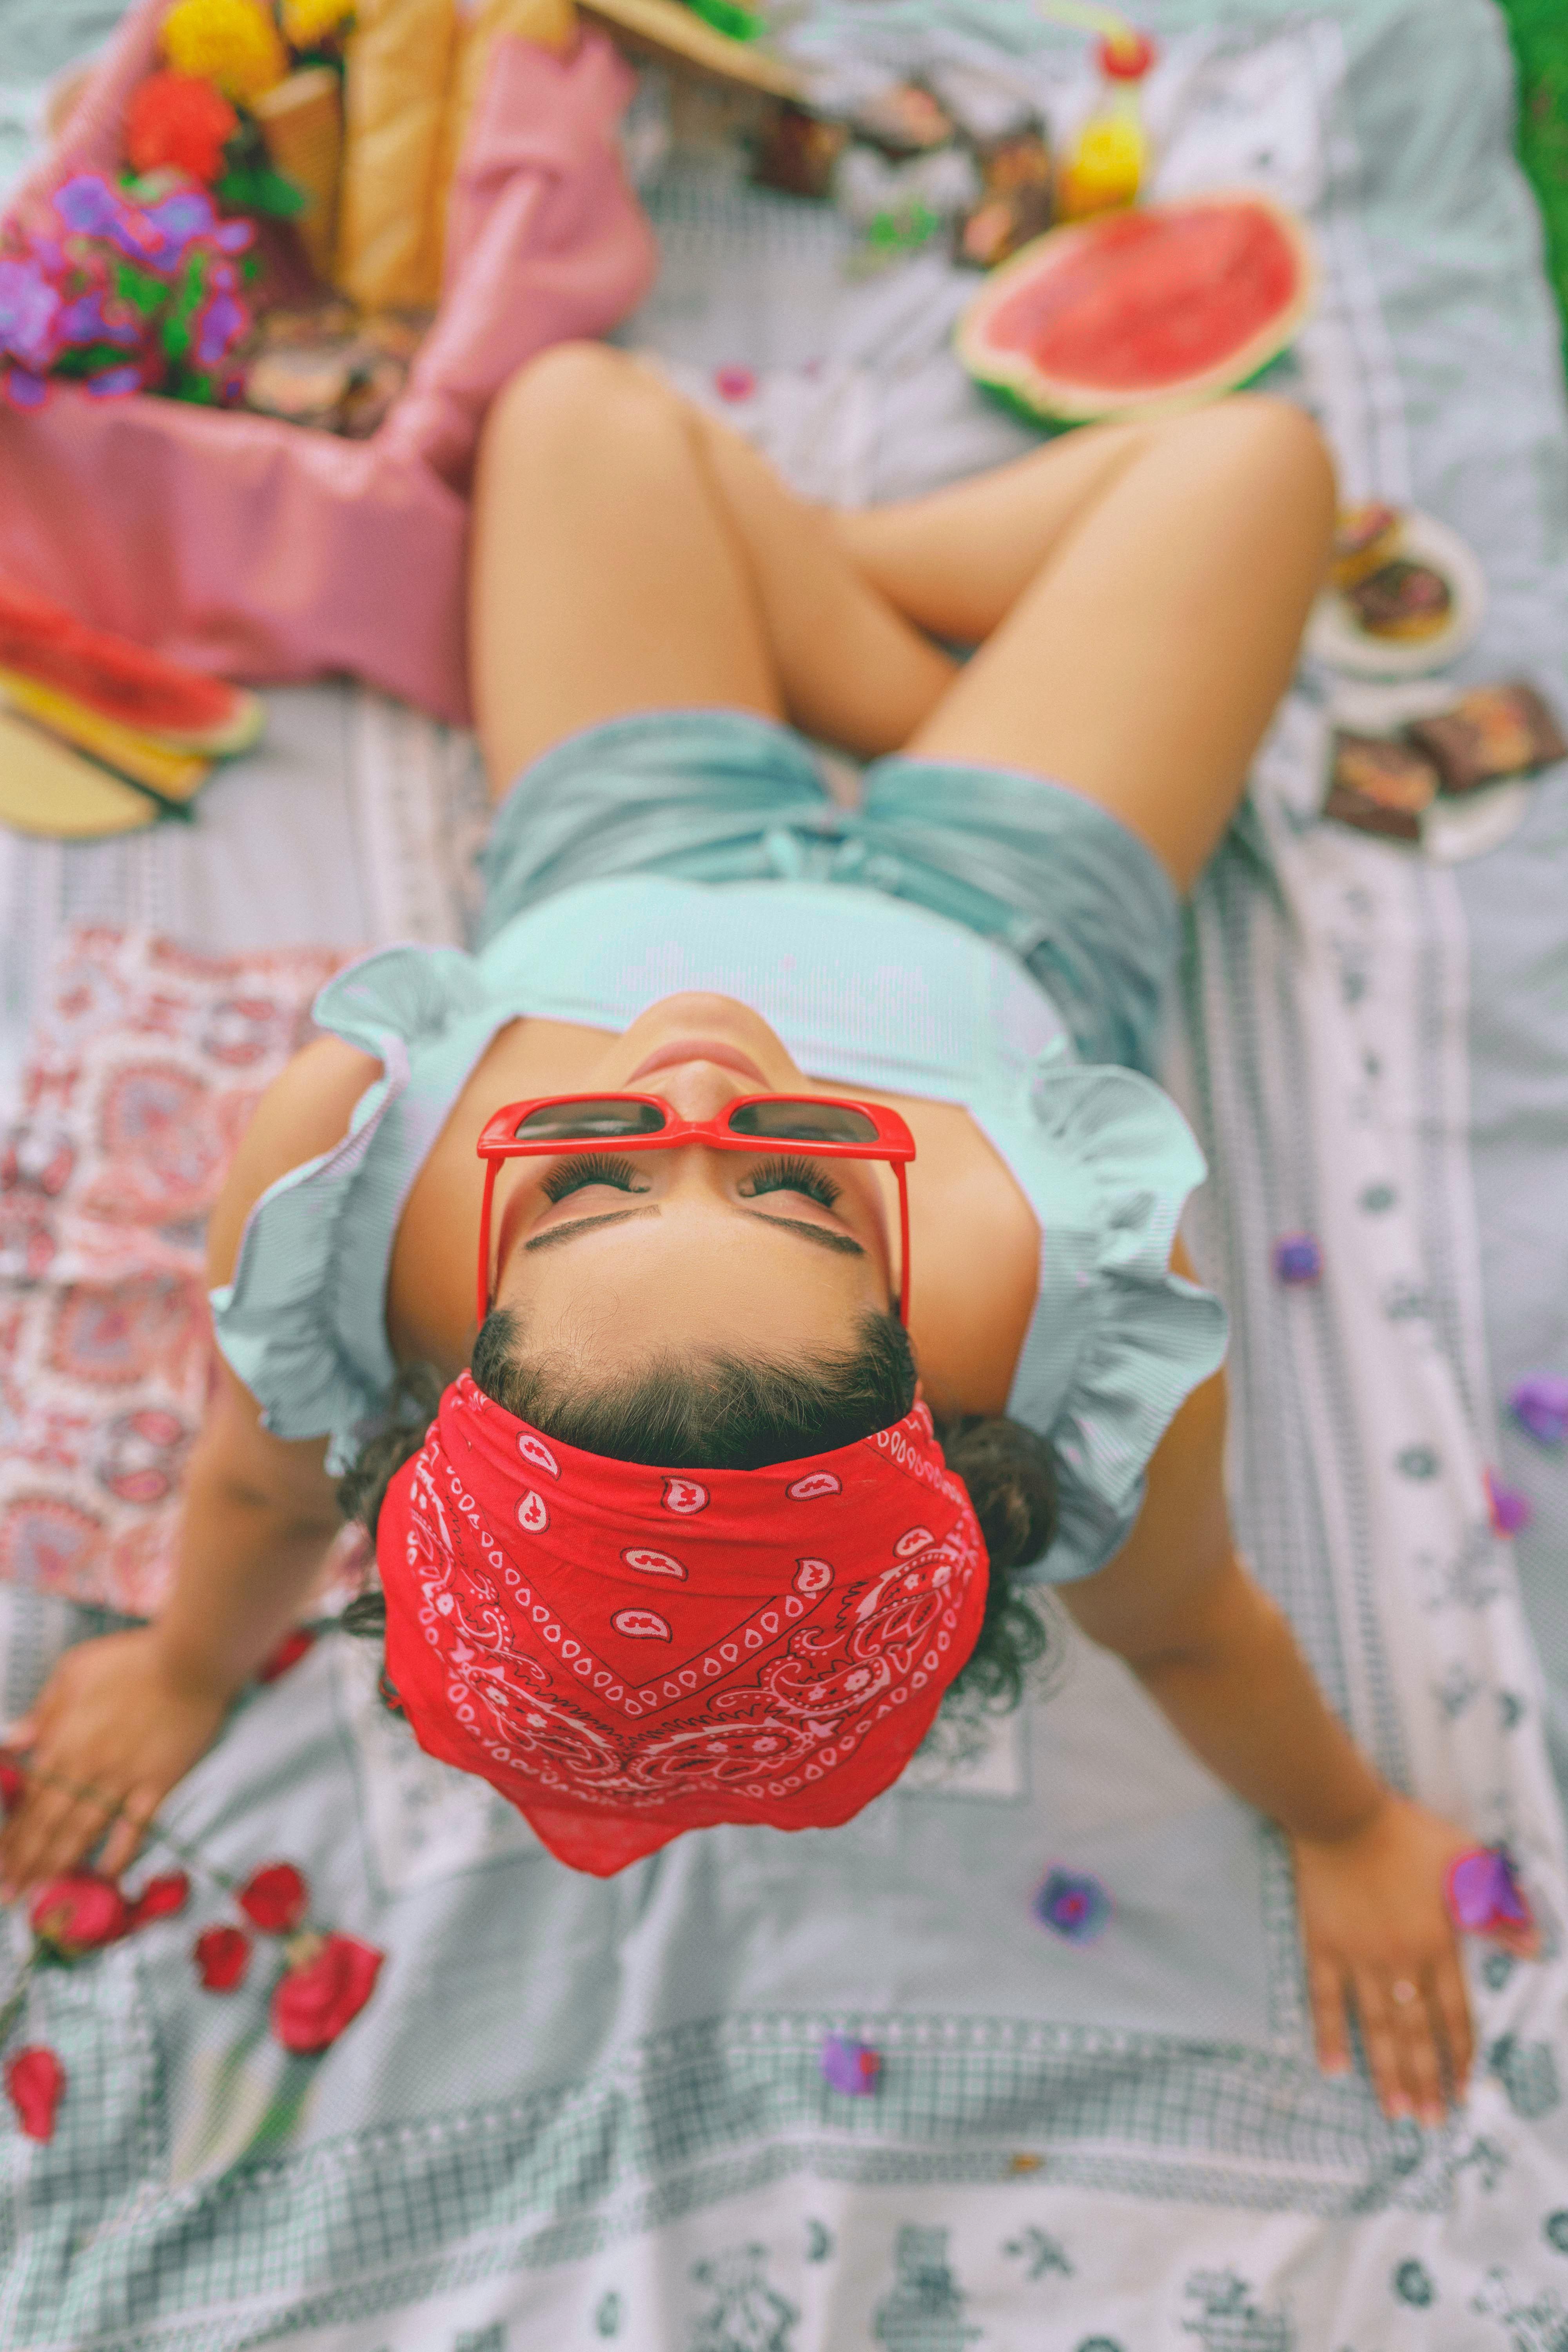
Bright food looks better when the colors around it stay simple. Greens, reds, yellows, and soft neutrals can make a spread feel clean and warm. Too many loud shades can fight for attention.
Repeat a few colors on purpose. A red berry in the bowl, a red napkin, and a red drink can make the frame feel tied together. Repetition helps the eye move with ease.
Keep contrast easy to read
Food stands out best when it does not blend into the cloth under it. Light food works well on darker boards or linens. Dark food pops on pale fabric or wood.
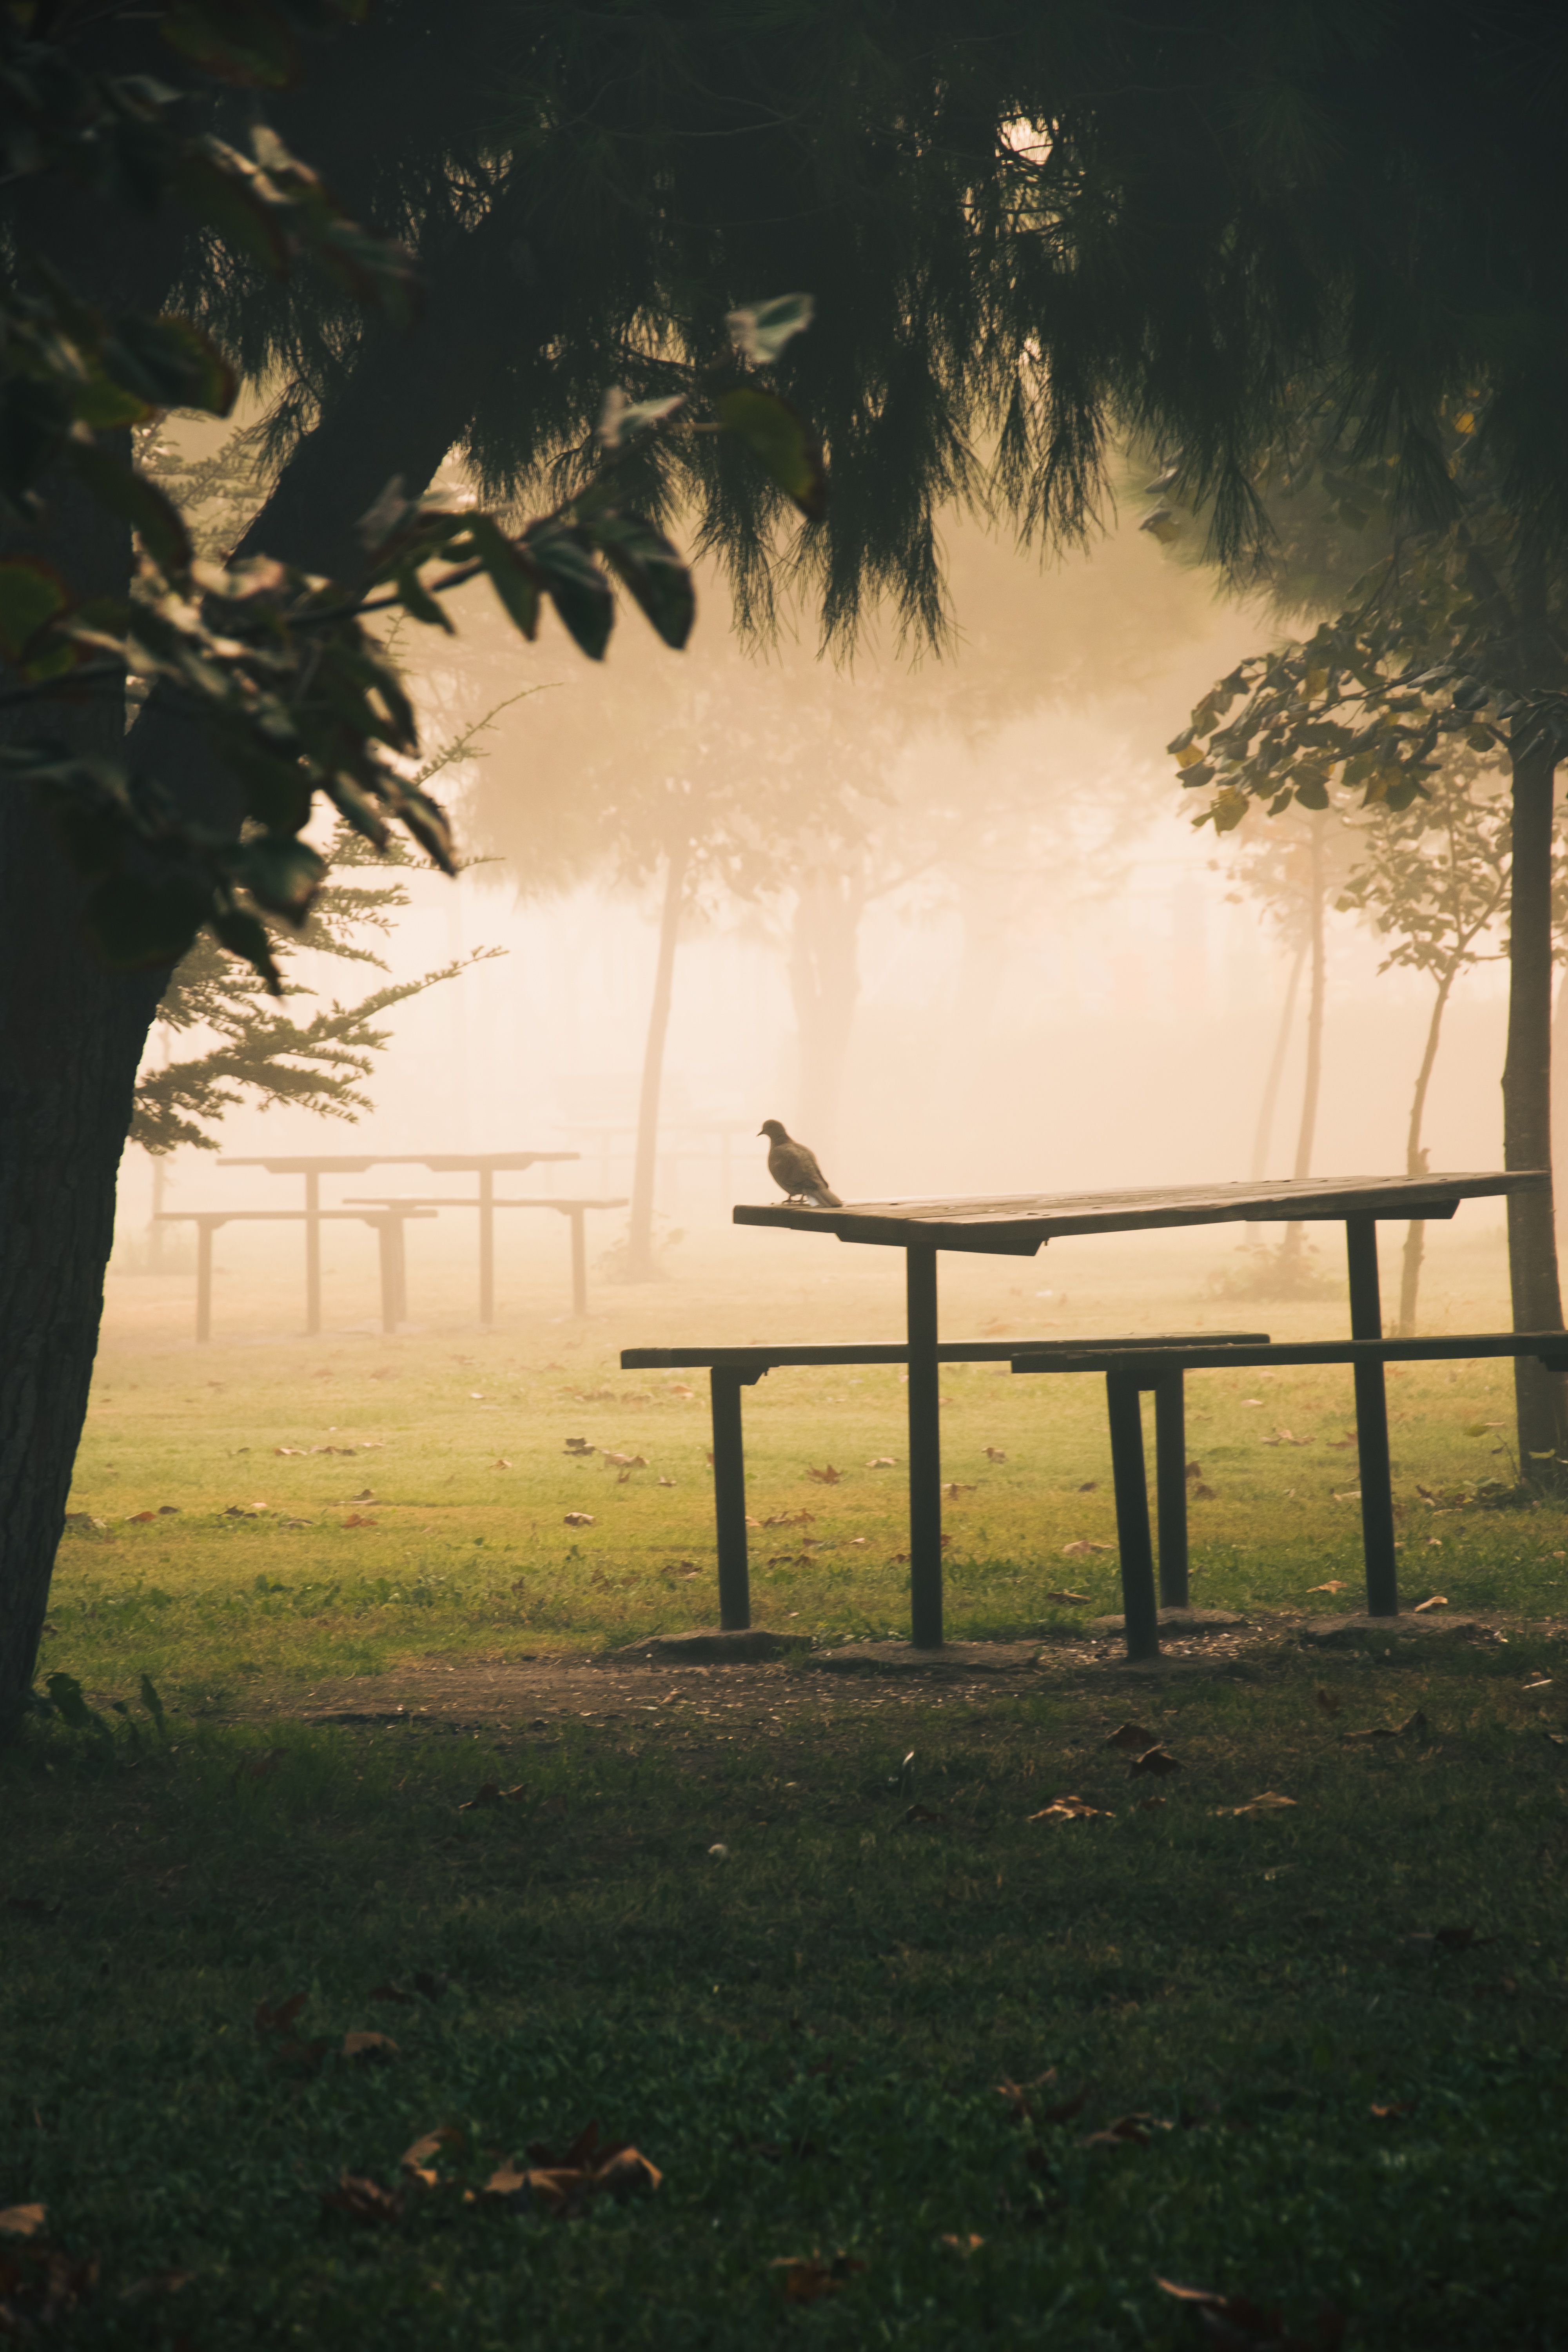
Color also changes mood. Soft tones feel calm, while bold tones feel lively. Pick one mood and keep it steady across the spread.
Select the right angle for the scene
The camera angle changes how the picnic feels. A 45-degree view works well for stacked food, cups, and hands in motion. It gives depth and keeps the spread human and inviting.
Overhead shots show pattern and order. They work best when plates, bowls, and flat items matter most. For a full-table look, 35mm often feels wide enough for story, while 50mm gives a clean, natural view.
Match lens choice to the mood
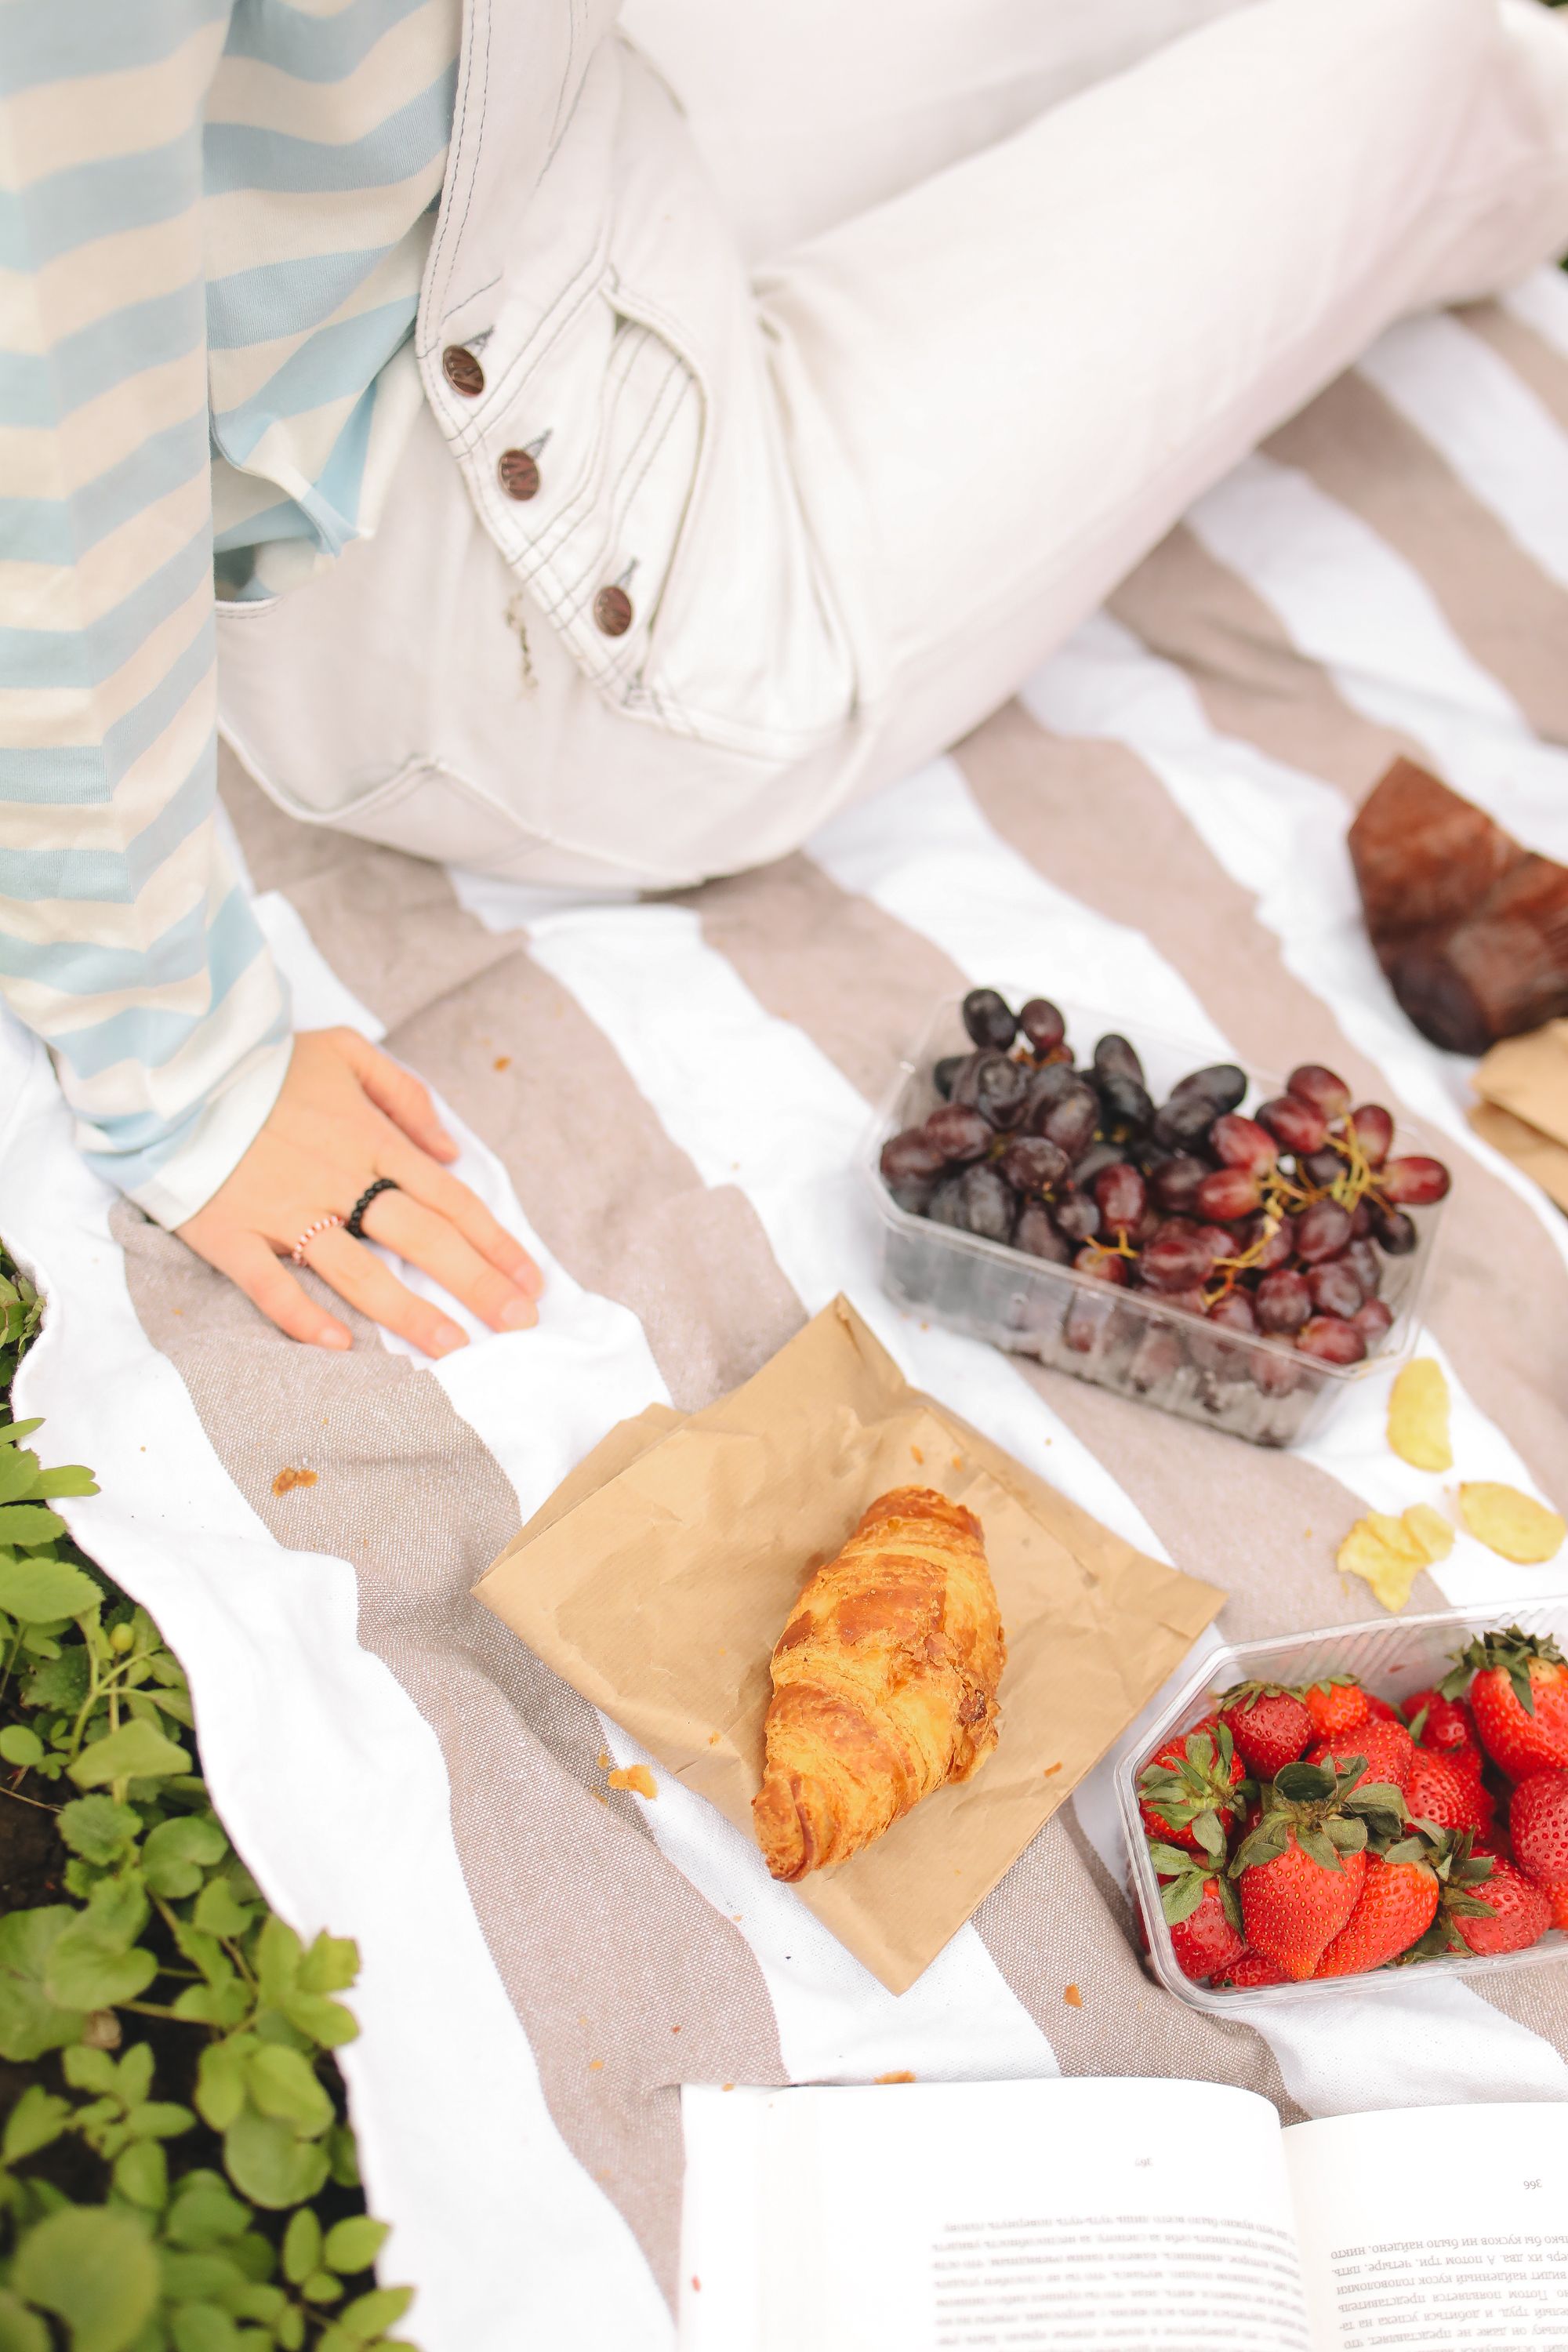
A 35mm focal length is useful for wide picnic scenes and full-table stories. A 50mm lens often feels like the sweet spot for many food setups. A 100mm lens can give a richer, more dramatic look with softer background blur.
That range changes how close the food feels to the viewer. A longer lens also compresses the scene a bit, which can make the spread look fuller. Keep the camera steady, since small shakes show more with longer focal lengths.
Shape the light before you click
Good light can make simple food look fresh and rich. Soft side light from a window or open shade gives gentle shadows and real texture. Hard noon sun often makes food look flat or harsh.
Research on food photography often points to a wide aperture for background separation. That works well because it lets the food stay sharp while the setting fades back. In bright light, you may need a faster shutter speed, such as 1/500s, to hold detail and avoid blown highlights.
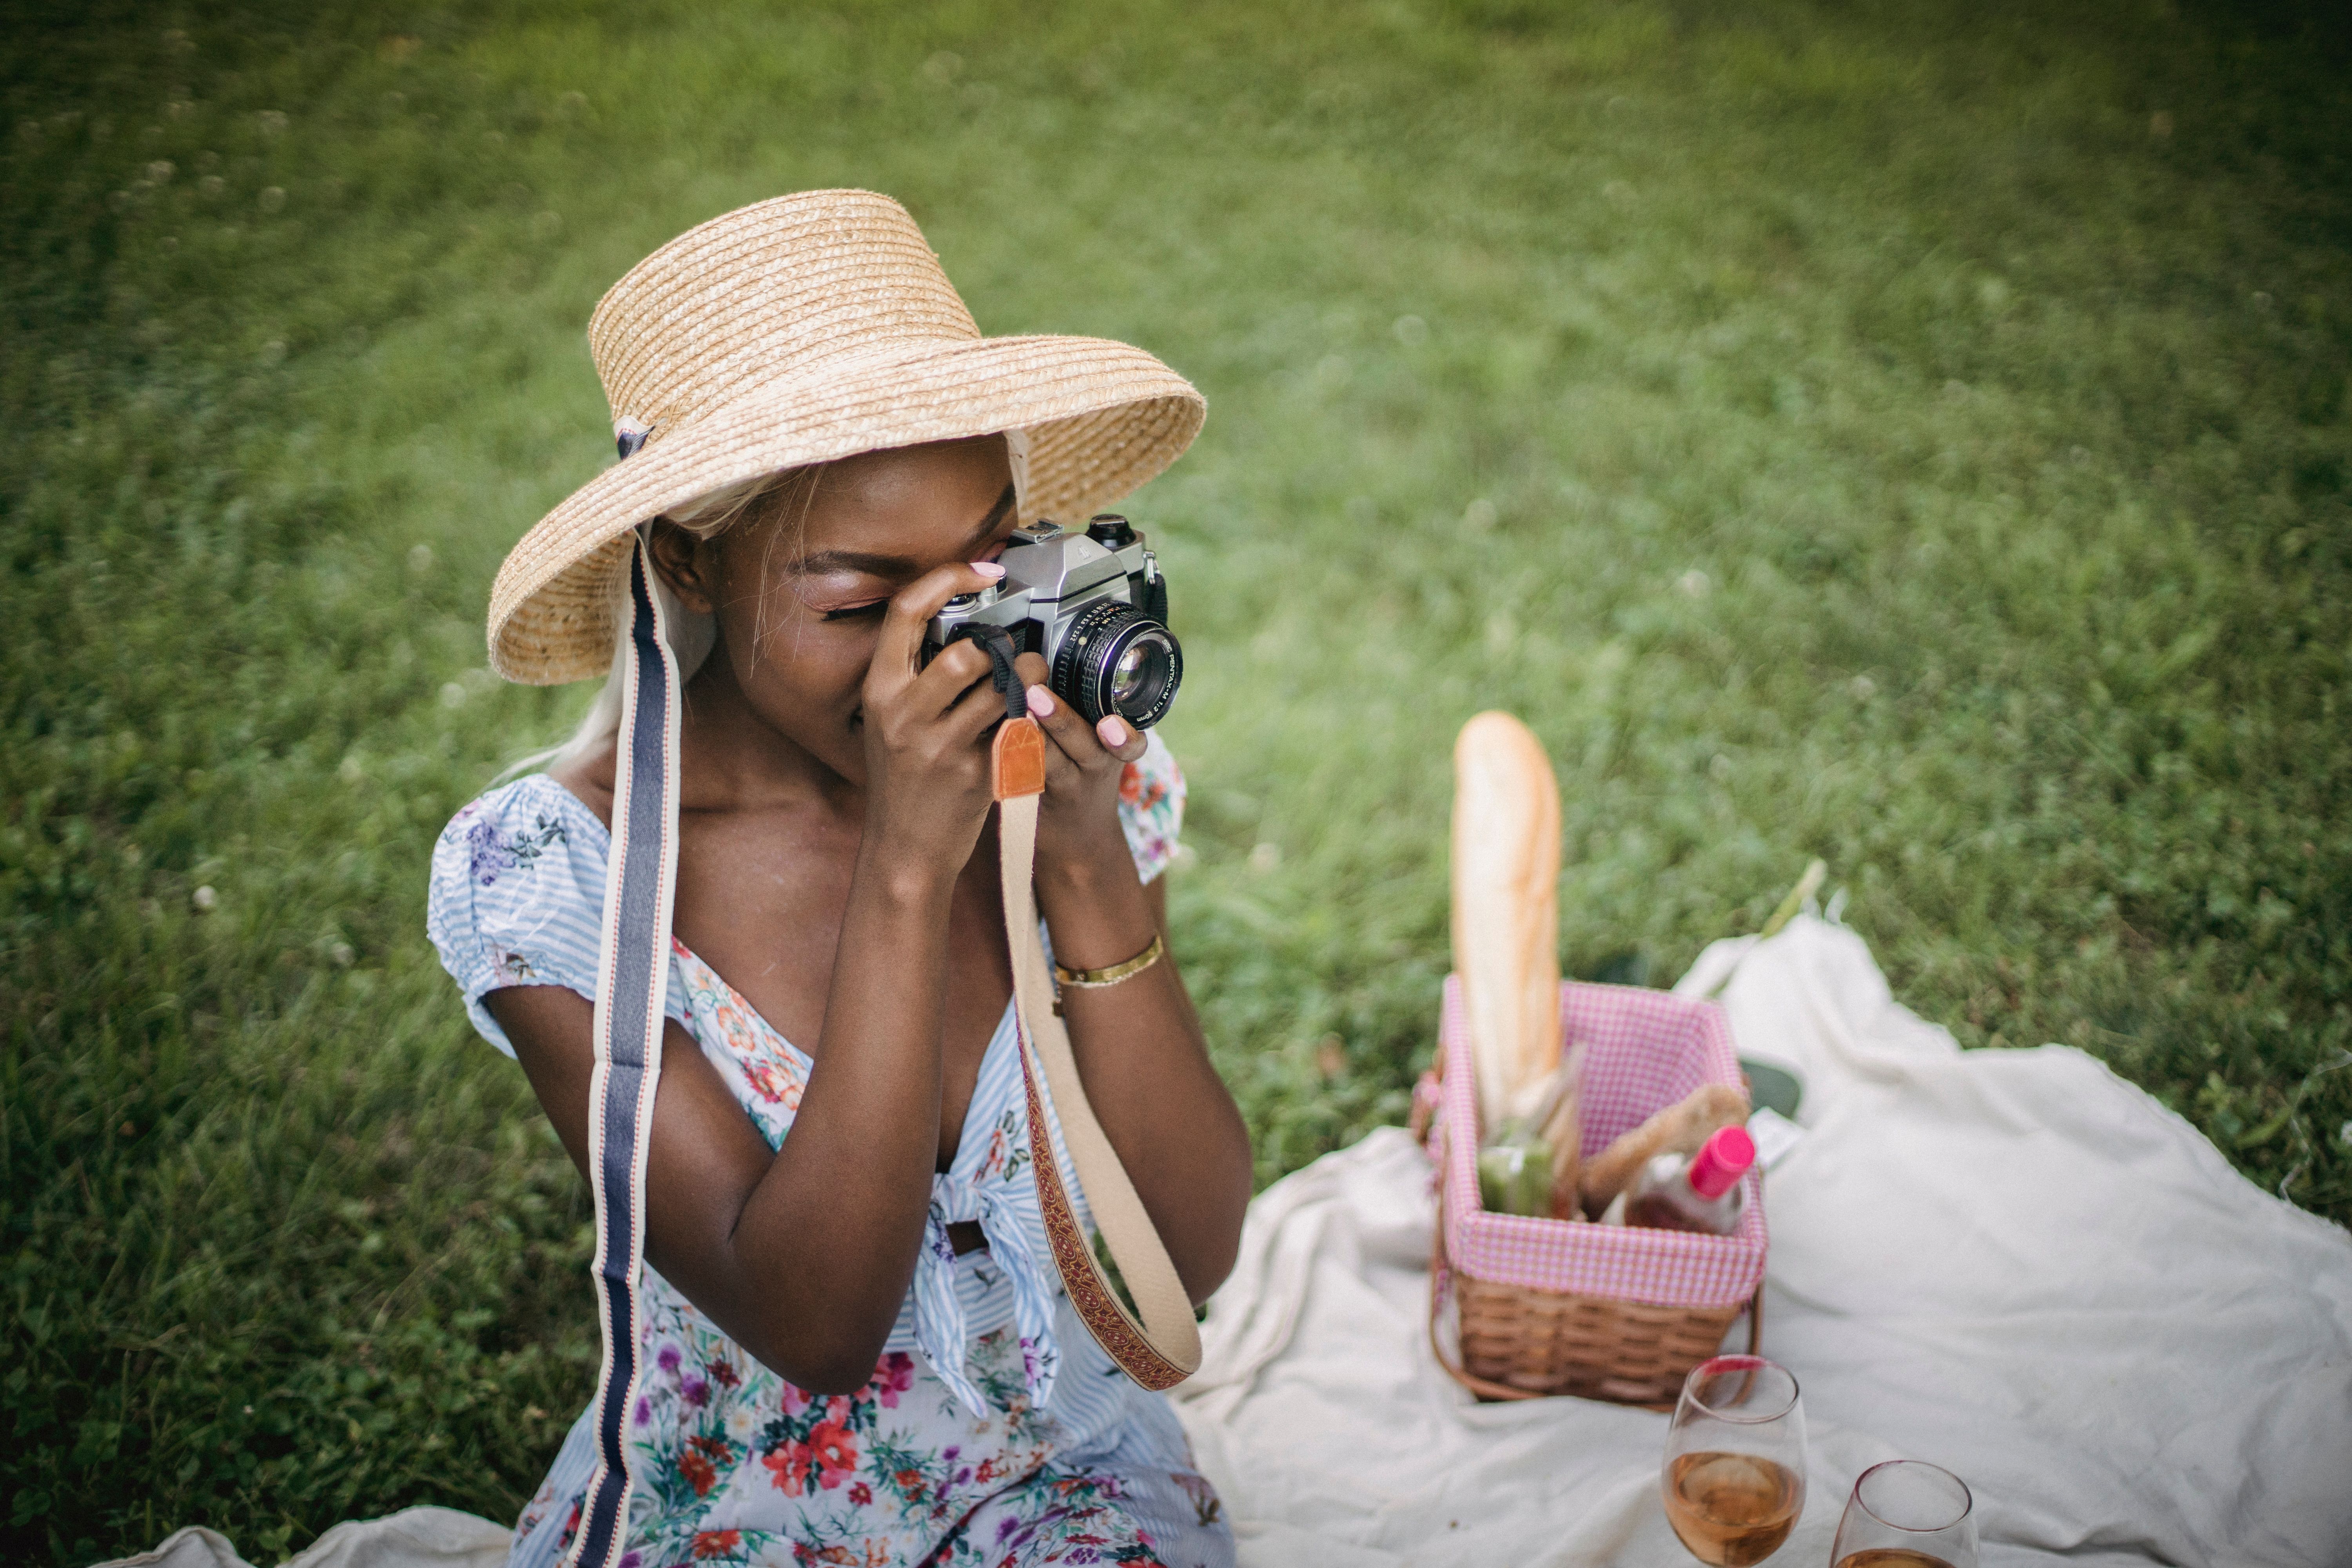
Control shade, glare, and shine
Move the spread a little if the sun hits it too hard. A thin white curtain, a reflector, or the shade of a tree can soften the light fast. One change often improves texture more than any filter.
For shiny fruit, cheese, or glass bottles, angle the camera a bit. A small shift can cut glare and keep color true. This also helps the food look moist, which makes it more appealing.
Keep the scene neat without stiffening it
Real picnic spreads look best when they feel relaxed, not staged. A bent napkin, a half-open basket, or one bitten piece of bread can add life. The trick is to stay tidy while still letting the scene breathe.
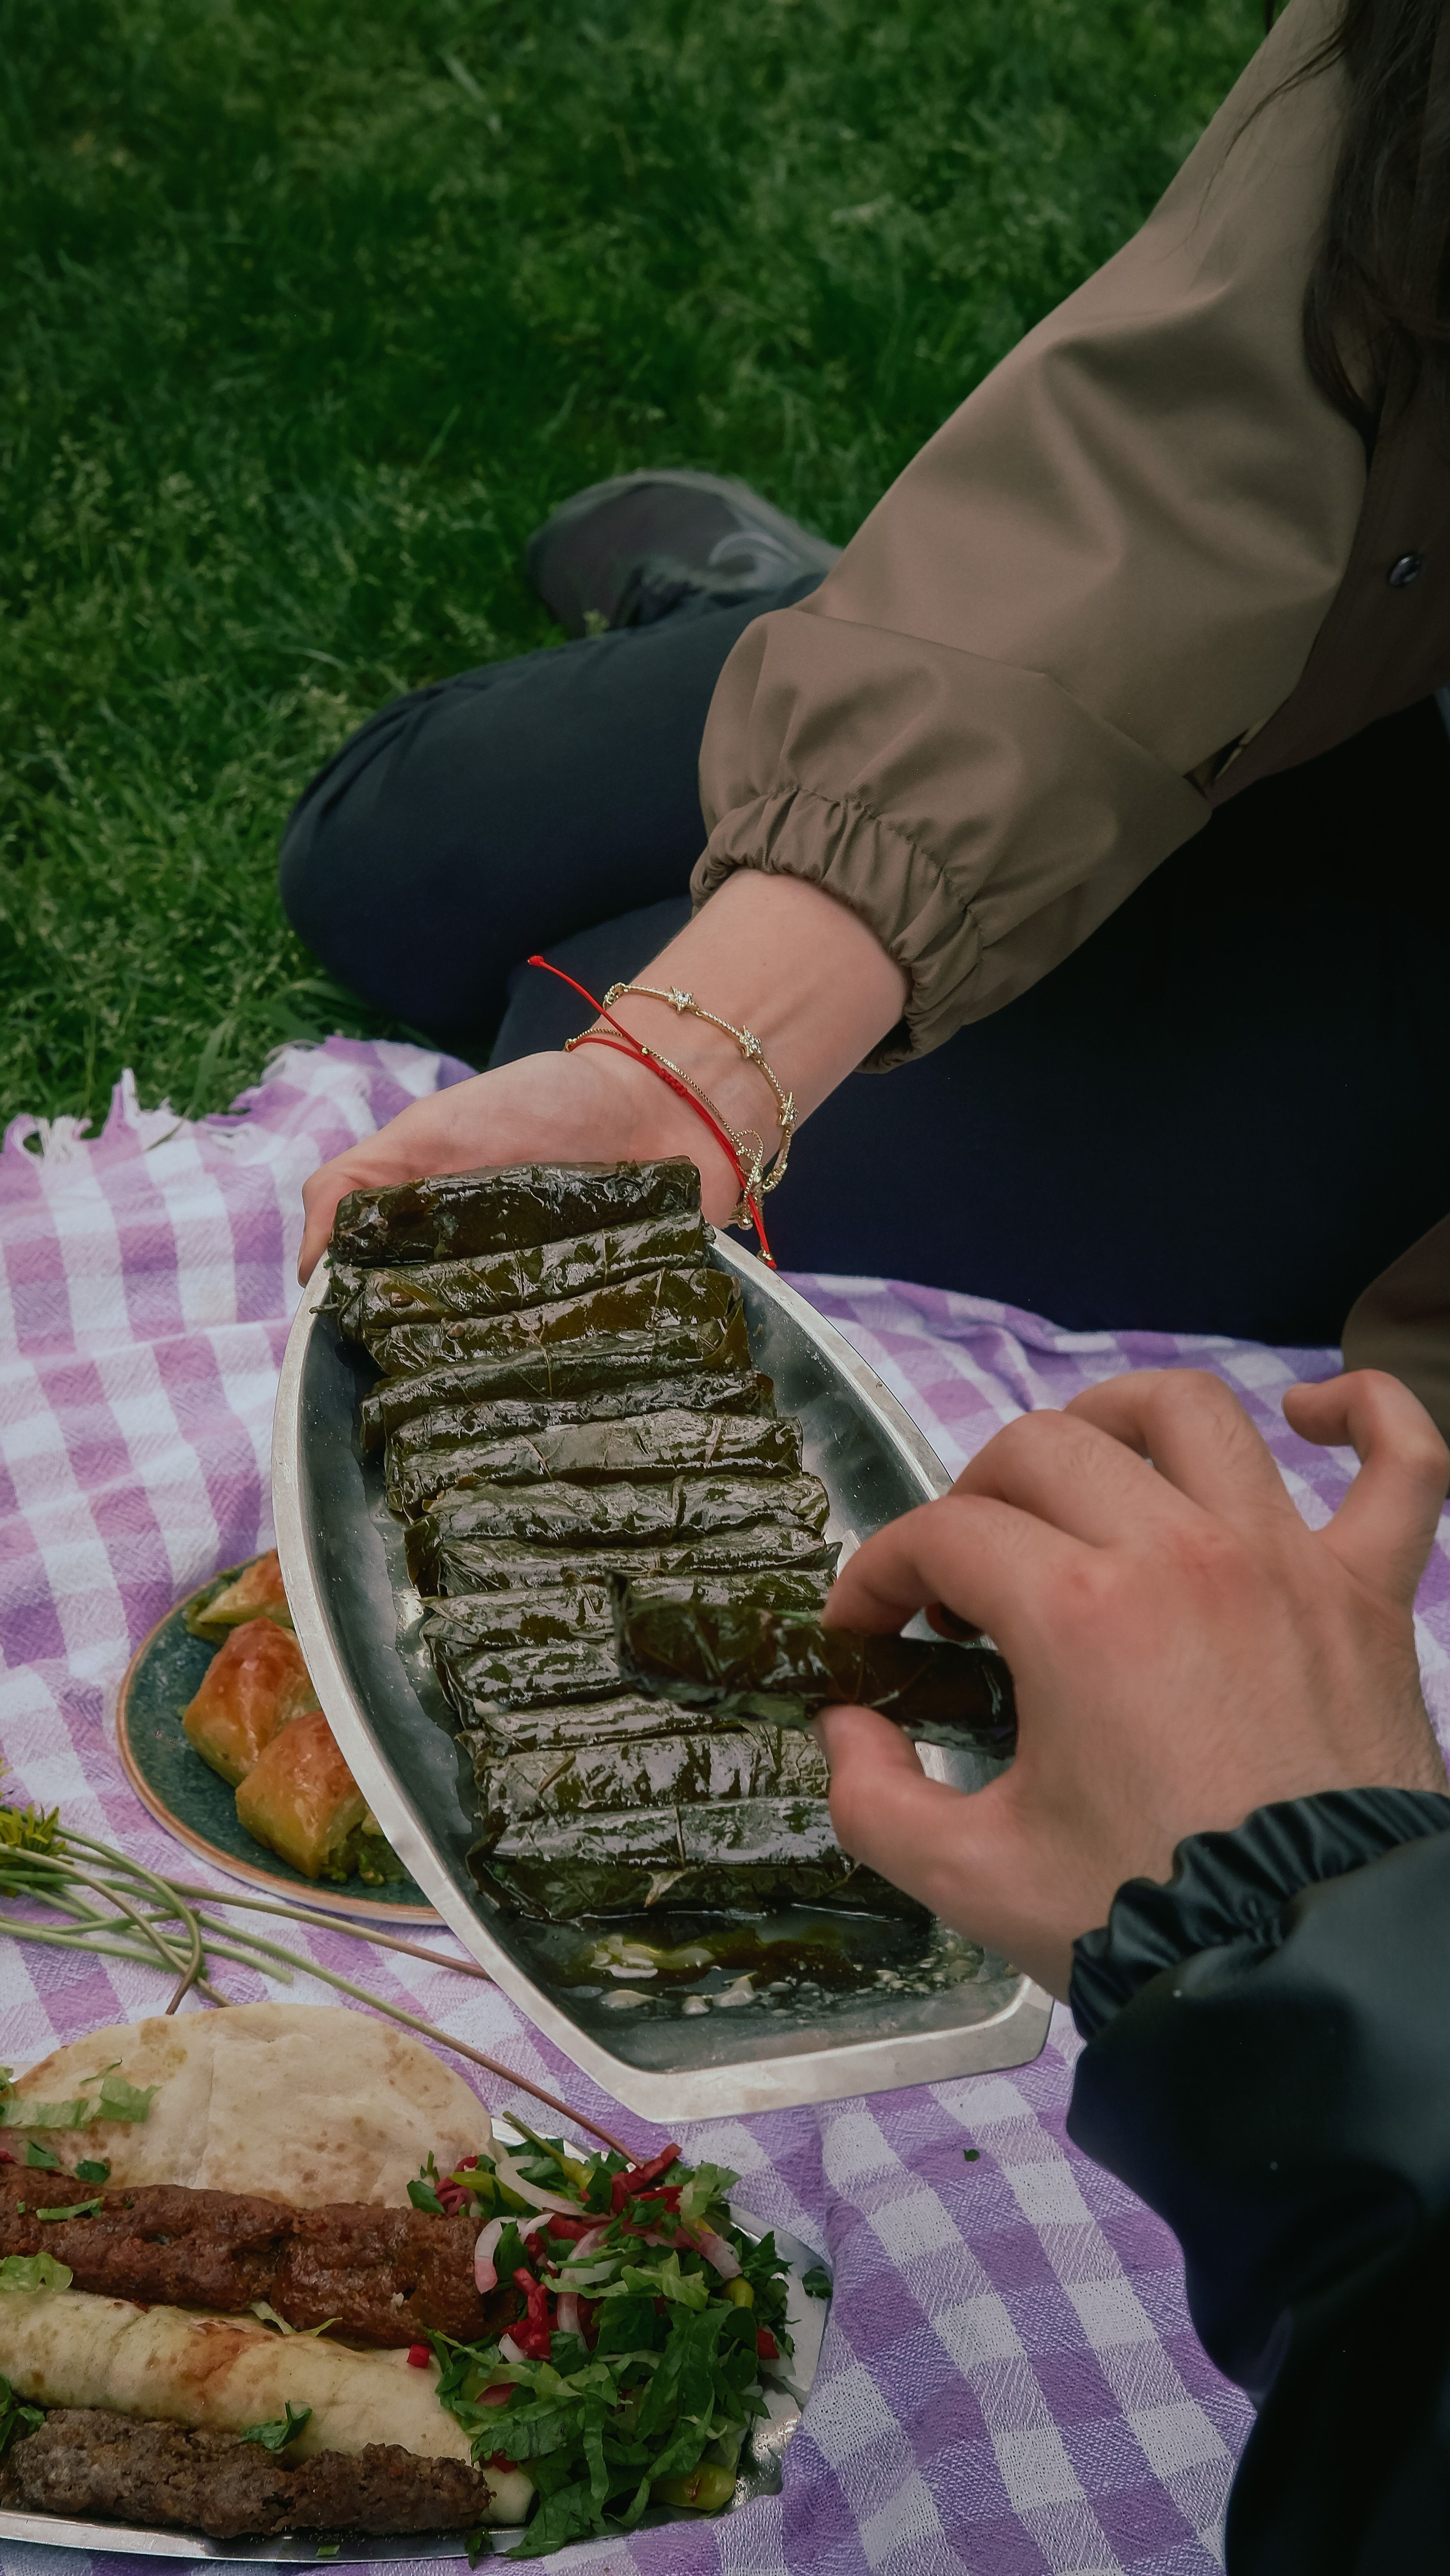
Think of the 20-60-20 rule as a simple balance guide. Put about 20% of your effort into the first look, 60% into the main middle area, and 20% into the small details. That balance keeps the frame from feeling crowded.
What is a focal point in photography?
A focal point in photography is the part of the image that grabs attention first. In a picnic spread, that might be one bright dish, a slice of cake, or a basket of fruit. A clear focal point gives the viewer a place to start.
The eye needs direction. Without it, the frame feels busy and thin. One strong focal area can make a simple lunch look polished.
What is the purpose of a focal point?
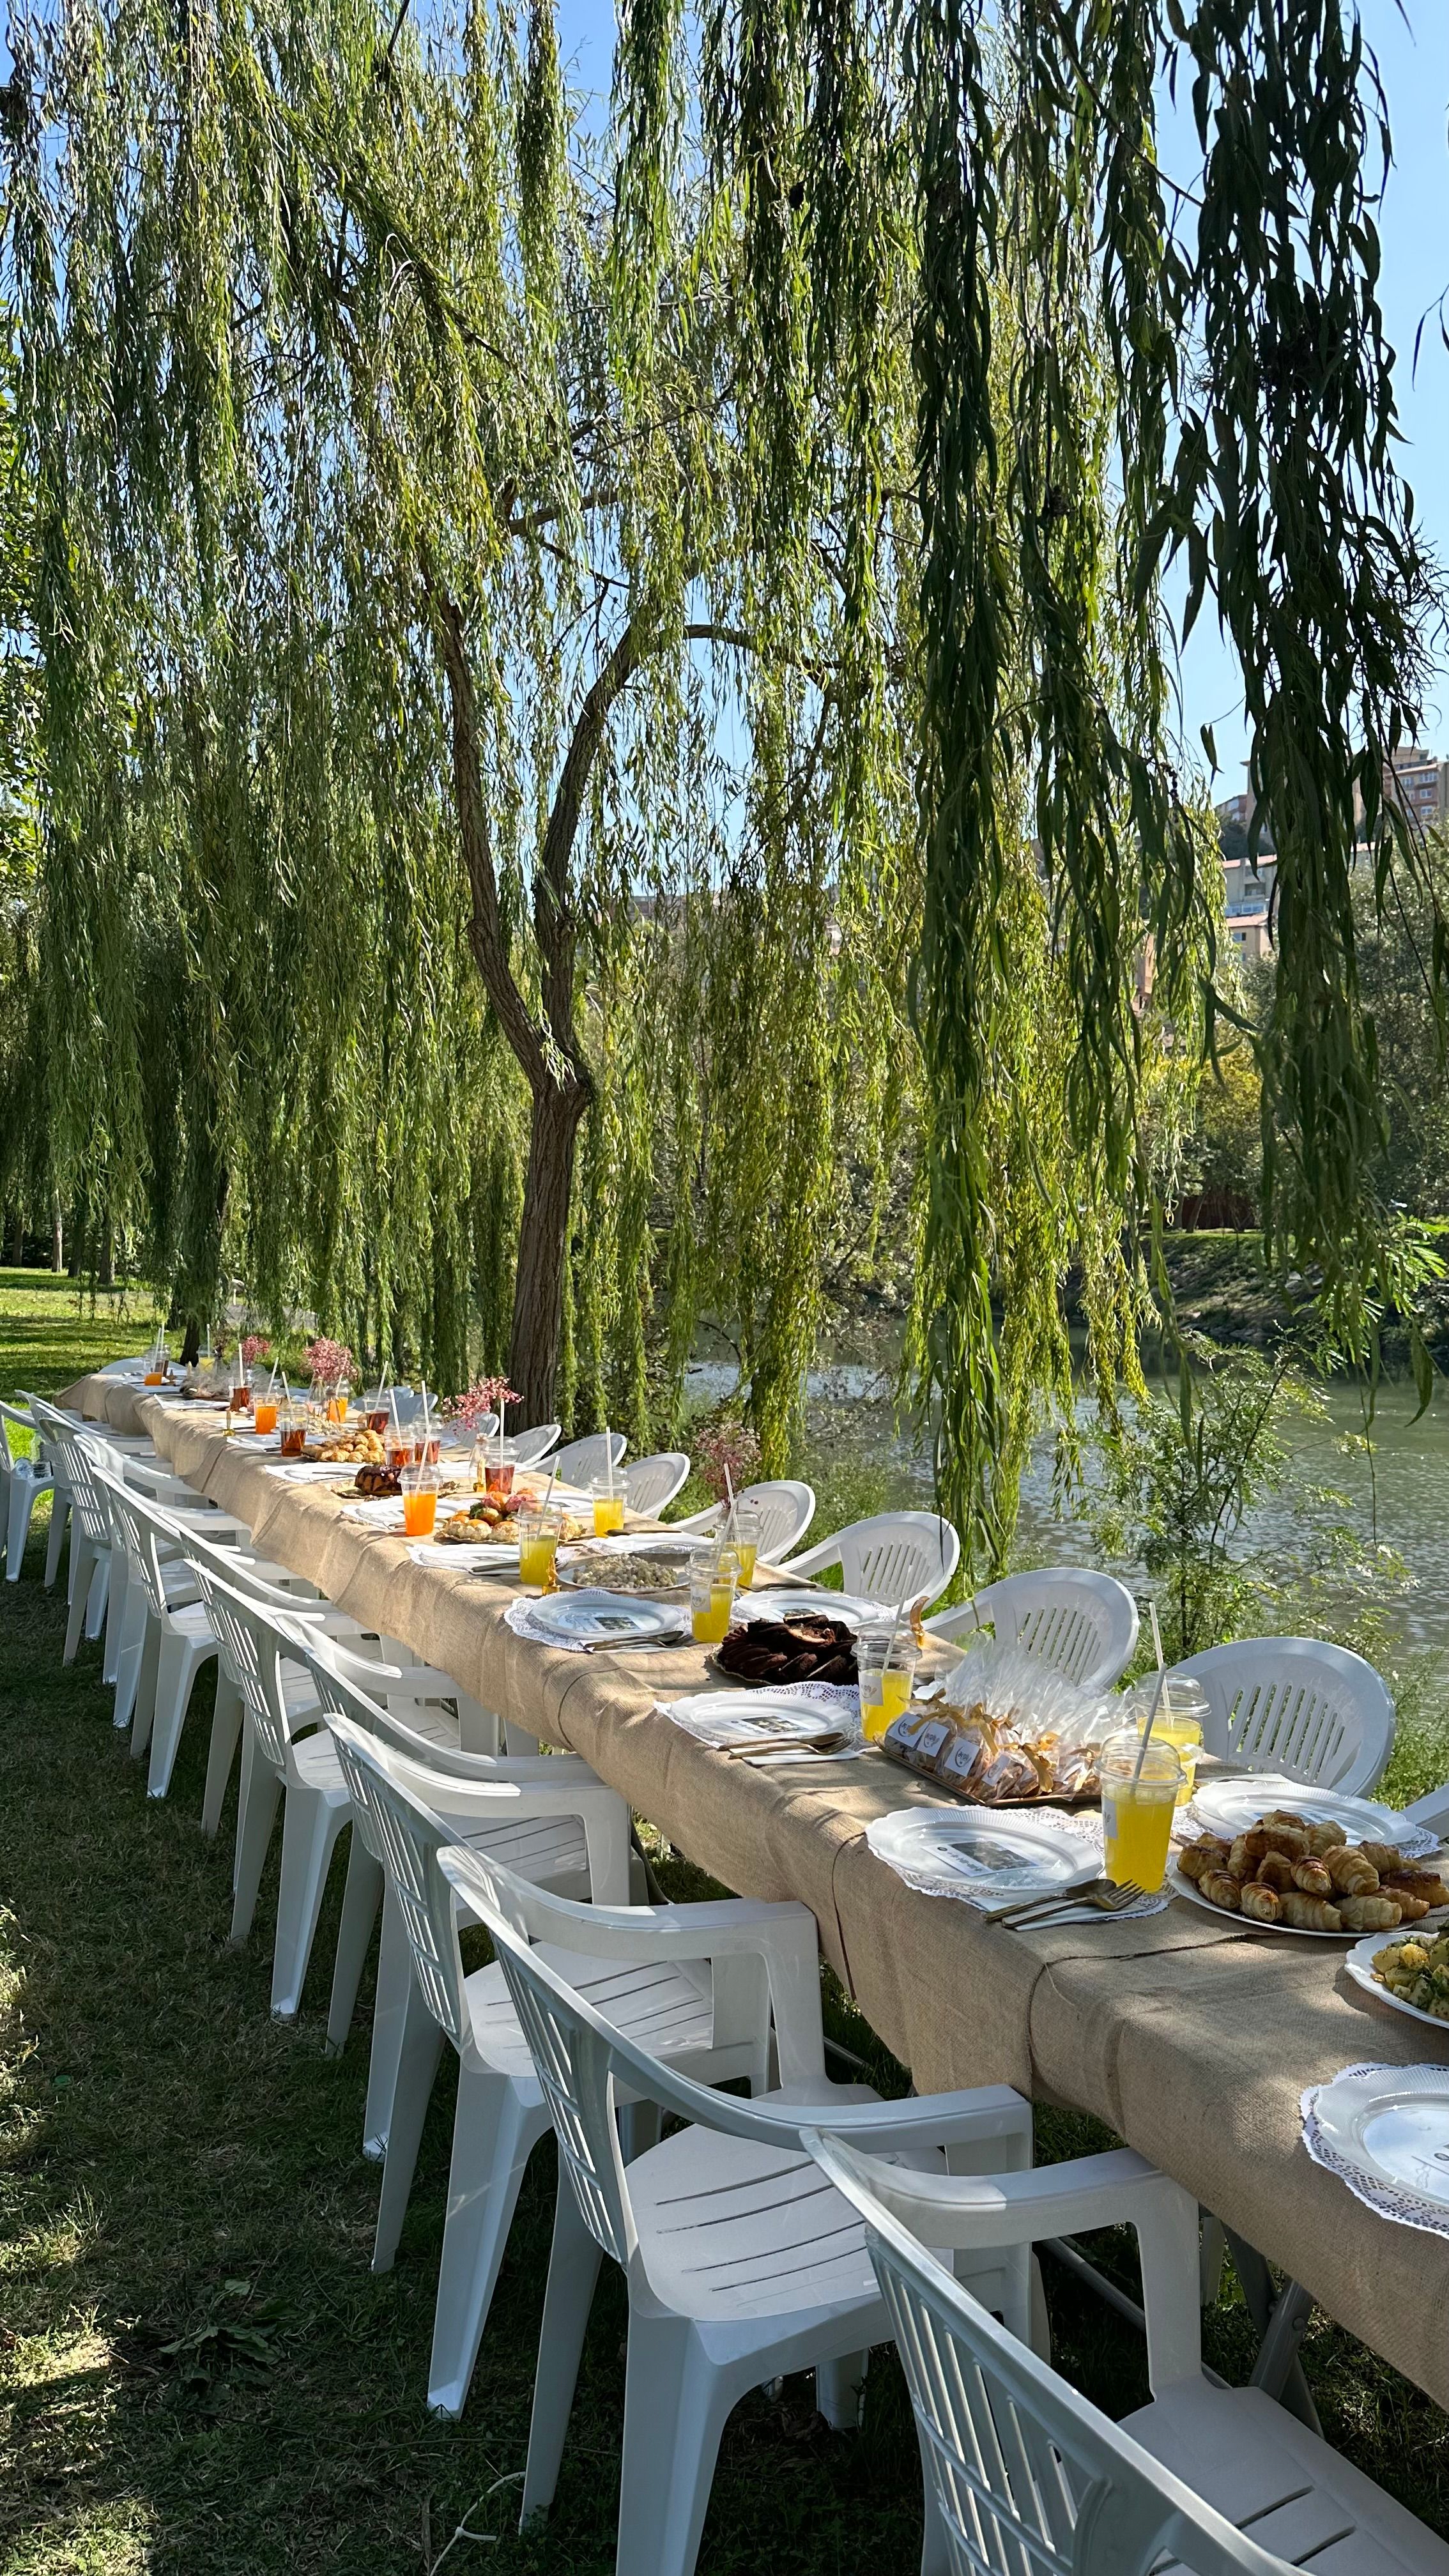
The purpose of a focal point is to guide attention and give the photo a clear message. It tells the viewer what matters most in the frame. That makes the picture easier to read in a second or less.
For food scenes, this can also shape appetite. A sharp, well-lit main dish can make the rest of the spread feel more tempting. One good focal area often does more work than five extra props.
What is the 20-60-20 rule in photography?
The 20-60-20 rule in photography is a simple balance plan for a frame. The first 20% draws the eye in, the middle 60% holds the main story, and the last 20% adds a clean finish. It gives structure without making the setup feel rigid.
Use it to place your best food in the center zone. Then let the edges support it with softer shapes, light, or color. This keeps the spread from looking cluttered at the sides.

What is focal point in simple terms?
Focal point in simple terms means the main thing you want people to notice first. It is the visual “look here” in the photo. In a picnic shot, that might be the brightest plate or the most colorful dish.
When the main item is clear, the rest of the frame feels easier to enjoy. Even small scenes look richer when the eye knows where to land. One sharp detail can change the whole picture.
Move like a photographer, not a pack mule
Picnic scenes often change fast. Food gets moved, glasses catch glare, and wind shifts napkins around. A camera that stays on you lets you react before the light changes.

Hands-free carry also helps between the blanket, the market stall, and the table edge. I like a strap that keeps the camera secure but easy to grab in one motion. Camstrap Voyager fits that role well because the quick-release feel makes it simple to lift the camera, shoot, and move on.
Pack for quick, calm shooting
- One camera body with a 35mm or 50mm lens
- A small cloth for quick cleanups
- A reflector or white card for soft fill
- Two memory cards with UHS-II speed
- A spare battery for longer sessions
For burst work, a mid-tier mirrorless body often slows after roughly 20 to 30 RAW frames. RAW files write slower than JPEG, so card speed matters. UHS-II V60 or V90 cards help most when you shoot several frames at once or review images less often.
Continuous AF with eye or subject detection can help when hands enter the frame or food is being plated. Back-button focus also keeps focus from changing every time you recompose. Those tools save time when the scene keeps shifting.

One more useful habit is to check the frame edge before you shoot. A stray fork or bright bag can pull attention away from the food. Small fixes at the edge often make the whole spread feel more polished.
A picnic photo should feel easy, fresh, and full of life. Use one clear star, shape your light, and keep the layout simple. When the eye lands fast and stays there, the spread looks irresistible from the first glance.
Frequently Asked Questions
What is a focal point in photography?
A focal point in photography is the main subject or area that draws the viewer’s eye first. It creates a clear visual anchor, such as a hero dish in a picnic spread.

What is the purpose of a focal point?
The purpose of a focal point is to guide attention to the most important part of the image. It gives the scene structure so the viewer knows where to look first.
What is the 20-60-20 rule in photography?
The 20-60-20 rule in photography is a composition idea that divides attention across three zones: a small part for the main focal point, a larger supporting middle, and a smaller amount of secondary detail. It helps balance the frame so the eye has a clear starting point and a reason to keep exploring.
What is focal point in simple terms?
In simple terms, a focal point is the thing in a photo that stands out most. It is the first place the eye naturally goes.


