
Shoot for phones first and tell better stories. Mobile screens guide how people view photos. This guide shows how to plan, shoot, and edit vertical images for mobile. You will learn practical tips on gear, framing, and delivery.
Why shoot vertical in 2026: mobile-first trends and viewer habits

Most viewers now look at photos on their phones. Social apps favor tall frames and vertical feeds. So shoot vertical to meet how people scroll and view content.
Vertical photography keeps more of your subject in view. It cuts time spent cropping later. Also, it keeps full detail for mobile displays.
Mobile behavior and viewing stats
People hold phones upright and swipe in tall feeds. Vertical shots fill the screen and get more taps. If you want viewers to stop and look, shoot tall and fill the frame.
Why vertical changes your story
Vertical frames guide the eye top to bottom. They show height, depth, and scale well. Use vertical shots to add drama for cliffs, trees, and hikers.
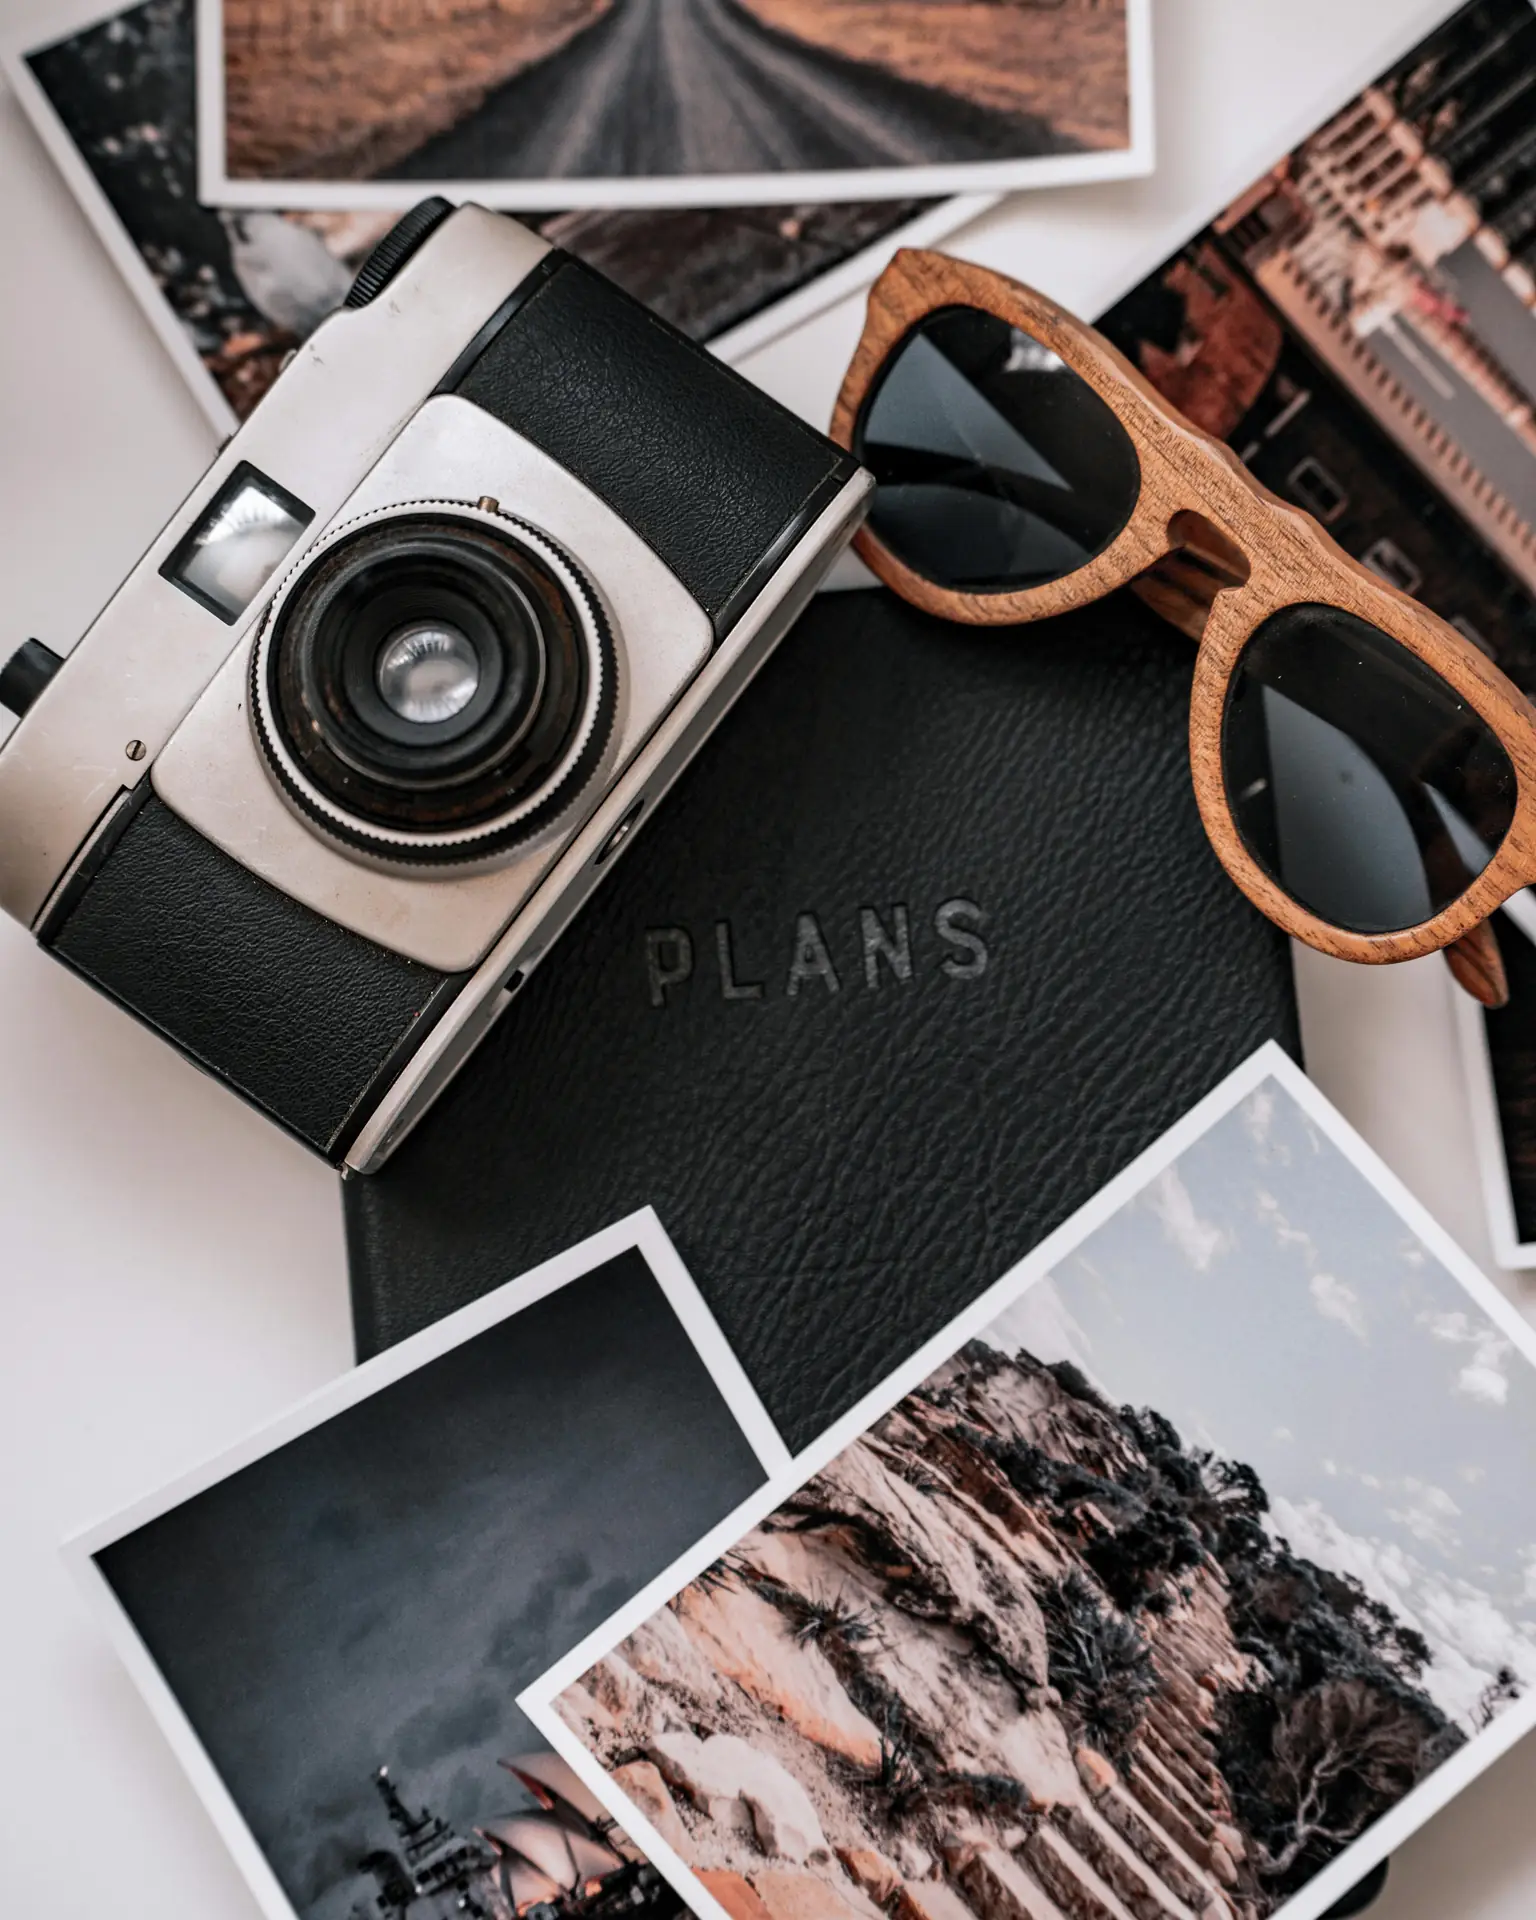
How to plan a mobile-first vertical shoot
Start with a clear story idea. Pick three to five vertical shots that move the story forward. Then think how each shot will read on a narrow screen.
Make a simple shot list. Mark a hero frame and supporting frames. This keeps your flow tight and your edits fast.
Shot list for outdoor stories
- Hero vertical: a tall scene that opens your story.
- Close vertical: a tight subject shot that adds feeling.
- Action vertical: a moving subject to add energy.
- Detail vertical: textures or gear that add context.
- Ending vertical: a closing frame that finishes the story.
Timing, light, and safety
Shoot at the best light. Golden hour gives soft tones and long shadows. Midday can hide vertical details with hard light.
Also plan for wind and weather. Pick safe spots to stand and move. Check the path before you frame the shot.
Composition and gear tips to shoot vertical outdoors
Keep your frame simple and strong. Use lines, shapes, and a clear subject. Leave room around the subject to allow small crops later.
Carry gear that helps you move and shoot fast. Pick light tripods, small gimbals, and fast lenses. Use a camera strap that keeps your gear ready.
Choose the right lenses and focal lengths
Wide lenses show tall scenes and depth. Try 24mm to 35mm for hero verticals. Use 50mm to 85mm for tight vertical portraits. Test different focal lengths to tell the story you want.
Camera settings and practical tips

- Shoot vertically in camera or rotate your phone to portrait mode.
- Use fast shutter speeds for action to avoid blur.
- Keep ISO low for clean files, but raise it if needed for light.
- Meter for the subject so faces keep detail in light and shadow.
- Use focus peaking or touch focus to confirm sharpness on mobile.
How to shoot vertical for motion and emotion
Motion and emotion make viewers care about an image. Use vertical framing to show a climb, fall, or travel up and down. Lead the eye with lines that run top to bottom.
Place your subject so they move into open space. This gives a clear sense of motion. For emotion, crop tight on faces and hands. A vertical crop can feel more intimate.

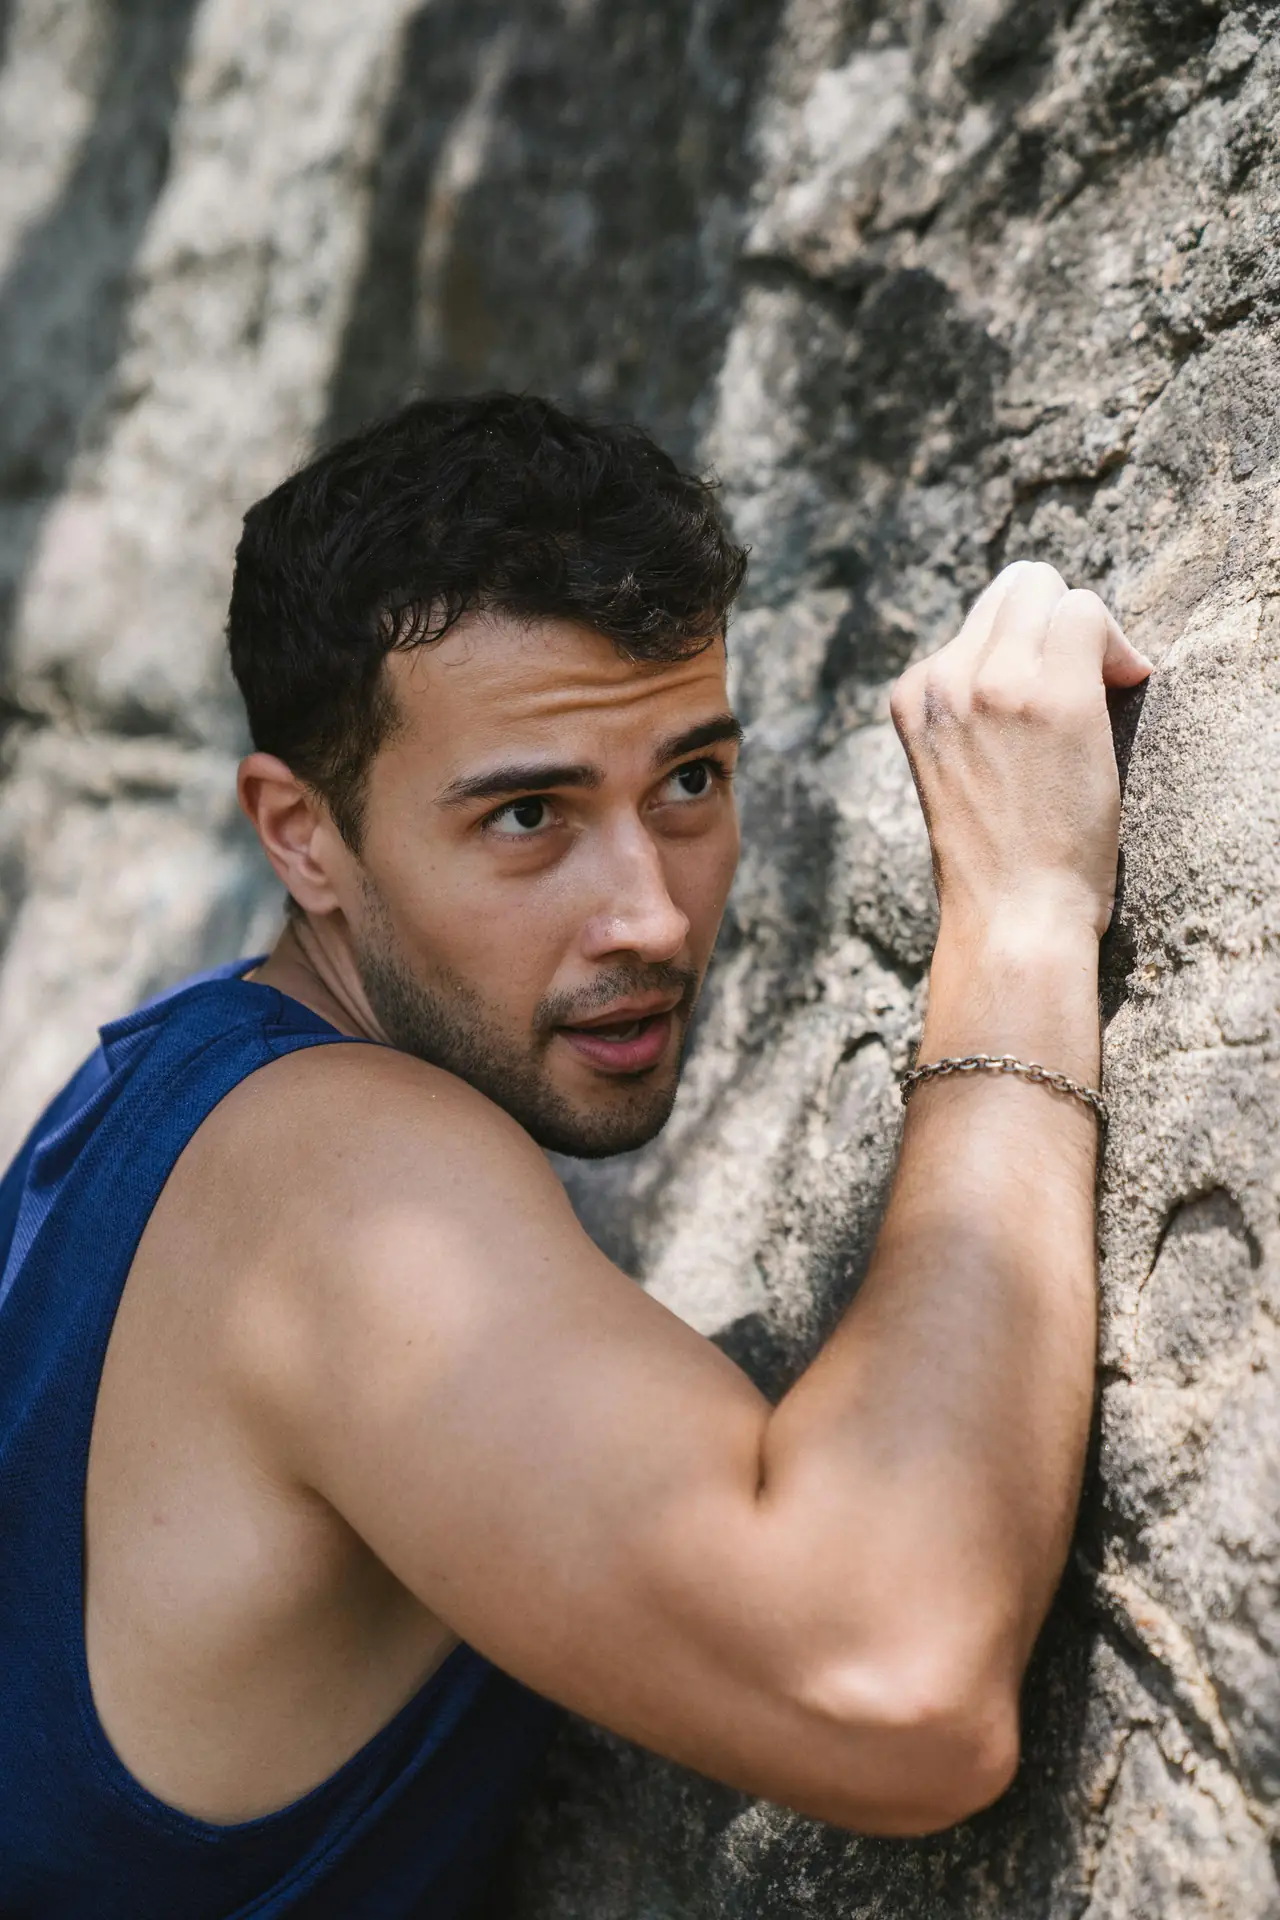
Framing people and scale
Shoot hikers full-length to show scale against cliffs and trees. Place a person on one third of the frame for balance. This keeps shots natural and strong.
Use foreground and background to tell a story
- Add a simple foreground to increase depth in a vertical frame.
- Blur the background to keep the eye on the subject.
- Use layered elements to move the eye from bottom to top.

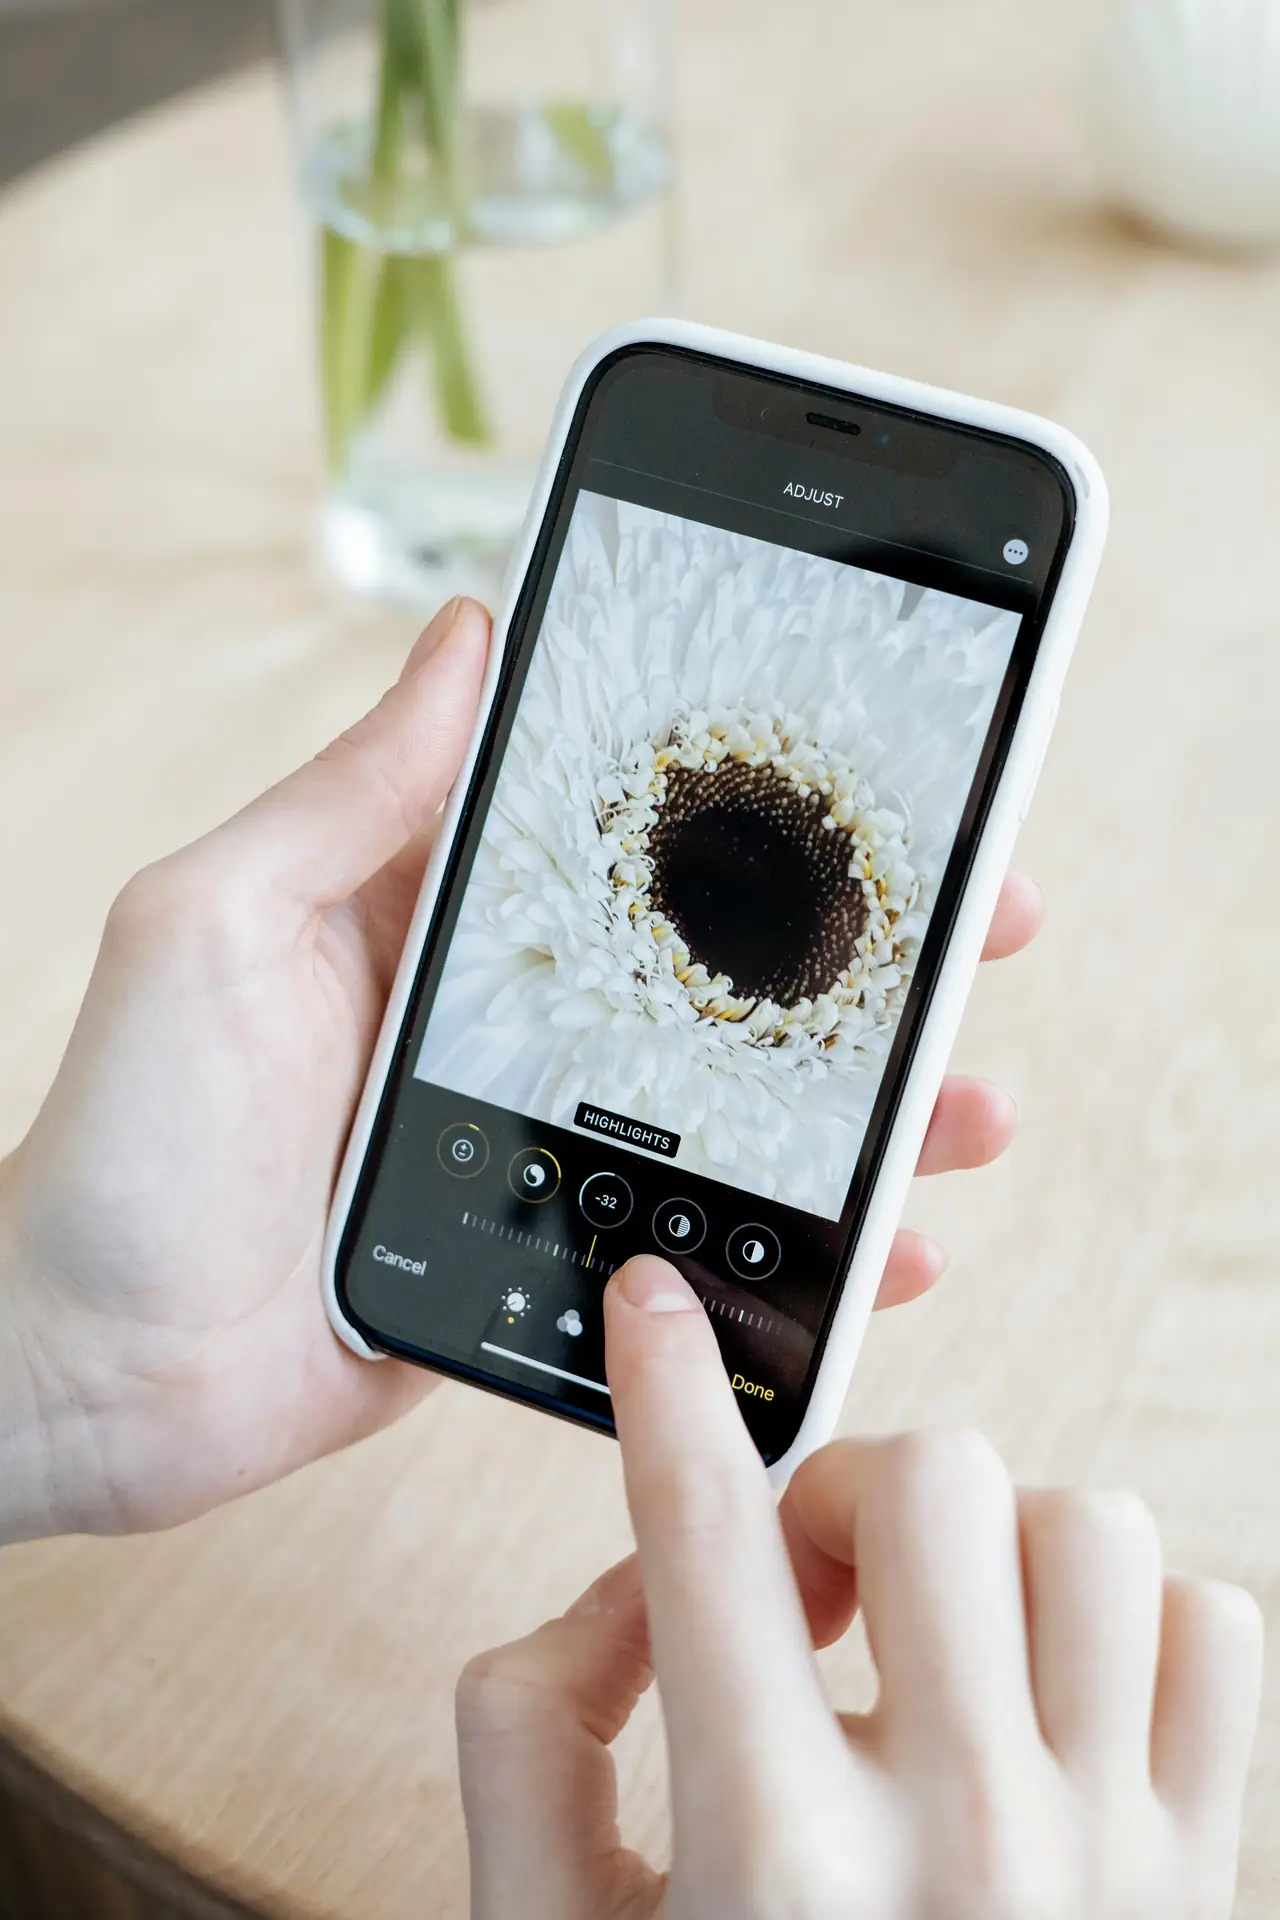
Post-process and deliver vertical-first stories
Edit with phones in mind. Crop less by shooting vertical in camera. Then adjust color, contrast, and sharpness for bright mobile screens.
Export the right size and format for apps. Common vertical sizes include 4:5, 2:3, and 9:16. Keep file size small enough for quick load times.
Edit workflow for mobile screens

- Pick the hero vertical image first and set its crop.
- Crop other shots to match the hero ratio for a clean flow.
- Adjust color and contrast so images read on bright displays.
- Sharpen lightly for small screens and export at web resolution.
Export settings and size tips
For social feeds, export JPGs at 1080 pixels wide for vertical frames. For stories and reels, use 1080 x 1920 pixels (9:16). For galleries, use 4:5 or 2:3 ratios. Keep files under a few MB for fast loading.
Using straps, tools, and habits that help you shoot more

Good tools keep you ready to shoot. Use a strap that holds the camera steady and stays out of the way. Camstrap makes straps that mix style and function.
Try the Camstrap Voyager for long hikes and all-day comfort. Use the Camstrap Explorer if you move a lot while shooting. Take the Camstrap Nomad for travel. Add the Camstrap MagClip to pull the camera fast.
Pack light and shoot more
- Bring one or two lenses to stay nimble and mobile.
- Carry a compact tripod or a small gimbal for smooth motion shots.
- Pack spare batteries and a small memory card wallet for long days.

Field routines that help you shoot vertical
Start each hike by scouting tall subjects and lines. Set your camera to vertical layout and keep one card for raw files. Check your strap every 30 minutes so the camera stays ready.
Practice quick draws and dry runs so the strap and camera become one motion. These habits help you catch better light and action.
Research-backed tips and real-world examples to help you shoot

Experts suggest techniques that work in the field. Derek Nielsen backs vertical panoramas to show tall scenes. Other pros say vertical-first framing saves detail when you deliver to phones.
Video guides on vertical gear and framing also help. Use what you learn from short video lessons to plan and shoot vertical photos. These tips save time and make your work feel native to phones.
Try these practice drills
- Shoot one vertical hero image every day for a week.
- Make a five-shot vertical story and share it with a small group.
- Try a vertical panorama to show very tall scenes in one frame.

How feedback helps you shoot better
Share your work and ask simple questions. Ask which image stops viewers and why. Use that feedback to tune framing and timing. Then shoot again with a clear goal.
Personas: Who benefits most from mobile-first vertical shooting
Travel Enthusiasts will fill feeds with tall landscapes and city shots. They need straps and gear that move with them. A Camstrap helps them carry and grab the camera fast.
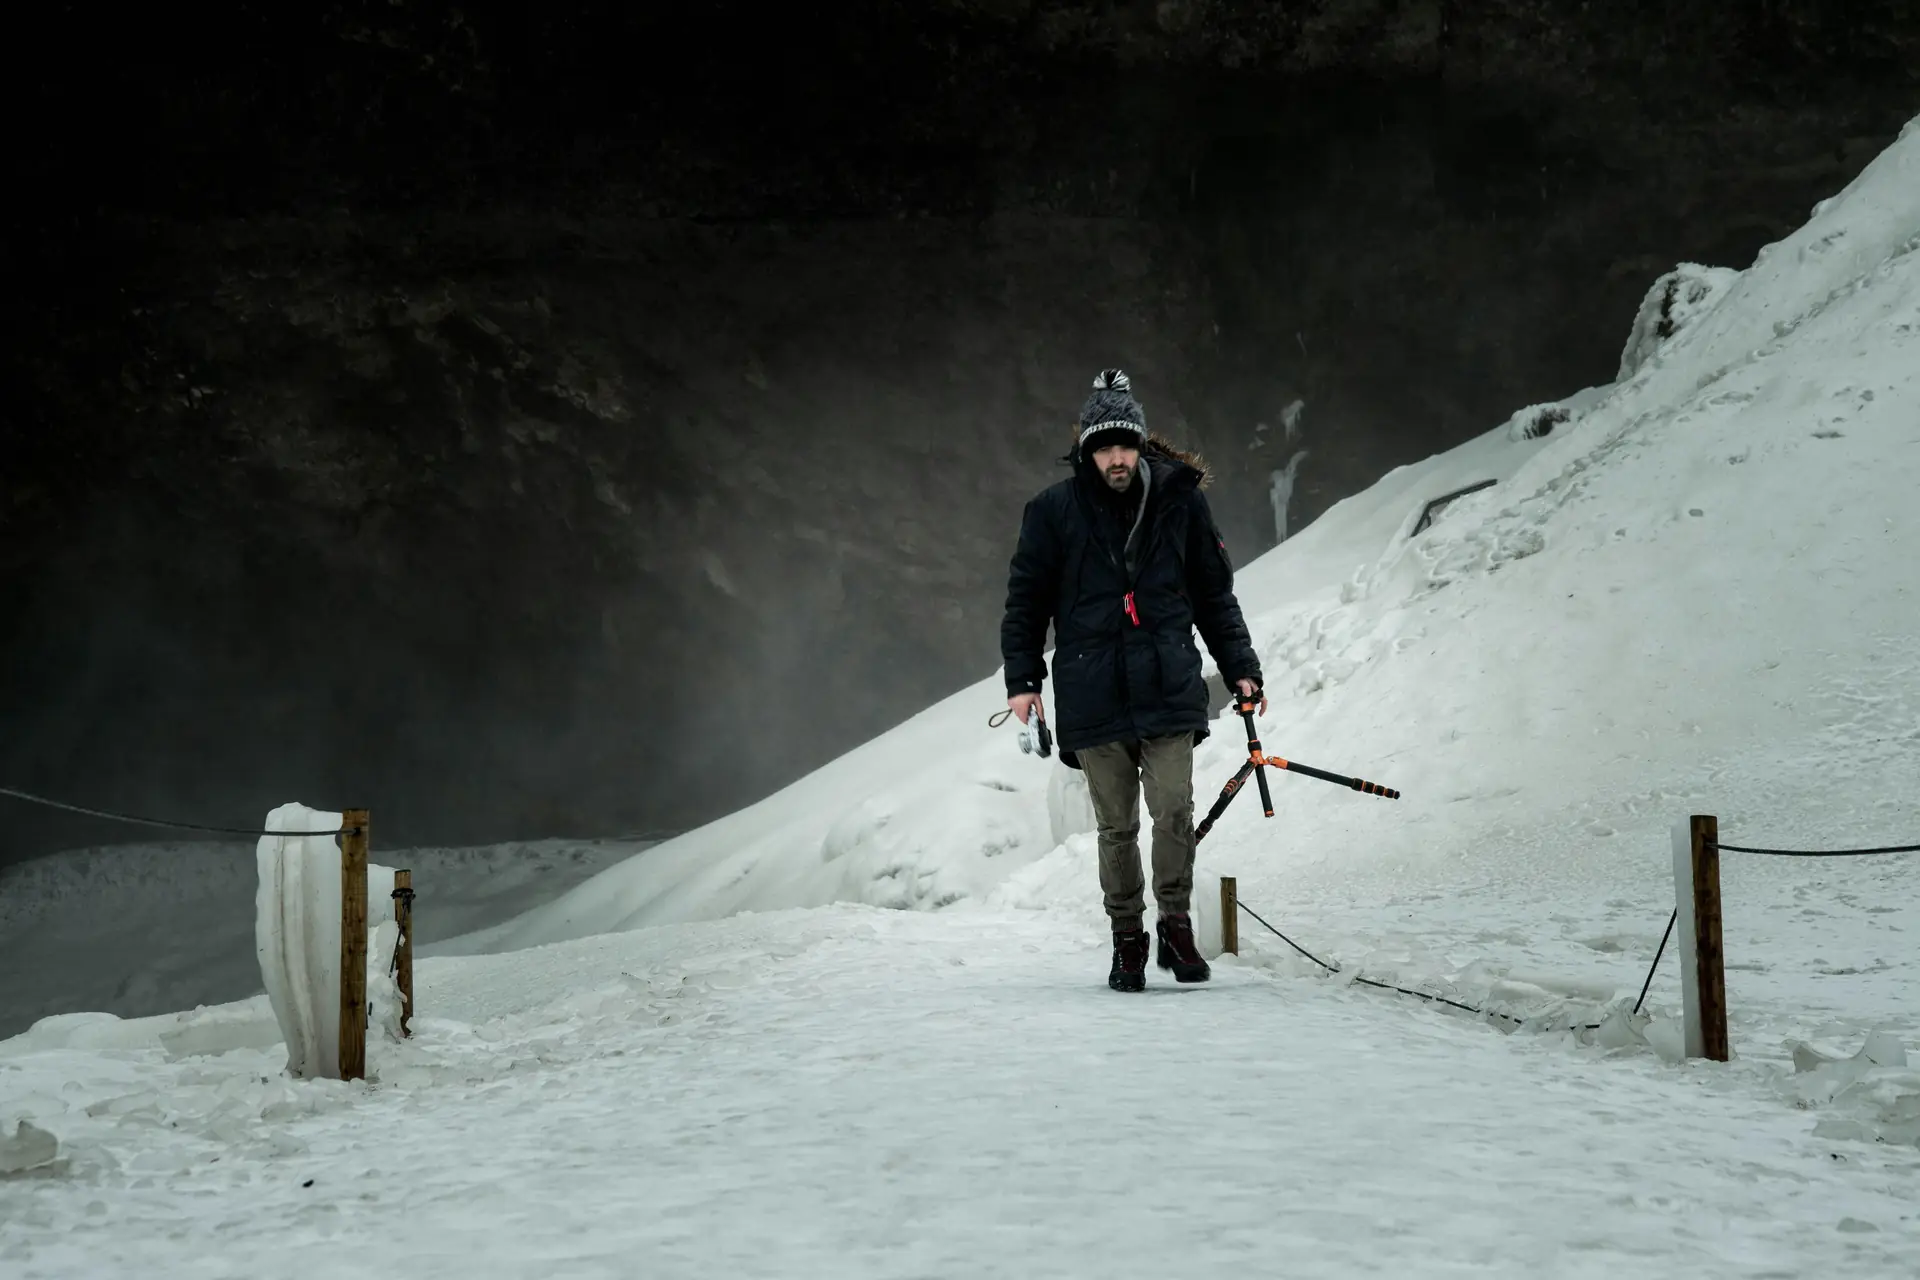
Outdoor Adventure Photographers shoot in rough places and need strong gear. Vertical frames show scale and action well. Light straps and secure clips keep the camera safe.
Amateur Photographers learn fast by practicing vertical hero shots. Simple plans and a small kit help them post more often. Good straps and easy routines speed their learning.
Conclusion: Make shoot vertical a habit to tell stronger mobile stories
To win on mobile, shoot tall frames and craft clear story beats. Plan short shot lists, carry the right gear, and edit for phone screens. Then deliver files that load fast and look great.
Practice the drills and keep your gear ready. A Camstrap Voyager, Camstrap Explorer, or Camstrap Nomad will help you move and shoot with ease. Add the Camstrap MagClip to speed access and capture more moments.
Now go out and shoot one vertical story this week. Shoot a hero frame, support it, edit fast, and post for mobile. Keep learning and your vertical images will reach more eyes in 2026.


