
Nightscape travel photography is growing fast in 2026. This guide shows how to build a nightscape travel kit that stays light and works well. You will learn about low-light lenses, travel tripods, and camera straps that fit night photography needs. The tips help travel enthusiasts, outdoor adventure photographers, and amateur photographers shoot better night images.
What a nightscape travel kit includes (2026)
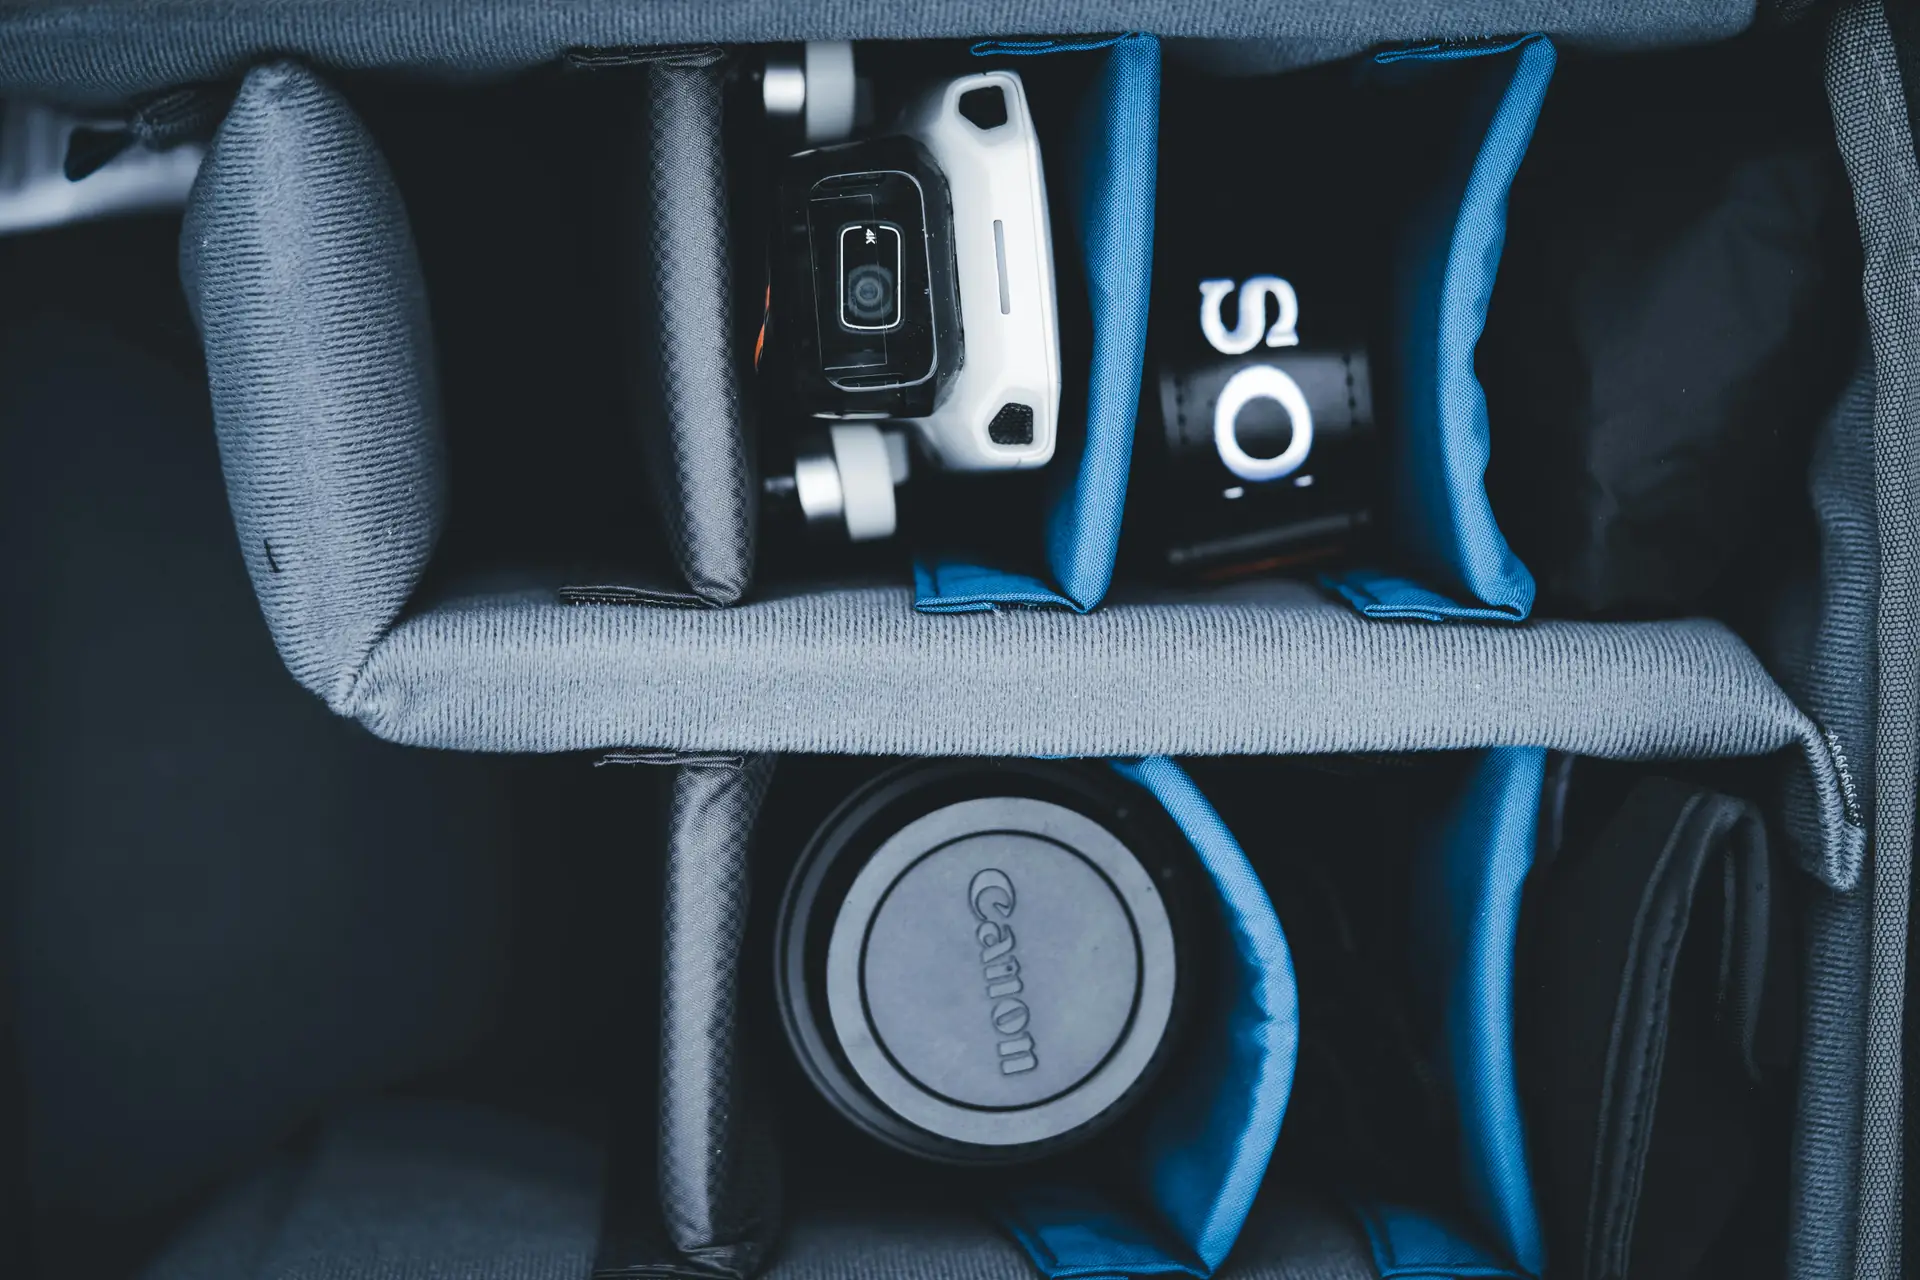
A good nightscape travel kit focuses on three main parts. You need a low-light lens, a stable tripod, and a reliable camera strap. Add small extras like spare batteries, a remote, and a headlamp to stay ready.
For travel choose gear that balances weight and function. Heavy gear makes hikes harder and slows your moves. So pick items that help you move fast and still make sharp photos.
Core items in every nightscape kit
- Low-light lens with a wide aperture and wide field
- Stable travel tripod that folds small
- Camera strap that keeps the camera secure and ready
- Remote shutter or intervalometer for long exposures
- Extra batteries and memory cards

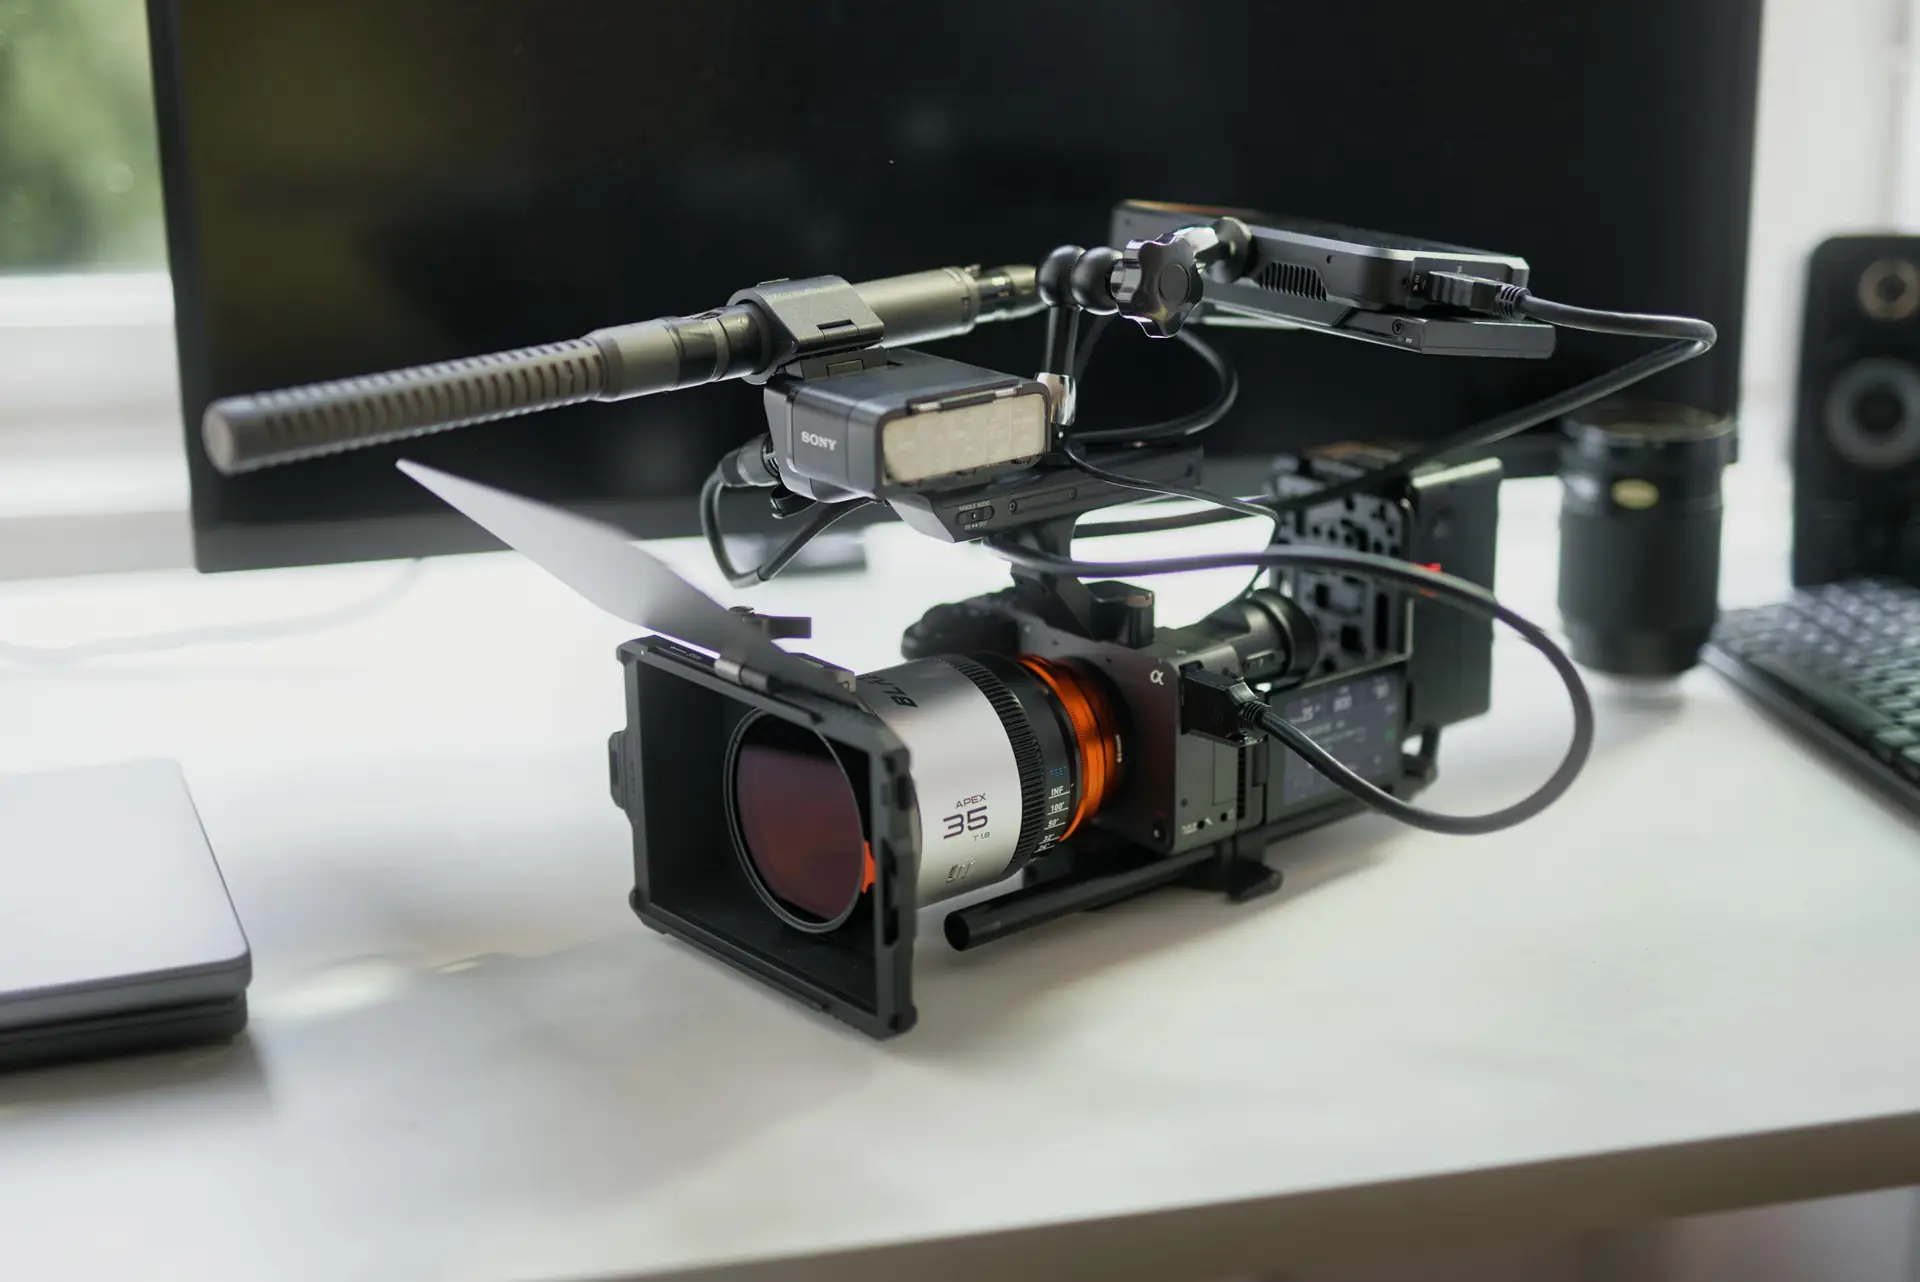
Choosing the best low-light lens for nightscape shots
Choosing the right lens is the most important step for nightscape shots. You want a lens that gathers light fast and covers the scene you like. Wide apertures like f/1.8 or f/2.8 help a lot. They let you use lower ISO and reduce noise.
Pick a focal length that fits your style. Ultra-wide lenses (14–24mm) suit Milky Way and wide sky shots. Mid-wide lenses (24–35mm) balance land and sky. Telephoto lenses compress the scene and pull in distant lights.
Lens features that matter for night photography
- Wide aperture (f/1.4–f/2.8) for fast low-light use
- Good corner sharpness to keep stars crisp across the frame
- Low coma and low astigmatism for clean star points
- Lightweight build to keep your travel kit small
- Weather sealing for damp nights and coastal shoots
Many cameras pair well with compact, fast primes for nightscape work. For travel, pack one wide prime and one versatile zoom. This keeps weight down and covers both wide and closer compositions.
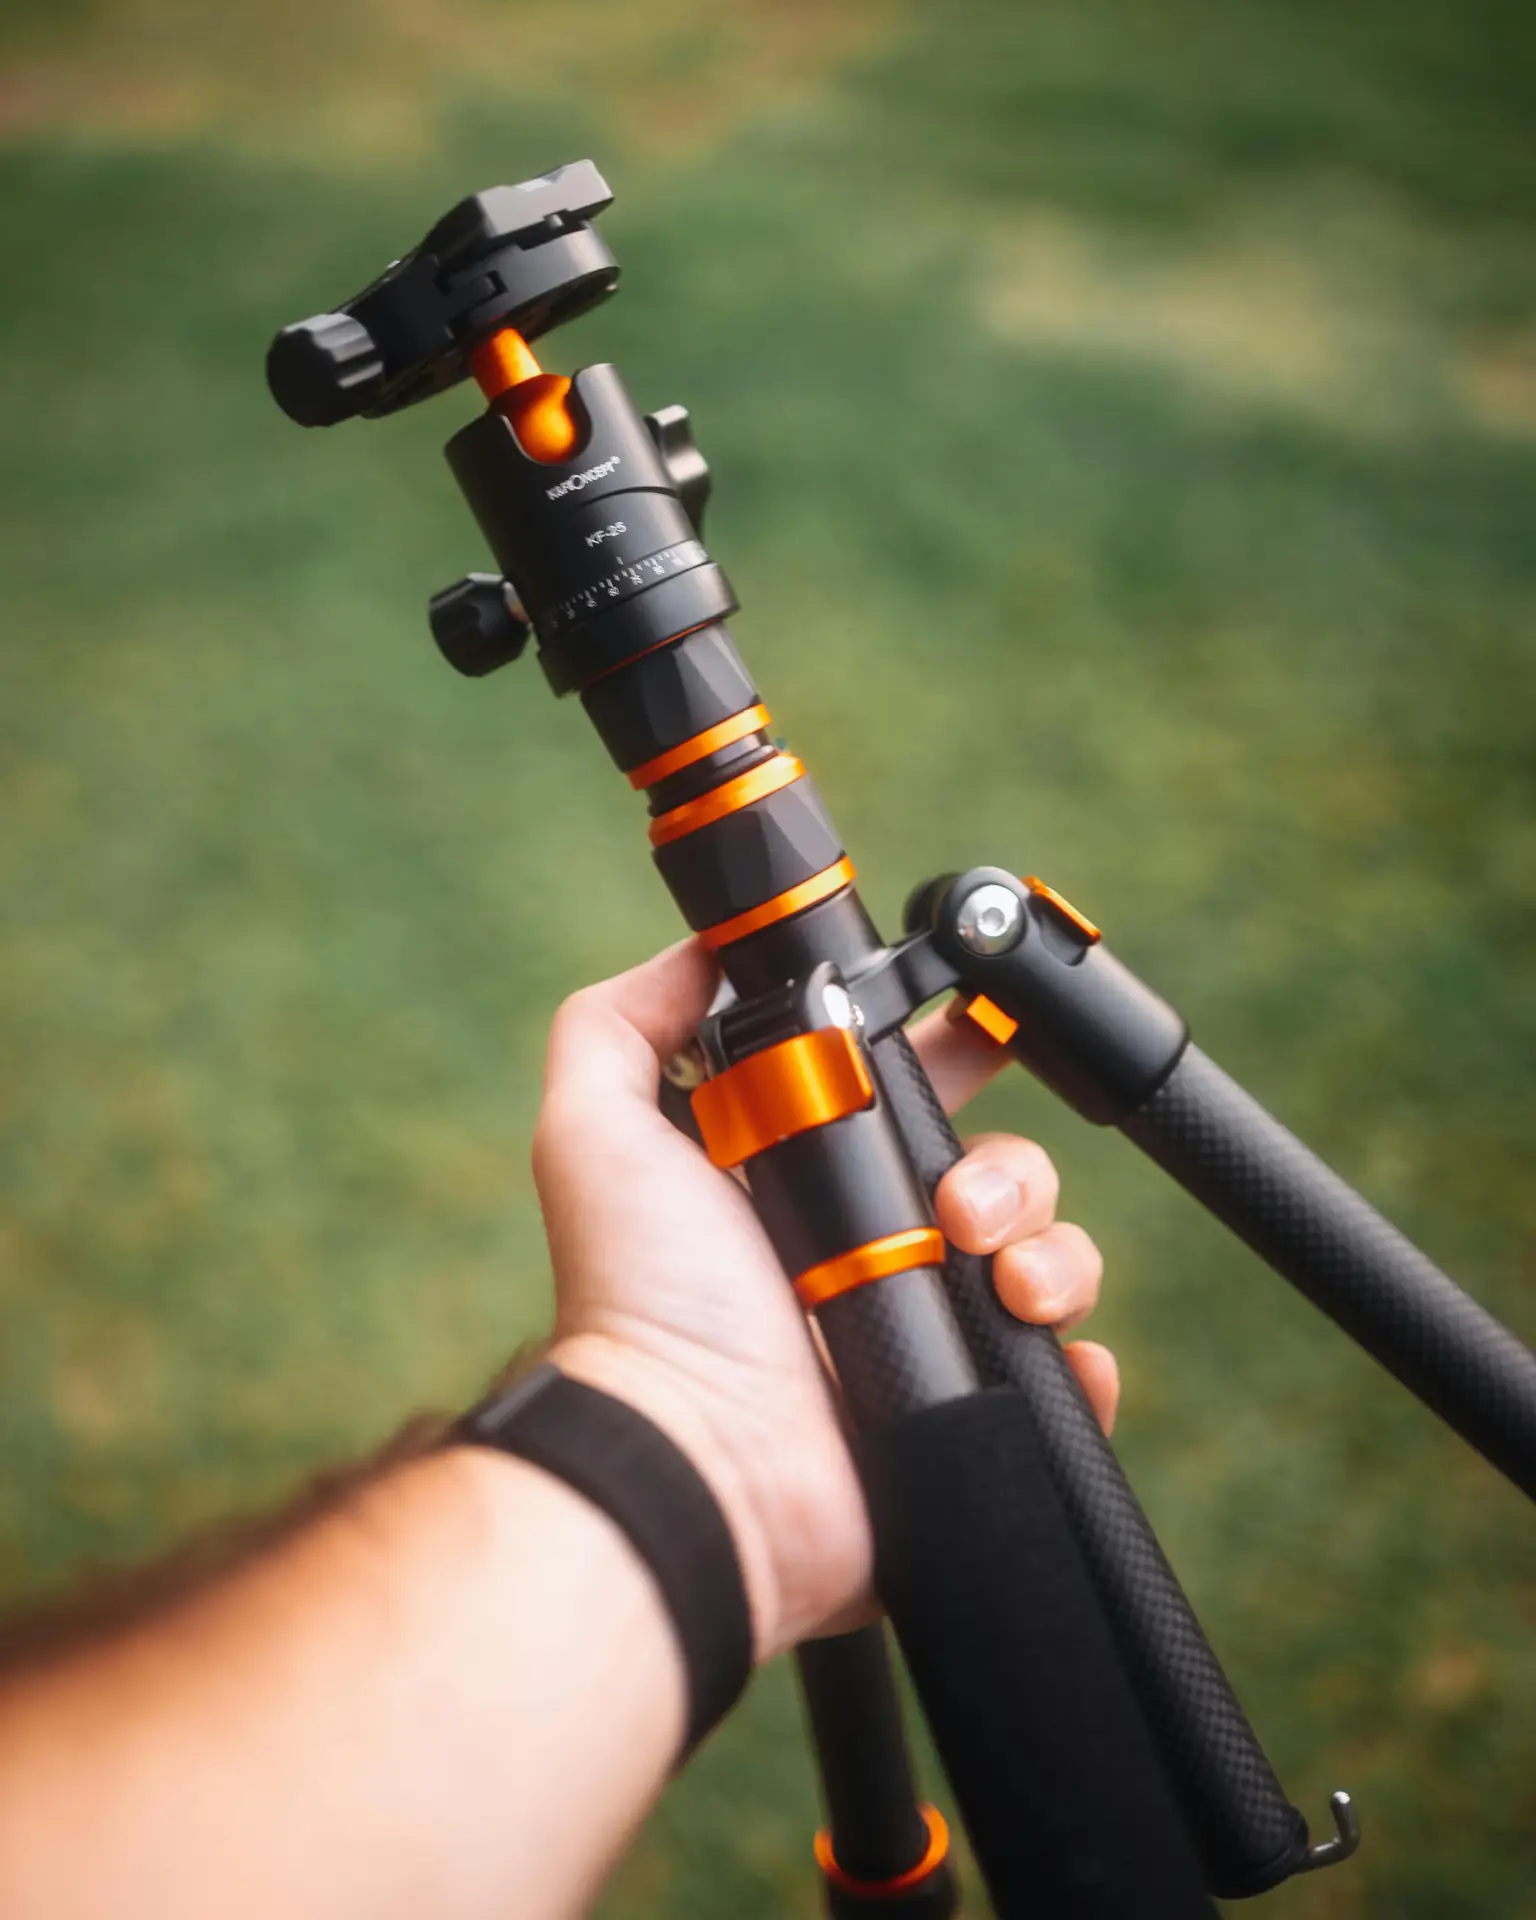
Tripod choices for nightscape travel: carbon vs aluminum
A tripod is the anchor for every nightscape photo. You need a stable base for long exposures and stacking. Tripods also must fold small and stay light for travel. Carbon fiber and aluminum are the main choices today.
Carbon fiber often costs more but cuts weight and so reduces fatigue. Aluminum is cheaper and still durable. It can work fine if you pick a fast, well-built model.
Why choose a carbon fiber tripod for nightscape travel
- Carbon fiber is lighter and easier to carry on long hikes
- It tends to damp vibrations faster in wind
- It copes with cold and temperature changes better than aluminum
Guides on carbon fiber tripods, like Ulanzi articles, outline cost versus benefit. They show how lighter gear improves travel efficiency. Many travel photographers pick carbon fiber when the budget allows.
Tripod head and useful features
For nightscape work a ball head is fast and simple to use. A geared head gives fine framing control. Look for a folded length that fits your bag. A removable center column helps for low-angle shots.
Tripods like the Benro Travel Angel fit many travel nightscape kits. Reviews note its balance of weight and stability. Read trusted reviews before you buy to match your shooting needs.
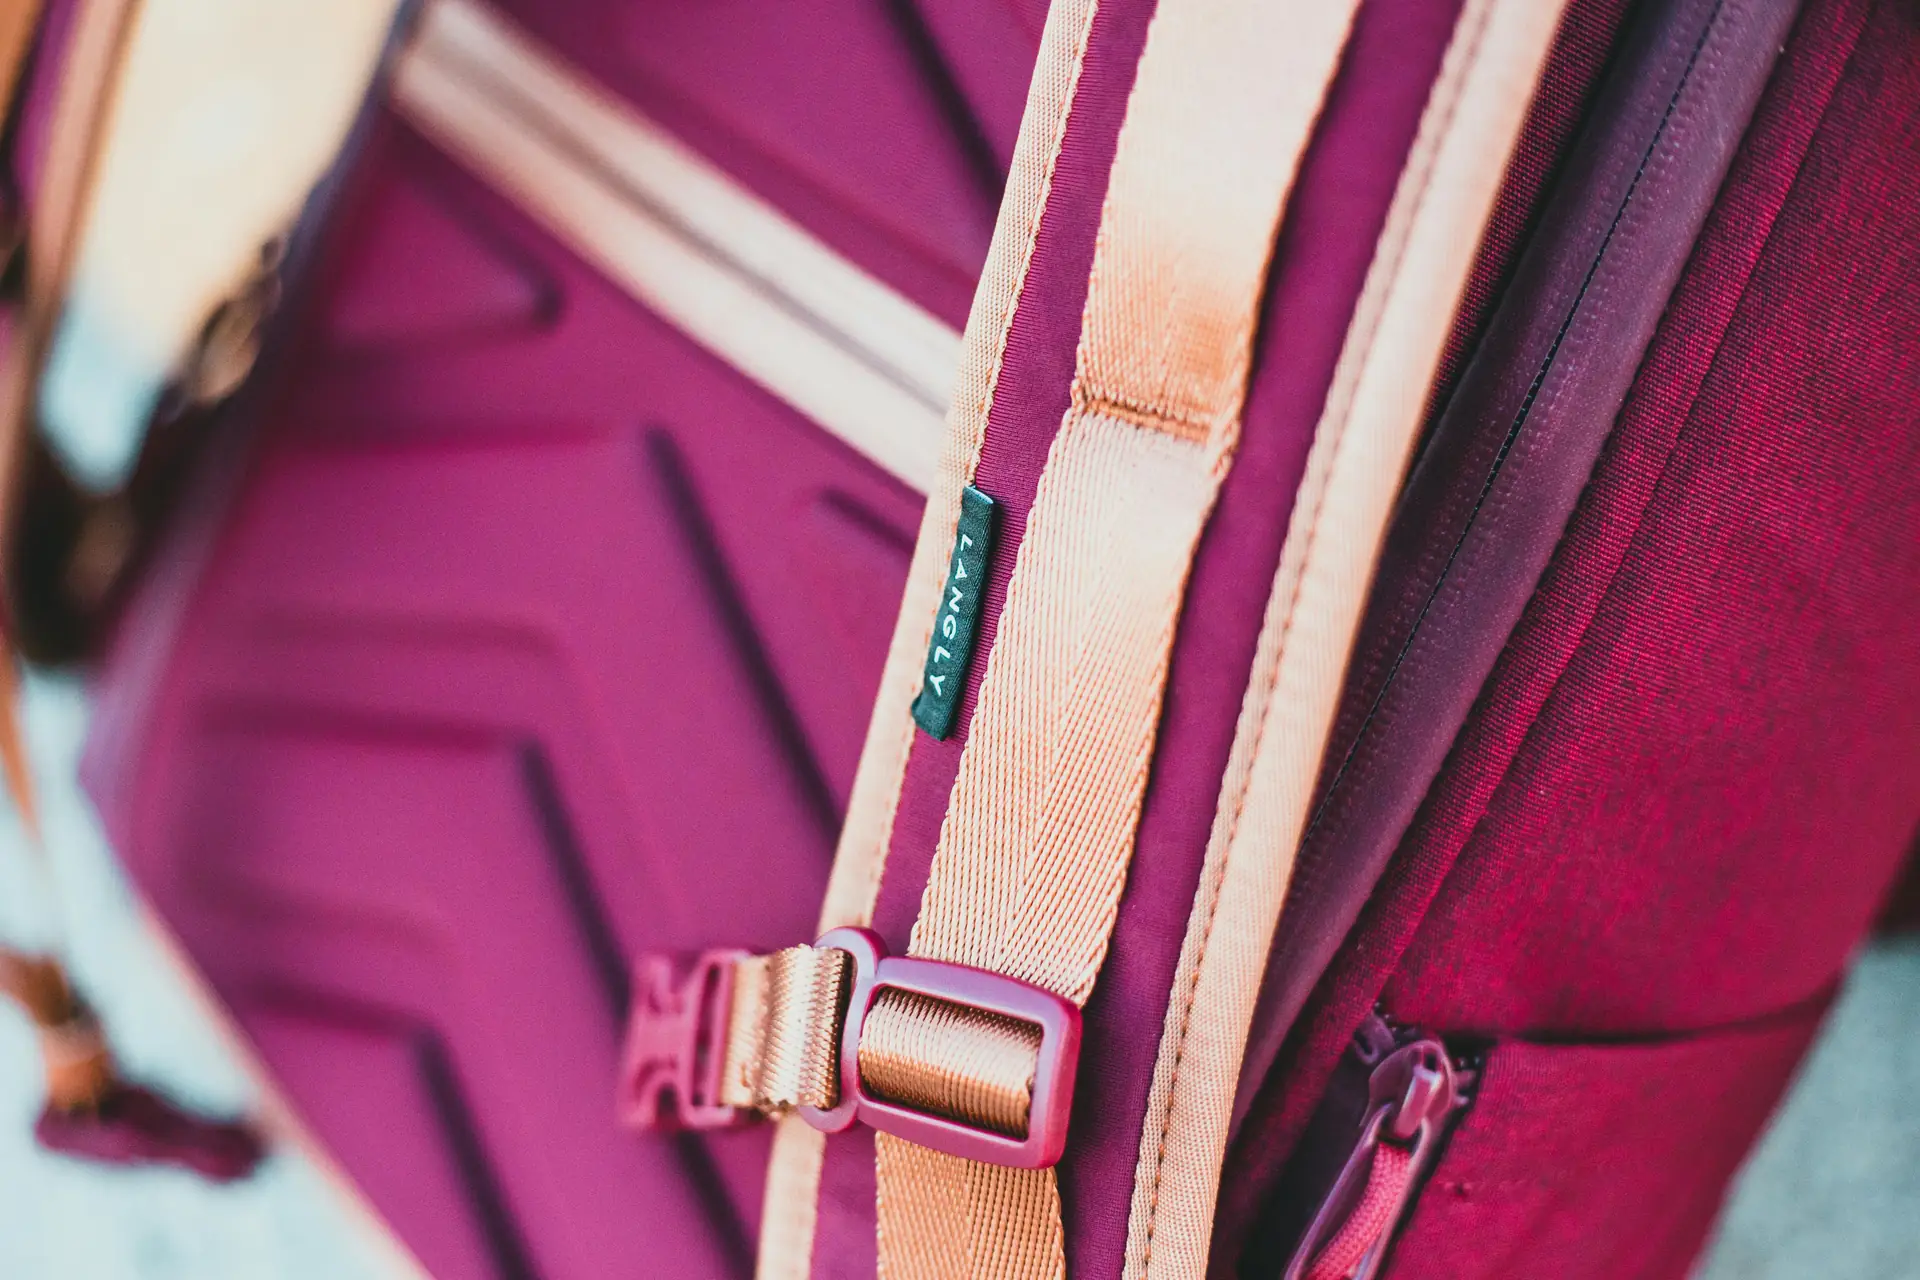
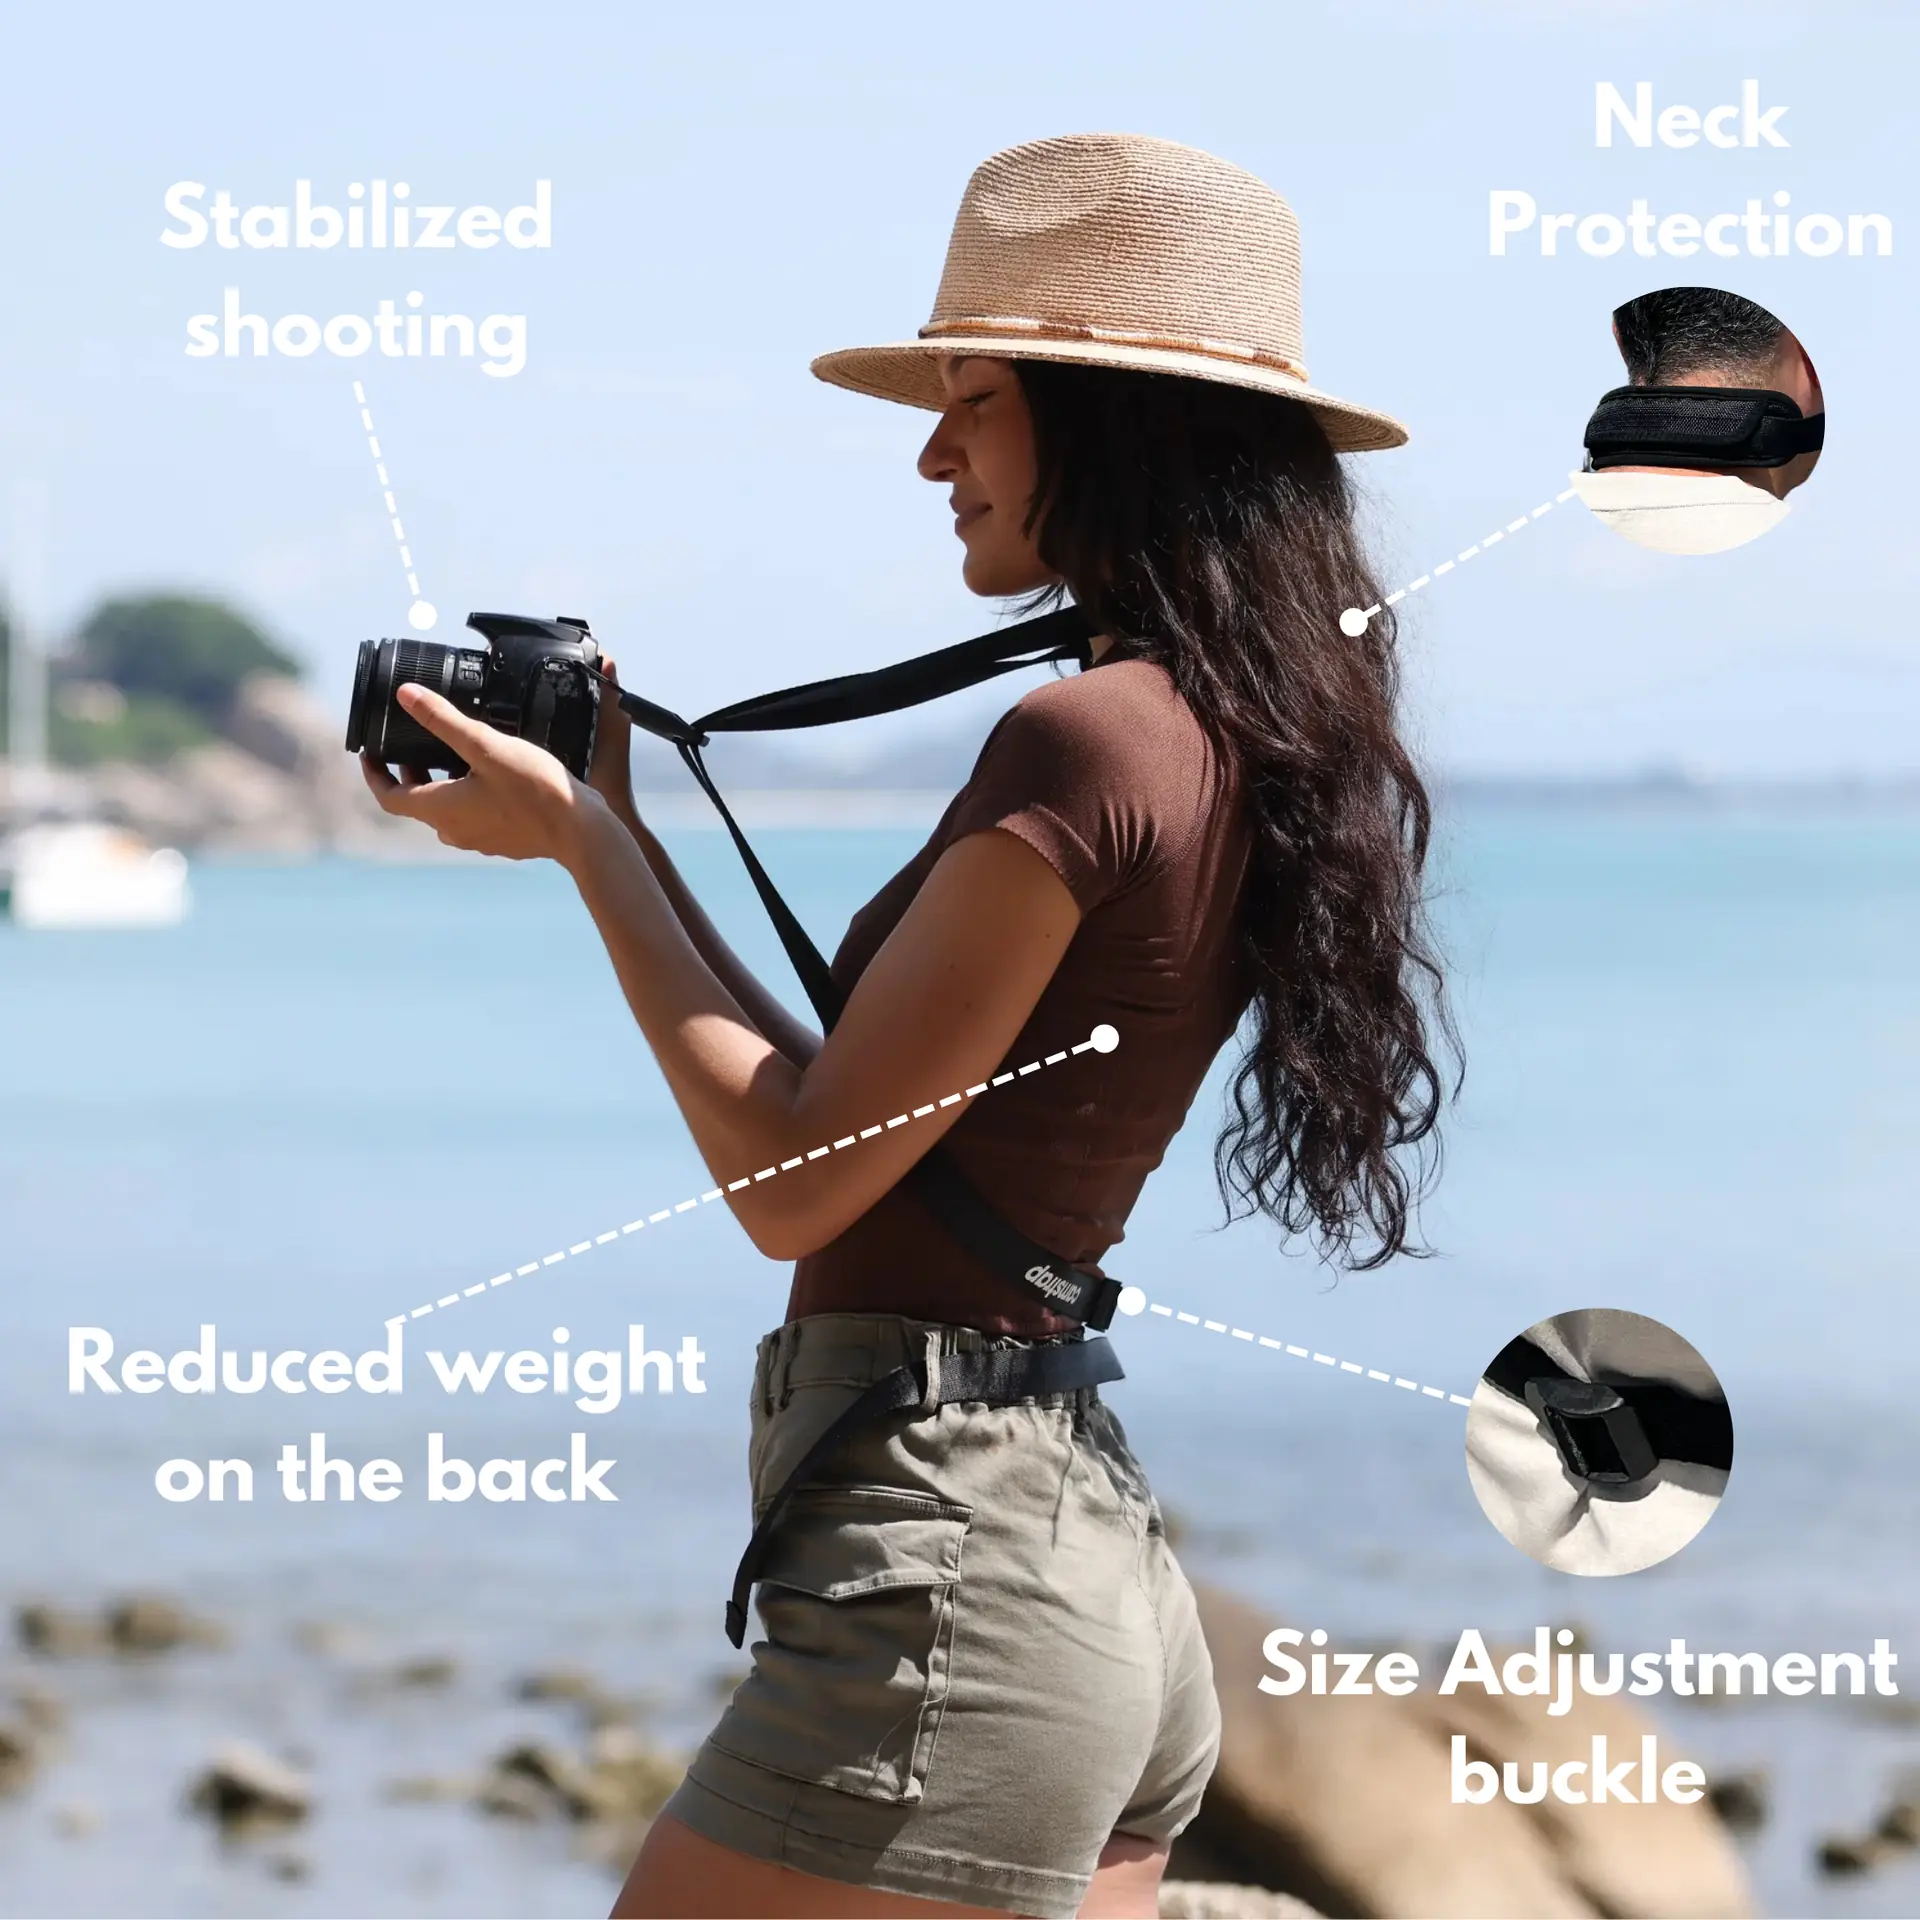
Strap and carry for nightscape travel: Camstrap picks
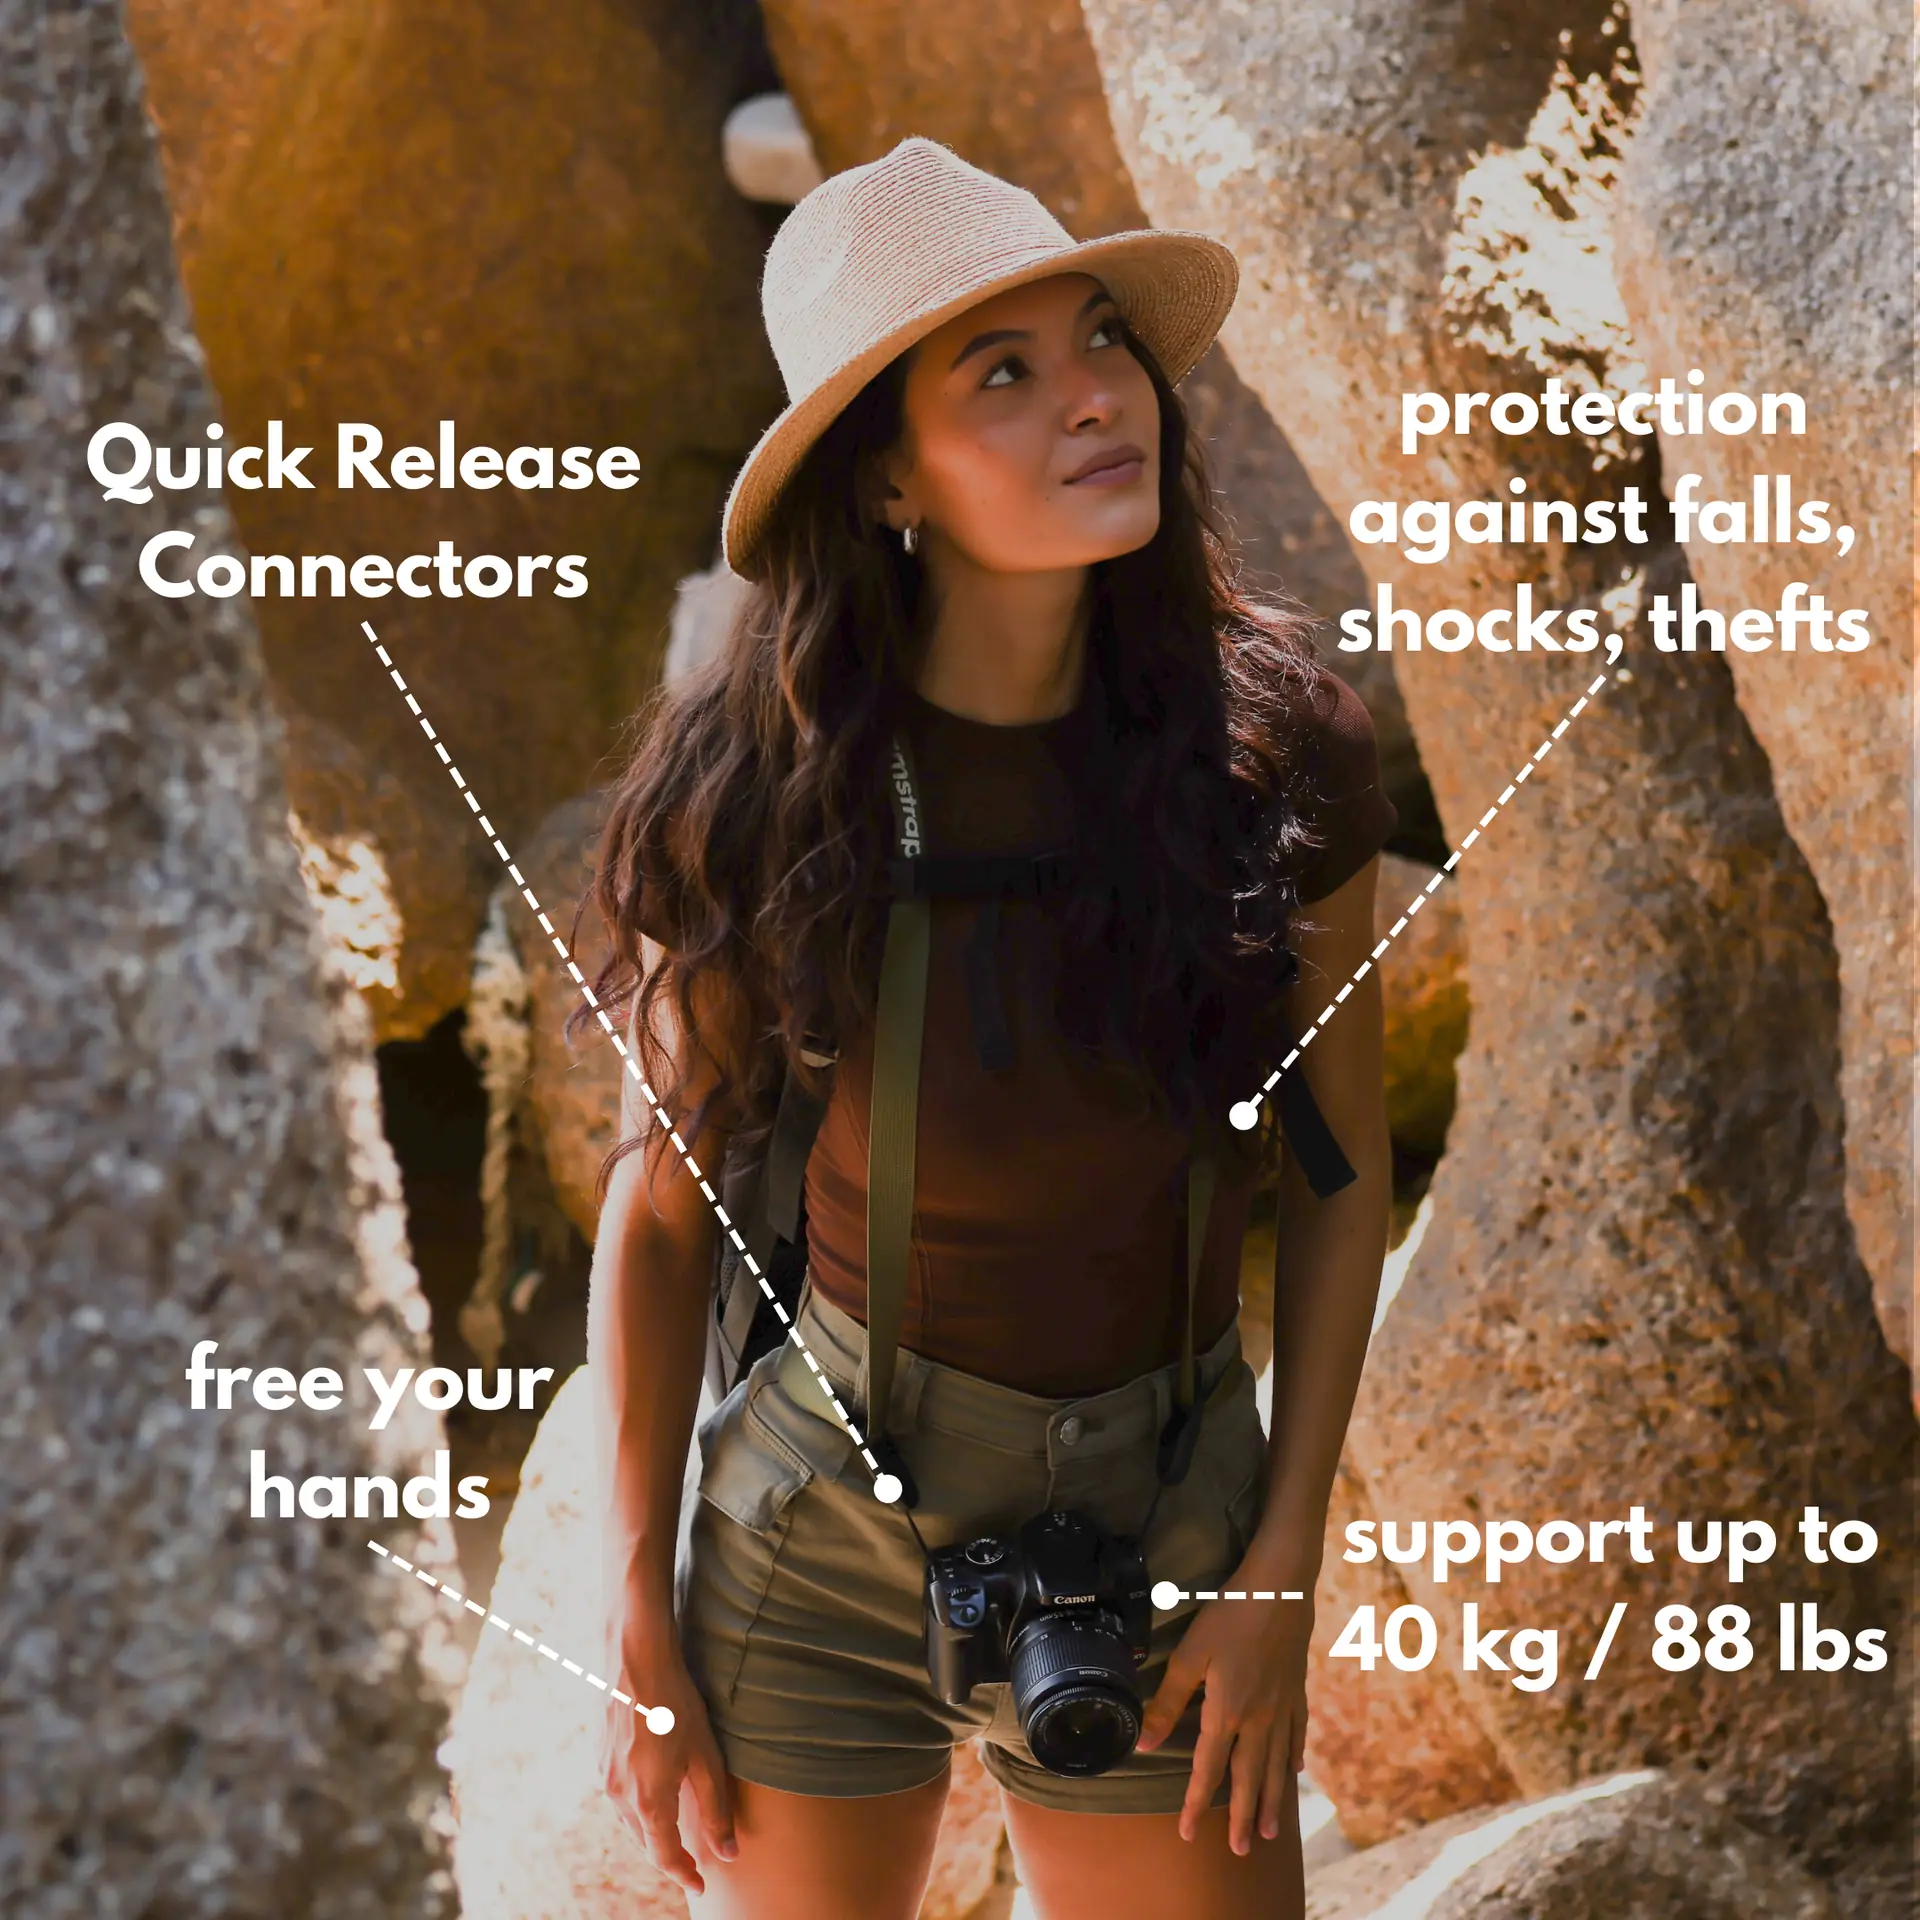
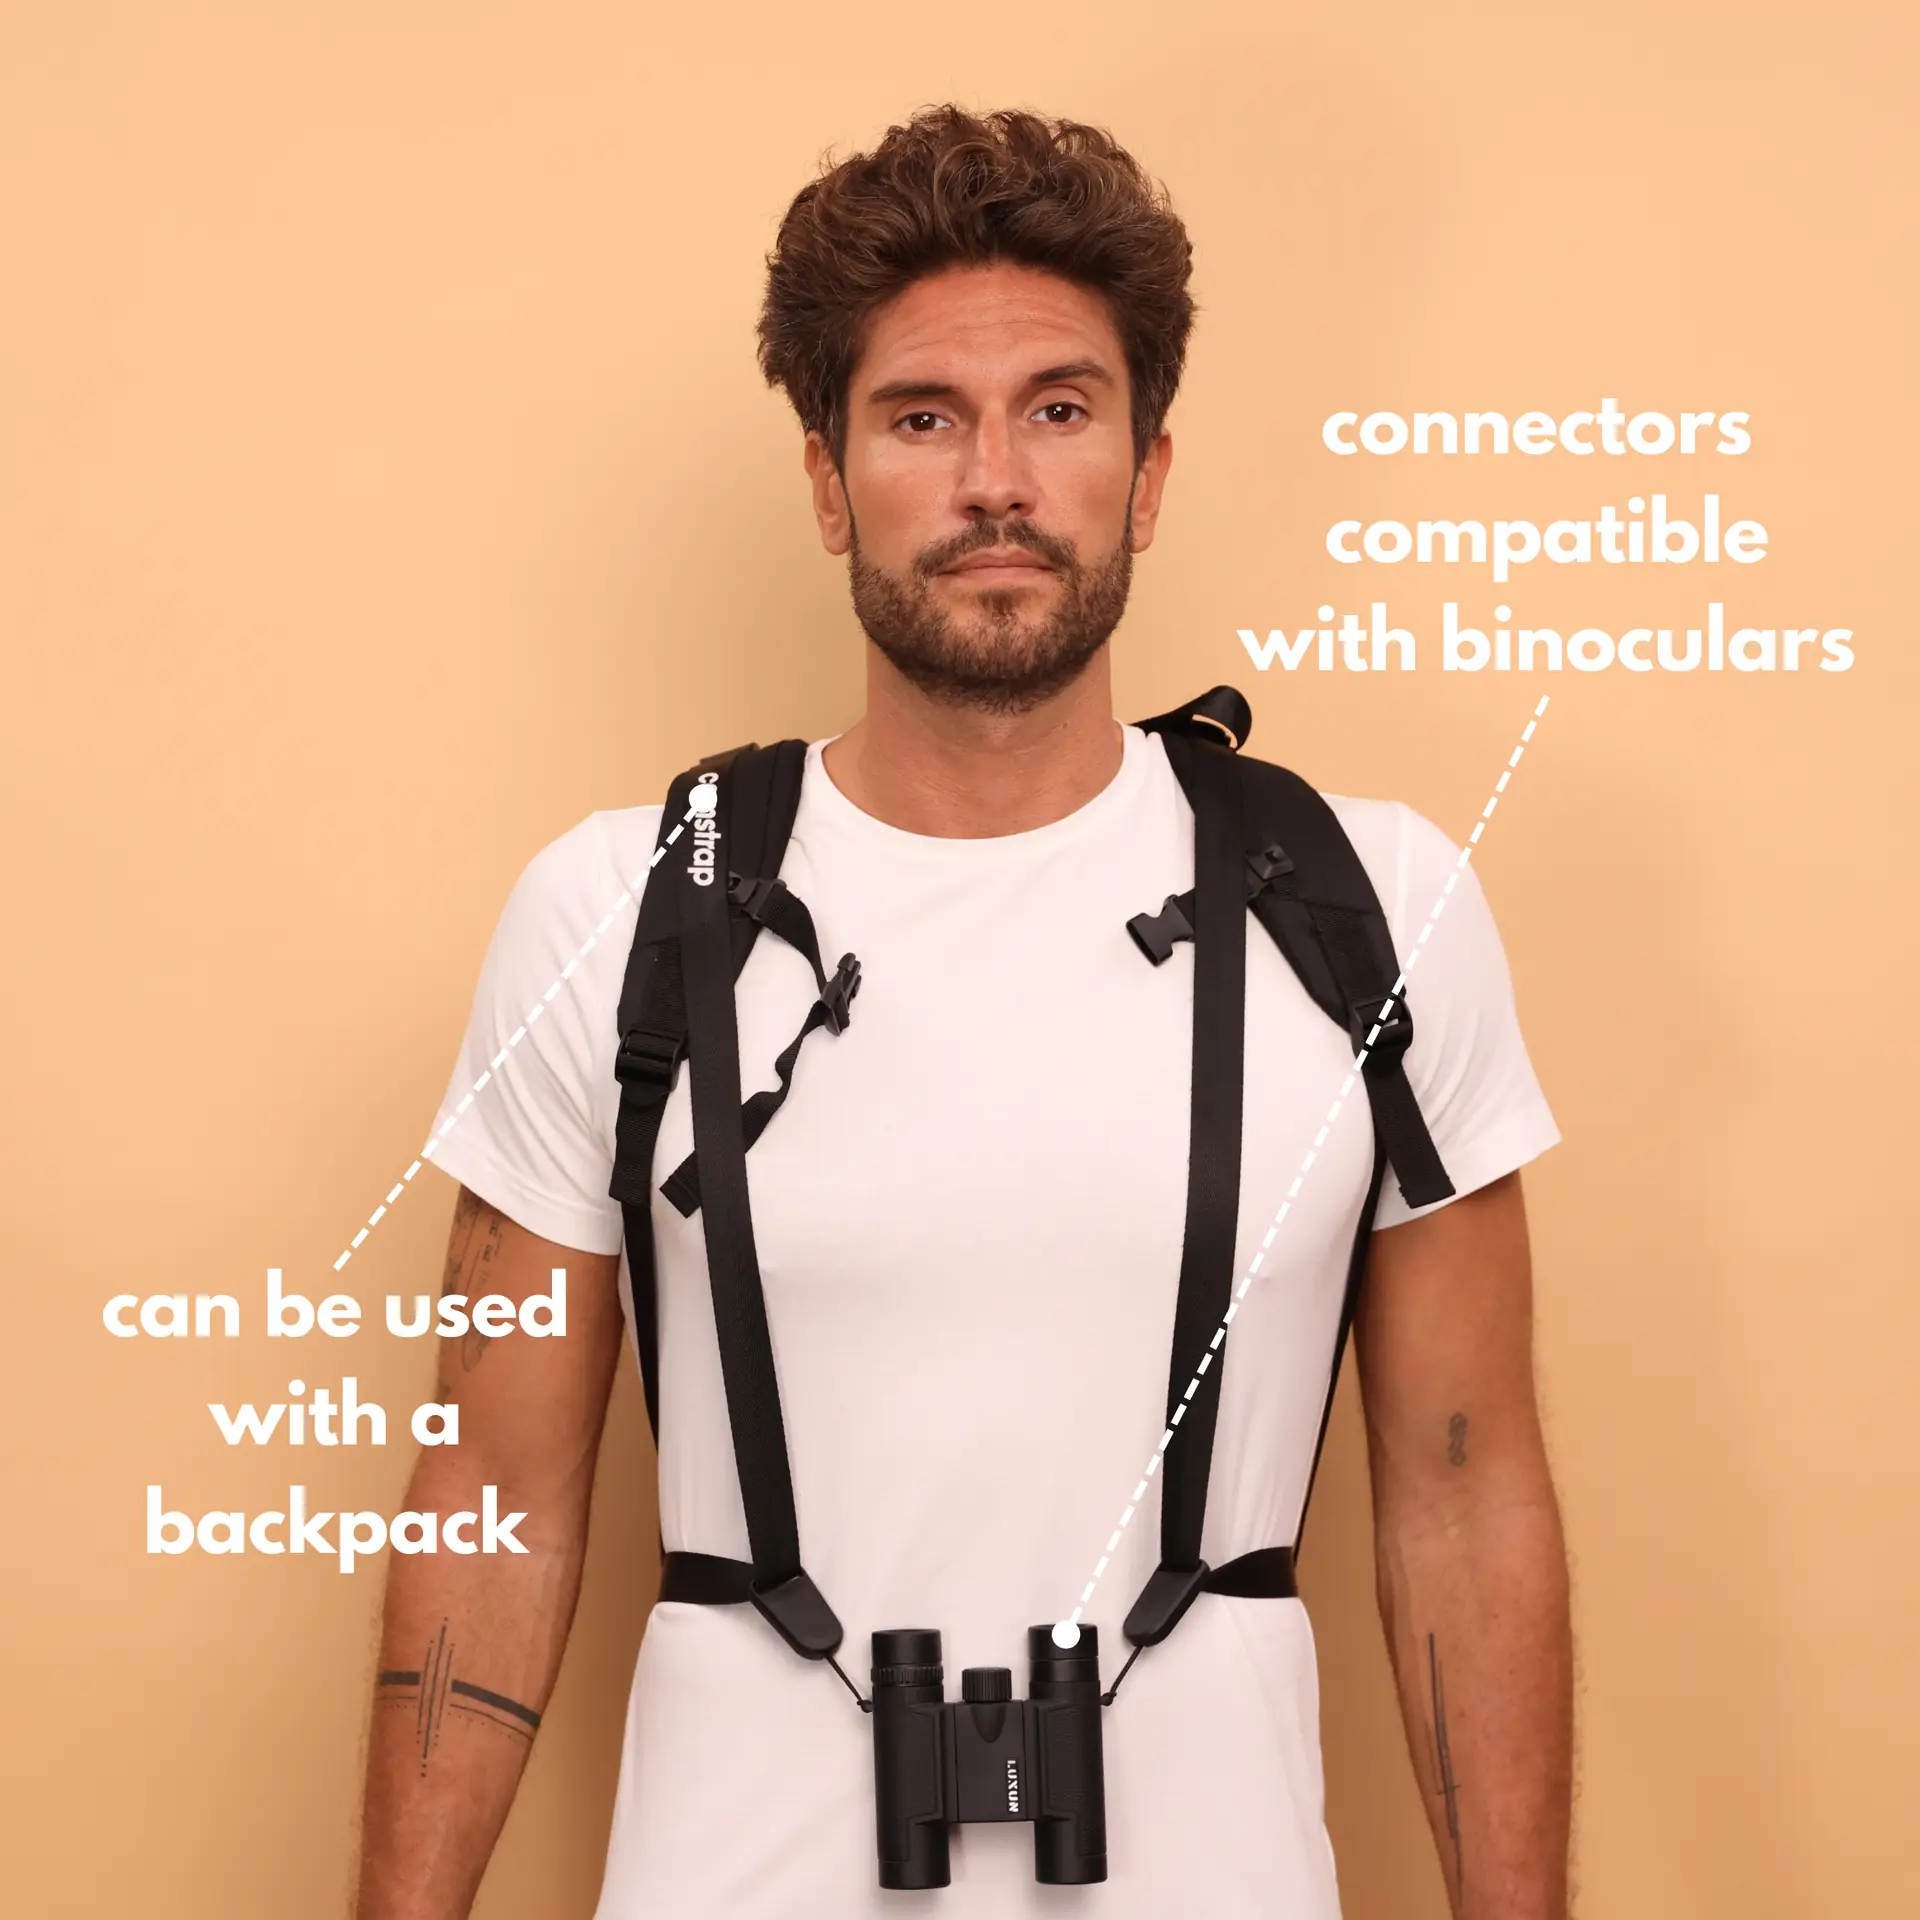
A good camera strap keeps your gear safe and ready on night hikes. Camstrap makes straps that blend style and function for nightscape travel. Camstrap focuses on simple, durable straps that help photographers move and shoot quickly.
Camstrap models suit different travel styles. The Camstrap Voyager spreads weight for long travel. The Camstrap Explorer handles rough trails and wet weather. The Camstrap Nomad stays light for fast hikes. The Camstrap Magclip adds a quick magnetic release for fast access.
Which Camstrap model fits your nightscape travel kit?
- Camstrap Voyager: made for long travel and heavy loads
- Camstrap Explorer: built tough for trails and rough weather
- Camstrap Nomad: lightweight and simple for fast hikes
- Camstrap Magclip: a fast magnetic clip for instant camera access
Camstrap is a brand that aims to change how photographers carry their cameras. The brand mixes function and style in straps and clips. Camstrap serves travel enthusiasts, outdoor adventure photographers, and amateur photographers well.
Setting up your nightscape tripod, lens, and strap workflow
Make a simple, repeatable workflow to act fast at night. A steady routine saves time when the sky opens up. Below is a step-by-step setup that suits travel and nightscape needs.
Step 1 — Pack smart before you go

- Choose one fast prime or a travel zoom and pack it in a padded pouch
- Pick a tripod that fits your bag and clamps to the pack cleanly
- Attach the Camstrap that fits your walking style; consider the Magclip
Also pack spare batteries and a small toolkit. Night photography drains batteries fast so bring at least one spare camera battery and one spare for your headlamp. Use small pouches for cards and cables to stay organized.
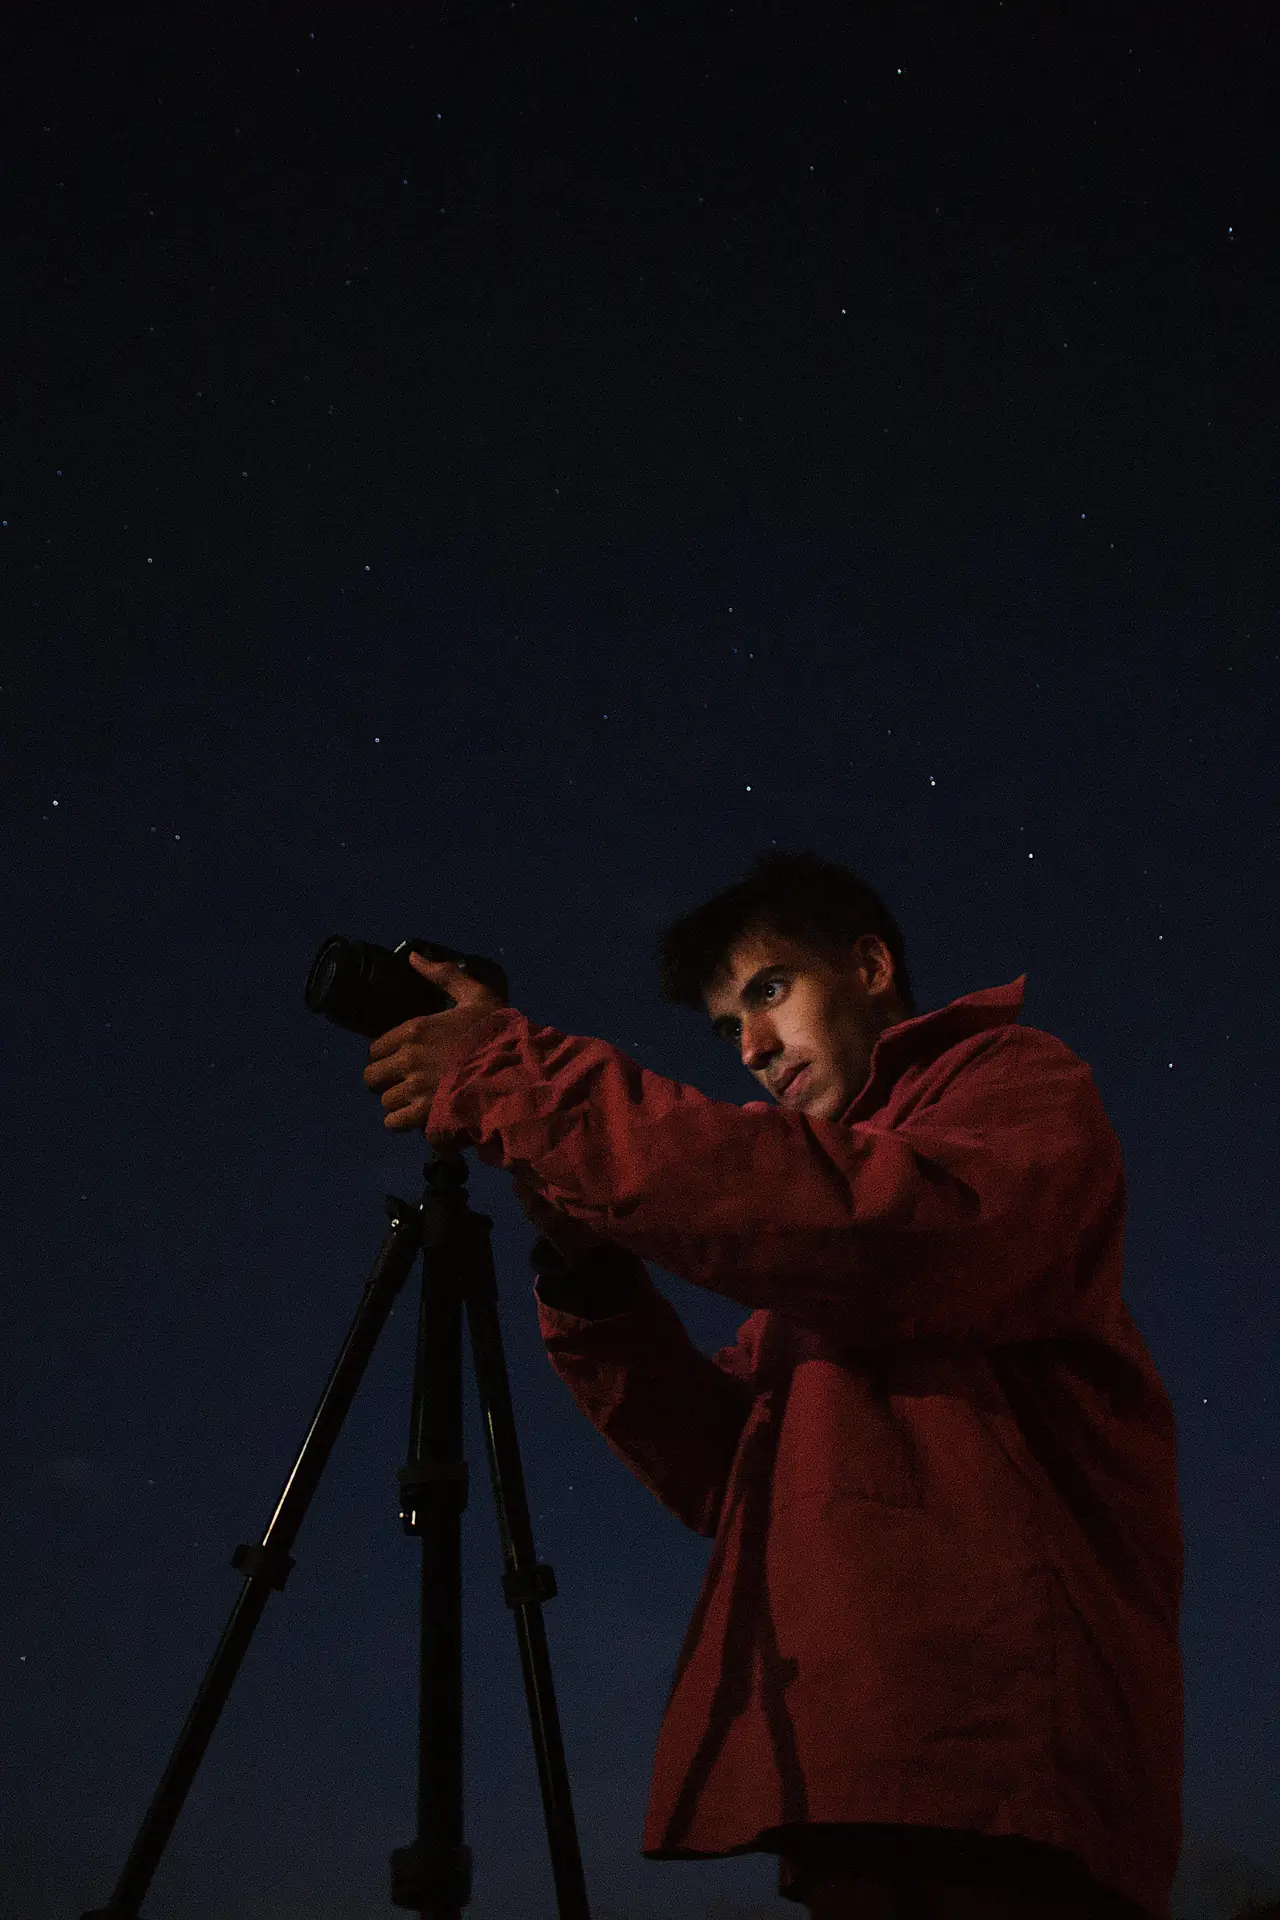
Step 2 — Set up in the field
- Find stable ground and spread tripod legs wide for a low center of gravity
- Mount the camera, level the head, and use a bubble level if needed
- Attach the strap and secure the camera to avoid snags while you move
Lock the leg joints tight and check for wobble before you shoot. If wind picks up, hang weight from the center hook. A bag or water bottle works well to steady the setup.
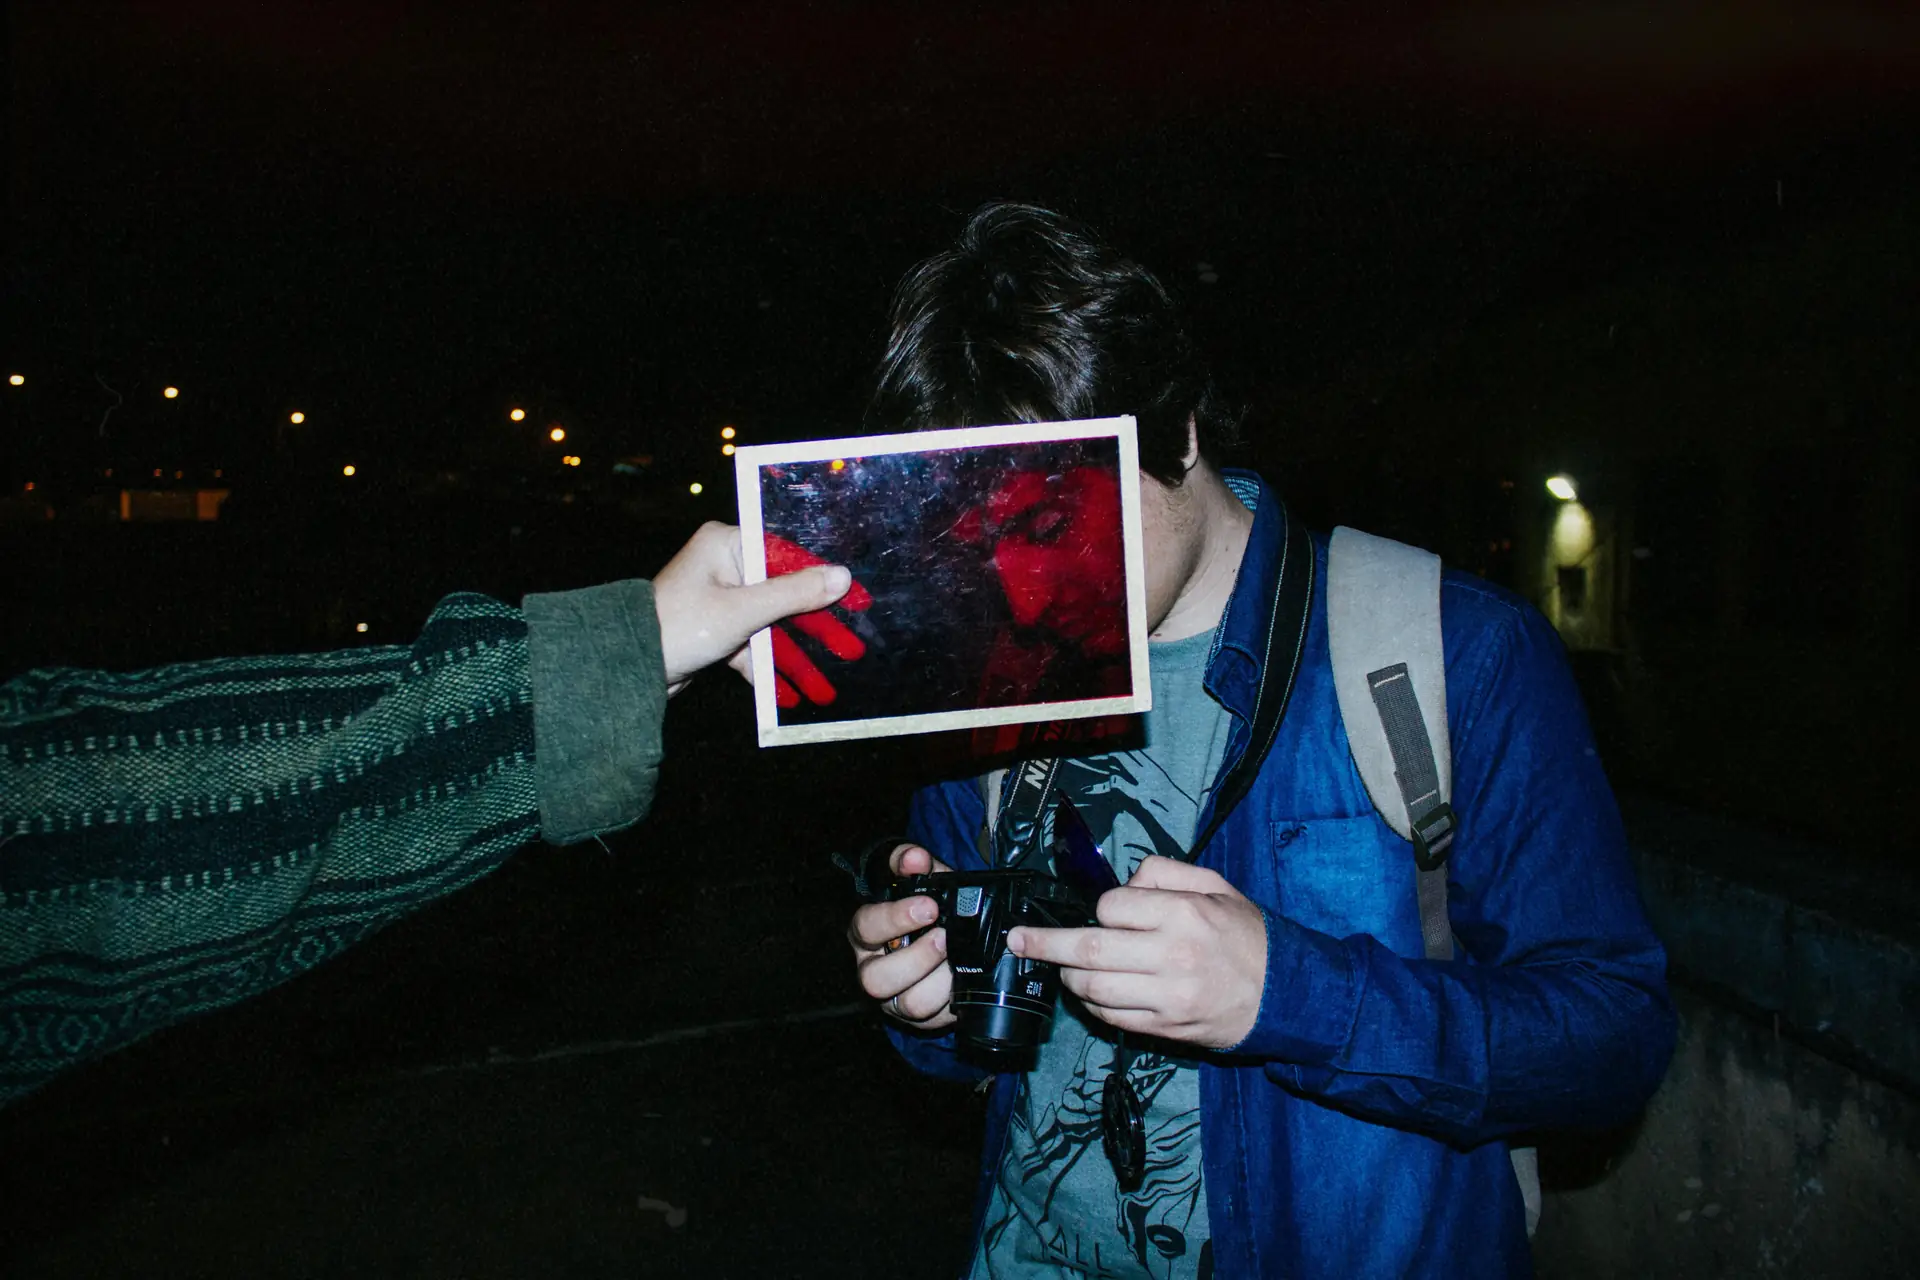
Field tips: exposure, focus, and composition for nightscape travel
Good habits in the field help you get consistent nightscape photos. Set exposure, find focus, and pick a strong composition fast. These steps make your shoot smoother and more fun.
Exposure tips for nightscape shots
- Start with a wide aperture like f/2.8 or wider if your lens allows
- Use 10–25 second exposures for pin-sharp star points depending on focal length
- Raise ISO until the image is bright but still clean enough to edit
Use the 500 rule or its modern variants to avoid star trails. Divide 500 by the focal length for a rough max exposure in seconds. For example, 24mm on full frame gives roughly 20 seconds.
Focus and sharpness
Switch to manual focus and set to infinity, then back slightly. Use live view and zoom in on a bright star to check focus. Small focus moves and test shots save time compared to autofocus at night.
Watch for coma and star elongation at the edges. If stars look like commas, try another lens or stop down a bit. Test your lens at home to learn its corner performance before a long trip.
Packing, safety, and logistics for nightscape travel
Packing well keeps you safe and focused on the shoot. Use a small daypack or camera sling that fits your tripod and gear. Also check weather, permits, and local rules before you go.
Packing checklist for nightscape travel kits
- Camera body and a low-light lens
- Tripod and compatible head
- Camstrap and Magclip or quick-release system
- Remote shutter release or intervalometer
- Spare batteries and memory cards
- Headlamp with red mode and basic first-aid kit
- Warm clothes and a wind shell
Label your kit for quick checks and safe packing. Keep batteries and cards in separate pouches. This habit saves time and reduces mistakes in cold or dark places.
Gear reviews and research for nightscape travel kits
Read trusted gear reviews before you buy. Nightscape Photographer gear reviews cover tripods and travel kits in clear detail. They test models like the Benro Travel Angel against real field use.
Ulanzi guides on carbon fiber tripods help you weigh cost and value. They show how less weight can reduce sore shoulders on long trips. Read community threads on Reddit and forums for real-life rigs and tips.
Community rigs and builds
Forums and social groups show common travel rigs and hacks. Threads on portable astrophotography rigs share how people balance weight, ease, and image quality. Read those posts and adapt ideas to your kit and trips.
Many nightscape photographers use a tested lens, a light tripod, and a simple carry strap to get great results. Learn from these builds and then refine your setup for your travel style.
Advanced tips: stacking, tracking, and long exposures for nightscape
When you are ready, try stacking and tracking for deeper nightscape images. Stacking combines many shots to cut noise and show more detail. Tracking uses a motorized mount to follow the stars and allow longer exposures.
Tracking adds weight and setup time, so balance it with travel limits. Stacking often gives big gains with less gear. For travel keep it simple at first and add advanced tools when needed.
Stacking workflow
- Take many short exposures to avoid star trails
- Use software to align and stack images for lower noise
- Apply noise reduction and basic edits after stacking
Stacking helps you use lower ISO and a lighter tripod. That means cleaner images on long nights and less gear to carry. Try stacking on a few trips before adding a tracker.
Conclusion: Build your ideal nightscape travel kit in 2026
Nightscape travel kits in 2026 focus on good lenses, stable tripods, and smart straps. Match gear to your travel style, shooting needs, and budget. Travel enthusiasts may pick the Camstrap Voyager and a light prime. Outdoor adventure photographers may choose the Camstrap Explorer and a rugged carbon fiber tripod.
For fast hikes pick a compact lens and the Camstrap Nomad or Magclip for quick access. For rough trails choose a sturdy tripod like the Benro Travel Angel and a secure strap. Read gear reviews and community threads to learn what others use.
Practice simple field routines: pack smart, set up fast, lock the tripod, and check focus. Use the right exposure, and keep the camera secure on a Camstrap. Over time your nightscape kit will grow with your skills and trips. With the right gear and habits you will make strong nightscape photos and enjoy every trip.


