
Hyperreal travel photos grab attention and tell strong stories. You need clean light, the right gear, and a simple plan to get that look. This guide shows lighting hacks, camera moves, editing tips, and camera strap picks for travel photography fans.
We write for travel enthusiasts, outdoor adventure photographers, and amateur photographers. Camstrap is a brand that blends function with style to help you carry cameras better. Read on for practical tips and clear gear choices you can use on your next trip.
Crafting Hyperreal Travel Portraits Abroad: Quick Lighting Hacks
Good light makes your travel portraits pop. Aim for strong, clean light to build a hyperreal mood. Use simple tools you can carry on any trip.
Key lighting tactics
- Use side light to add texture and shape. Move your subject until shadows fit the face.
- Use a small LED to fill shadows at night. Low power keeps faces natural.
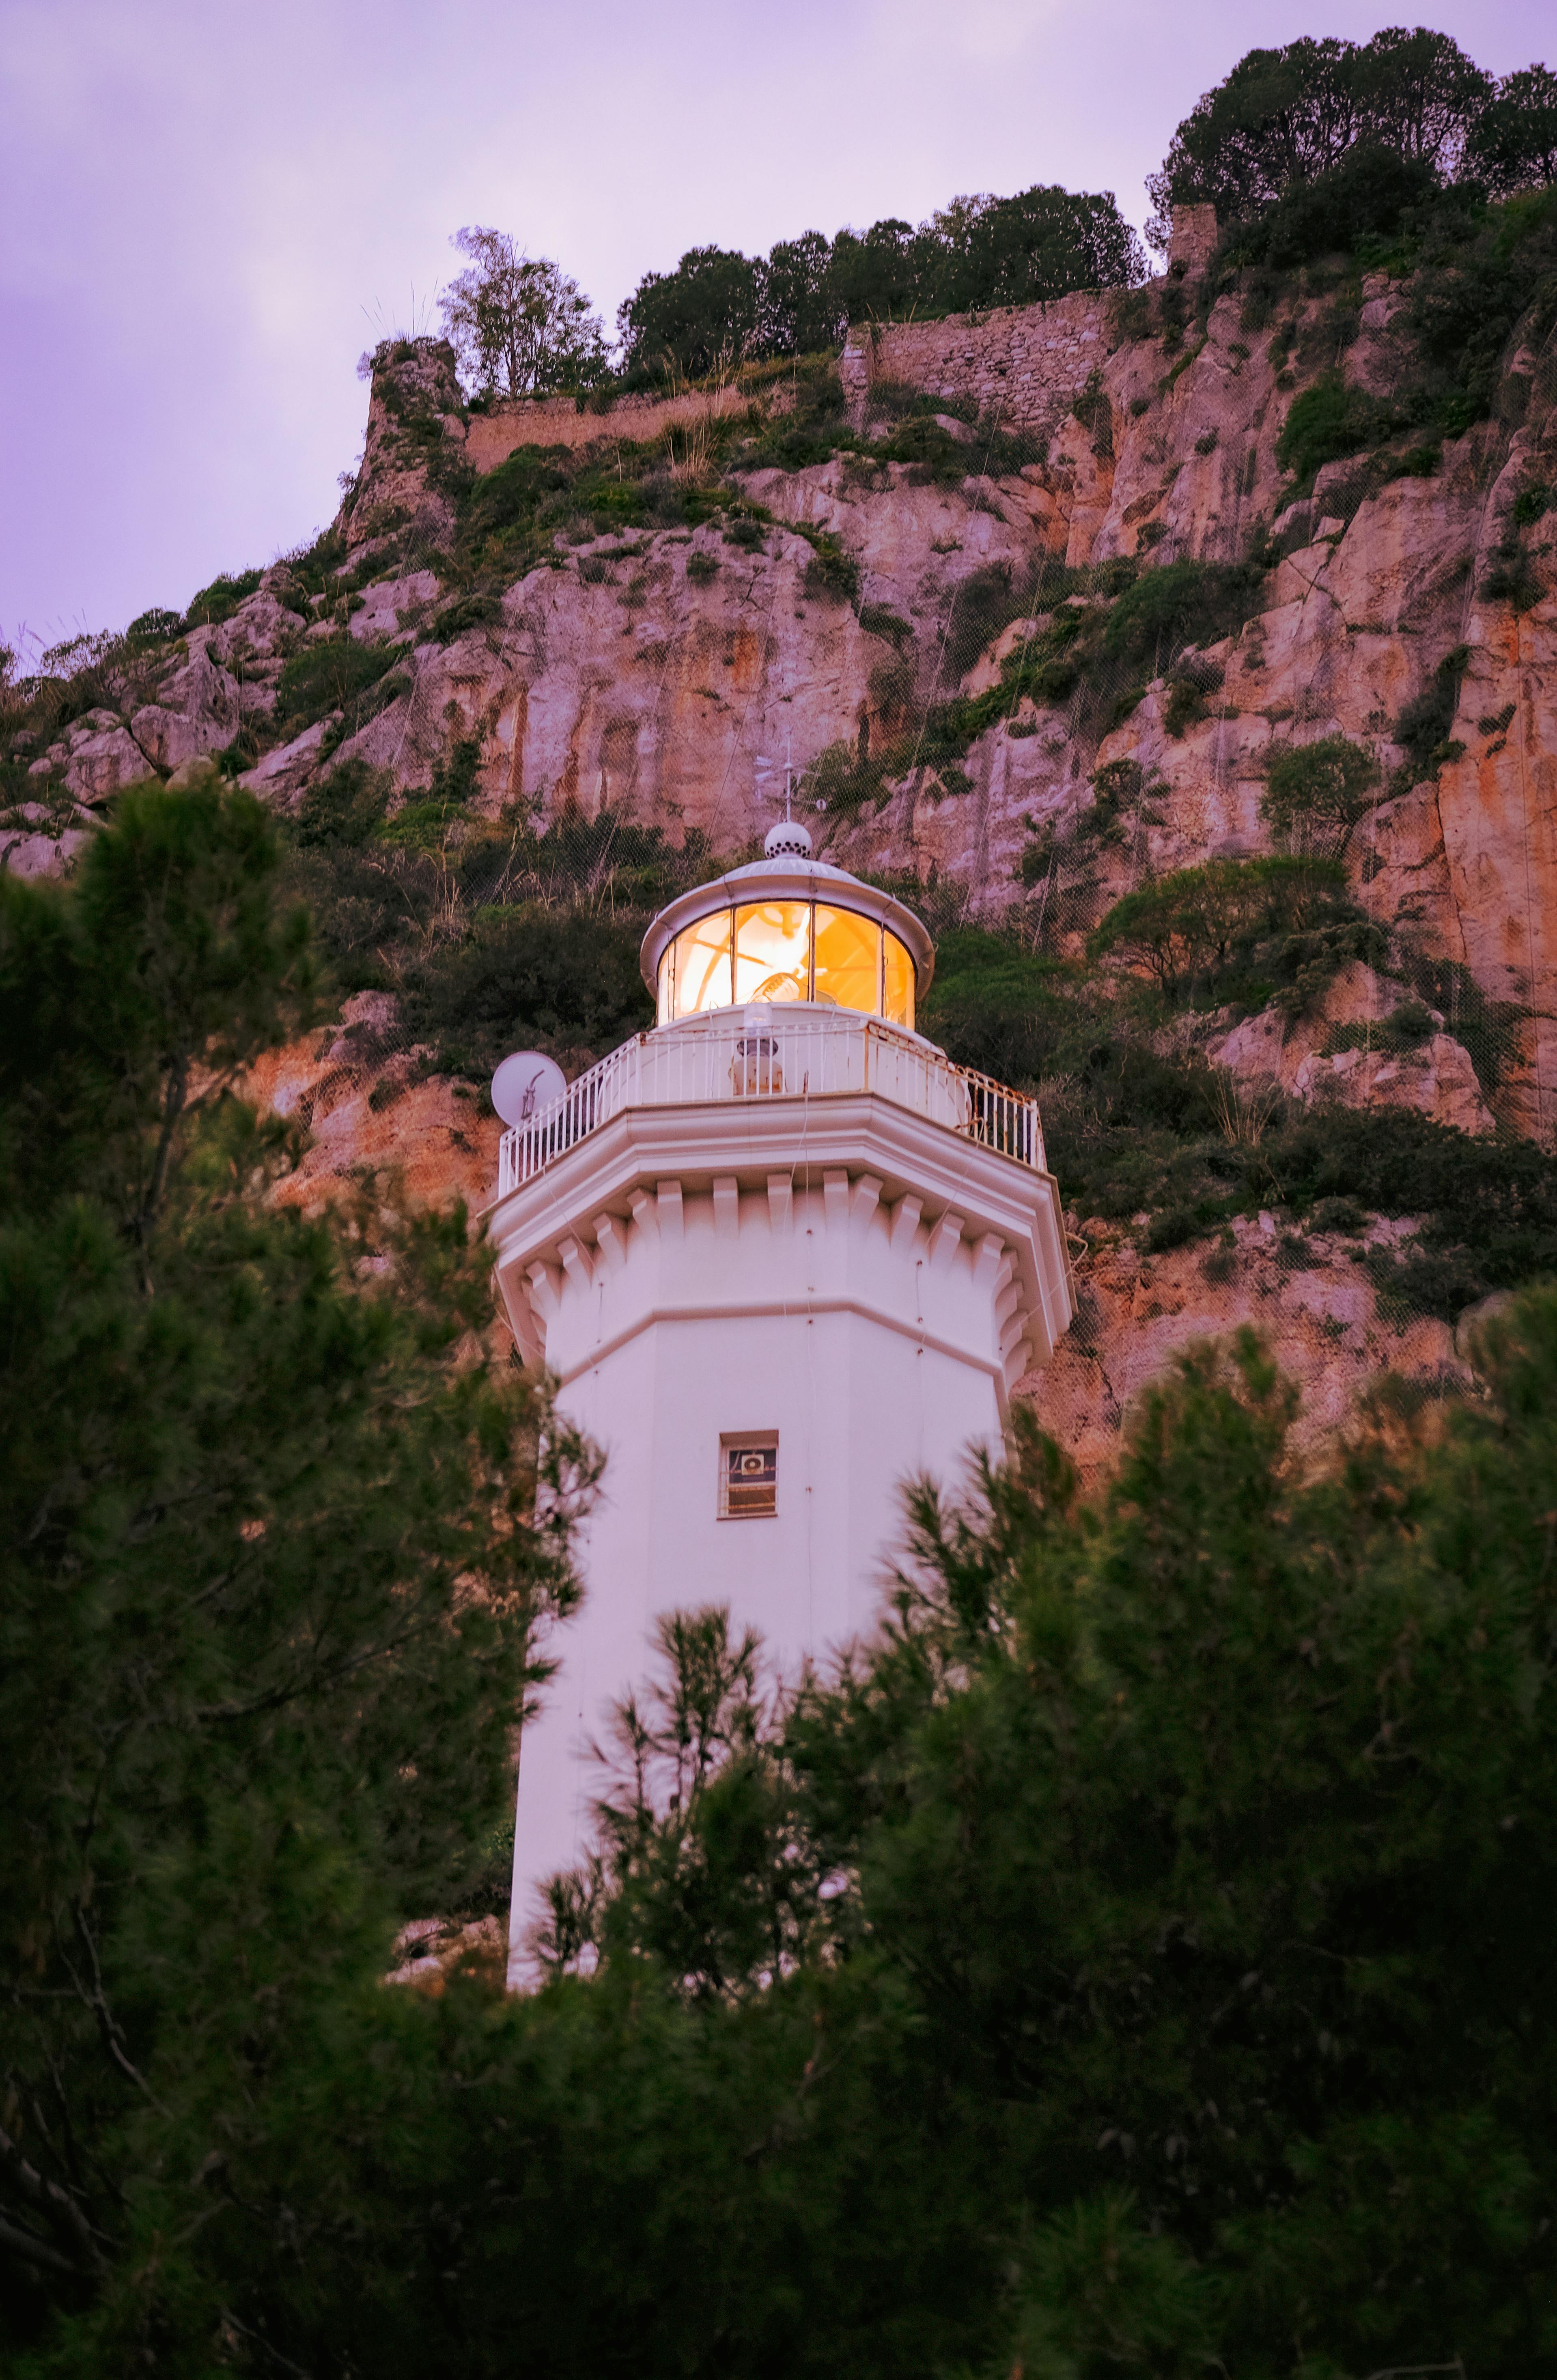
- Try backlight for a rim glow that separates the subject from the scene.
- Carry a small reflector to soften harsh light. It changes a flat scene fast.
Mix these moves to craft a hyperreal look. Try one trick first, then add another. Each change shifts mood and color.
Practical setups for travel
- Golden hour: place the sun behind the subject. Add a reflector to fill faces.
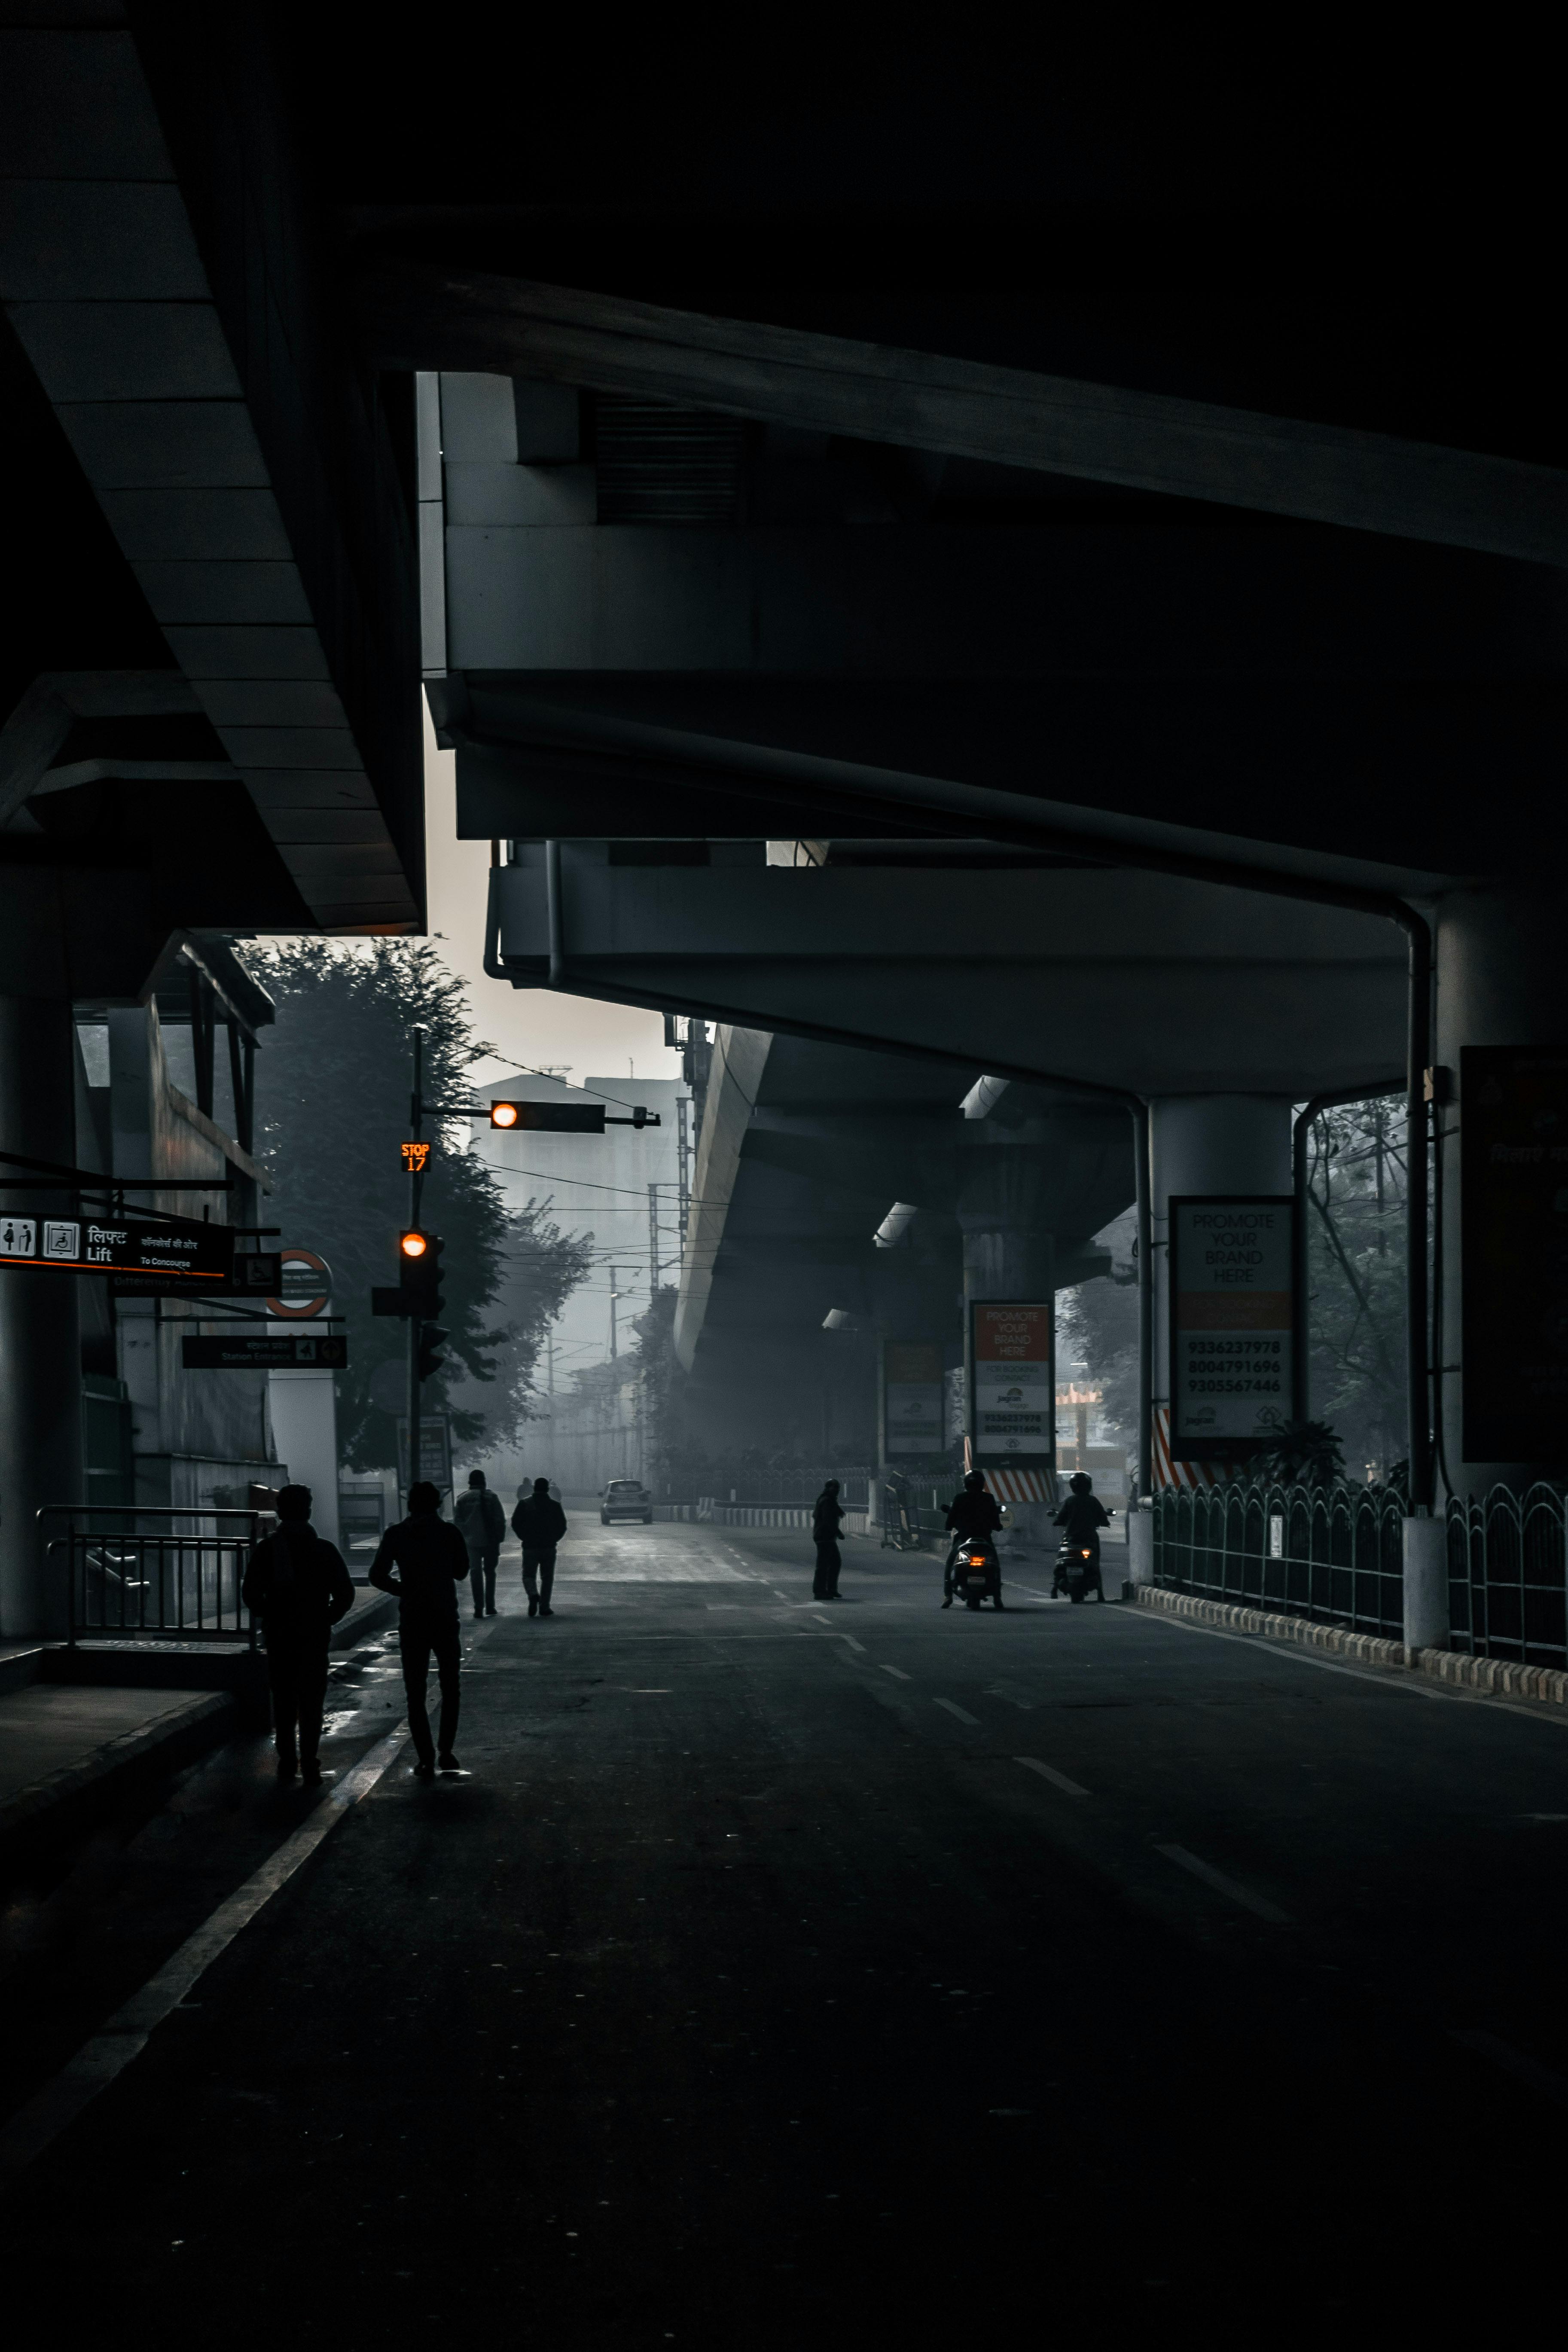
- Street lights: use low ISO and slow shutter for light trails. Add an LED for faces.
- Indoor: use window light as the main source. Add a soft LED for hair light.
- Rain or fog: use backlight to make droplets glow and add mood.
Pack a compact LED and a foldable reflector to save weight and space. These tools fit tight city walks and long hikes.
Hyperreal Composition Tricks and Gear Choices
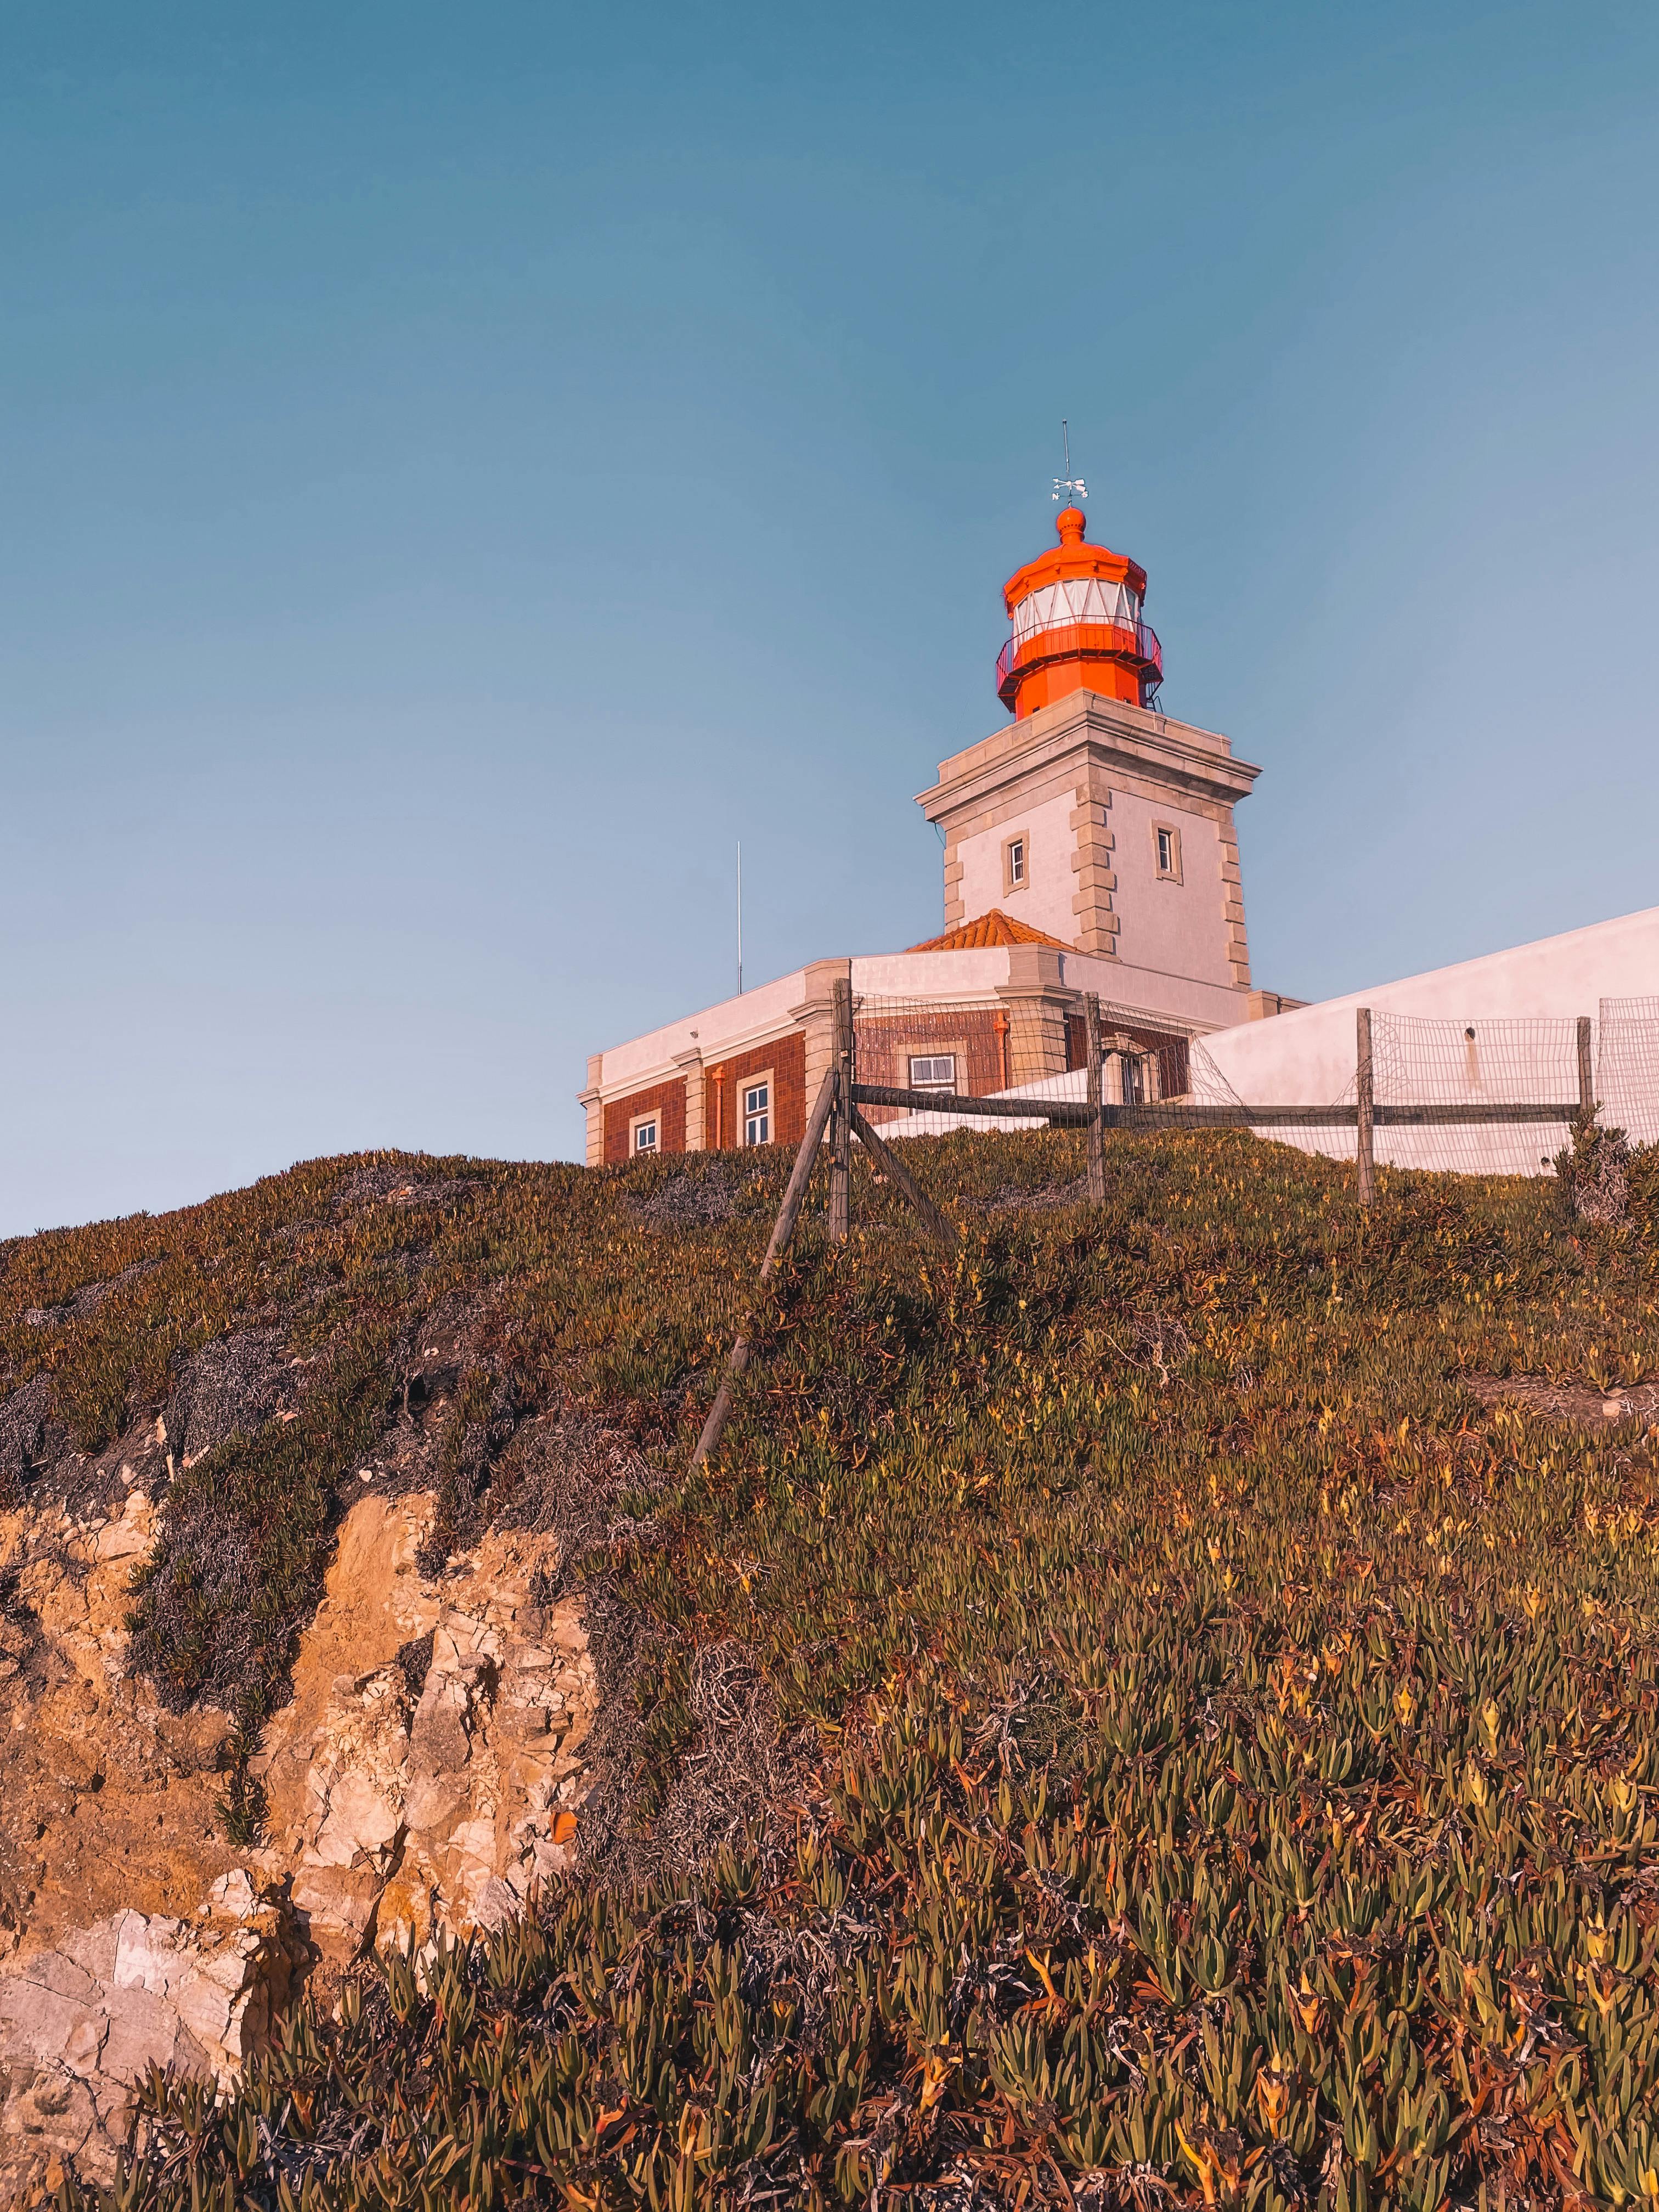
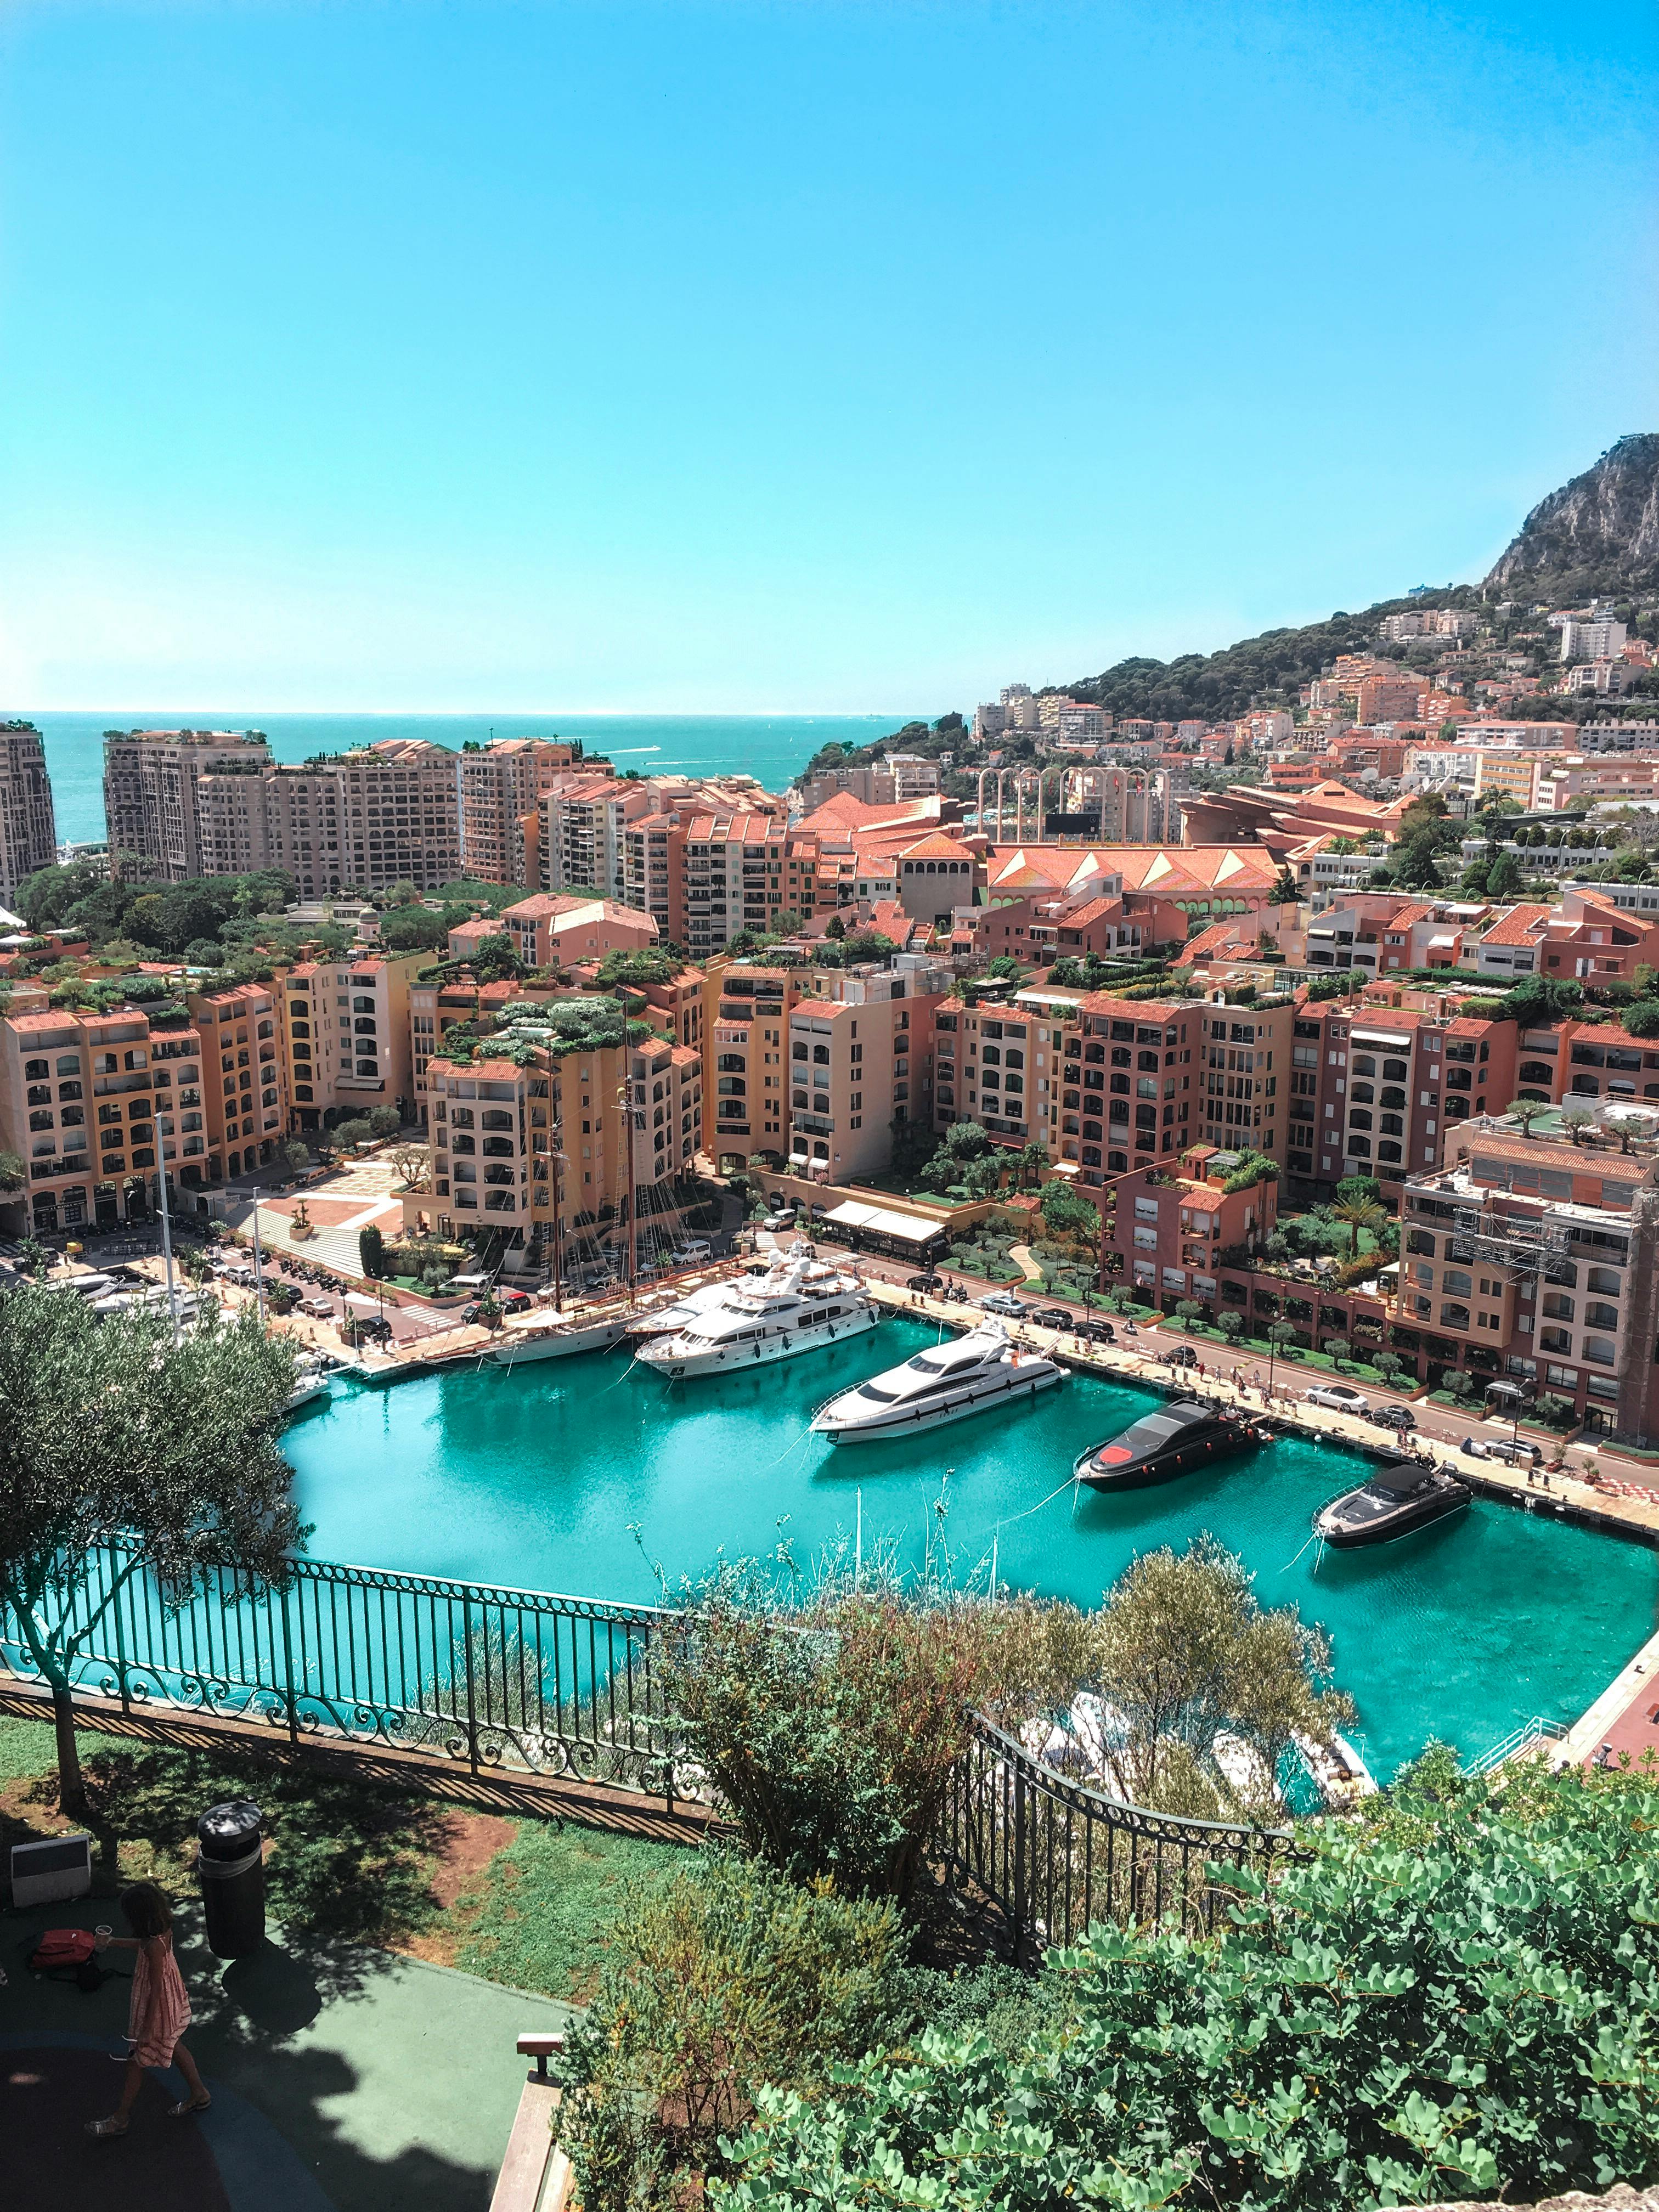
Strong composition turns normal scenes into hyperreal dreamscapes. Use simple frames, low angles, and reflections to guide the eye. These moves work in streets, coasts, and hills.
Composition tips that work abroad
- Use symmetry and mirrors to multiply shapes and add a dream feel.
- Shoot from a low angle to make buildings and people look larger.
- Add motion blur for energy. Slow the shutter and let moving subjects streak.
- Mix a sharp foreground with a soft background for a layered, cinematic look.
Try forced perspective to play with size and space. Place a close object near the lens and the scene behind it.
Gear picks that help
- A wide lens for sweeping, dramatic depth in travel photos.
- A prime lens for low light and crisp detail that makes colors pop.
- A small tripod for steady long exposures and cleaner night shots.
- A fast, pocket LED for rim or fill light on the go.
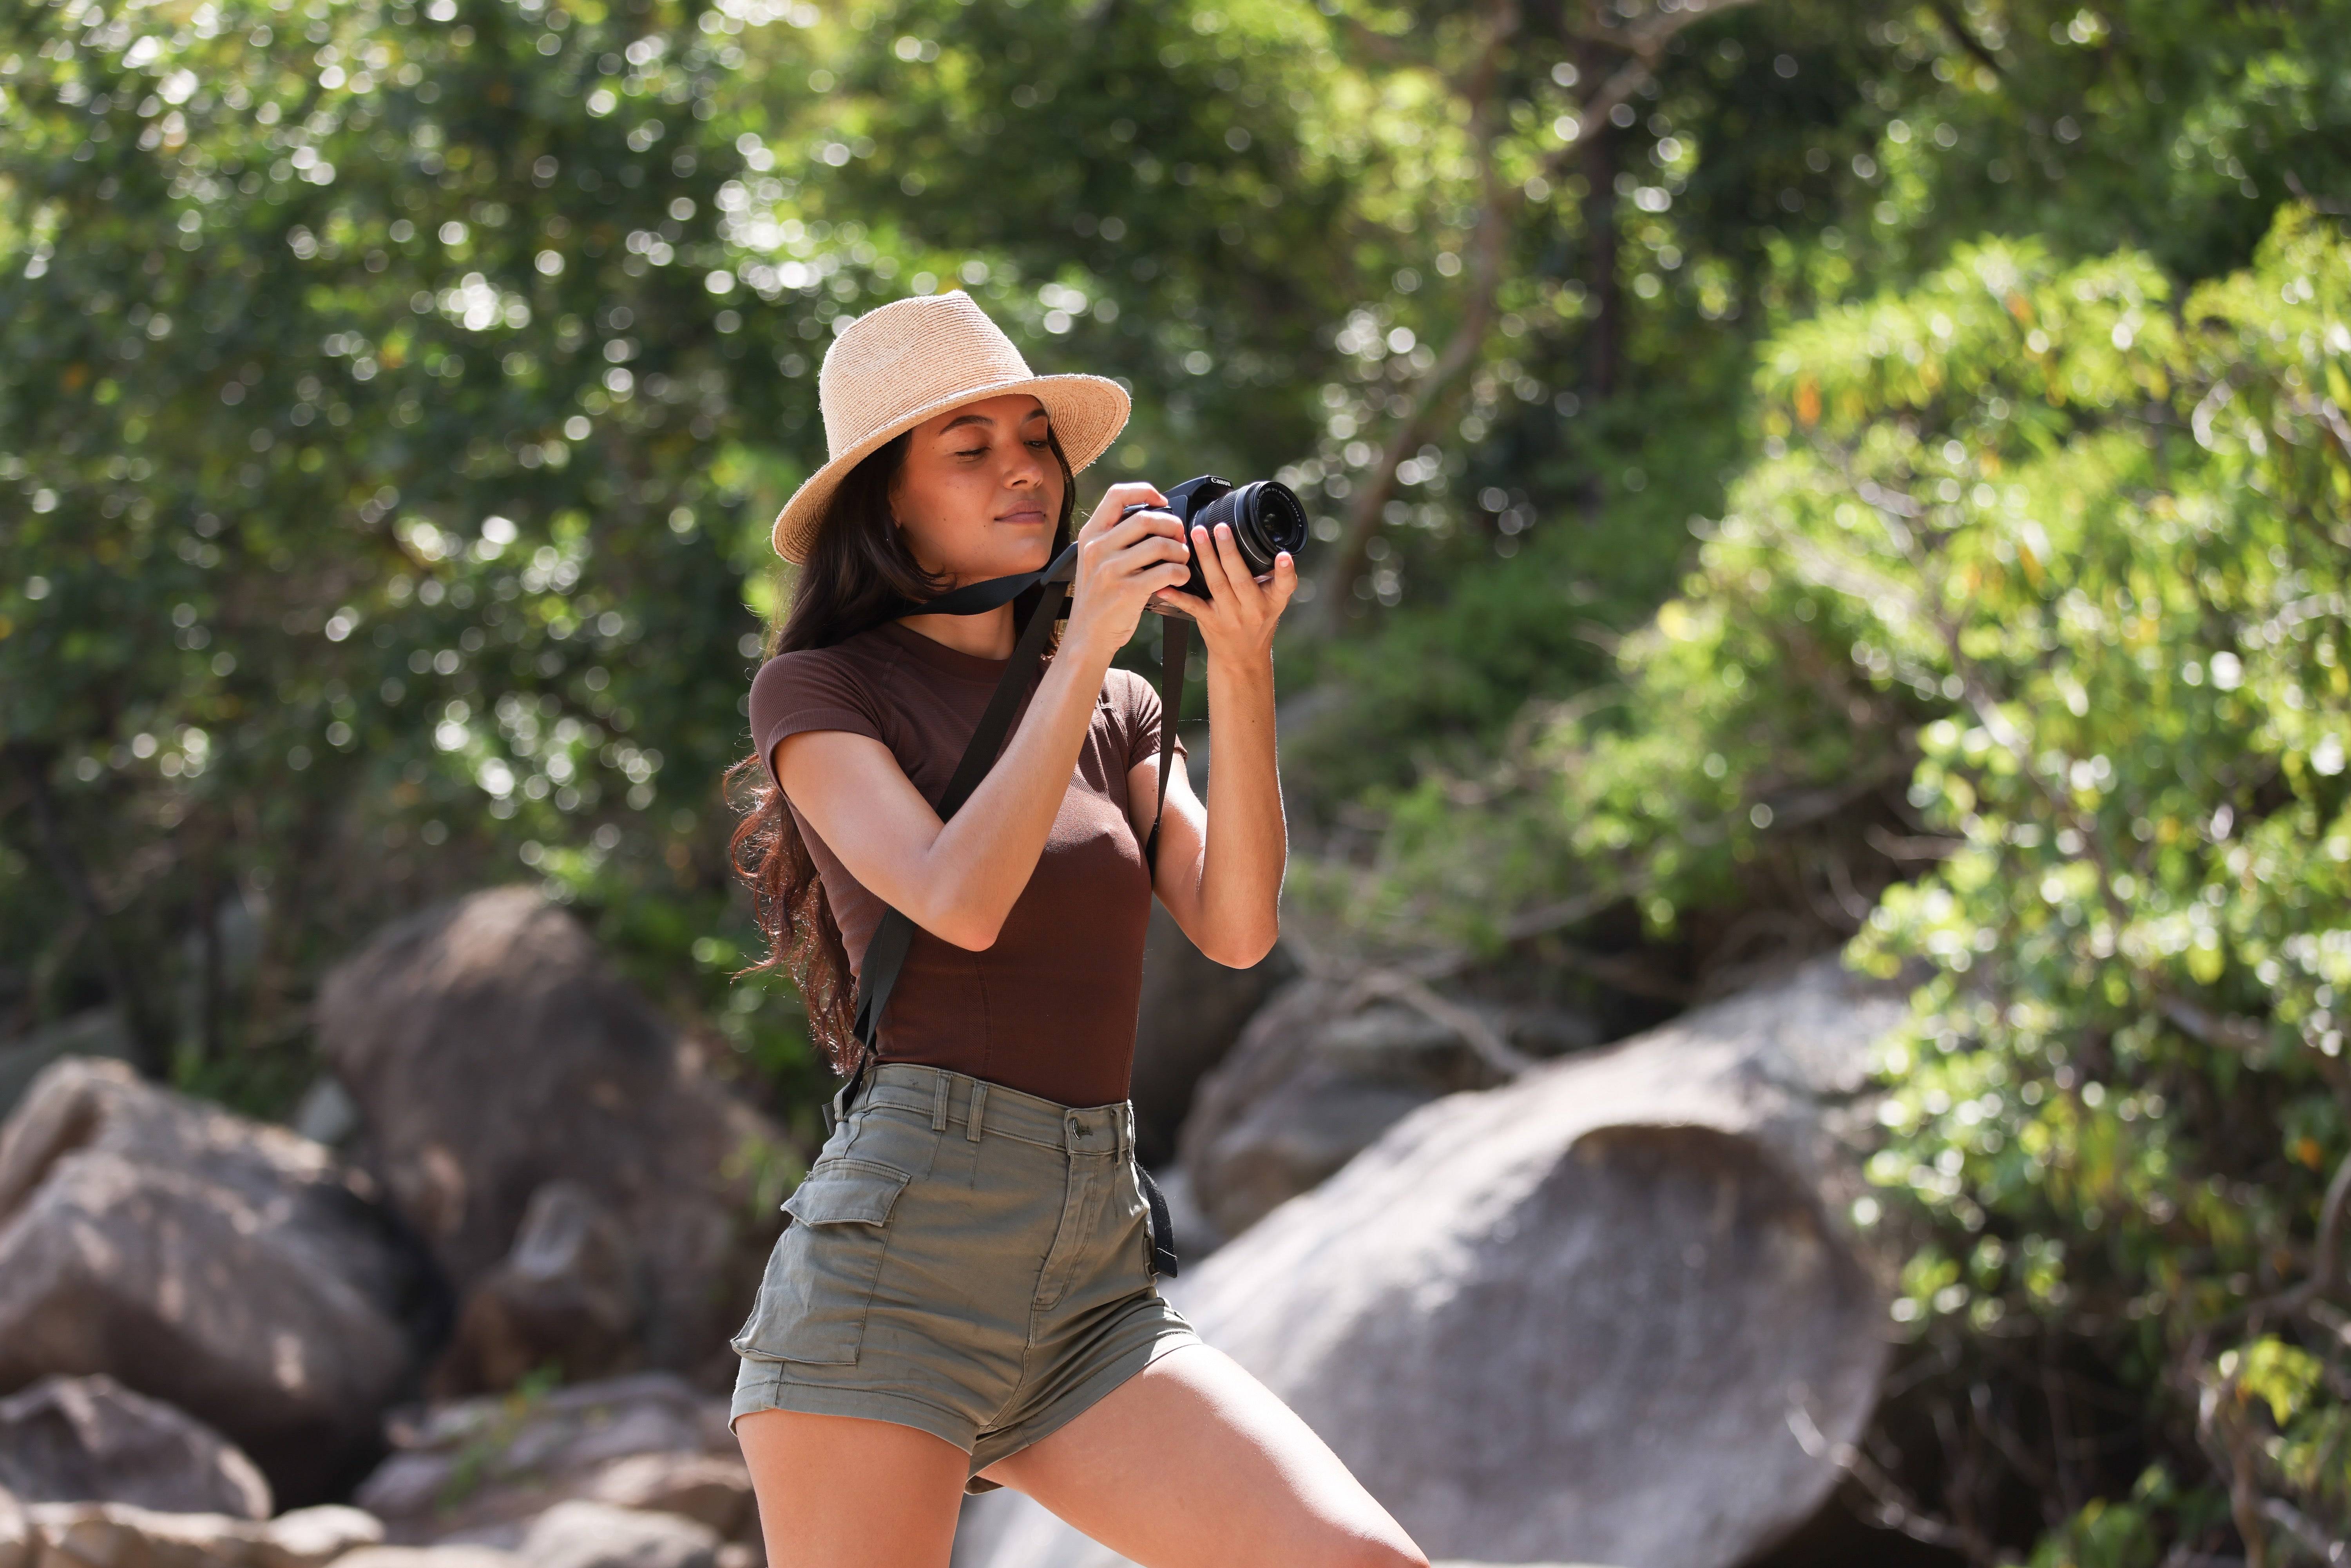
Pick a camera strap that fits your shoot style and safety needs. Camstrap makes clean, tough straps for travelers. The Magclip system helps make lens swaps quick and secure.

Pick a strap that matches your kit: a sling for fast draws or a two-point for steady shoots. Test lengths and clip habits at home so adjustments are second nature on the road.
Straps, Safety, and Style: Camstrap Picks for Every Trip
A good strap changes how you move and shoot. It makes you faster and more comfortable. Camstrap focuses on comfort, safety, and easy carry for travel photographers.
Which Camstrap fits you?
- Camstrap Voyager: great for city travel. It has quick-release clips for fast draws.
- Camstrap Explorer: best for long treks with heavy gear. It adds padding and support.
- Camstrap Nomad: slim and light for day trips and tight markets.
- Camstrap Magclip: a magnetic system for fast, secure lens swaps and access.
Choose by clip type and strap length. A sling strap lets you draw fast. A two-point strap keeps a camera close and steady. Test straps at home before you travel.
Safety tips for shooting abroad
- Use straps that lock or clip tight to cut theft risk.
- Keep your camera close in busy places and fold it under your arm.
- Carry a small repair kit for screws, clips, and strap fixes.
- Use weatherproof straps and covers in rain or salt air to avoid wear.
Travelers report better posture and fewer drops with Camstrap straps. They blend style with a strong build for real-world use.
How to Edit for Hyperreal Looks and Final Touches
Editing turns good shots into hyperreal travel photos. Push color, lift shadow details, and sharpen edges. But keep edits small to avoid fake looks.
Post-processing steps
- Set color balance first. Warm or cool the scene to set mood.
- Raise midtone contrast for a punchy, clear look.
- Use dodge and burn locally to shape light on faces and objects.
- Raise clarity and texture a little to make detail pop without noise.
- Add a soft vignette to draw the eye, but keep it subtle.
Start with presets, then tweak. For dreamier shots, add a soft glow to highlights. For crisp hyperreal images, keep edges sharp and colors bold.
Tools and apps that help
- Lightroom for color, tone, and local edits on desktop and mobile.
- Snapseed for quick mobile edits that look clean and careful.
- Photoshop for composites and detailed retouch work.
- Light control apps to match portable LEDs to scene color.
Top travel creators use small, clear edits instead of wild filters. Clean tones and controlled highlights help achieve a true hyperreal style.
Actionable 2025 Travel Hacks to Build Hyperreal Dreamscapes
Try these simple hacks on day one of your trip. Each tip fits most tours and works with common travel gear. Start small and learn fast.
Ten easy hacks you can use
- Shoot RAW for more editing range and better color recovery.
- Use a small LED as rim light at night to make faces pop.
- Place a reflector near faces during golden hour to balance skin tone.
- Use long exposures in crowds so moving people become soft streaks.
- Try double exposures to layer scenes and craft dreamy blends.
- Shoot reflections in wet streets or windows to double shapes and color.
- Shoot through glass or fabric to add soft haze and mood.
- Use a wide lens close to foreground objects to boost depth.
- Pick one color to boost in edits for a bold, unified look.
- Carry a light kit and a Camstrap that fits your walk and kit.
These hacks come from travel pros and new creators. Use them in cities, coasts, and mountains to build hyperreal dreamscapes on any trip.
Planning, Practice, and Real-World Notes
Good prep beats last-minute luck. Plan shots, check the weather, and know light times. A small plan saves time and keeps you ready for the best moments.
Trip checklist
- Pack a compact LED and spare batteries for long days.
- Bring a small tripod and a collapsible reflector for flexibility.
- Choose one camera and two lenses to stay light and ready.
- Pick a Camstrap that fits your carry style and travel needs.
- Back up photos in two places each night to avoid loss.
Practice light control and strap tests at home before you fly. Try the Magclip and strap modes in a park. This practice prevents mistakes on the road.
Conclusion: Shoot Hyperreal Dreamscapes Abroad in 2025
Hyperreal travel photos are within reach with clear light, bold composition, and careful edits. Use one lighting hack and one composition tip on each shoot to learn fast. Then pick a Camstrap that fits your travel style and gear.
Camstrap Voyager, Explorer, Nomad, and Magclip each solve common travel needs. They help you move free and shoot fast with comfort and safety. Edit midtones and keep edges sharp to finish a true hyperreal look.
Start small and practice often. With simple gear, good light, and a trusted camera strap, your travel photos will feel more bold, clean, and hyperreal.


