
You will learn how to shoot vertical first, then reframe to landscape. This workflow saves time and keeps your visual voice across platforms in 2026.
Camstrap makes camera straps and carry gear for creators on the move. Camstrap blends function and style so your kit stays safe and ready on trips.
How to plan before you shoot: a simple multi-aspect strategy
Good work starts with a short plan. First, list the social formats you need and the final sizes.
Decide the vertical crop and a landscape safe area. Mark where text and graphics will sit in each format.

- Set a vertical master frame and a landscape safe zone.
- Note shots that need room to pan or reframe.
- Plan B-roll that fits both vertical and landscape edits.
Script and storyboard for vertical first
Write short scripts that work well vertical. Keep lines clear and scenes tight so the story reads fast on phones.
Draw key frames with the safe areas shown. This helps you get usable shots for all formats later.
How to shoot vertical first and reframe to landscape
Shoot vertical to capture social-native formats and the main action. Then reframe left or right for 16:9 or cinematic crops.
Give extra headroom and side room when you shoot. Move the camera slowly to help both tall and wide crops.
- Keep the subject near the center for safe crop options.
- Shoot a little wider than you think you need.
- Use slow push-ins and smooth pans for easy reframing.
Practical framing tricks
Mark your screen or use an overlay to show the landscape crop. If you have a monitor, load a guide layer for safe areas.
For motion, leave space in the movement direction. For interviews, keep eyes in the top third for vertical and center third for landscape.
How to pick gear and settings for multi-aspect shoots
Choose cameras with good resolution so you can crop without big quality loss. High-res sensors help for safe crops and clean detail.
Consider cameras like the Fujifilm X-H2 for high detail. Use the Canon EOS R5 Mark II for strong video and stills. For aerial shots, try the DJI Mavic 3 Pro.
Also think about brands like Panasonic and action cameras from Insta360 for quick angles. These tools add creative options on a tight shoot.
- Shoot at higher resolution for safe crops and better detail.
- Use flat or log profiles for easier color grading later.
- Shoot 24/25/30 fps for a cinematic look and 60 fps for slow motion.
Accessories and comfort while traveling
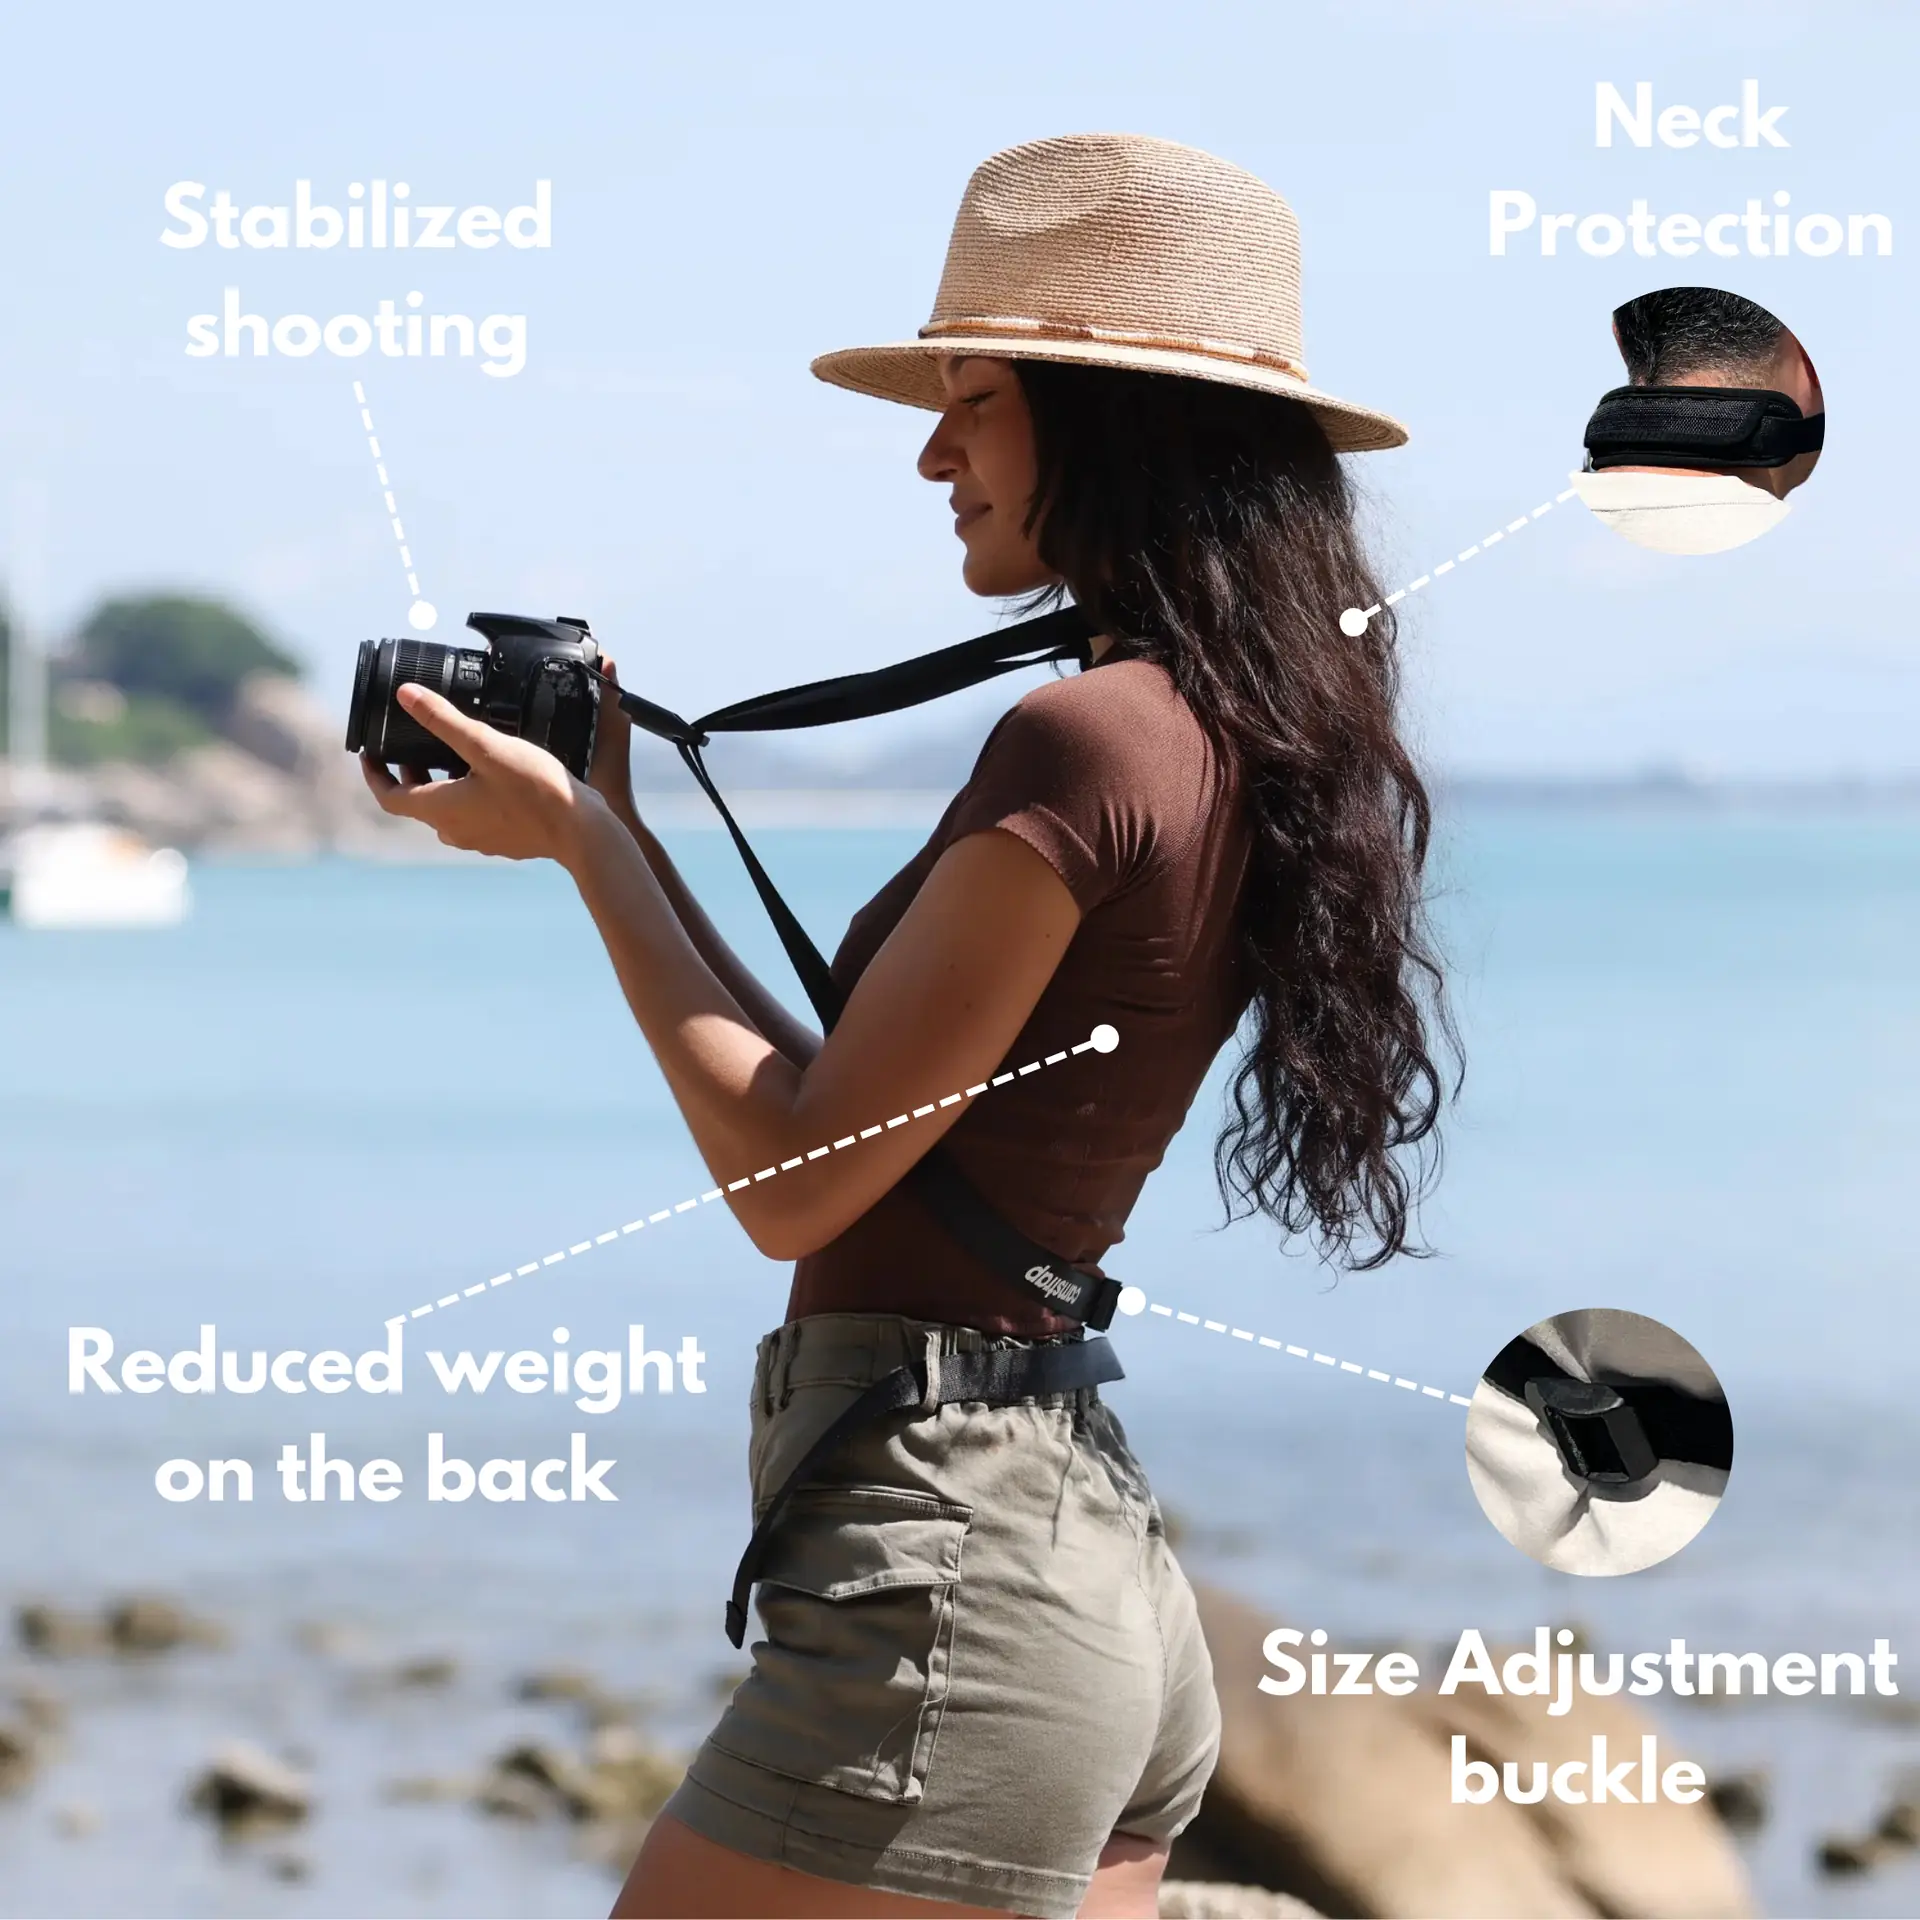
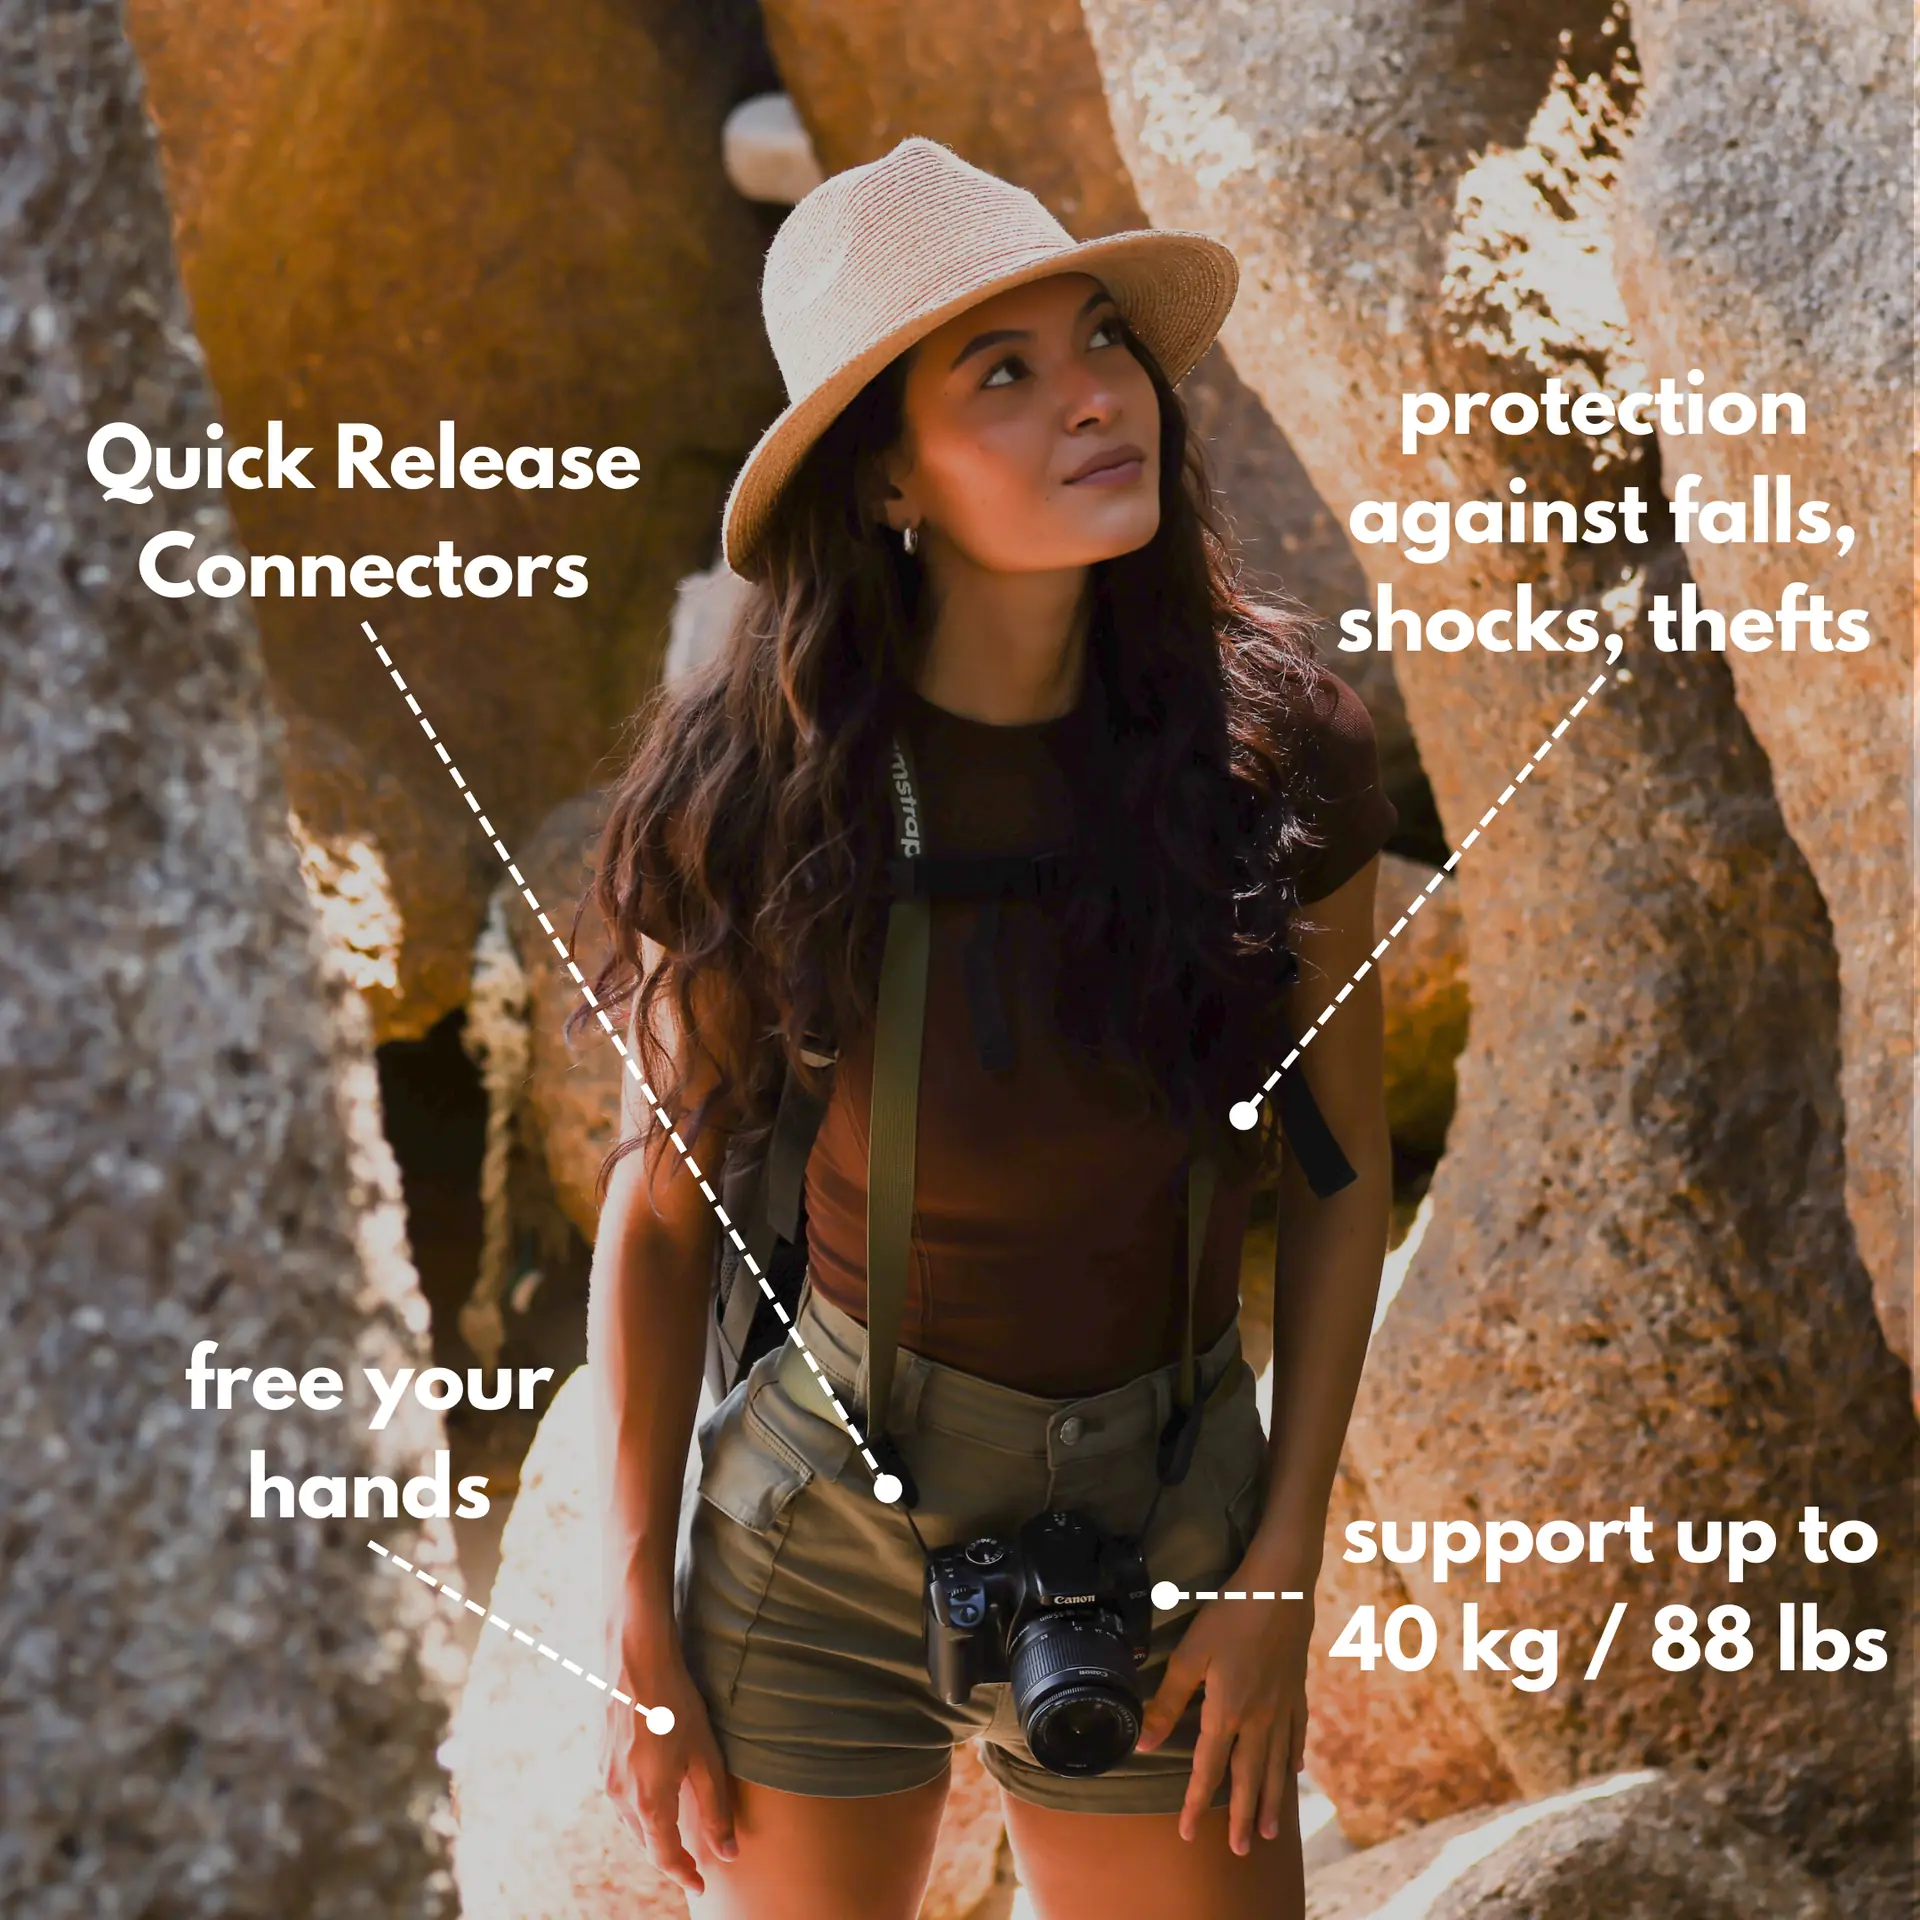
Light gear helps you move fast on location. Camstrap straps keep cameras close and hands free on long walks.
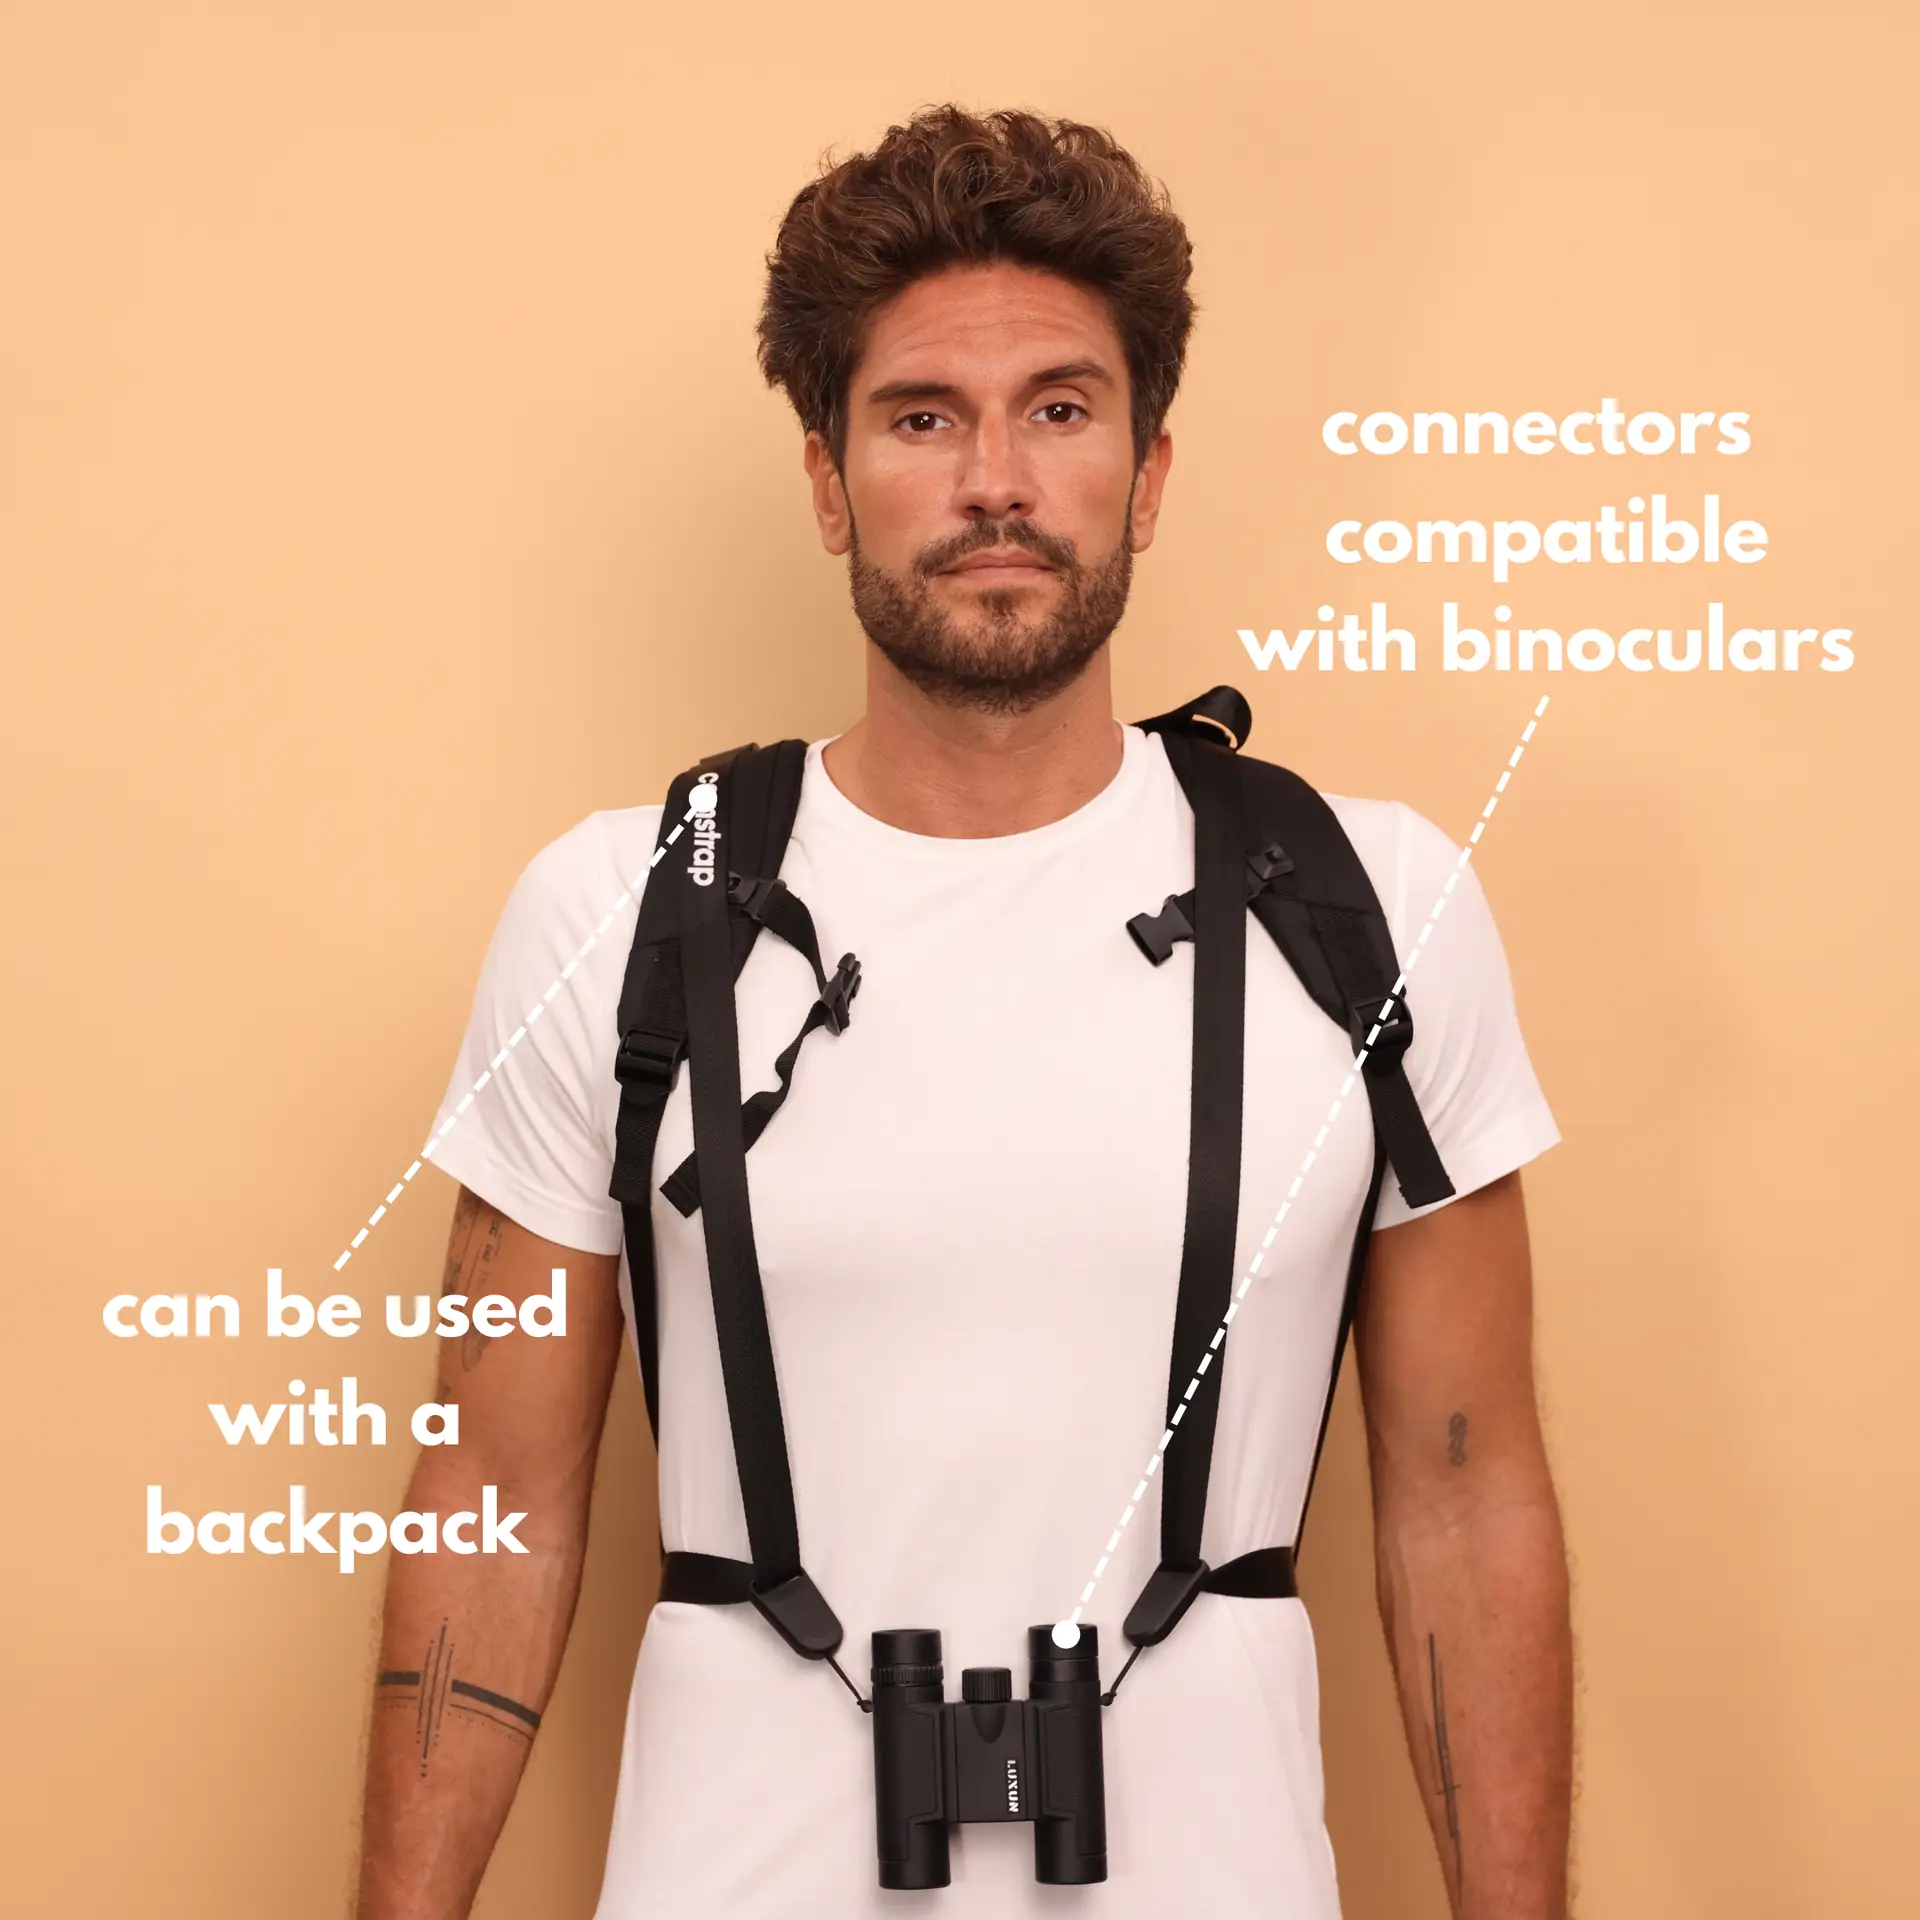
The Camstrap Voyager and Explorer are great for city shoots in Rome or mountain walks in Switzerland. The Camstrap Nomad and Magclip work well on beach days in Bali or hikes near Tahiti.
How to edit, reframe, and export multi-aspect assets
Edit a vertical master first and finish color and sound there. Then place that master into landscape or square timelines to reframe.
Use Premiere Pro, Final Cut, or CapCut for nested timelines and keyframe work. Track faces or products so the crop follows the subject smoothly.
- Create a vertical master edit with final color and audio.
- Make landscape and square timelines by nesting the vertical master.
- Use tracking or keyframes to keep subjects centered when you reframe.
Export settings and platform rules
Export with platform limits in mind. For Instagram Reels and TikTok use 1080x1920 vertical at a solid bitrate.
For landscape, use 1920x1080 or a 2.39:1 crop for cinematic cuts. Check platform guides and Wistia’s resources if you need specifics.
How to deliver, test, and iterate for better results
Delivery is your chance to test which edits work best. Upload variants, test thumbnails, and measure watch time and engagement.
Then iterate. If a vertical clip works well, make short cuts, text-first edits, and a landscape promo cut for broader reach.
- Run A/B tests on thumbnails and captions to learn fast.
- Keep a tagged library of assets for quick reuse.
- Use data to update your shot list for the next shoot.
Workflow tools and team tips
Share vertical masters in the cloud so teams can review and approve quickly. Keep a simple file naming system to avoid confusion.
Use names like clipname_vertical_v1 and clipname_landscape_v1. This saves time when clients ask to reuse assets.
Conclusion: keep a multi-aspect mindset and learn how to improve
Shoot vertical first and plan for landscape from the start. This method saves time and keeps your brand steady across channels.
Travel enthusiasts, outdoor adventure photographers, and amateur photographers will all gain from this flow. Bring Camstrap gear and use cameras like the Fujifilm X-H2, Canon EOS R5 Mark II, or a DJI Mavic 3 Pro for high-quality results.
Test often and learn from metrics. Use resources like Wistia’s guides and quick YouTube tutorials to sharpen your skills. With a plan and a simple workflow, you will make assets that work everywhere in 2026.


