
The 2025 Outdoor Photographer’s Guide to Motion Blur and Soft Focus: Capturing Speed, Storms, and Waterfalls on the Move
The 2025 outdoor photographer’s guide is all about motion and feeling. Runners cut through misty trails, storms roll over mountains, and waterfalls pour into deep blue pools. Your job as a photographer is not just to freeze these moments. Your job is to show how they feel in the real world.
This 2025 outdoor photographer’s guide will show you how to use motion blur and soft focus to capture speed, storms, and waterfalls on the move. We will keep the language simple and the steps clear. You can test each idea on your next trip, hike, or weekend walk and see quick results.
The Role of Motion Blur in the 2025 Outdoor Photographer’s Guide
In 2025, cameras are fast and smart. They can freeze almost any subject with ease. But many outdoor scenes look better when you let parts of the frame blur a little. Moving water, blowing trees, or racing bikes can feel flat when they are too sharp.
Motion blur shows time and energy in one frame. A long exposure can turn a rough river into smooth lines of light. A slower shutter can turn a cyclist into a streak that leads the eye through the frame. Used well, blur helps the viewer feel like they are standing right there.
Motion blur vs. soft focus in the 2025 outdoor photographer’s guide
Motion blur happens when something moves while the shutter is open. The camera or the subject moves, so lines stretch and smear. Soft focus is different. The subject stays still, but you choose to keep it slightly out of sharp focus, or you blur the background on purpose.
In outdoor photography, you will often use both tools. You might blur a waterfall with a long exposure while keeping the rocks sharp. You might also use a wide aperture to keep a runner’s face sharp while turning the forest into a soft, dreamy wash of color.
The Core Camera Settings in the 2025 Outdoor Photographer’s Guide
The 2025 outdoor photographer’s guide to motion blur starts with three main settings. These are shutter speed, aperture, and ISO. Many new cameras use smart auto modes, but you get better results when you make a few simple choices yourself.
Shutter speed: the main motion control
Shutter speed is how long the camera sensor sees light. Long shutter speeds create blur. Short shutter speeds freeze motion and stop action. For outdoor motion blur, think in simple ranges instead of complex numbers.
- 1/1000 – 1/2000s: Freezes fast action like birds, waves hitting rocks, and athletes.
- 1/125 – 1/500s: Freezes walking people and light wind in trees.
- 1/15 – 1/60s: Adds gentle blur to water, rain, or moving crowds.
- 0.5 – 5 seconds: Creates strong blur in waterfalls, clouds, and light trails.
Start with the range that matches your subject. Then take a test shot and adjust the shutter speed. If the blur feels too strong, speed up the shutter. If it feels too weak, slow it down until the motion looks right.
Aperture and depth of field
Aperture controls how much of the scene stays in focus. A low f-number like f/2.8 or f/4 gives a shallow depth of field. A high f-number like f/11 or f/16 keeps more of the scene sharp. The 2025 outdoor photographer’s guide uses a few simple rules for motion work.
- f/2.8 – f/5.6: Great for soft focus portraits, runners, and bikes with blurred backgrounds.
- f/8 – f/16: Great for landscapes, storms, and waterfalls where you want sharp rocks and trees.
Remember that a narrow aperture with a high f-number lets in less light. To keep your exposure bright, you may need a slower shutter or a higher ISO. Test and adjust until the image looks balanced and clear.
ISO: keep it low when you can
ISO controls how bright the image looks for a given shutter and aperture. Higher ISO makes the picture brighter but adds noise or grain. Modern 2025 cameras handle high ISO better than older models. But it still helps to keep ISO as low as you can in most scenes.
For outdoor motion blur, start at ISO 100–400 in daylight. Raise it to 800–3200 for dark storms, forests, or blue hour. Do not fear a little noise in your photos. A sharp, slightly noisy image is better than a clean but unwanted blur.
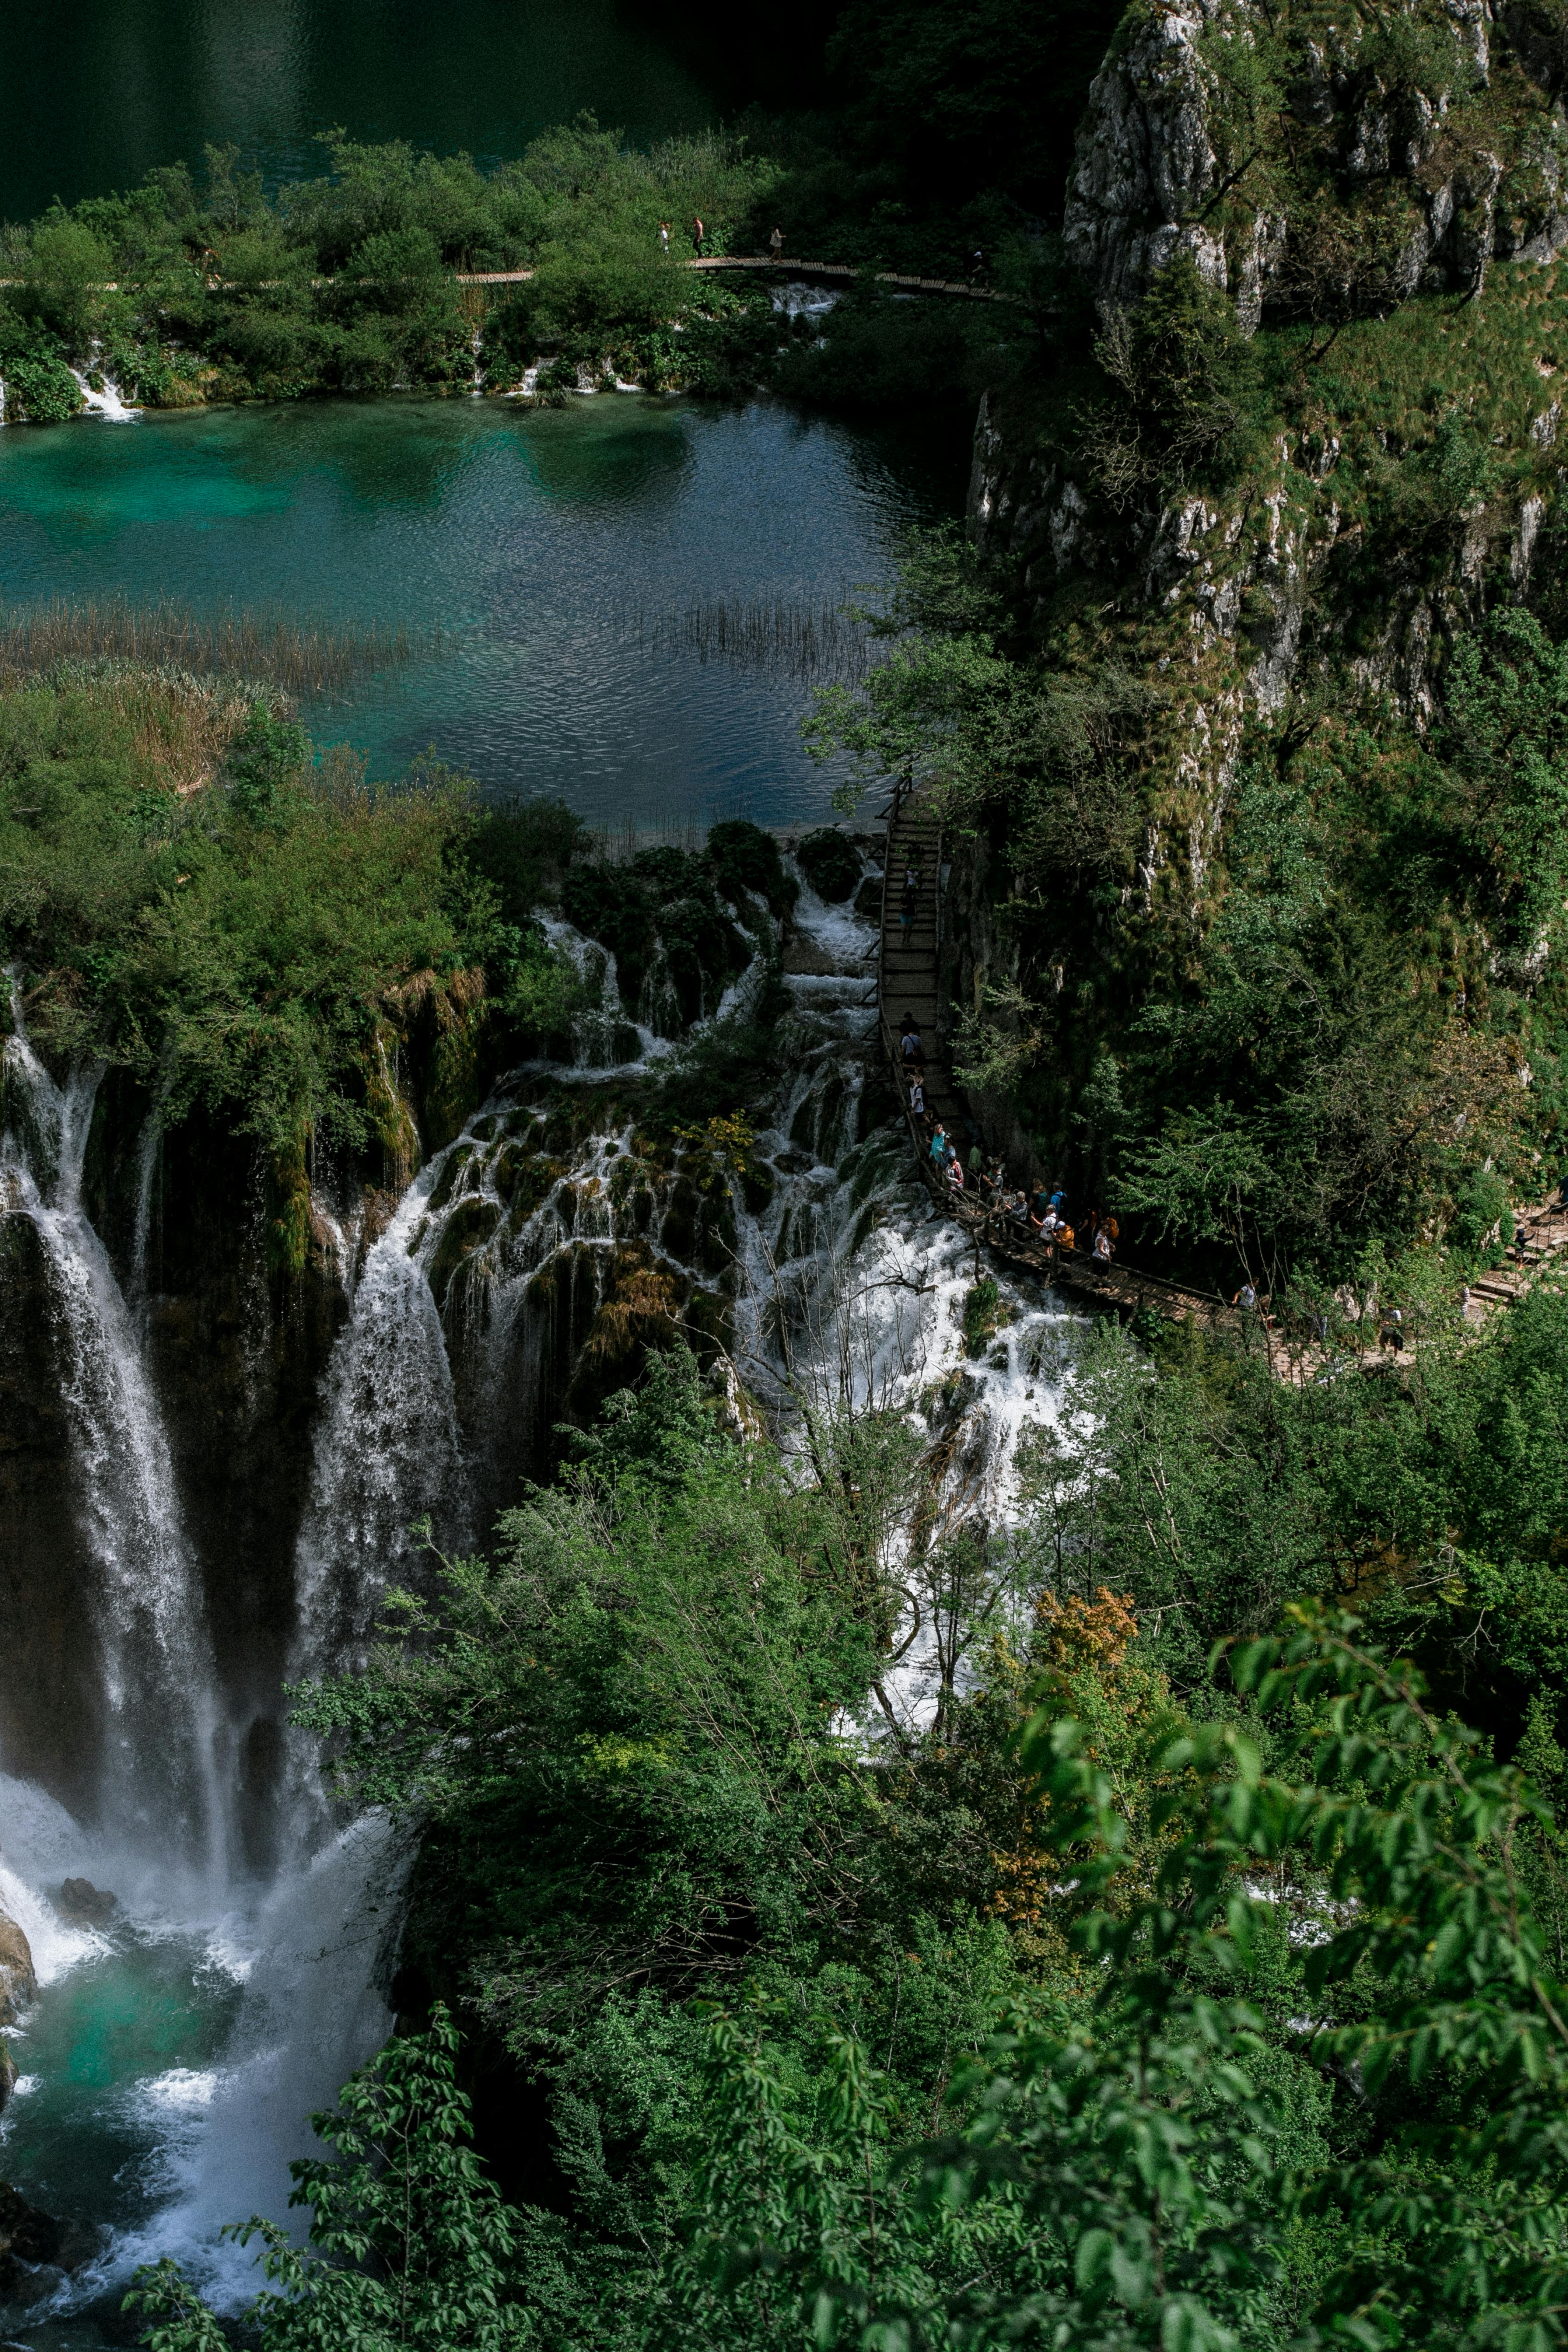
The 2025 Outdoor Photographer’s Guide to Waterfalls, Rivers, and Waves
Moving water is one of the best subjects in the 2025 outdoor photographer’s guide to motion blur. Many outdoor photography schools and guides stress the same point. Shutter speed is the first setting you should think about when you shoot water. The look of the water depends almost fully on it.

Choosing shutter speeds for waterfalls
The right shutter speed for a waterfall depends on how fast the water flows. A huge fall with heavy flow will blur quickly. A small woodland stream needs more time to look smooth and dreamy. Use these starting points and then adjust on location.
- Silky, dreamy water: 0.5–2 seconds for most falls.
- Silky with texture: 1/6–1/2 second for a mix of blur and detail.
- Frozen spray and detail: 1/250–1/1000 second for sharp drops and splashes.
Take a series at different speeds to compare the results. Many pros blend a short exposure with a long one in editing. This mix keeps silky flow and crisp detail in one final image. You can try that later as your editing skills grow.
Gear that helps with moving water
You do not need a full studio to shoot waterfalls in 2025. But a few simple tools make things much easier and more fun. These items also help you follow the 2025 outdoor photographer’s guide in a safe way.
- Sturdy tripod: Long exposures are almost impossible to hand-hold without blur.
- Circular polarizer: Cuts glare on wet rocks and leaves and darkens the scene slightly.
- Neutral density (ND) filters: Dark glass that lets you use long shutter speeds in bright light.
- Lens cloths and rain cover: Water spray will hit your lens all the time near big falls.
A 3-stop ND filter is often enough for streams and shaded falls. For bright mid-day waterfalls, a 6–10 stop ND filter lets you stretch your shutter to several seconds. This keeps highlights under control and gives smooth flow.
Simple composition tips for water motion
Good composition matters as much as good blur in the 2025 outdoor photographer’s guide. Before you set up the tripod, walk around and look for lines and shapes. Water often forms natural leading lines that guide the viewer’s eye through the frame.
- Use the river as a line that leads from the bottom of the frame into the distance.
- Place the main drop of the waterfall on a rule-of-thirds line, not in the center.
- Include rocks, logs, or moss in the foreground to add depth and interest.
If the sky is bright and dull, think about leaving it out of the frame. Many waterfall guides suggest framing from the top of the falls down. This avoids blown-out sky that pulls attention away from the water.
The 2025 Outdoor Photographer’s Guide to Capturing Speed
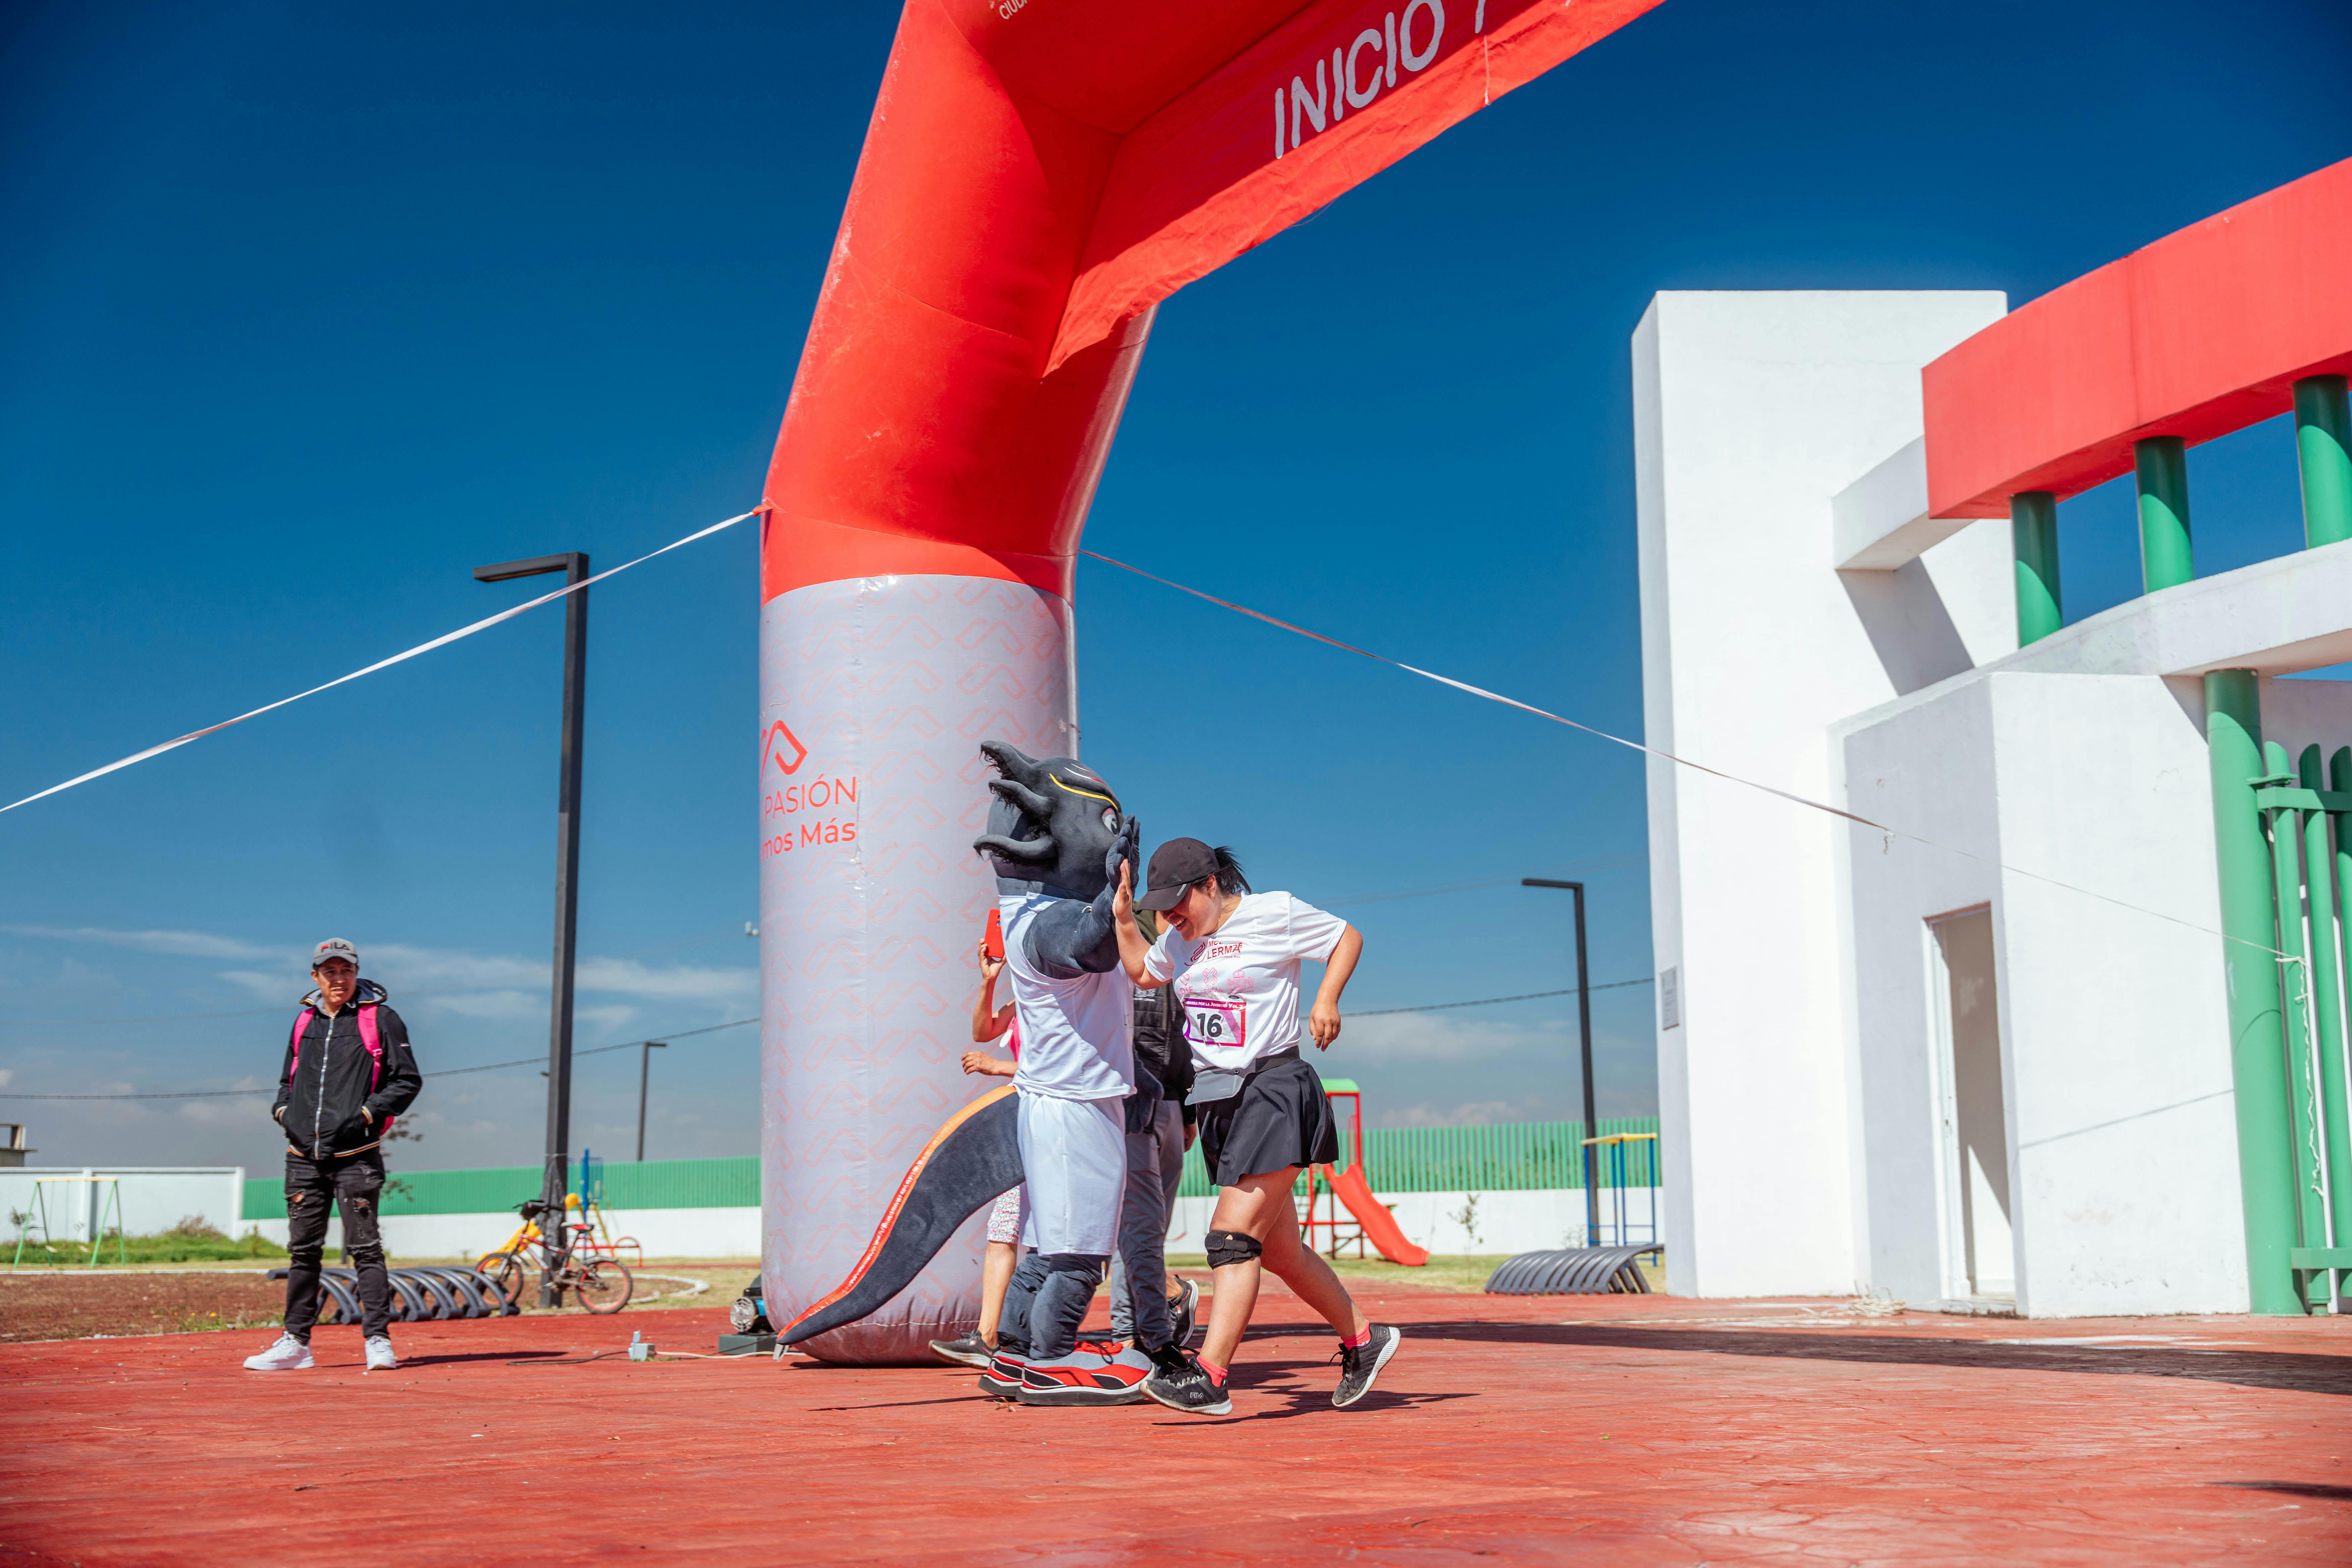
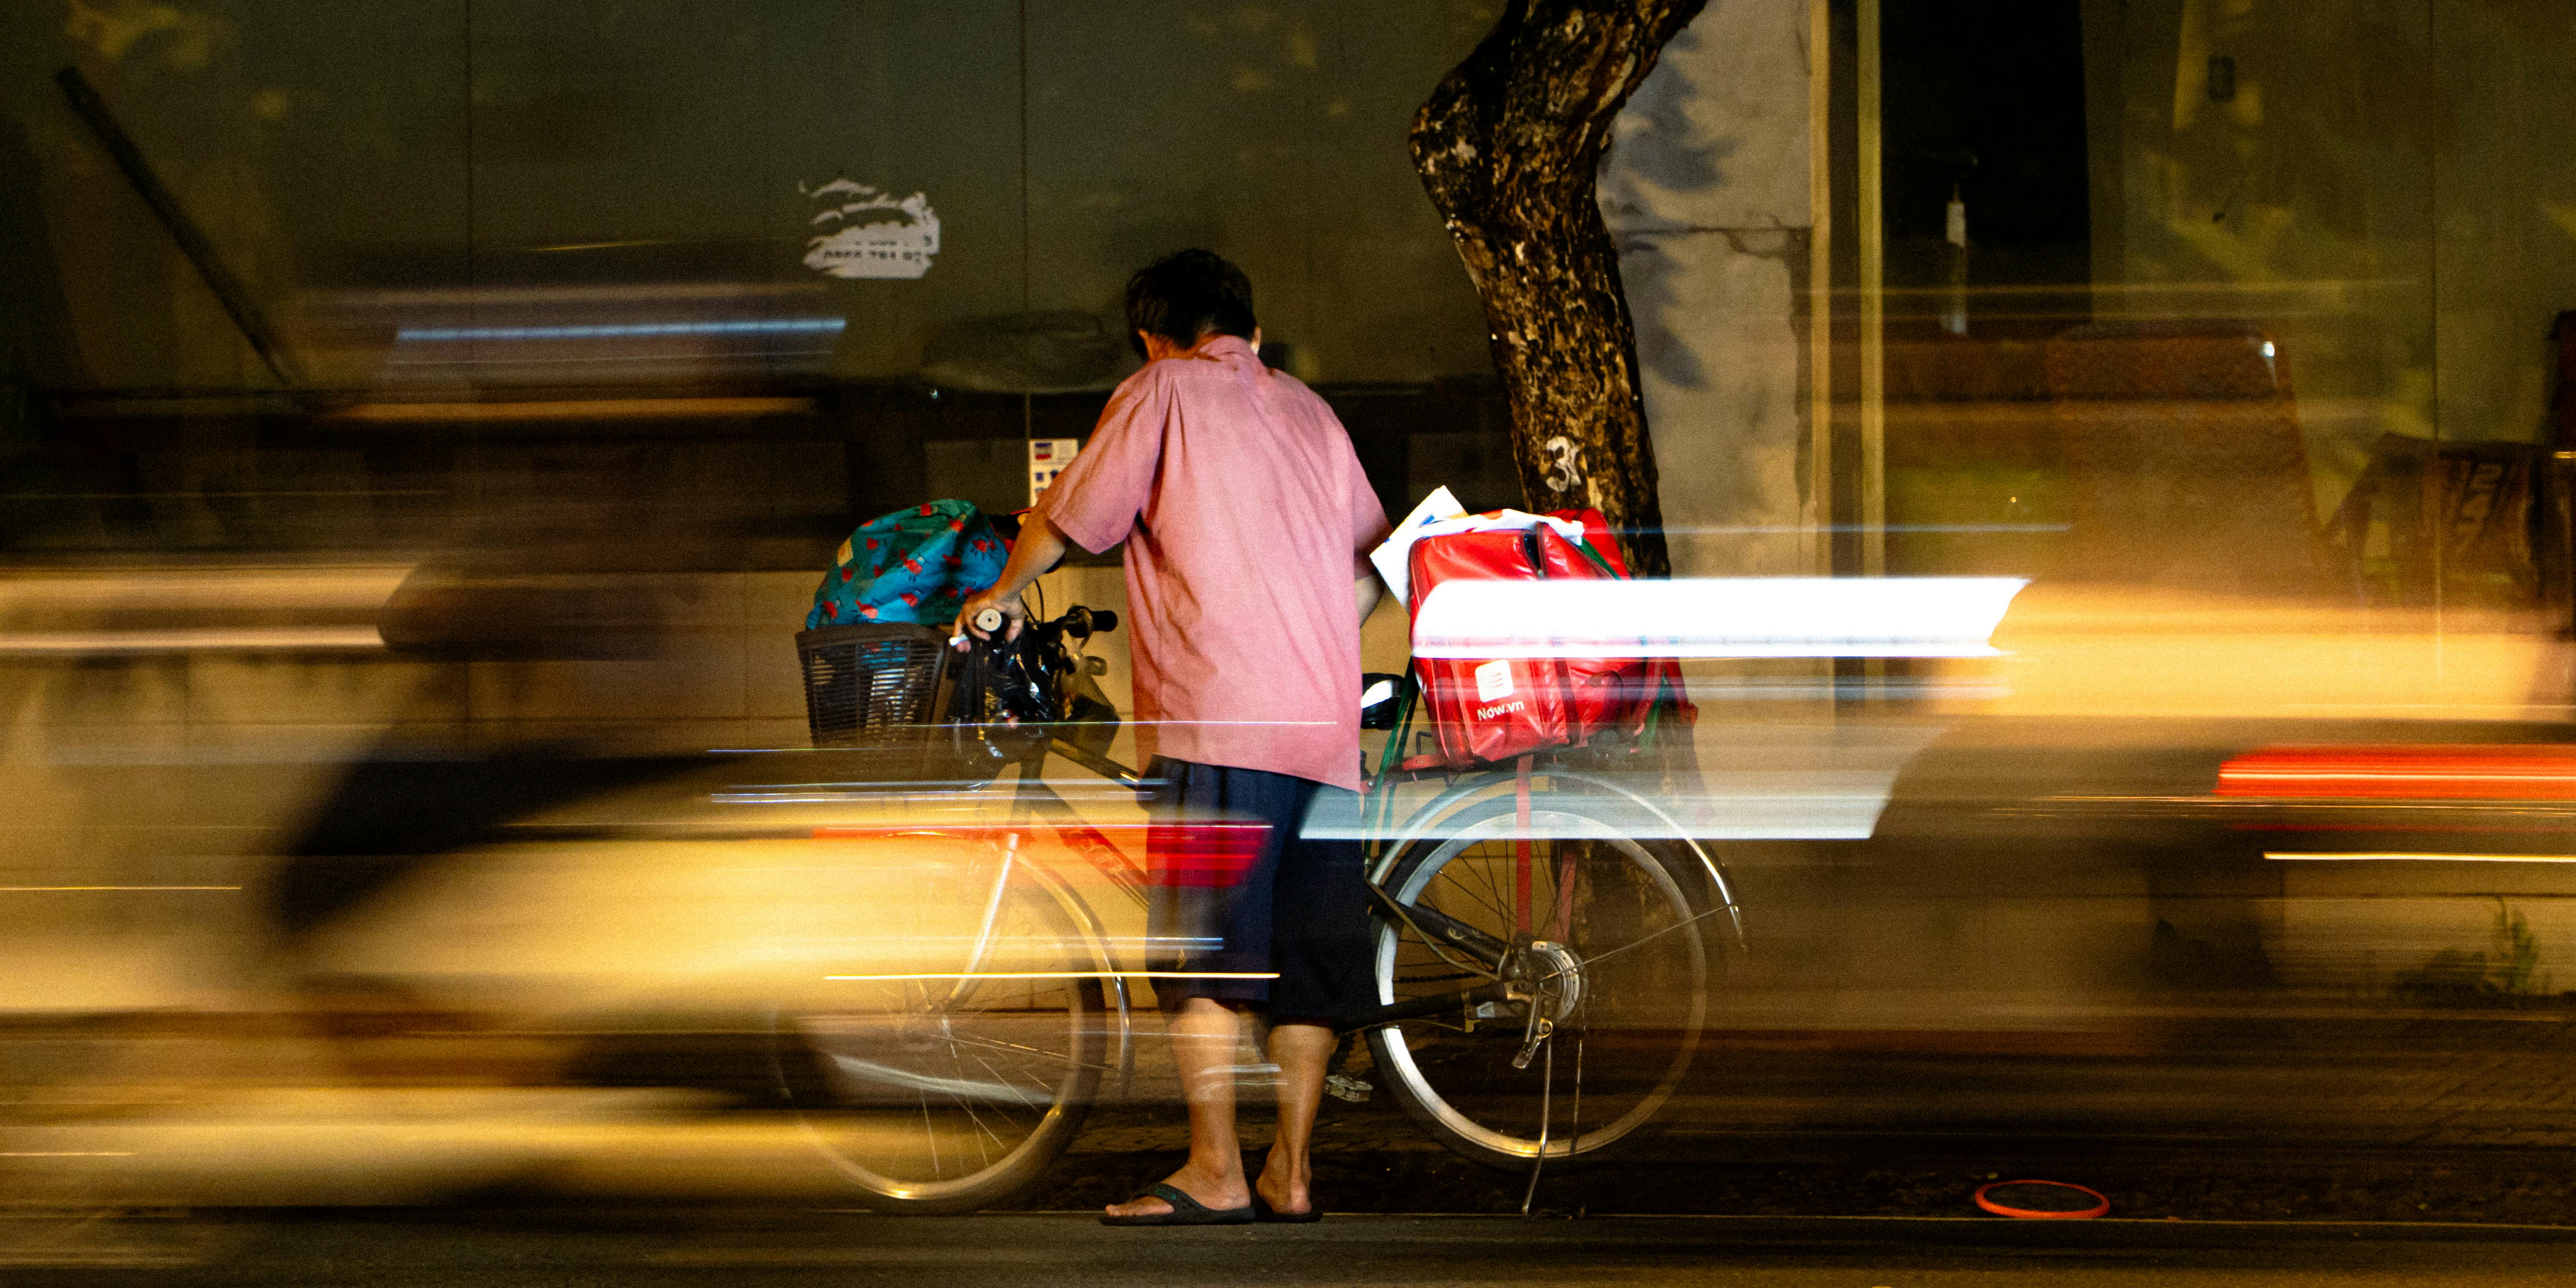
Outdoor sports and city adventures are huge in 2025. Travel fans and amateur photographers love to share images of runners, bikes, and night traffic. Motion blur can turn these fast scenes into strong visual stories that feel alive.
Panning for sharp subjects and blurred backgrounds
Panning means you move the camera with your subject while you use a slower shutter. The subject stays fairly sharp, but the background streaks into lines. This creates a strong sense of speed and energy in your frame.
Here is a simple way to practice panning with a runner or cyclist. It fits well into any 2025 outdoor photographer’s guide for beginners.
- Set shutter speed to around 1/30–1/60 second for clear motion lines.
- Use continuous autofocus and burst mode to track the subject.
- Stand where the subject will pass across your view, not straight toward you.
- Start tracking them early, then press and hold the shutter while you keep turning.
Expect many bad frames at first, and do not worry about it. Even pros get only a few keepers from a long series. But when it works, the result looks dynamic and full of life.
Layered motion with people and moving backgrounds
You can also mix a sharp subject with soft background motion. For example, place a trail runner on a rock ledge with storm clouds moving behind them. Use a tripod, ask them to hold still, and choose a moderate shutter speed like 1/4–1/2 second.
The runner stays sharp if they stay steady. The clouds streak softly across the sky. This works well for outdoor adventure portraits and shows the fast-changing 2025 climate, where weather often shifts in minutes.
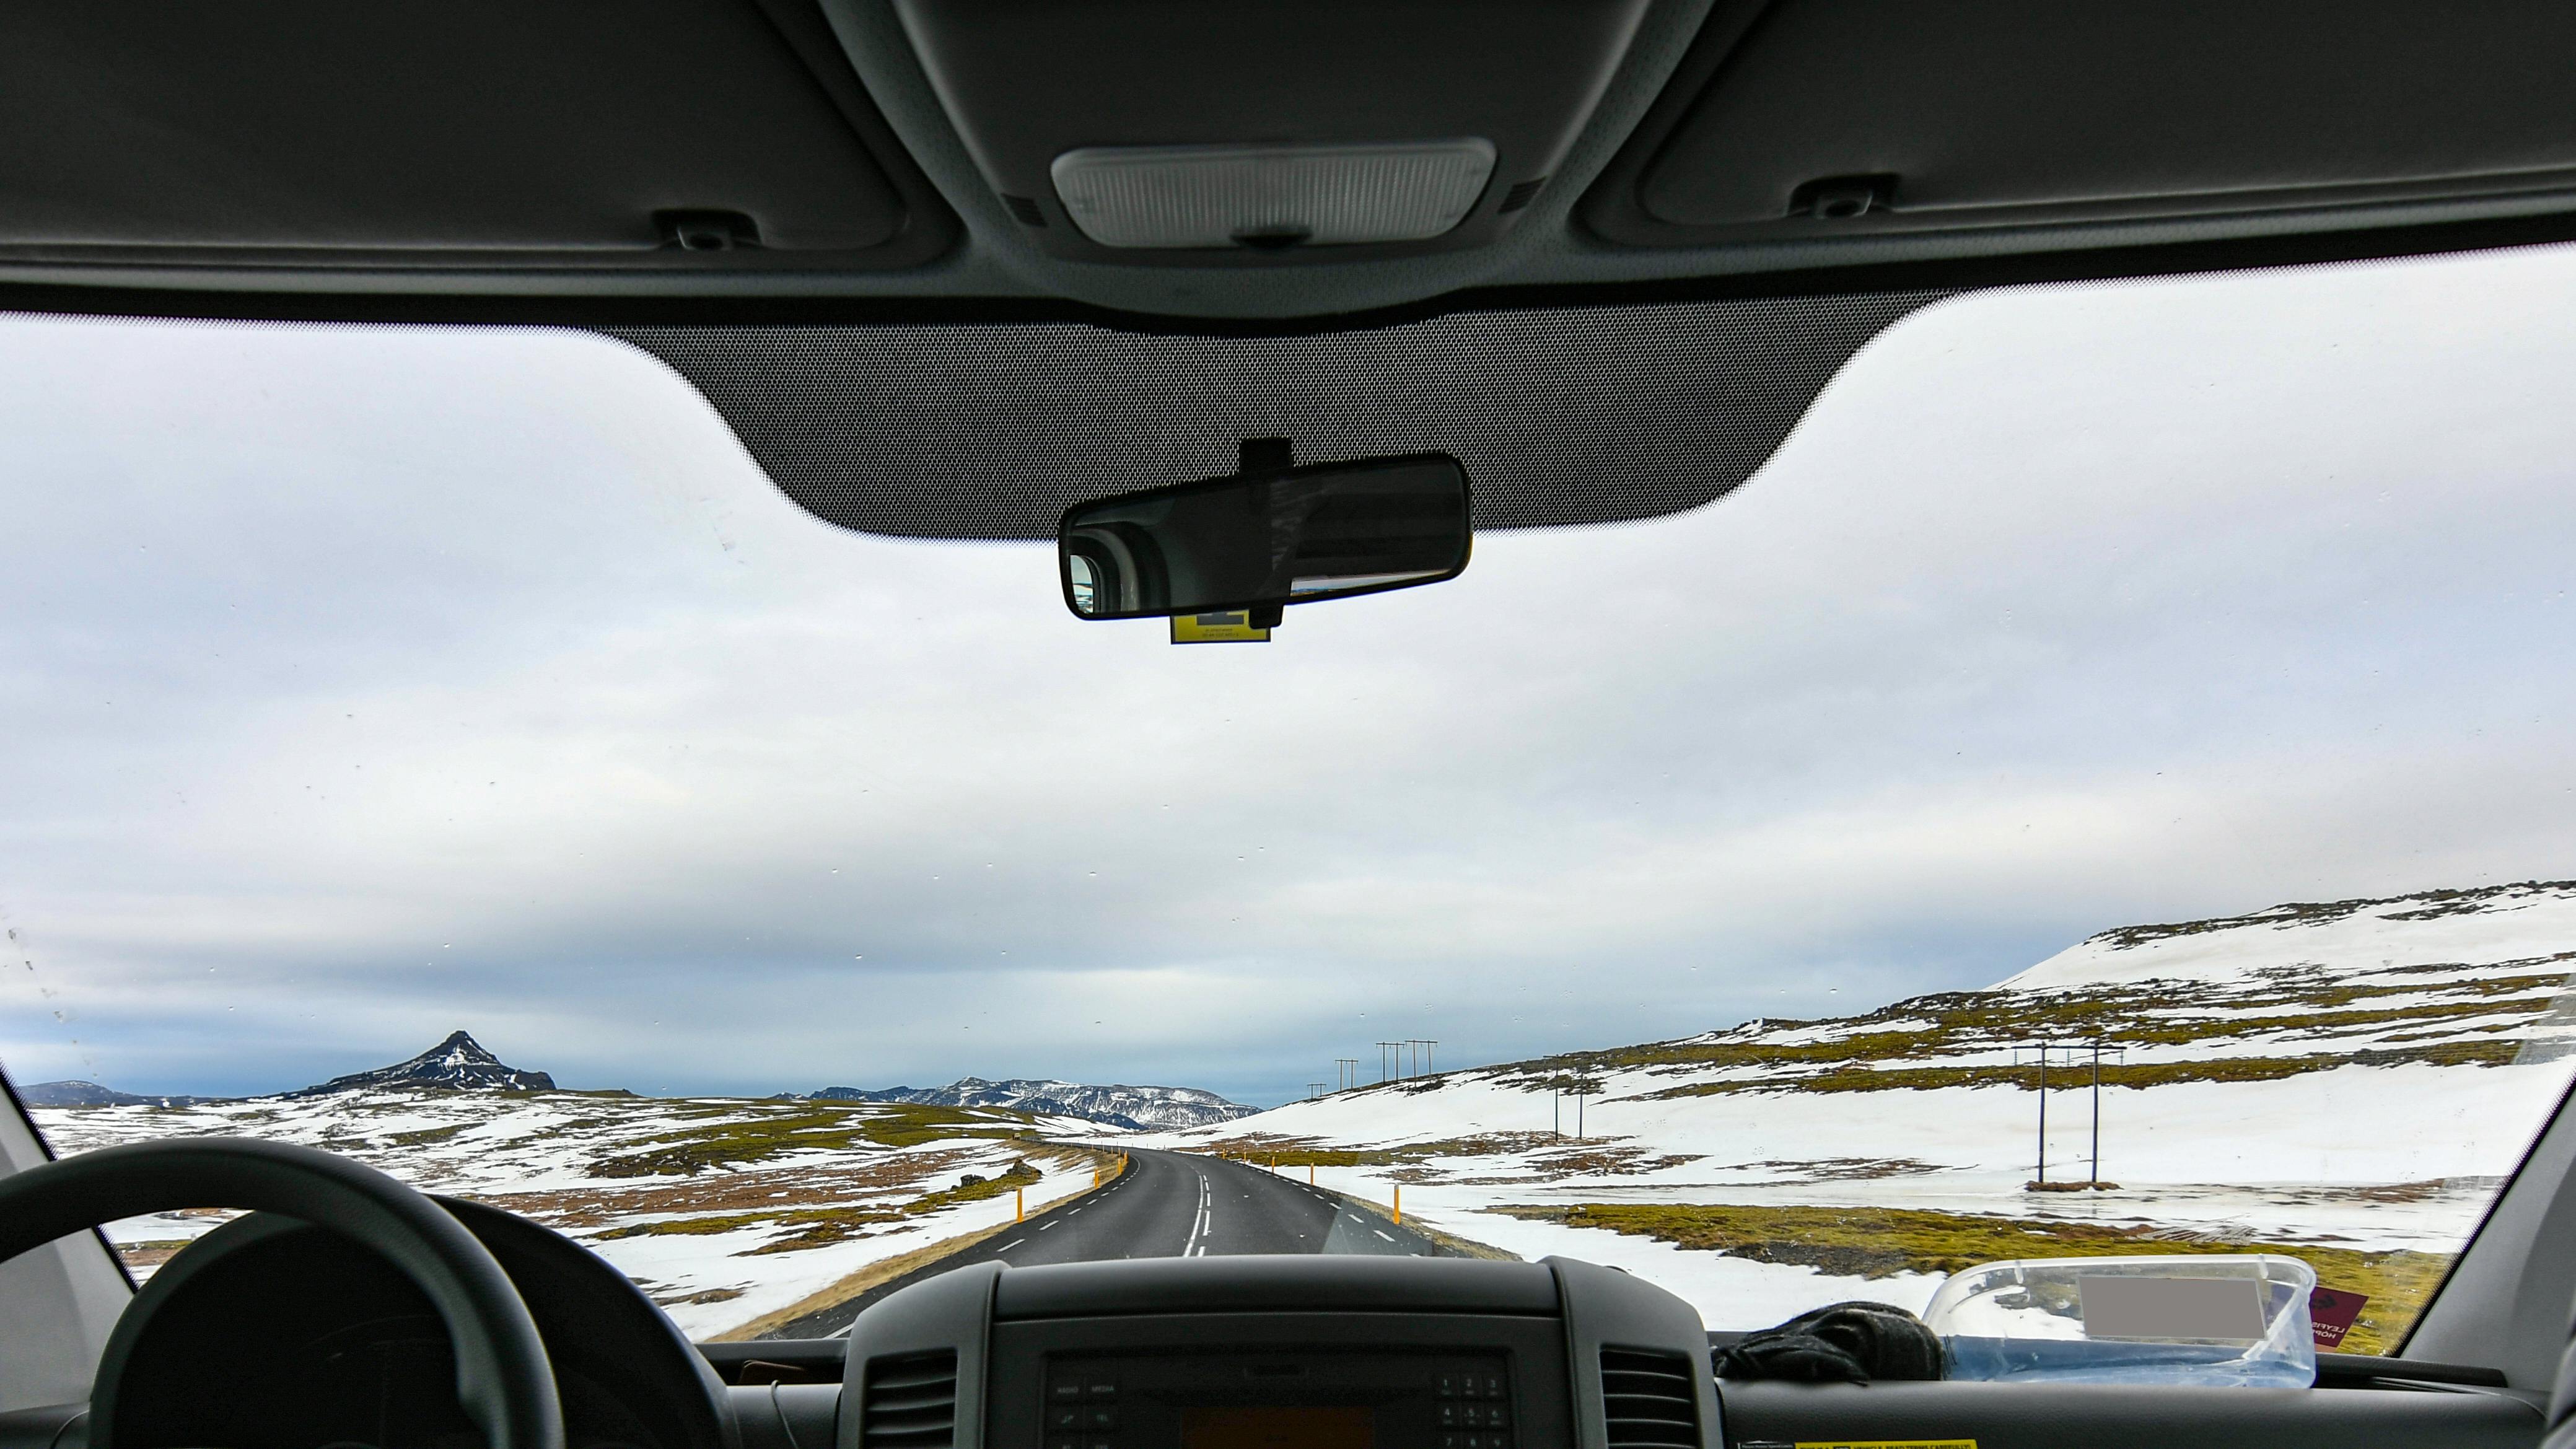
The 2025 Outdoor Photographer’s Guide to Storms, Clouds, and Wind
Weather is one of the most powerful subjects in the 2025 outdoor photographer’s guide. Clear blue skies are often the least interesting. Clouds, fog, and storms add shape, light, and mood to your images. Motion blur can make these effects even stronger.
Long exposures for moving clouds
To blur clouds, you need longer exposures than for waterfalls. Clouds move more slowly, so you must give them more time. On a windy day, try these starting points and adjust as needed.
- Subtle cloud streaks: 5–15 seconds for gentle motion.
- Strong, painterly streaks: 30–120 seconds for bold lines.
At these times, you will almost always need an ND filter, even near sunset. Place the camera on a sturdy tripod and frame your scene with a strong subject. This could be a tree, rock, building, or person. Then let the sky paint itself across the sensor.
Wind-blown trees and grass
Wind can be your friend or your enemy in the 2025 outdoor photographer’s guide. If you want a sharp landscape, wind can ruin long exposures by blurring branches and grass. But if you want to show the power of the storm, that blur can help tell the story.
Try this simple approach when the wind picks up and the scene feels wild.
- Pick one solid subject that does not move much, like a rock or cabin.
- Use a shutter around 1/4–1 second to blur leaves and grass.
- Keep your ISO low and use a narrow aperture to avoid overexposure.
This mix of sharp and soft gives a sense of chaos without losing the viewer’s anchor. The scene feels alive but still clear and easy to read.
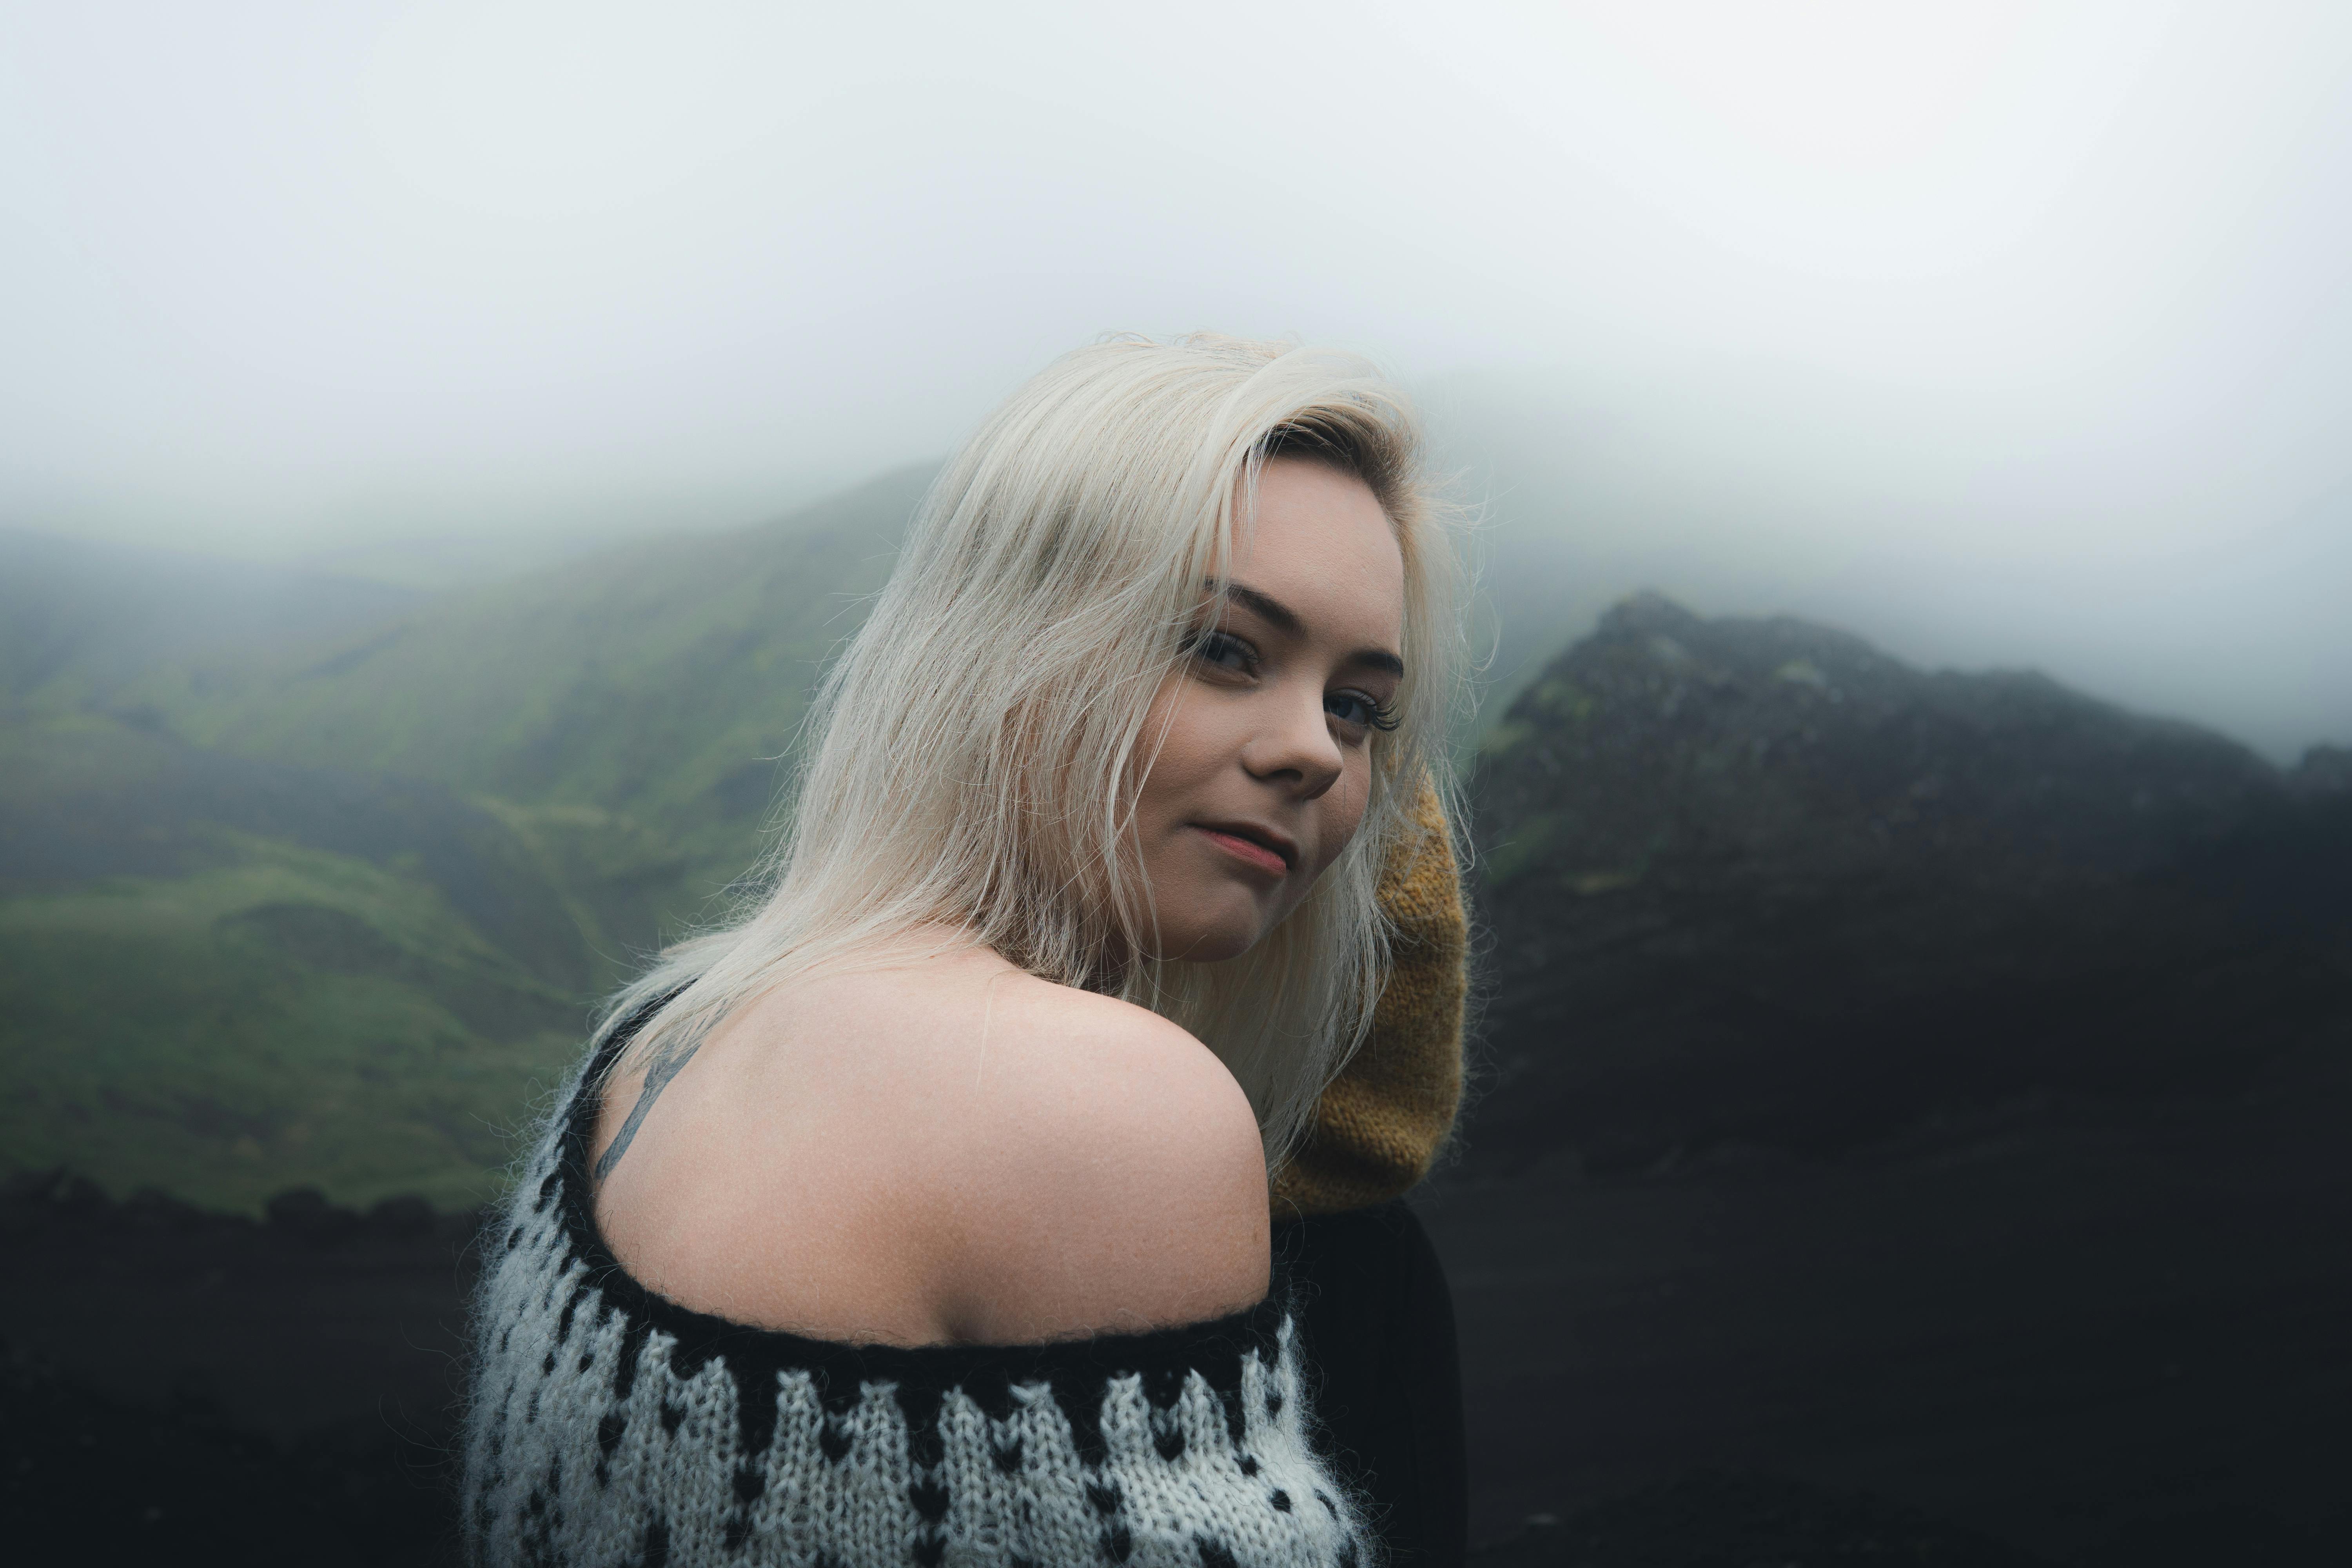
The 2025 Outdoor Photographer’s Guide to Soft Focus Portraits
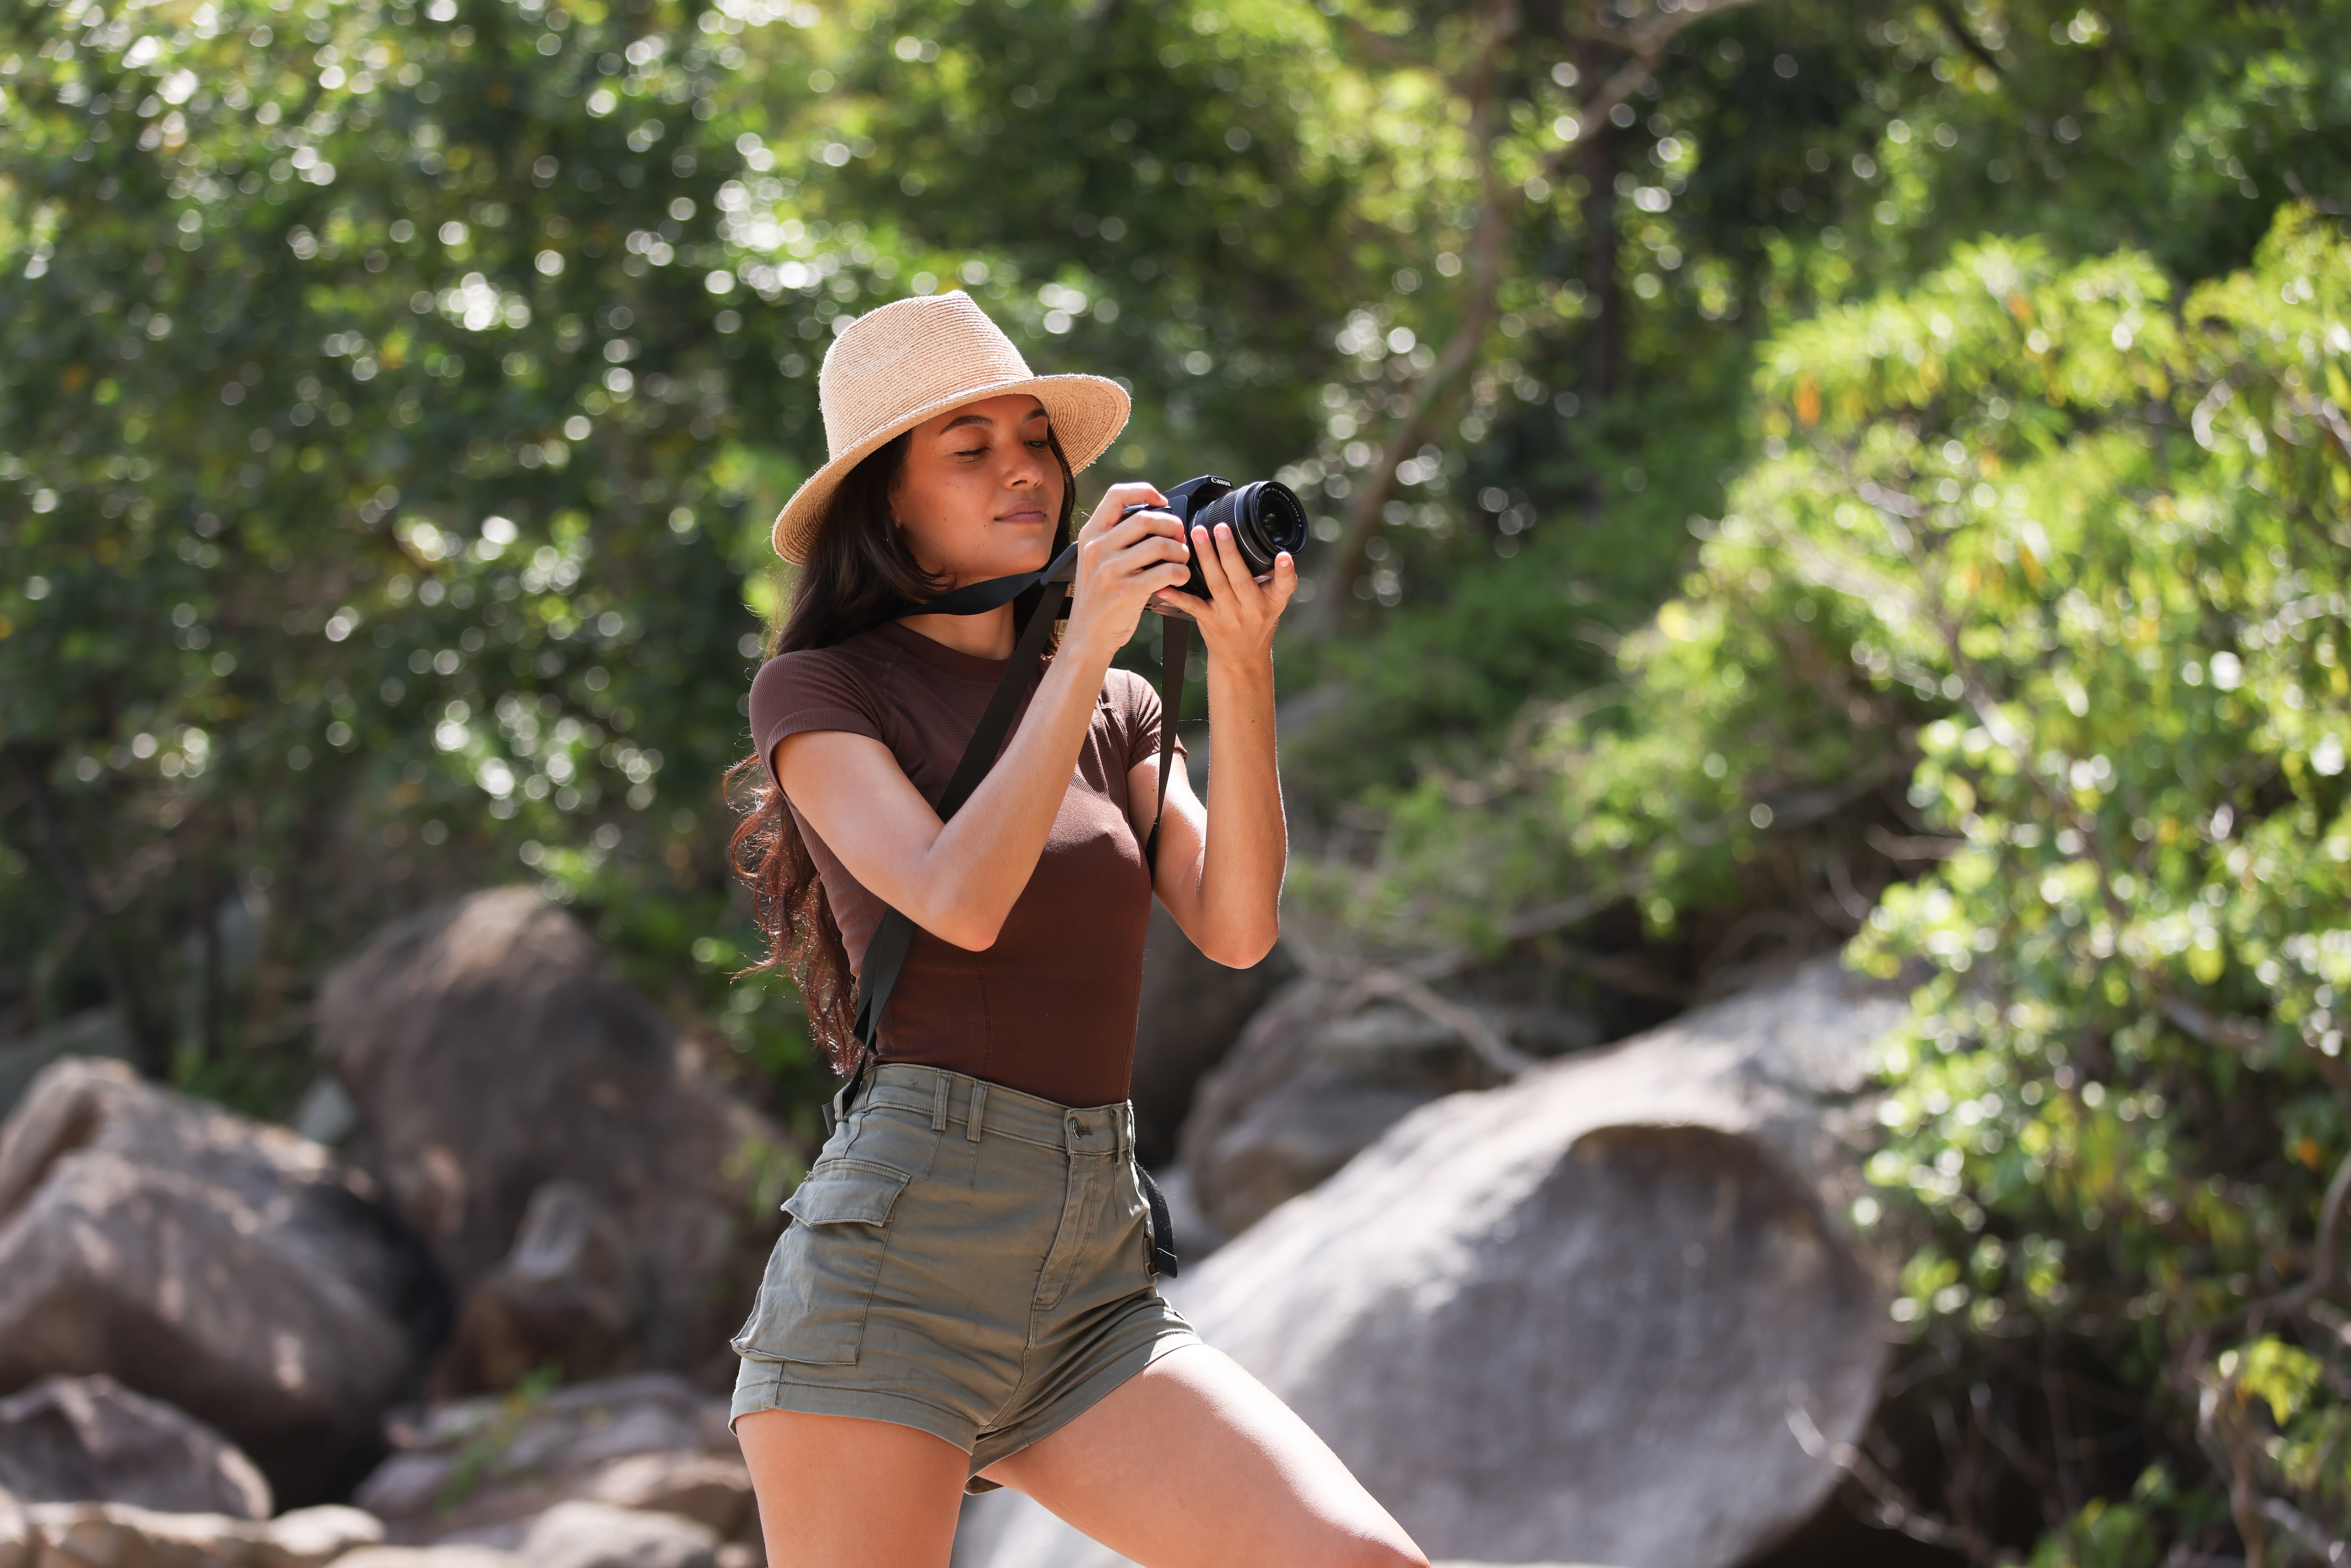
Motion blur is not the only way to show movement and mood. Soft focus, created with shallow depth of field, is a key tool for outdoor portraits and story images. In this method, you blur the background but keep the subject sharp.
Shallow depth of field basics
To create soft focus in the background, you need three simple things. These steps are easy to follow and fit well with the 2025 outdoor photographer’s guide for travel and adventure work.
- A wide aperture with a low f-number like f/1.8–f/4.
- A subject that is closer to the camera than to the background.
- A lens with a longer focal length, like 50–200mm.
Outdoor portrait experts often stand several meters from their subject. They also keep the background far behind the person. This makes the background blur into soft color and shape. It works well for travel portraits, hikers on trails, or climbers on cliffs.
Environmental portraits: people in their landscape
In 2025, many photographers mix portraits with landscapes. They show people in the places they love, such as a surfer on a wild coast or a camper near a stormy ridge. For these shots, you may not want the background to be fully soft.
Try using an aperture around f/5.6–f/8 for a balanced look. This keeps the person sharp but still gives a gentle blur in the background. The viewer can see the mountains or forest, but the subject remains the clear focus of the image.
The 2025 Outdoor Photographer’s Guide to Camera Straps and Comfort
All these 2025 outdoor techniques demand that you move a lot. You may hike to a waterfall, then run across a ridge to catch storm light. You might also crouch low for a panning shot of a cyclist. Your camera needs to stay ready and safe the whole time.
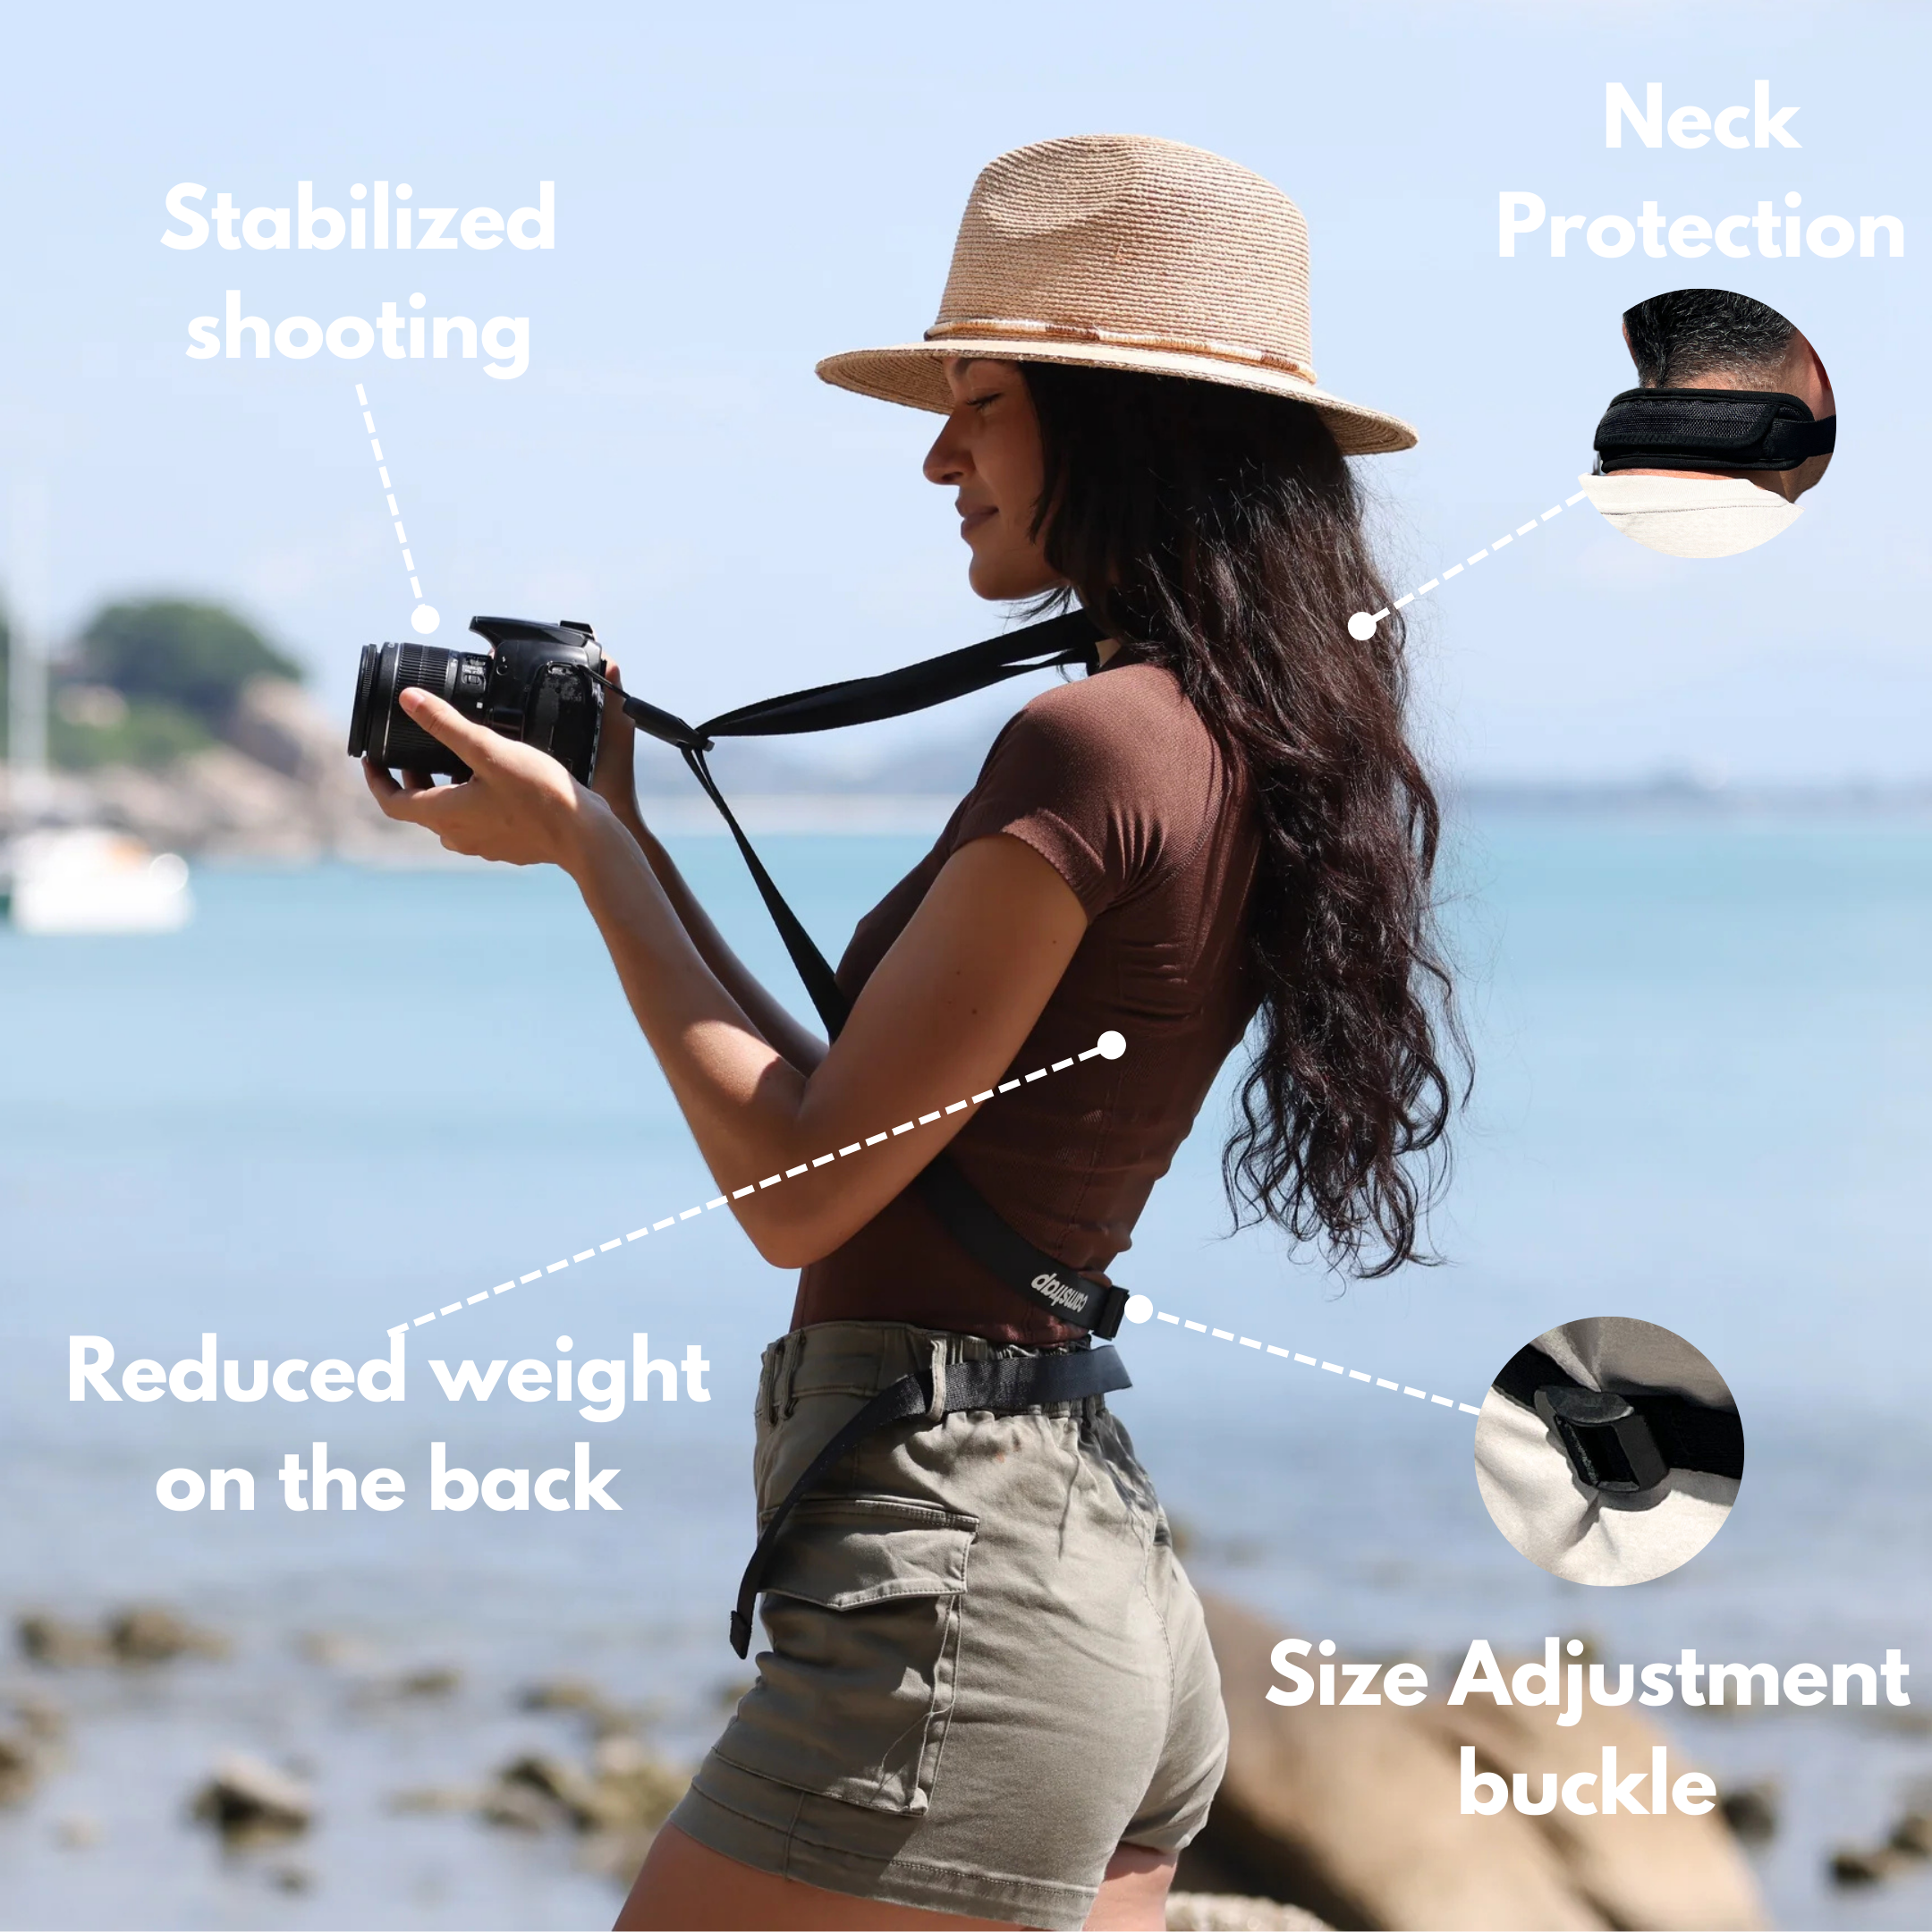
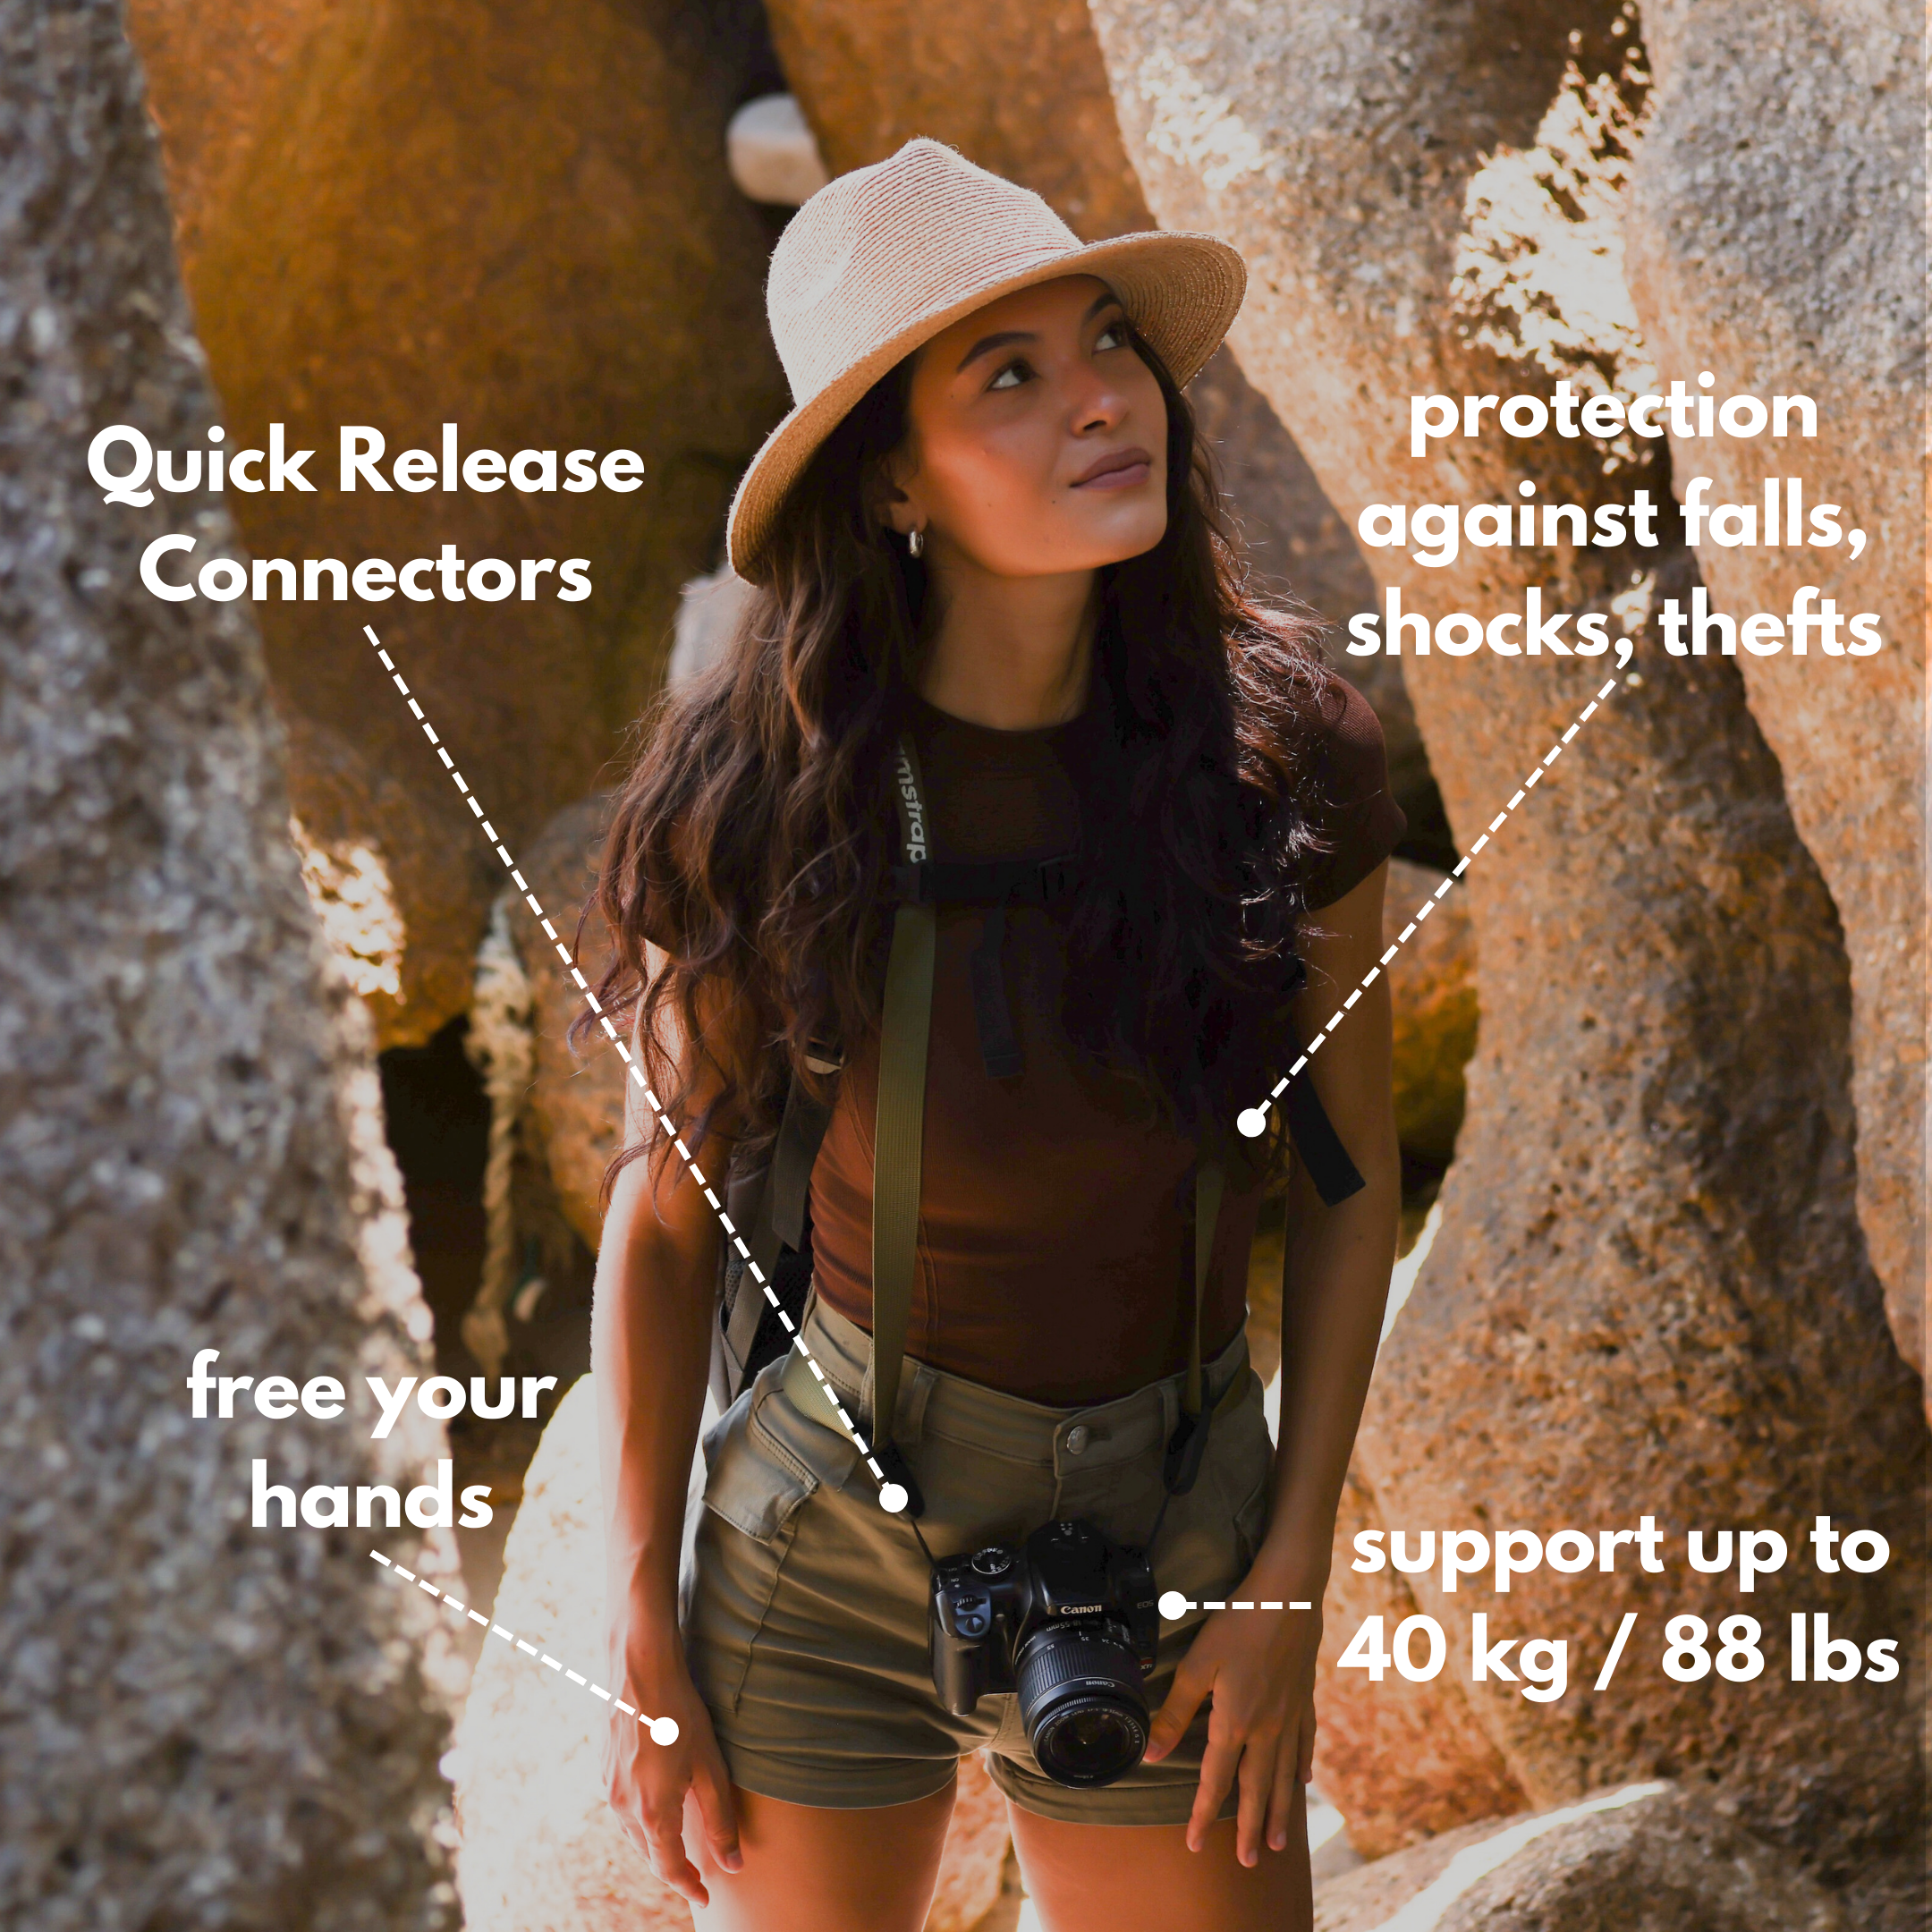
This is where a good camera strap becomes more than a small detail. A poor strap digs into your neck, swings wildly, and makes you want to put the camera away. A strong, well-designed strap lets you move, climb, and react without worry or pain.
Camstrap in the 2025 outdoor photographer’s guide
Camstrap is a French brand that focuses on how photographers and adventurers carry their cameras. Each strap is made and assembled in France with care for strength and comfort. For outdoor shooters who spend long days in rough places, that mix of toughness and style matters a lot.
Camstrap offers free shipping on orders over €70, a 30-day money-back guarantee, and secure payment options. This helps if you are a travel fan or amateur photographer who wants to invest in one good strap. You can trust it to last many trips and hard hikes.
Choosing the right Camstrap for your style
Different outdoor photographers have different needs and habits. The 2025 outdoor photographer’s guide should help you match your style to the right Camstrap. The brand’s range covers most use cases, from tripod work at waterfalls to fast runs on mountain trails.
- Camstrap Voyager: Great for travel fans who move between cities and mountains. It balances comfort and style, so you can wear it all day on flights, trains, and long walks.
- Camstrap Explorer: Built for outdoor adventure photographers who carry heavier DSLR or mirrorless bodies. Its strong build and secure attachment help when you climb, wade, or work in storms.
- Camstrap Nomad: Ideal for minimalist shooters who like light gear. If you use a compact or entry-level camera and want freedom of movement, this strap keeps things simple and safe.
- Camstrap MagClip: Uses a magnetic clip system so you can detach and reattach your camera quickly. This is perfect when you switch between tripod long exposures and fast handheld shots.
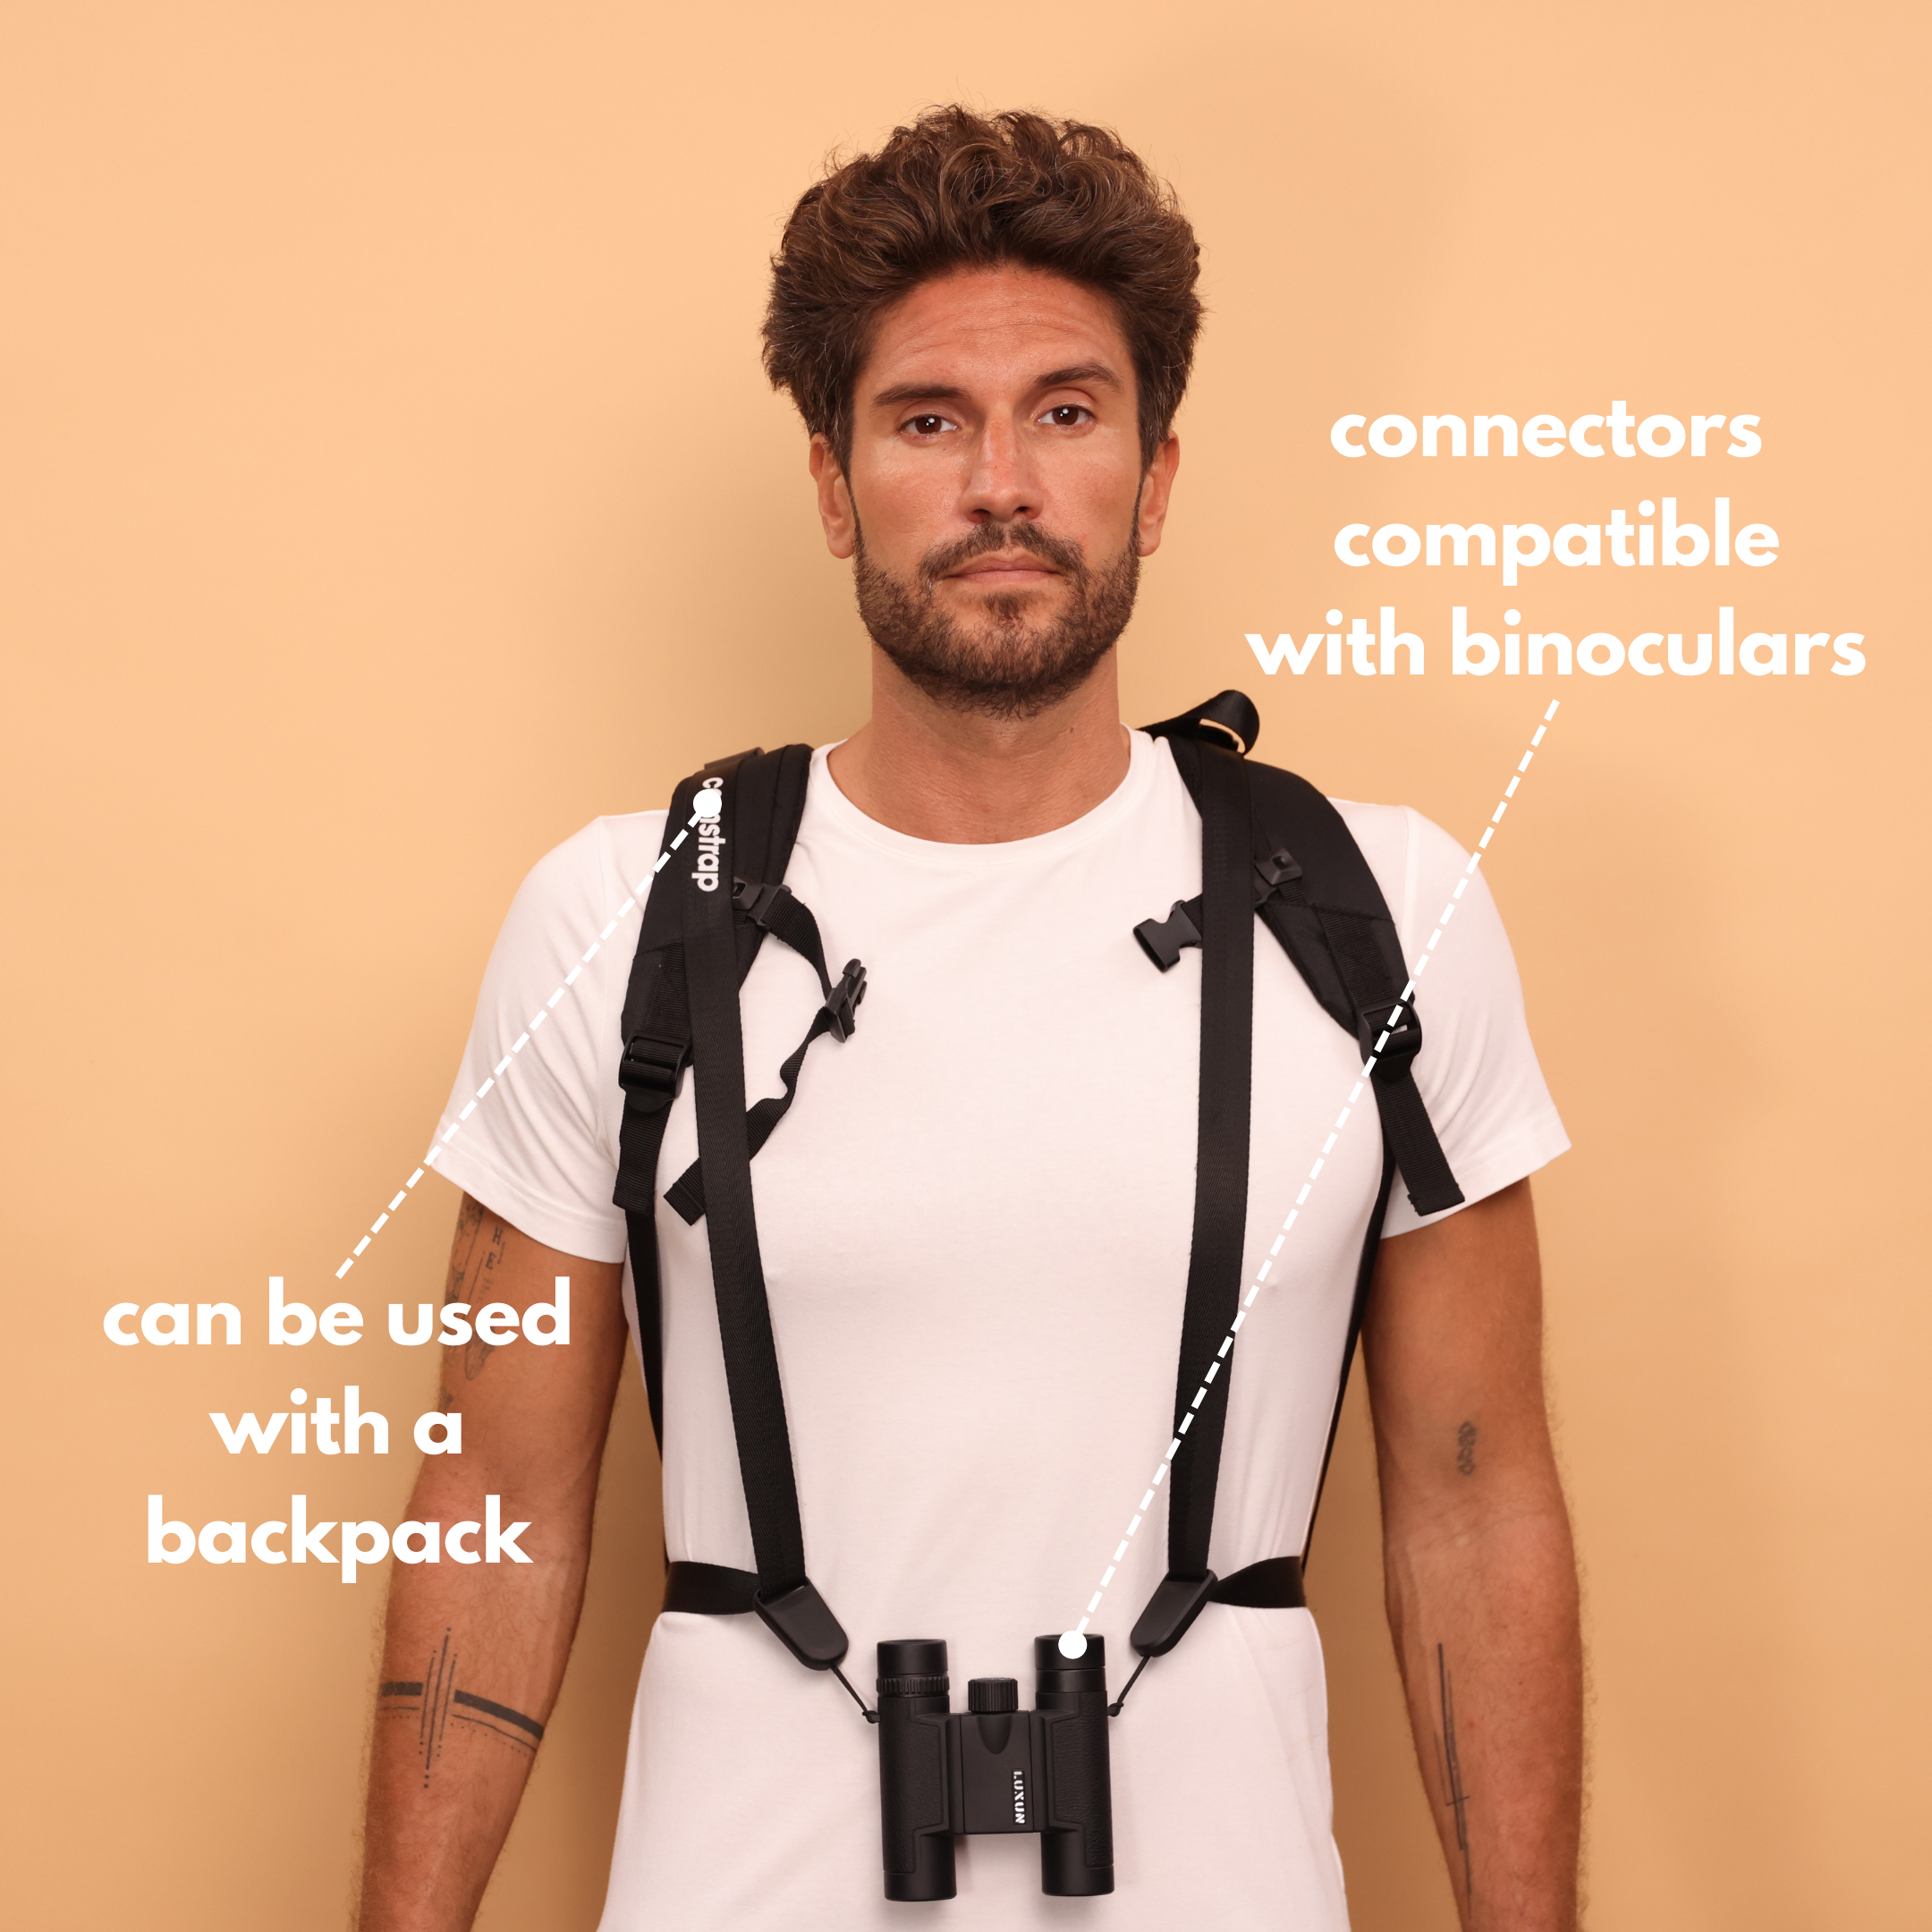
Camstrap also offers a “buy one, get the second at 20% off” deal. Many photographers pick one strap for their main camera and another for a backup or lighter travel body. This suits couples, friends, or anyone who uses more than one system on trips.
The 2025 Outdoor Photographer’s Guide to a Simple Field Workflow
Now let’s put it all together with a simple field workflow. You can follow this 2025 outdoor photographer’s guide on your next outing. It will help travel fans, adventure photographers, and hobbyists build a full set of images in one session.
Step 1: Scout and plan for light and weather
Before you leave, check the weather and light for the day. Overcast days are great for waterfalls and streams because the light is soft and even. Windy days are best for cloud streaks and moving trees. Use sunrise and sunset times to plan when you will be at each spot.
Apps and sites like weather services, map tools, and local hiking guides help you find good waterfalls and viewpoints. Note how long each hike takes so you are not rushing in the dark. This planning step is key in any safe 2025 outdoor photographer’s guide.
Step 2: Start with water scenes
Begin at a waterfall or fast stream while the light is soft. Attach your camera to your tripod, put on a polarizer, and set ISO to 100. Start with a shutter around 1/4 second and an aperture around f/8. Take a shot, check the histogram, and adjust as needed.
If the water does not look smooth enough, slow the shutter to 1 second. If the scene is too bright, add an ND filter or narrow the aperture. Work the scene from wide angles to close details. Wipe your lens often with a cloth to remove spray and keep images sharp.
Step 3: Move to storms or clouds
Next, head to a viewpoint where you can see the sky. Look for moving clouds or incoming weather systems. Frame a strong subject in the foreground, such as a tree, rock, or person. Mount your camera on the tripod again, and attach a stronger ND filter if needed.
Try a 15–30 second exposure at f/11 and ISO 100. If the sky is still too bright, either add more ND or shorten the exposure. Watch how the cloud streaks change with each test shot. Small shifts in shutter speed can change the mood in a big way.
Step 4: Finish with speed and people
As the day goes on and the light gets lower, look for runners, cyclists, or cars. Switch to handheld shooting and let your Camstrap keep the camera steady at your side as you move. For panning, choose 1/30–1/60 second and use continuous autofocus.
Practice tracking the subject across the frame from start to finish. Do not worry about getting everything perfect in one try. This part of the 2025 outdoor photographer’s guide is about play and learning. If you are with friends or family, ask them to run or ride past you a few times so you can practice safely.
The 2025 Outdoor Photographer’s Guide to Safety and Respect
Outdoor photography in 2025 is not just about good images. It is also about safety, comfort, and respect for nature and people. Long exposures often mean standing near cliffs, rivers, or roads. Panning shots can tempt you to step too close to traffic or fast bikes.
Use common sense at all times. Stay back from edges and loose ground. Keep a safe distance from fast water that could sweep you away. When you move through crowded trails or busy streets, keep your camera close to your body with a secure strap like a Camstrap Explorer or Voyager.
Also, follow “leave no trace” rules in every shoot. Do not crush fragile plants just to get a lower angle on the river. Pack out all trash and respect local rules about drones and tripods in parks. The 2025 outdoor photographer’s guide should always include care for the places you love to shoot.
Conclusion: The 2025 Outdoor Photographer’s Guide to Motion Starts Now
The 2025 outdoor photographer’s guide to motion blur and soft focus can help your photos stand out. With a few clear settings and habits, you can turn fast rivers, rolling storms, and speeding cyclists into images that feel alive. You do not need the newest camera gear. You just need to pay attention to time, light, and movement.
Start small and build skills step by step. On your next walk, slow your shutter for a nearby stream and study the result. On your next trip, pan with a bike or car at sunset and see how the lines change. Notice how different shutter speeds change the mood and feeling in each frame.
Keep your camera ready and safe with a strap that suits your style, whether it is a Camstrap Voyager for travel, Explorer for rugged hikes, Nomad for light setups, or MagClip for quick changes. The 2025 outdoor photographer’s guide to motion blur and soft focus is not about strict rules. It is about learning to see movement and then choosing how to show it in your own way.
With steady practice, you will build a body of work that captures not just how the world looks, but how it moves and feels. So step outside, set your shutter, trust your Camstrap, and let the motion tell your story.


